Quick Links
The Echovald Wilds in Guild Wars 2: End of Dragons is a sprawling mess of vines, trees, and ruins. It's been occupied since its fall by the two prominent gangs in Cantha - the Speakers and the Jade Brotherhood - so progress to revitalize the area has been slow to non-existent.Among the trees, you can find one ancient ruin that's particularly special: the Valdhertz Crypts. Inside is a mini-dungeon which offers substantial rewards to players who can complete it. We'll walk you through the process so that you're not feeling lost at a single step on your journey.
How To Get There

To get into the Valdhertz Crypts, you need to complete an achievement called 'Cryptseeker.' It's not very long, thankfully.
Since some people are looking to enter the Crypts just to get the Point of Interest, not for the mini-dungeon, we've made a separate article detailing that process. Check it out here:
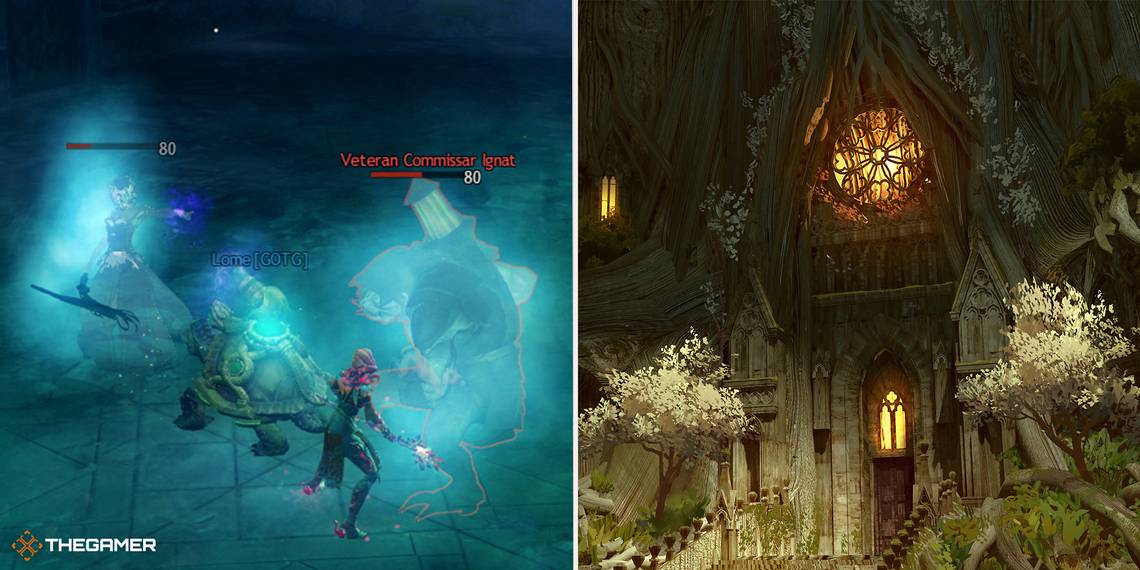
Rooms 1 & 2: Combat Challenges

When you first enter the Crypts, you'll be faced with some combat as you listen to ghosts tell their stories.
|
Entrance Hall (Room 1) Opponents |
Makeshift Armory (Room 2) Opponents |
|---|---|
|
|
Room 3: Floor Panel Puzzle

The third room is The Hall of Tribute. There are four Levers...
- Flaming Lever
- Aqueous Lever
- Mistral Lever
- Earthy Lever
... and your goal is to turn all the floor panels in the centre of the room blue.
If you want to reset the puzzle, interact with the Stone Scribbles near the floor panels and hover your hand over the symbol for sleep.

To complete the puzzle, pull the Levers in the following order:
- Flaming Lever
- Aqueous Lever
- Flaming Lever
- Aqueous Lever
- Mistral Lever
Rooms 4 & 5: Combat Challenges

The next two rooms contain more combat challenges.
|
Living Quarters (Room 3) Opponents |
Magic Laboratory (Room 4) Opponents |
|---|---|
|
|
Room 6: Statue Puzzle

The sixth room is called the Heads of Houses. There are five statues and five weapons laid on the ground; you need to pair the correct weapon with the correct statue. Hints for this part can be read by interacting with the walls behind the statues.
If you fail, a ghostly version of that creature will appear and attack you. If you succeed, a blue light will appear in front of the statue.
These are the correct pairings:
- Wallow: Shield
- White Tiger: Sword
- Crane: Dagger
- Kirin: Bow
- Phoenix: Staff
Room 7: Boss Fight

The final room is the Forest Ruler's Sepulcher and has two Veteran bosses: a Dredge and a Kurzick. Once you've killed those two, then the 'Heart of Grenth' artifact is revealed and you'll need to take that down too. At last, you'll get access to one final room with the reward chests!
- Chest of Grand Valdhertz Riches: player can open it if they participated in every room.
- Chest of Valdhertz Riches: player can open one for every room they participated in
We've noted a bug where some chests may not open, even if you participated in every room.
Valdhertz Crypts Achievements

There are four achievements linked to this mini-dungeon. They're all pretty self-explanatory, even if they're occasionally tough or time-consuming to actually accomplish.
|
Name |
Description |
How To Achieve |
Reward |
|---|---|---|---|
|
Valdhertz Victor |
Complete all the rooms of Valdhertz in a single run. |
- |
|
|
Both Hale and Hearty |
Defeat the Valdhertz bosses without getting struck by their attacks more than 10 times. |
This refers to the two bosses in the final room. |
|
|
For the Living, Not the Dead |
Loot chests in Valdhertz Crypts to avenge its fallen. |
This requires you to redo the mini-dungeon multiple times to repeatedly open chests. |
|
|
Resting Heart |
Clear every room in the Valdhertz Crypts. |
- |
|