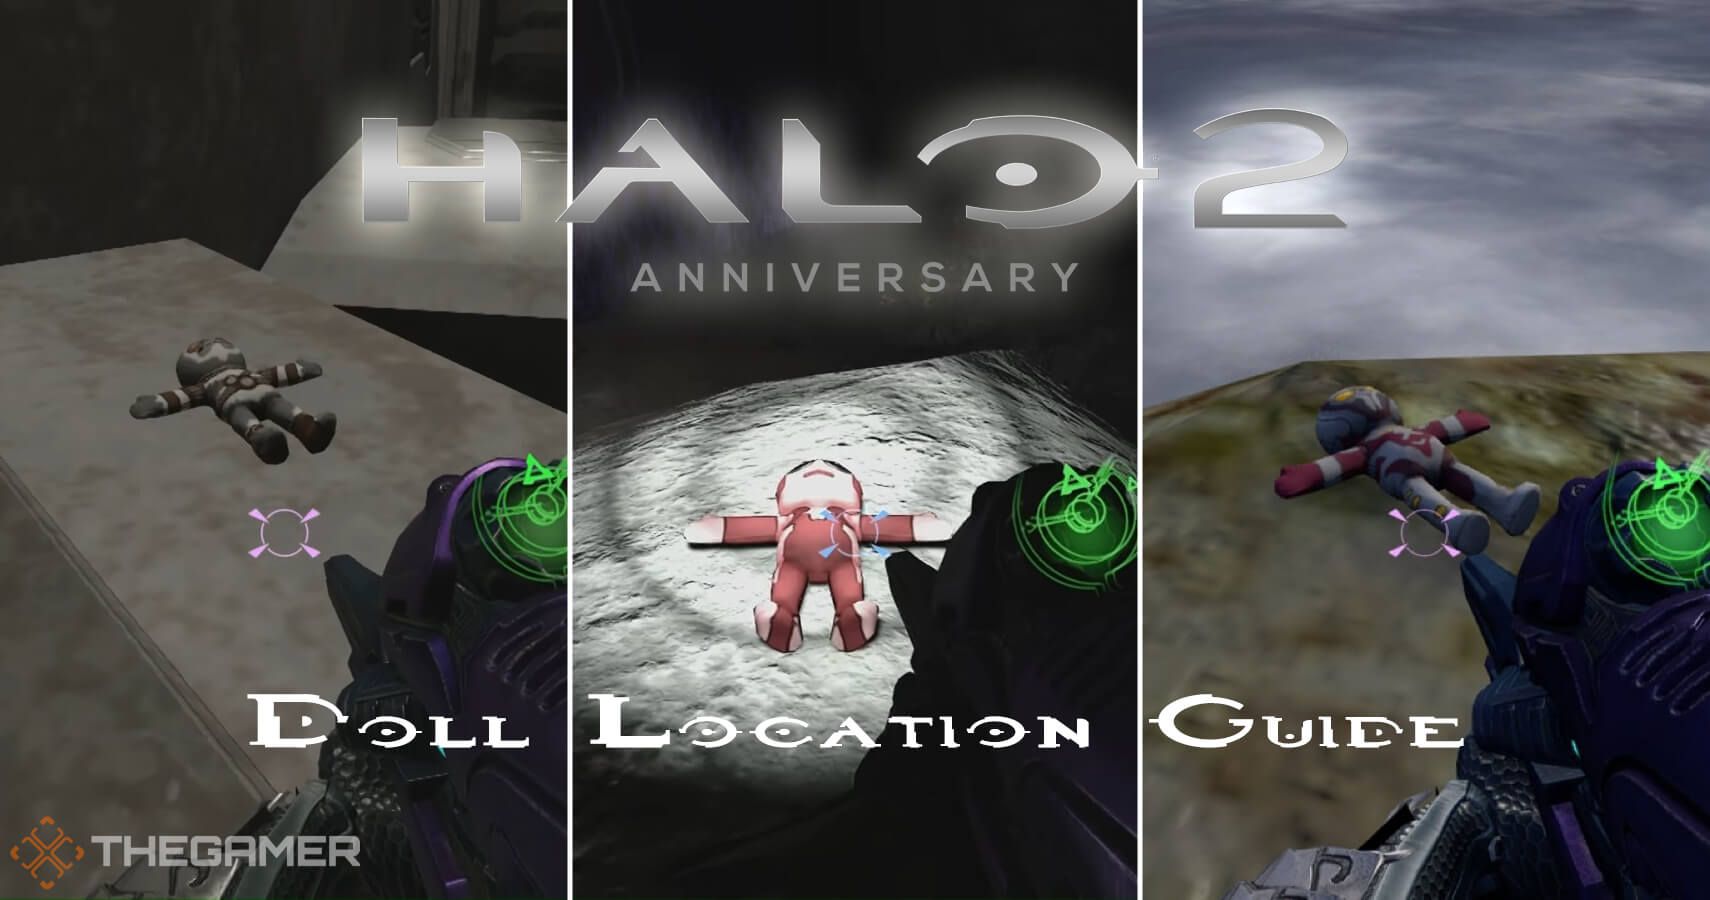
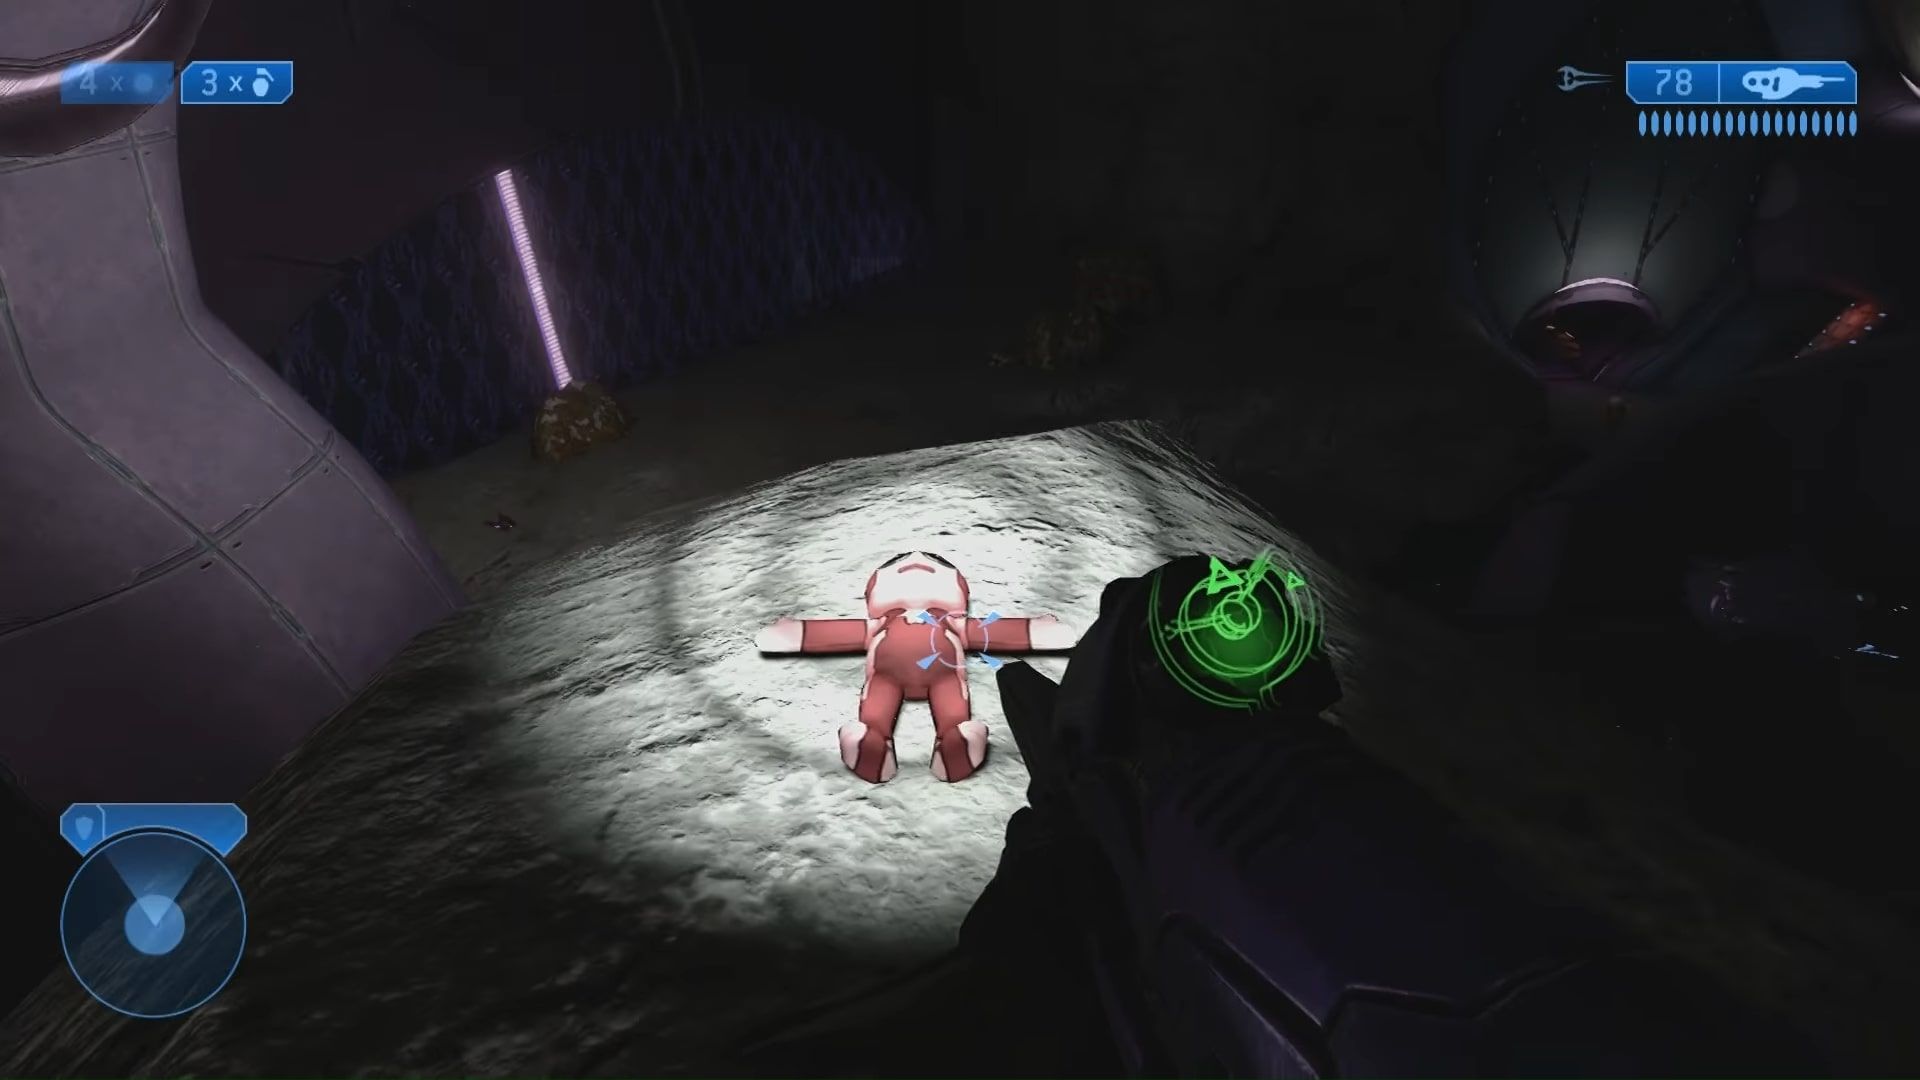
Halo 2: Anniversary introduced a brand new kind of collectible to the Halo franchise: plush toys. There are eight plush toys spread out across the eight last levels of the game and are collectible only while remastered graphics are enabled. These plush toys appear as many of our favorite Halo characters, including John-117 himself, the Arbiter, and Cortana.
Unlike the skulls or the terminals, these collectibles do not affect gameplay, nor do they provide lore. They are simply fun little Easter eggs that players can collect to earn achievements. Each toy will net you five gamerscore, while collecting all eight will unlock you the "Toybox" achievement, worth 20. These can be collected on any difficulty with any skulls active. It is recommended that you play on Easy, using the Sputnik skull, as that will be used a lot.
Delta Halo
Master Chief
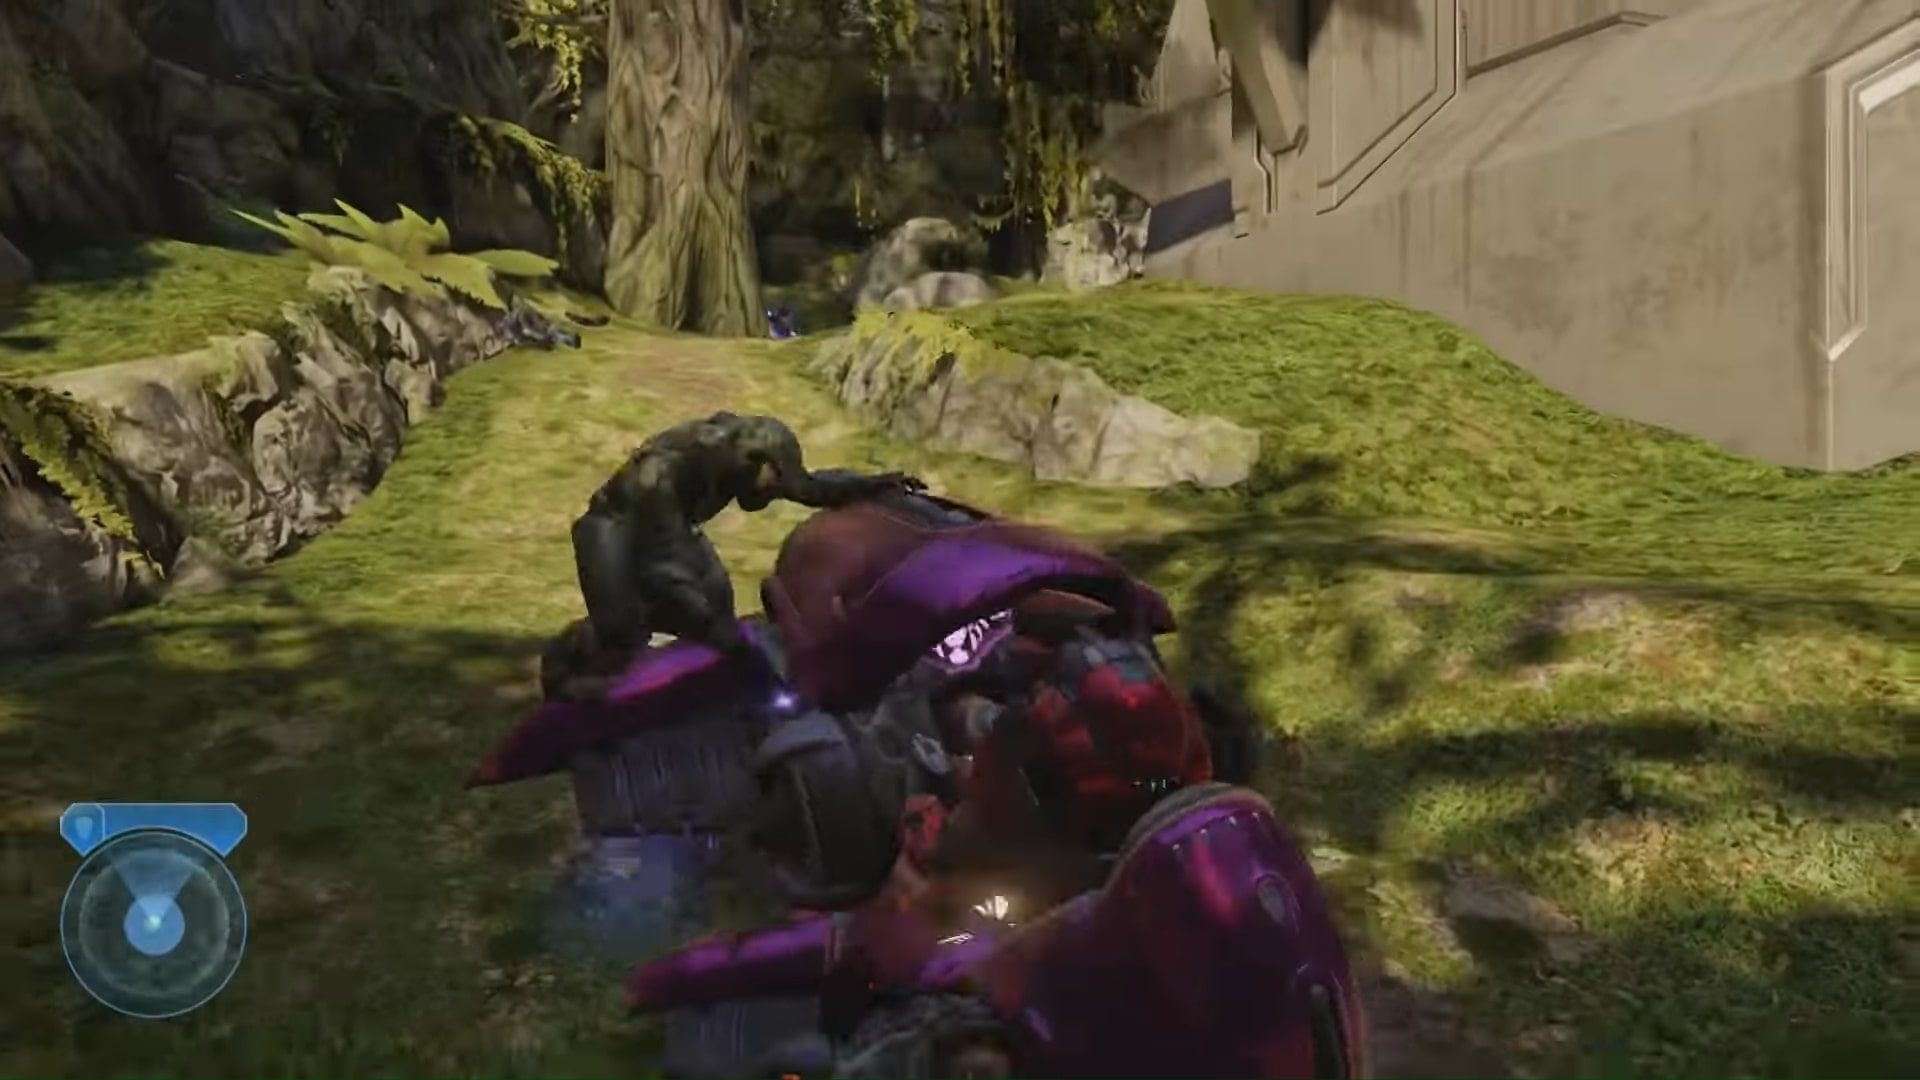
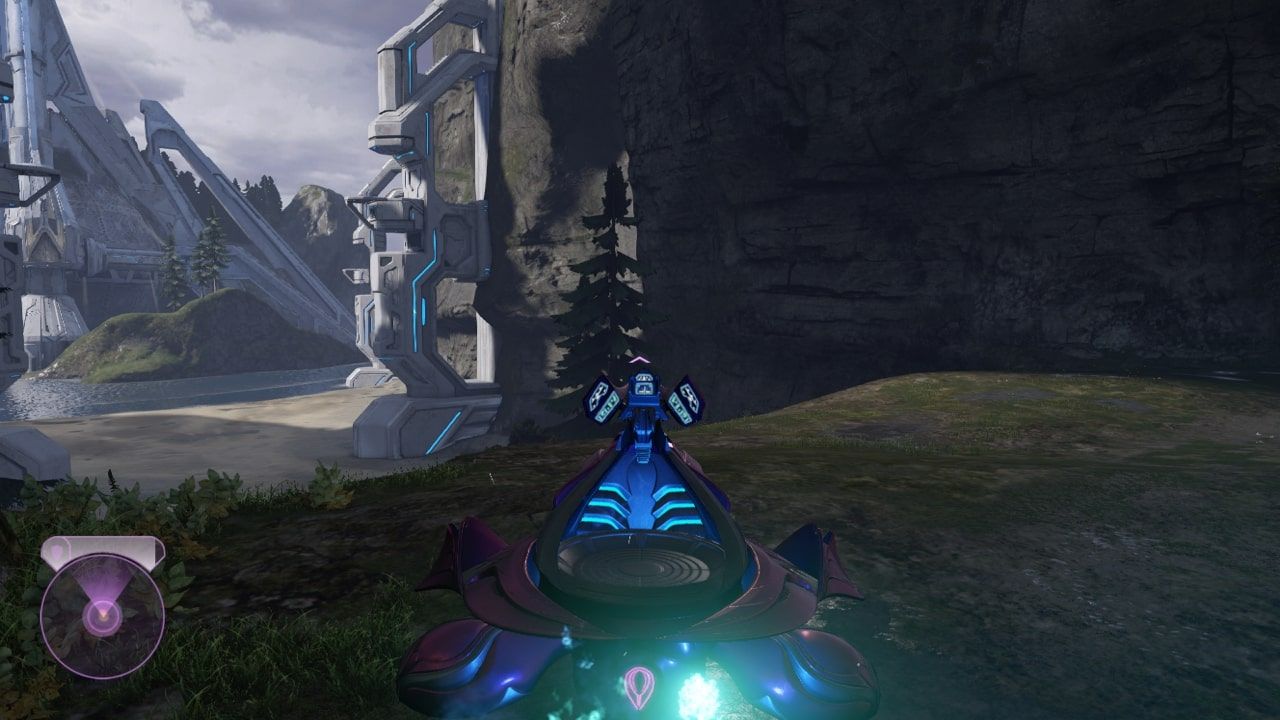
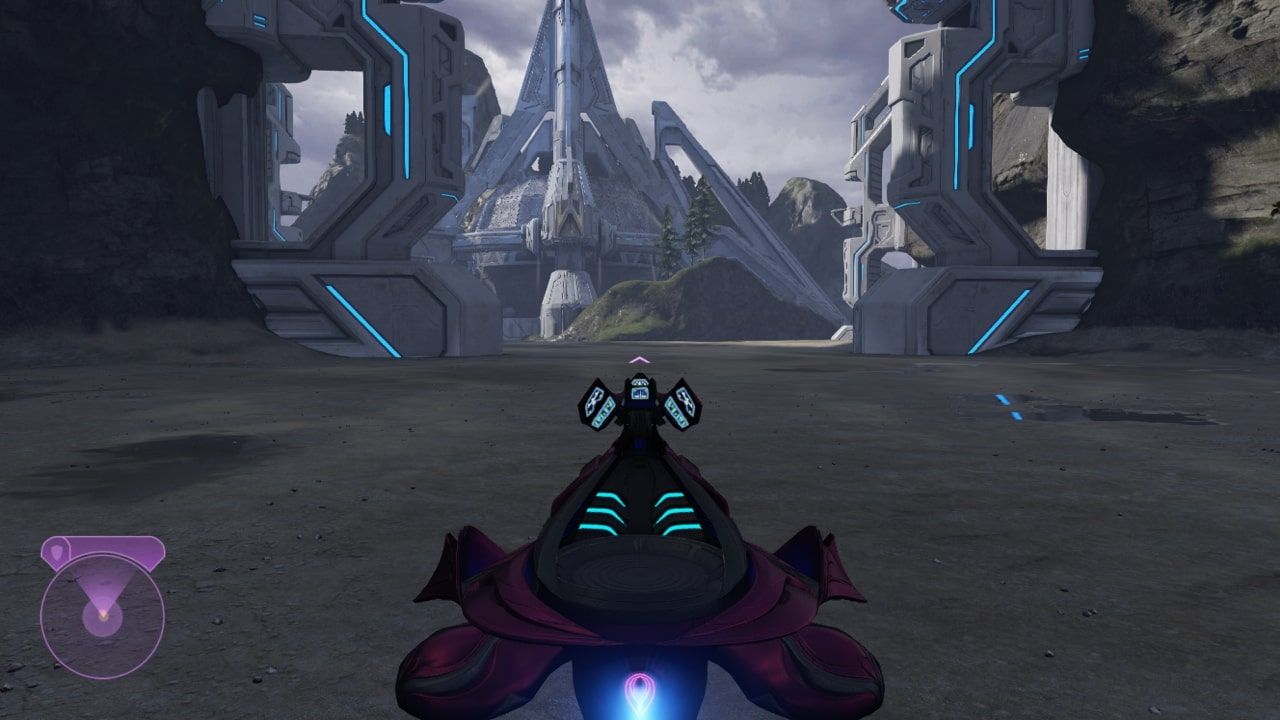
The Master Chief toy can be found on Delta Halo, but will require a ghost. Progress through the level until you reach the building that controls the retractable bridge, which is being patrolled by elites on ghosts. Go ahead and steal one.
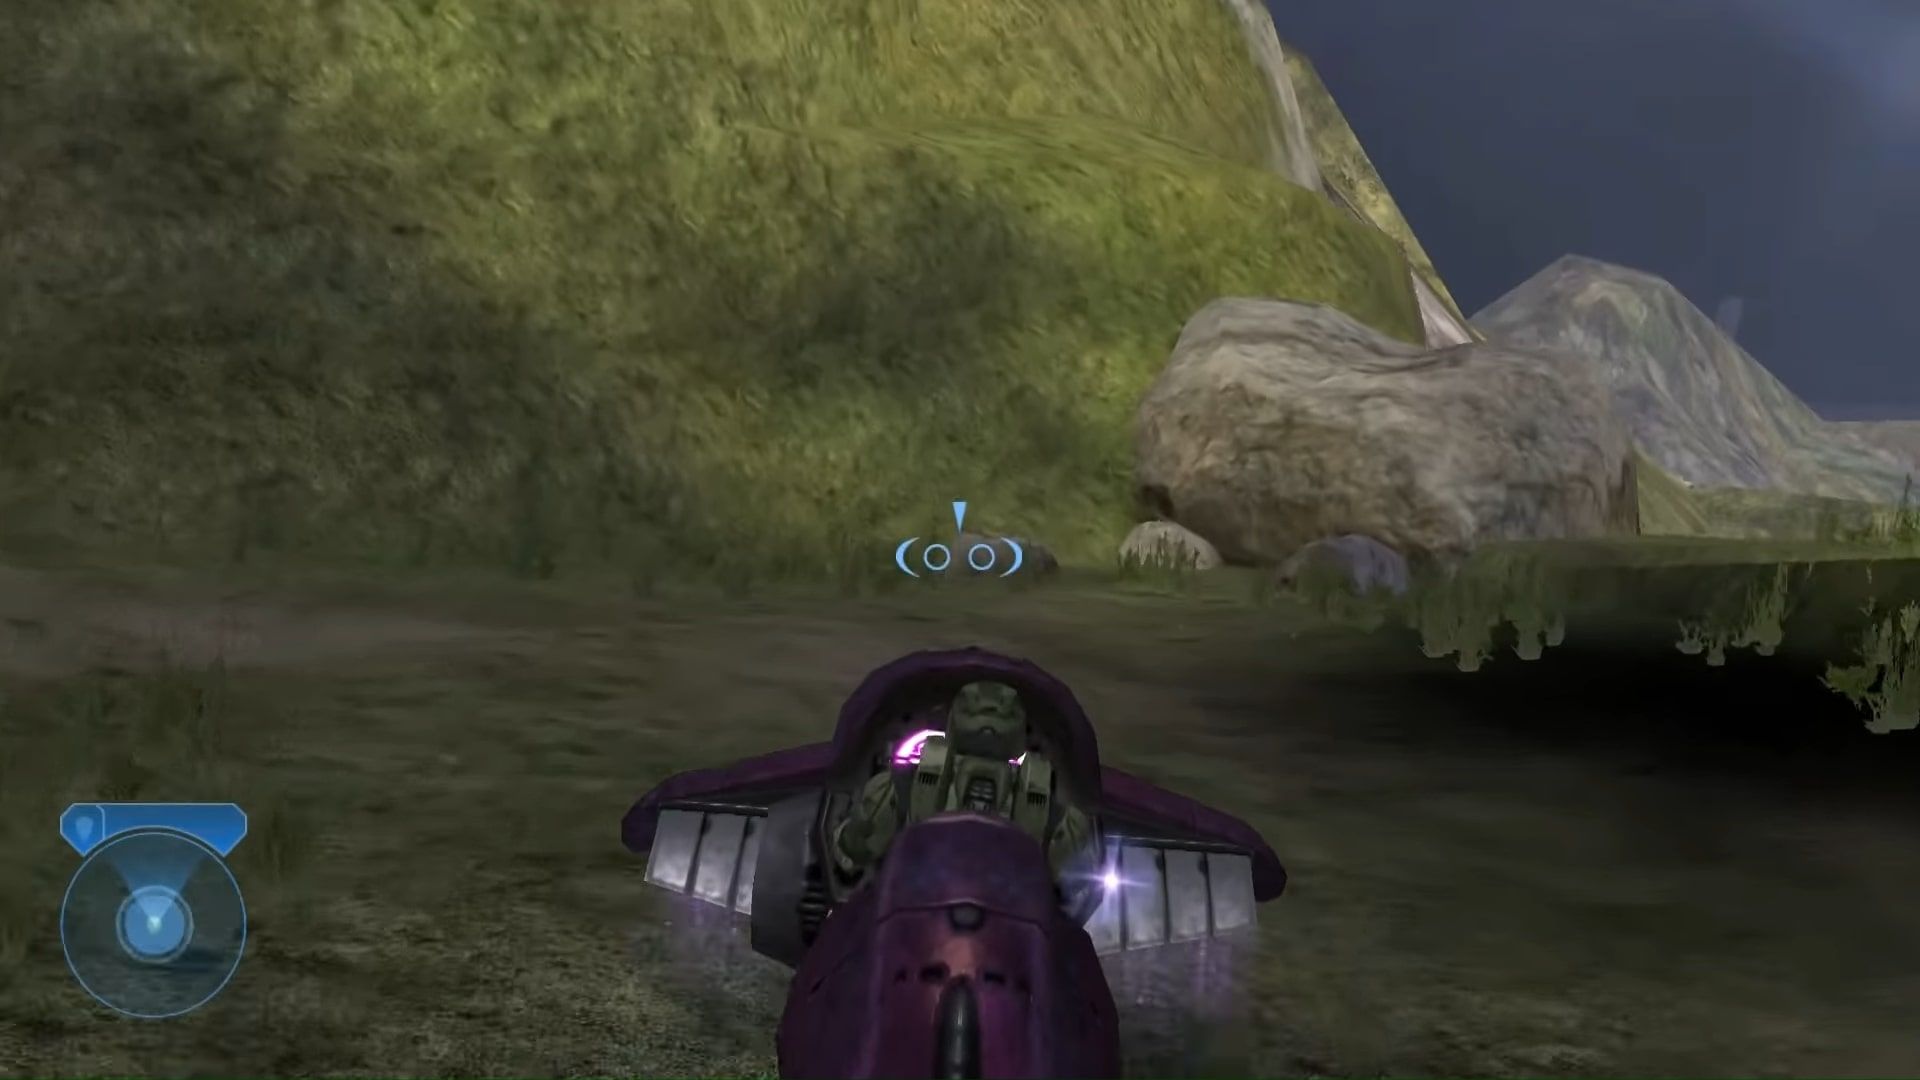
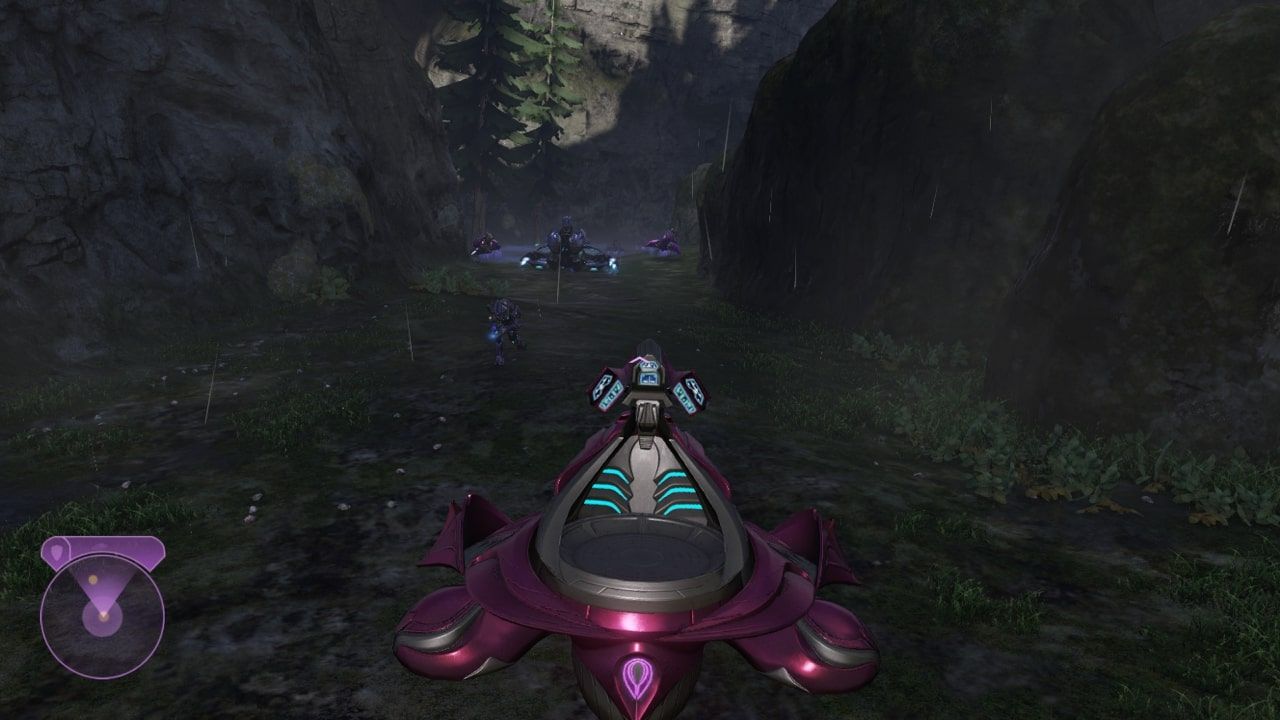
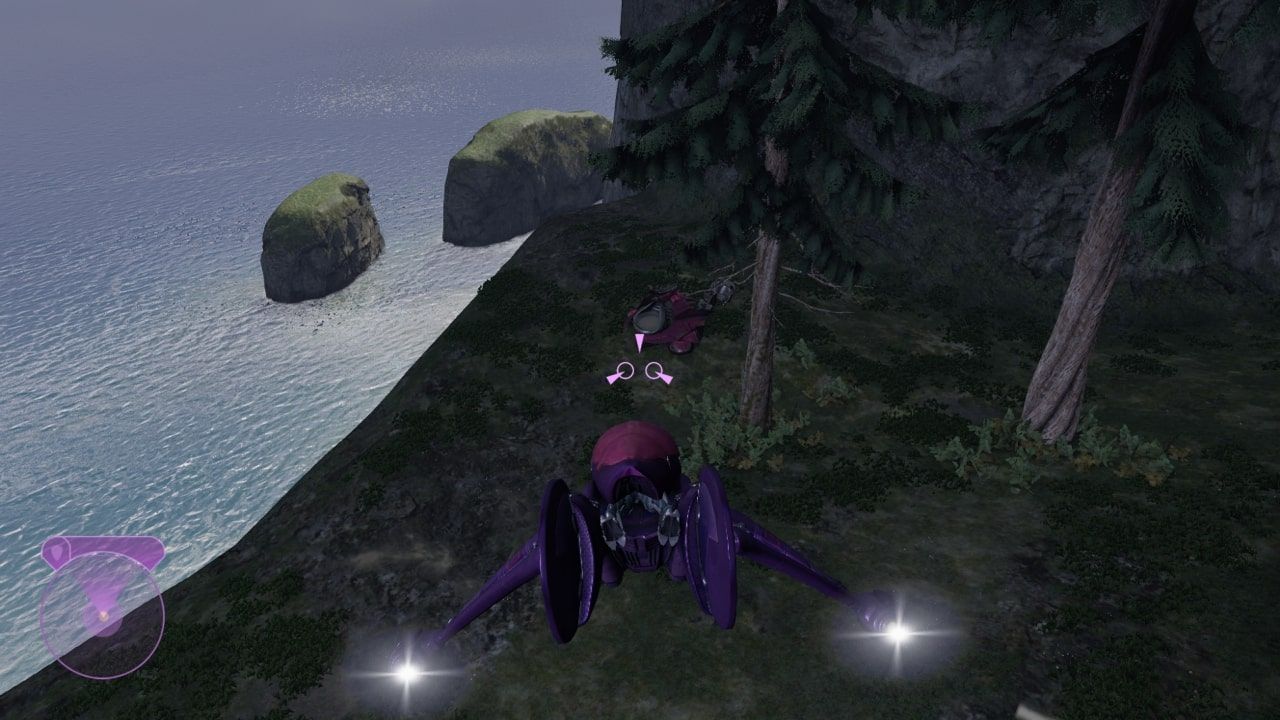
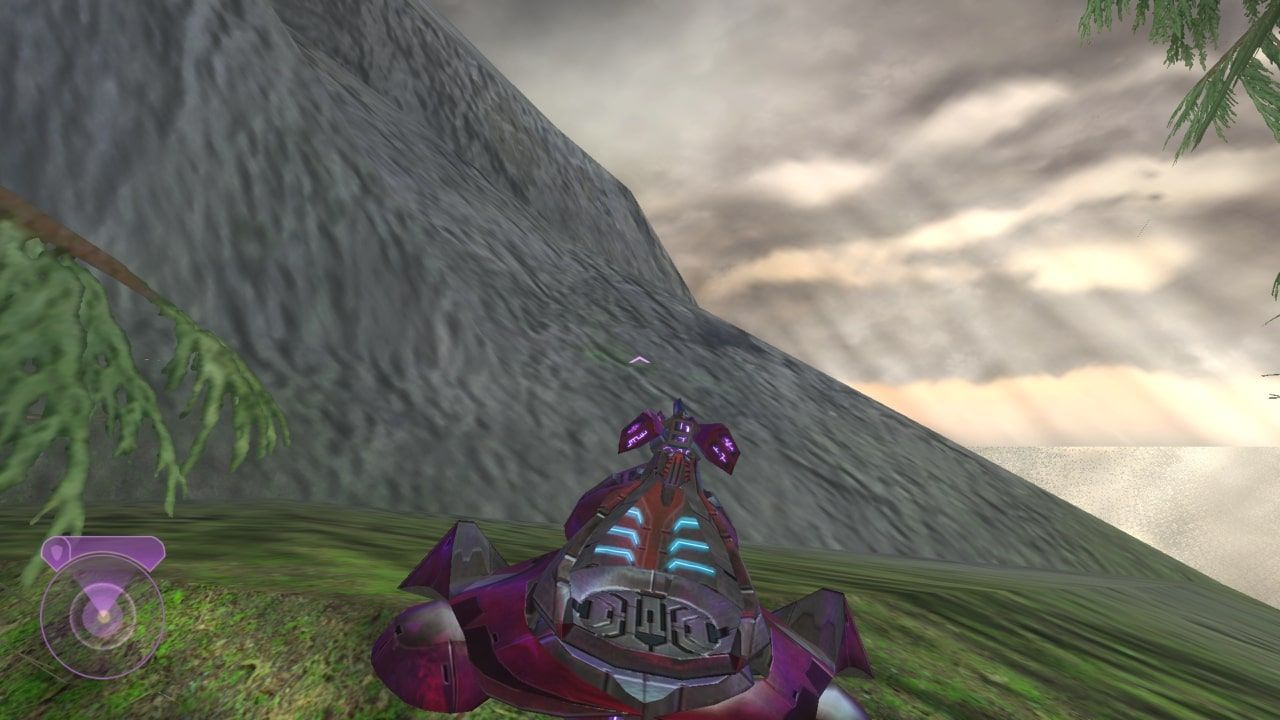
Backtrack through the level to the point pictured below, where the jackal snipers previously were. You're going to want to be playing with classic graphics here, as it makes it significantly easier to navigate the mountain's geometry.
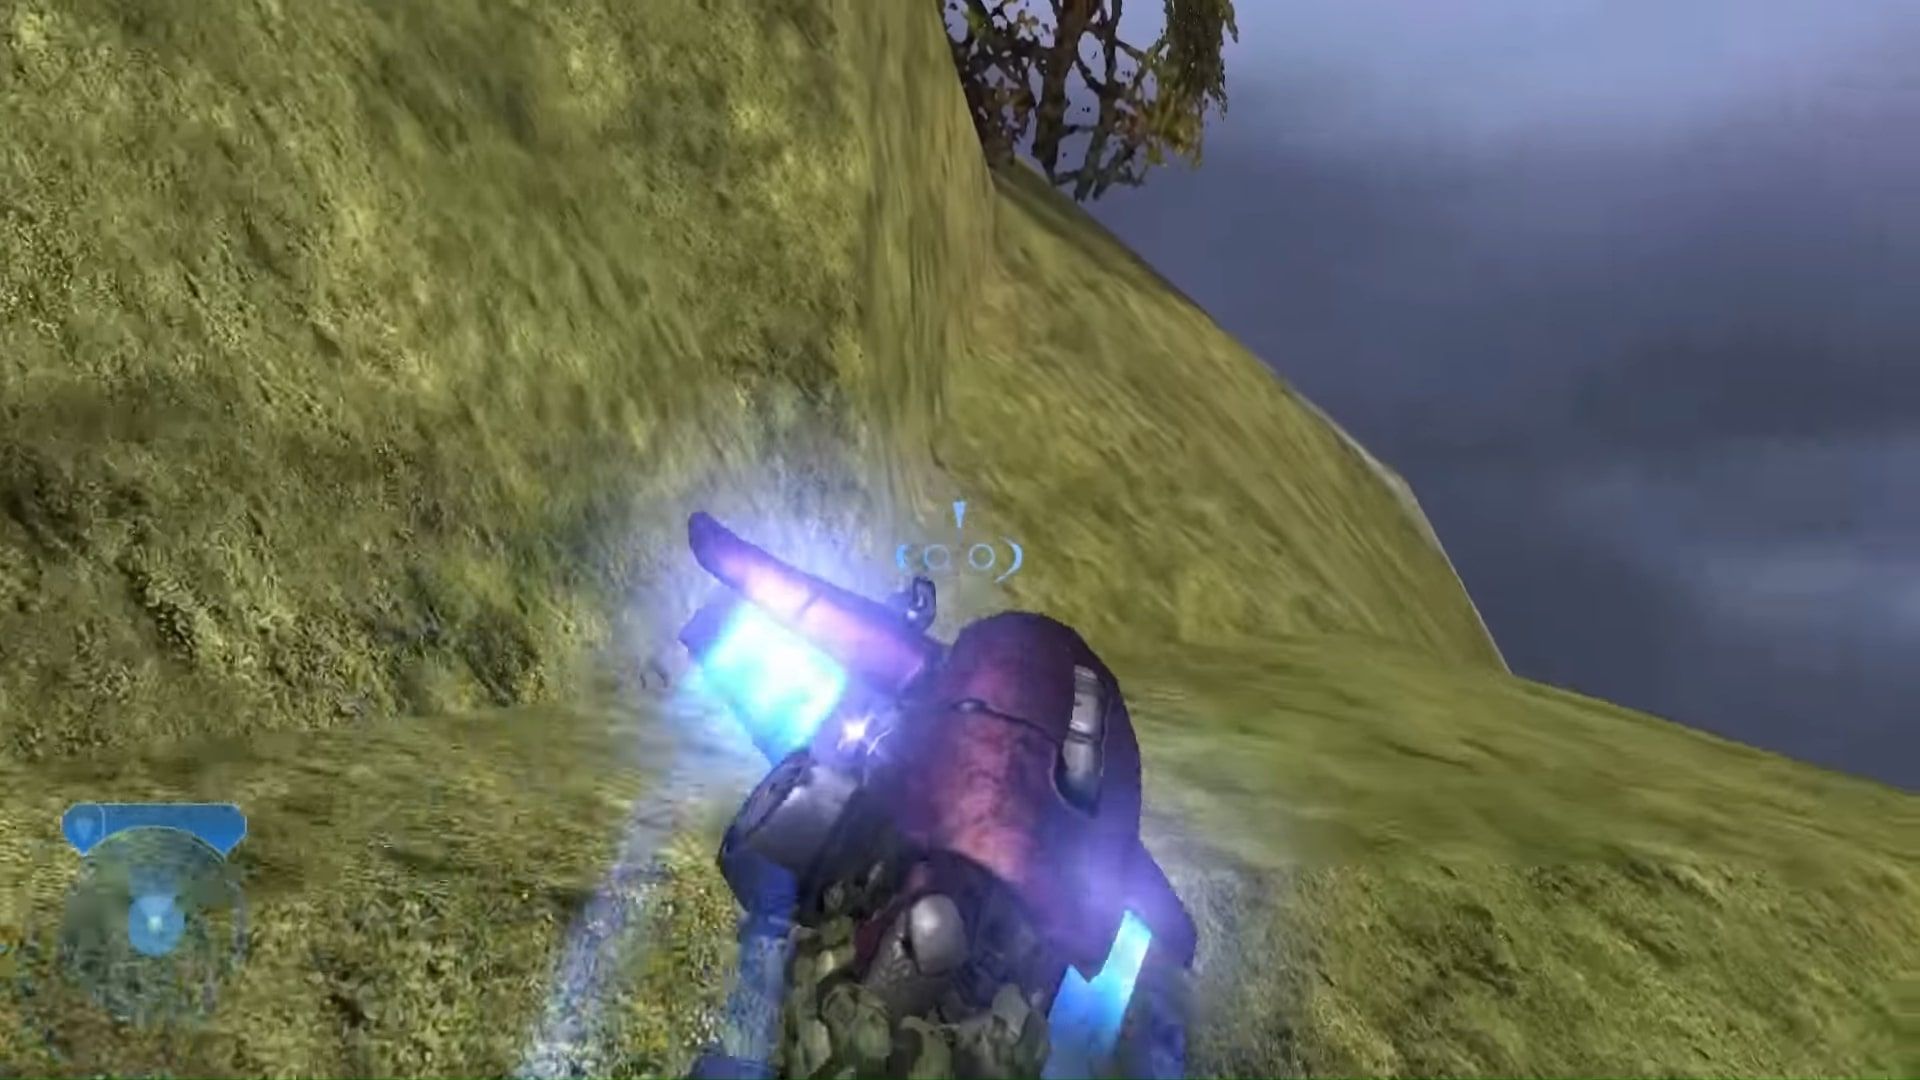
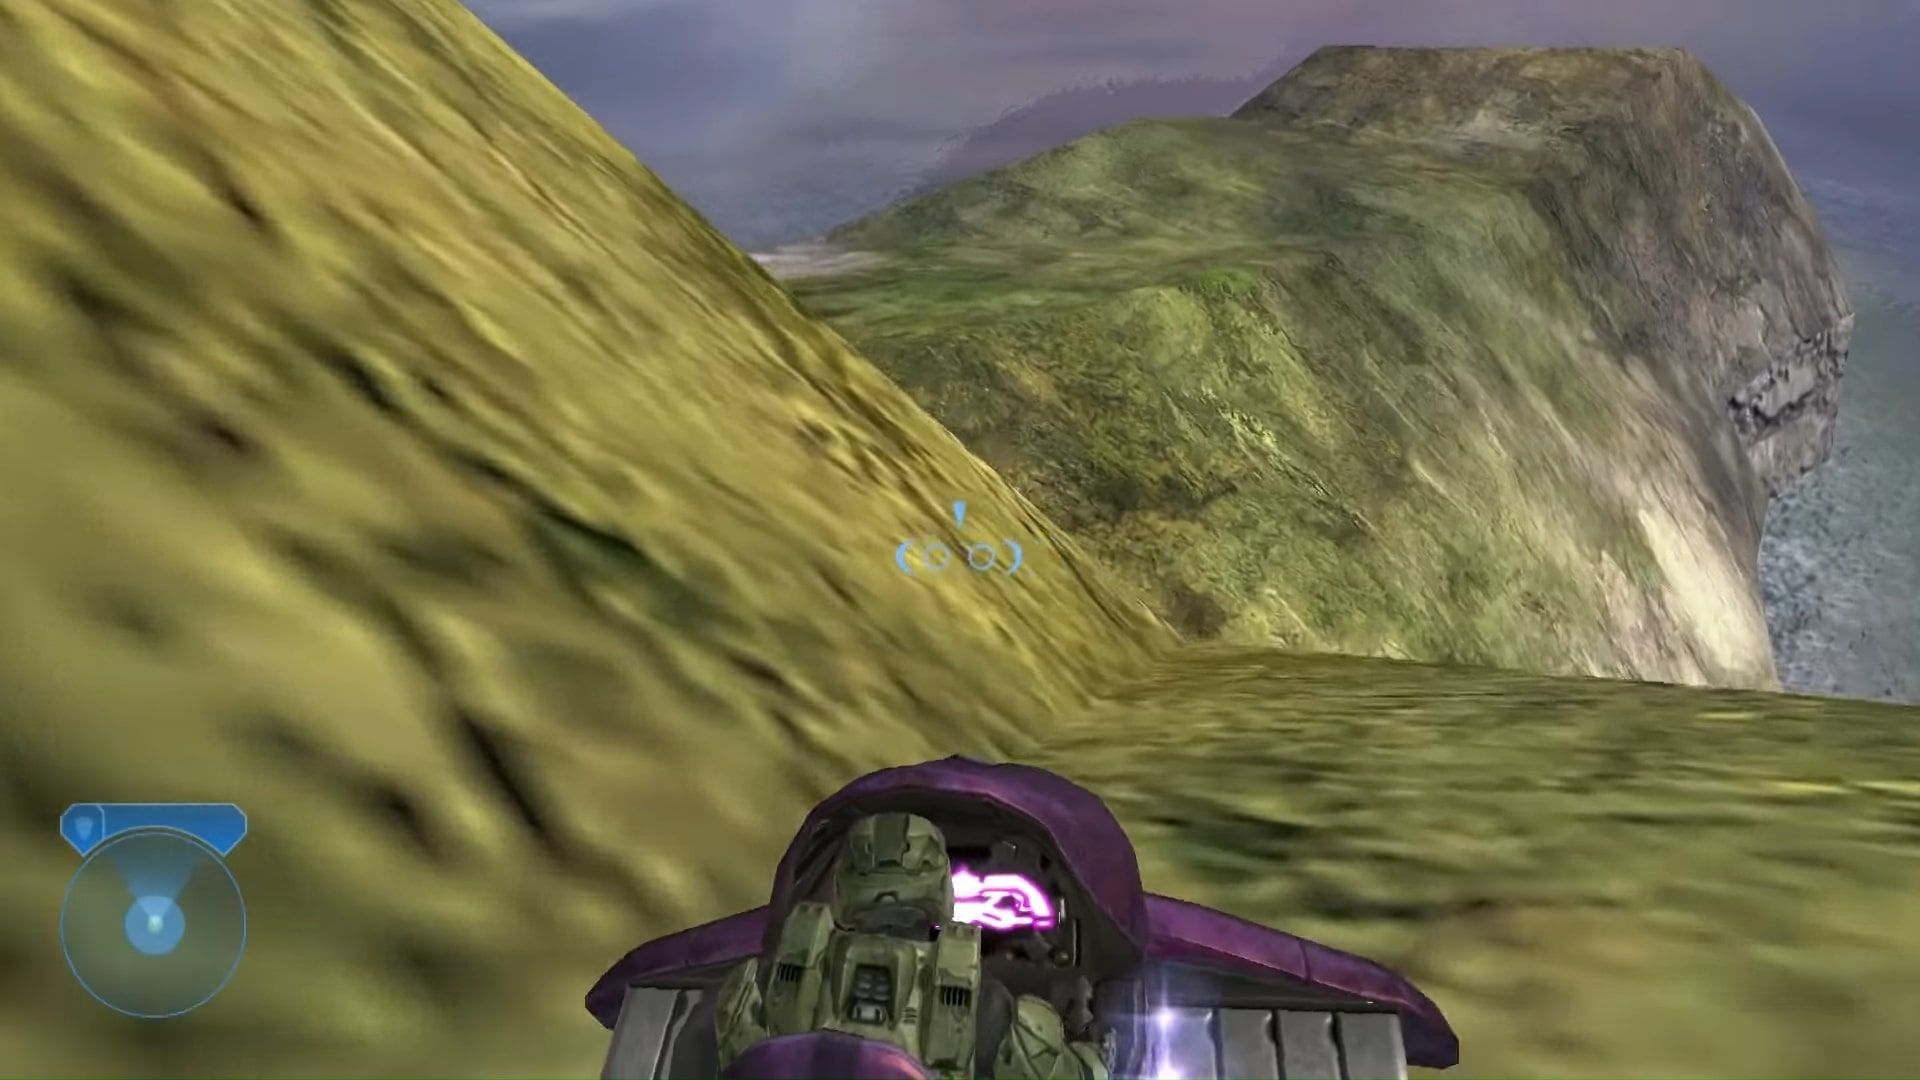
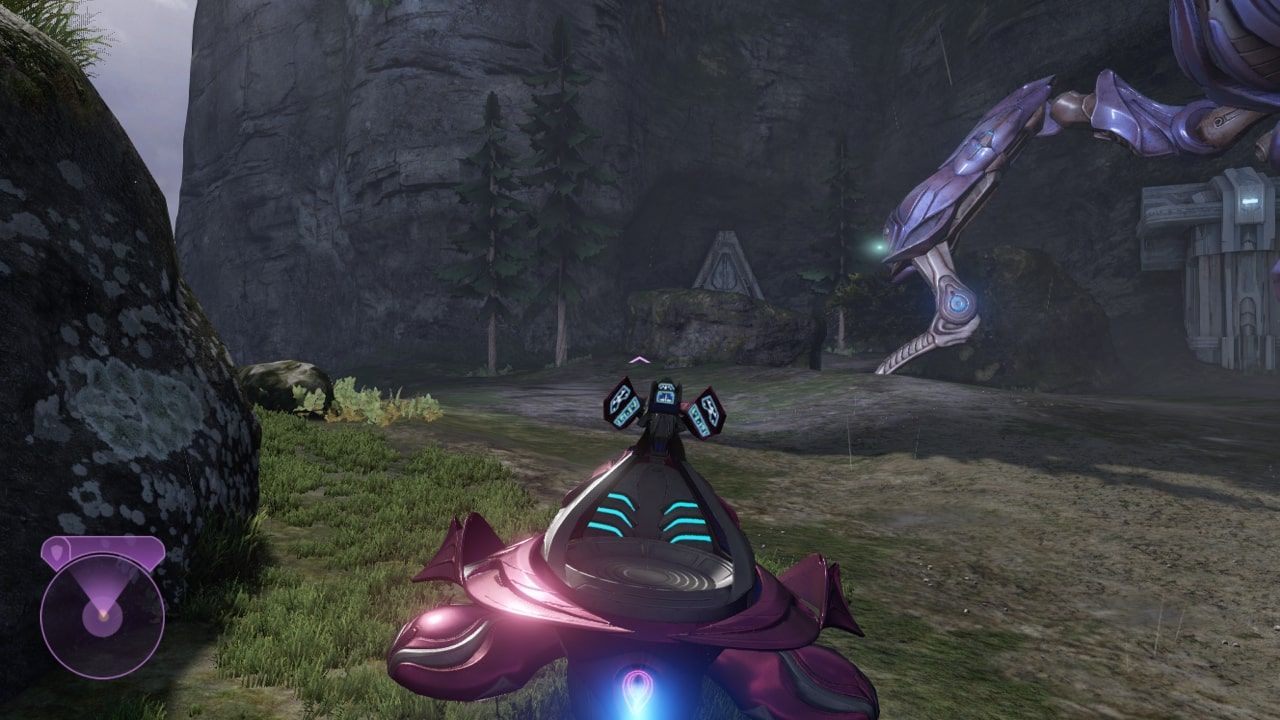
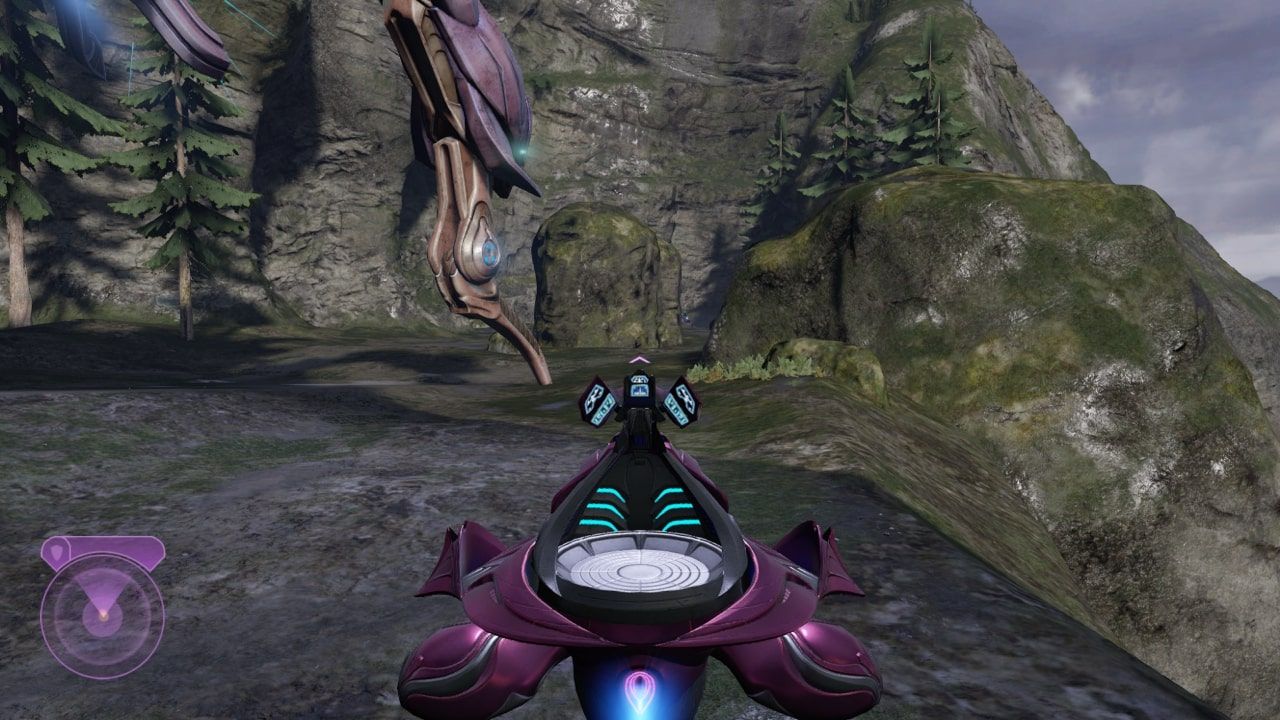
Boost up the slope and head to the top right. You're going to want to loop all the way around the mountain to the peninsula out in the water.
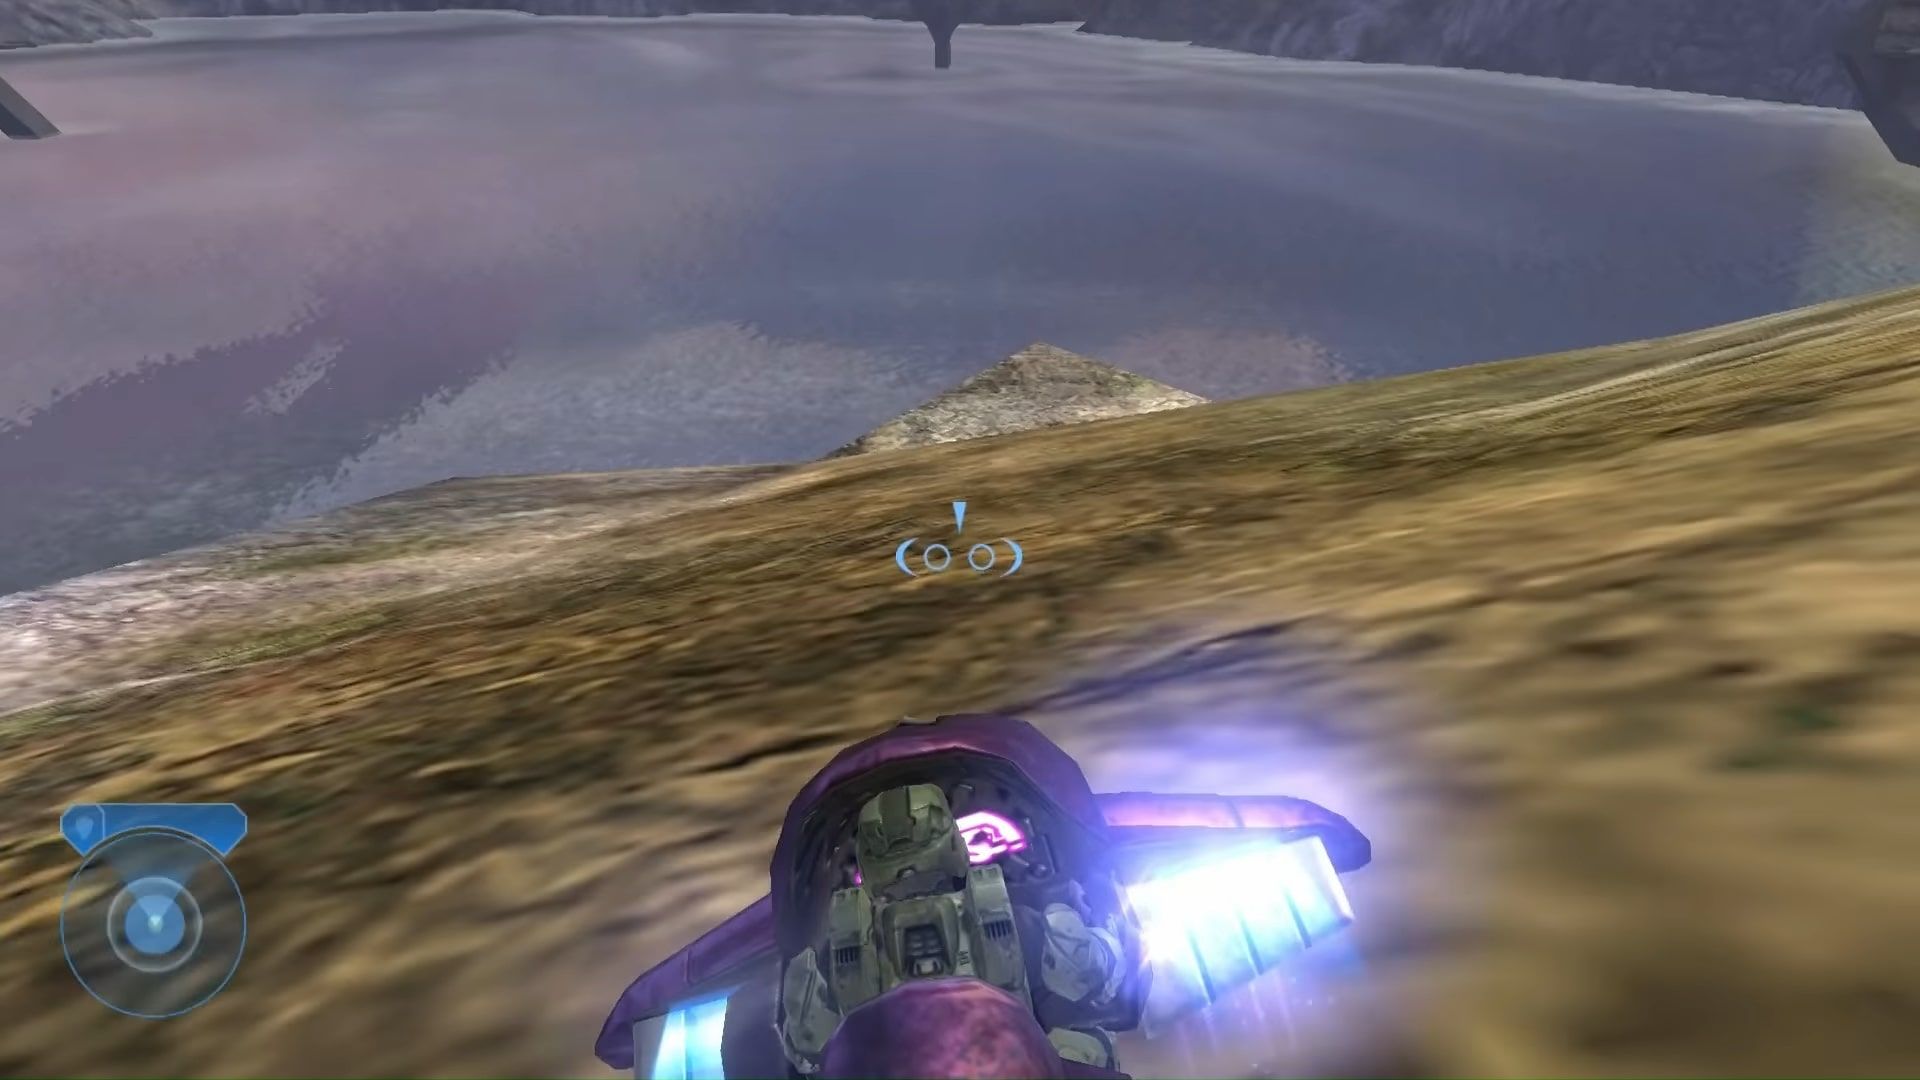
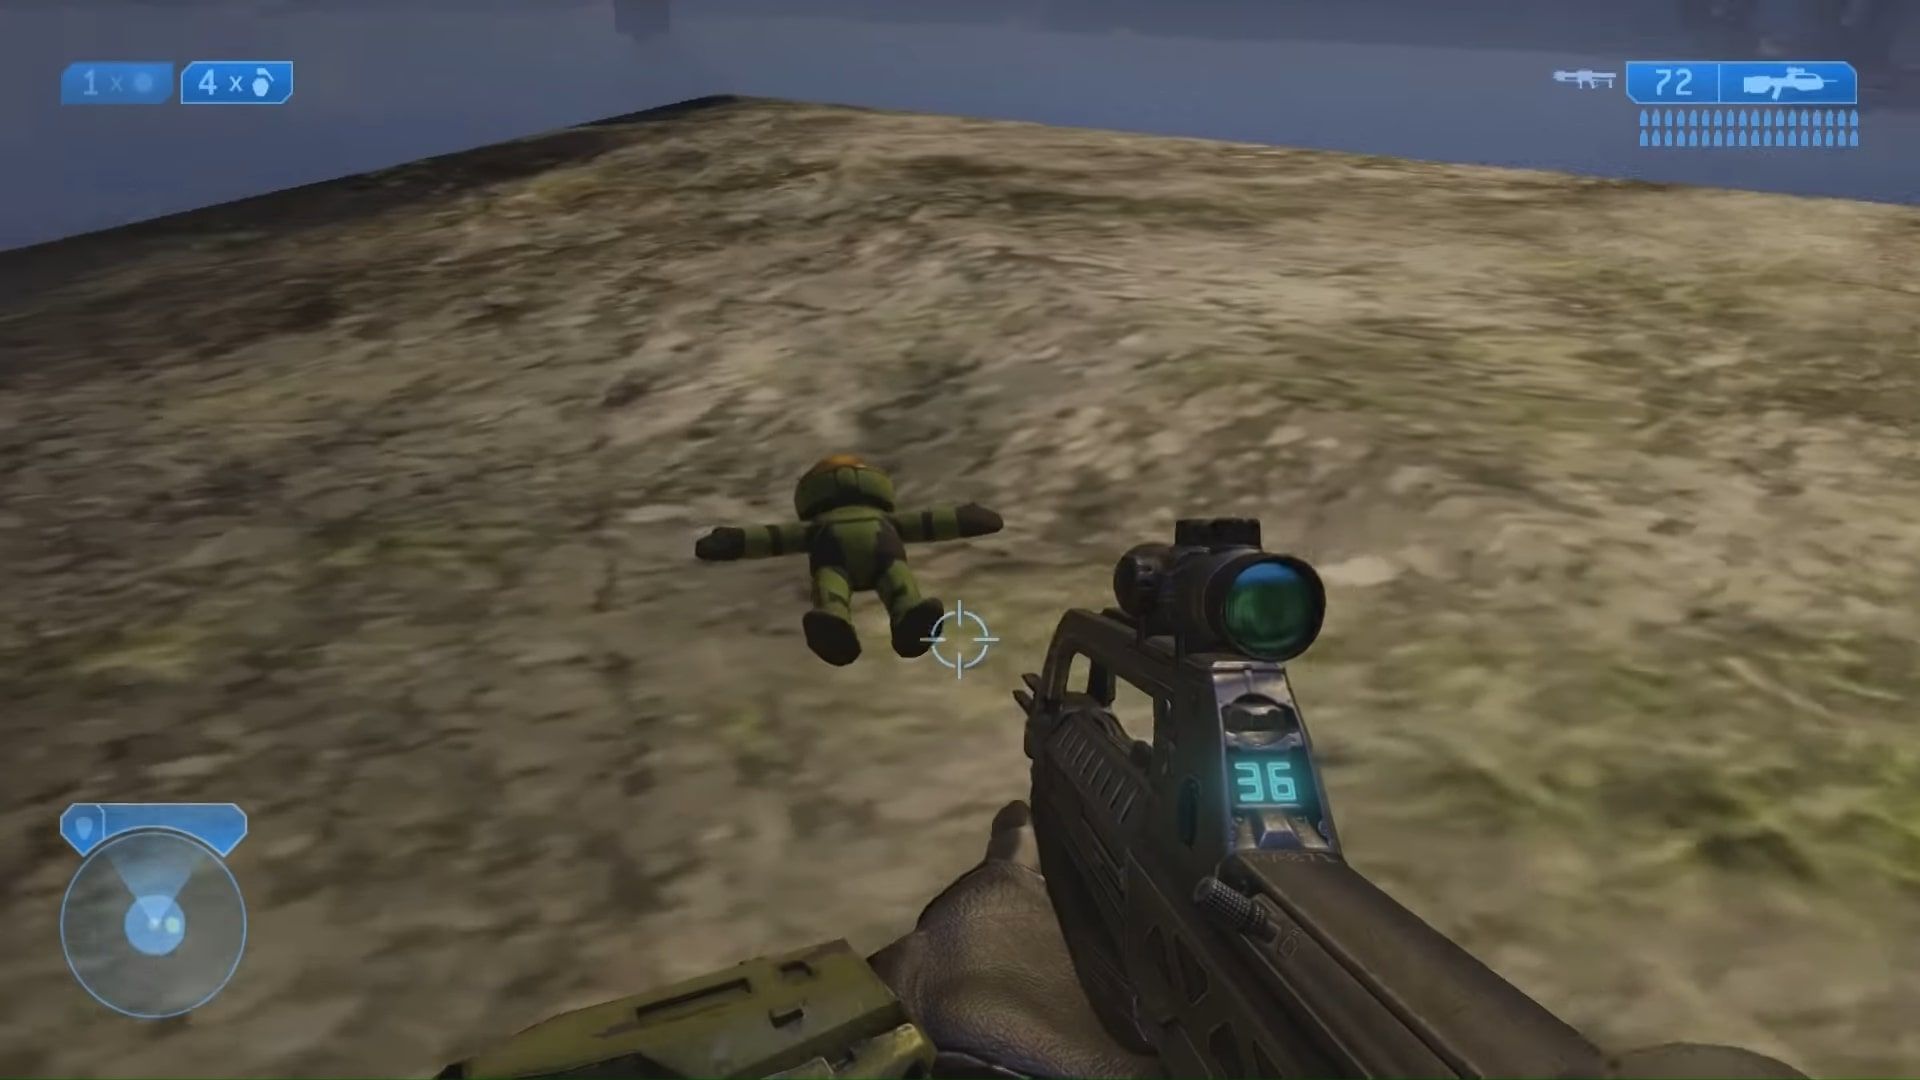
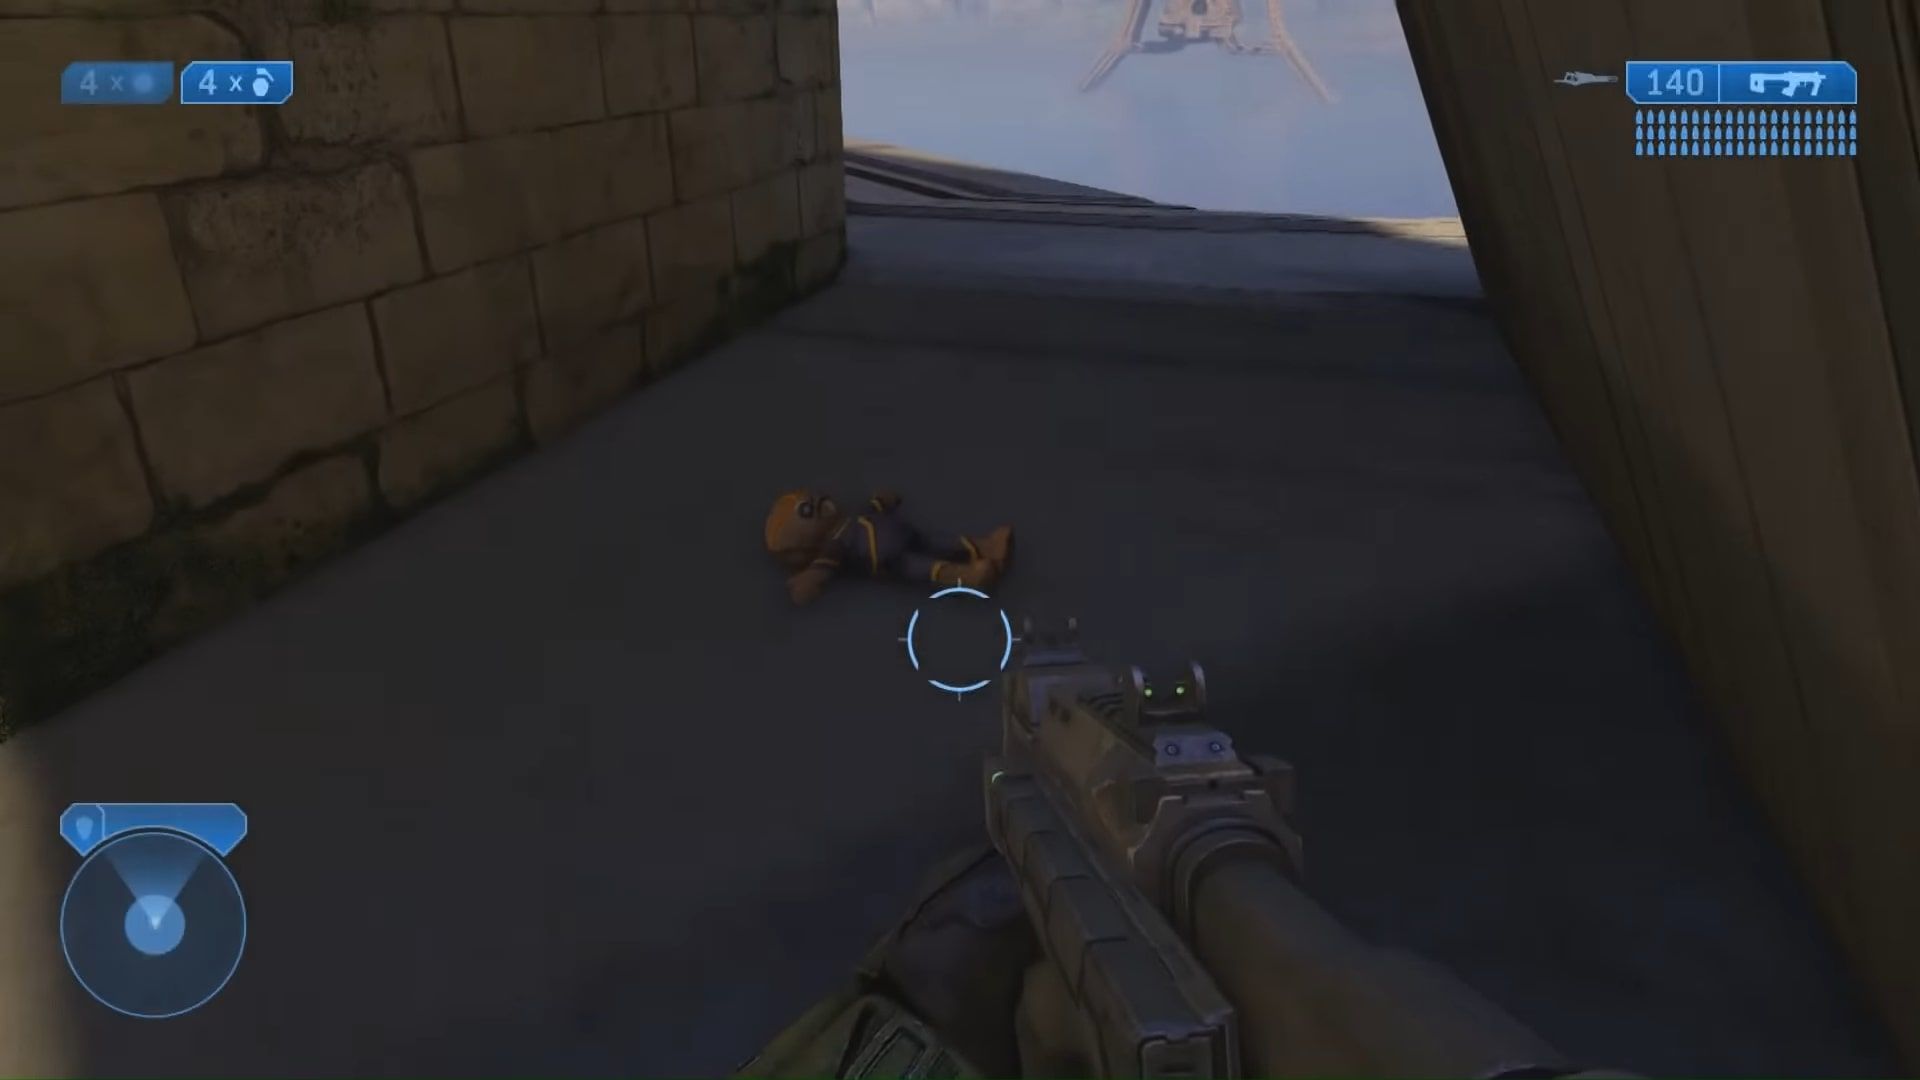
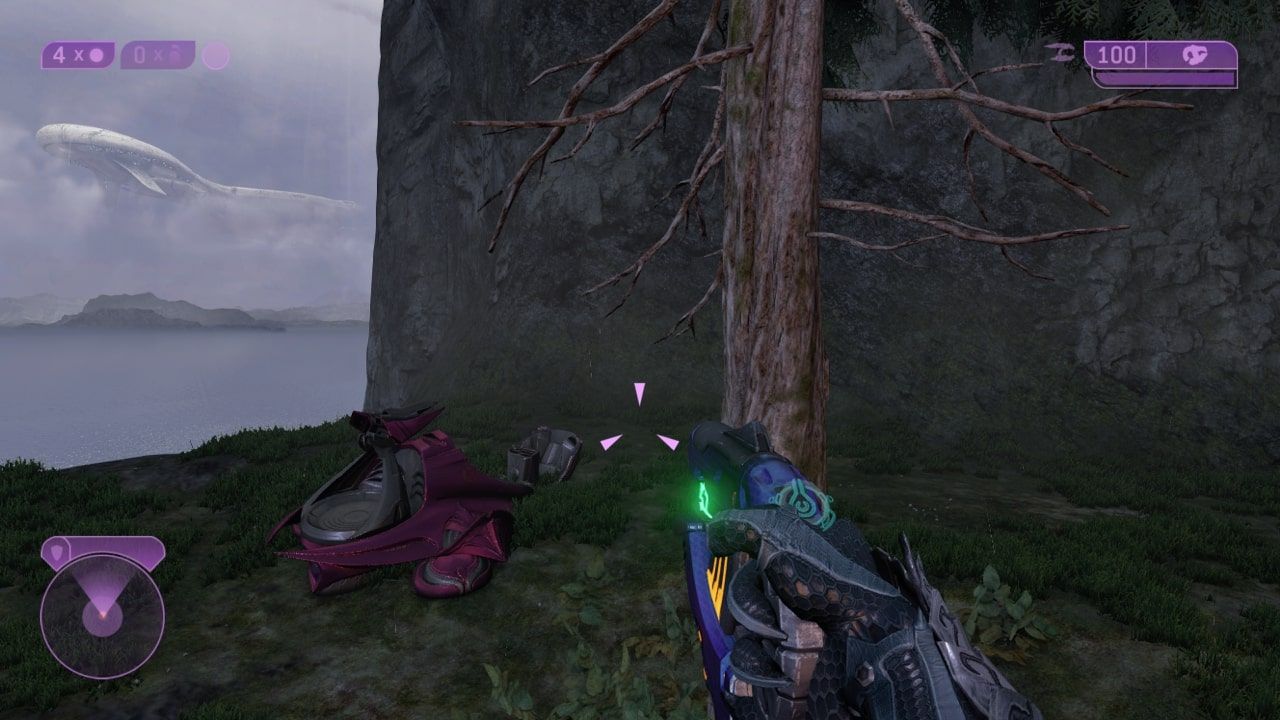
Drive to the very tip of this land mass to find the Master Chief doll. You will need to switch your graphics back to remastered graphics to see it. Walk over it to collect it and earn an achievement.
Regret
Prophet of Regret
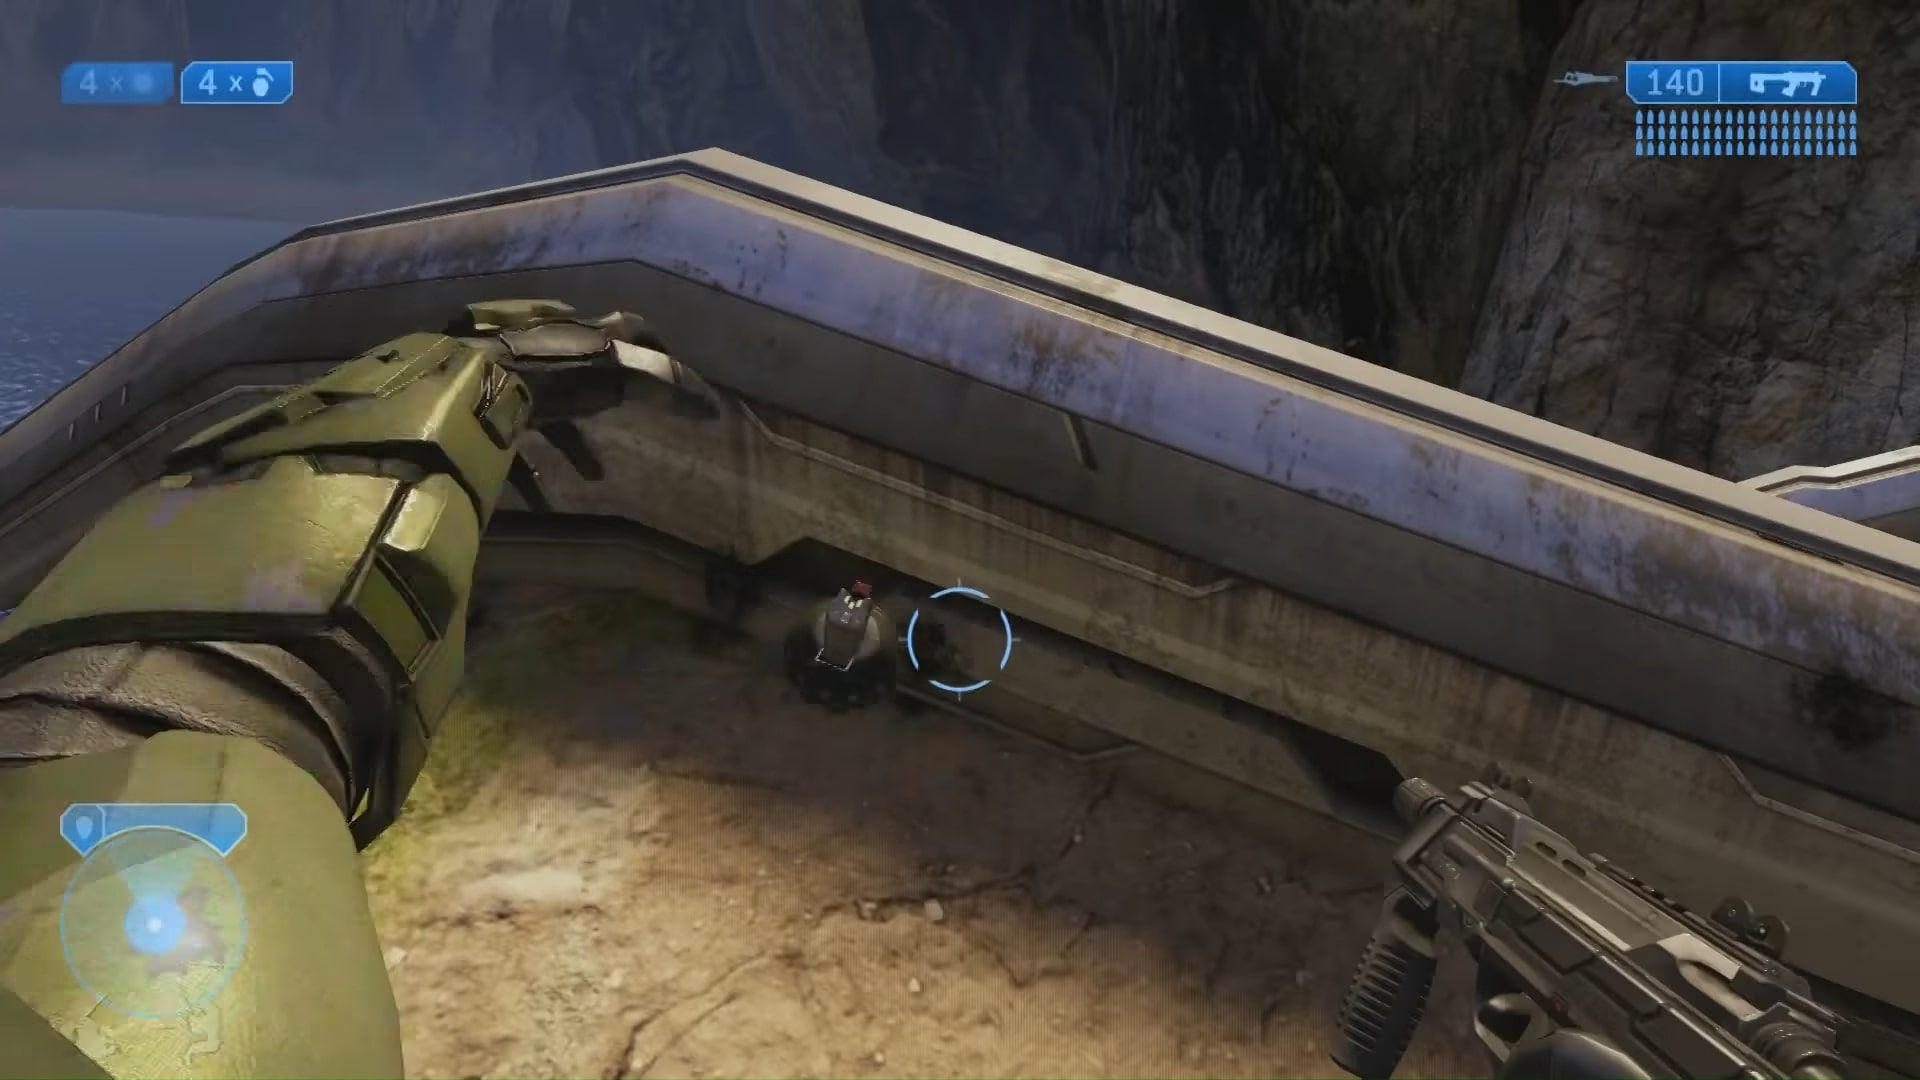
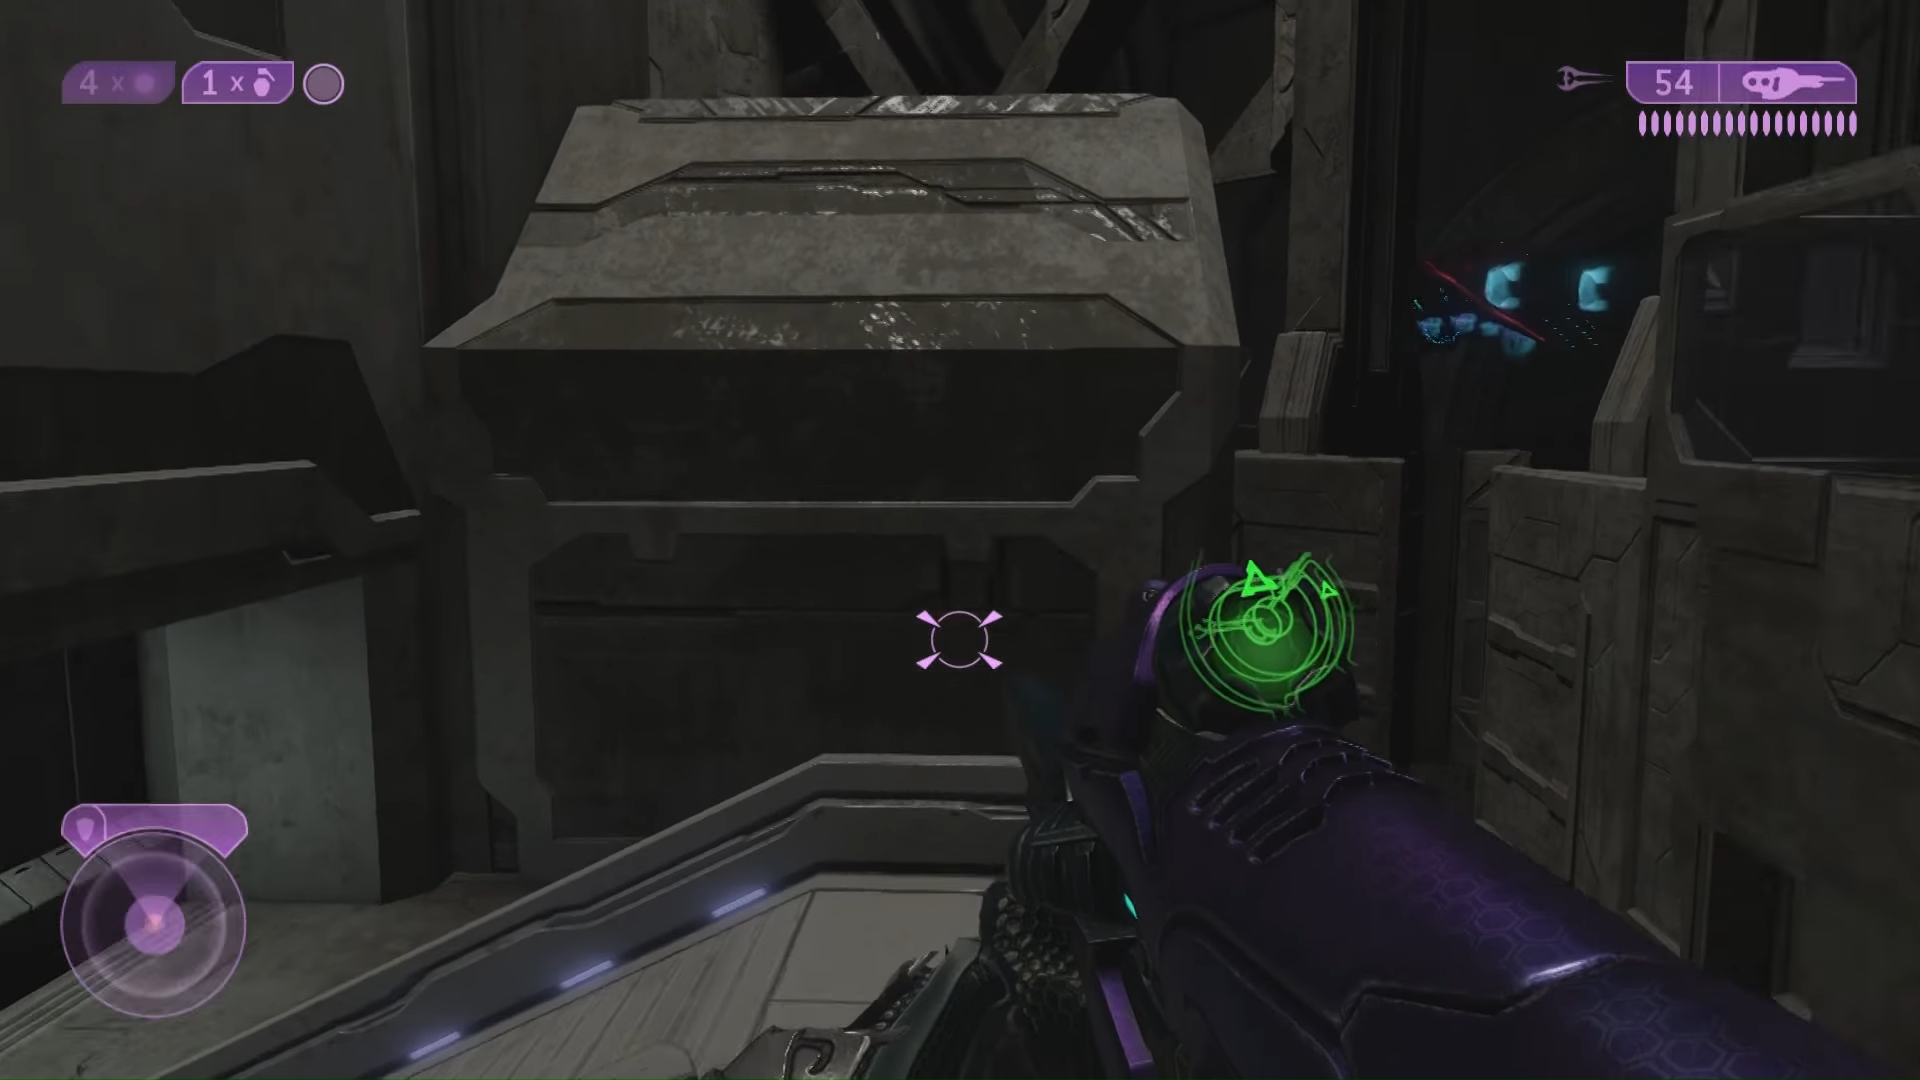
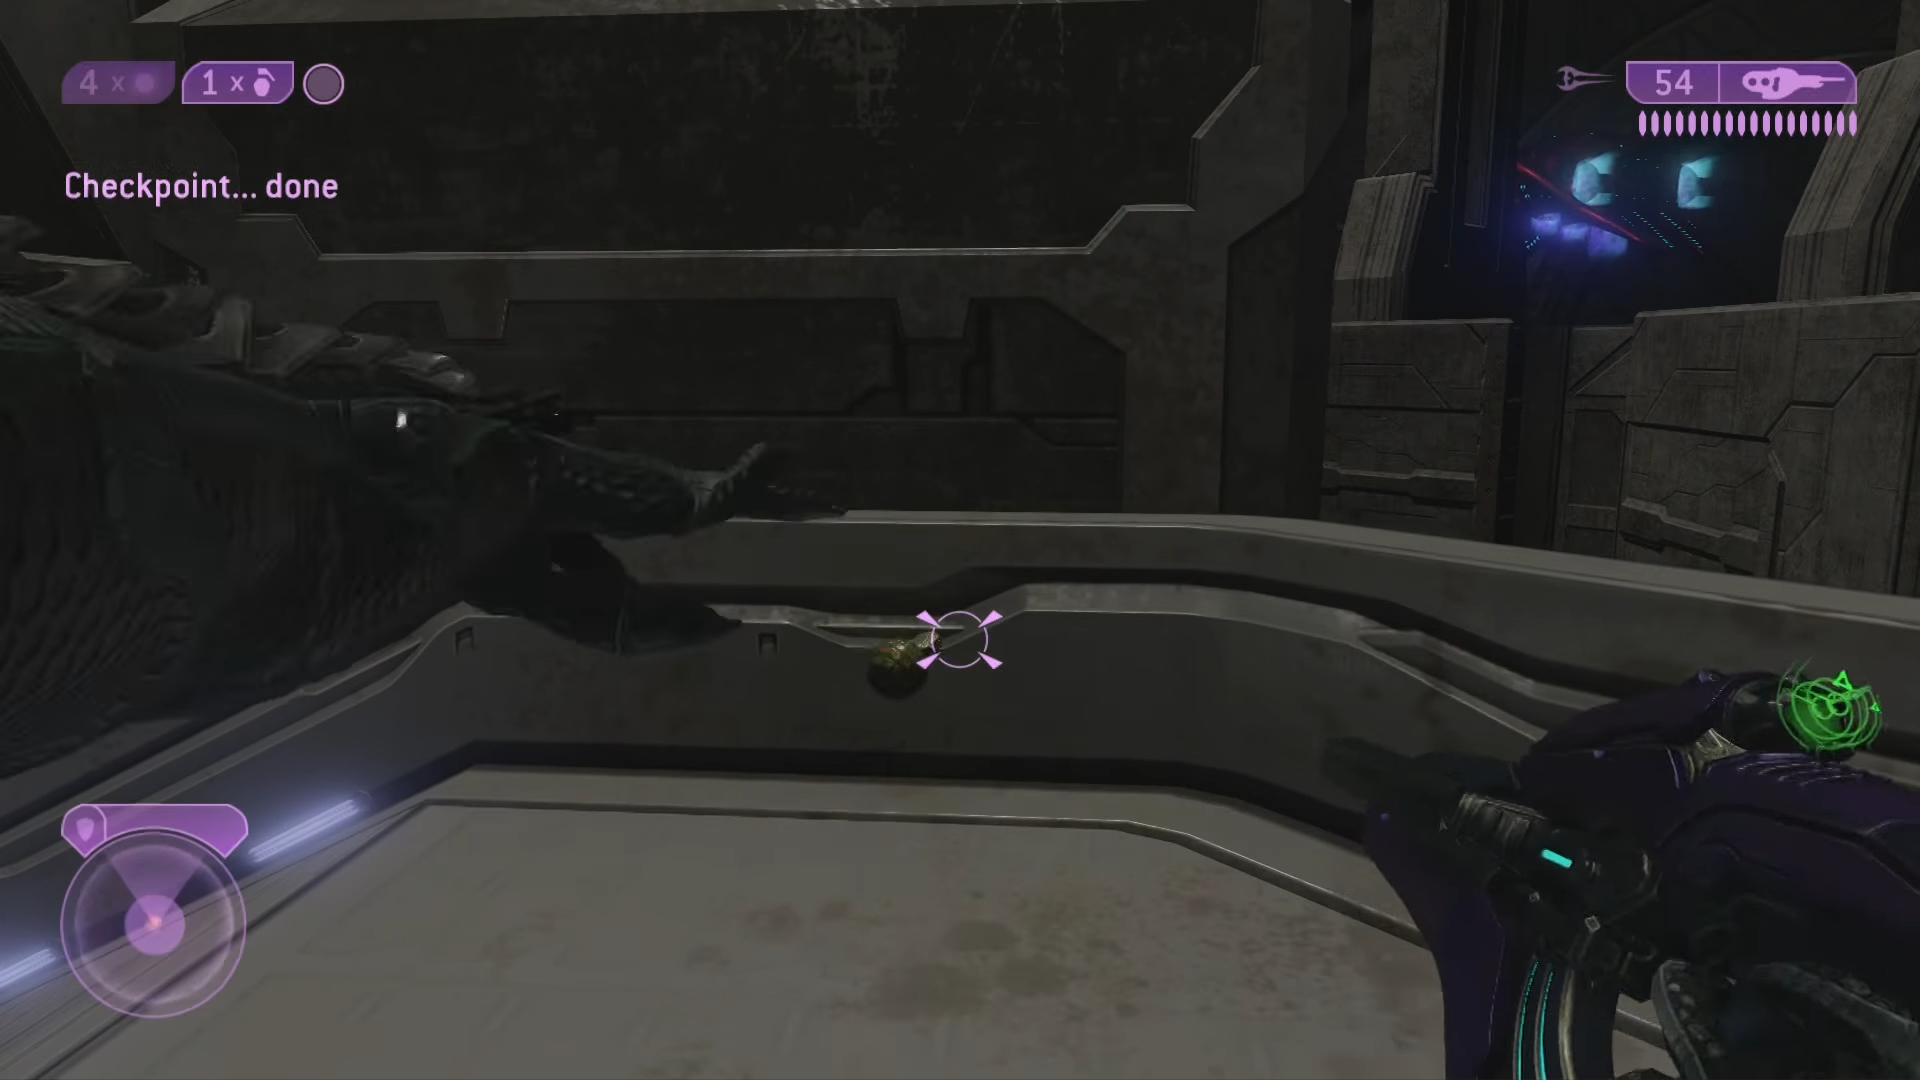
For the Prophet of Regret doll on Regret, you don't need the Sputnik skull, but it will definitely help, so activate it in the level select menu before loading up the mission. As soon as you exit the opening building, take a right and you should see the remains of a bridge in front of you. Drop a frag grenade against the ledge, then jump towards the other side of the bridge. The Sputnik skull should help propel you across to the other side.
Once your shield recharges, you're going to need to do another grenade jump up to the ledge above you. Drop a grenade against the right side and hop up to the ledge above you.
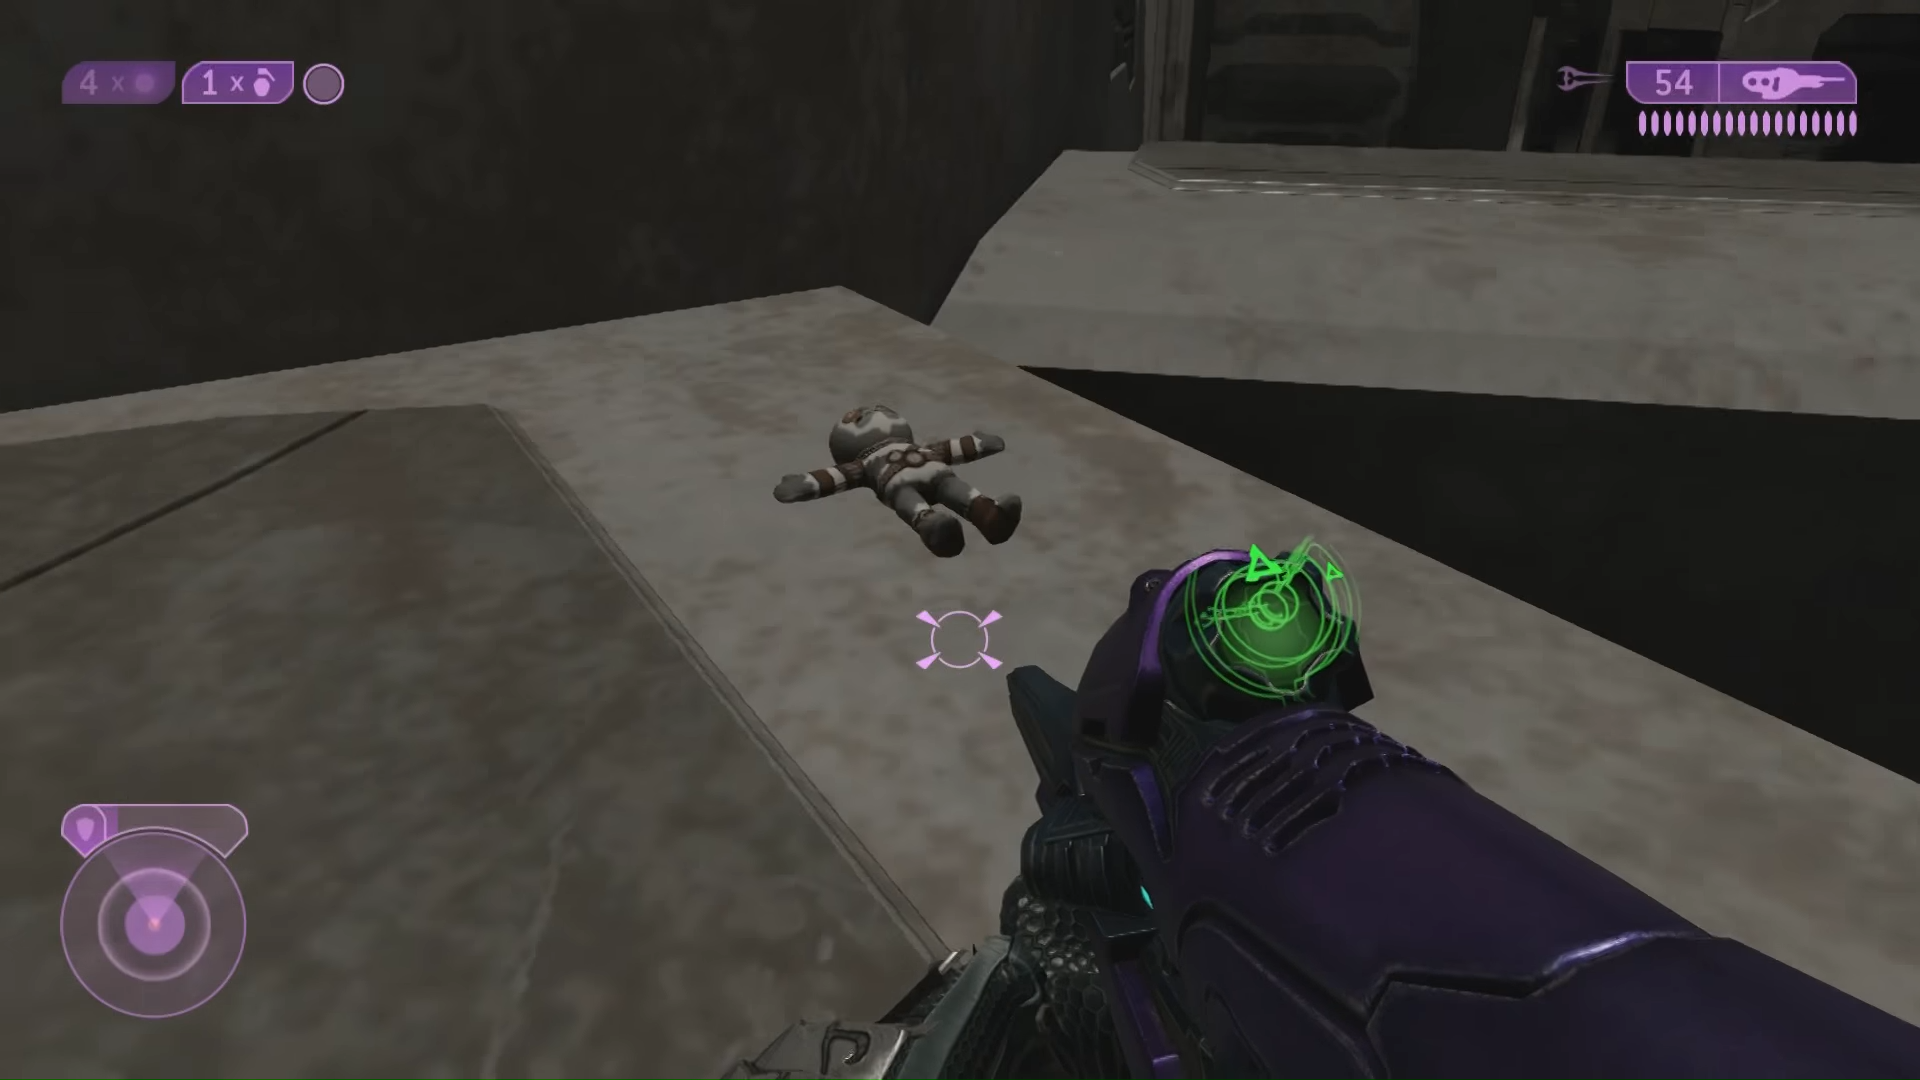
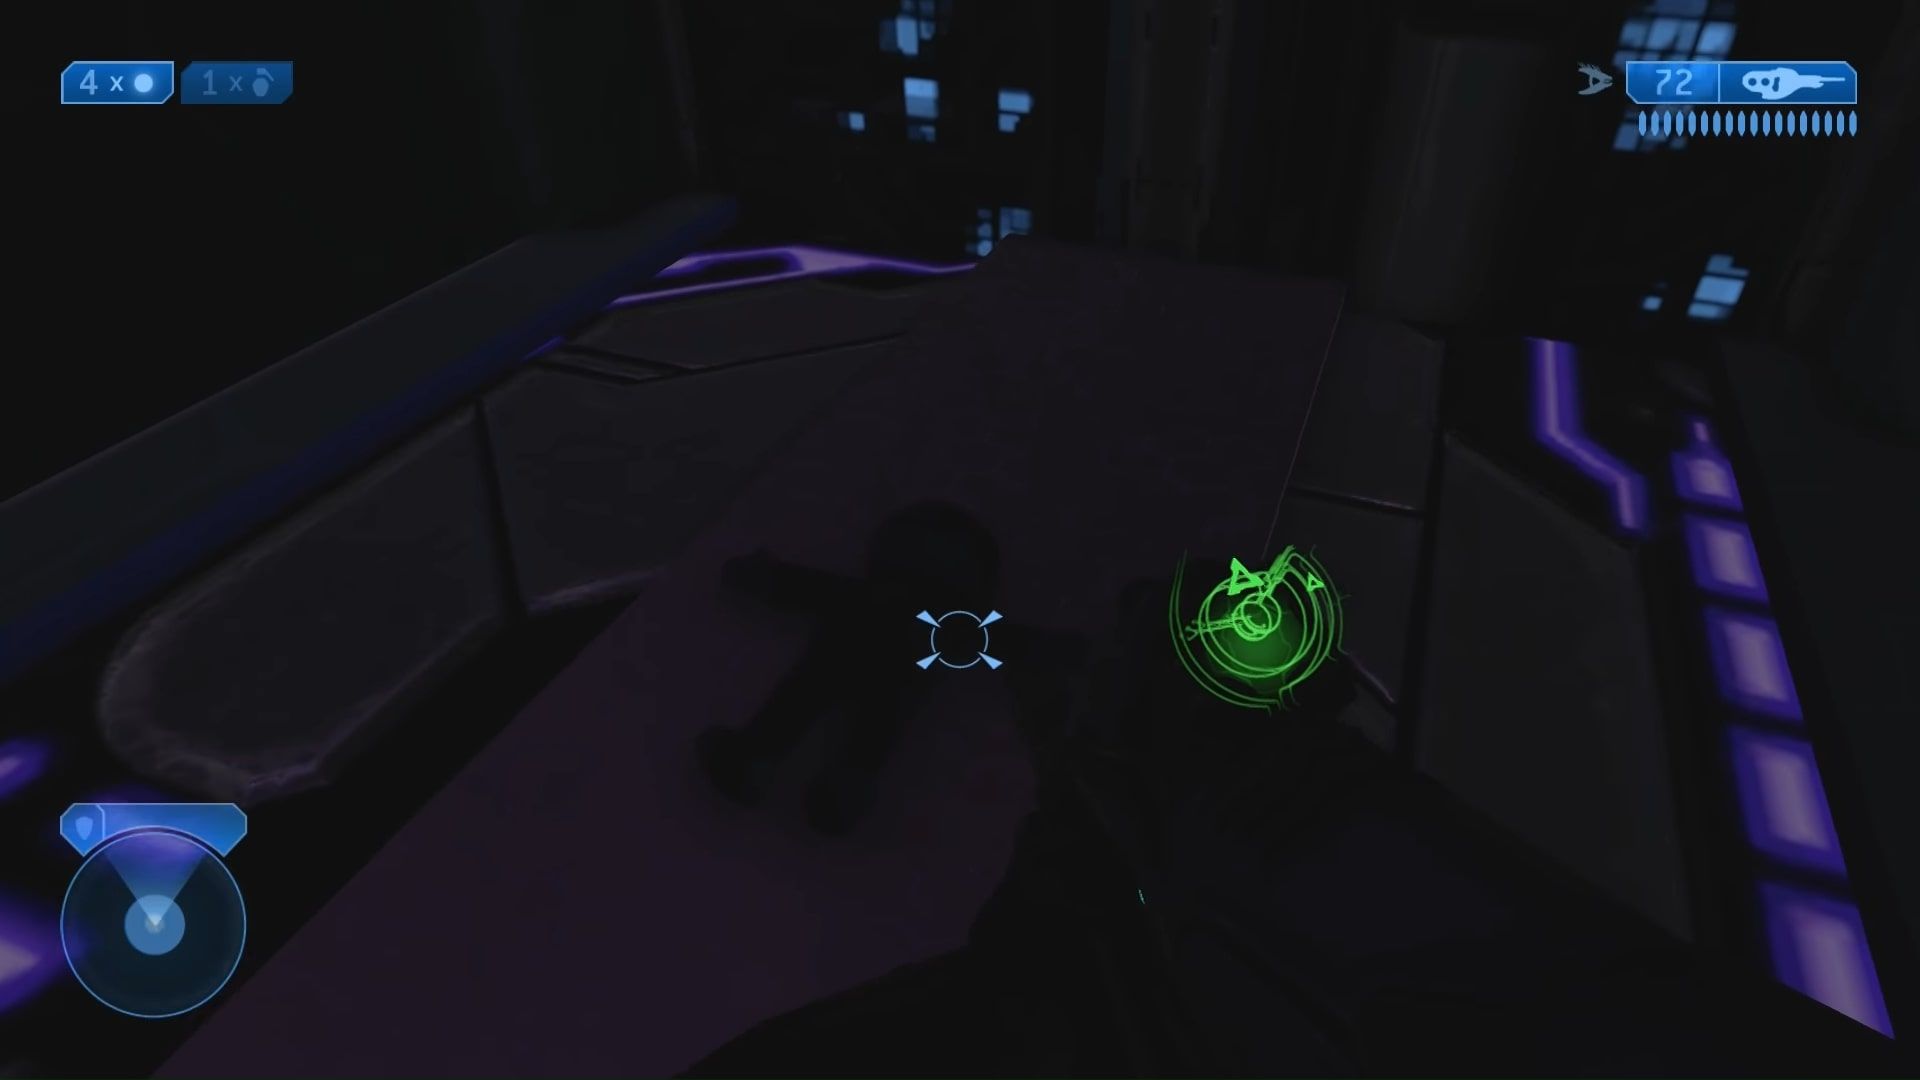
Walk counterclockwise around the ledge to find the Prophet of Regret toy hidden in the shadows.
Sacred Icon
Arbiter
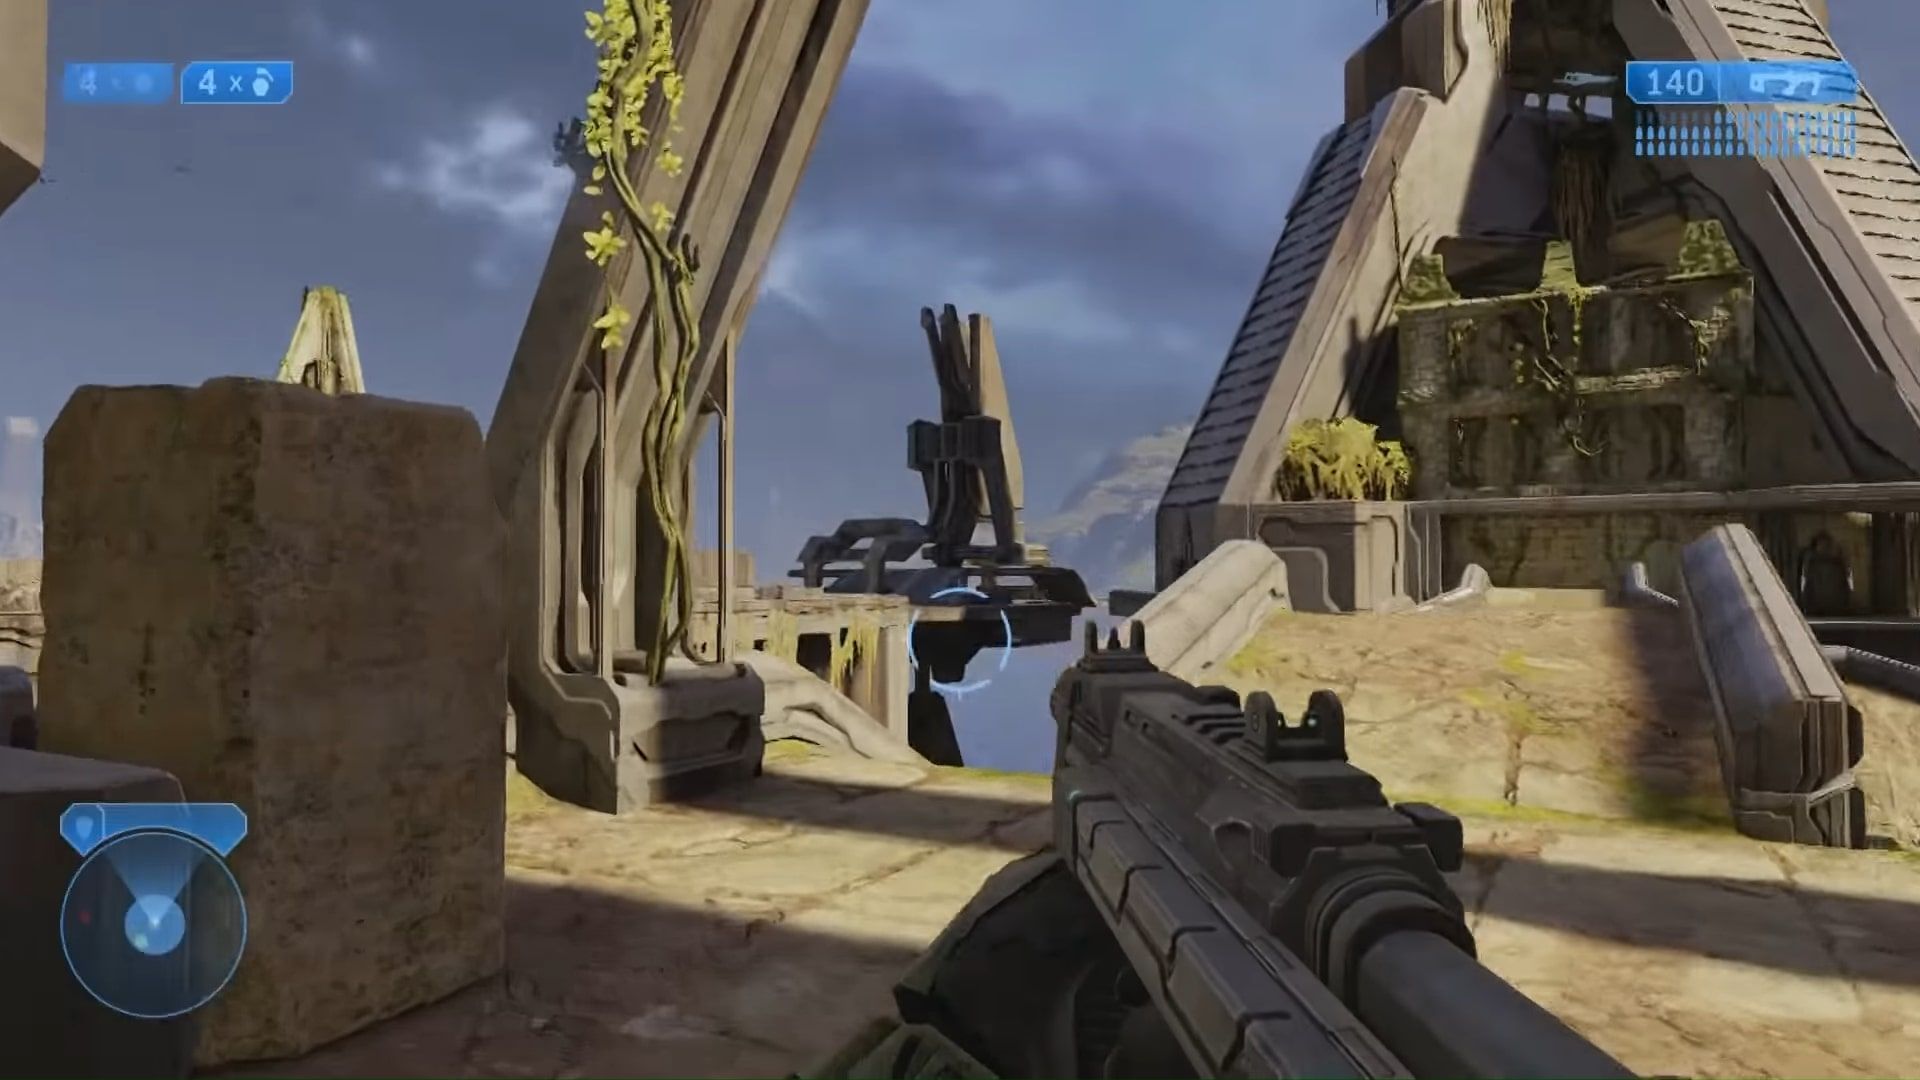
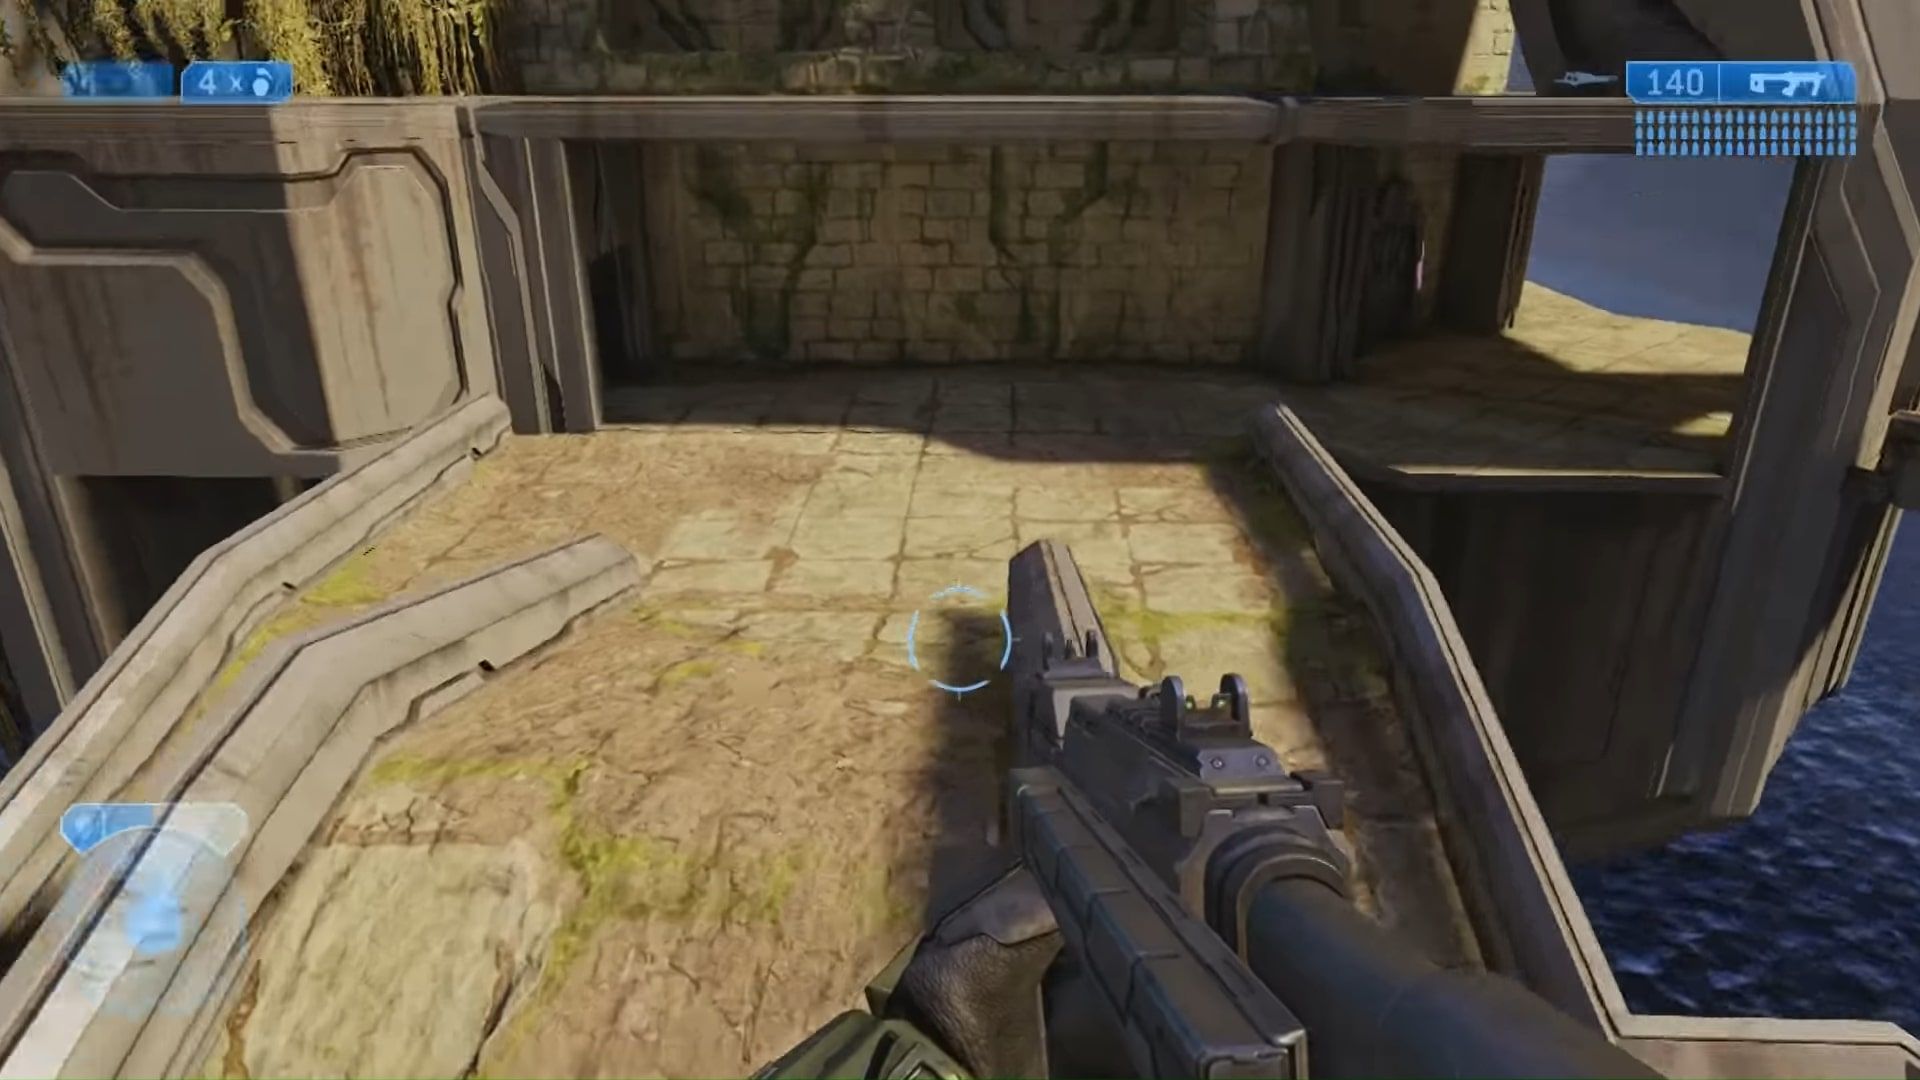
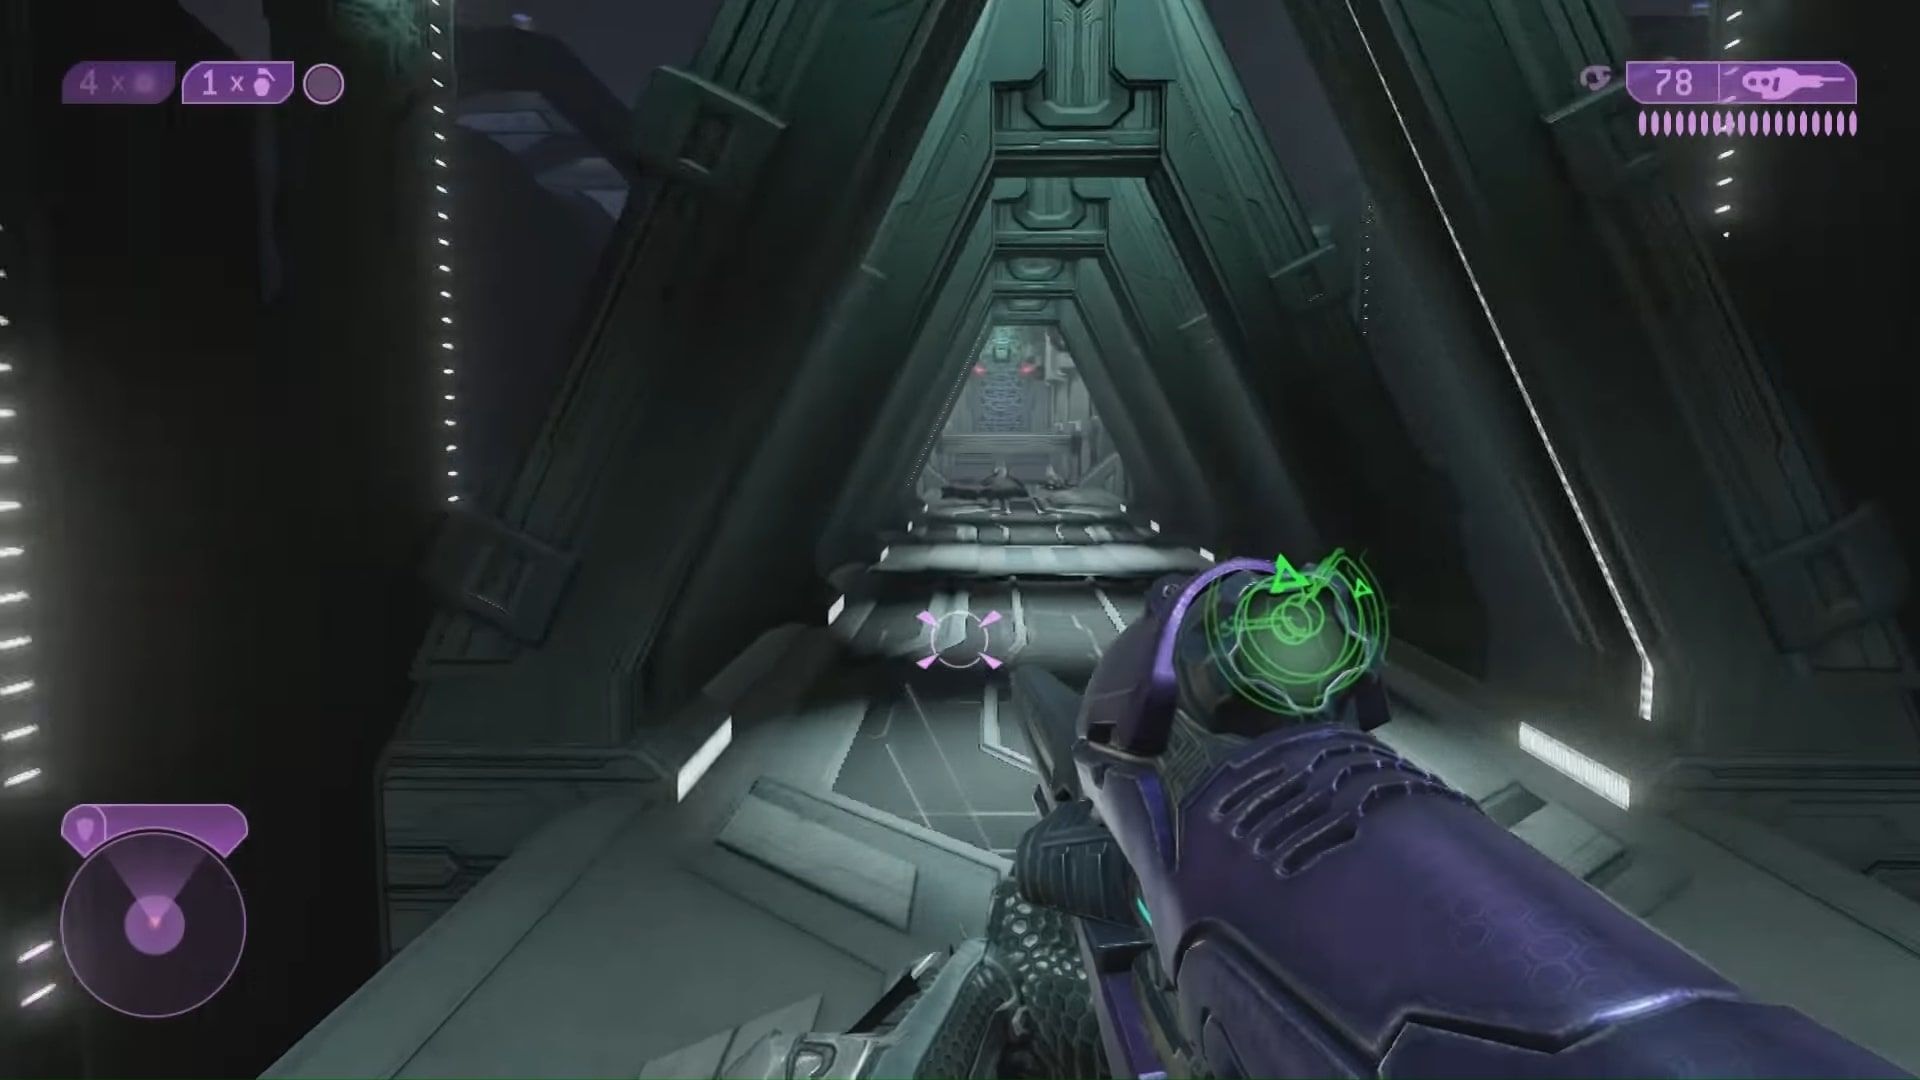
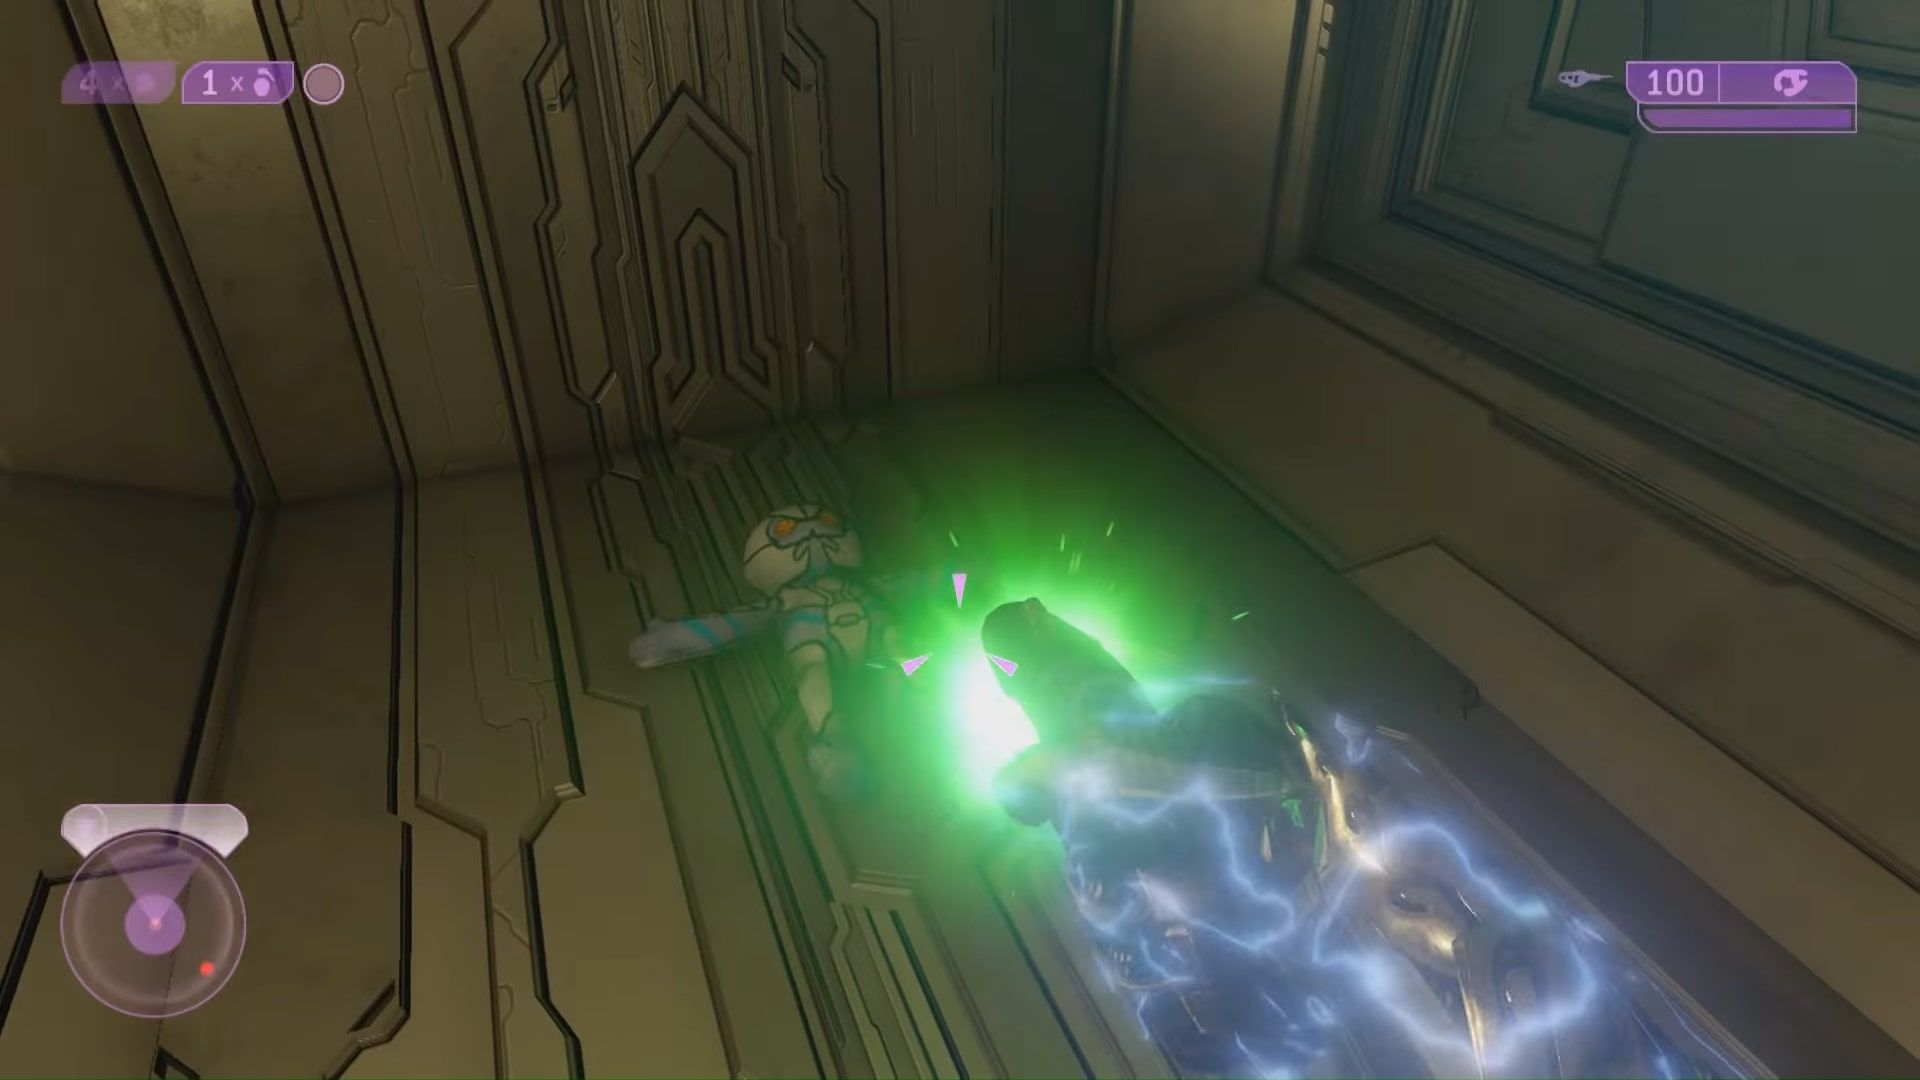
Sacred Icon features the Arbiter toy, and this one is also made easier with the Sputnik skull active. After crossing through the first triangular bridge pictured below, take an immediate left. You are going to want to do a grenade jump up to the walkway above you, on the wall.
Follow this walkway to the very end, and in the final alcove on your left, you will find the Arbiter toy chilling in the vent.
Quarantine Zone
Tartarus
The Tartarus toy can be found on Quarantine Zone, immediately following the excruciatingly long gondola ride at the end of the level. Much like the previous two missions, this is made much easier with the Sputnik skull. As soon as the gondola docks, exit via the ramp on the right, but only go halfway down the ramp.
You're going to want to do a grenade jump here, forward and up onto the wall directly in front of you. The Tartarus toy will be waiting right here for you.
Gravemind
Cortana
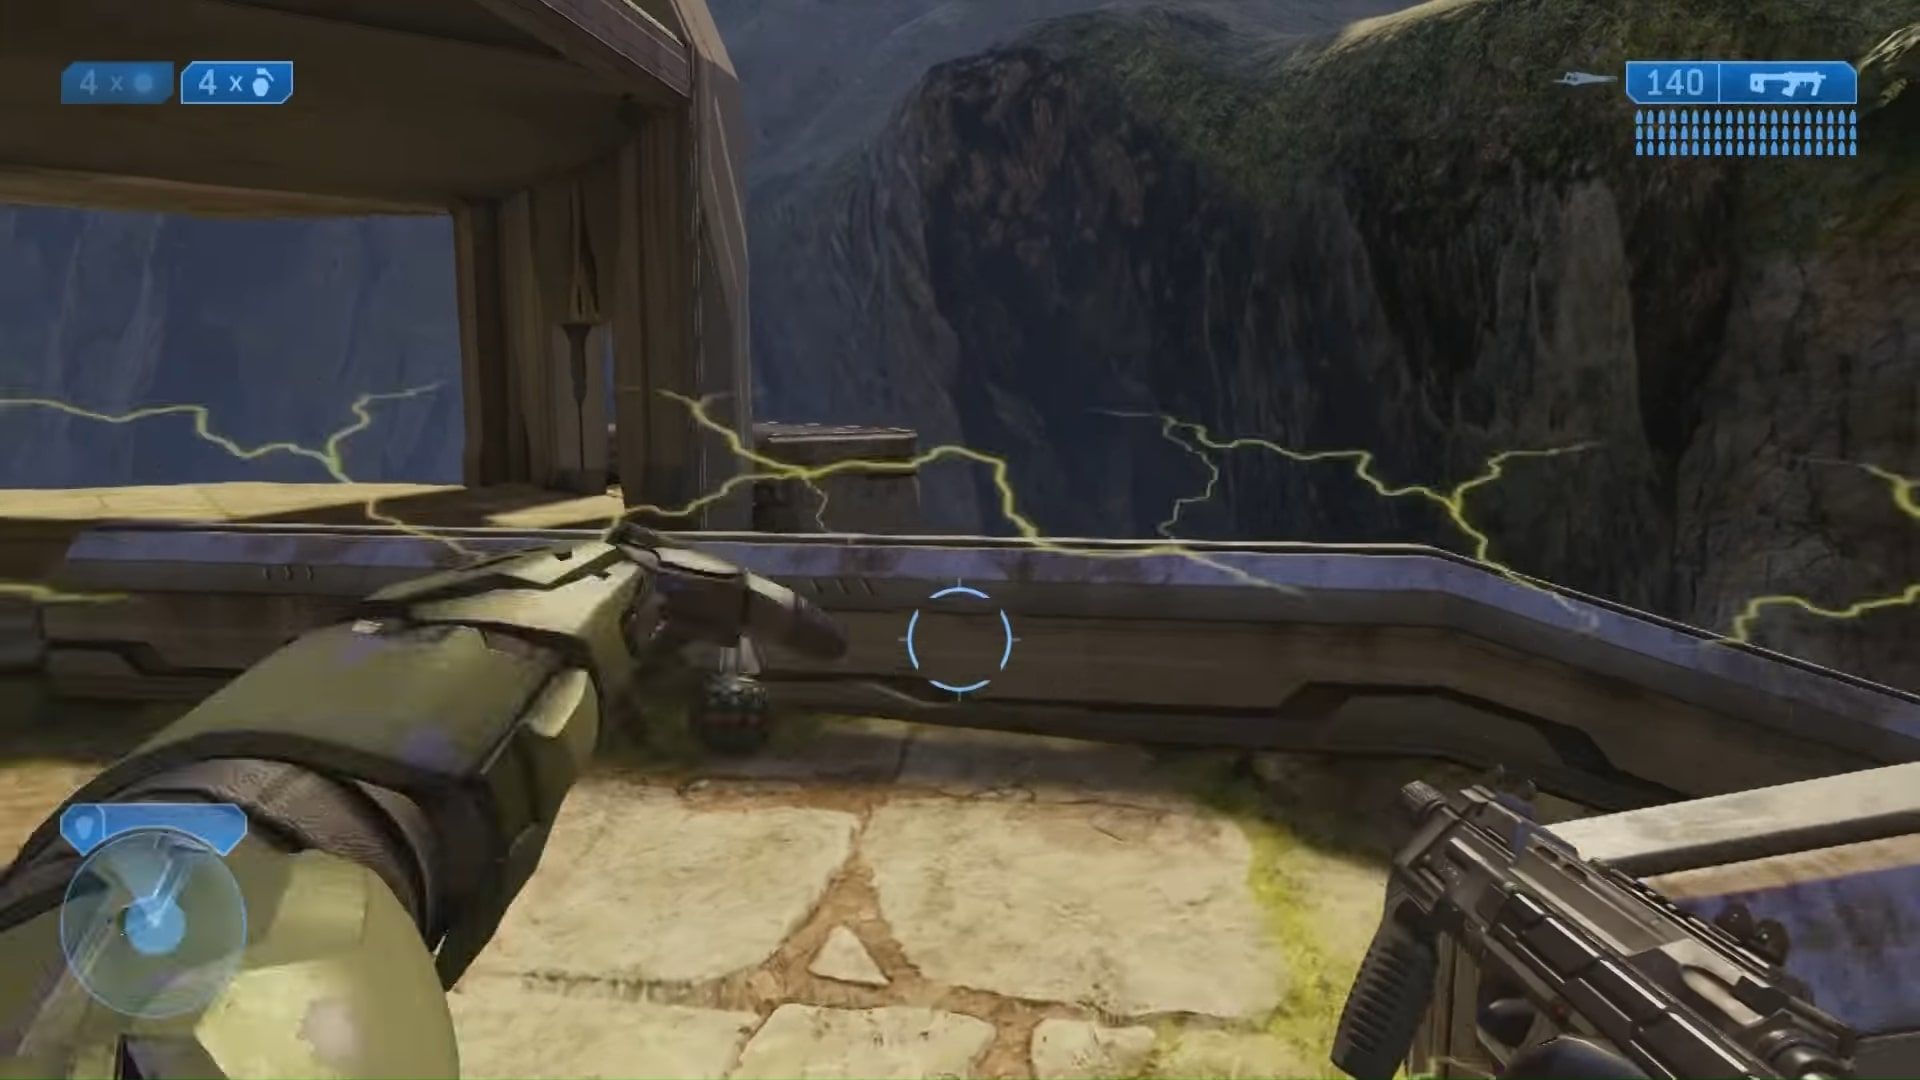
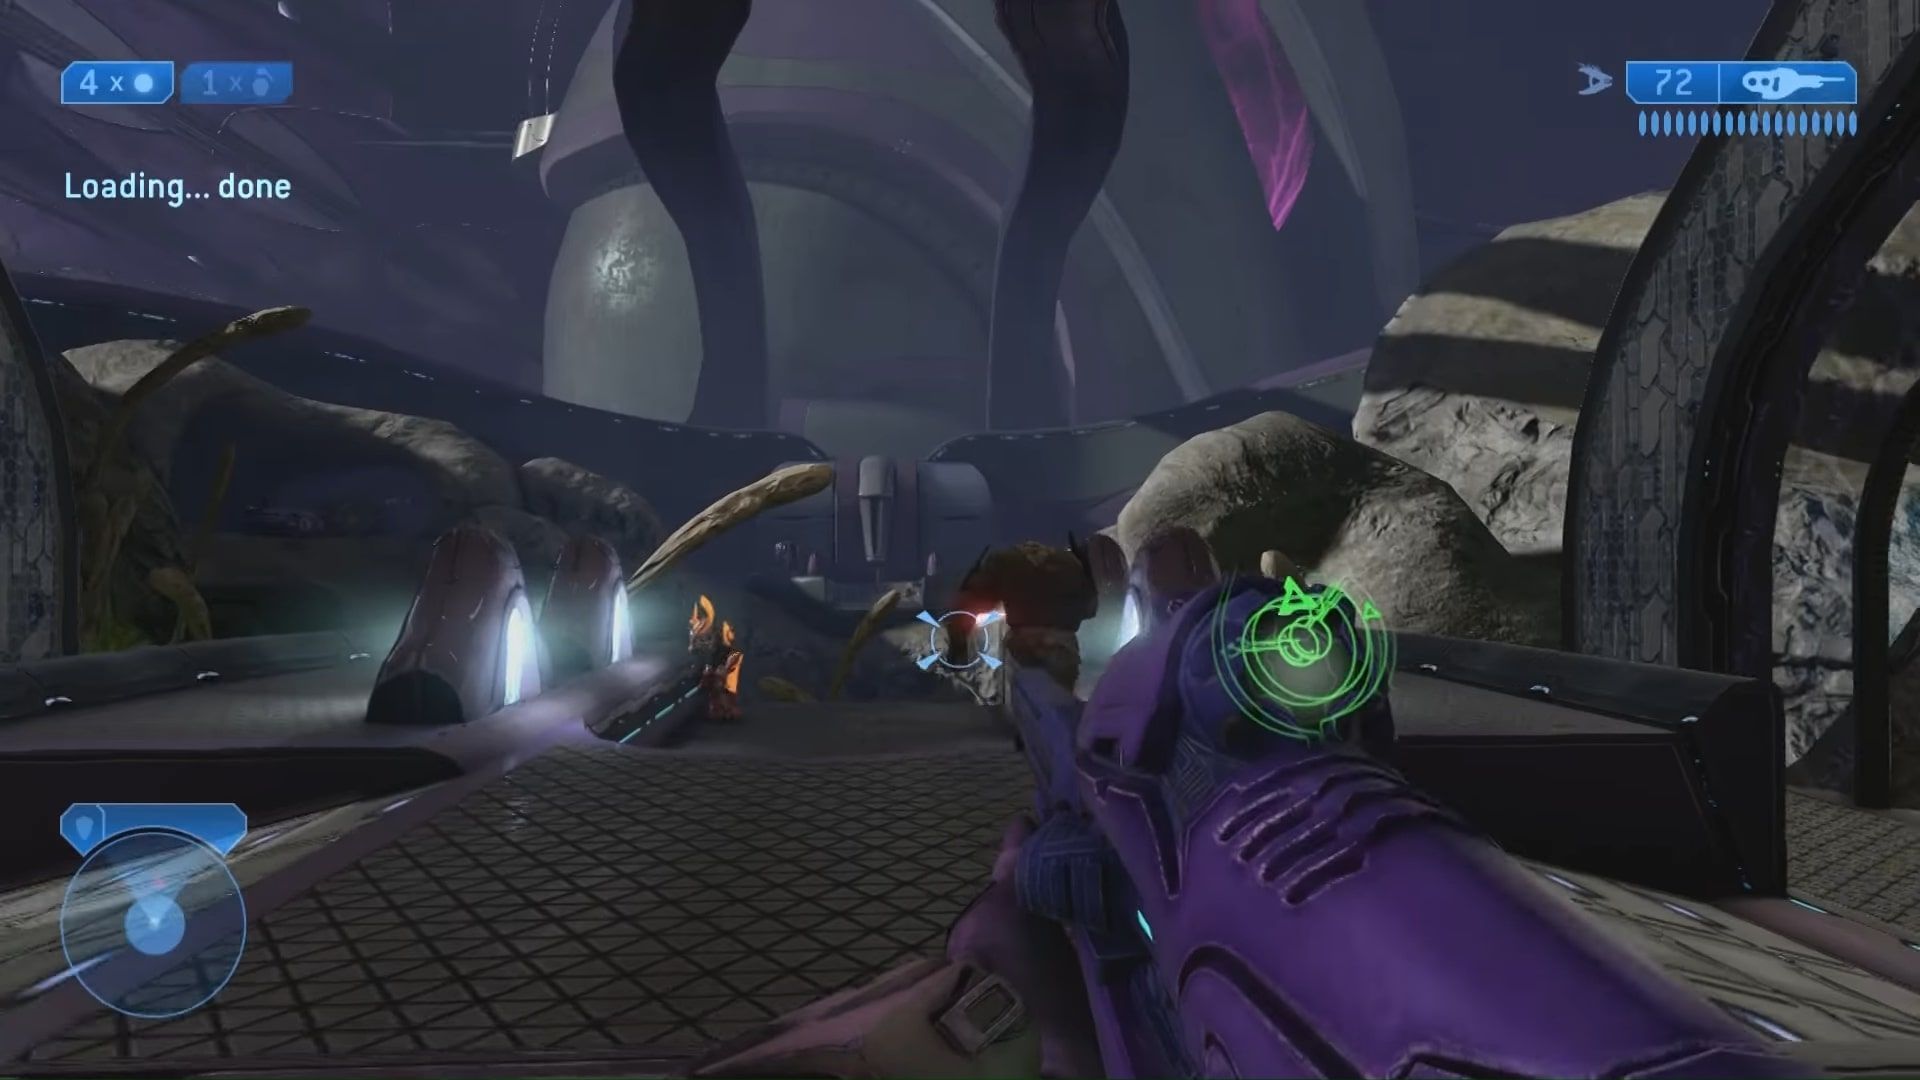
The Cortana toy on Gravemind can be found literally feet away from the where the Anger skull is found, in the canyon area pictured below.
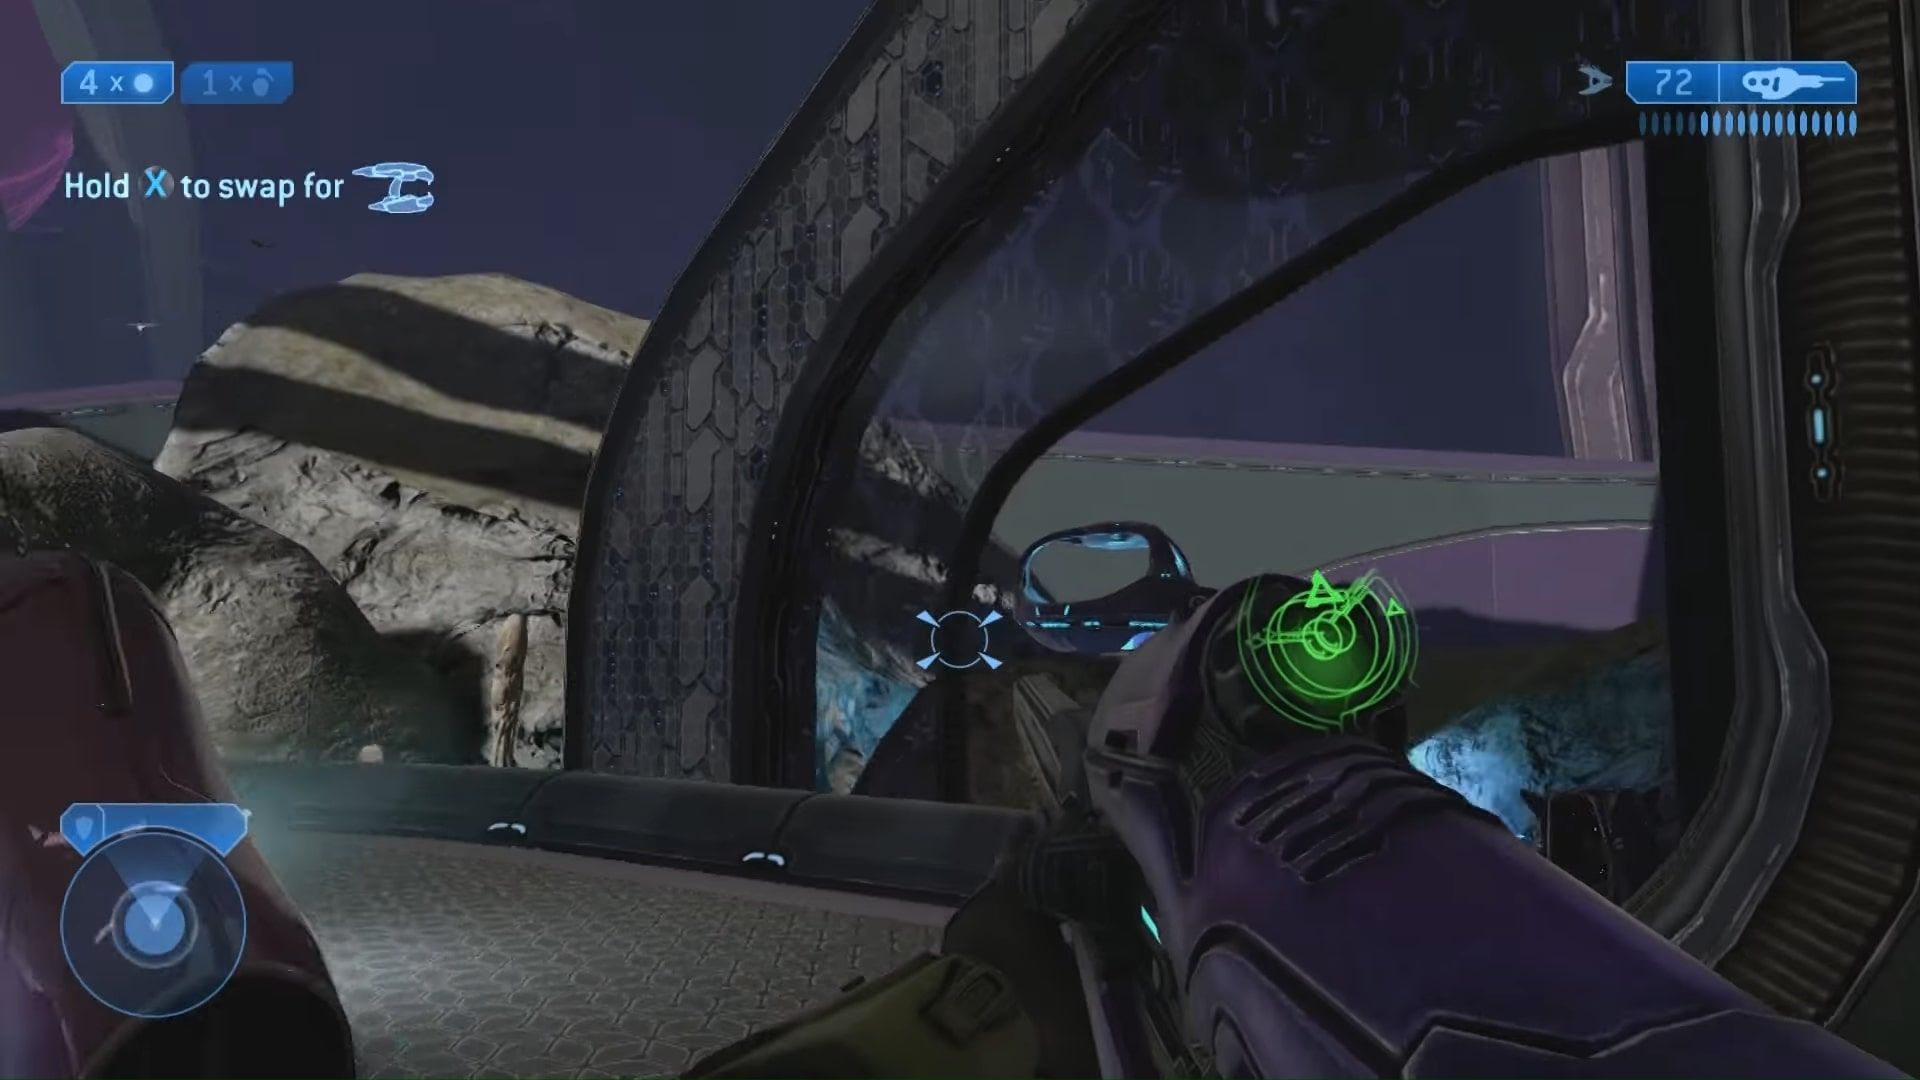
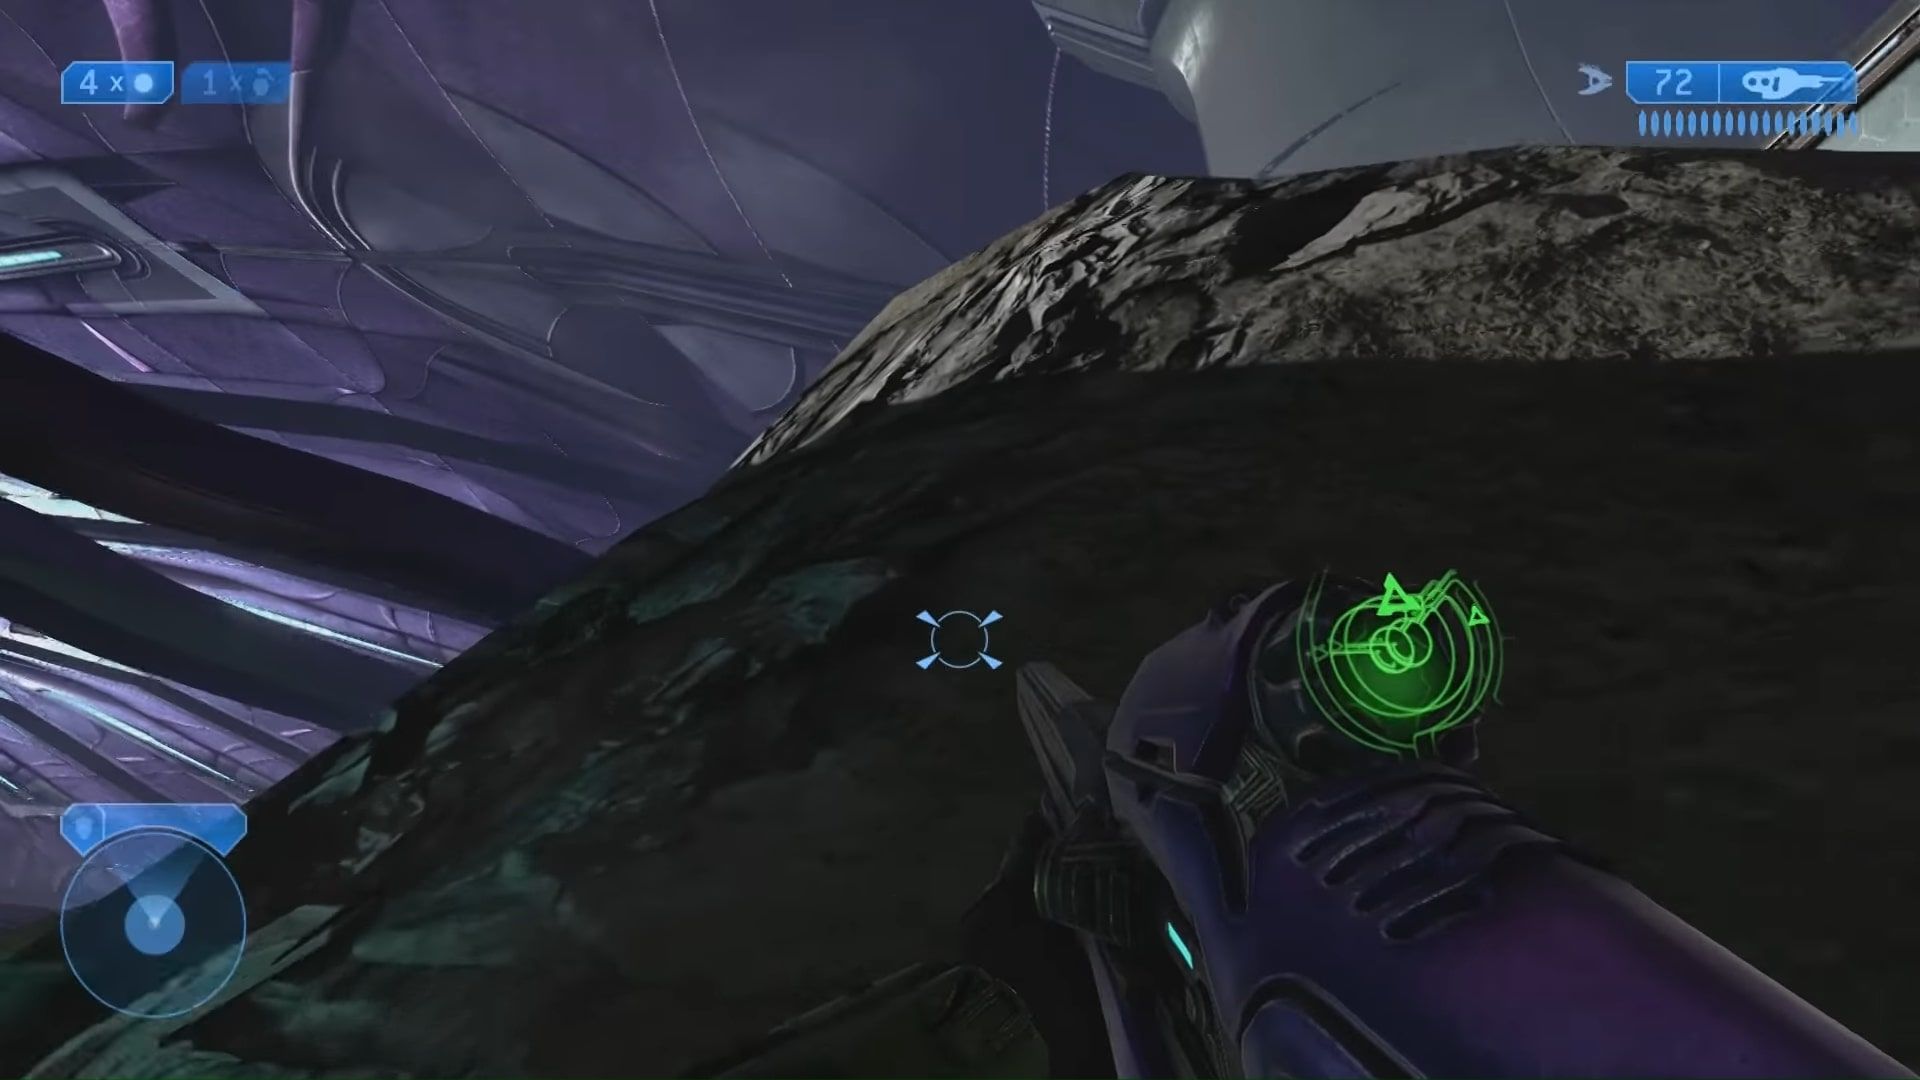
From here, take a right and head towards the very large rock that extends up over the purple walls surrounding the canyon. It can be seen on the opposite side of the glass in the picture below, to the left of the sniper nest.
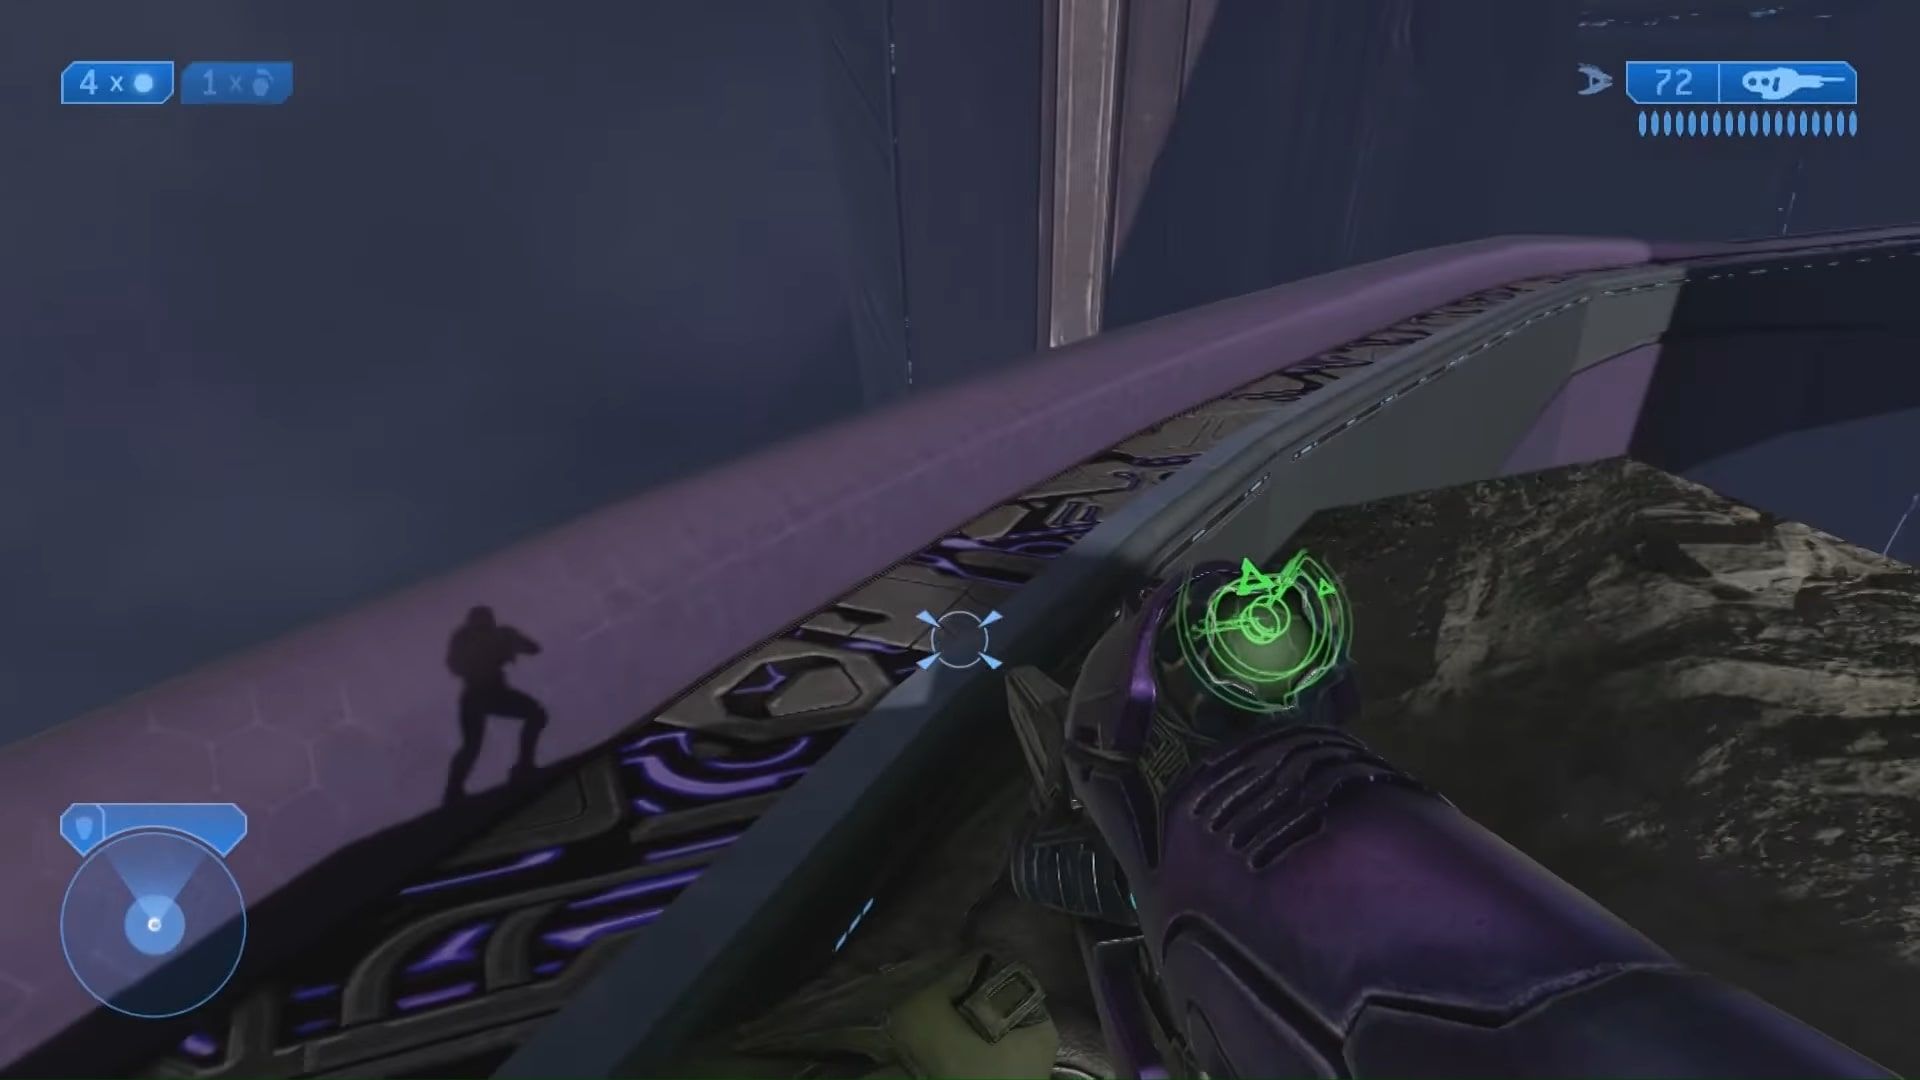
From the top of the rock, hop down onto the purple walkway and head all the way to the right. At the very end, you will find the Cortana toy directly beneath the Anger skull.
Uprising
Librarian
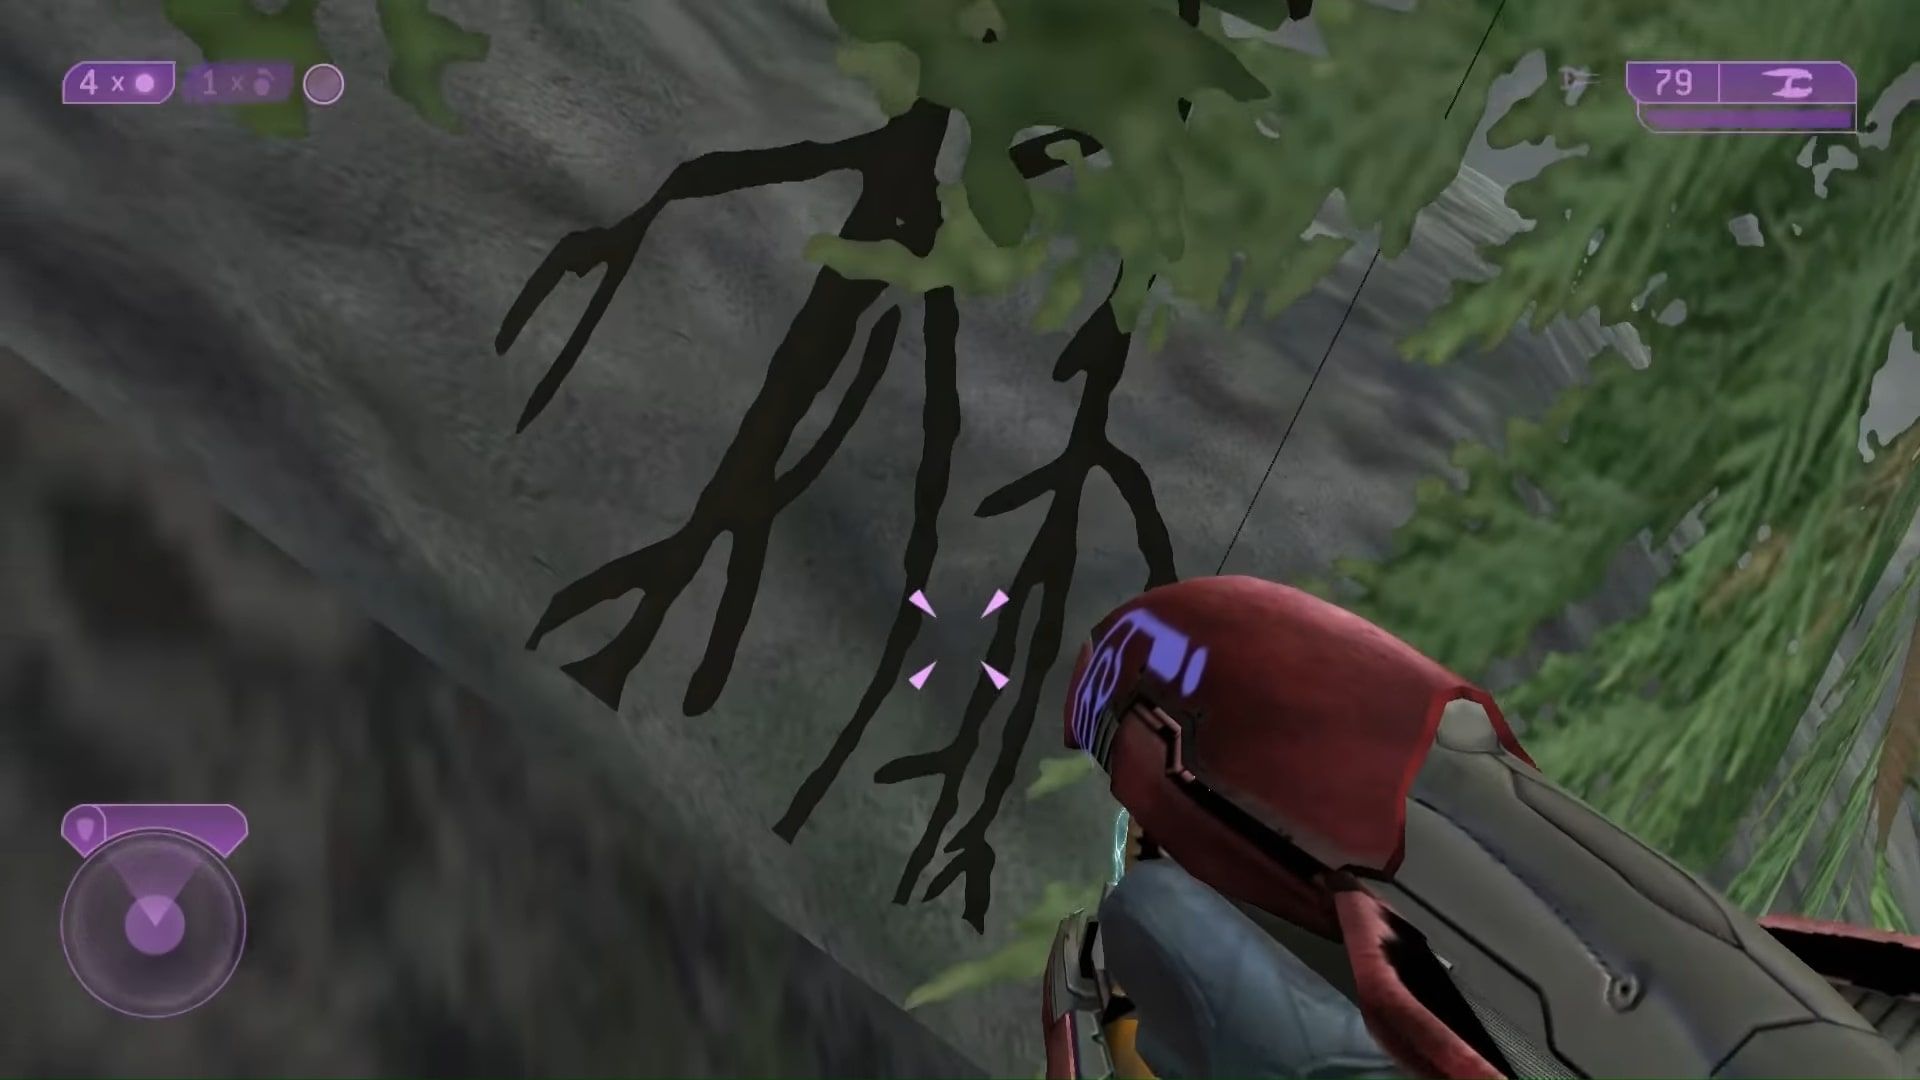
The Librarian toy is one of the more involved toys to collect. It is another doll that is made easier to obtain via the use of classic graphics, as you'll be climbing out of bounds. Load up the mission Uprising and play through to the area immediately after you exit the structure.
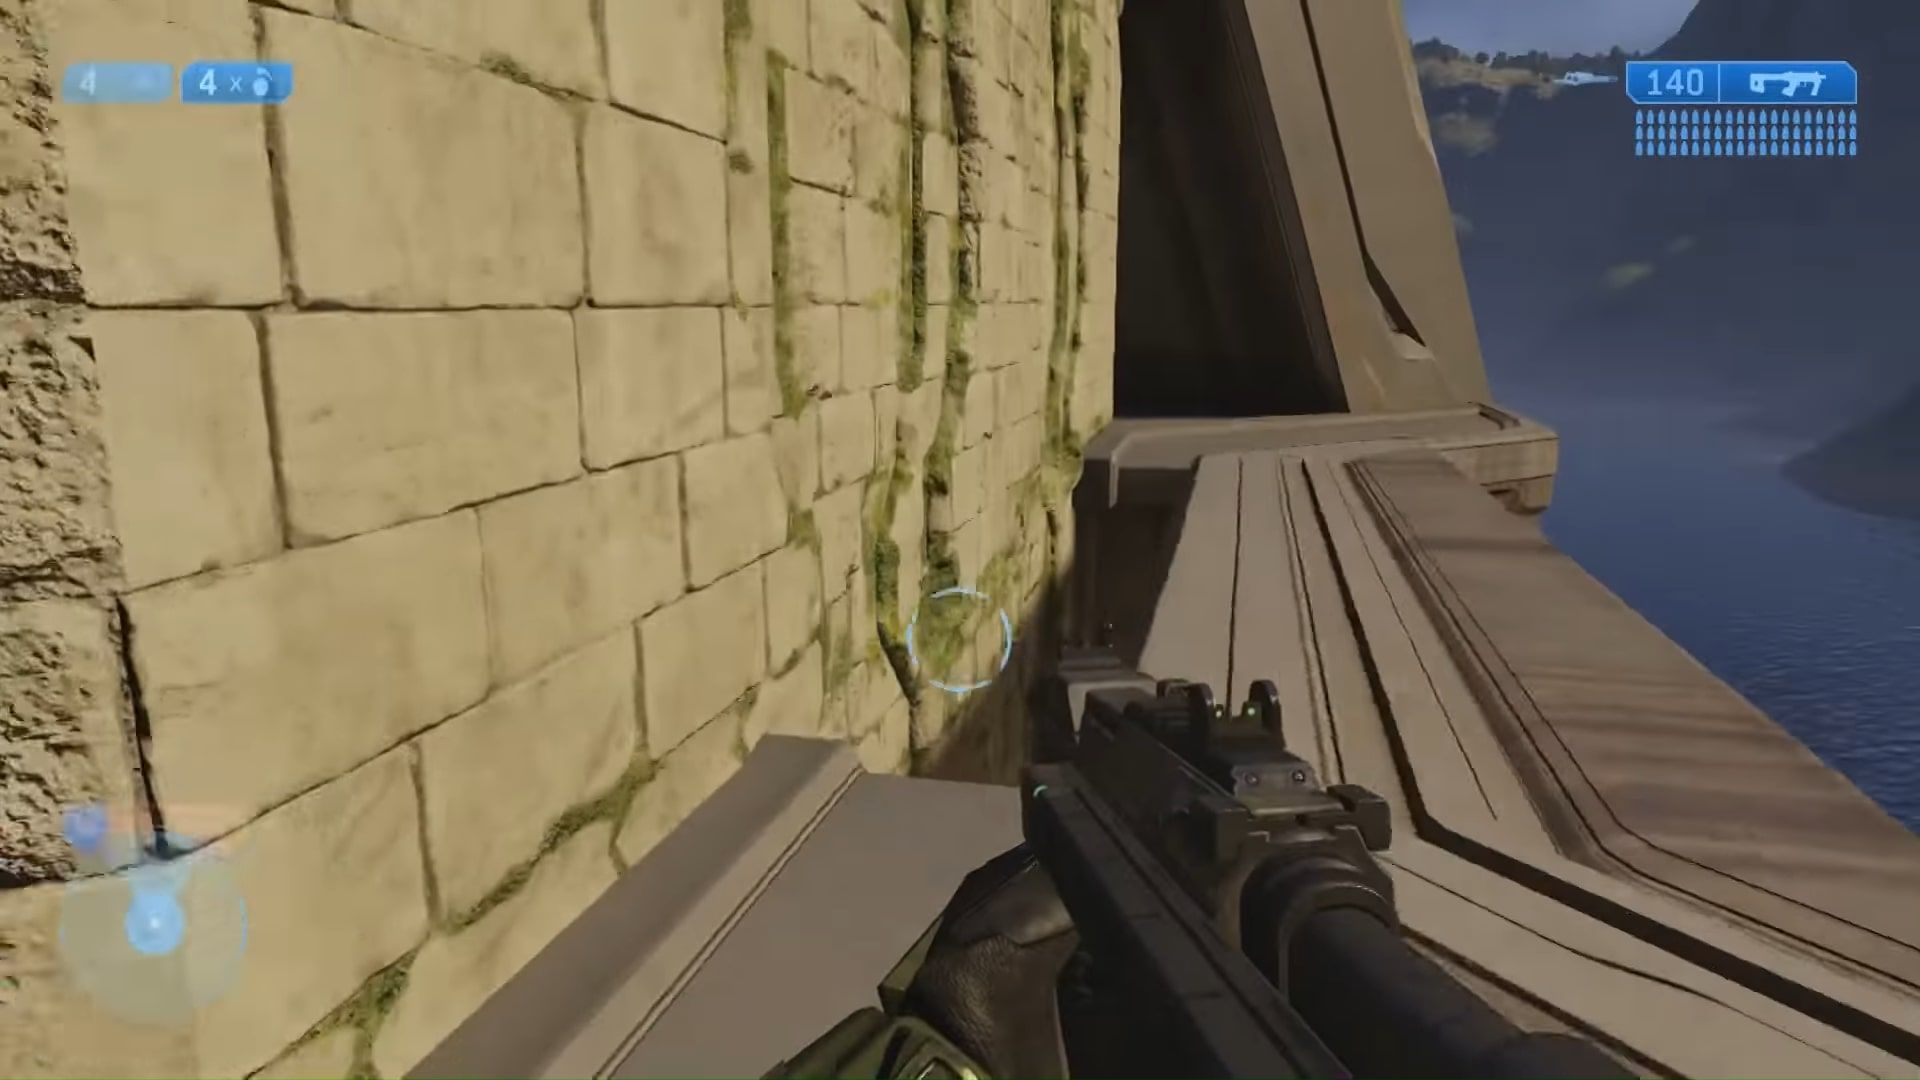
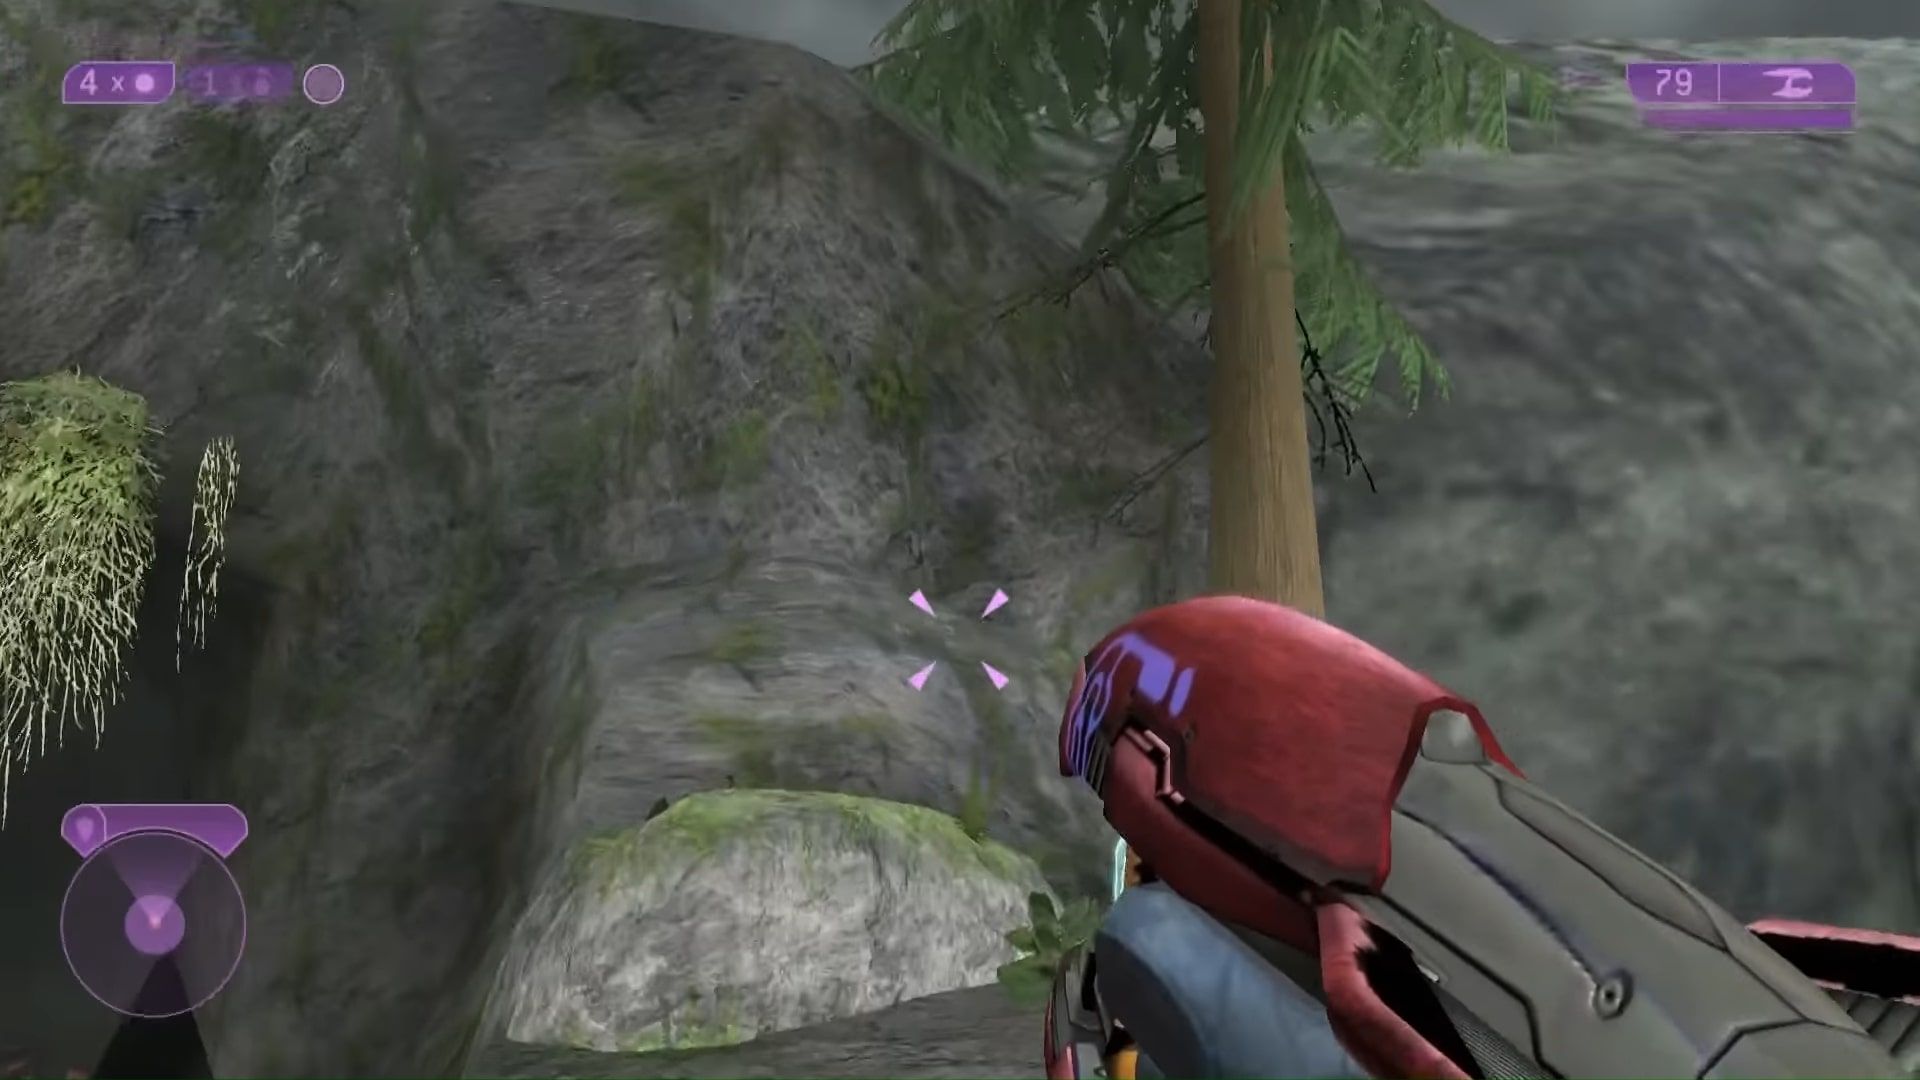
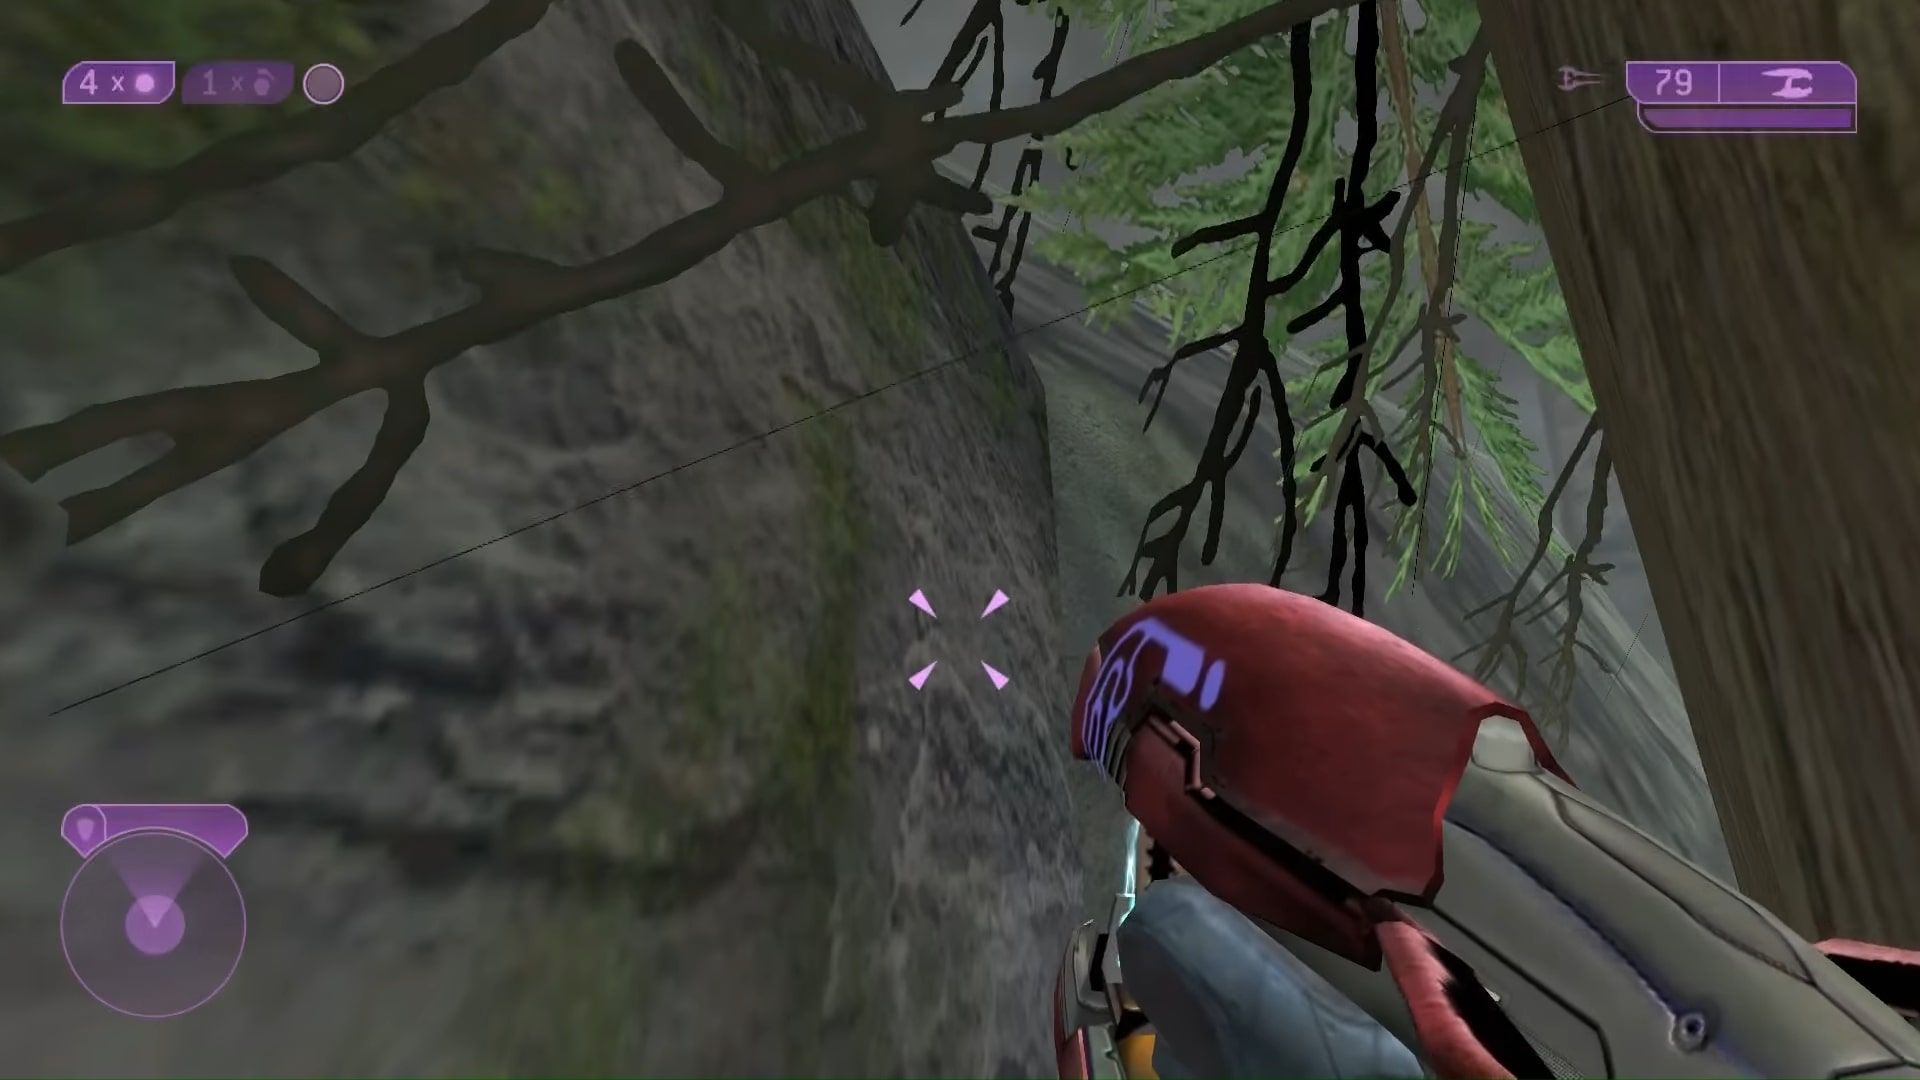
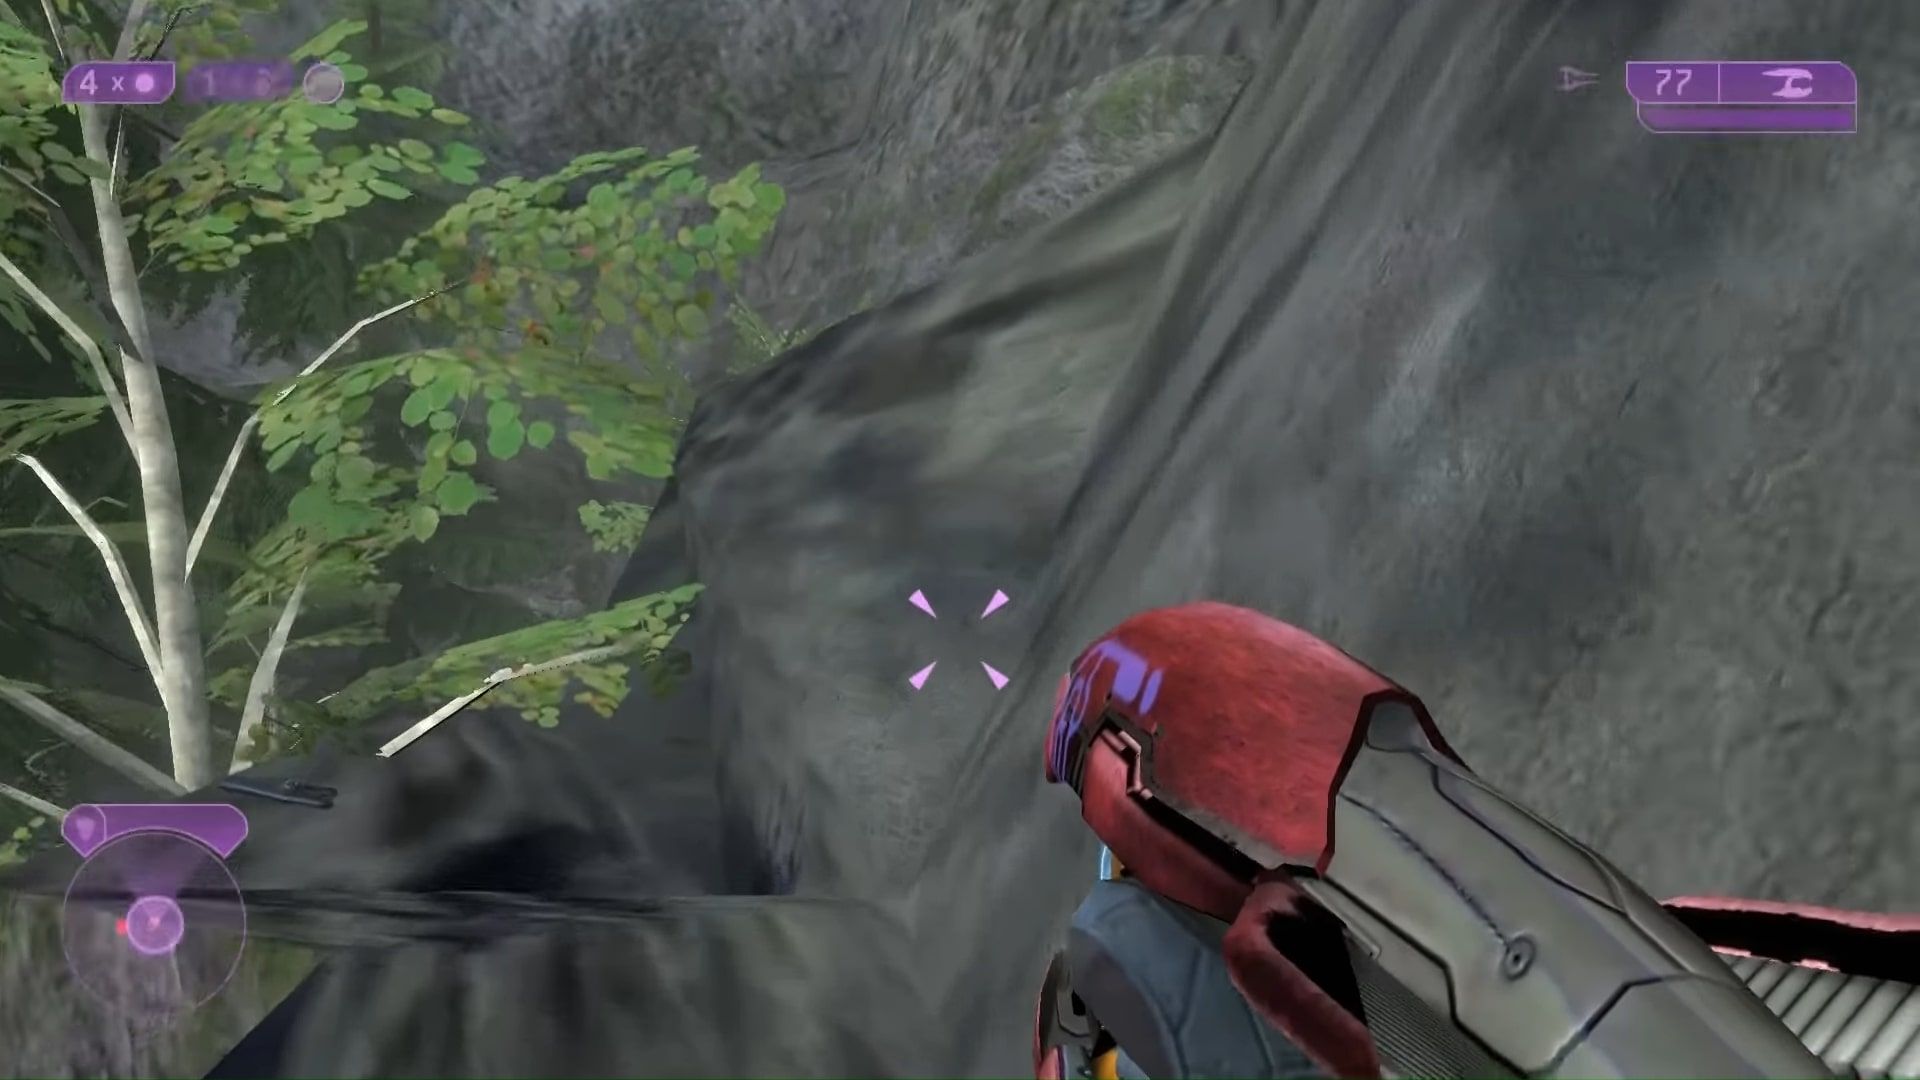
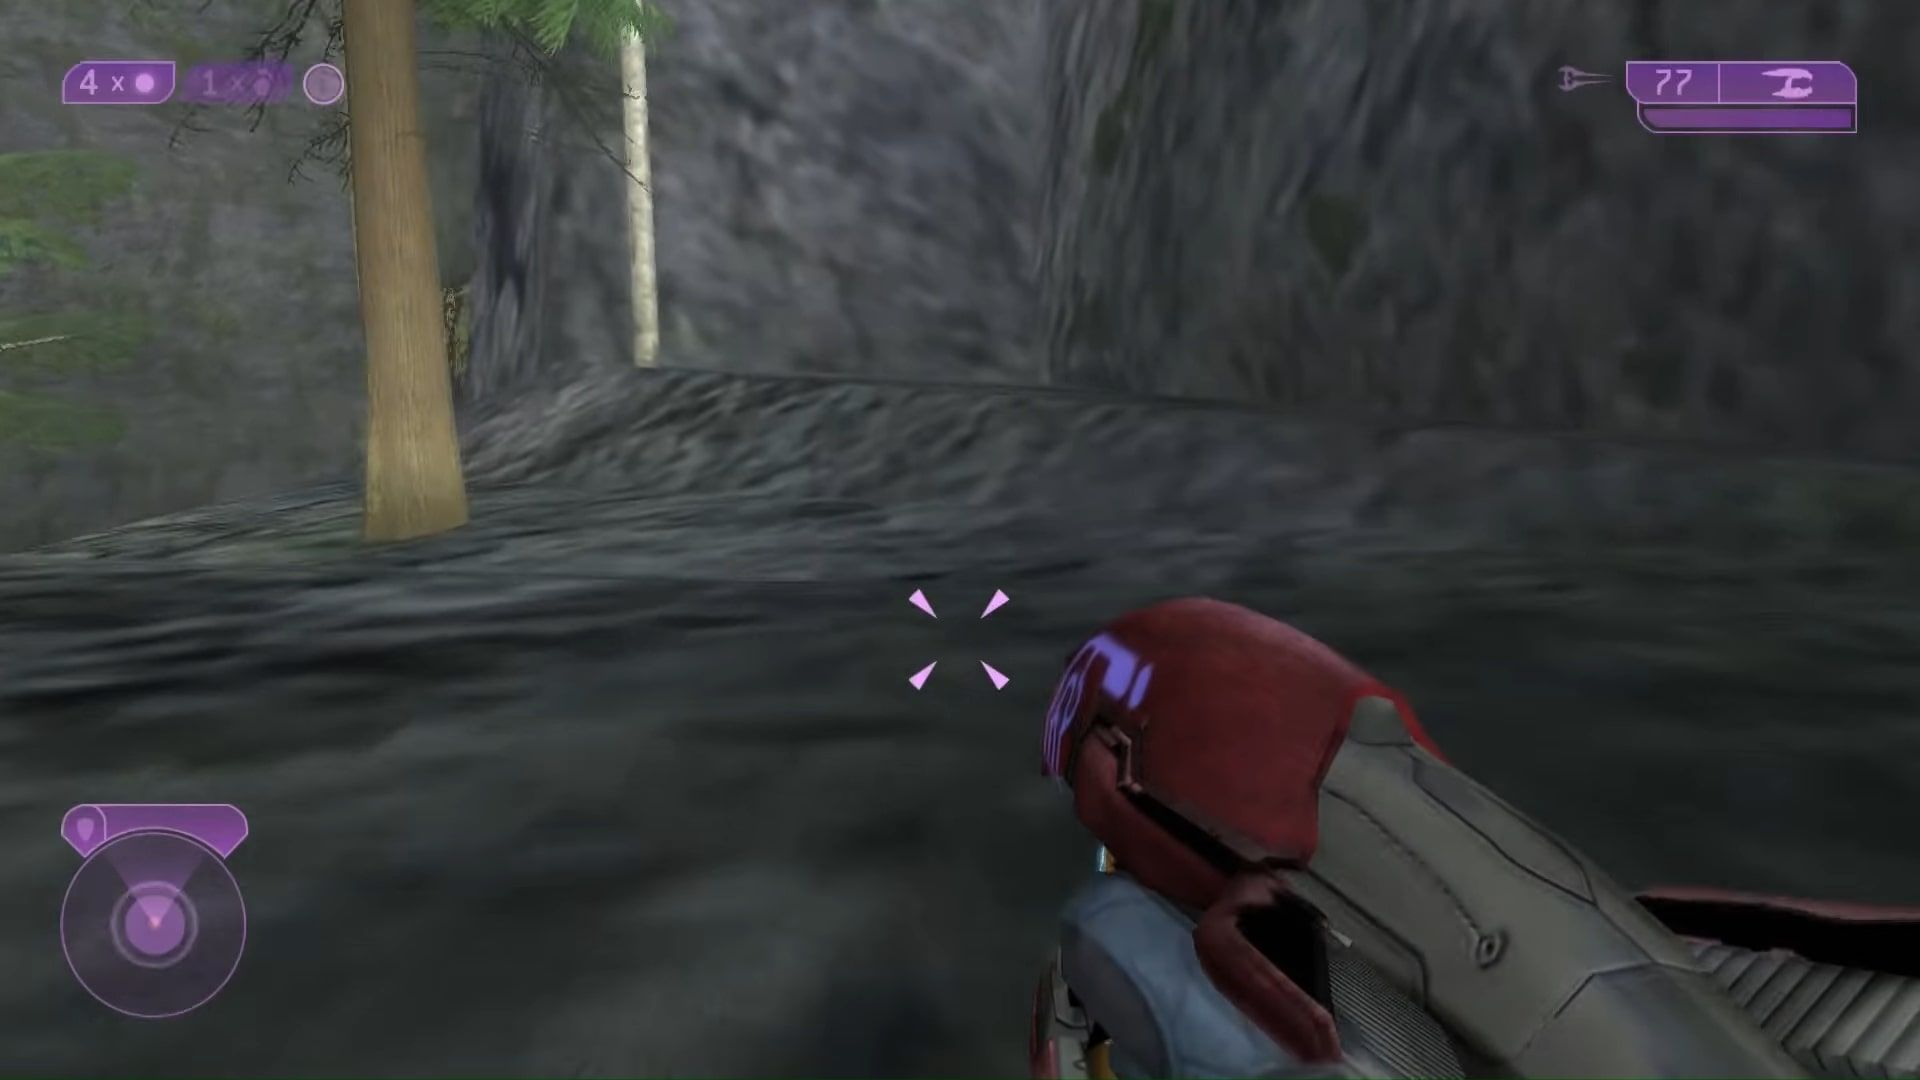
Hop up onto the cliffside to the right and walk to the far end where the tree is, then push yourself up against the tree as seen below.
Hold forward and jump. You should get stuck between the cliffside and the tree, then turn left and jump up on top of the cliff.
From here, head in a straight line and you should see a large canyon. Drop down onto the right ledge of this canyon and follow it around.
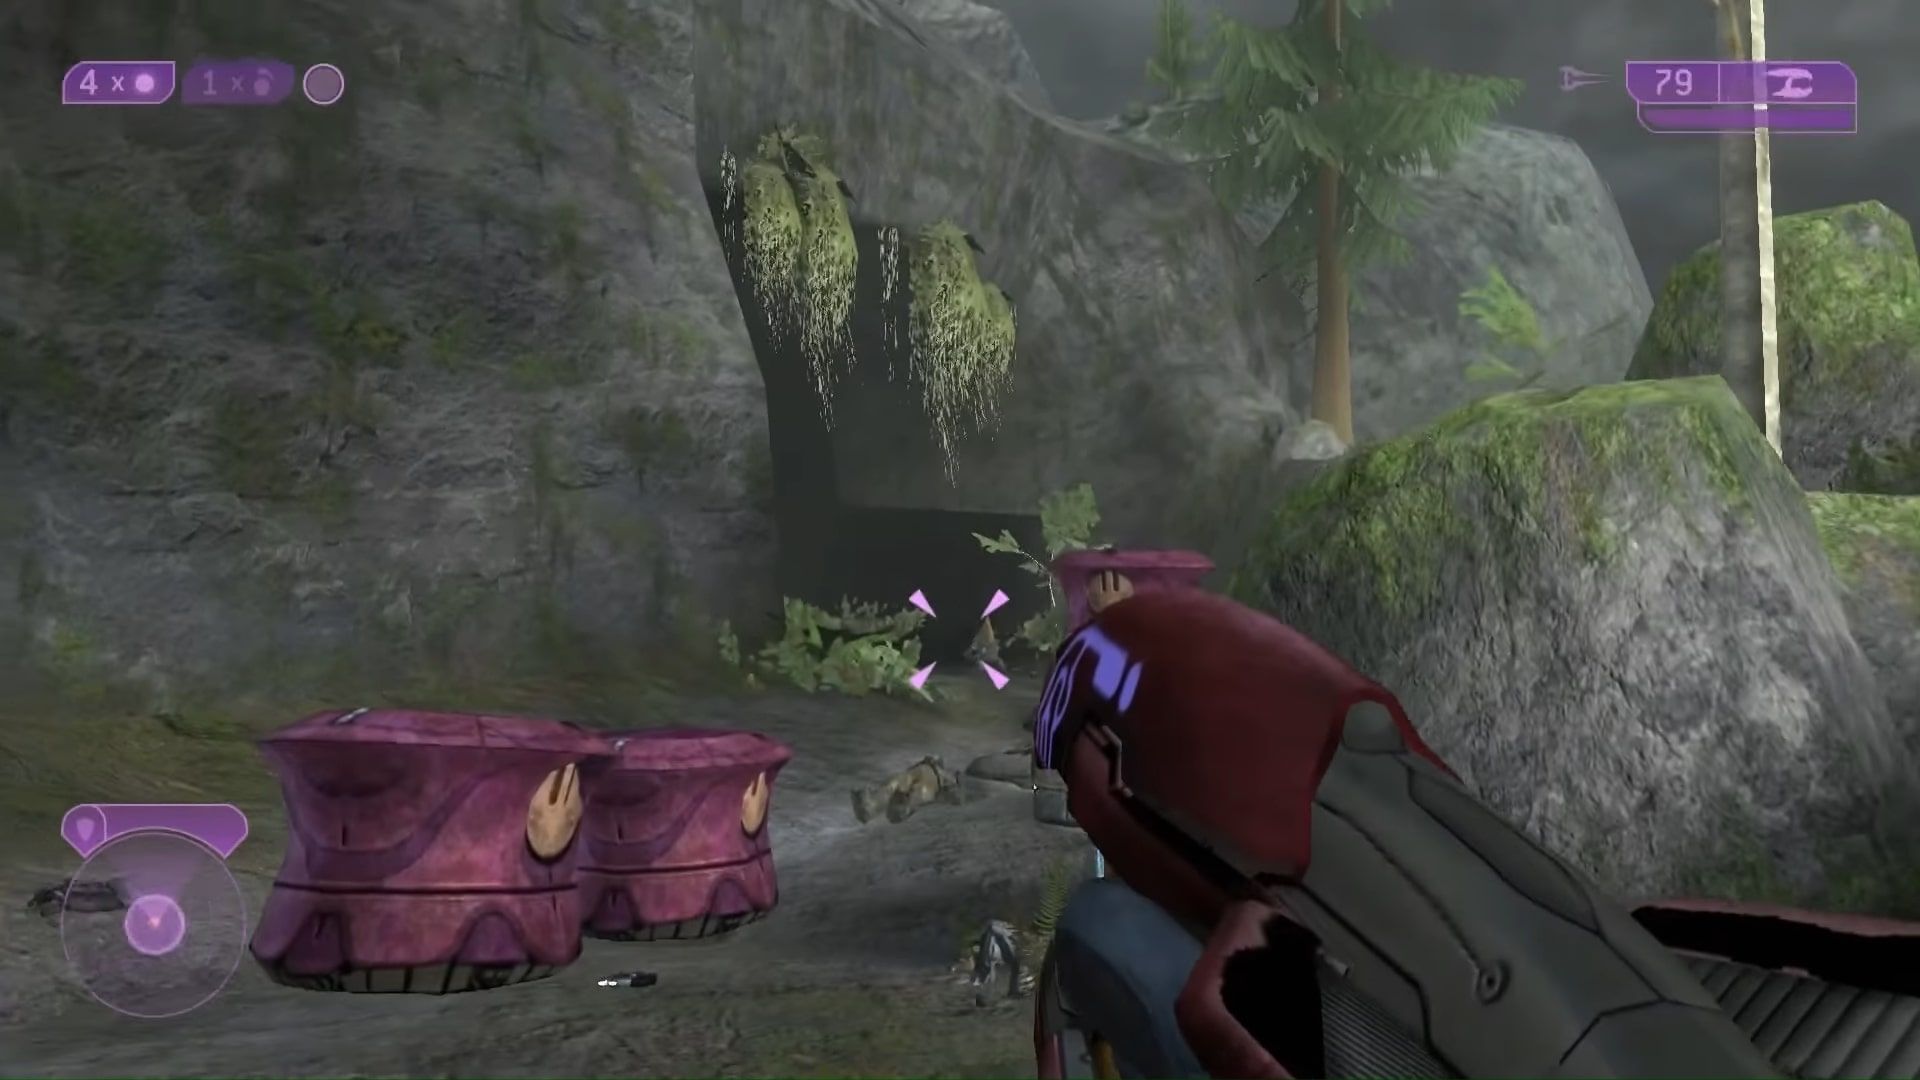
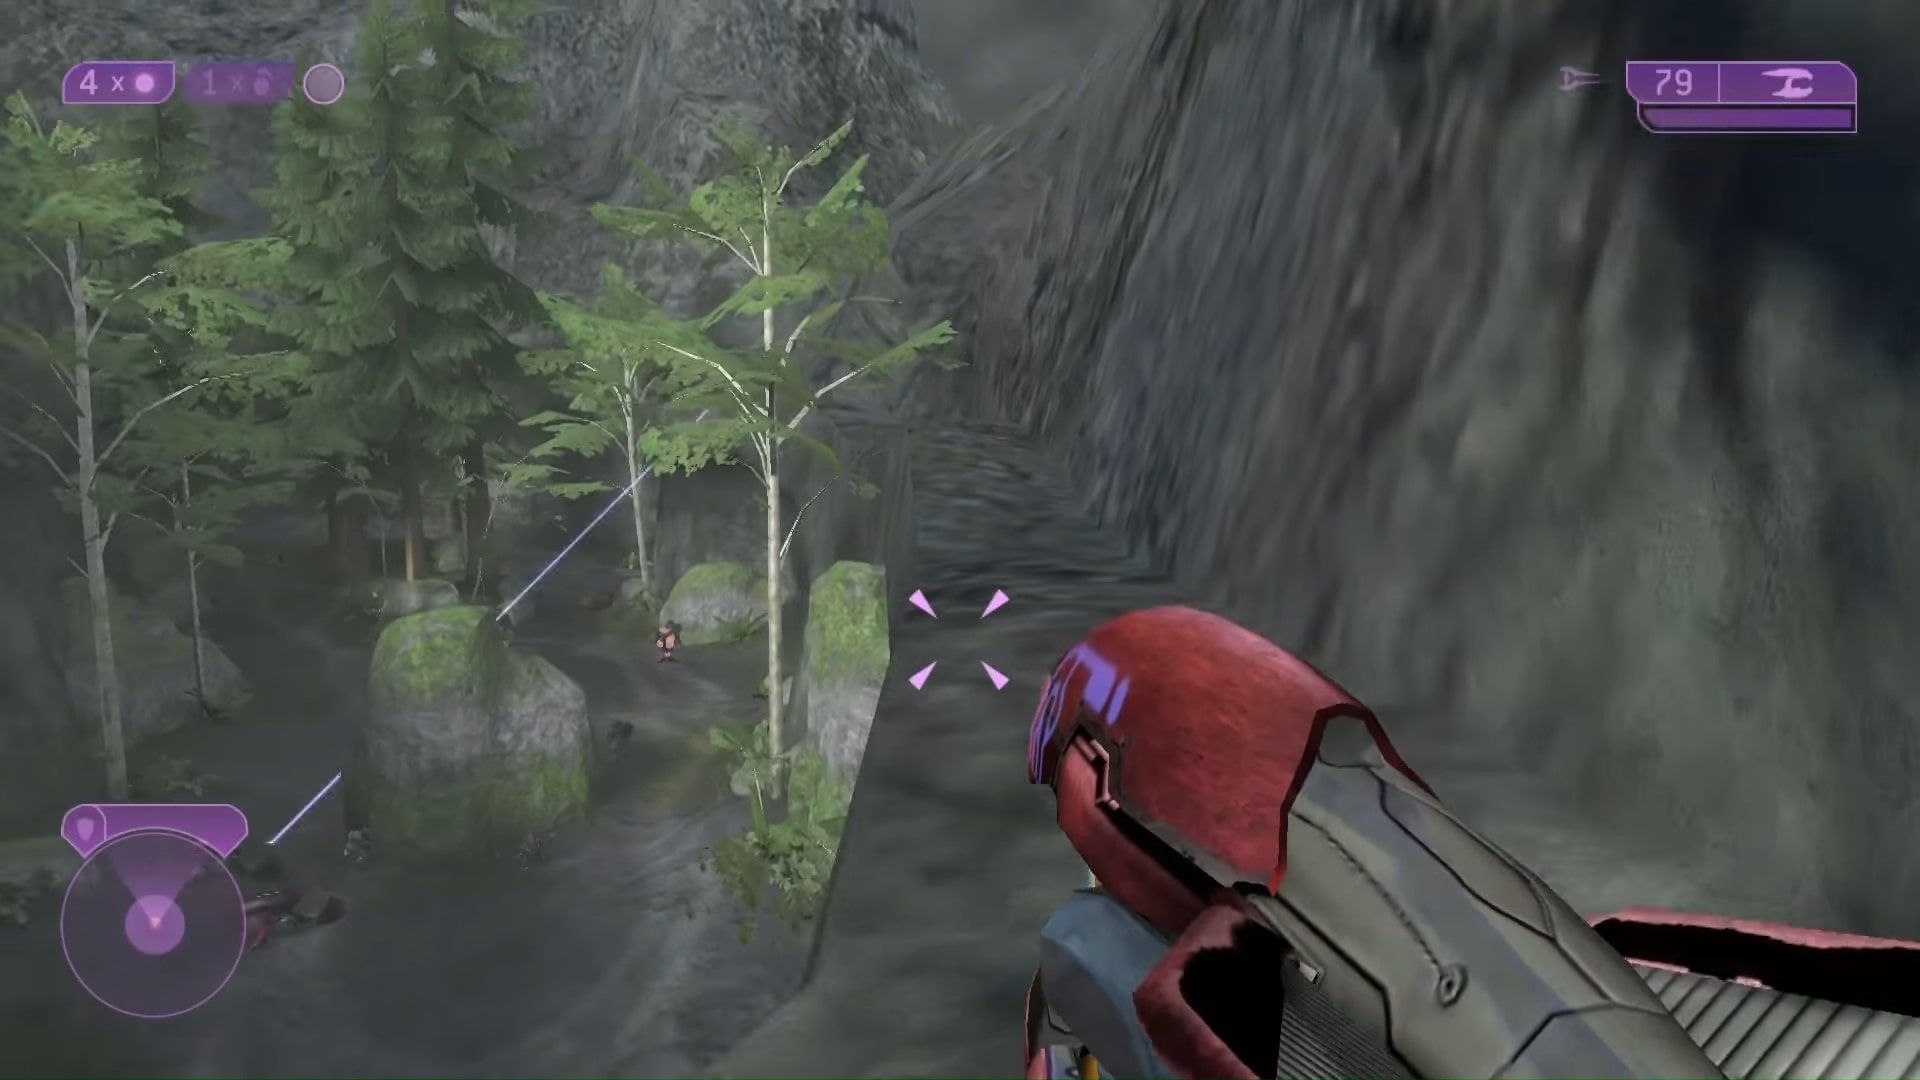
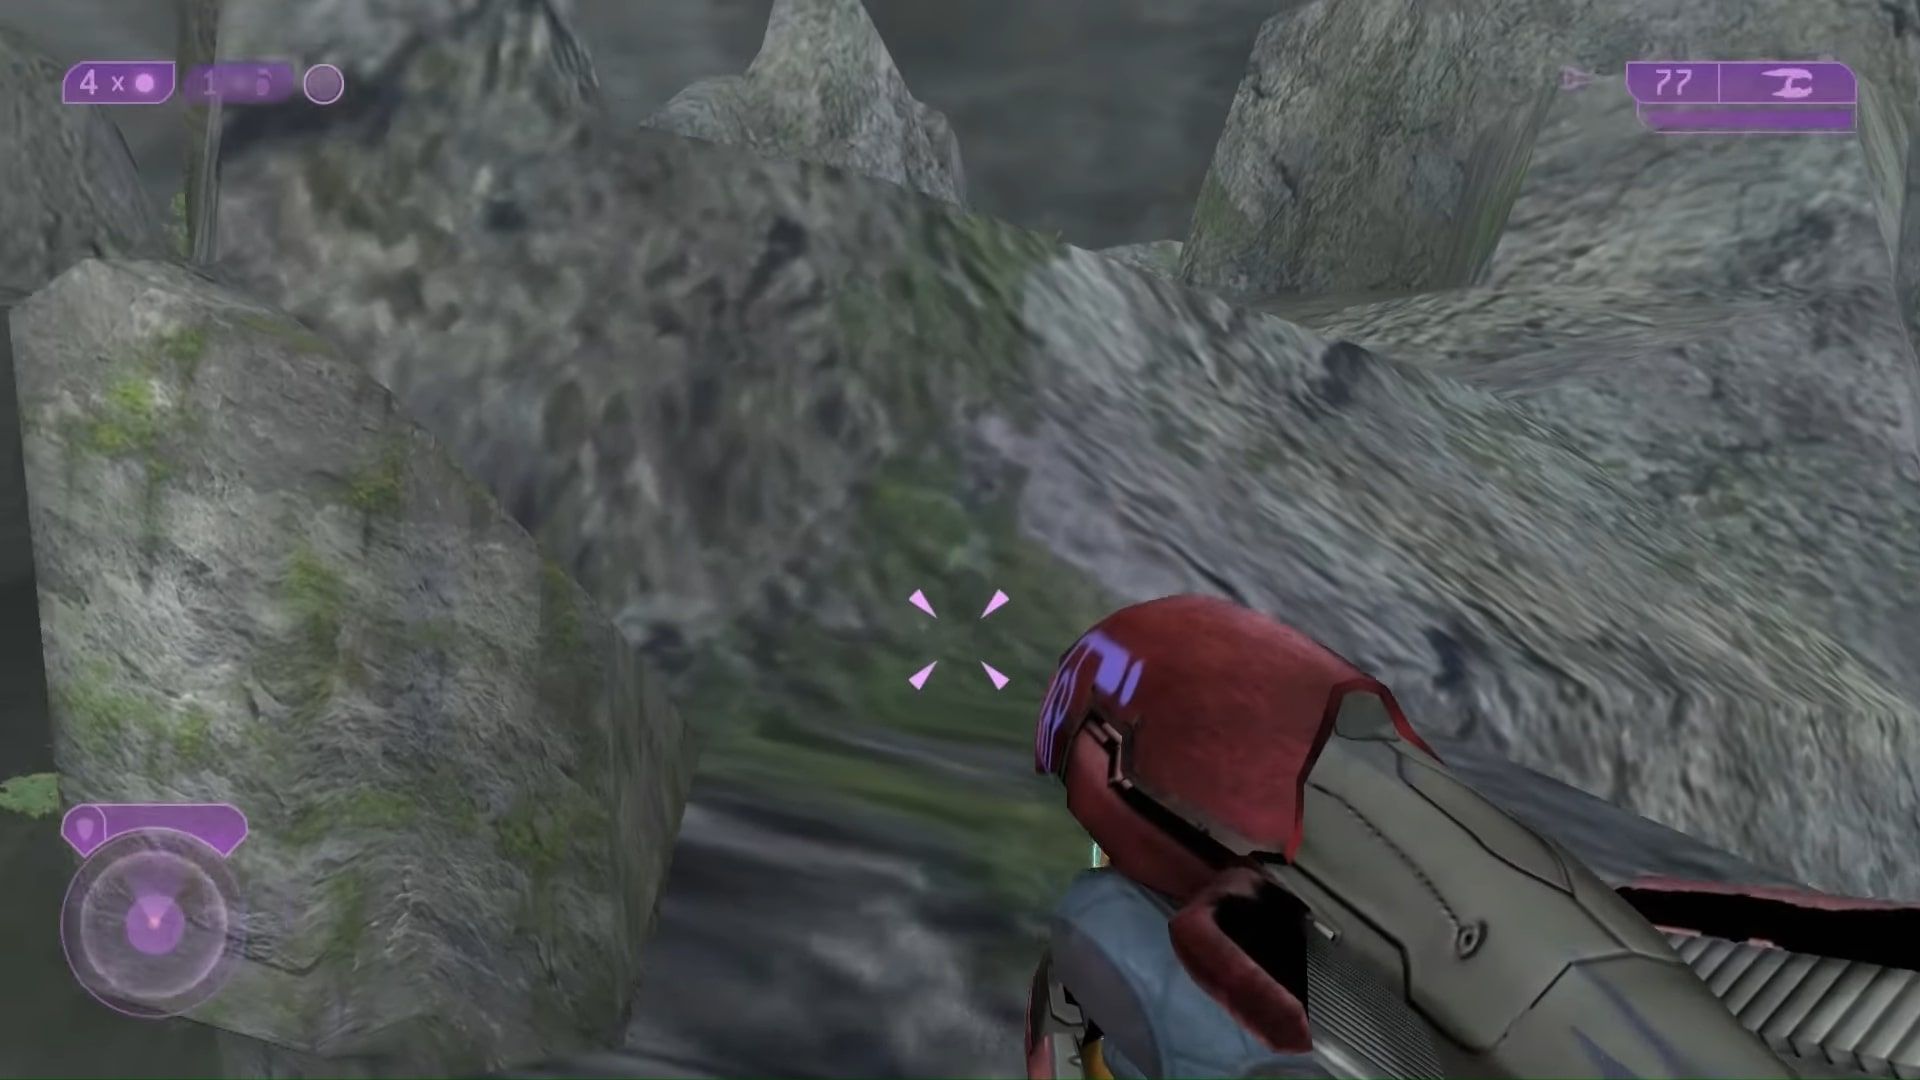
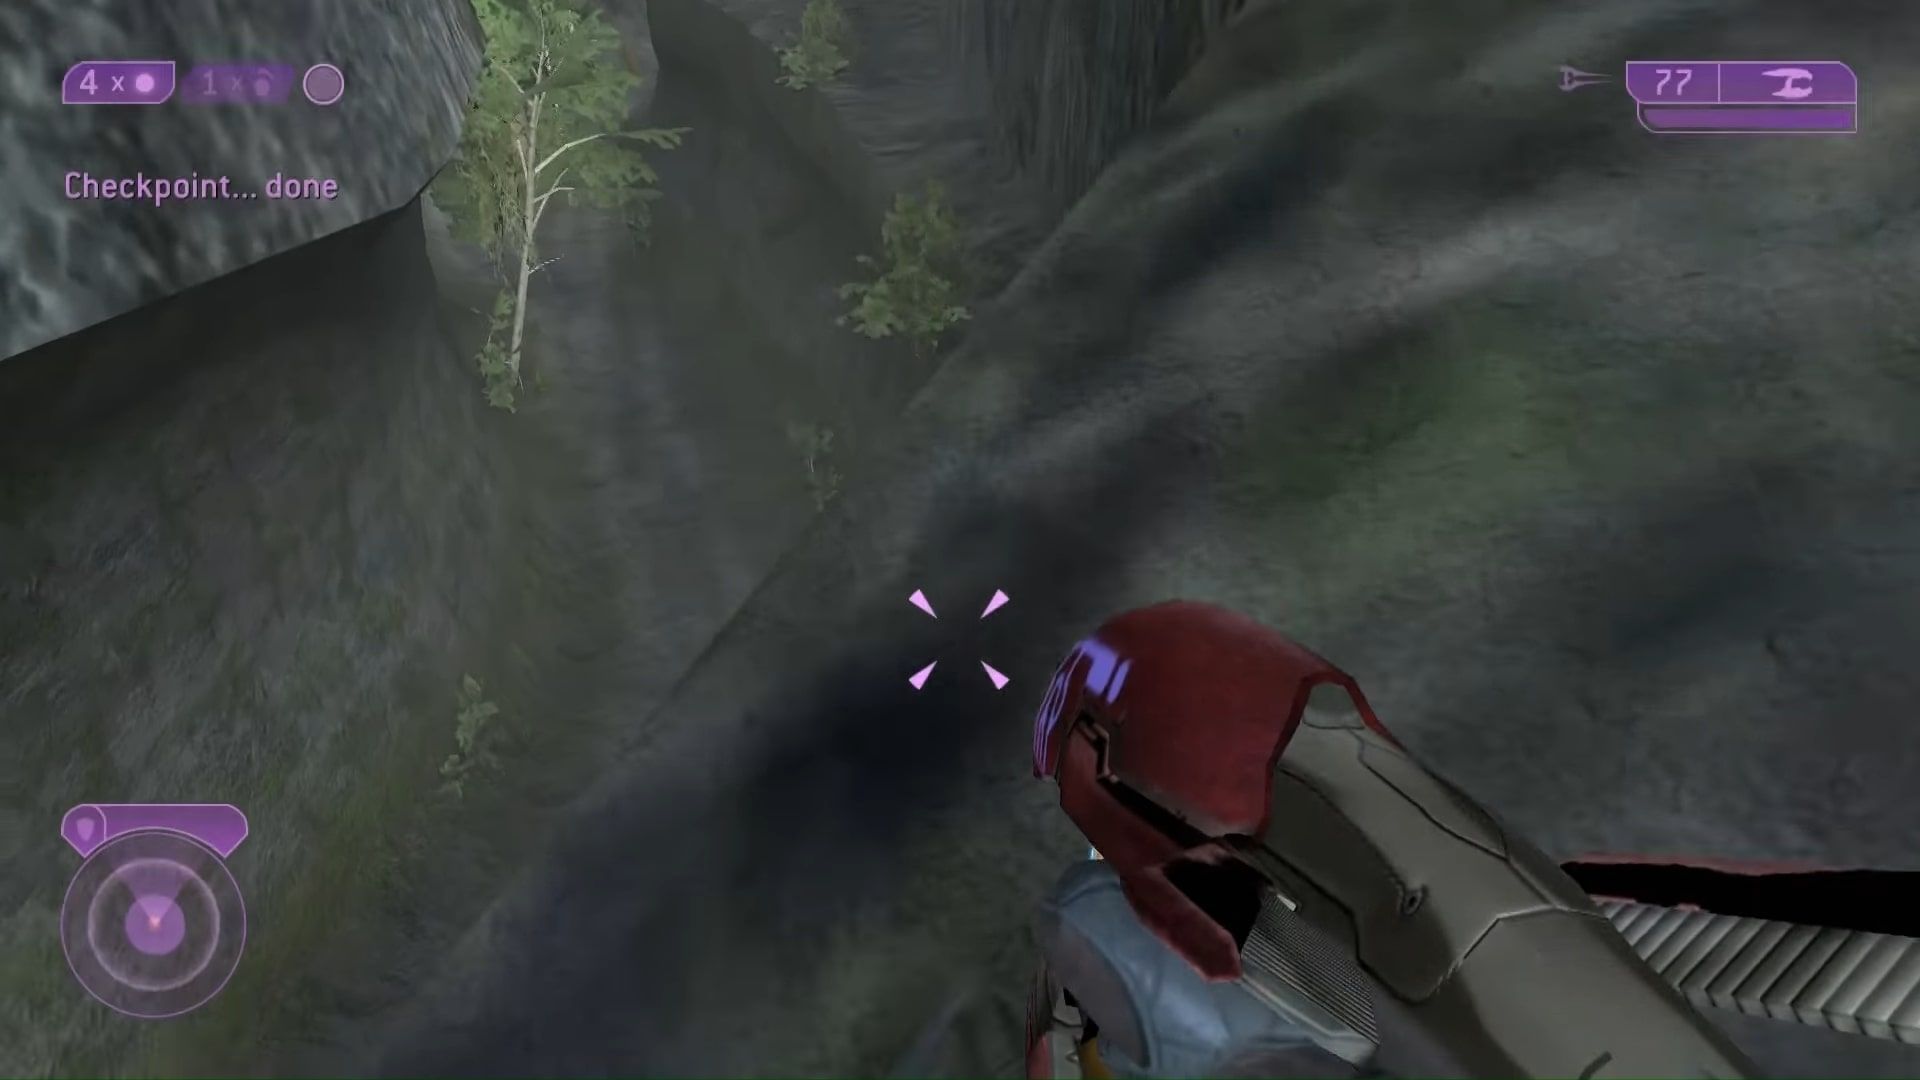
Once you reach the point where the jackal sniper is perched, pictured below, jump up the rock to the left, then turn around and walk up the incline behind you.
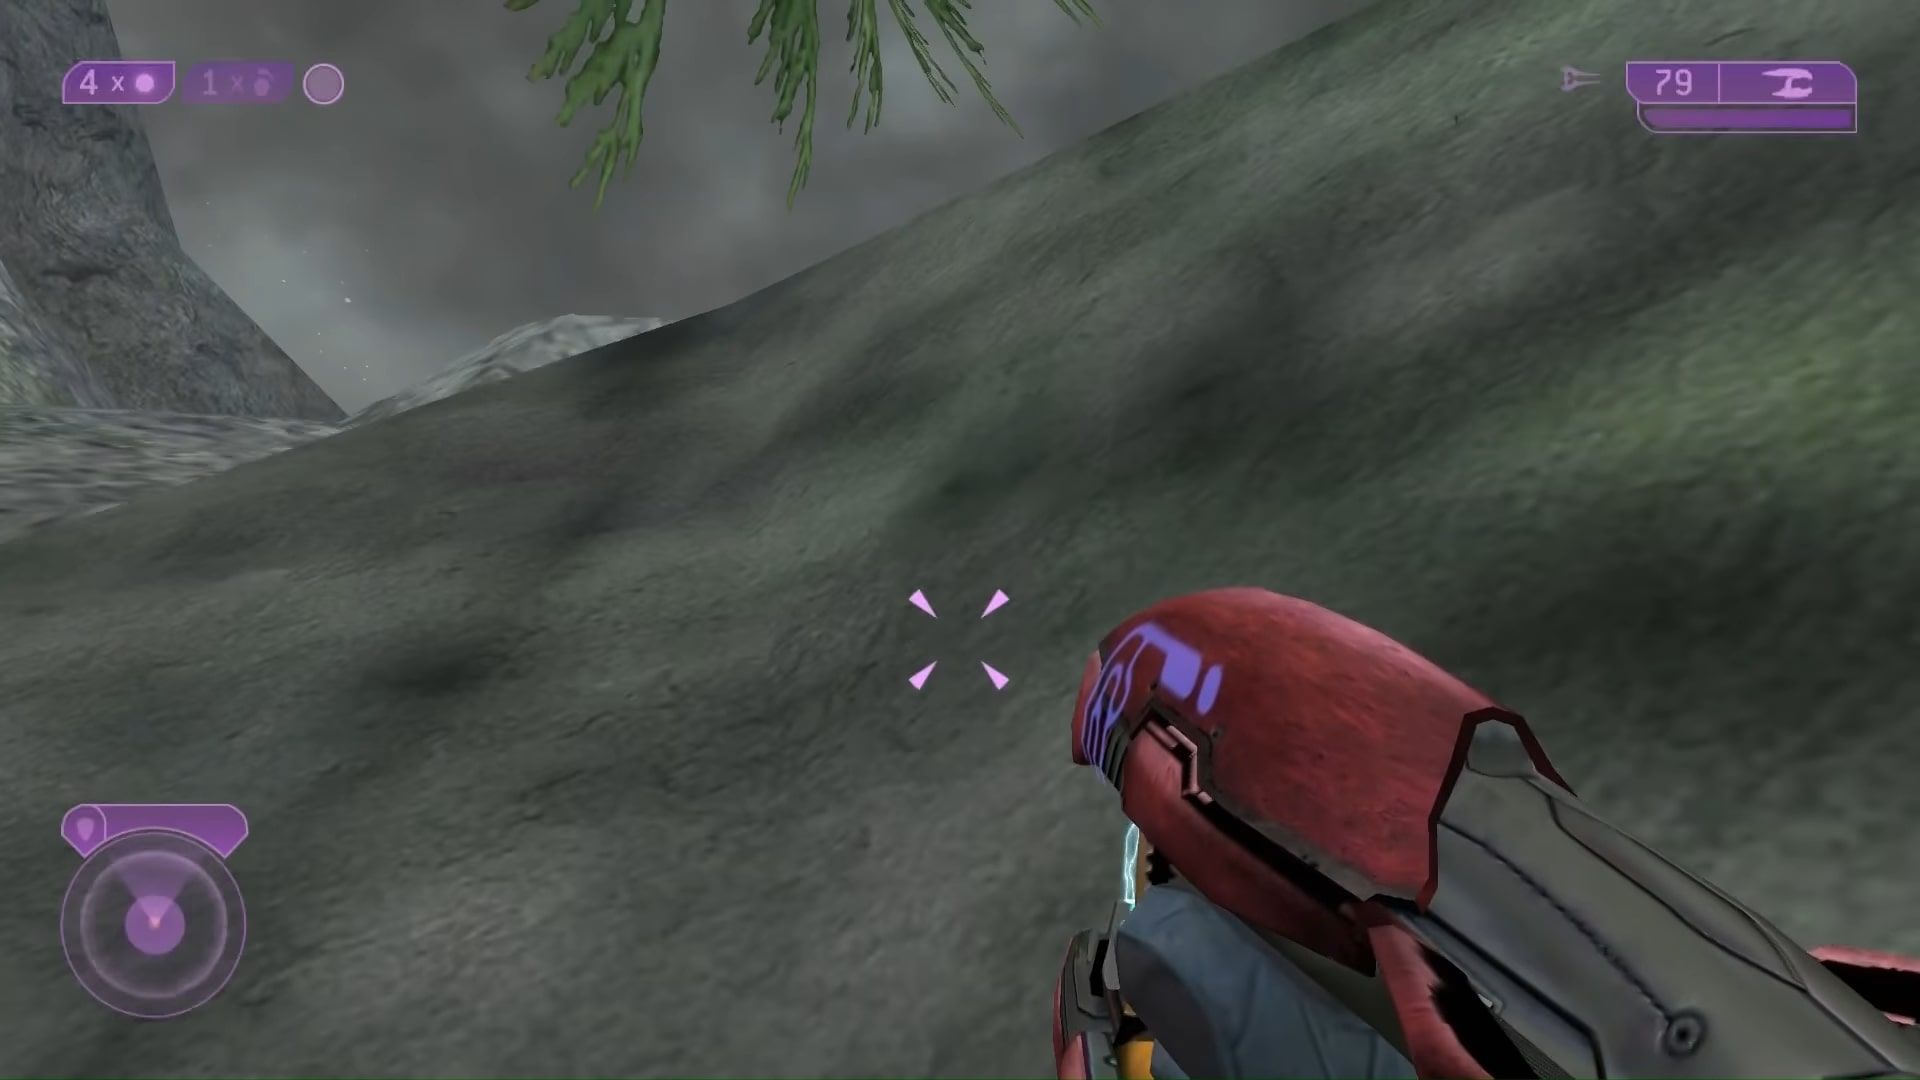
Take a left and follow the trail of moss on the ground, up and over the hill.
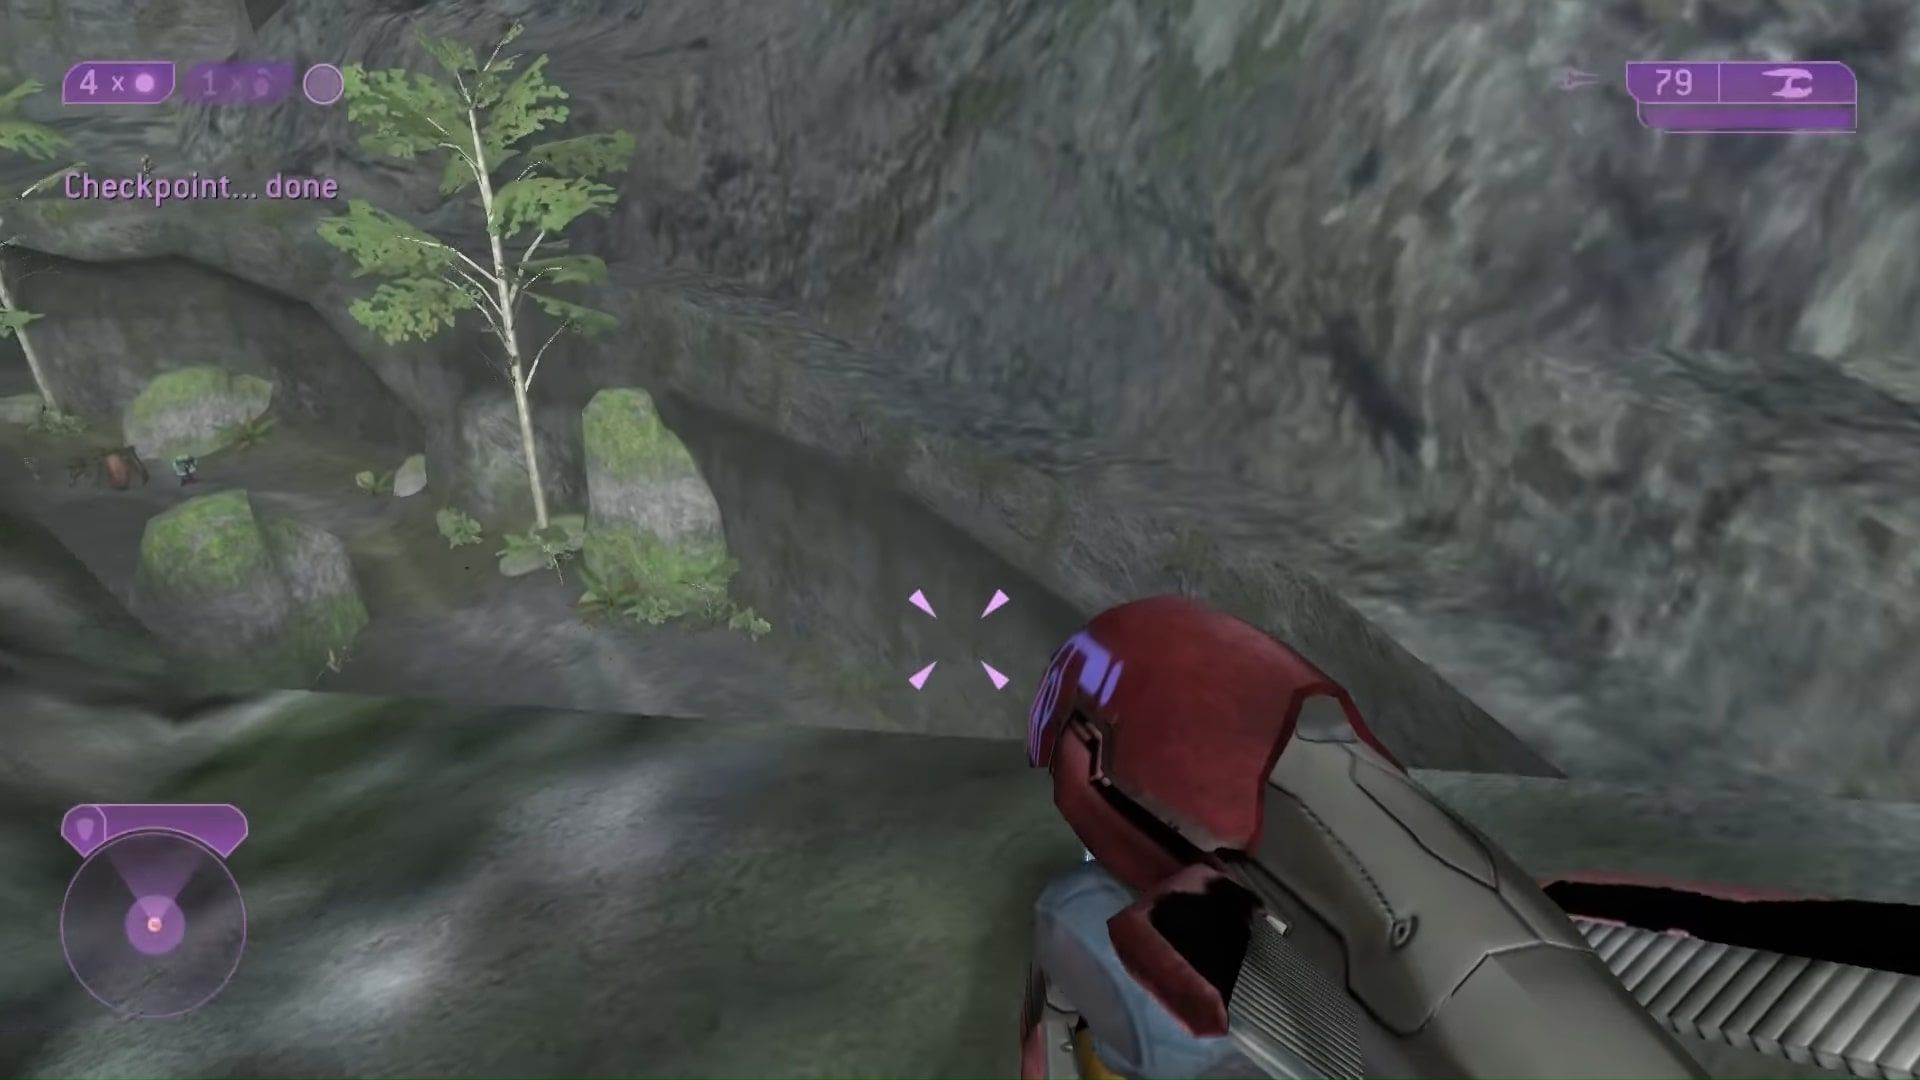
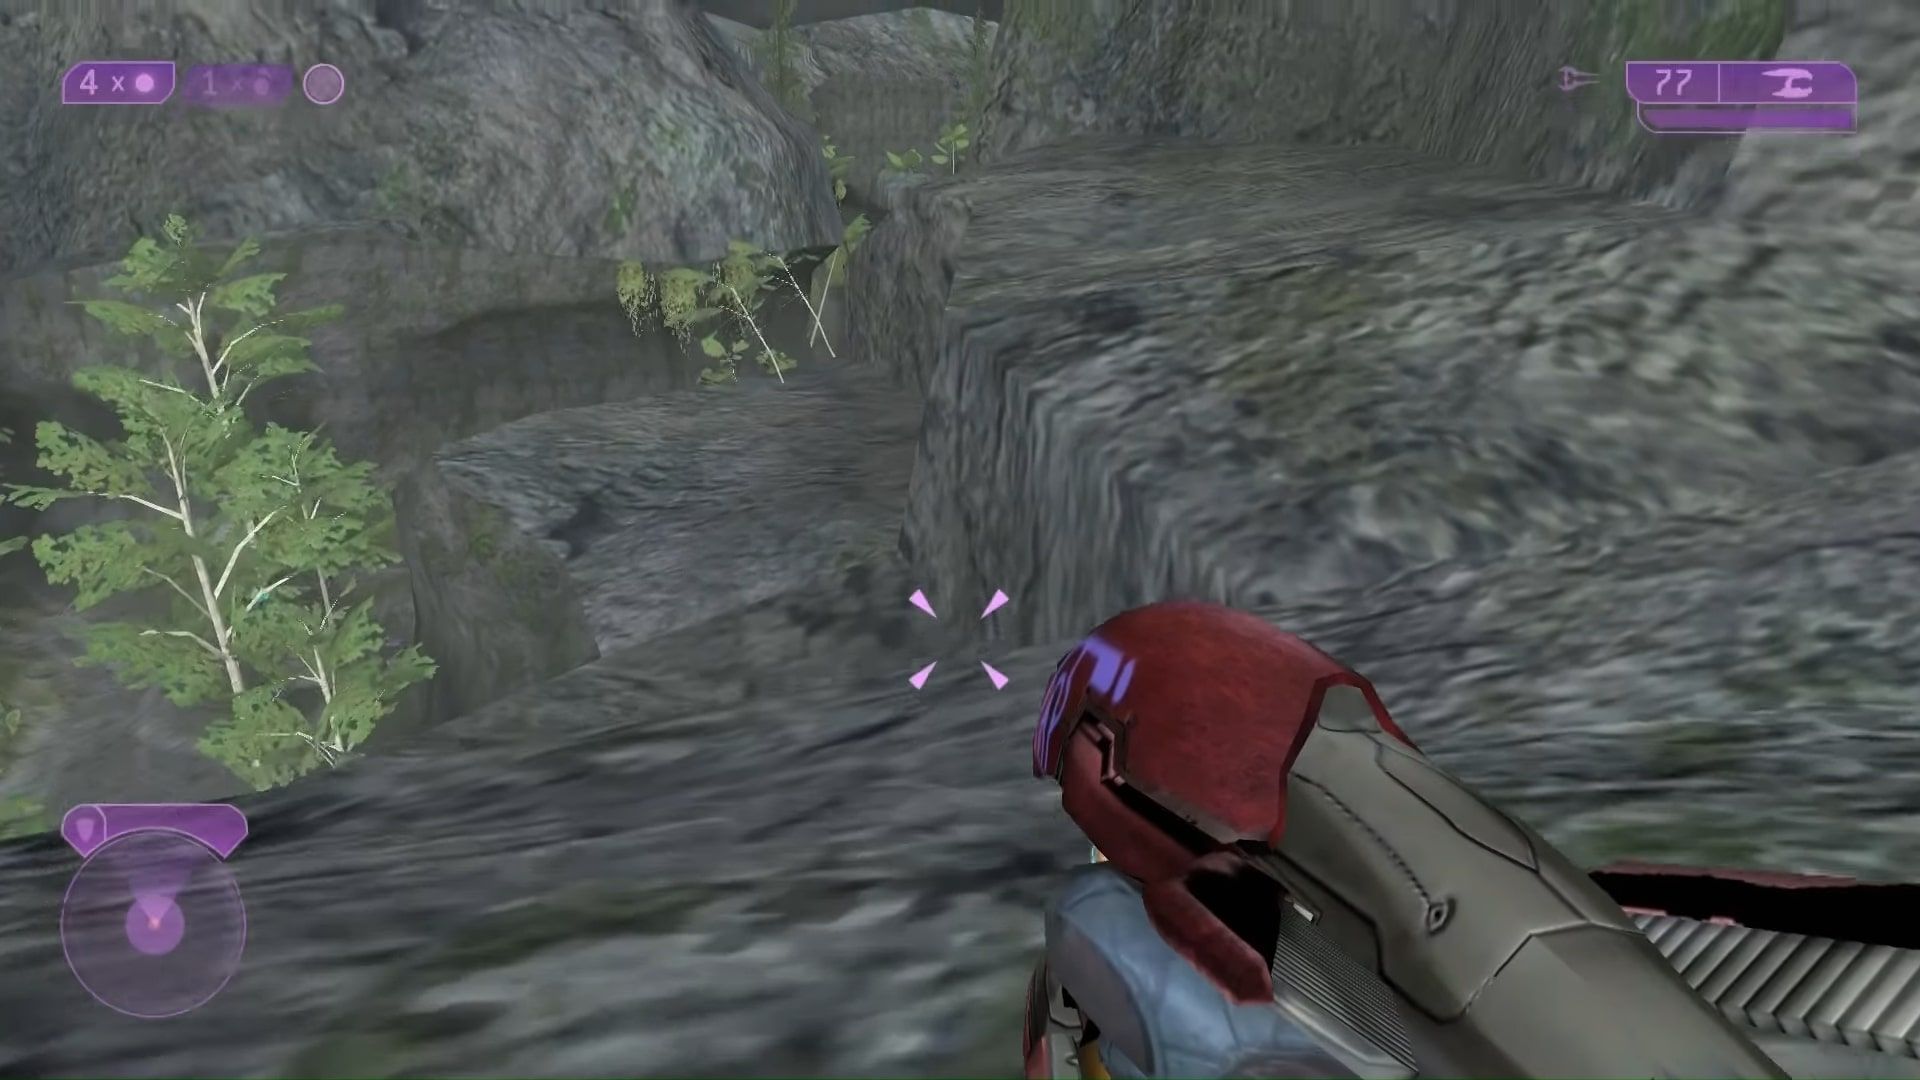
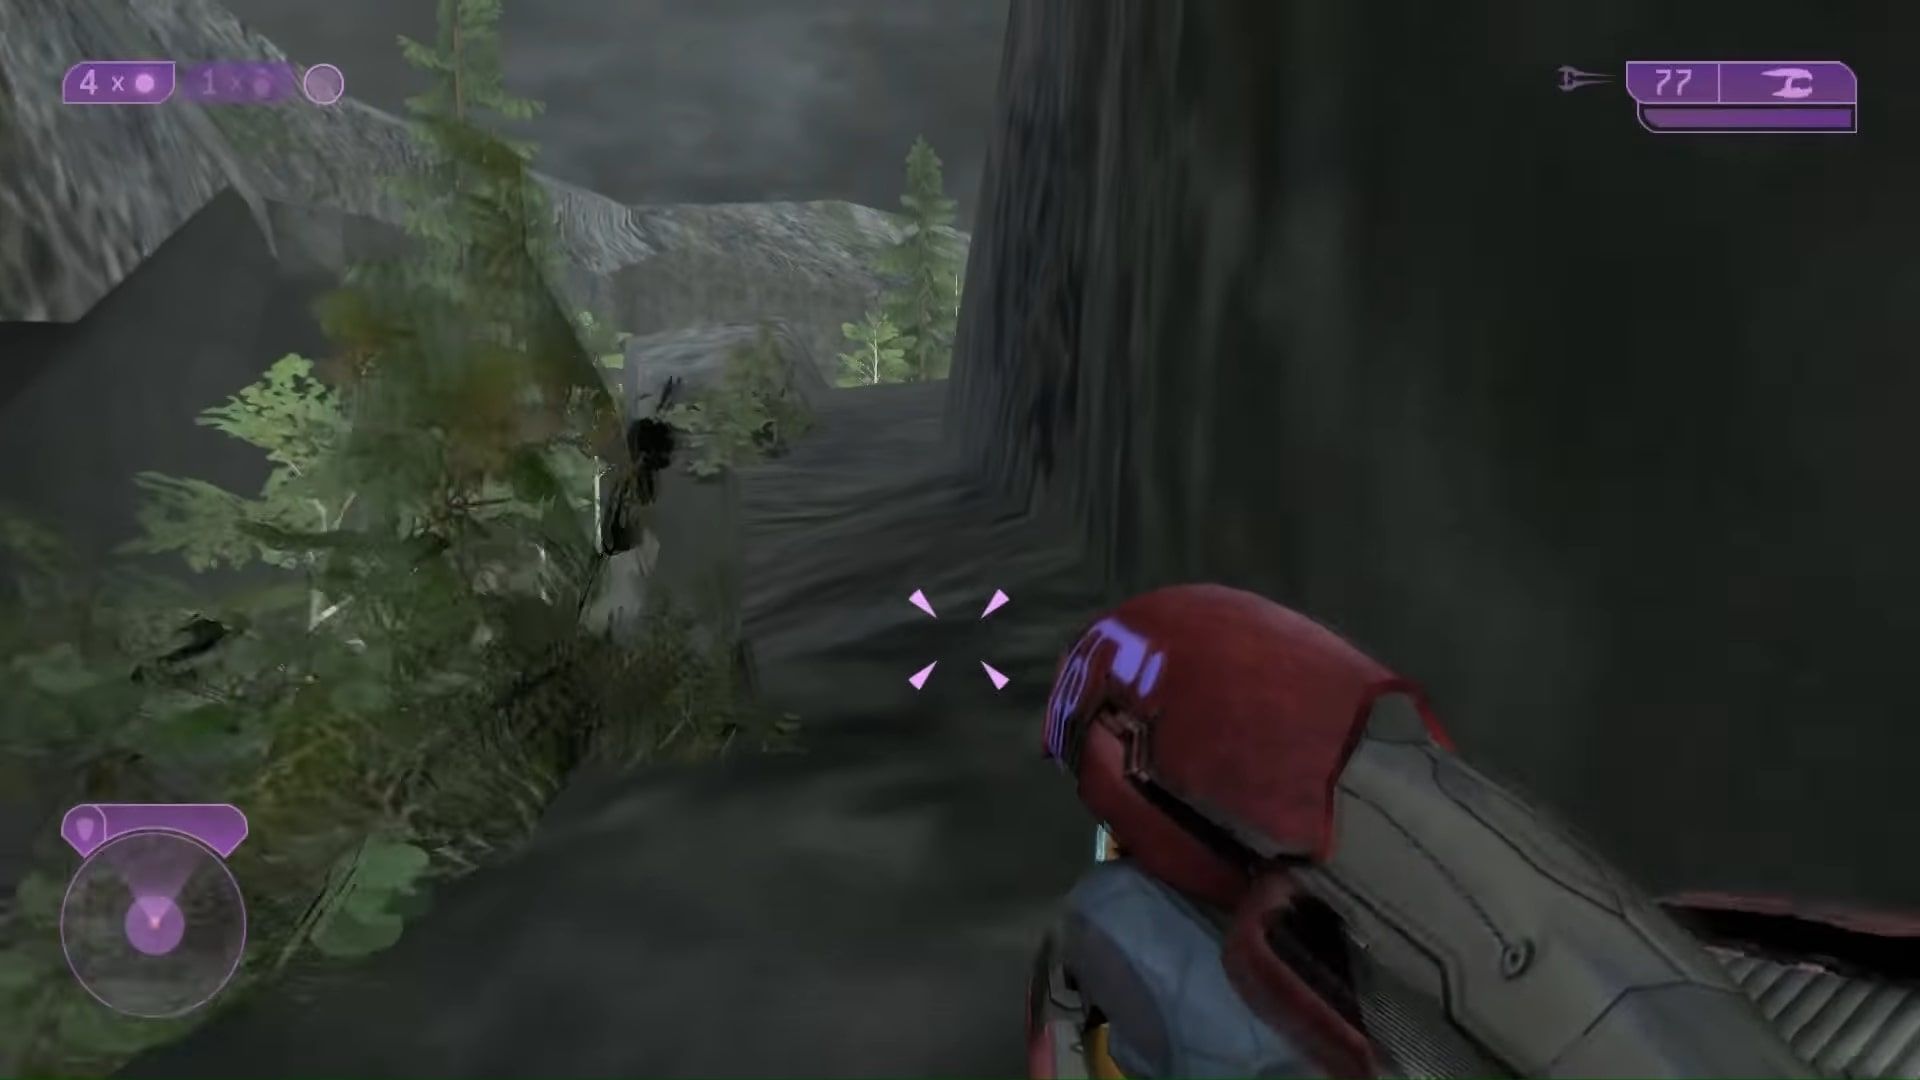
Continue in that direction until you reach the point pictured below, where the cliff splits into an upper and a lower path. Stick to the upper path.
Walk to the very end of the upper path, then carefully drop down onto the ledge beneath you. Follow this ledge all the way until the end.
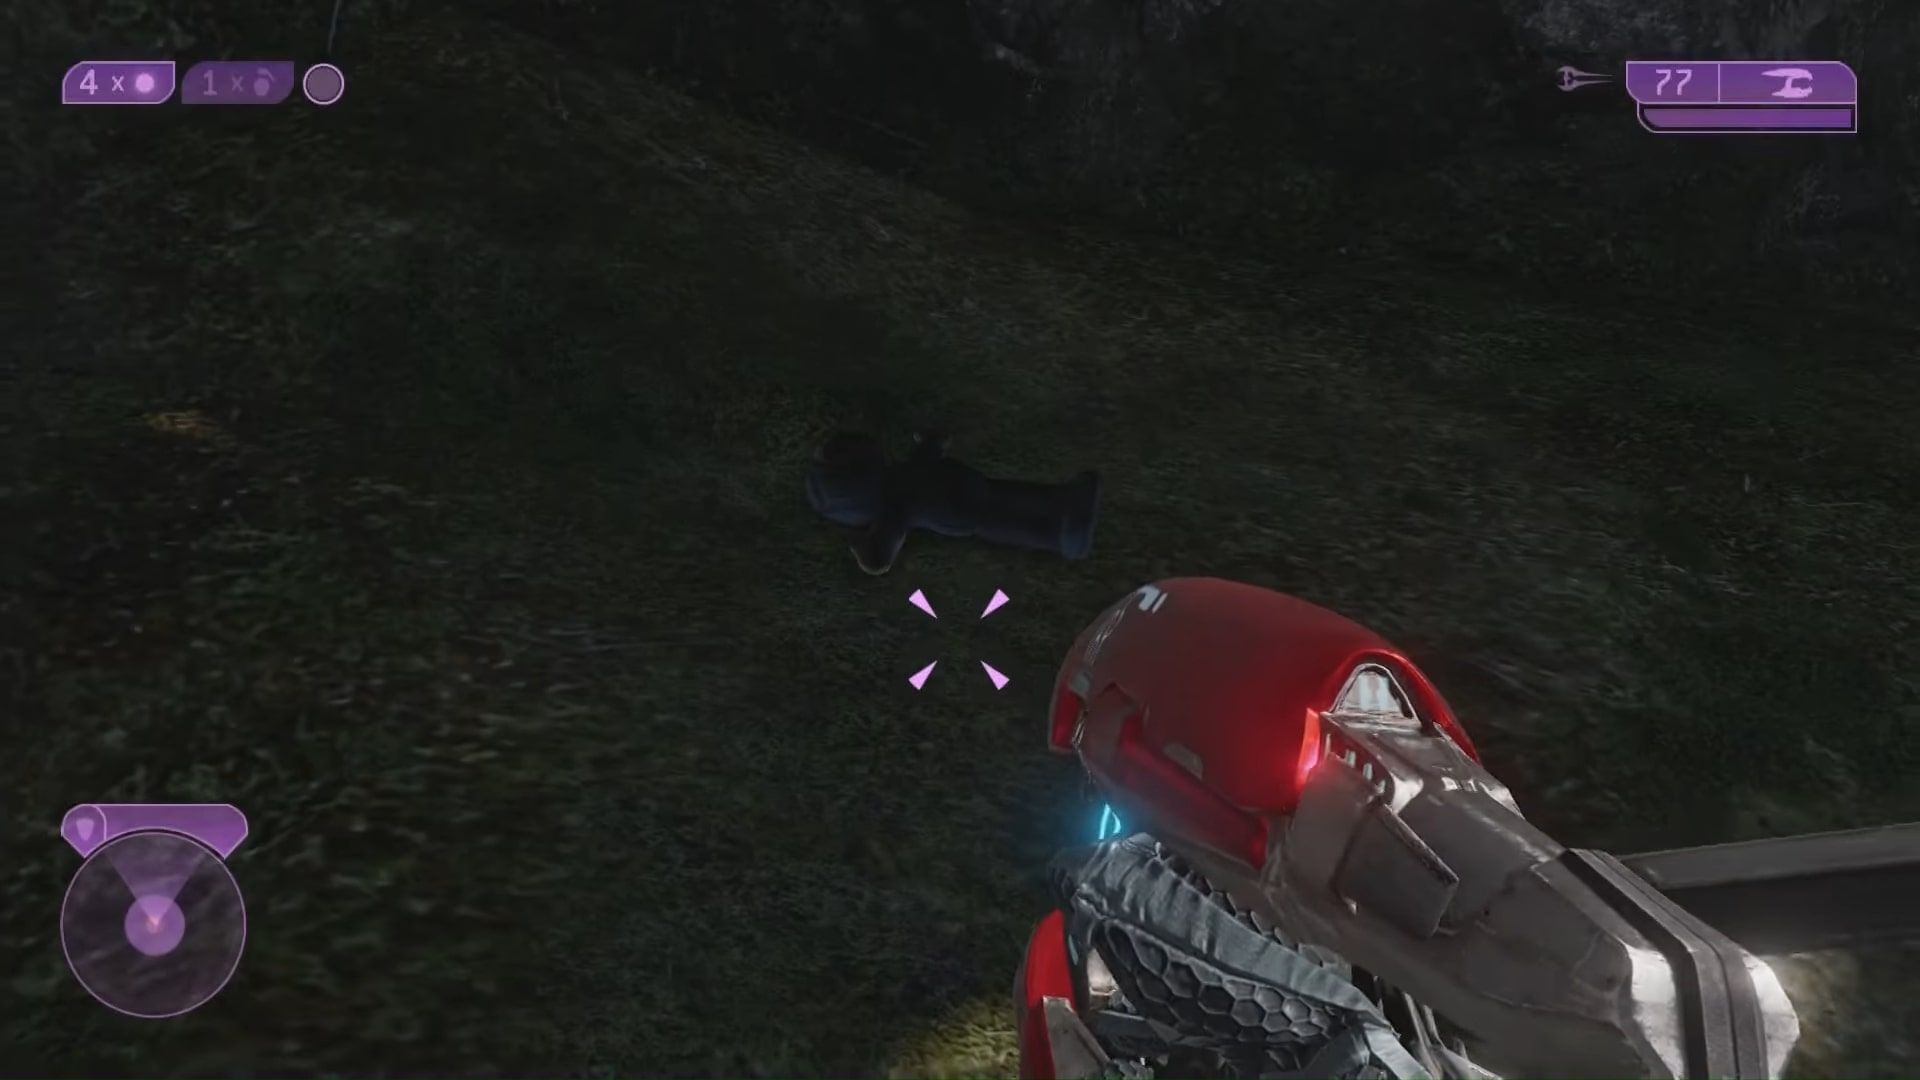
At the end, you should see a few small trees. To the right of these trees, on top of a small incline, you will find the Librarian doll on the ground. You will need to switch back to remastered graphics in order to see it.
High Charity
Rampant Cortana
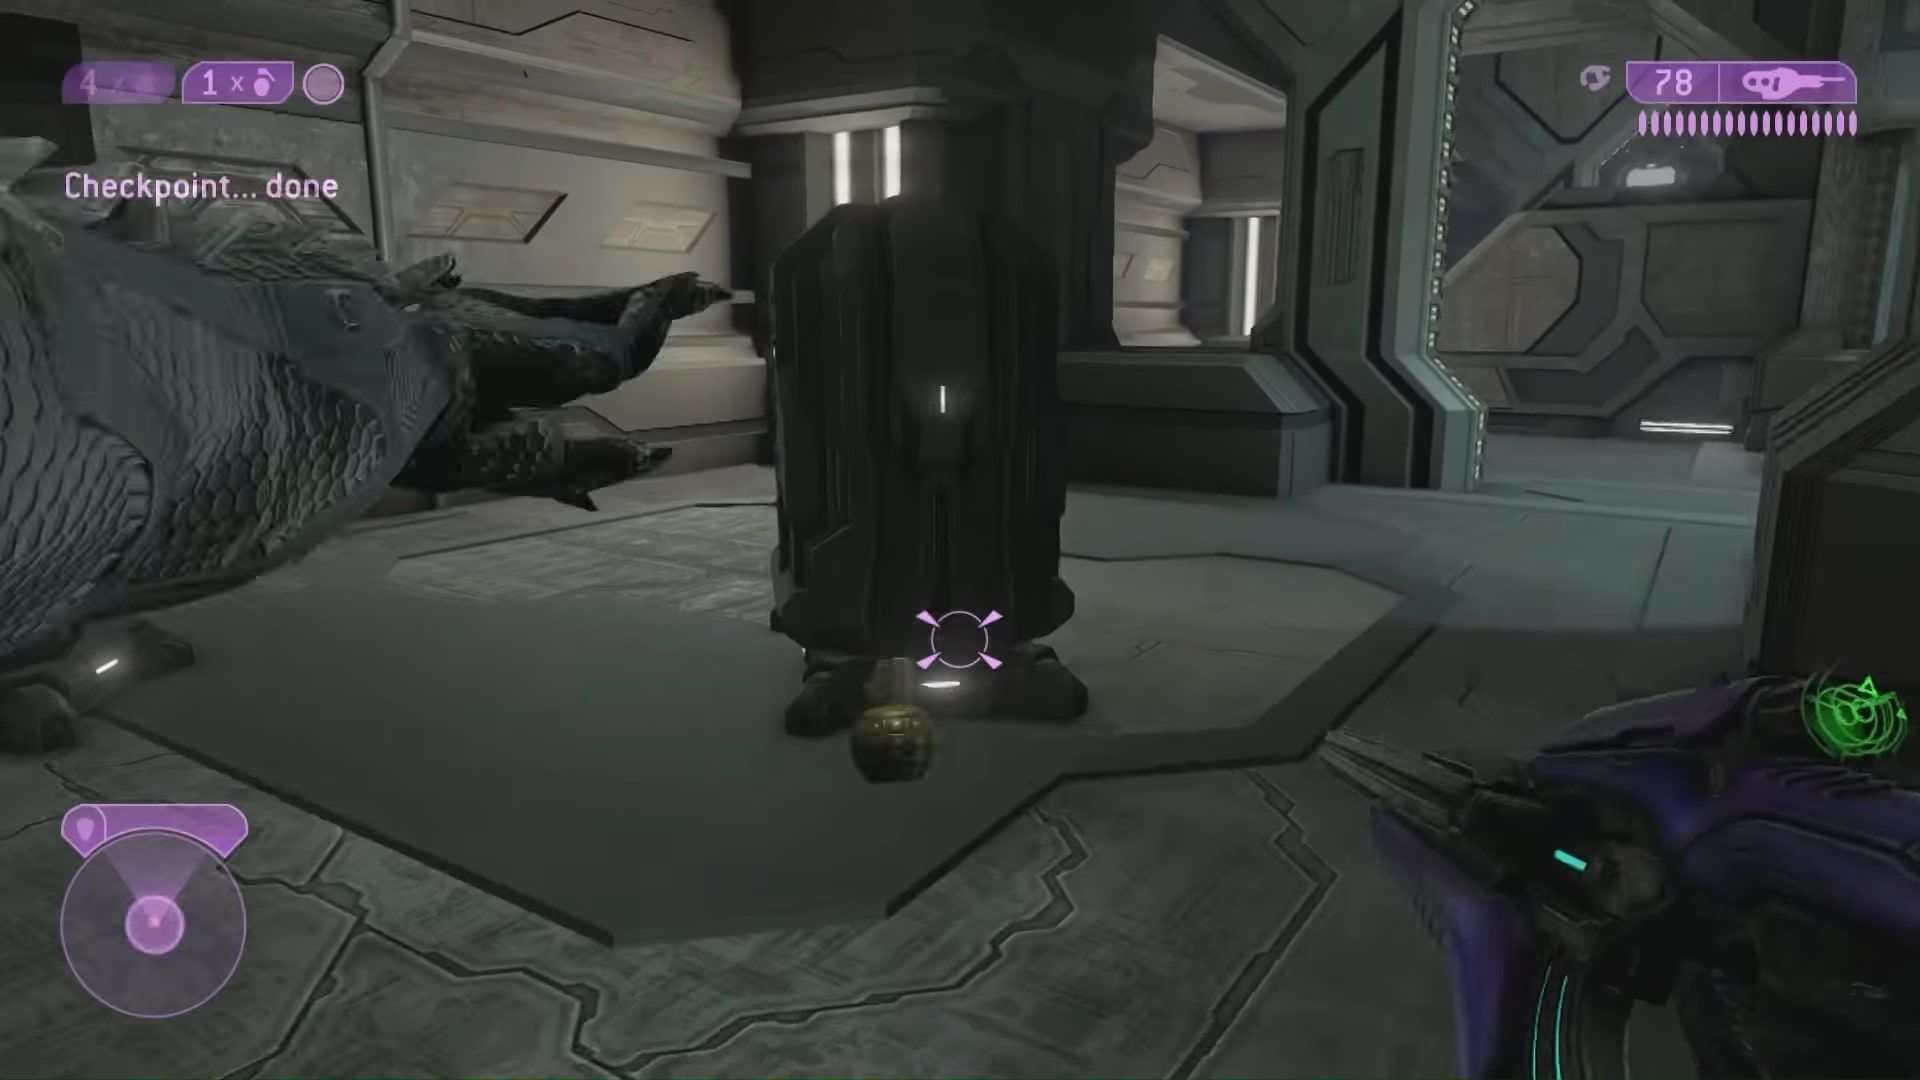
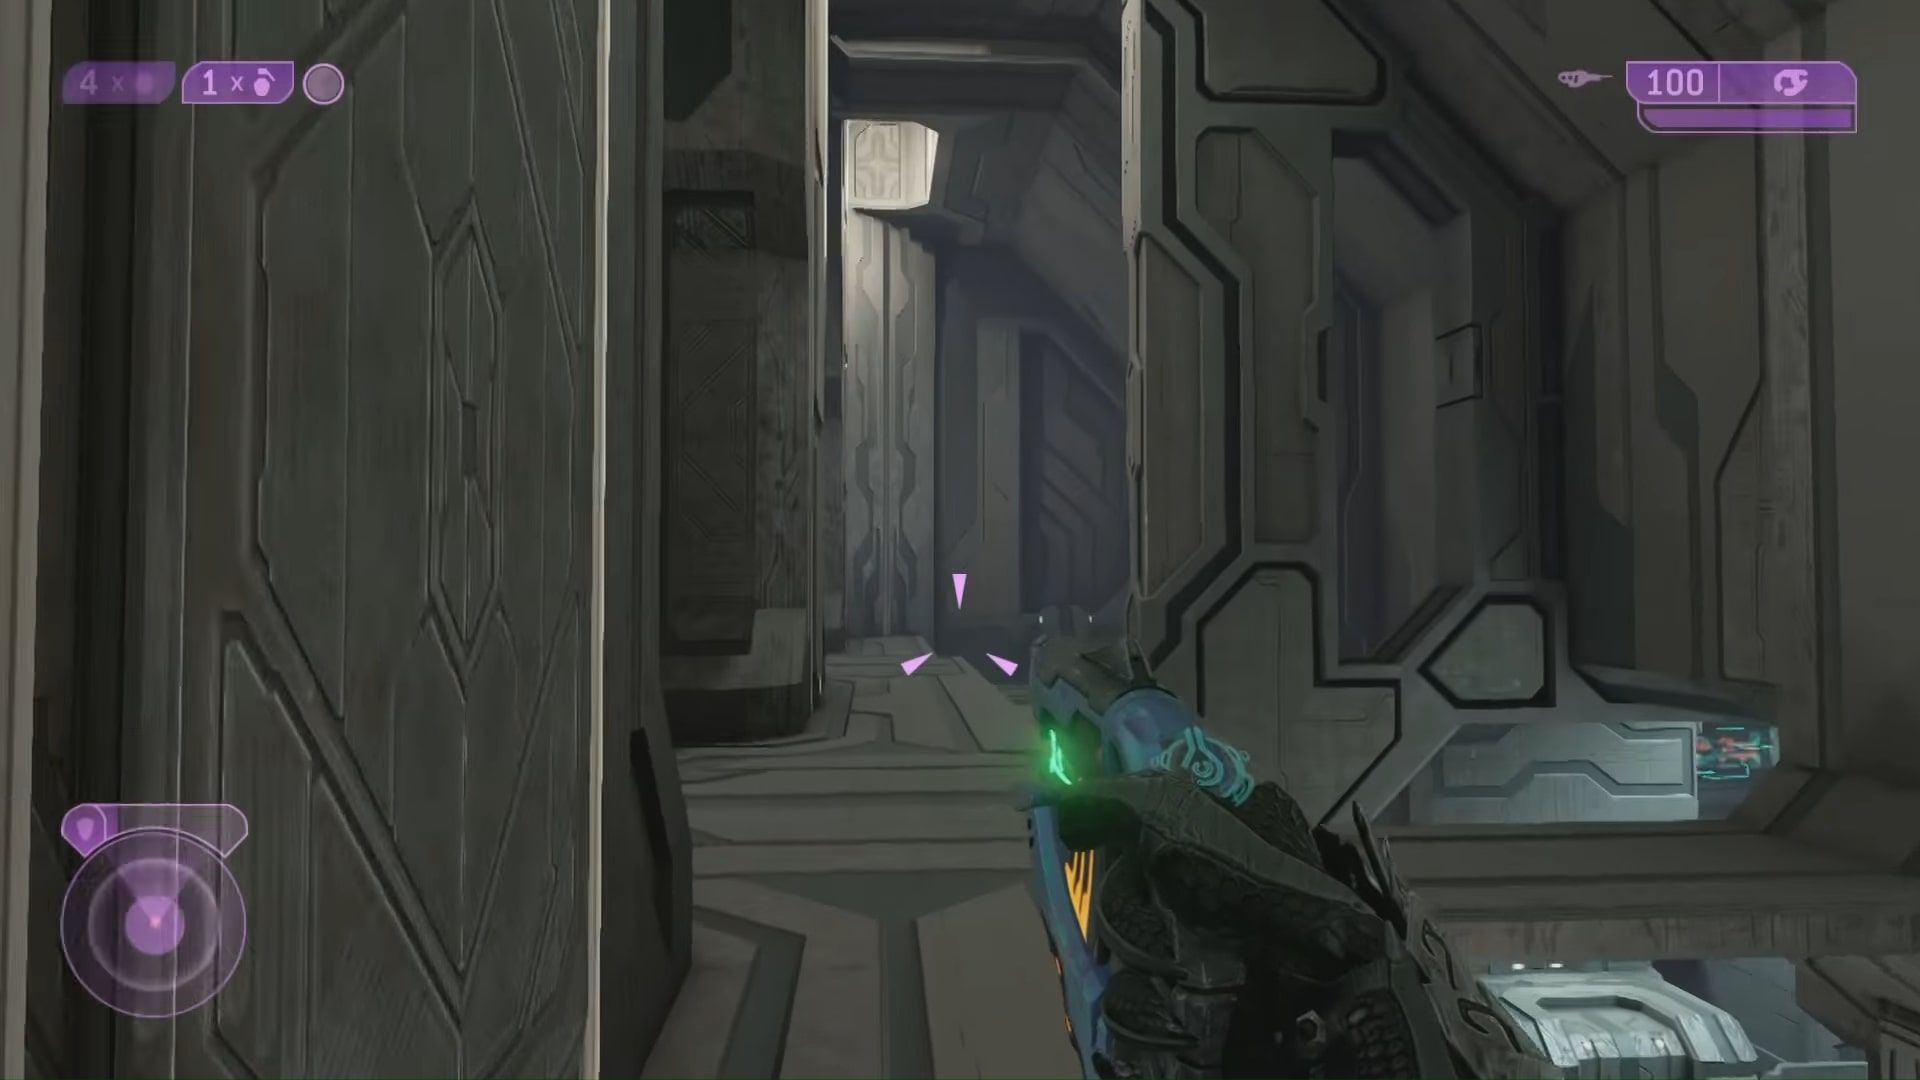
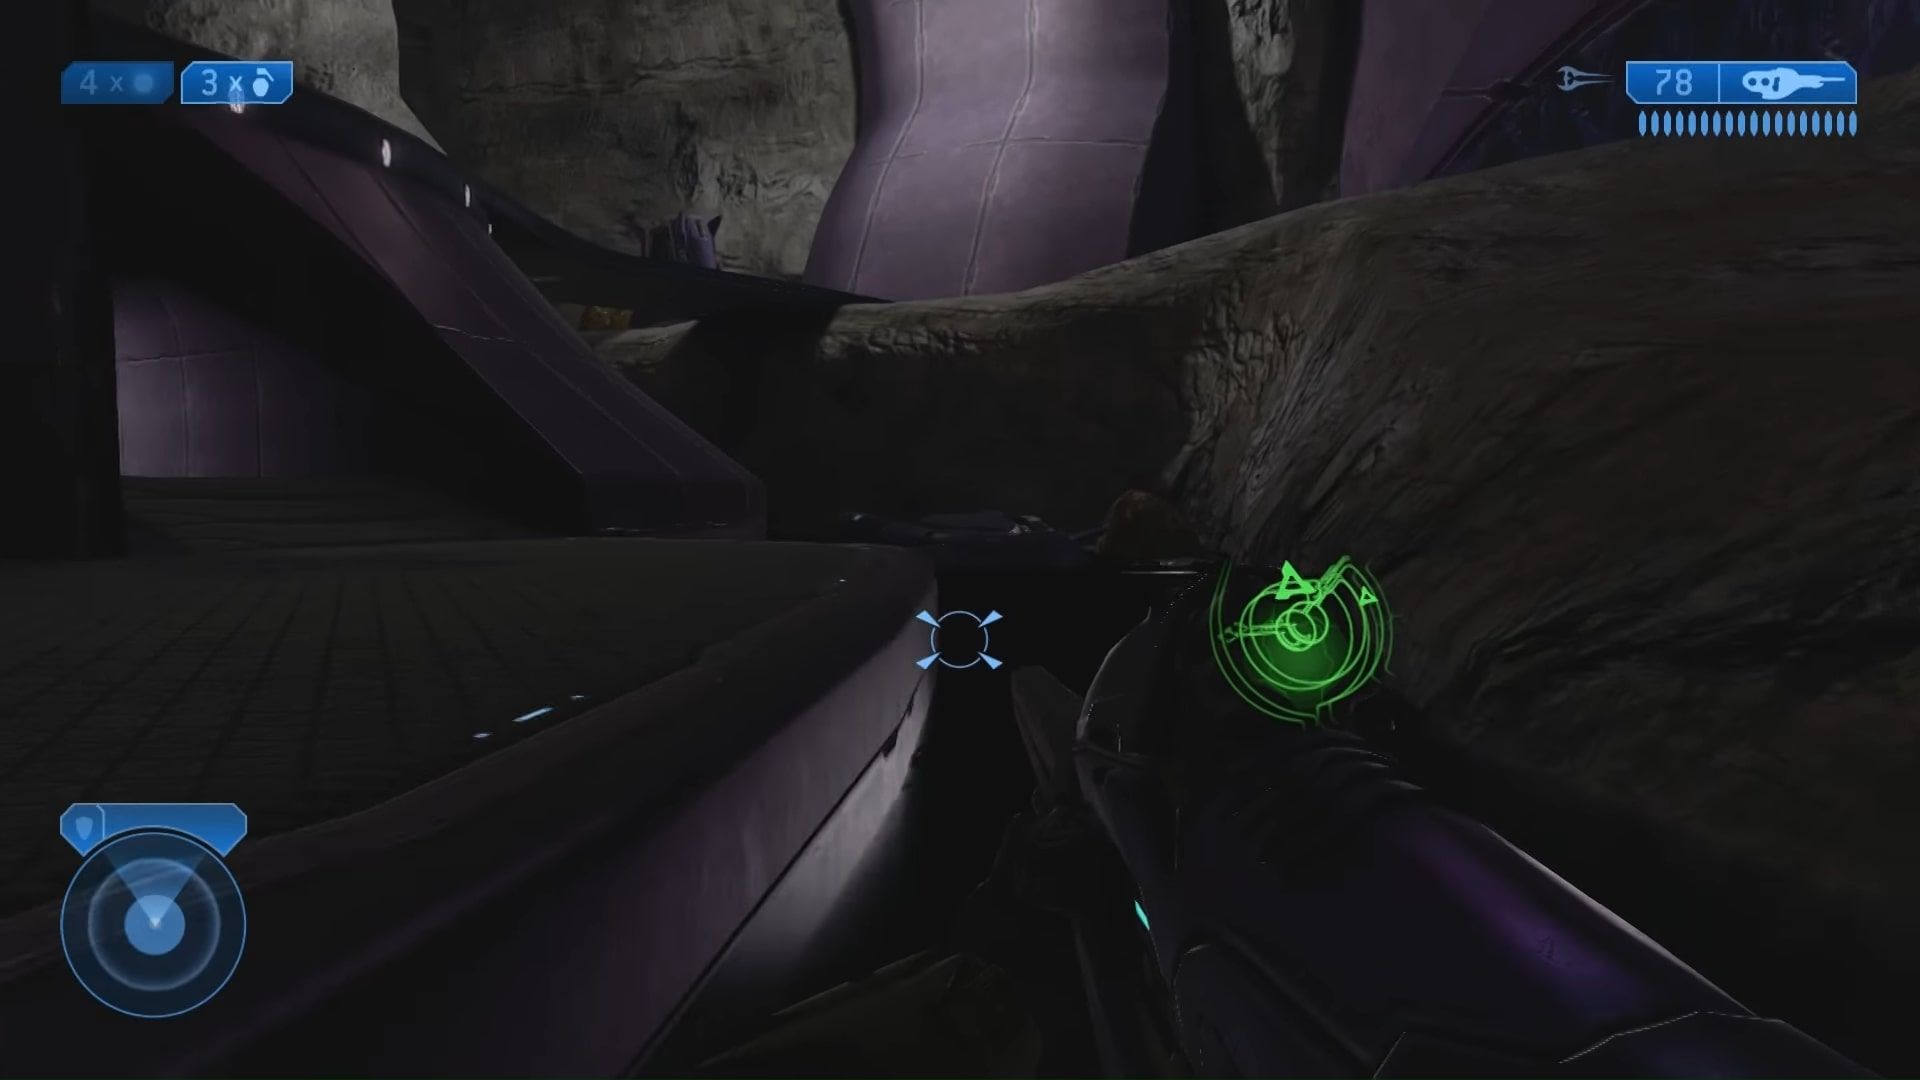
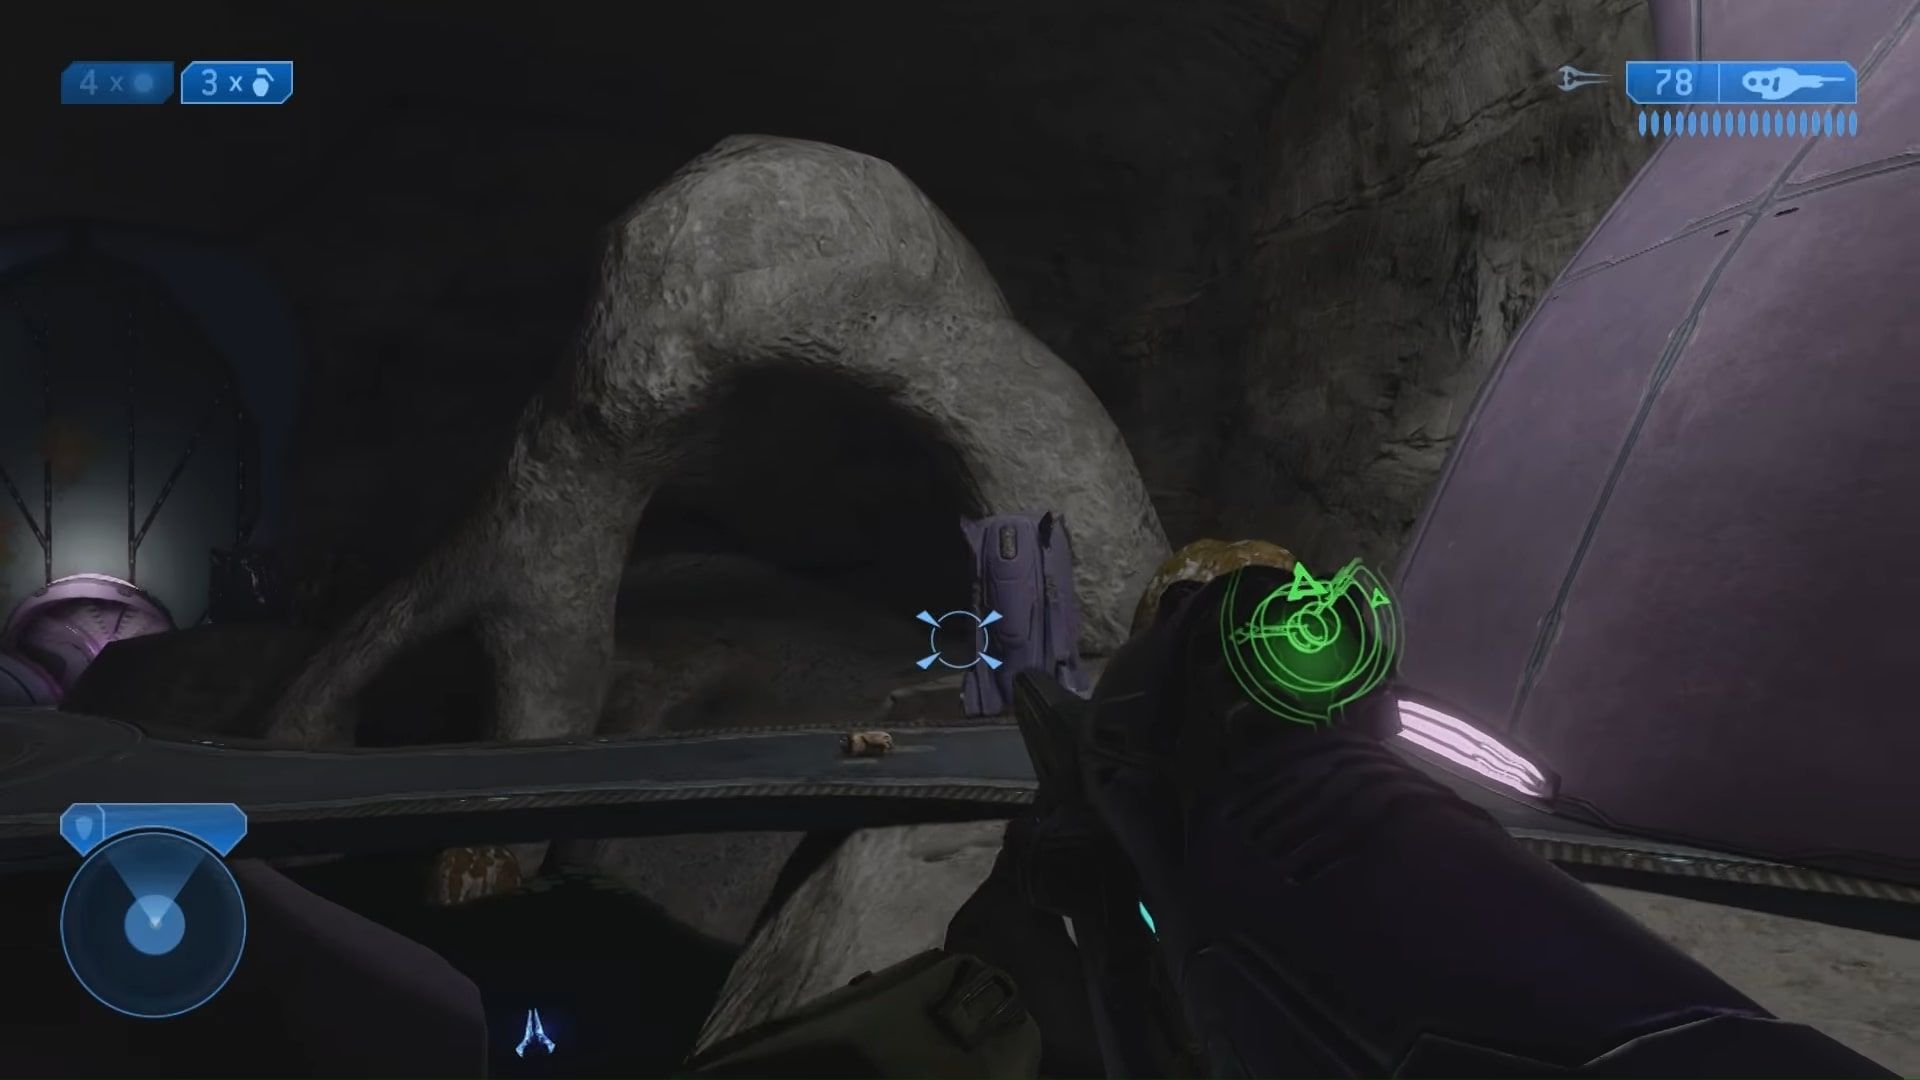
On the second-to-last mission, High Charity, the Rampant Cortana toy can be found in the room pictured below. There are two rooms in this level that look like this, but this is the first one.
Head towards the large arch-shaped rock in the back of the room. Go under it to find a back part of the rock that you can jump up onto.
Walk up to the peak of the arch-rock to find the Rampant Cortana catching some Z's.
The Great Journey
Didact
The final toy in the game, the Didact, found on The Great Journey, is by far the most involved of the eight toys. It will involve some setup at the beginning of the level, but you won't be able to collect the toy until near the end. From the start, you're going to want to steal the spectre from your elite friend and drive away. Do not let the elite board the turret.
Drive it all the way through the valley, past the ghosts and the scarab, then park it near the two trees in the back left of the area. Quickly run away, so as to draw all fire away from it.
Kill the two wraiths guarding the door and progress all the way through the level, until you are given a banshee. Fly it down to the spectre and man that instead.
Drive it through the canyon, ignoring all the wraiths, turrets and spectres you pass. Once you reach the starting point of the level, slowly tease yourself off the edge and fall down to the beach below.
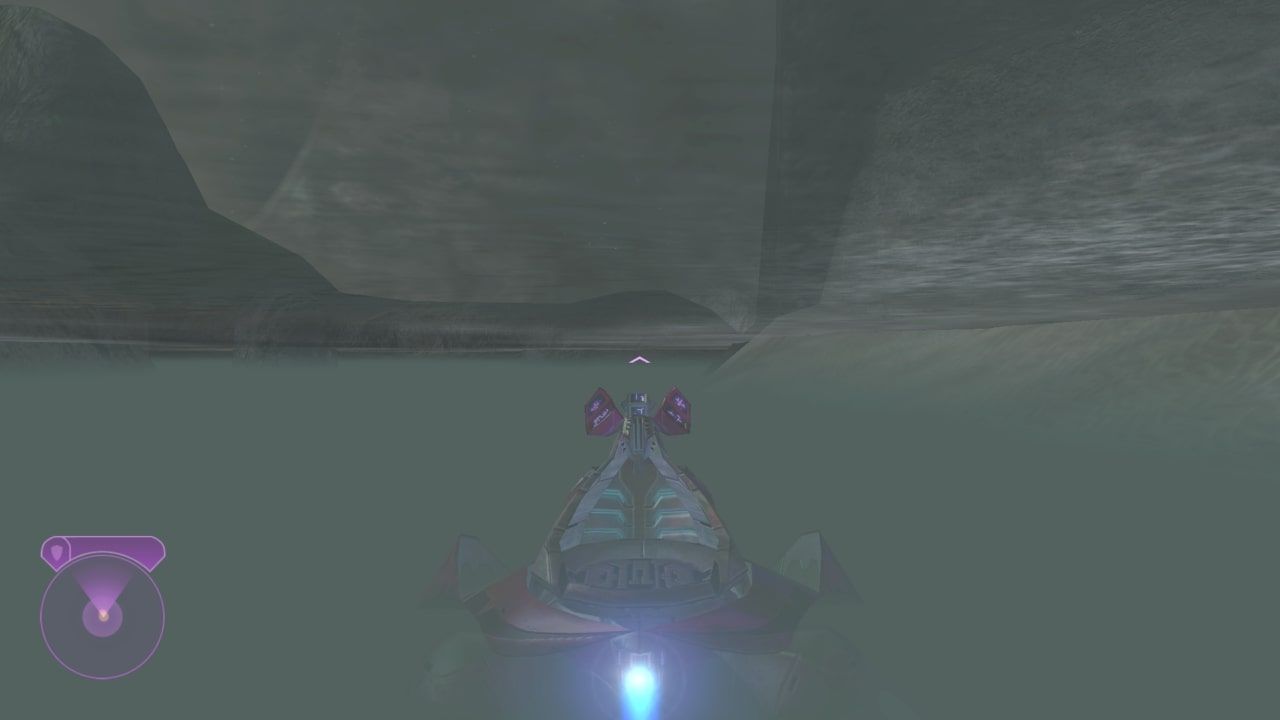
Drive out into the water, switching to classic graphics, and take a right. Drive towards the peninsula, then up onto it. It helps if you pull back and hold the jump button will boosting up onto the land.
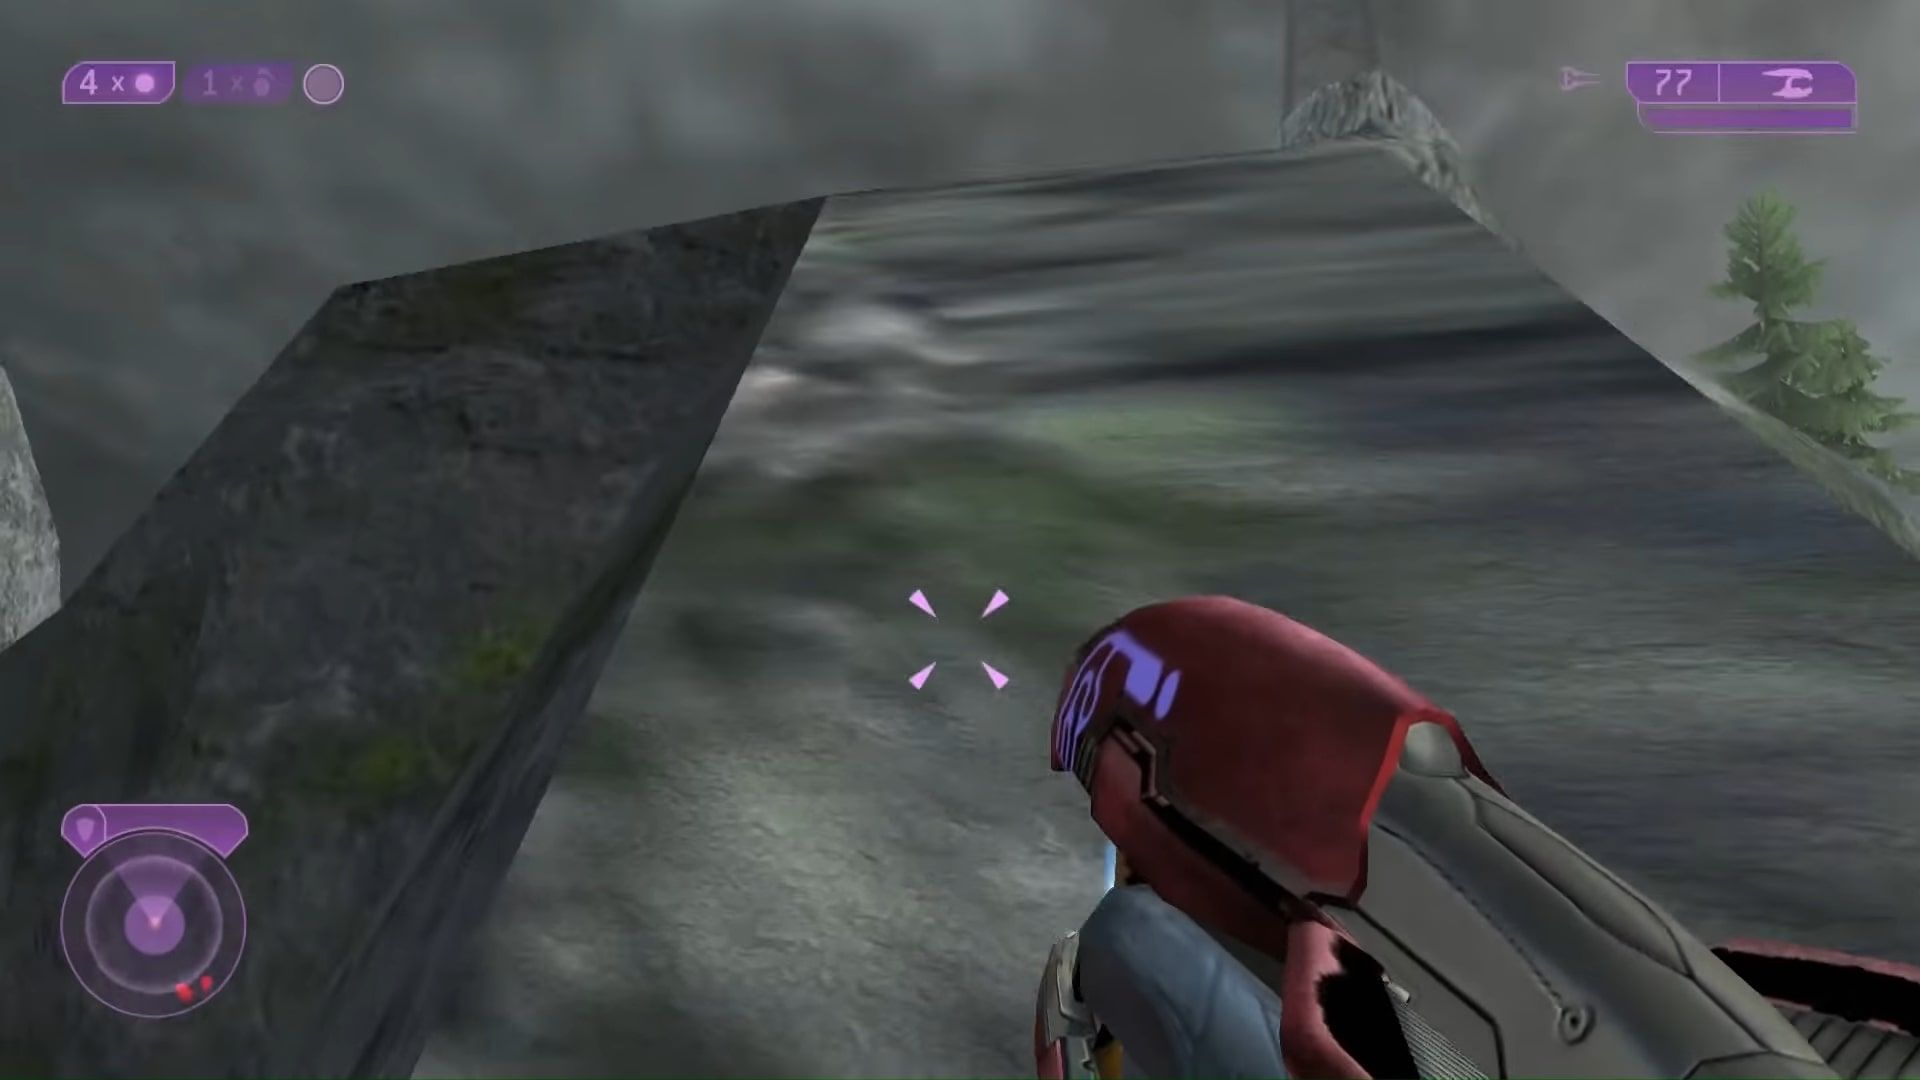
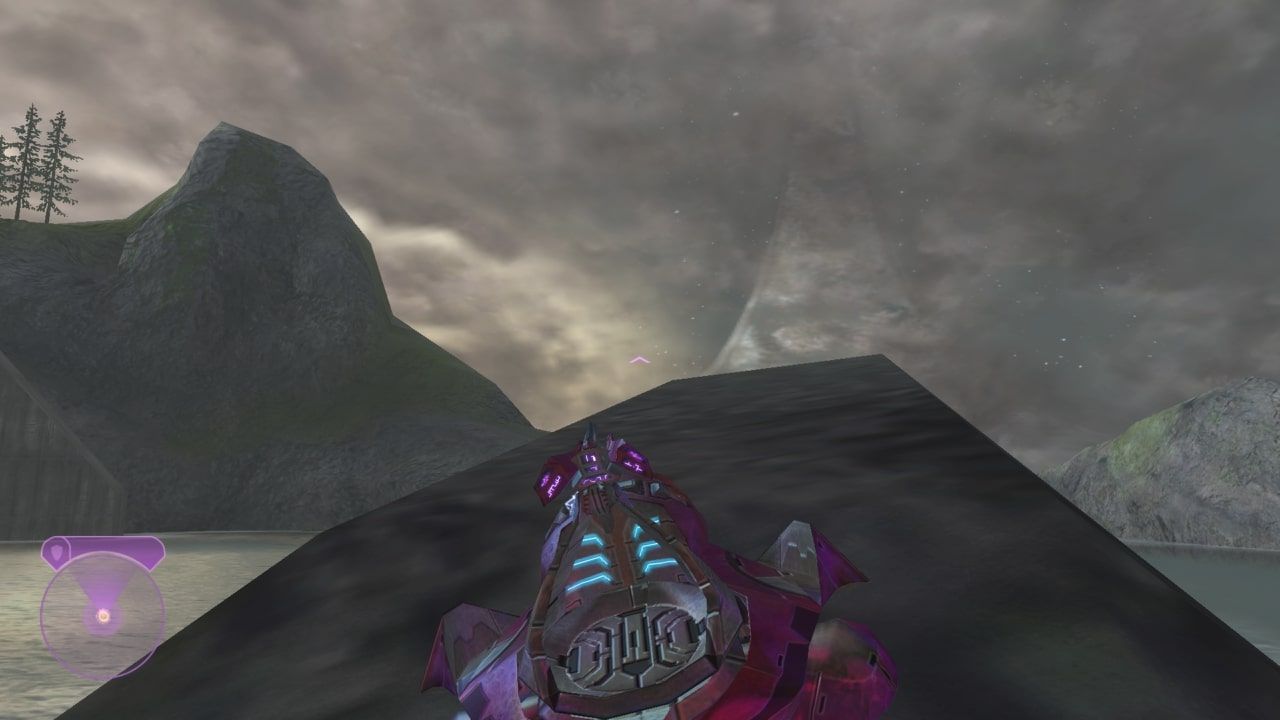
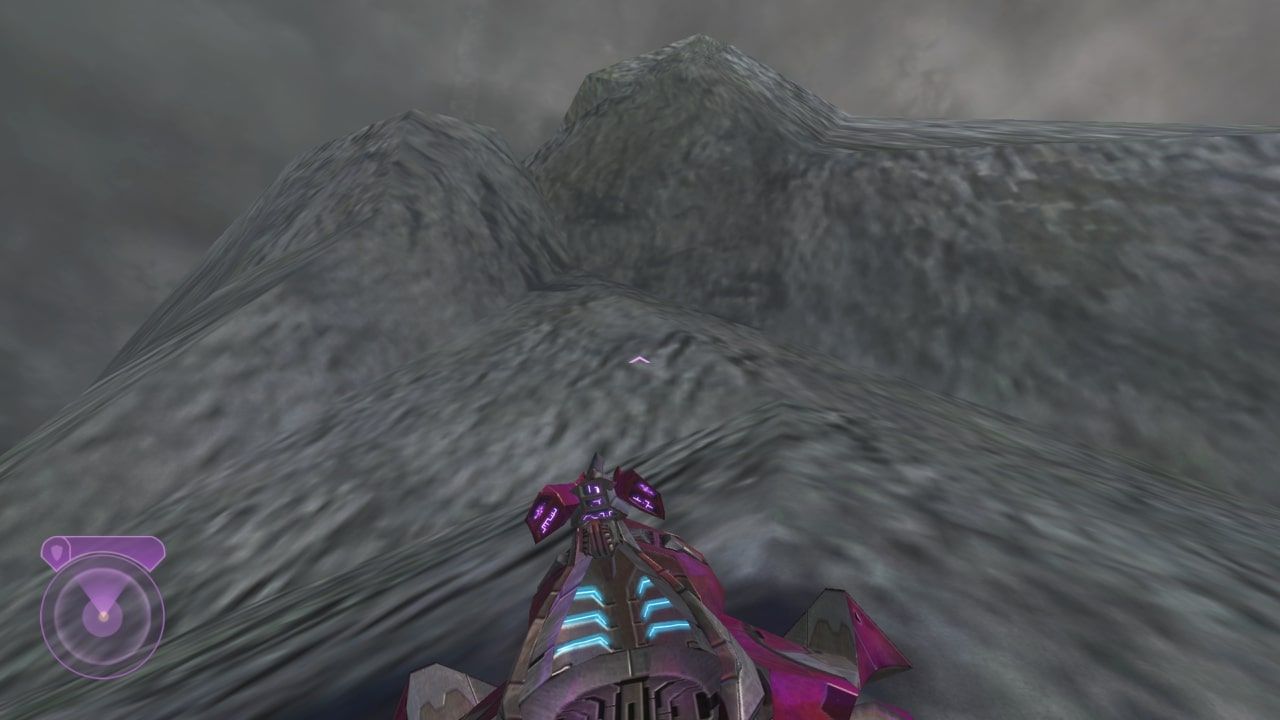
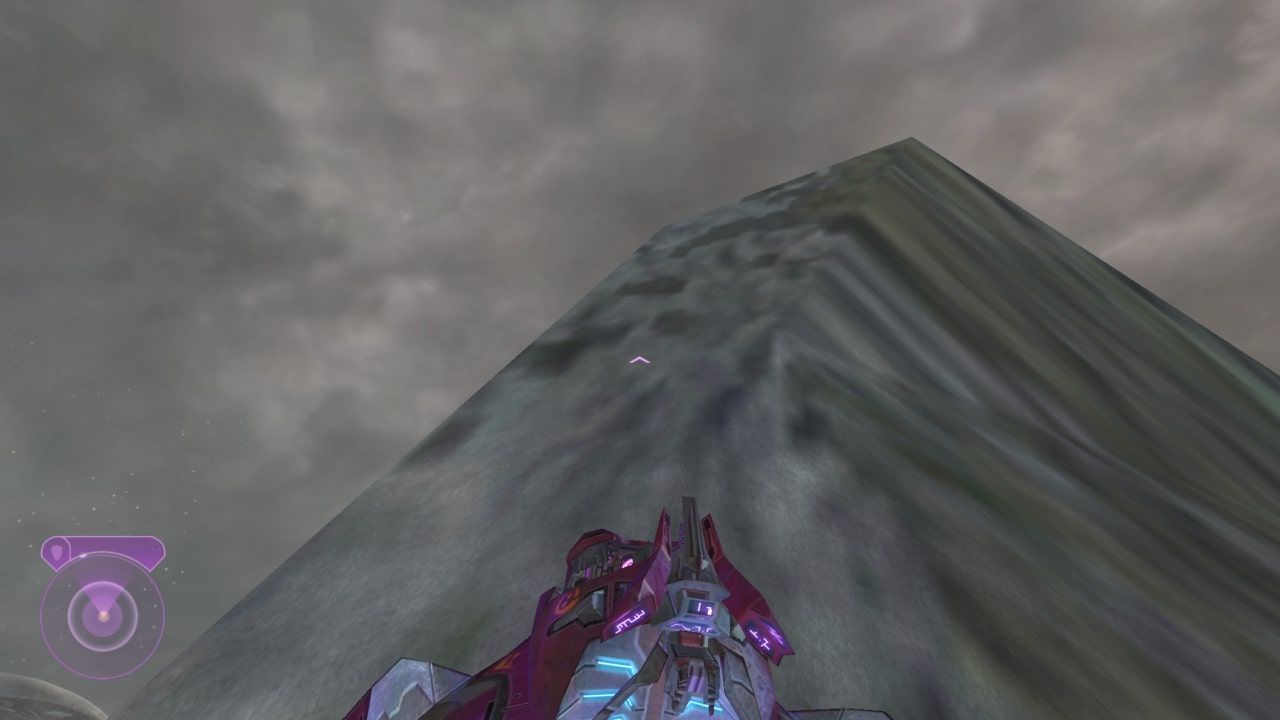
Drive all the way down the stretch of land, then go all the way up the mountain, as seen below.
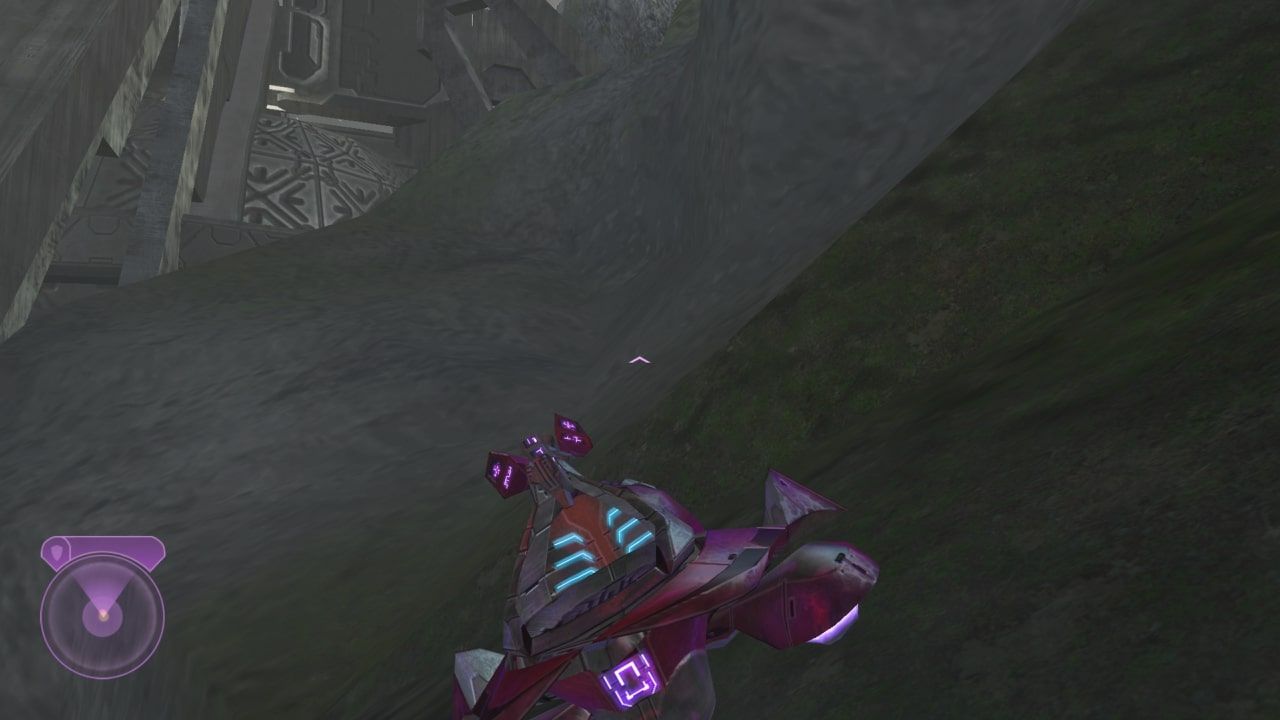
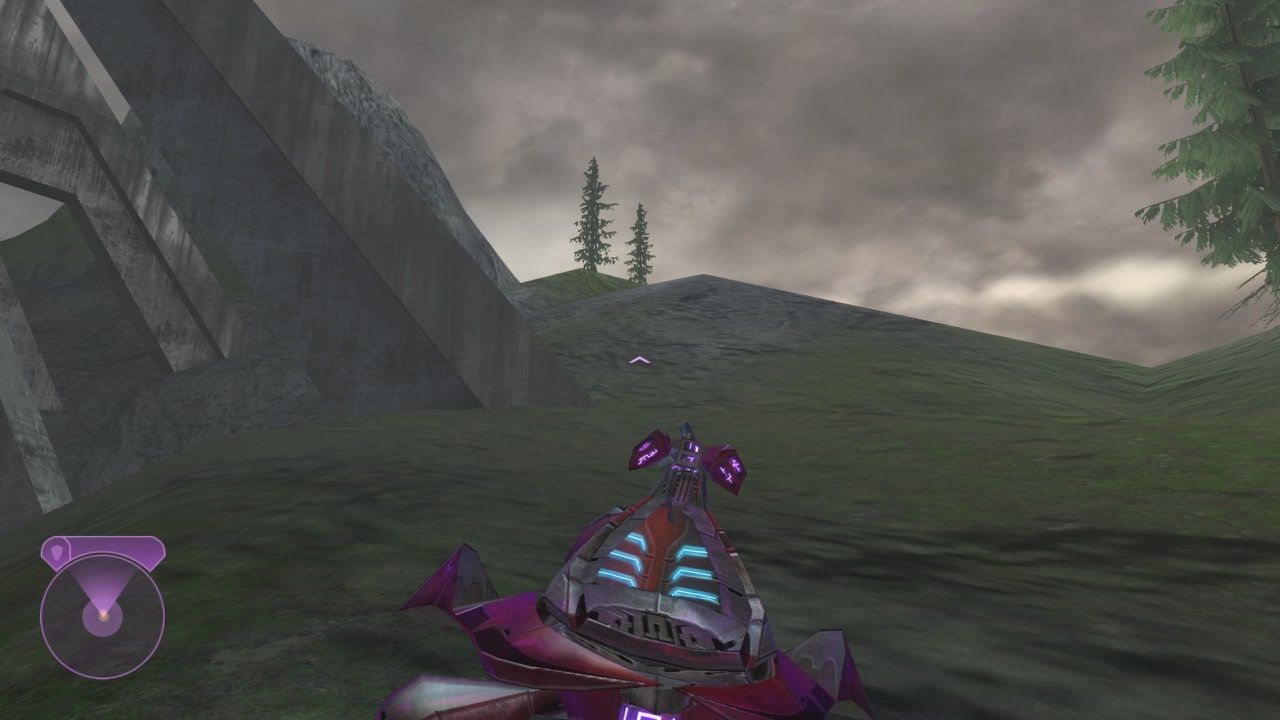
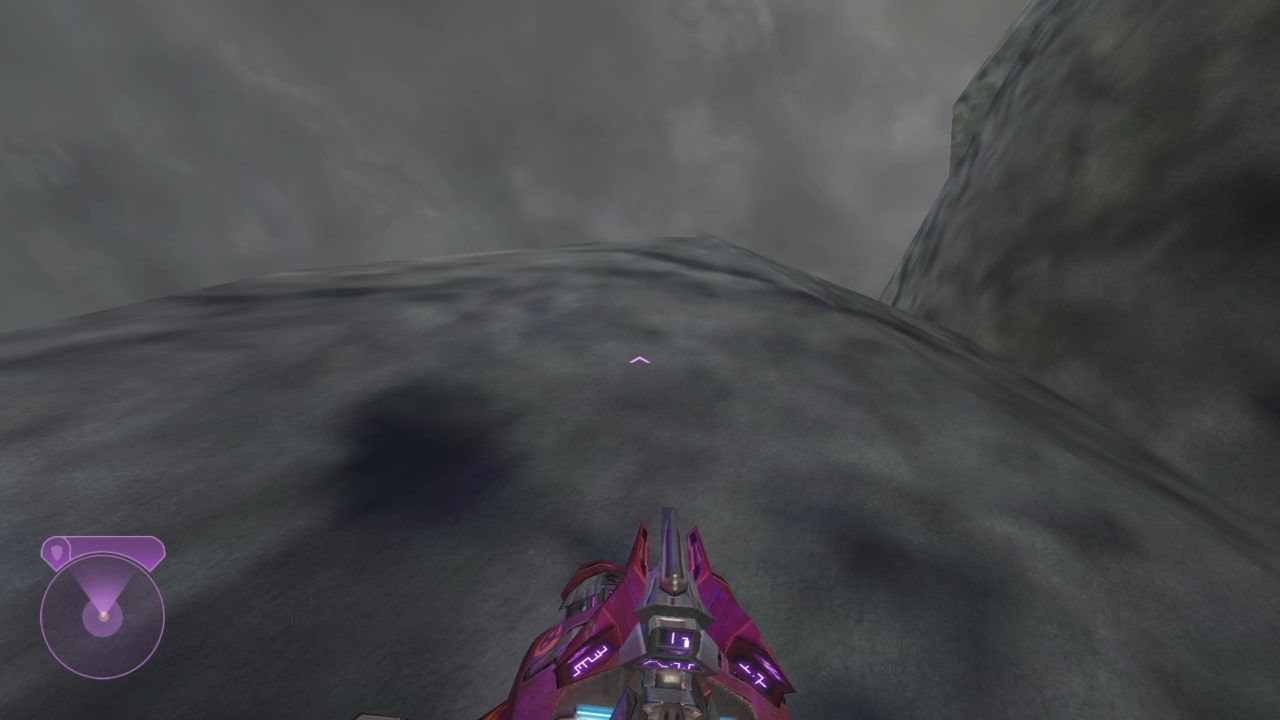
Once you reach this point, drive forward a little bit and loop around onto the back part of the mountain. The incline here is surprisingly shallow enough for you to boost up. Stay to the left and you should reach a flat spot.
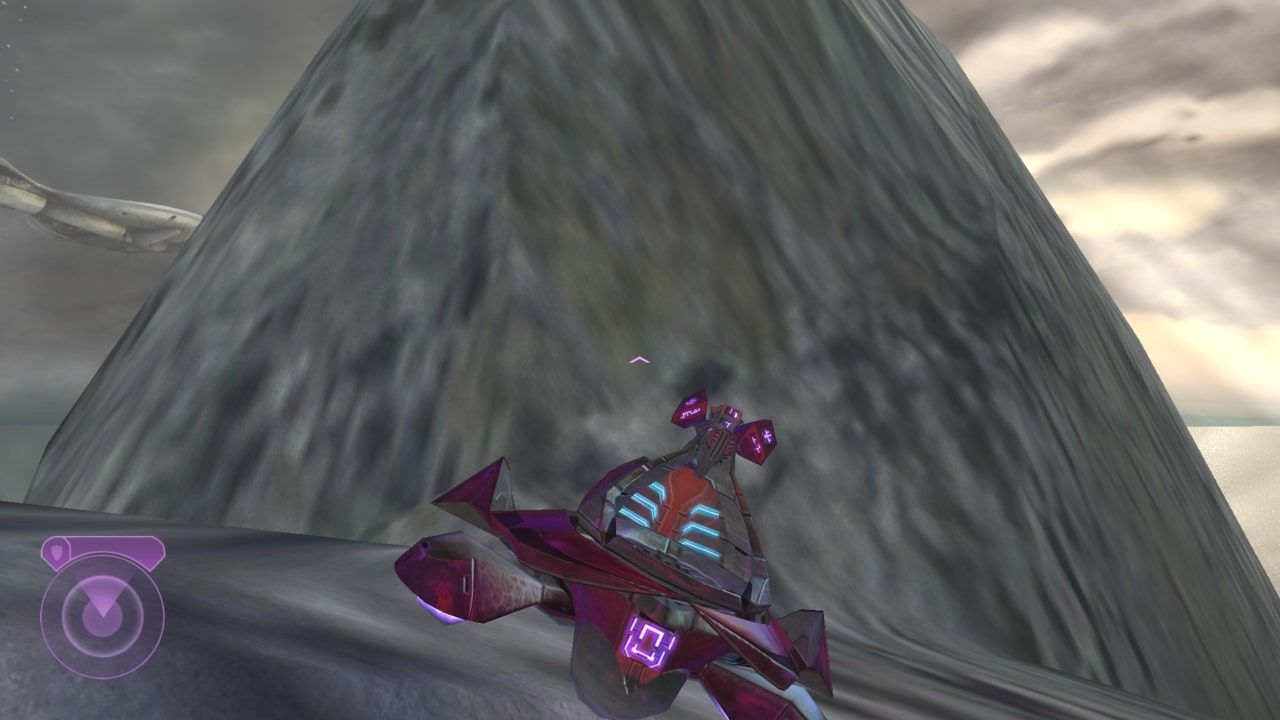
Once you reach the flat spot. turn around and boost up the geometry here. Stay as far left as you can, as the right area is too steep.
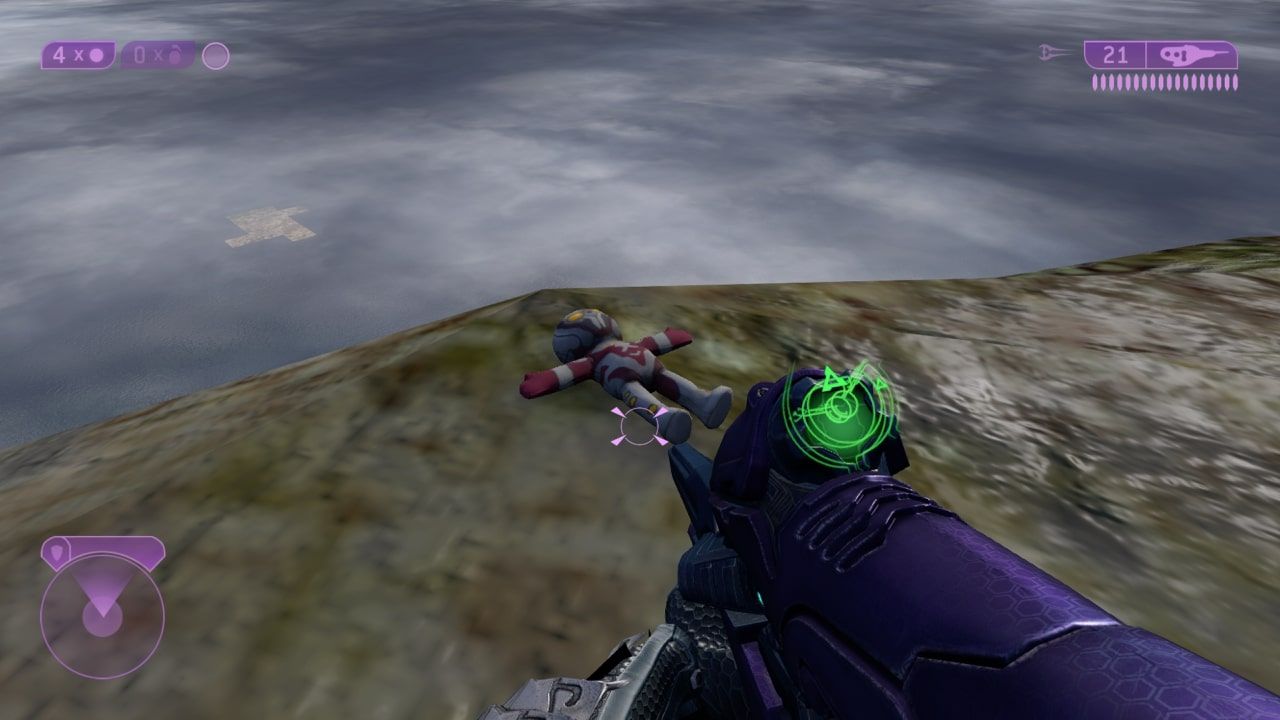
Once at the top, exit the spectre and switch to remastered graphics. You should now be able to find the Didact toy just chilling on the ground. This is the Ur-Didact, one of the two Didacts in existence.

