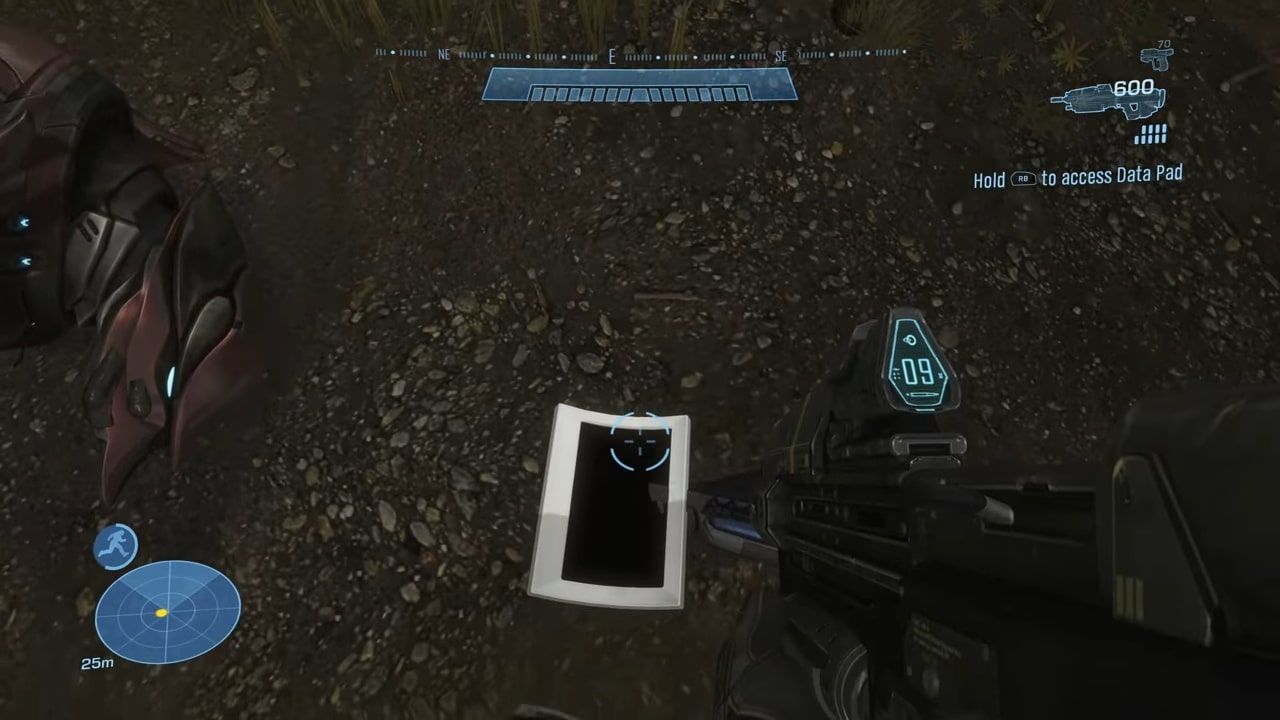
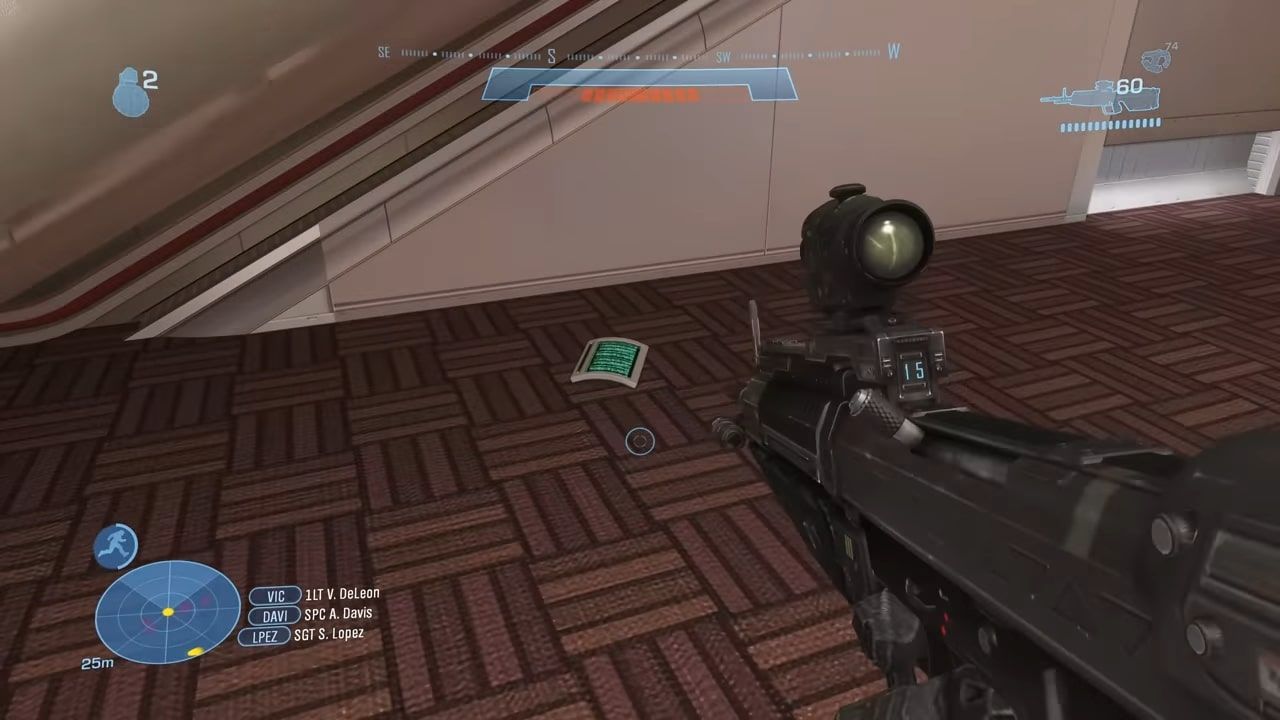
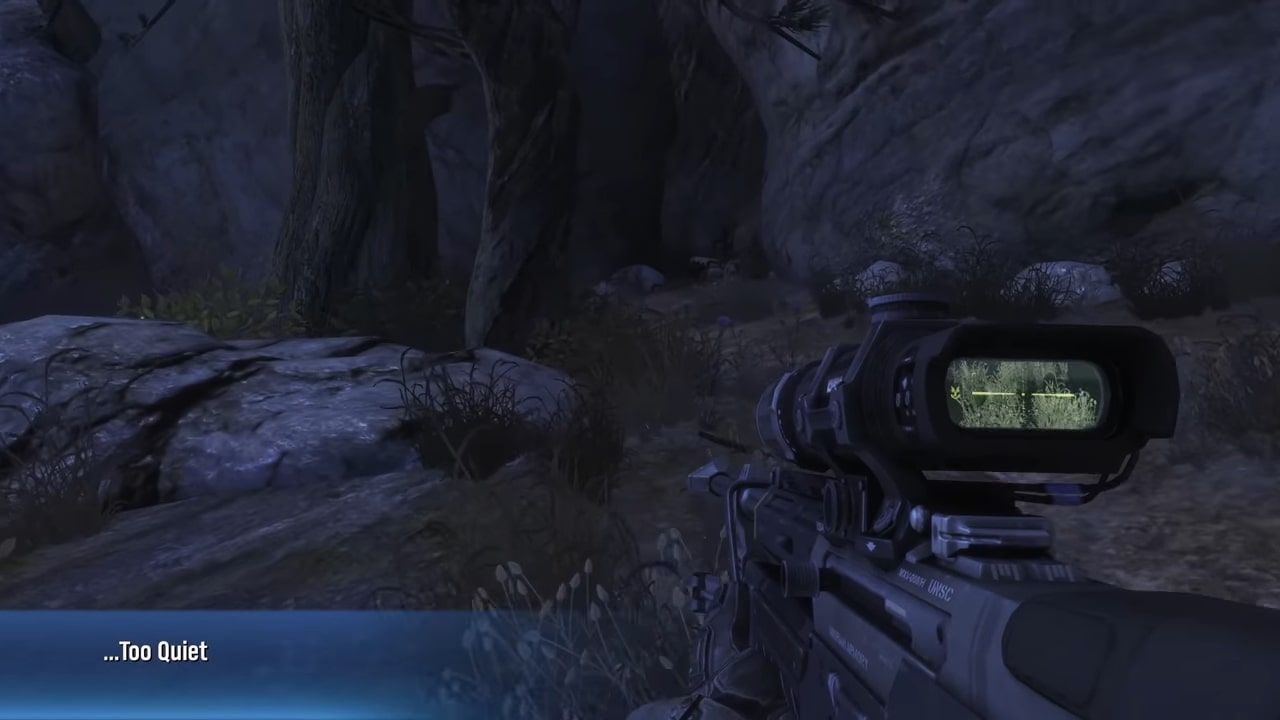
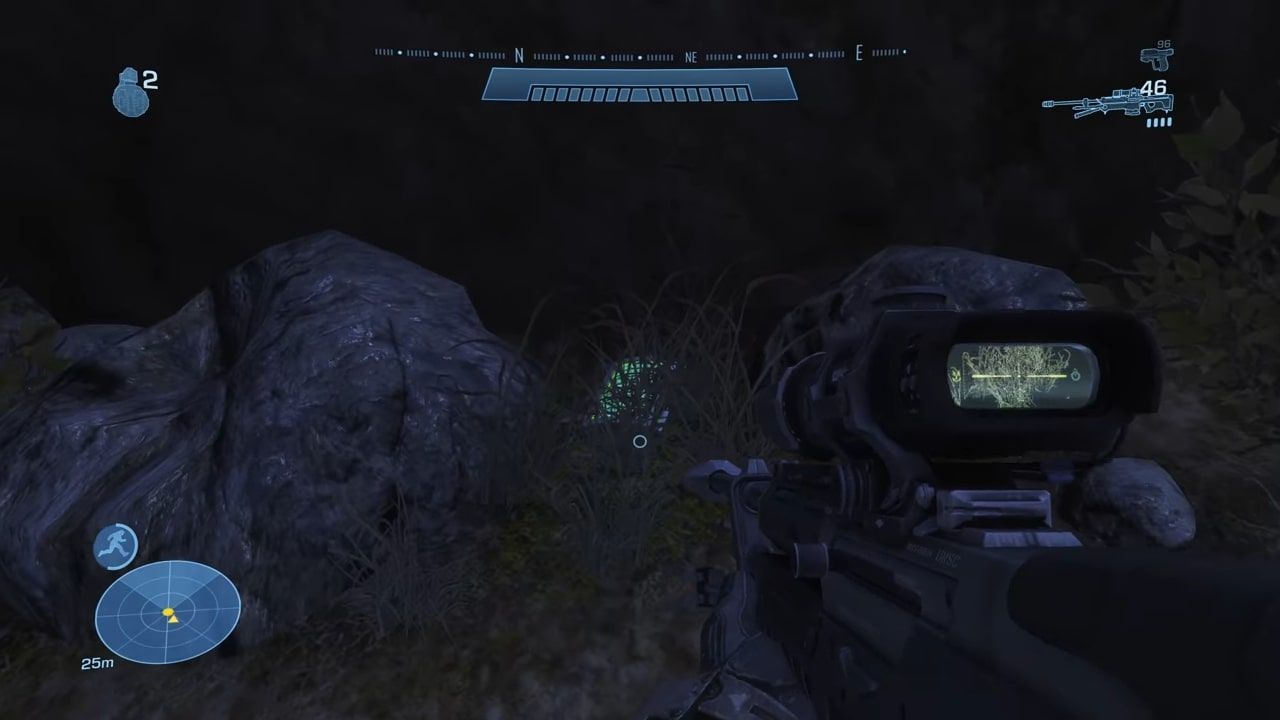
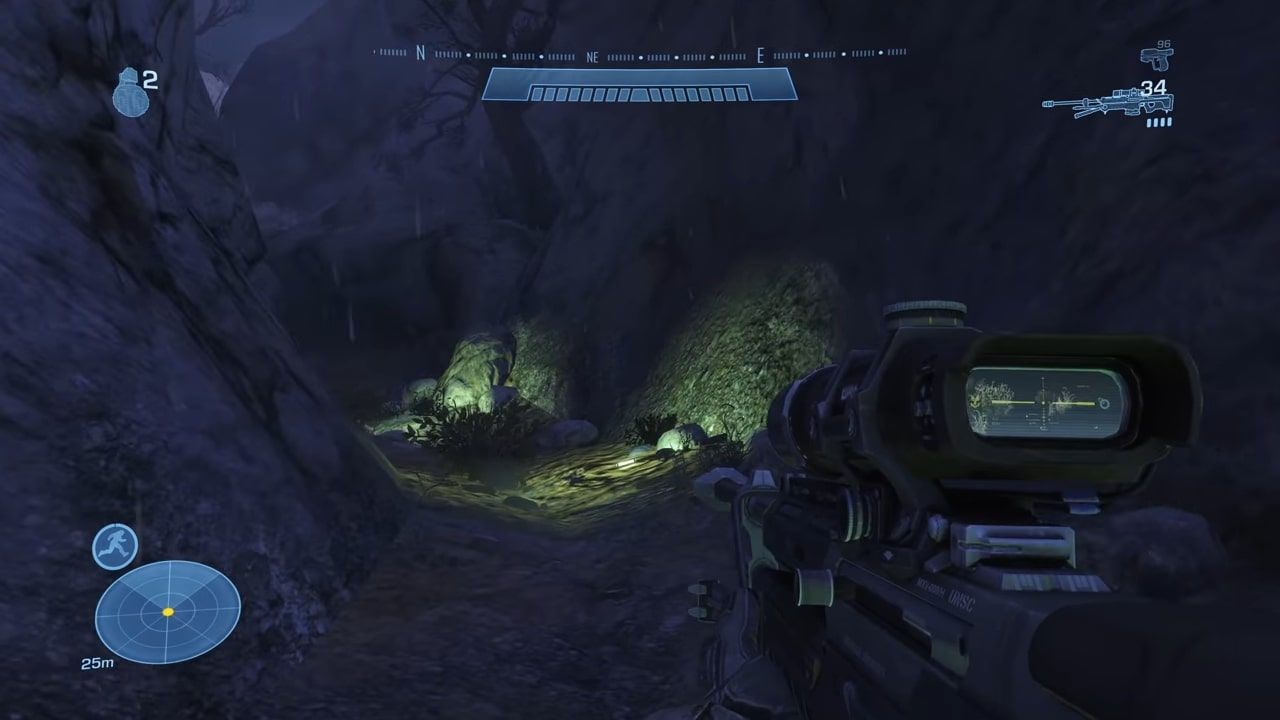
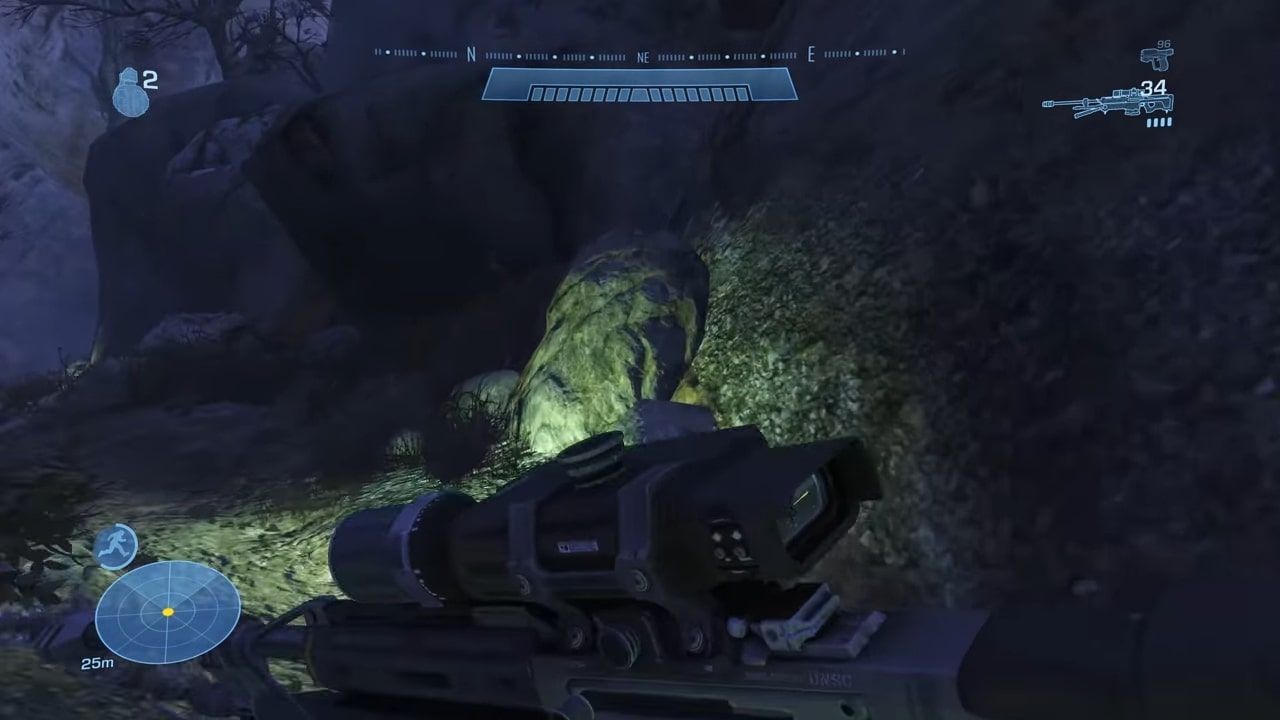
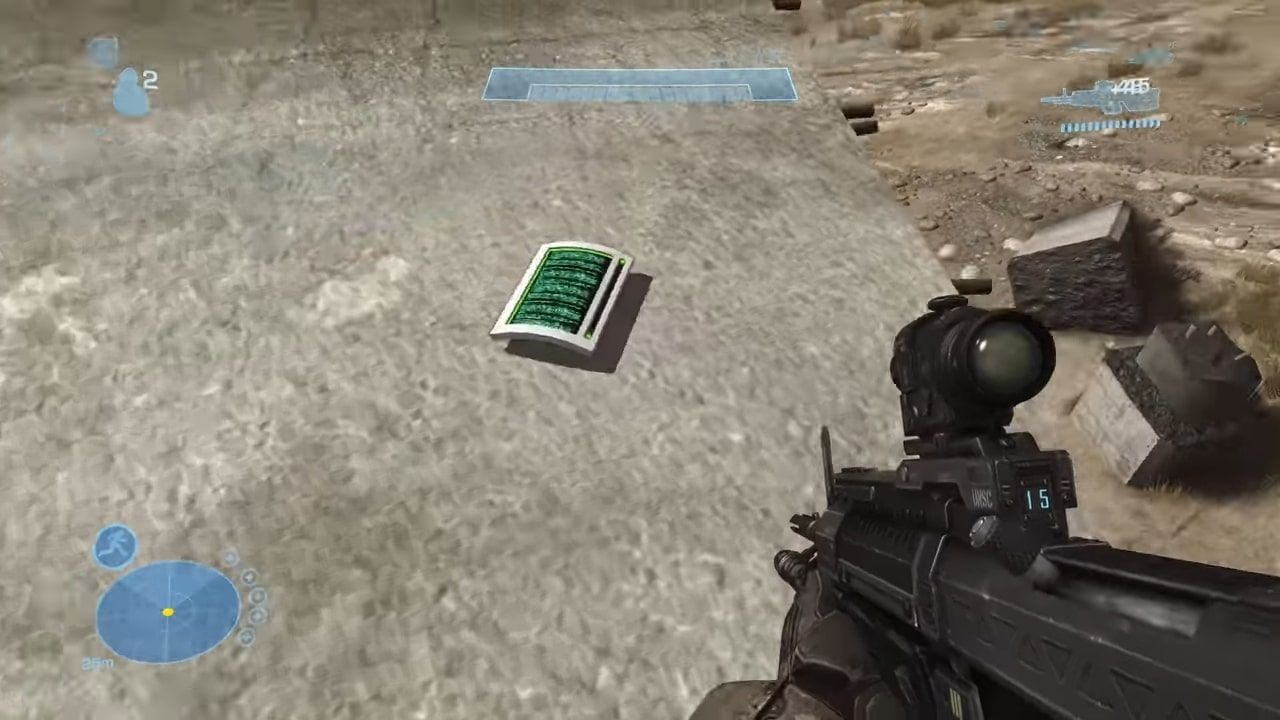
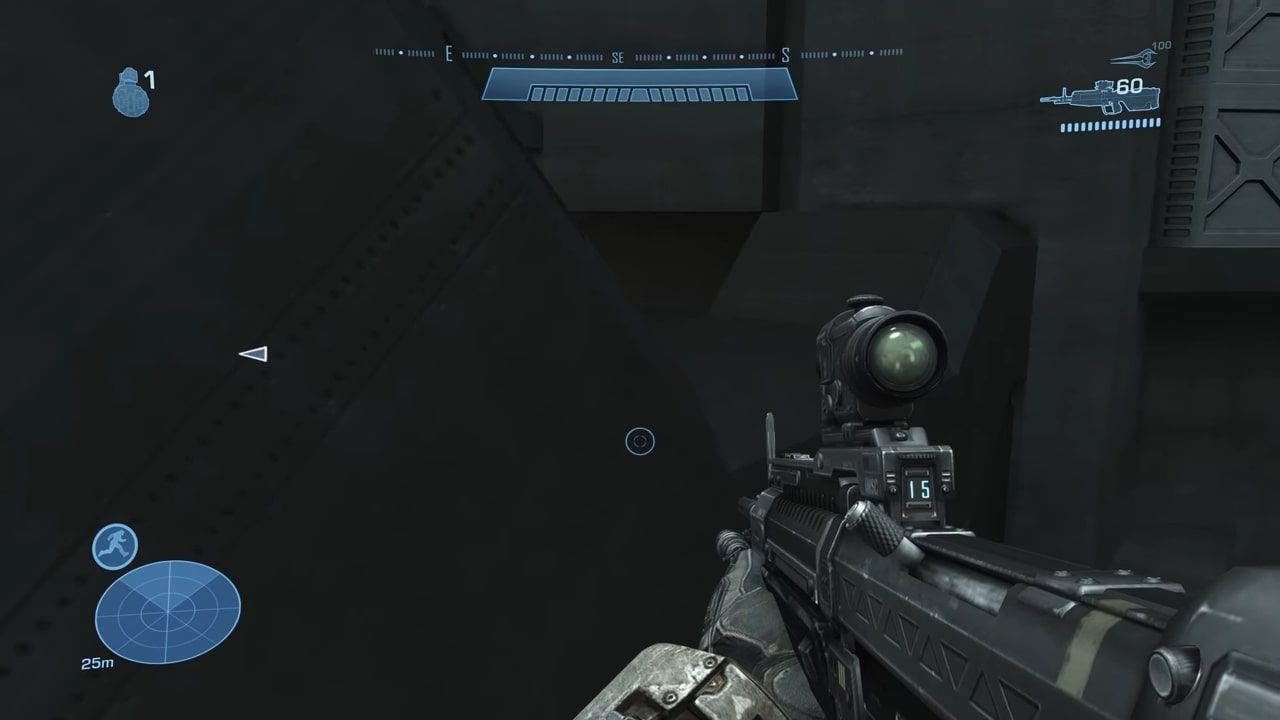
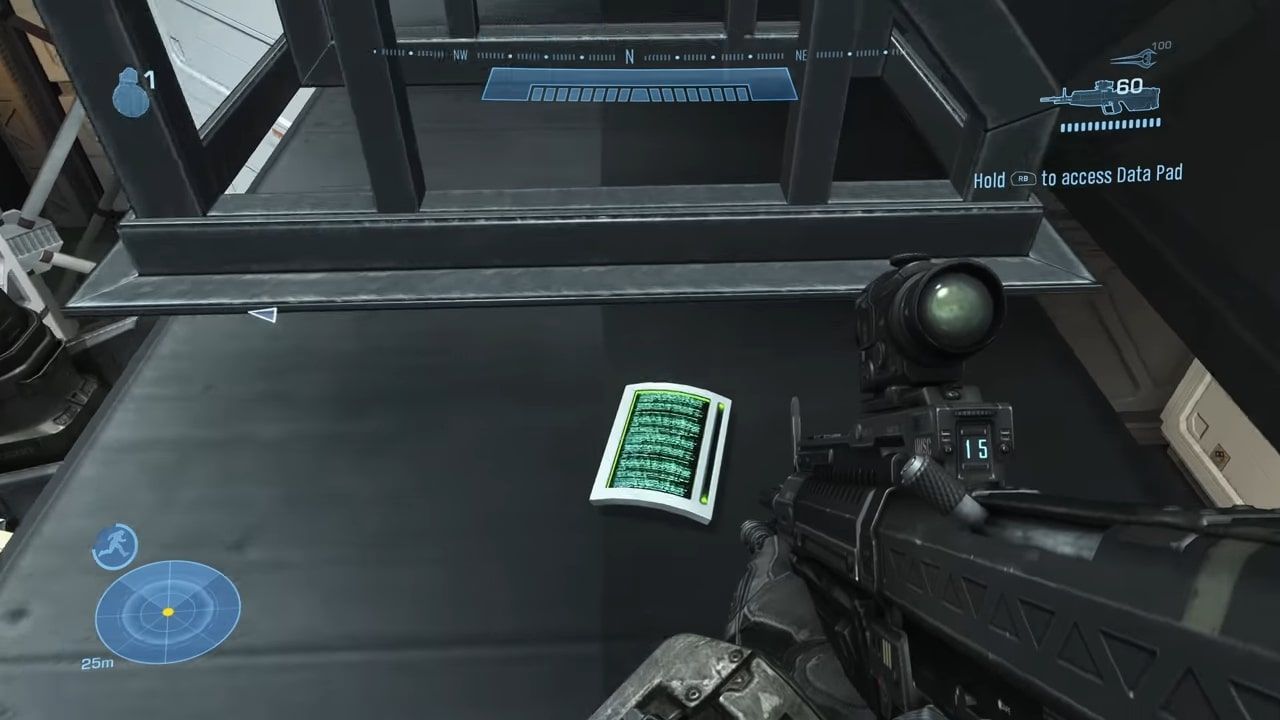
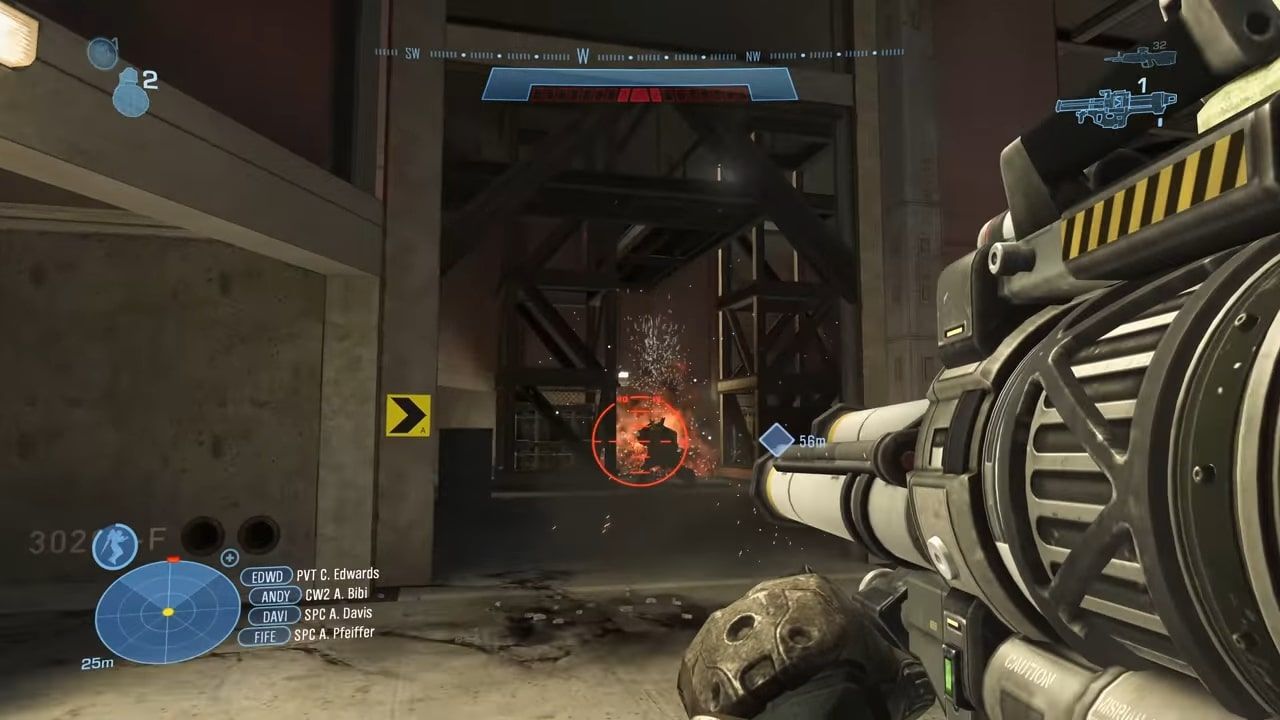
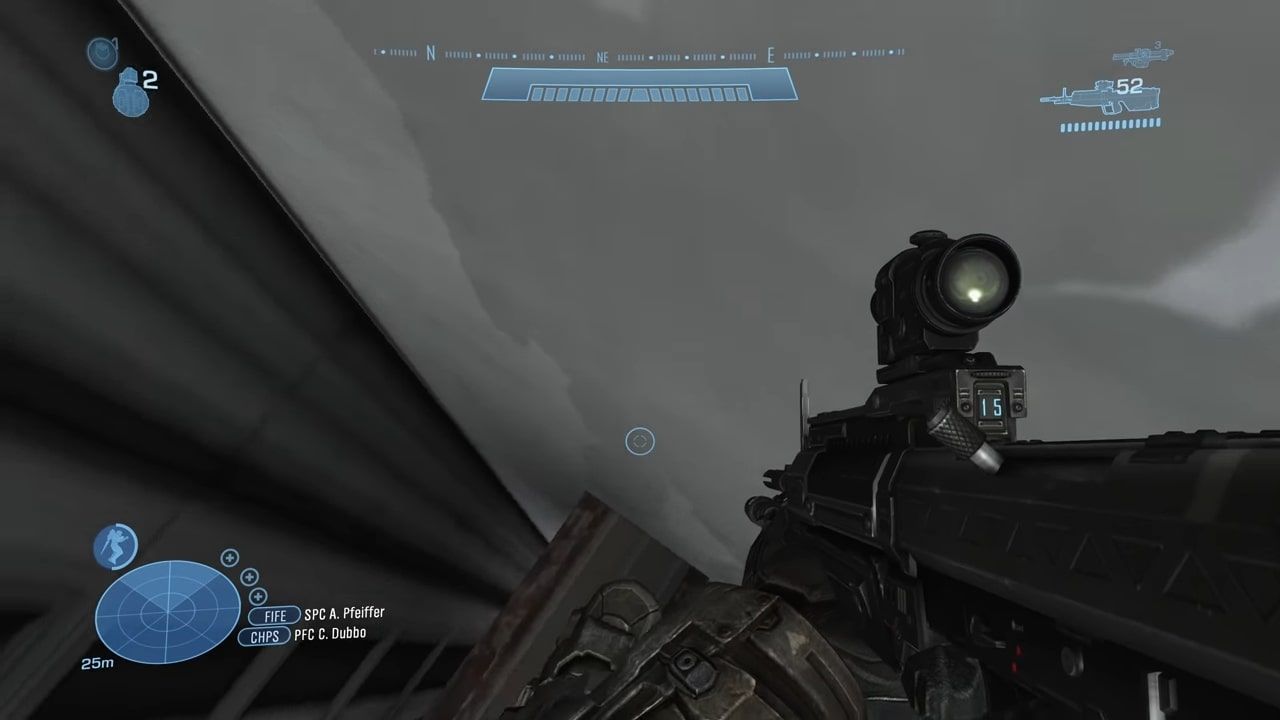
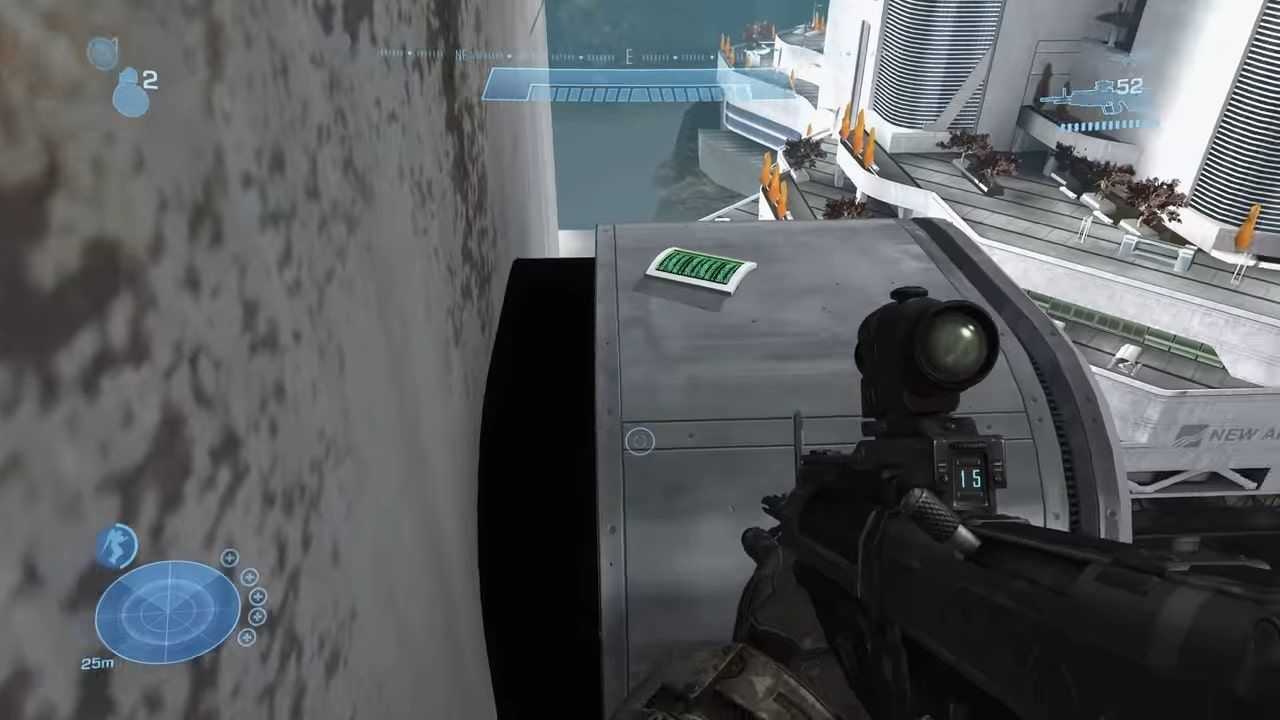
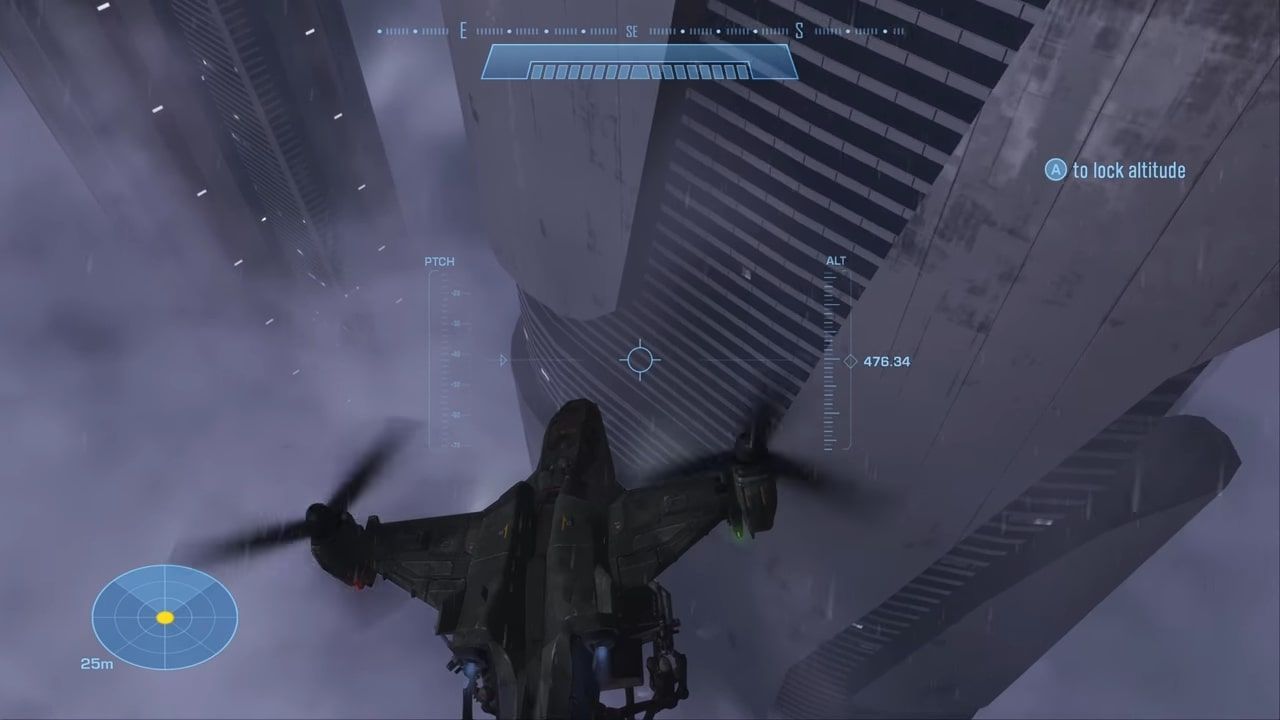
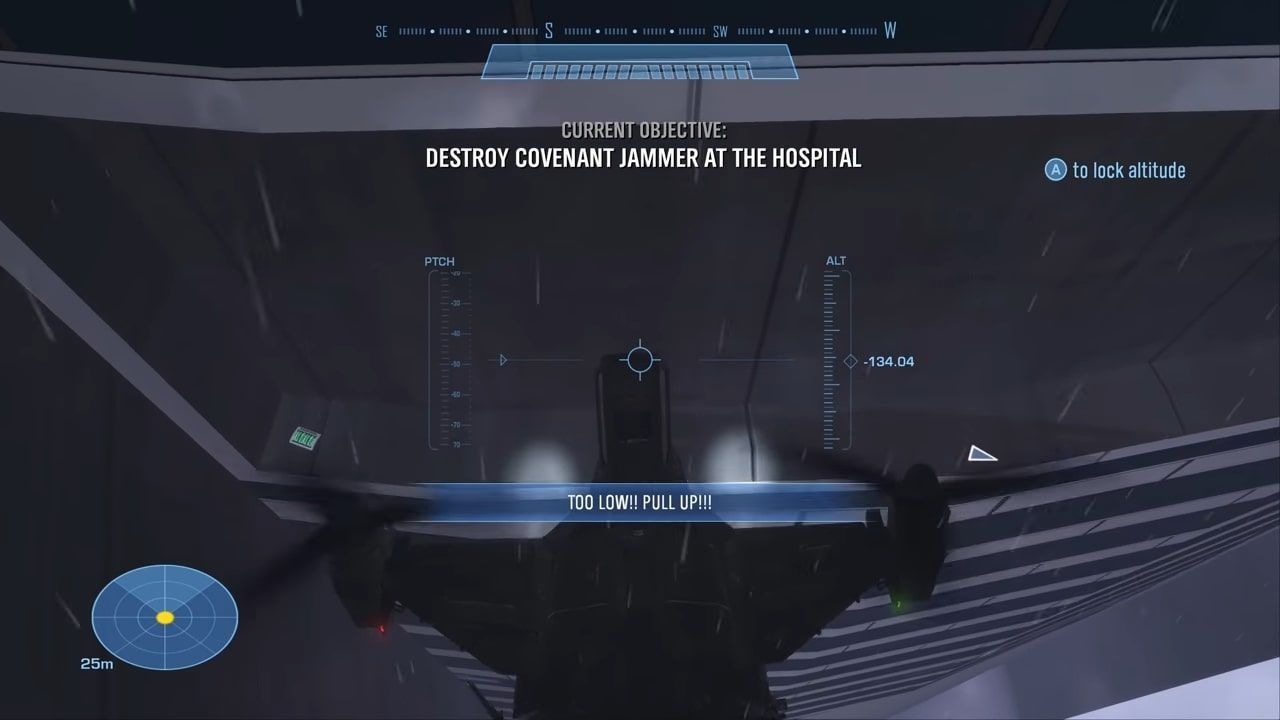
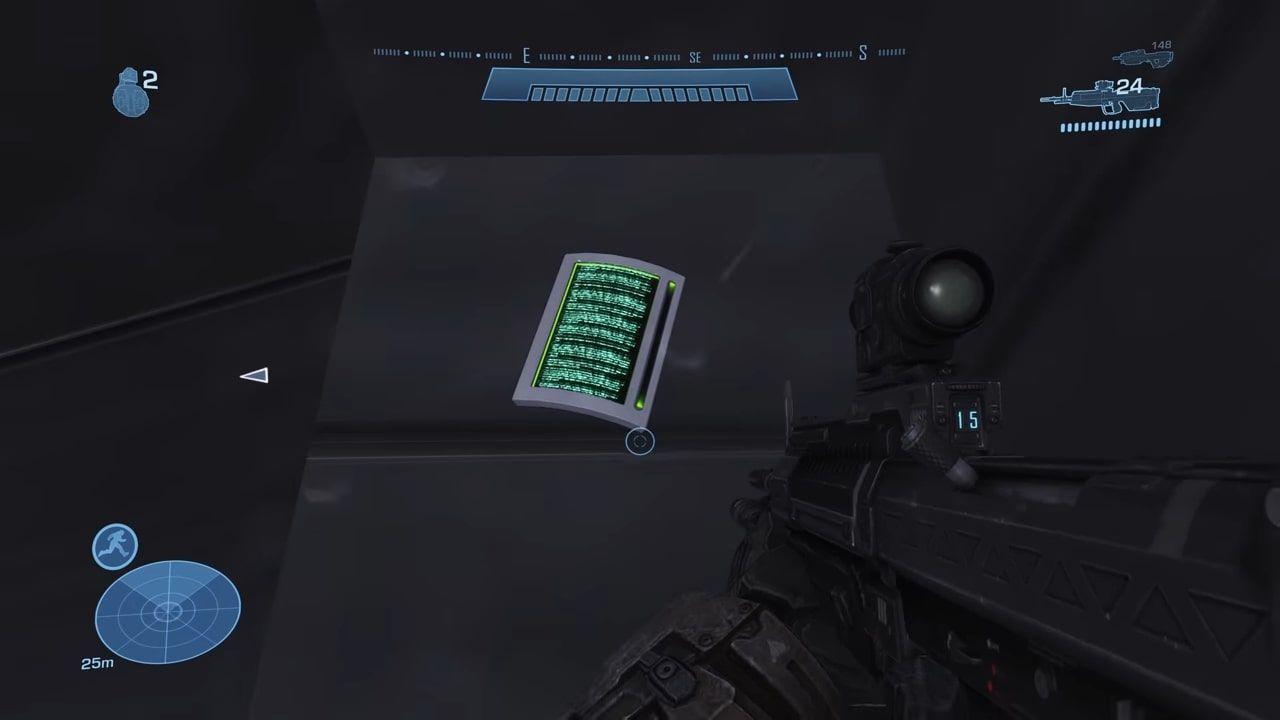
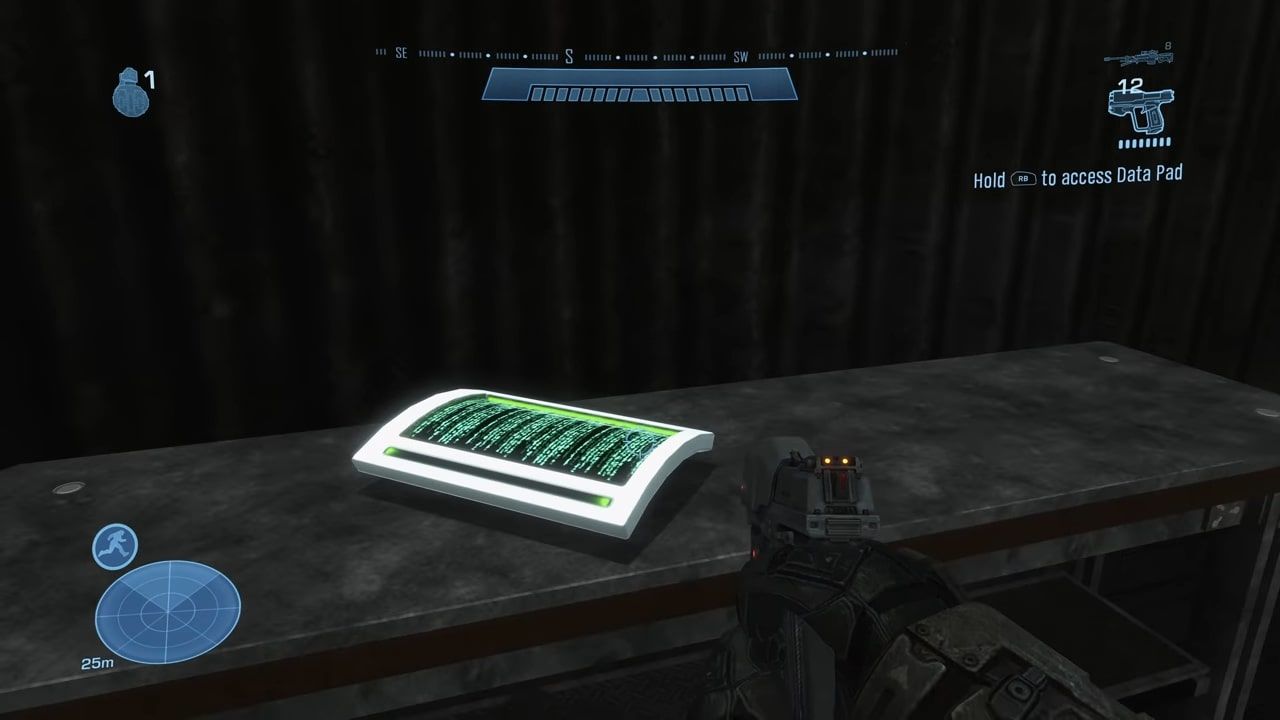
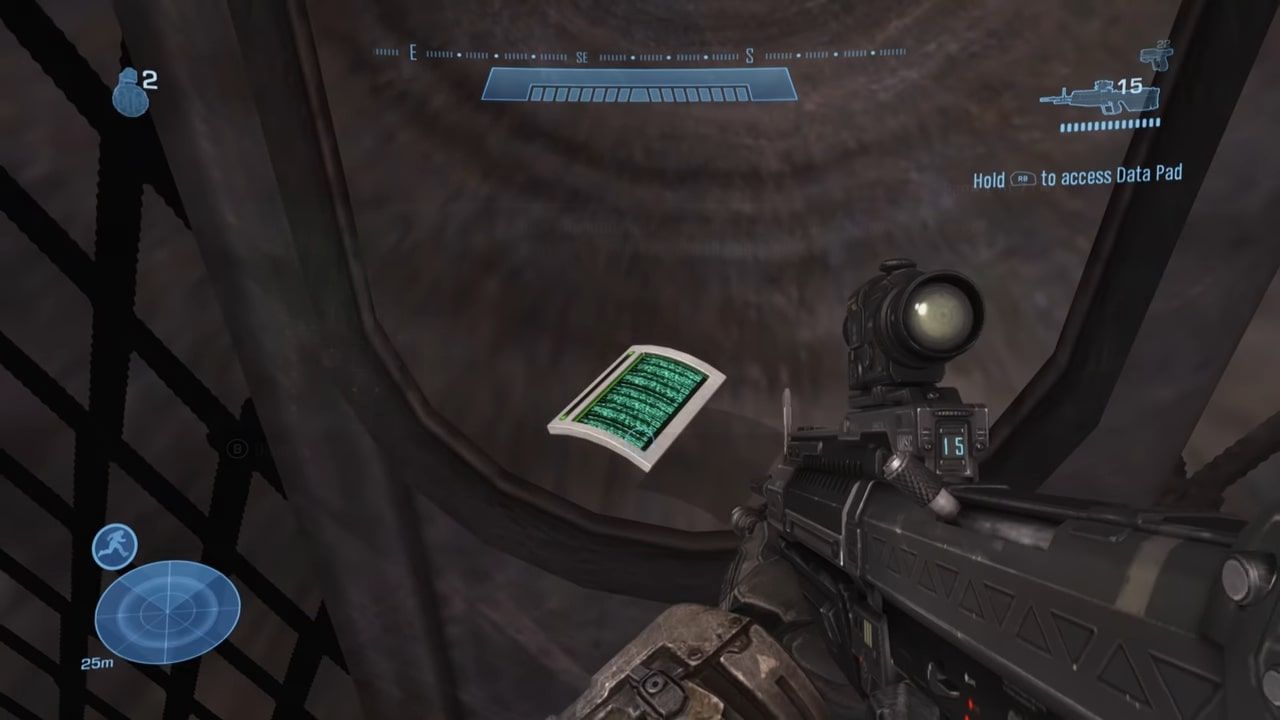
Halo: Reach's collectibles are much less involved than those seen in previous installments. This game features 19 data pads, with two on every level, plus one on Lone Wolf. One of each level's data pads is exclusively collectable on Legendary, while the other can be collected on any difficulty.
These data pads are comparable to the terminals found in Halo 3, telling a self-contained story through text, this time as a conversation between the Assembly and an unnamed human who has uncovered their activities. If you are playing the Master Chief Collection, each terminal will net you five gamerscore, with a 20G bonus achievement for collecting them all.
Winter Contingency
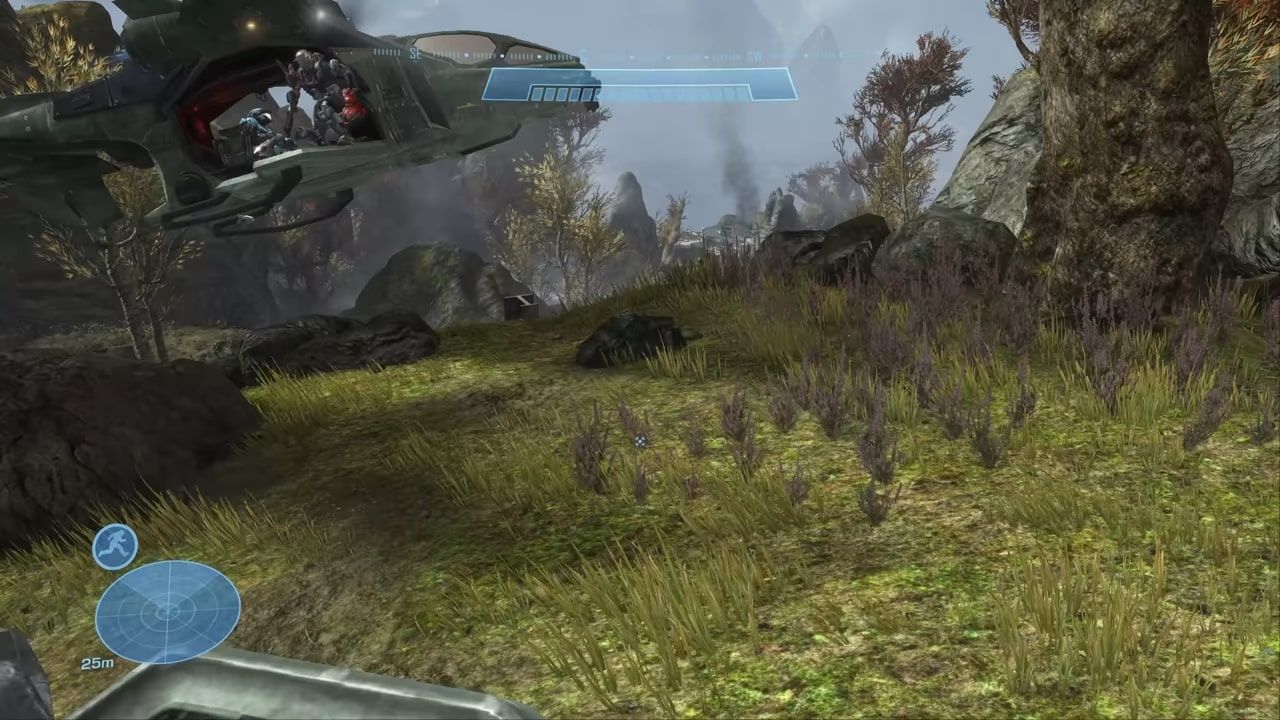
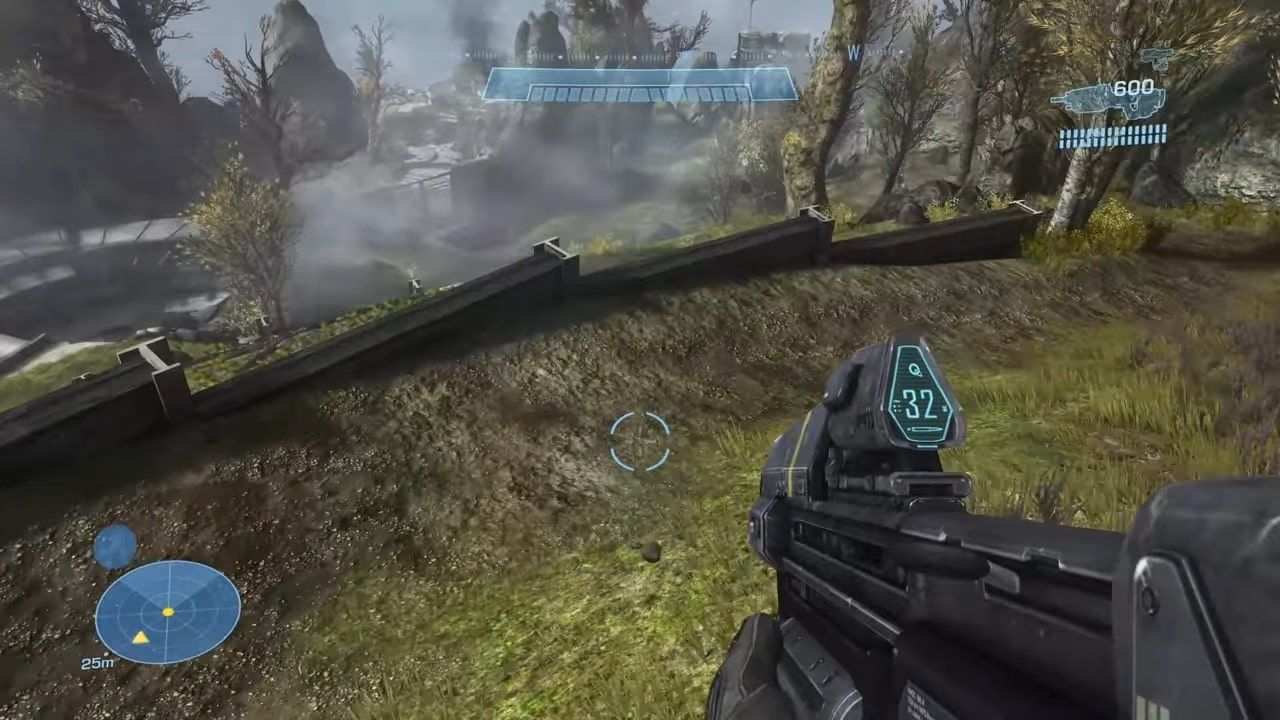
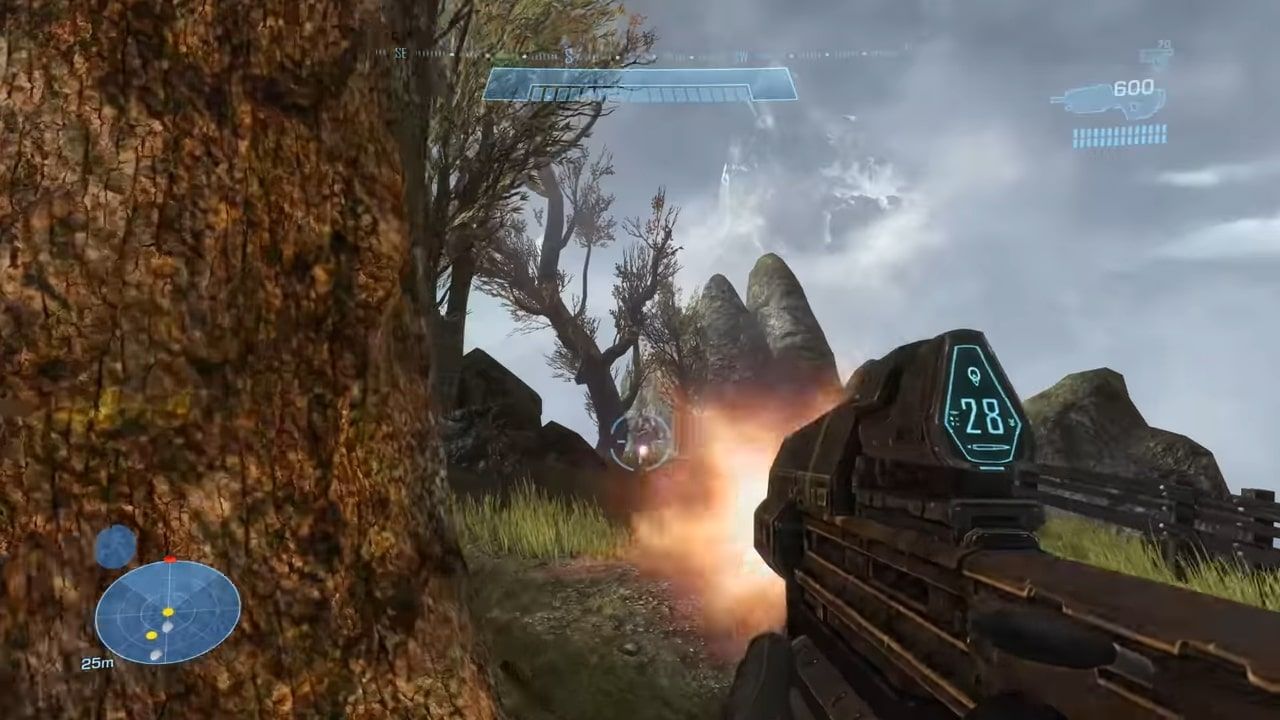
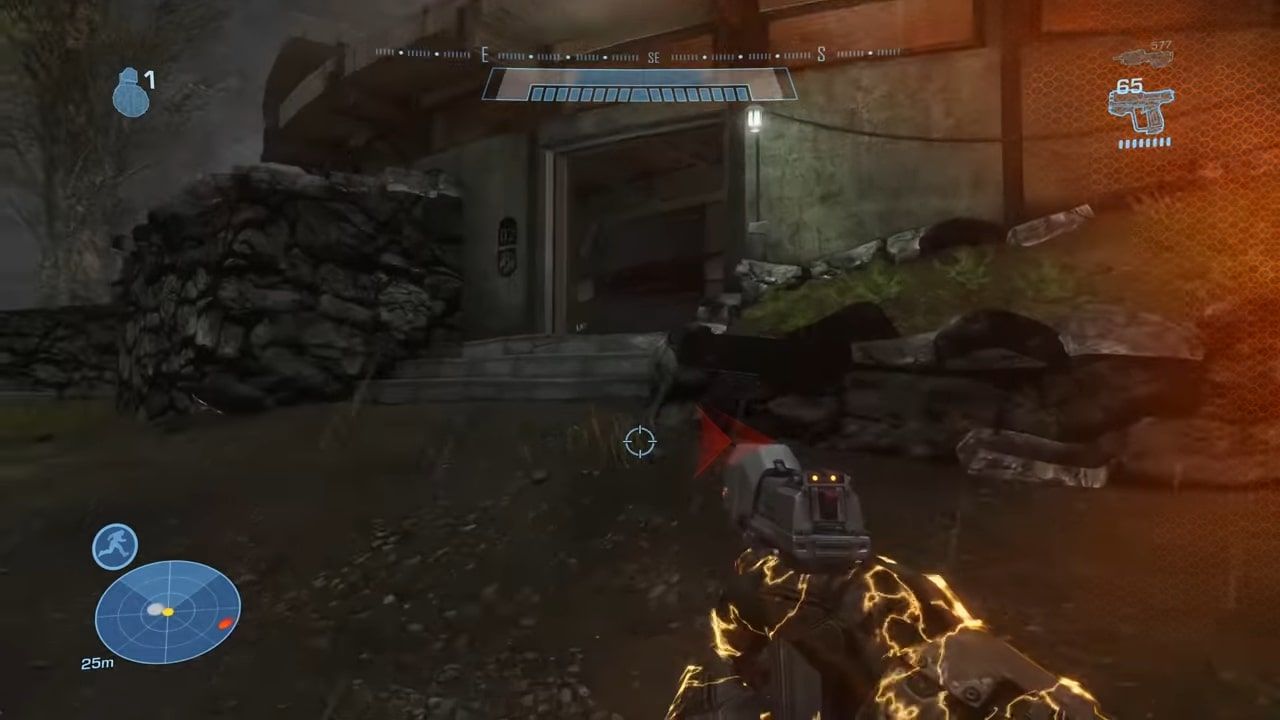
The first data pad on Winter Contingency requires you to be on Legendary difficulty. You'll be saddened to hear that it is the hardest data pad in the game to collect, but it unlocks you two achievements, so it evens out. From the second you exit the falcon at the beginning of the level, you want to sprint down the right side of the hill, jumping constantly. Make sure to especially jump right before your sprint runs out so that your forward momentum is carried after you stop sprinting.
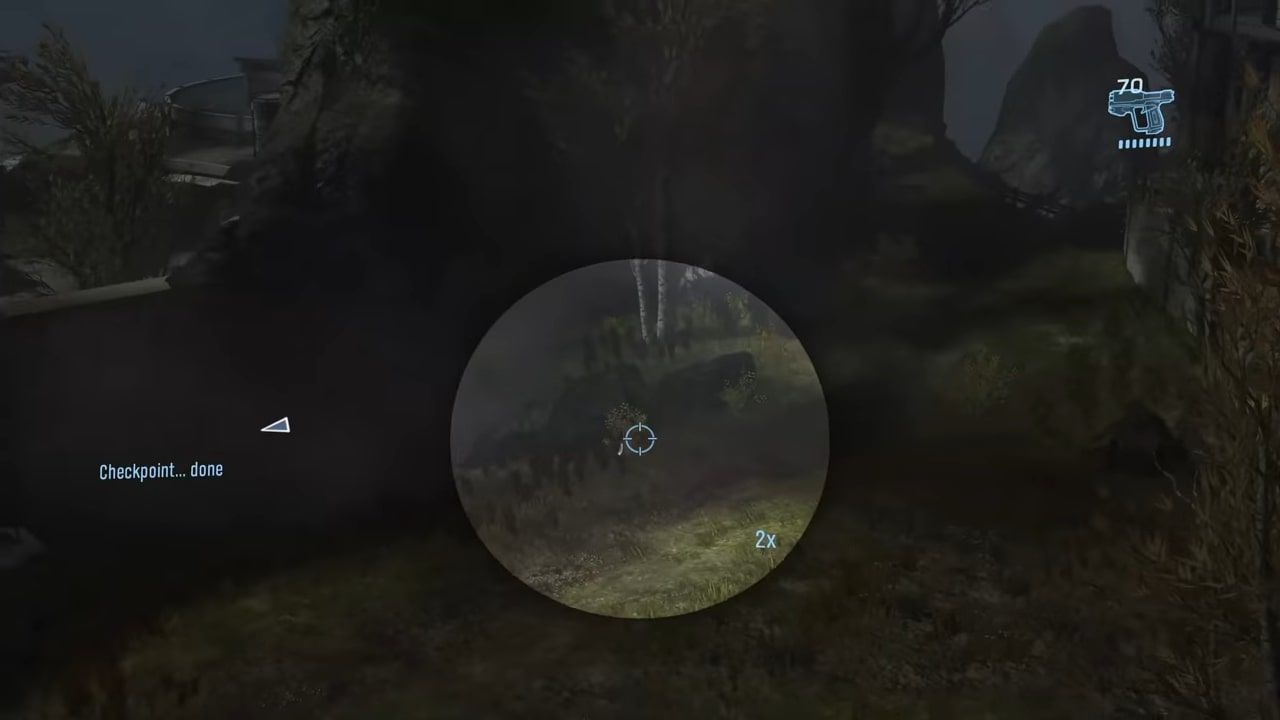
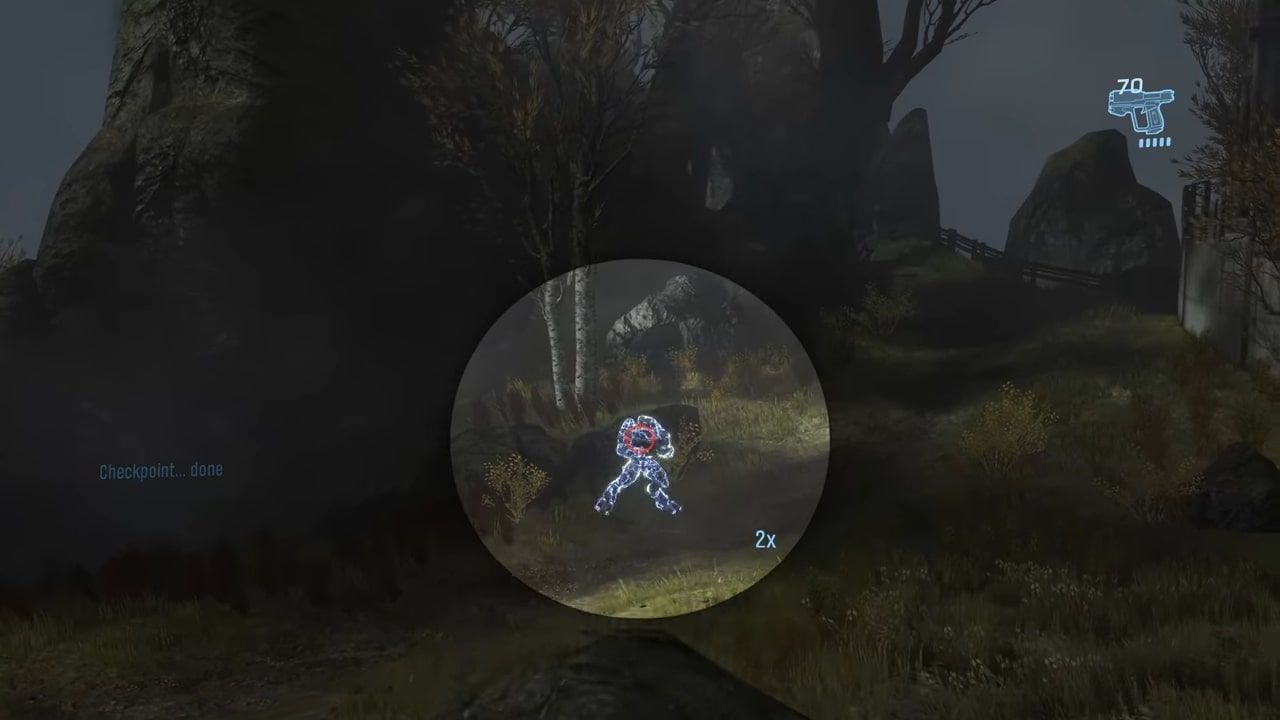
After you've made it most of the way down the hill, take out your pistol and start shooting at the invisible elite ahead. You will only be able to see the data pad that he is carrying.
Knock off his shields with the pistol, then spray him with the assault rifle before he gets away. He will disappear if he walks too far, so make it quick. This will likely take you multiple attempts to get him as it is quite tricky, but when you do kill him, he will drop your first data pad.
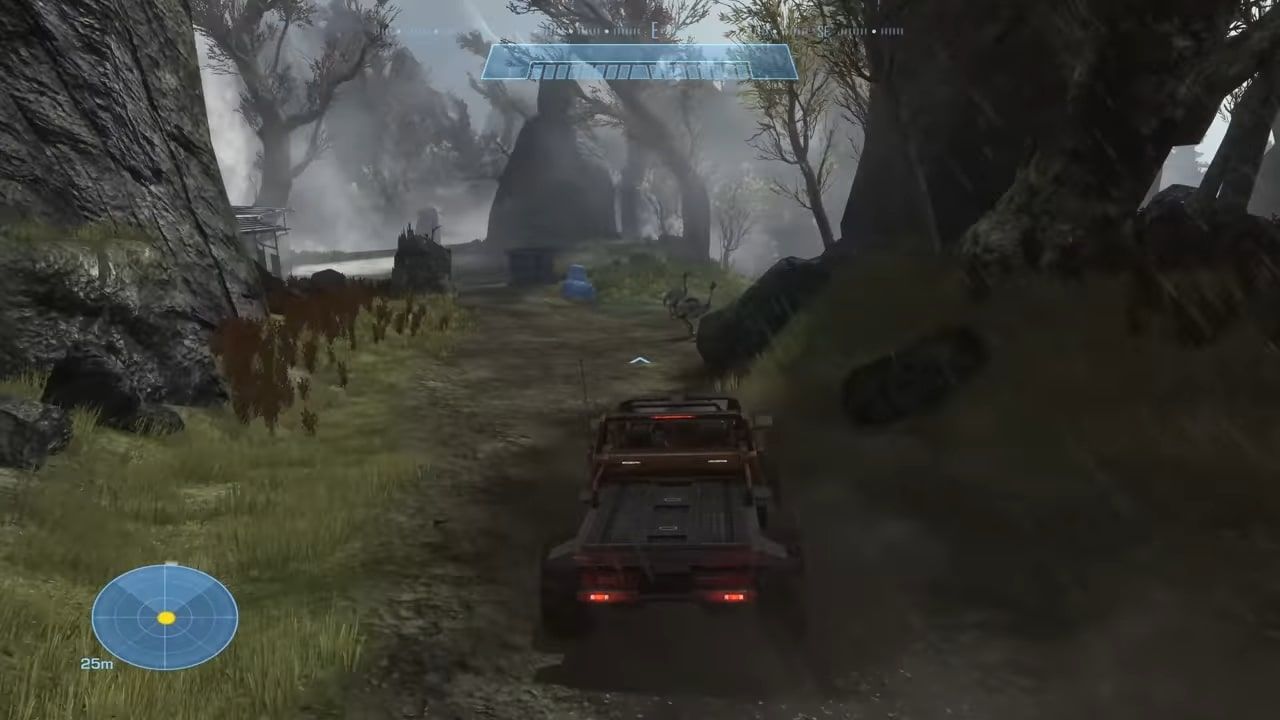
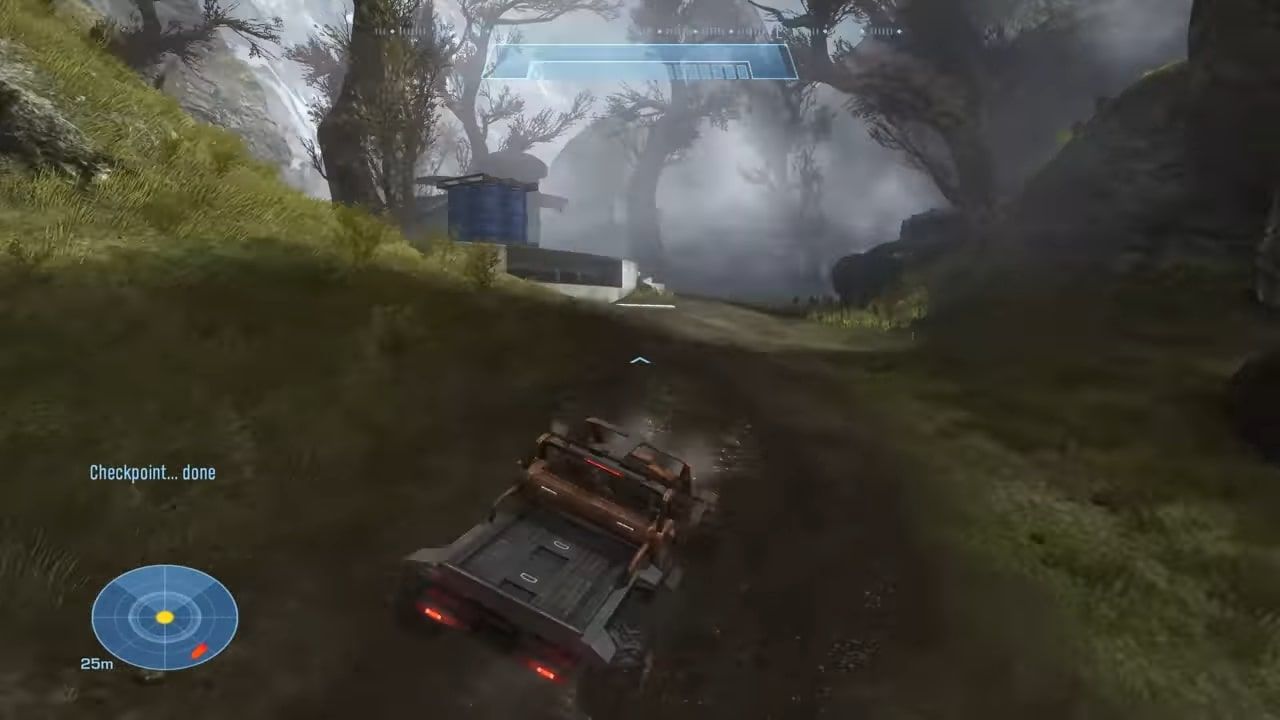
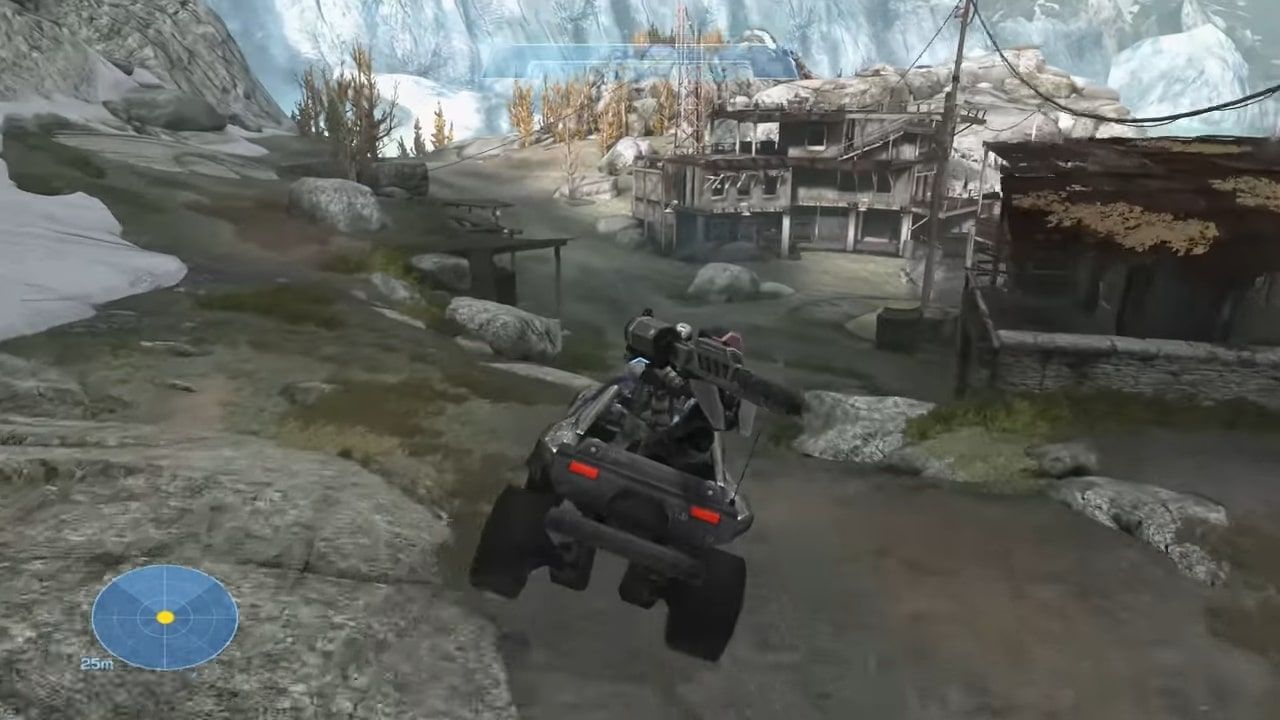
The second data pad will come after you first enter the jeep. Drive forward until you see moas, then take the road to the right and continue forward.
You will come to a bridge shortly. Cross it and head forward for a few seconds, then turn left into the small collection of buildings.
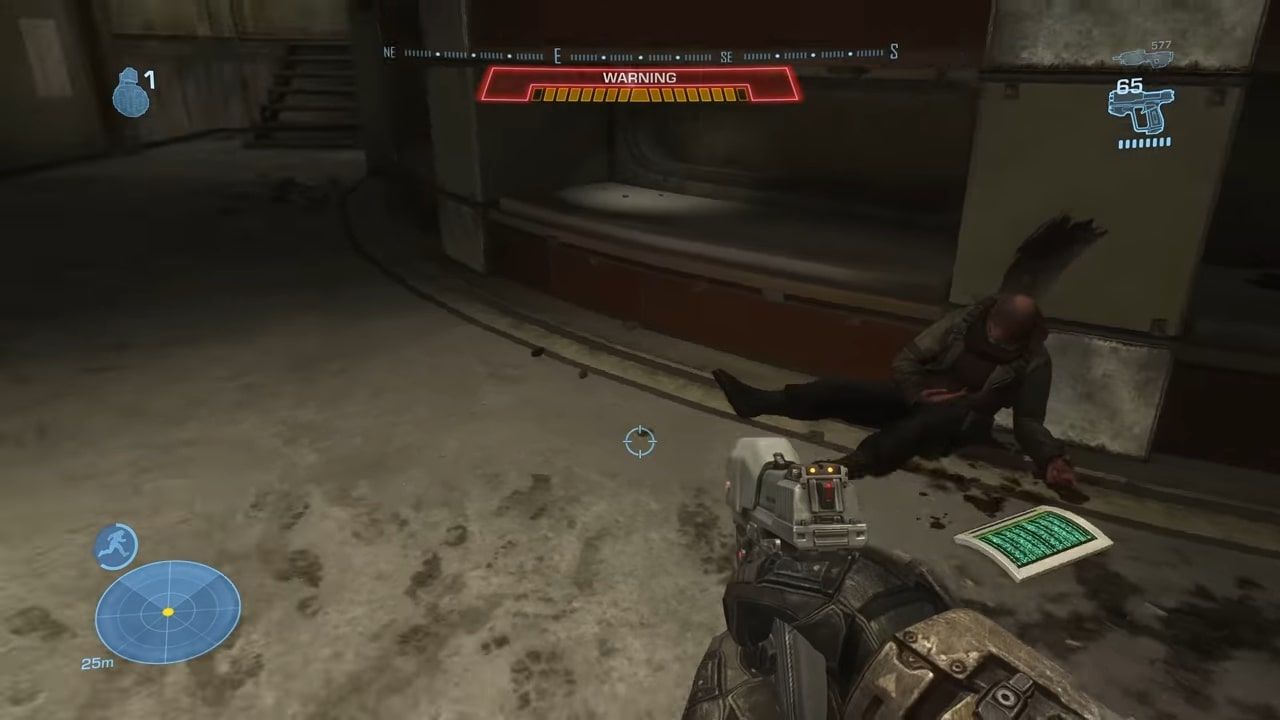
Head into the first building on the right, and to the right in the door will be the data pad next to some dead guy.
ONI: Sword Base
You can find the data pads on ONI: Sword Base extra quick if you start from Rally Point Charlie. The first of the two must be done on Legendary difficulty. From where you spawn at Rally Point Charlie, turn around and follow the path leading away from the direction you spawned facing. Follow this path until you reach the area below.
Enter the building on the far side with the large antenna on top. Climb all the way to the top.
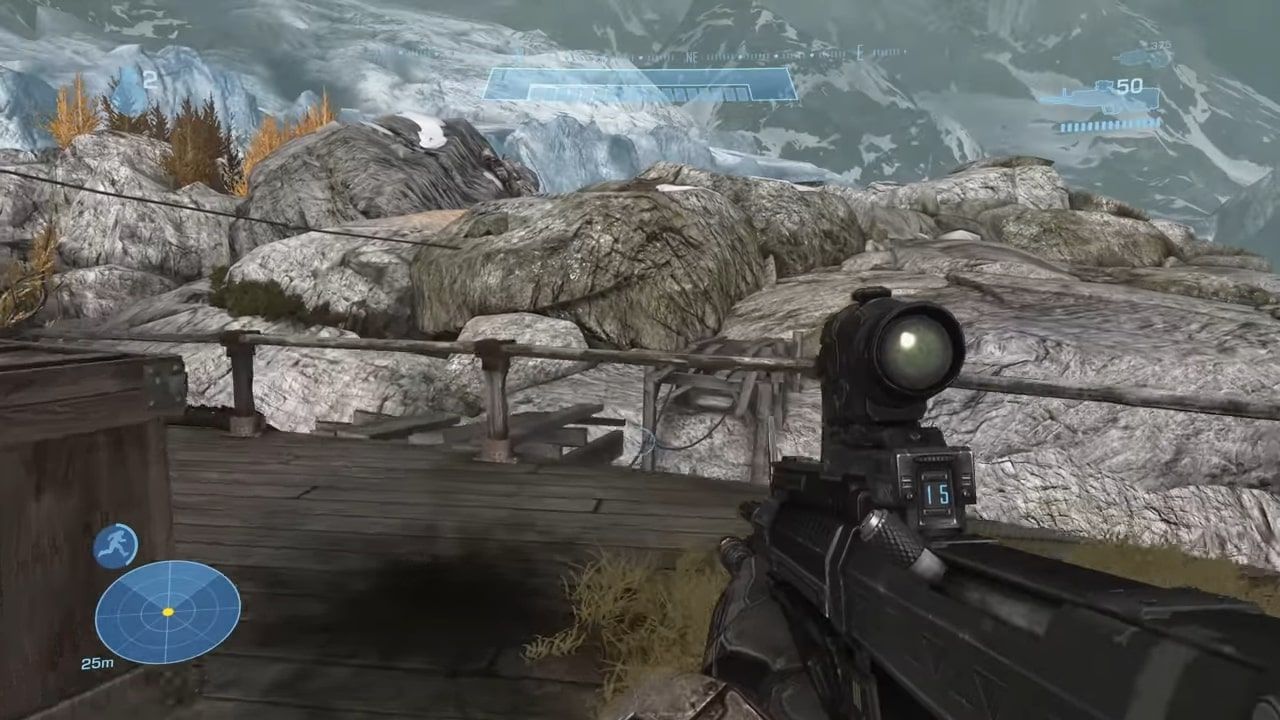
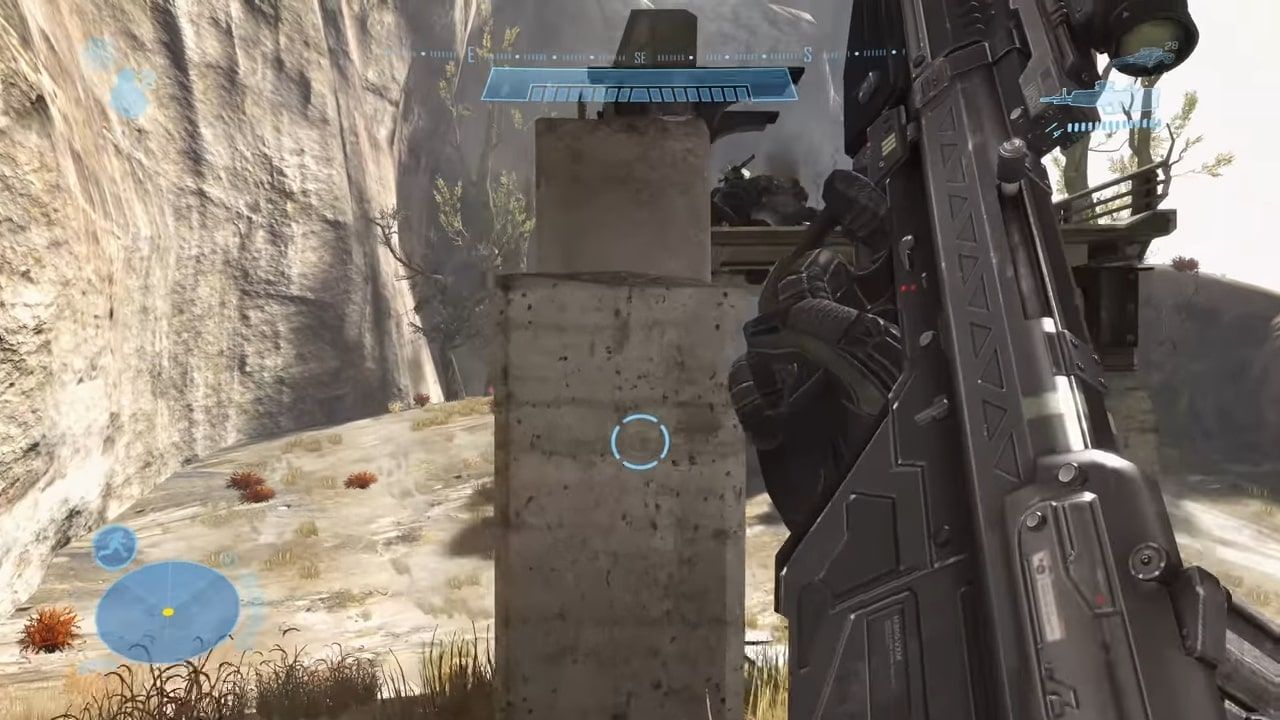
Once on the roof, you should see a broken wooden bridge between the building and the cliffside. Sprint then jump across this gap to the rocks, then head to the back right corner to find the data pad.
The second data pad can be found once you actually enter Sword Base, so continue driving along that same path until you reach it. Once inside, ascend up the building until you reach the area pictured below.
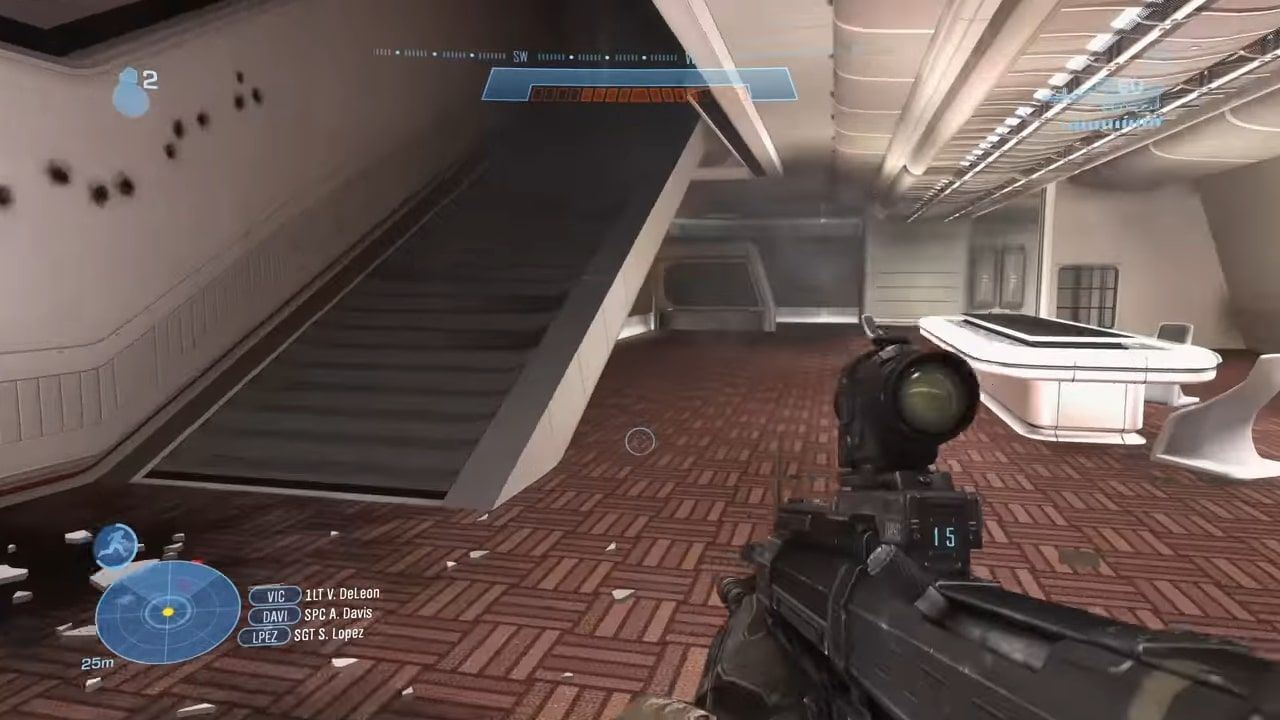
Once here, cross over the bridge and enter one of the two doors into the room. In here will be a staircase leading up, and underneath this staircase will be the data pad, in the same spot that the shotgun spawns on the Sword Base multiplayer map.
Nightfall
The first data pad on Nightfall can be found at the very beginning on any difficulty. From where you spawn, look right and you should see a small opening in the cliffside.
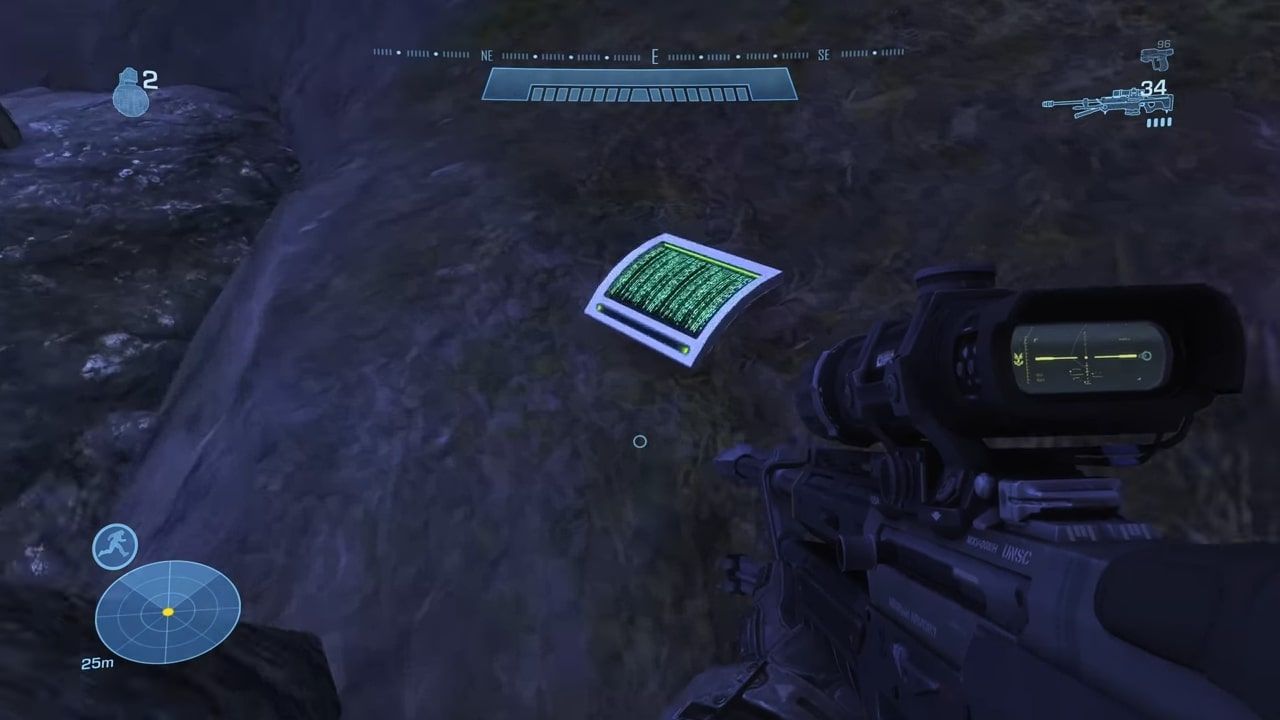
Walkthrough this path in the cliff and keep an eye on the left wall. You should pass the data pad, hidden amongst some rocks and grass.
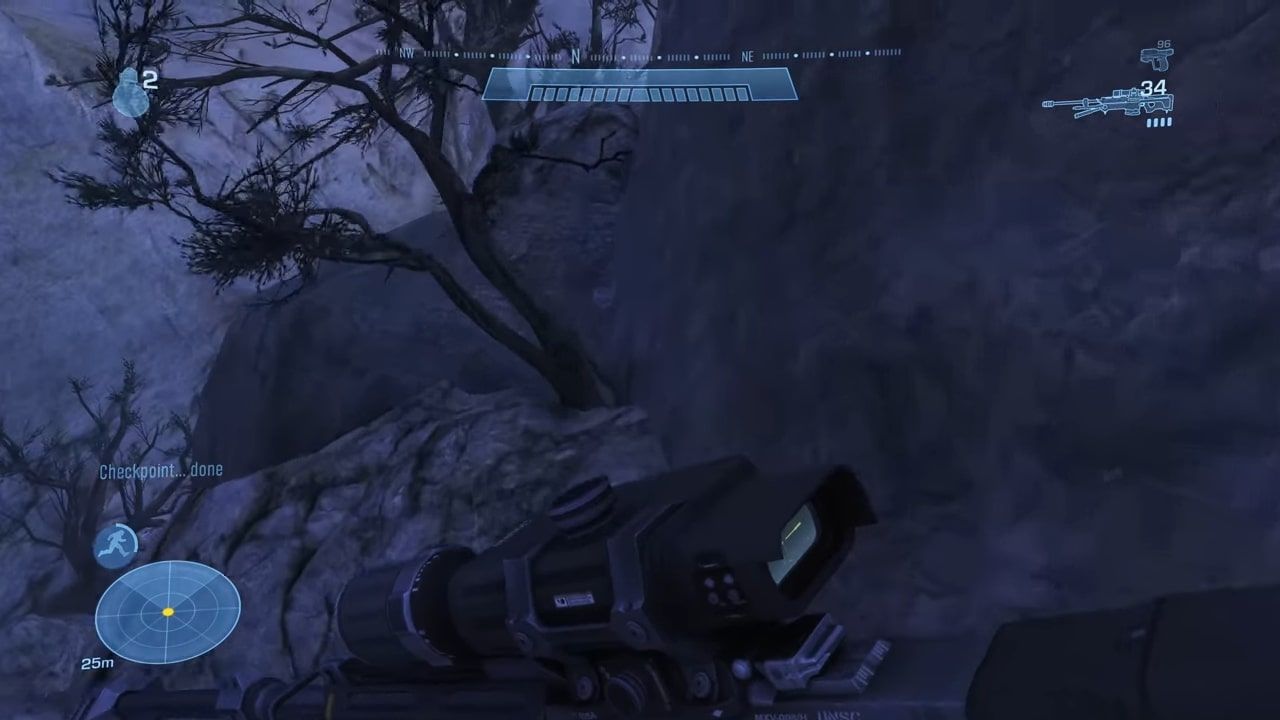
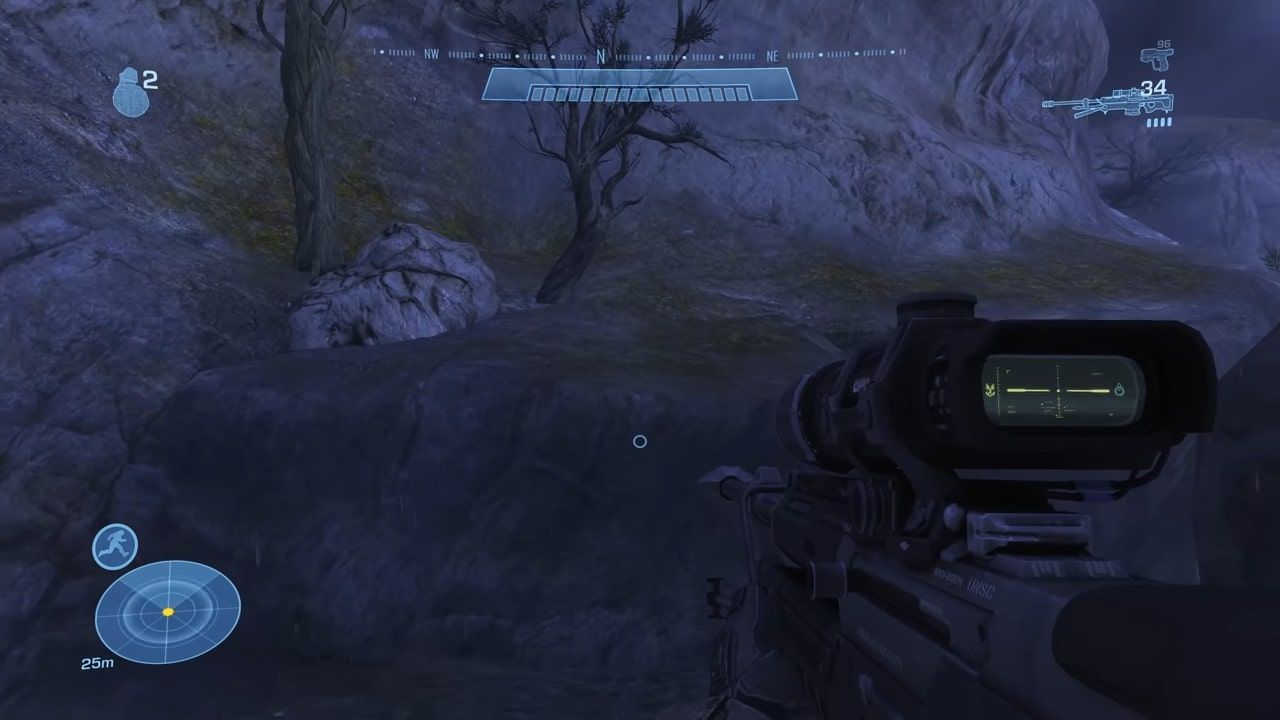
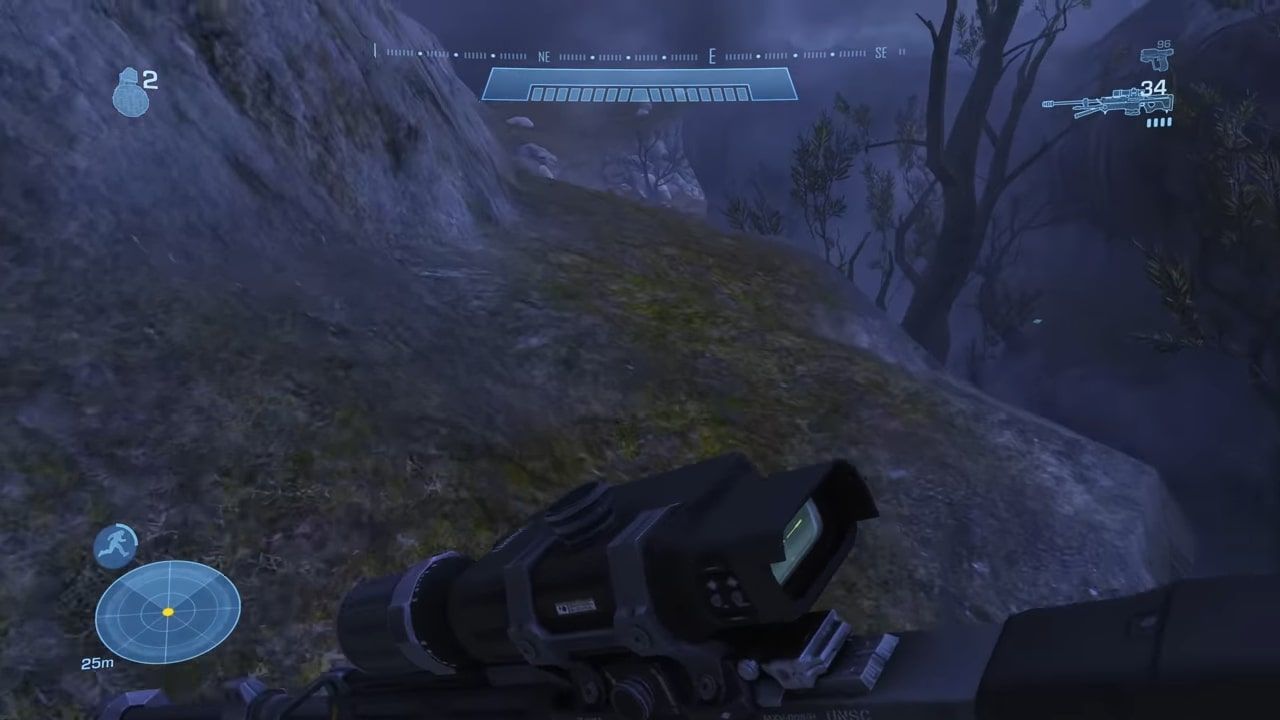
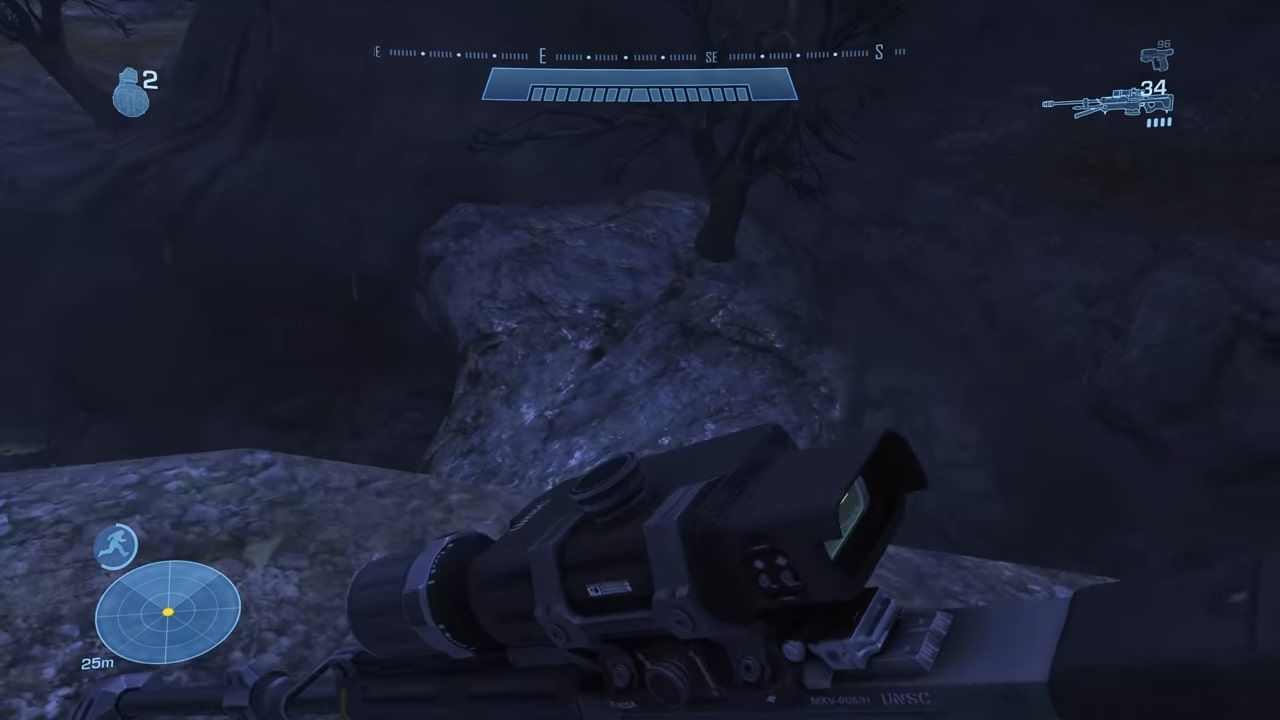
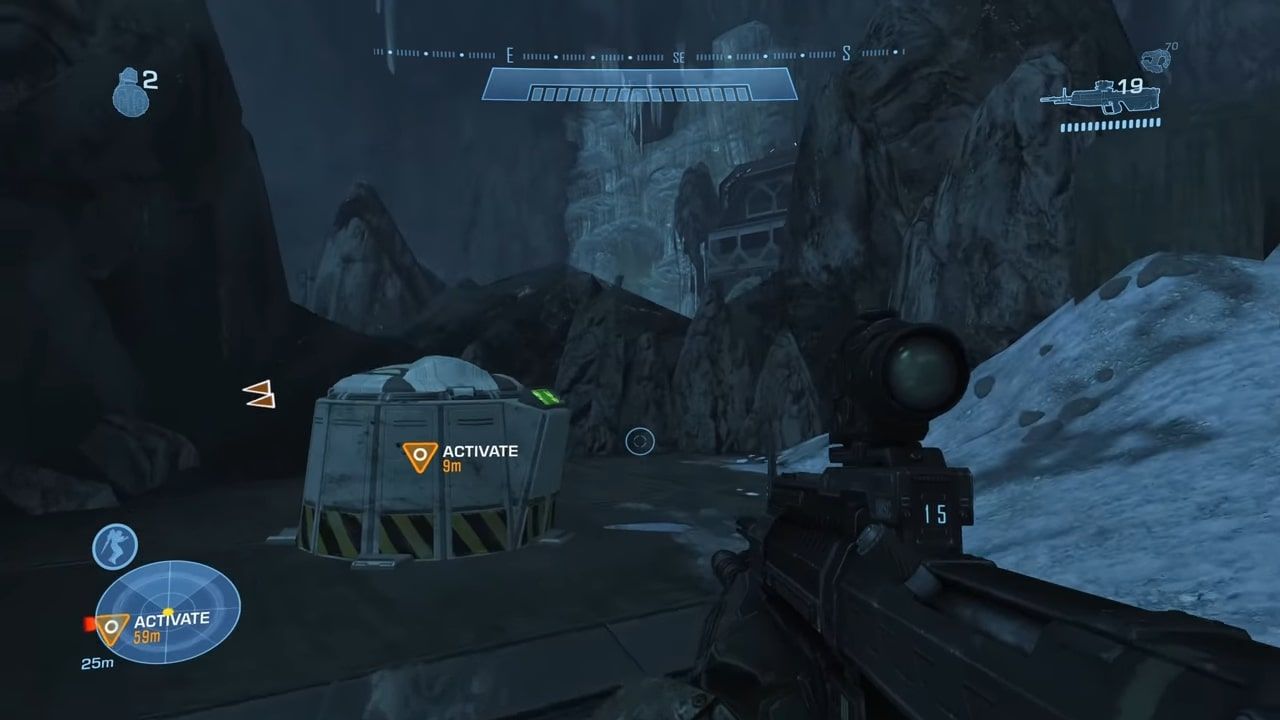
The next data pad must be read on Legendary, and to make things quicker, you can load the level up from Rally Point Bravo. After protecting the militia on the waterfront, you will advance through a ravine pictured below. You will see a green light next to a rock. Jump up on this rock, then up to the ledge above you.
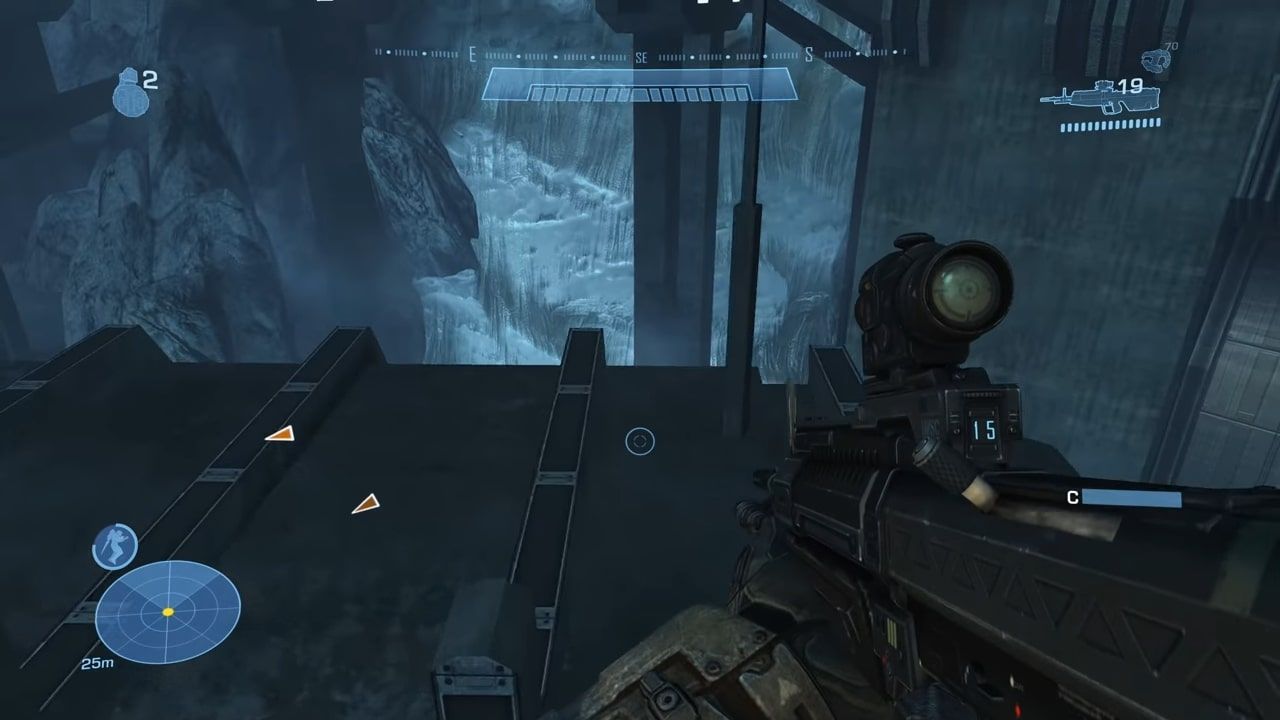
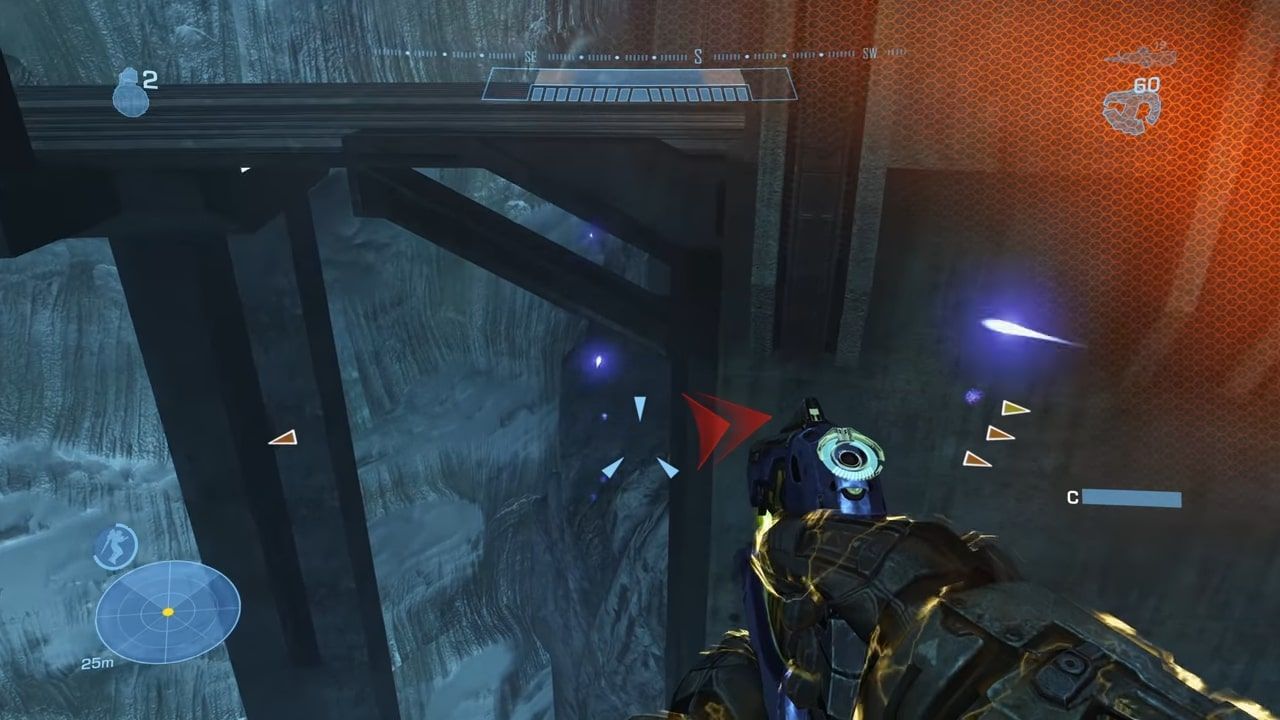
Advance along this upper ledge, over the rocks, and past the small tree, until you reach the gap pictured below. Sprint-jump over this gap to the other cliff then head right.
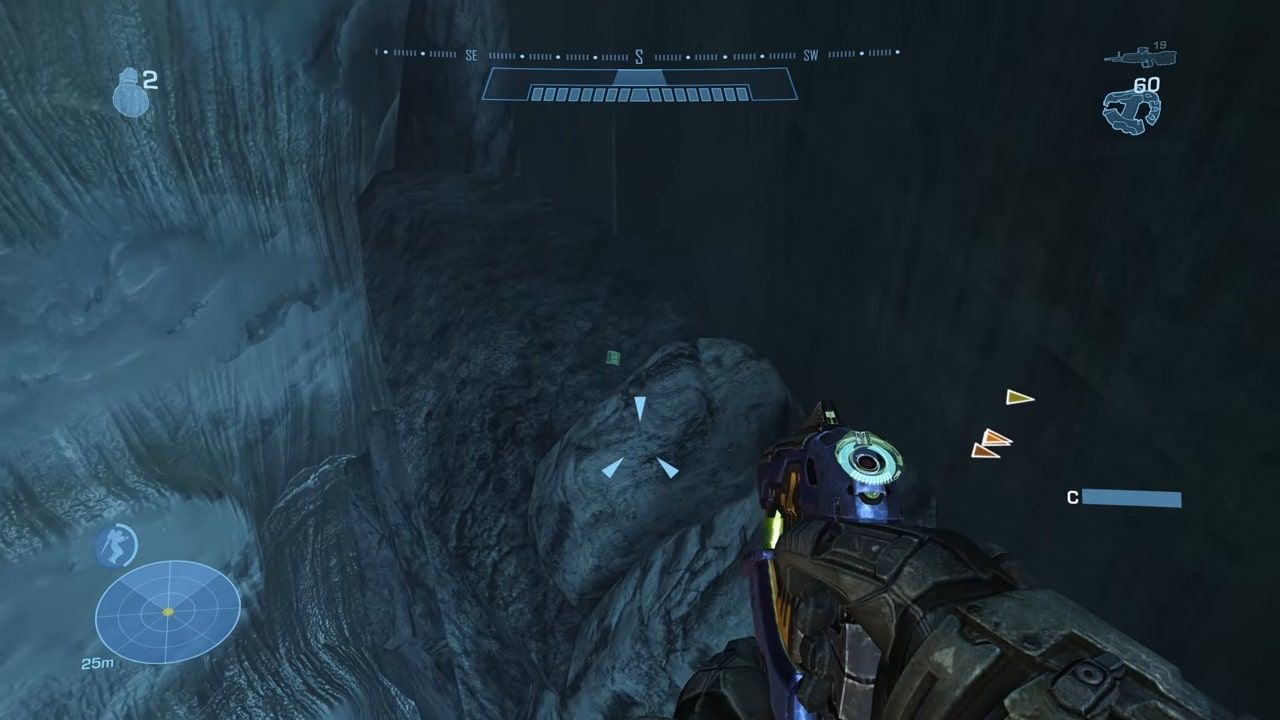
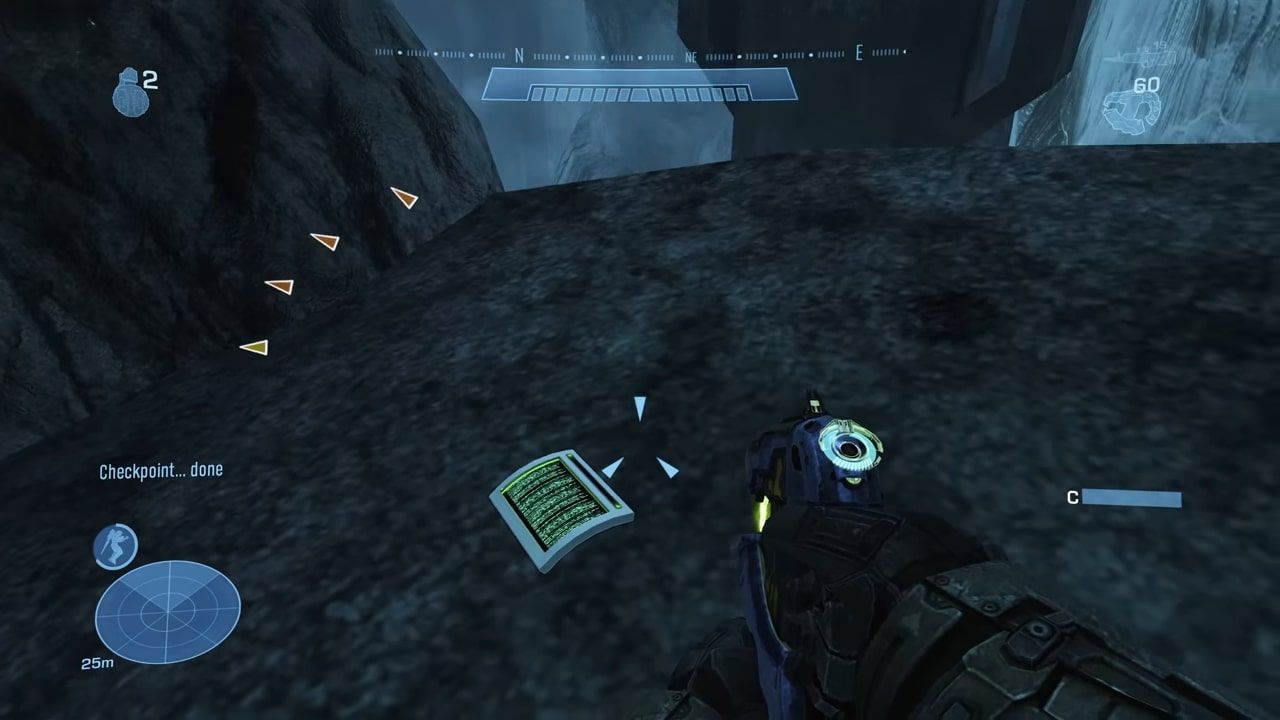
You will have to jump back across to reach the data pad, so advance forward a bit more and use the rock bridge beneath you to get back over to the other side of the ravine. You can see the data pad glowing in the distance in the picture below, to the right of the tree.
You can then jump up and to the right to reach the data pad.
Tip Of The Spear
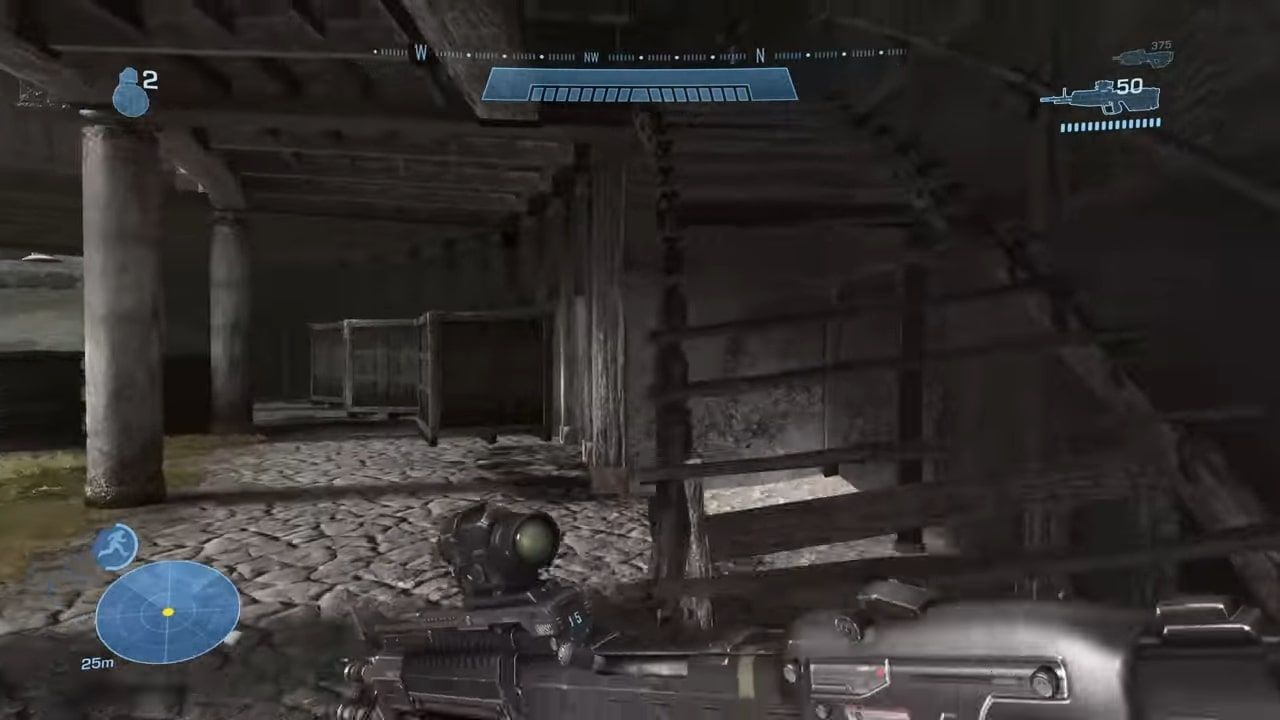
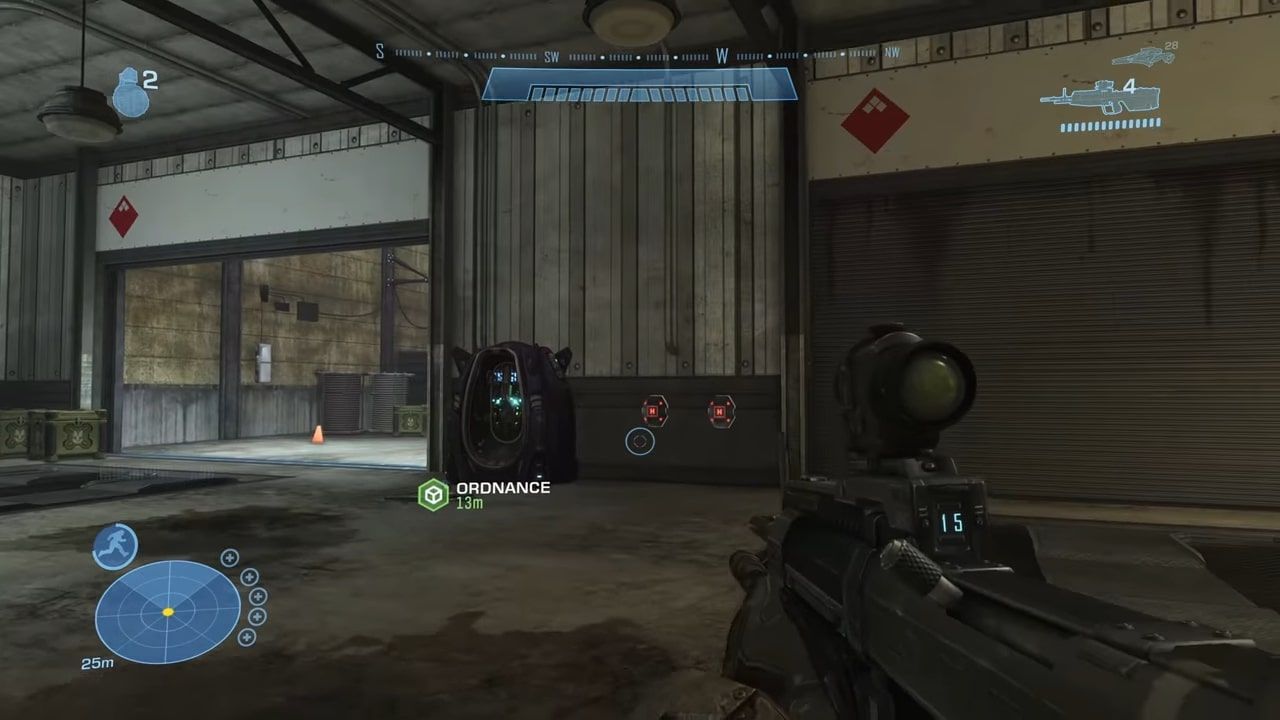
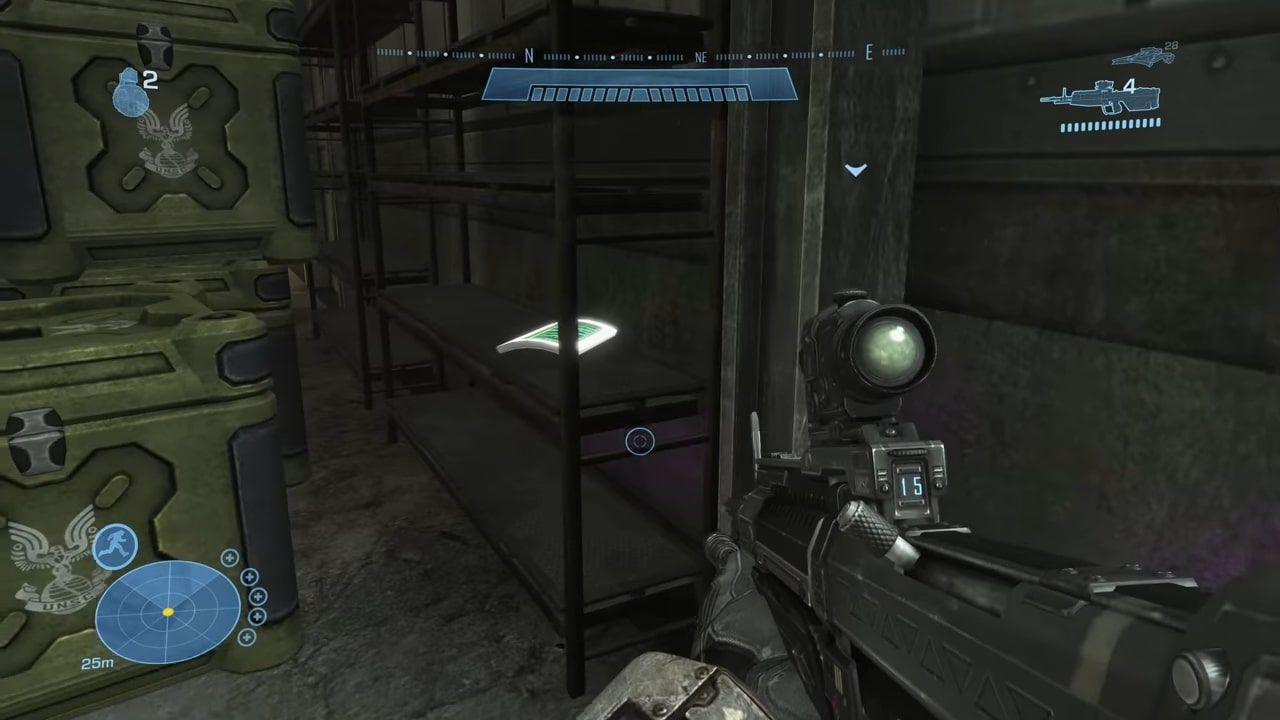
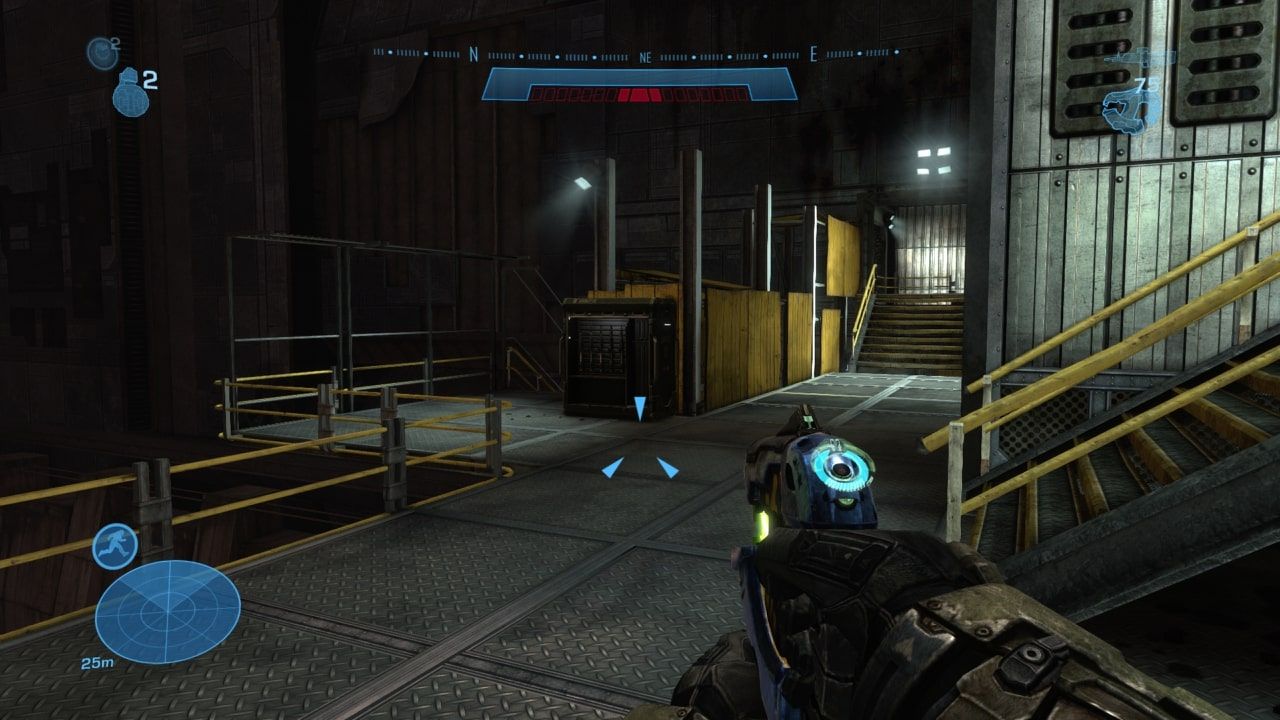
Load up Rally Point Bravo on Tip of the Spear to save yourself some time, then advance forward until you reach the room with the plasma launcher ordinance. On the opposite side of this room, behind some crates, the data pad can be found sitting on a shelf.
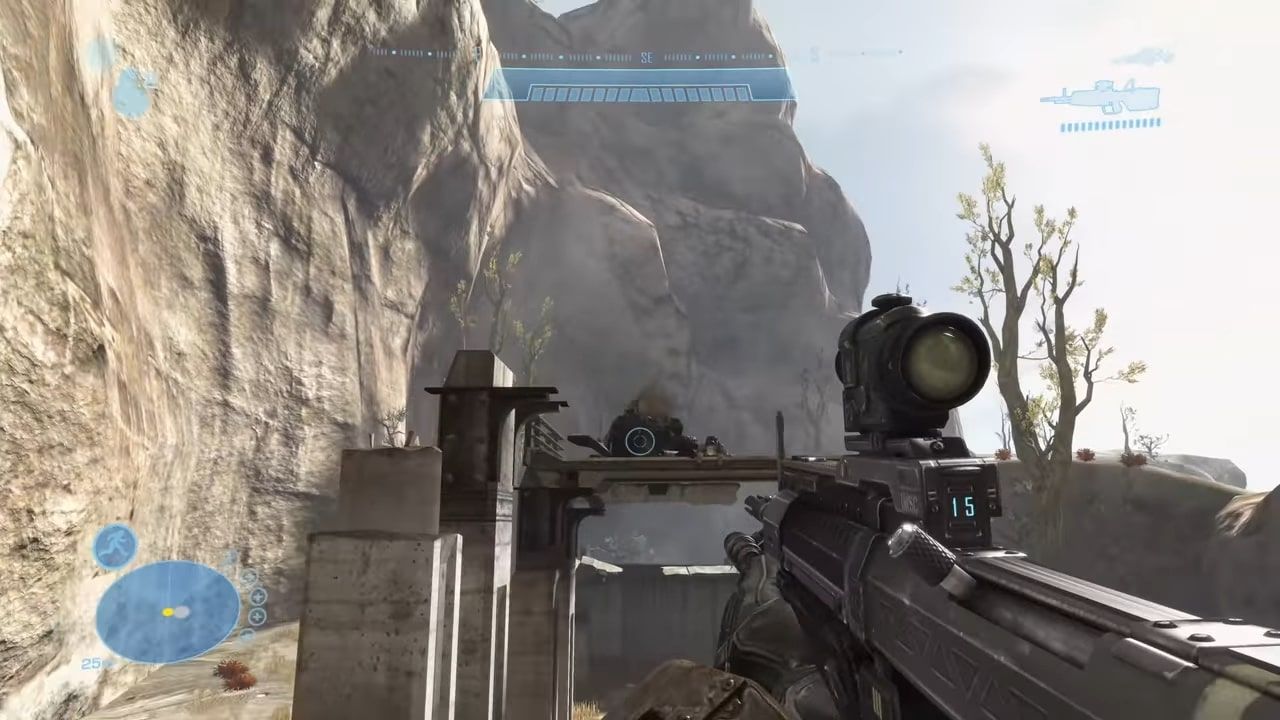
The second data pad requires Legendary play. Very shortly thereafter, when you arrive at the area with the second anti-air turret, you should pass by the remains of a broken bridge immediately as you enter the canyon. These remains are pictured below.
Scale these bridge remains by jumping up the ledges on the lower piece, then hopping over to the piece of the bridge with the warthog. To the right of the warthog is the data pad.
Long Night Of Solace
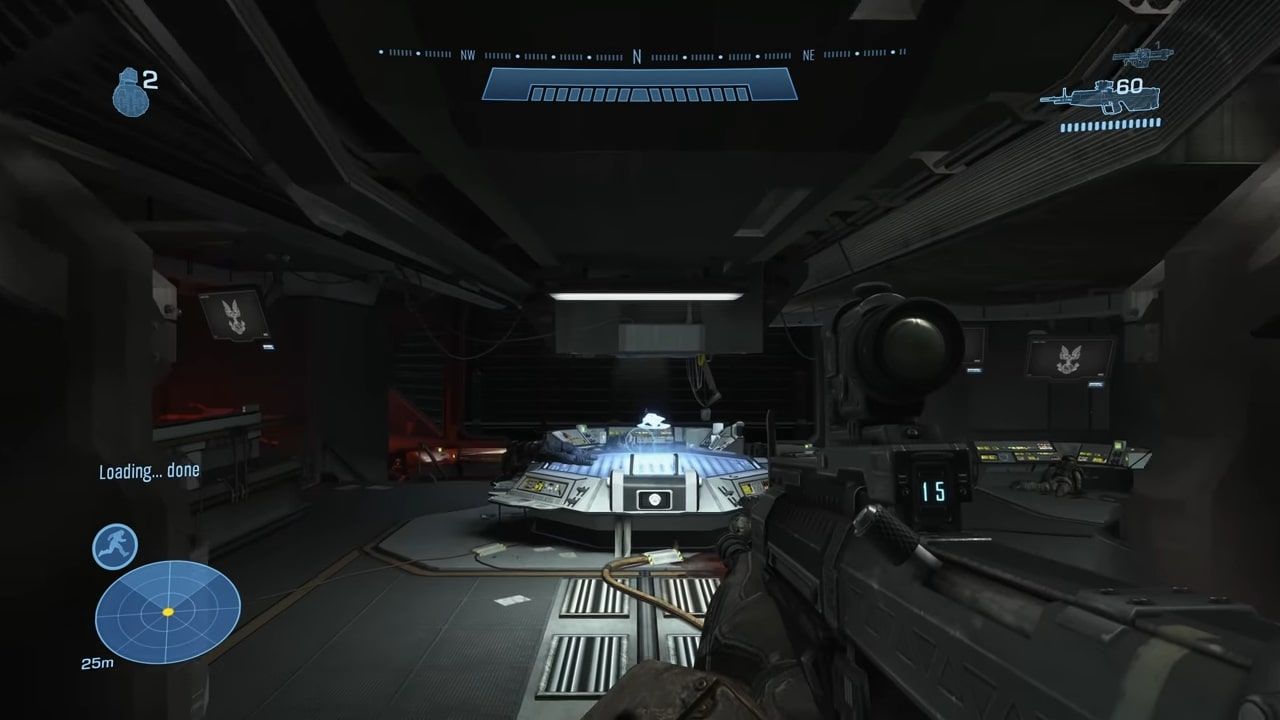
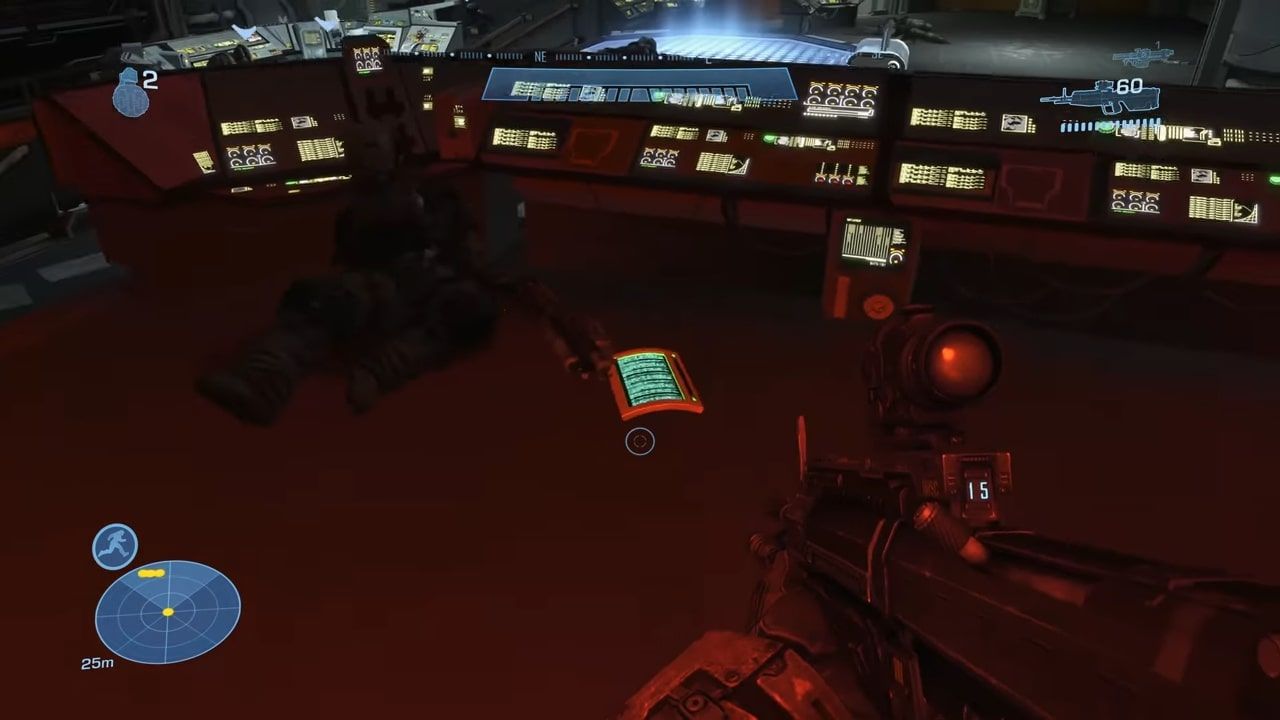
Both of the data pads on one of Halo's all-time greatest missions, Long Night of Solace, can be found inside the launch station before you take off into space. The first of the two can be found in the room with the blue holographic ship table in the center, on any difficulty. Once in here, take a left and head up onto this platform to find the data pad on the ground.
After the very next door, once you enter the launch bay, head up the first flight of stairs but not the second. Instead, turn left and sprint-jump to the far platform.
Stand on the left, slanted pole at the bottom of the antenna, then crouch-jump up to the piece of metal above and slightly to the right of you, pictured below. This is a tricky jump and may take a few attempts.
Turn around and jump up to the platform in front of you, then head all the way left to find the data pad.
Exodus
From Rally Point Bravo on Exodus, grab a jetpack and make your way through this area with the rest of the marines. At the very far end of the area, you will see a door in which numerous enemies come out.
Jetpack up to the catwalk, seen above the brute in the picture below, to find the data pad.
Very shortly thereafter, you will find yourself in the area pictured below. Fight your way through all of the enemies in this area until you reach the far side.
Instead of following the marines up the building, take a right and jetpack out to the beams in the side of the building, which you can see Noble 6 aiming at in the second picture below.
Once out here, jetpack your way up the beams until you reach the top one. Jump out and jetpack up to the two ventilation units above you, where the second data pad can be found.
New Alexandria
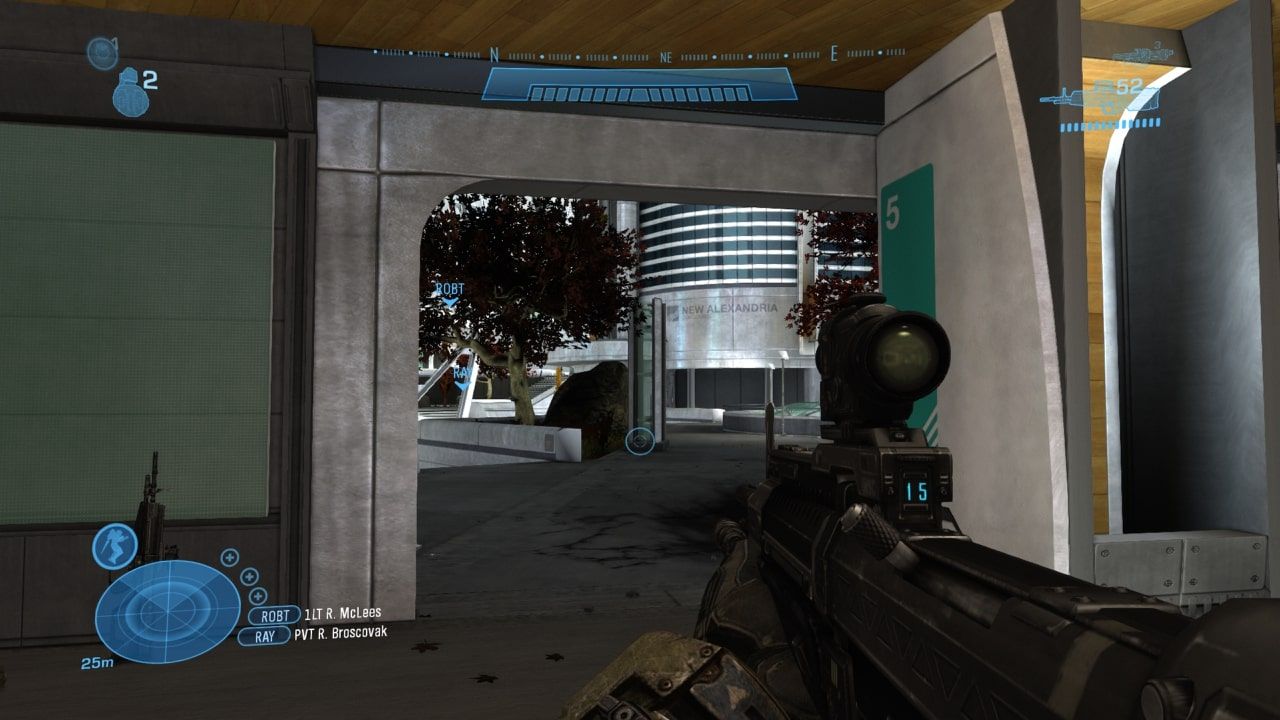
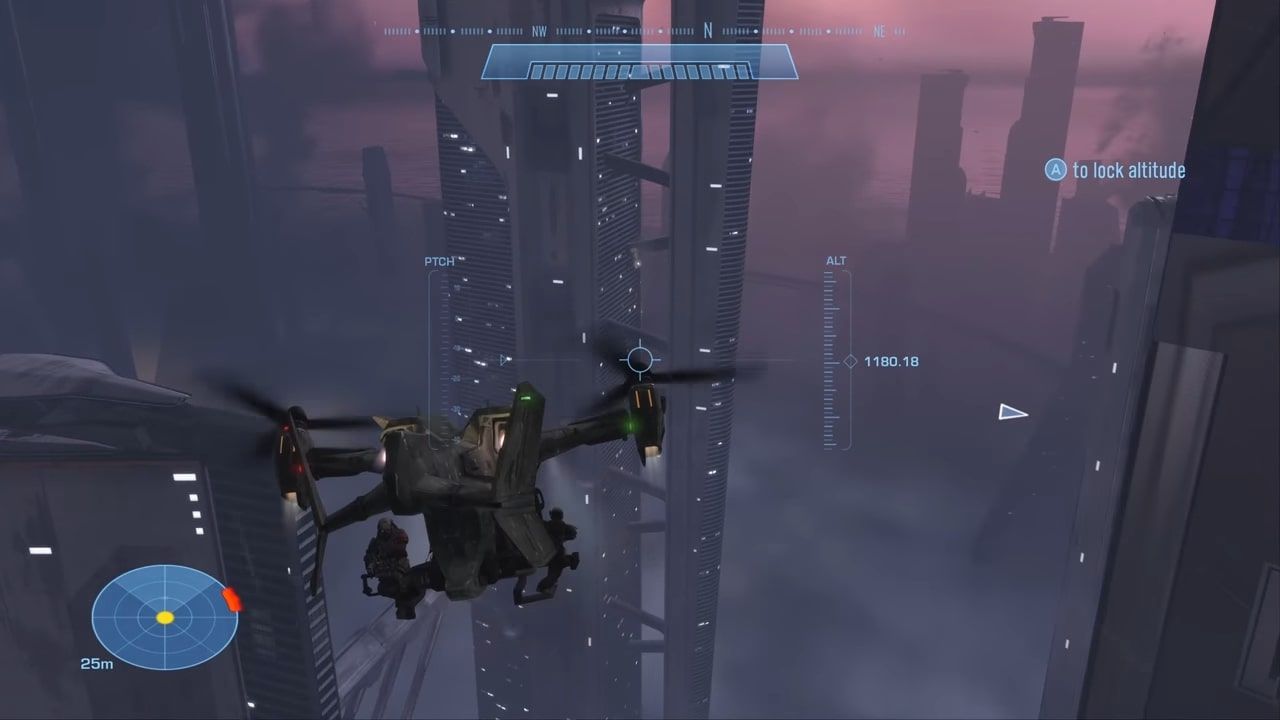
Both data pads on New Alexandria can be found, right from the mission start. The closest of the two, and the first one listed here, requires you to be on Legendary difficulty. Board the falcon and make an immediate 180, toward the building directly behind the one you spawn on.
Descend downward until your altitude reaches -134. At this altitude, you should be in line with the data pad on this building.
Carefully exit your falcon while hovering over the ledge so that you land on it, then grab the data pad. You will need to commit suicide afterward as your falcon will fall into the abyss.
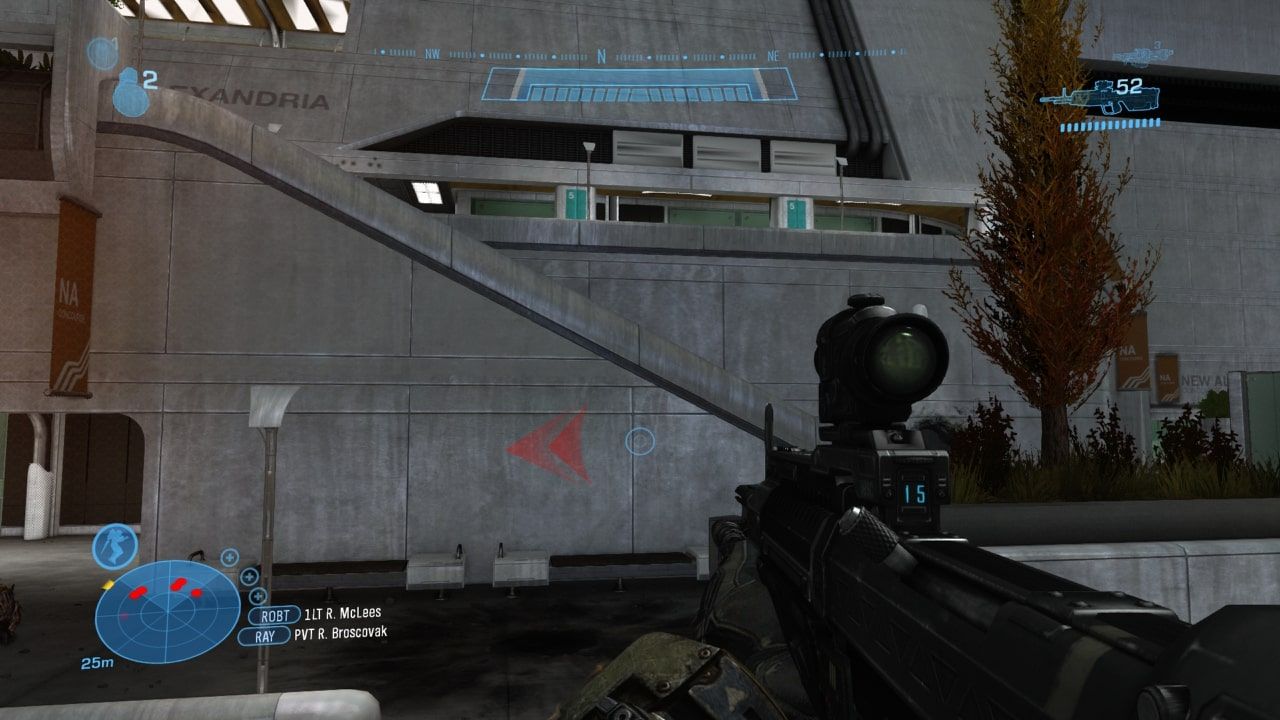
Upon respawning, enter your new falcon and face in the direction pictured below. You are going to want to fly all the way out, past that incredibly tall building in the distance (Sword Base).
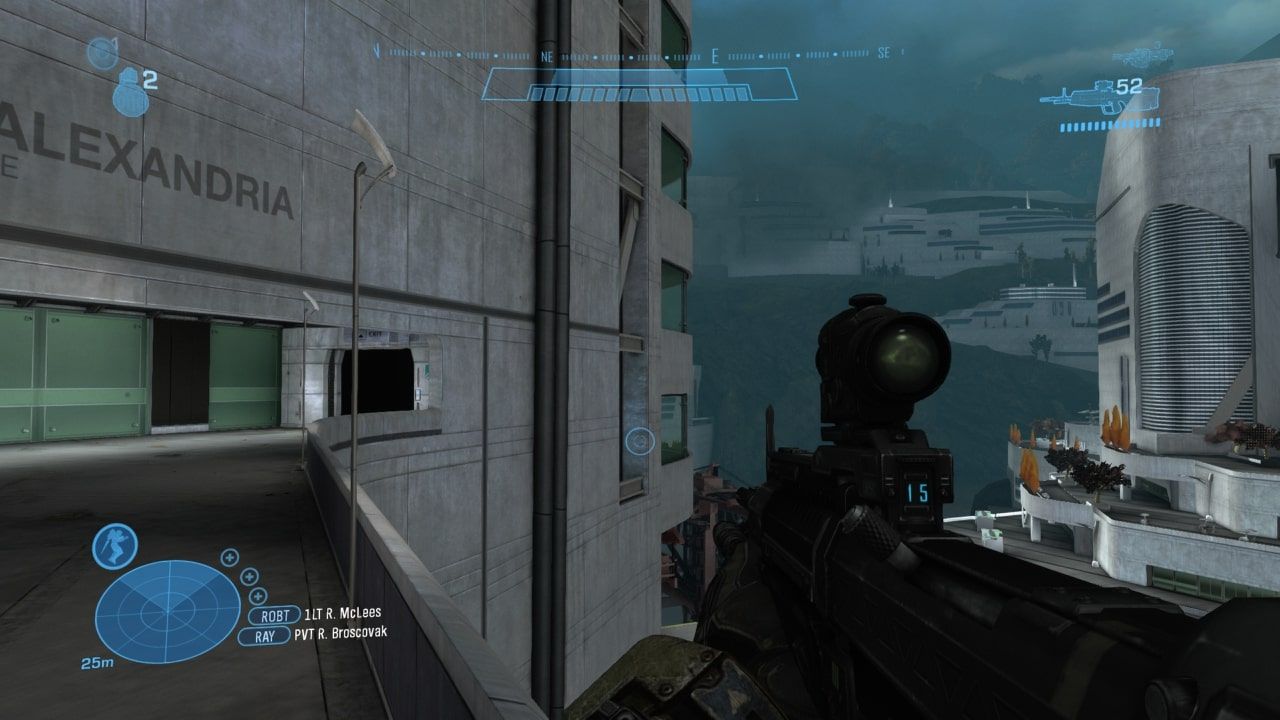
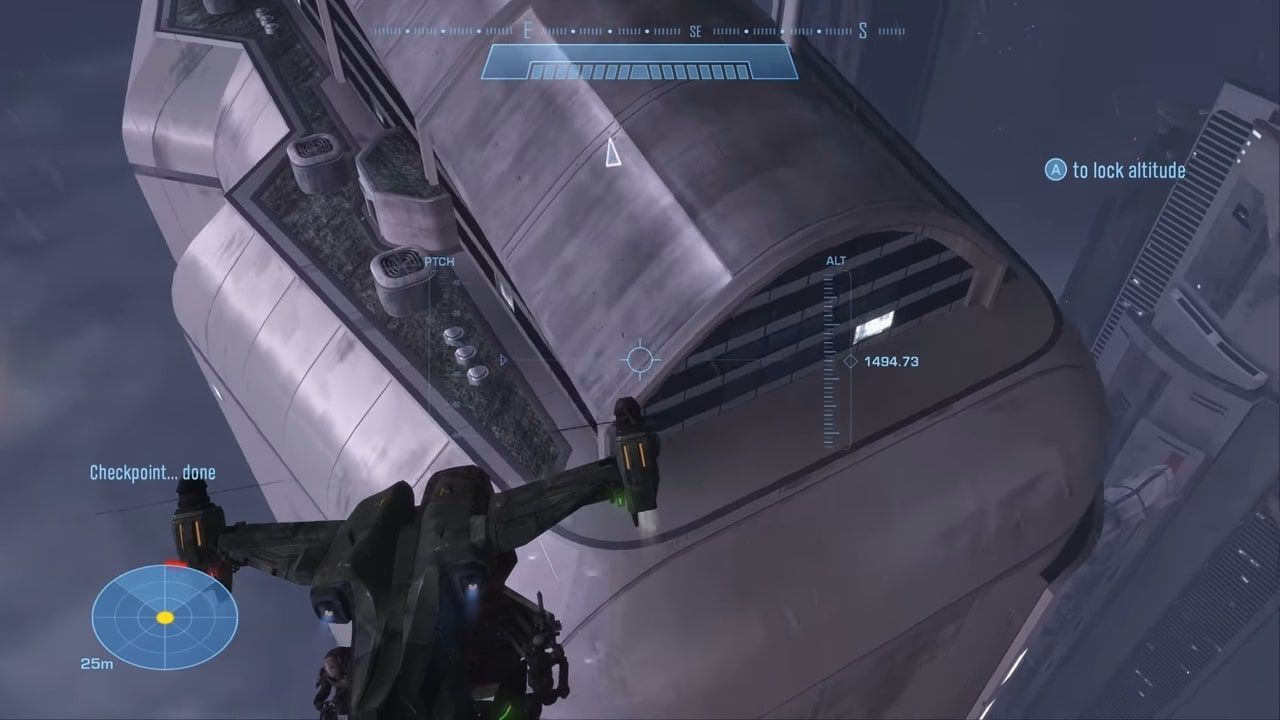
The building directly behind this one, relative to your spawn, is the one with the data pad. It is the building that Noble 6 is aiming at below, and has numerous walkways connecting the two halves of the building.
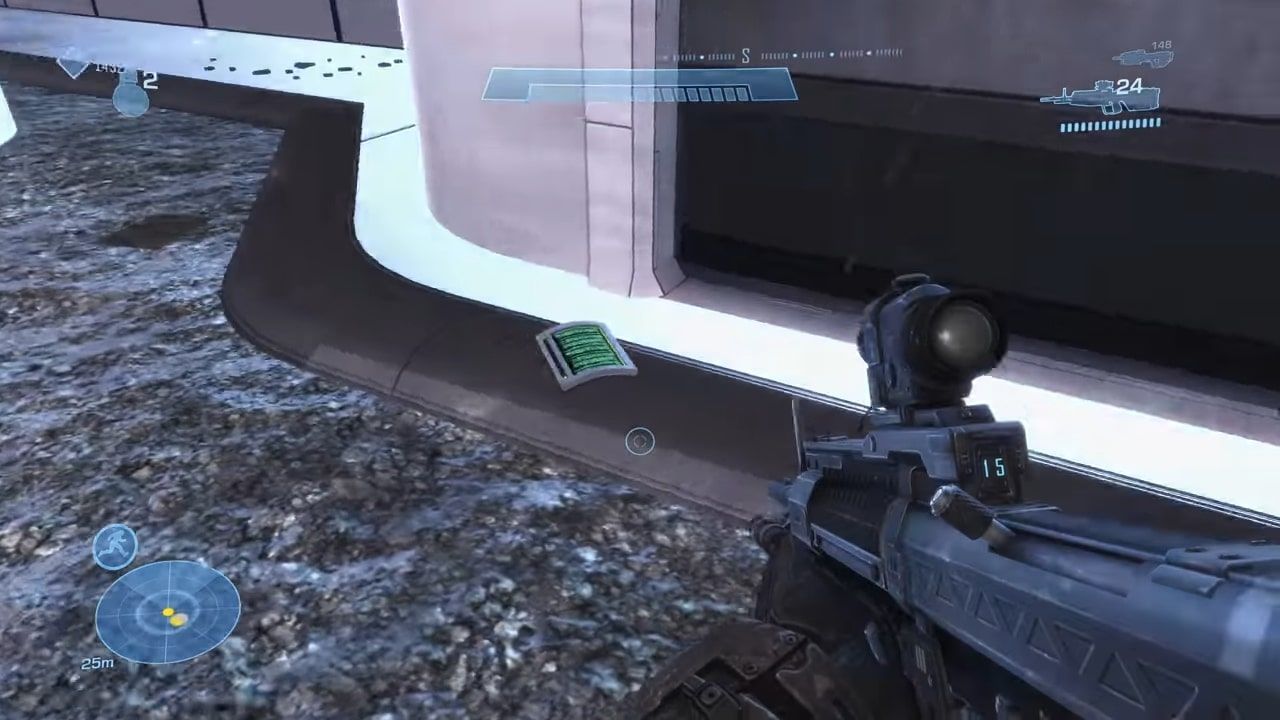
Fly up to the top of the building and to the far side of it. Land on the roof, and between the two fans will be the data pad sitting in front of a door.
The Package
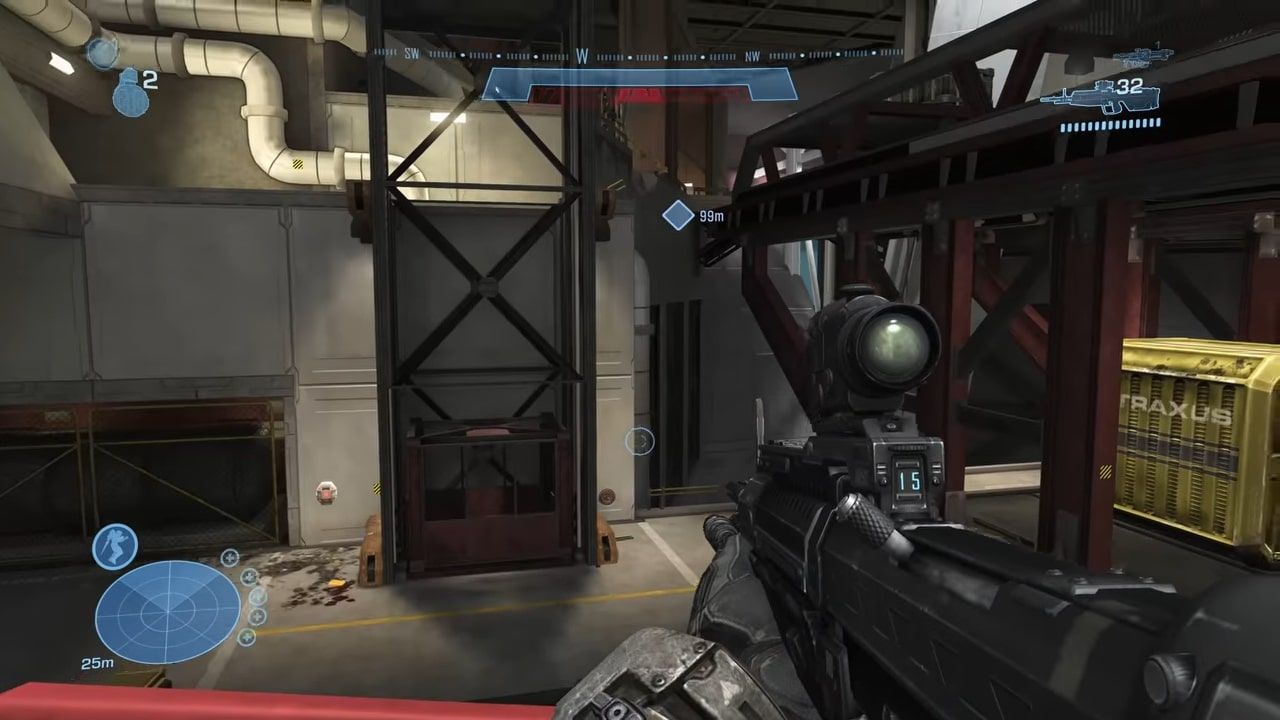
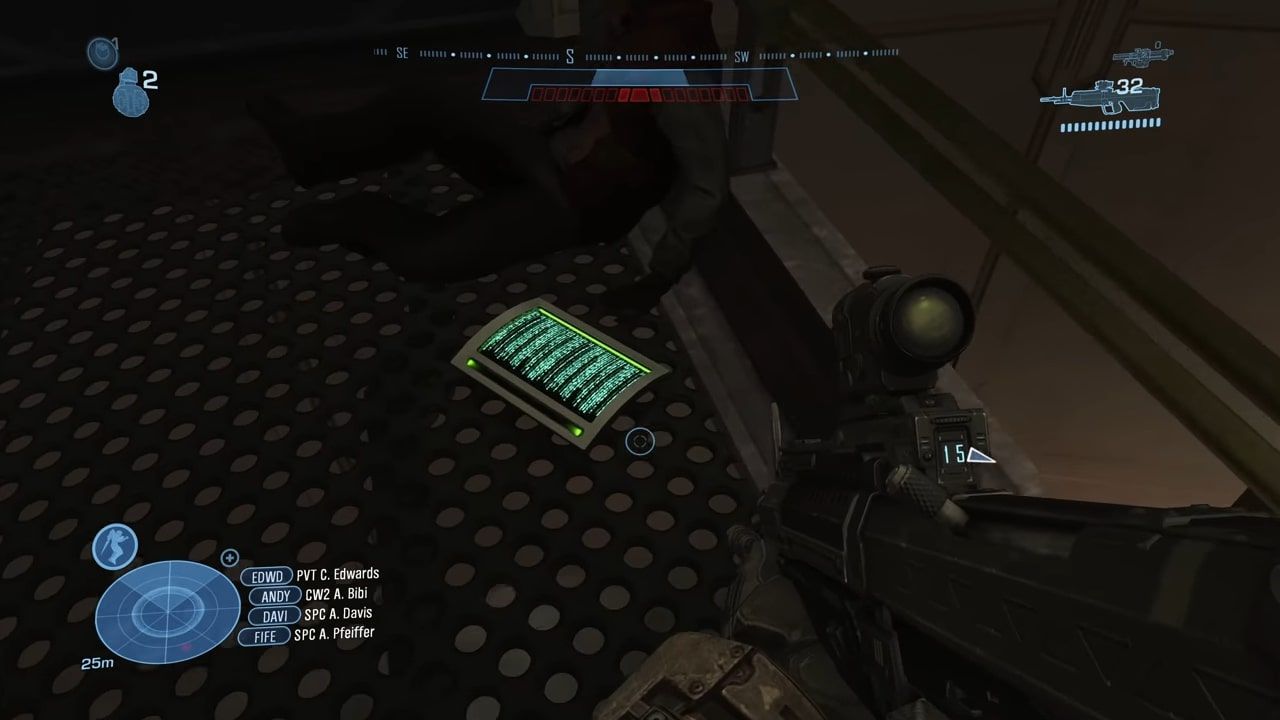
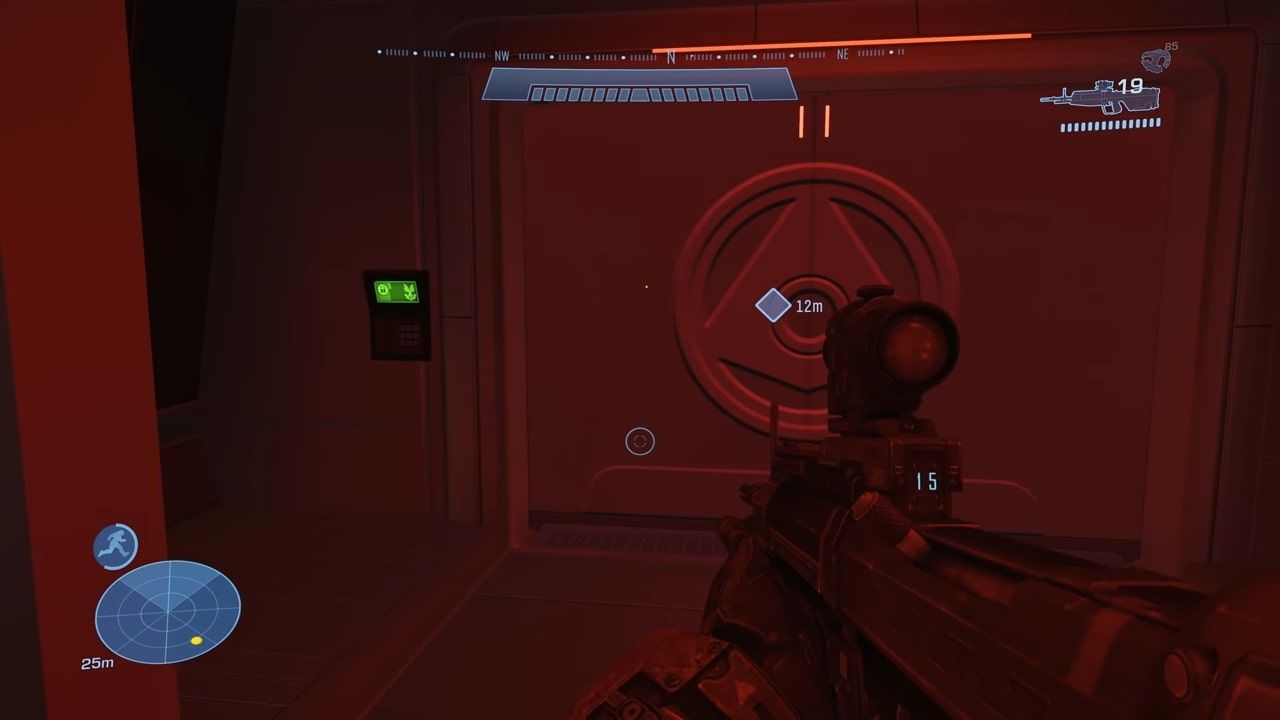
On The Package, load up Rally Point Bravo and advance through Sword Base until you reach the point pictured below, where you must click the button to open the elevator.
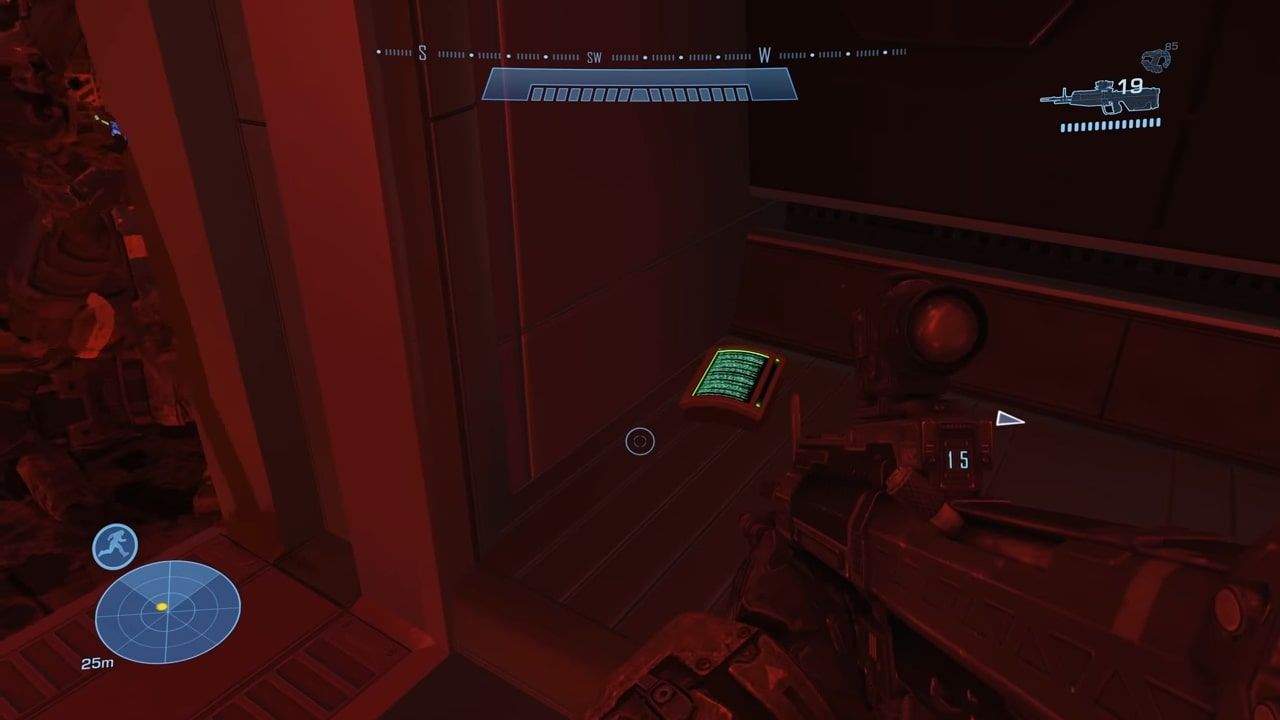
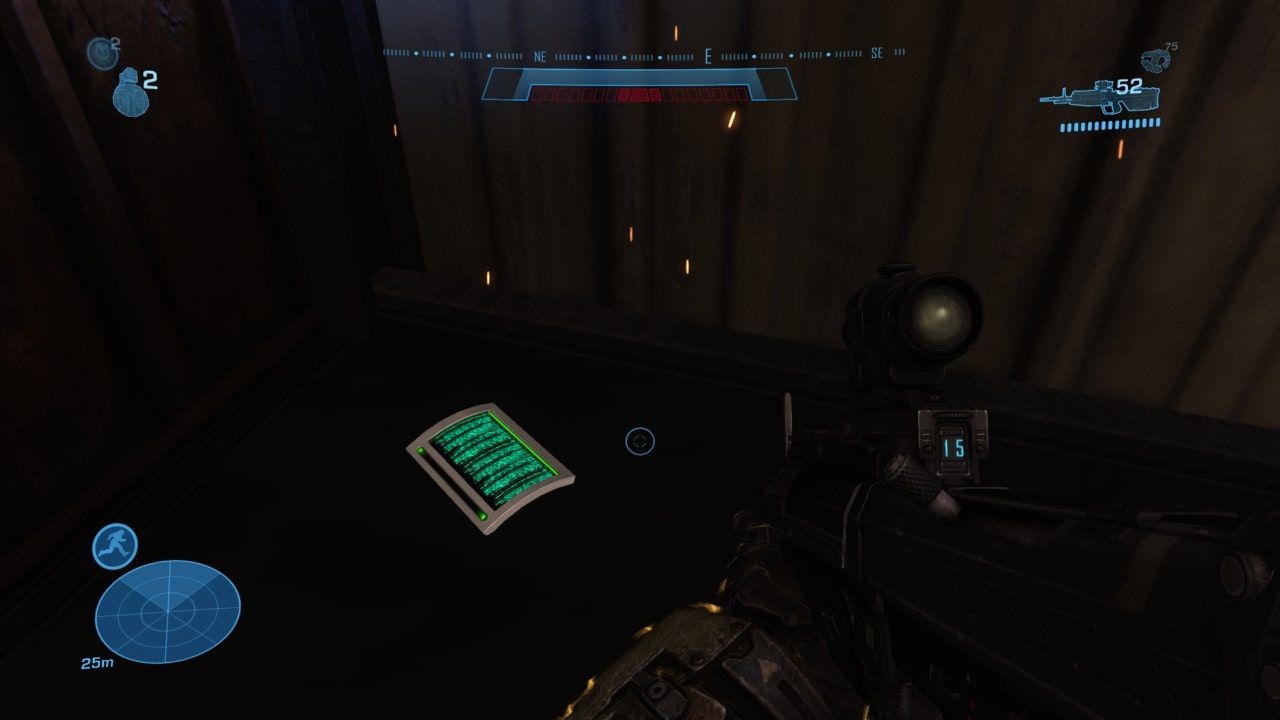
Instead of hitting this button, look in the corner on the left to find the data pad sitting just out of sight.
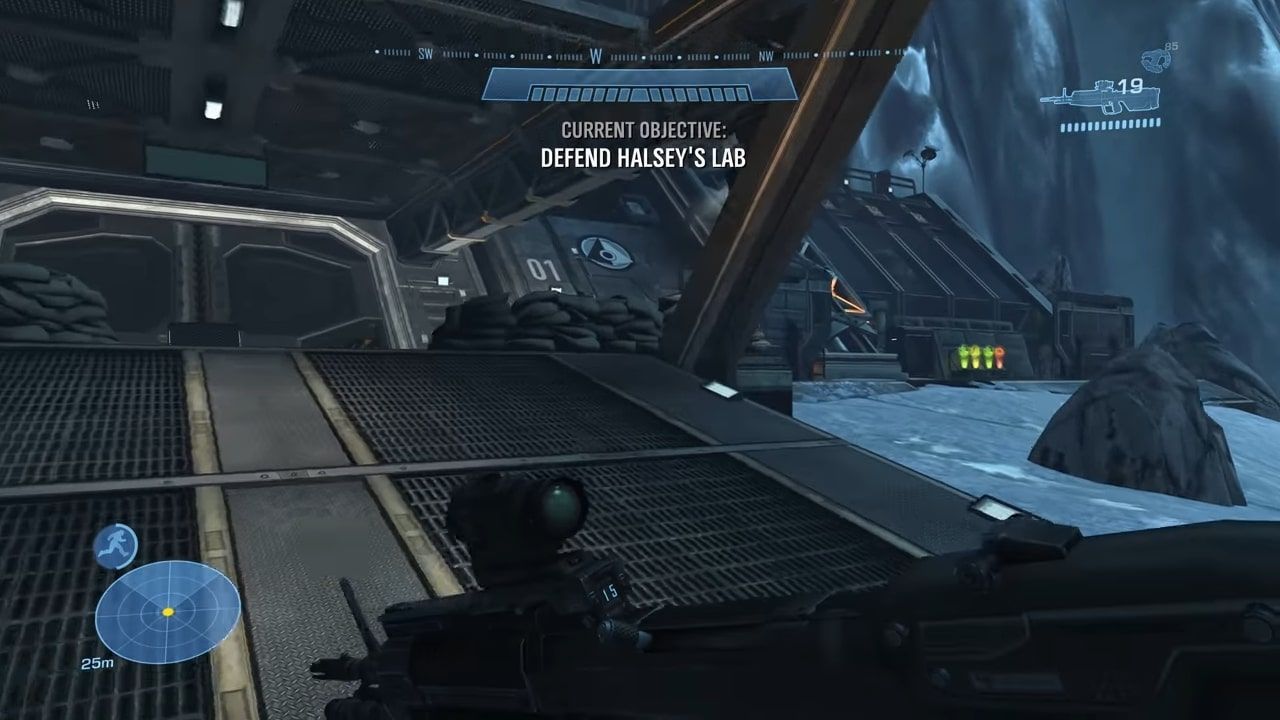
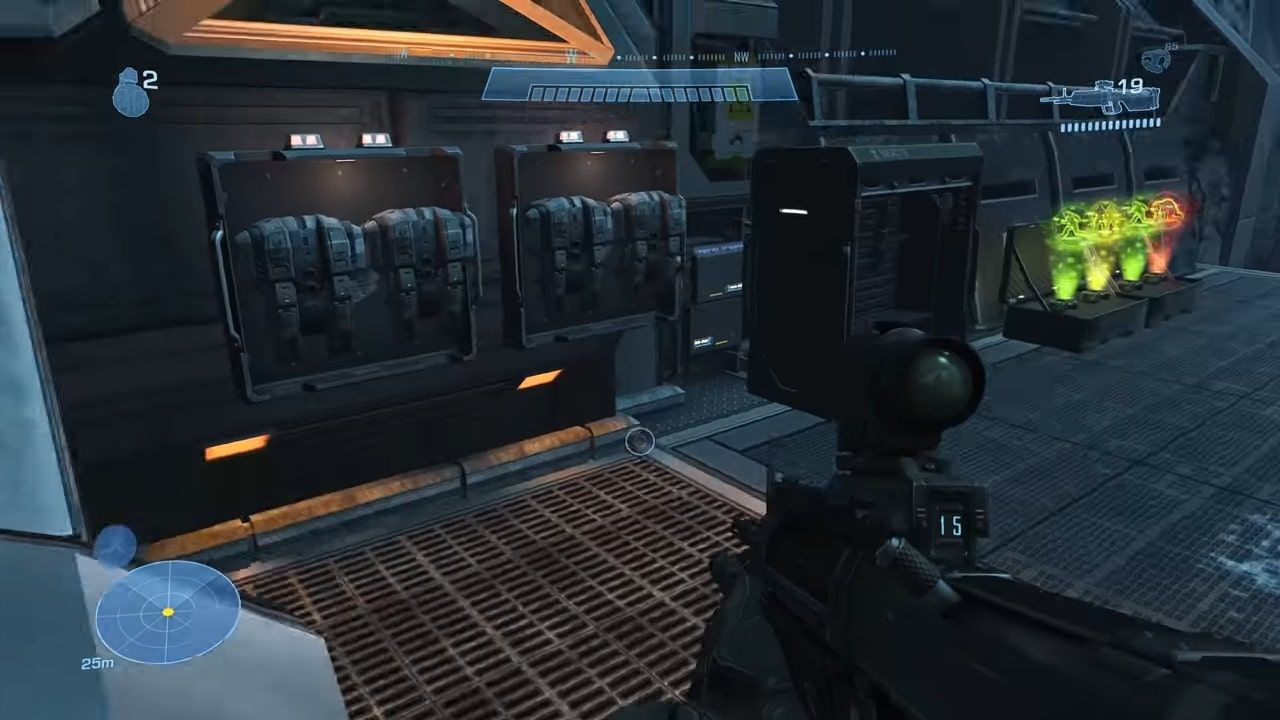
Immediately after collecting that data pad, hit the button to advance to the Halsey's Lab defense portion of the level. Head right of the entrance to Halsey's Lab and grab a jetpack off the wall.
Turn around and head towards the nearest activatable turret. Jetpack over the short rock wall behind it and continue forward across these rocks to the roof of the small building.
Jump out and jetpack above the ravine, over to the far side, just underneath the large track-like structure. On the side of a cliff will be the data pad waiting for you.
The Pillar Of Autumn
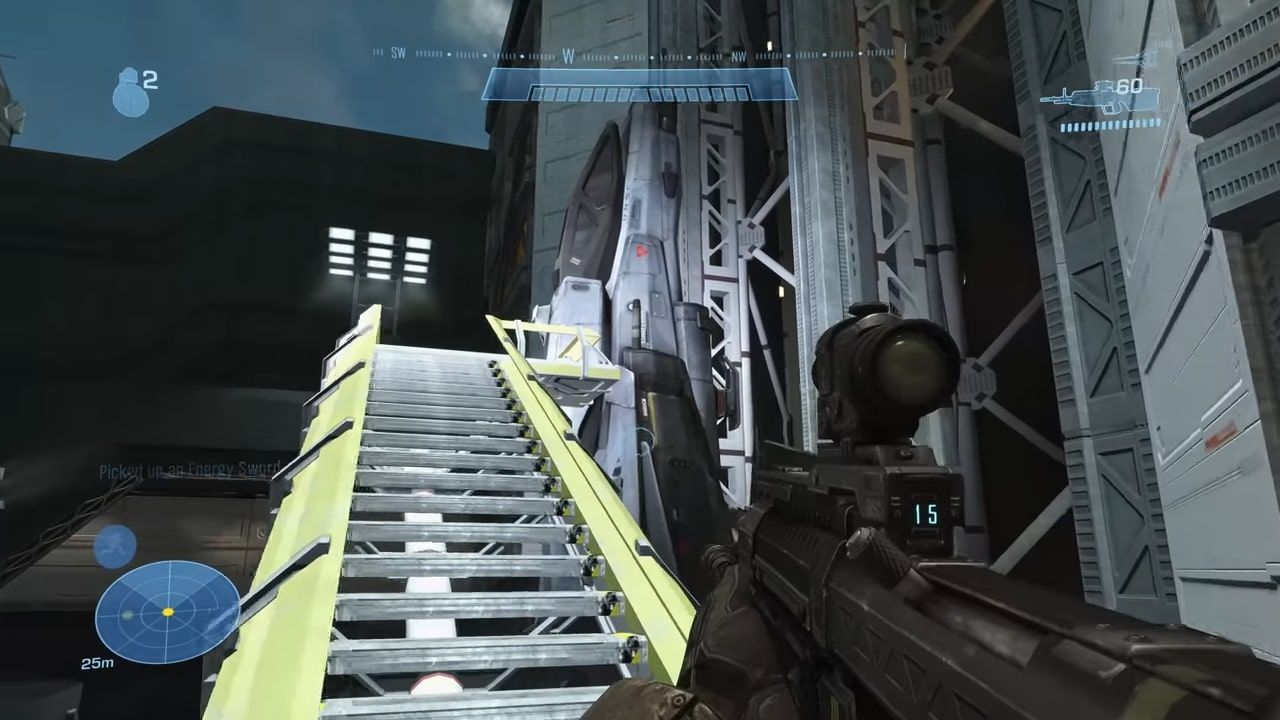
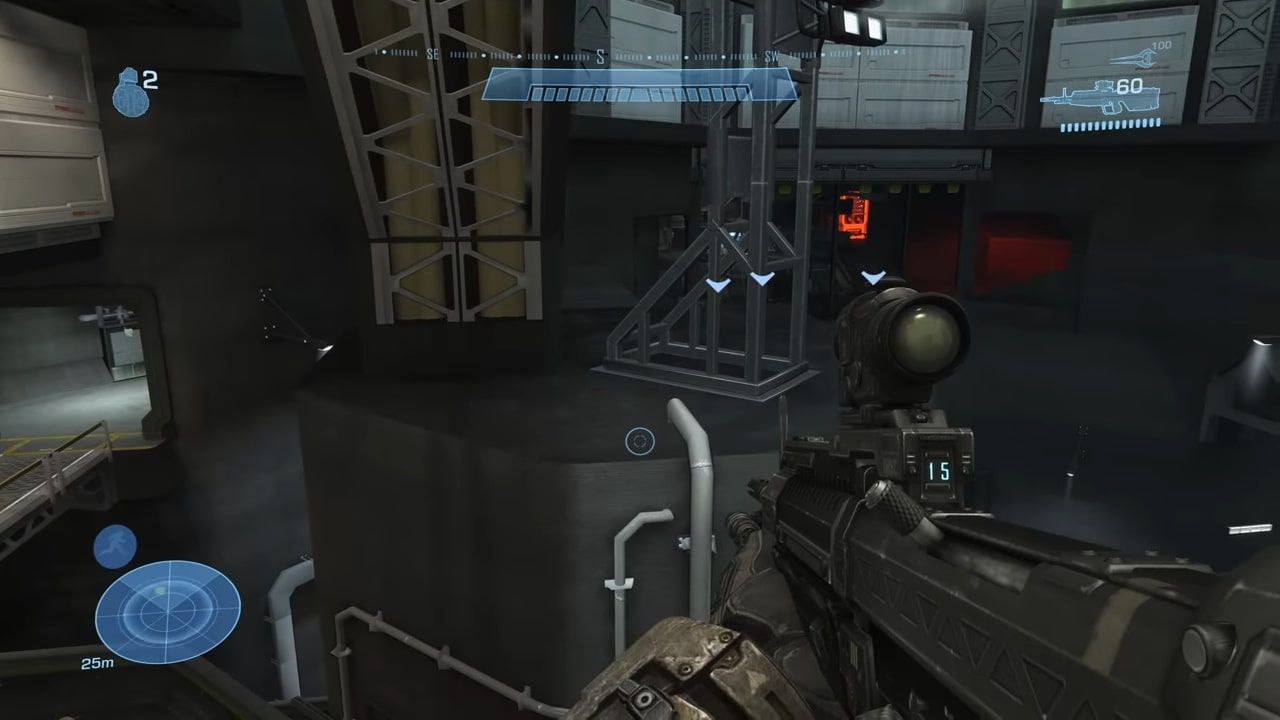
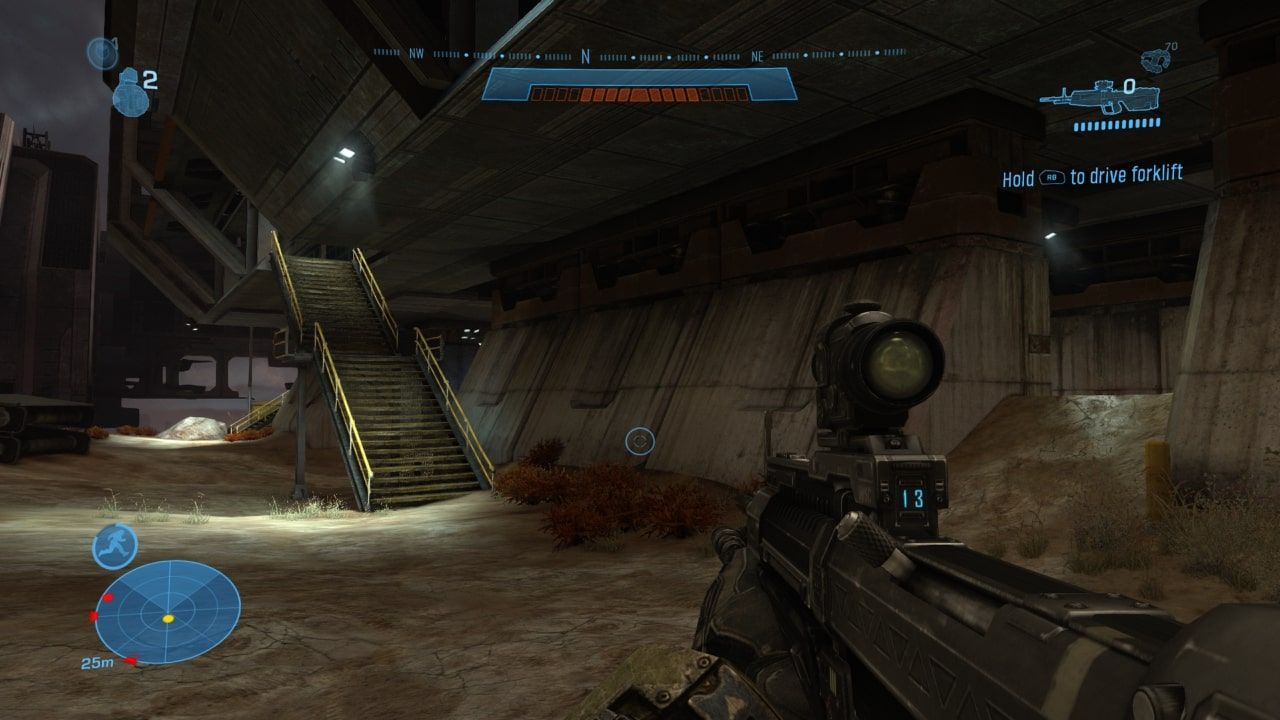
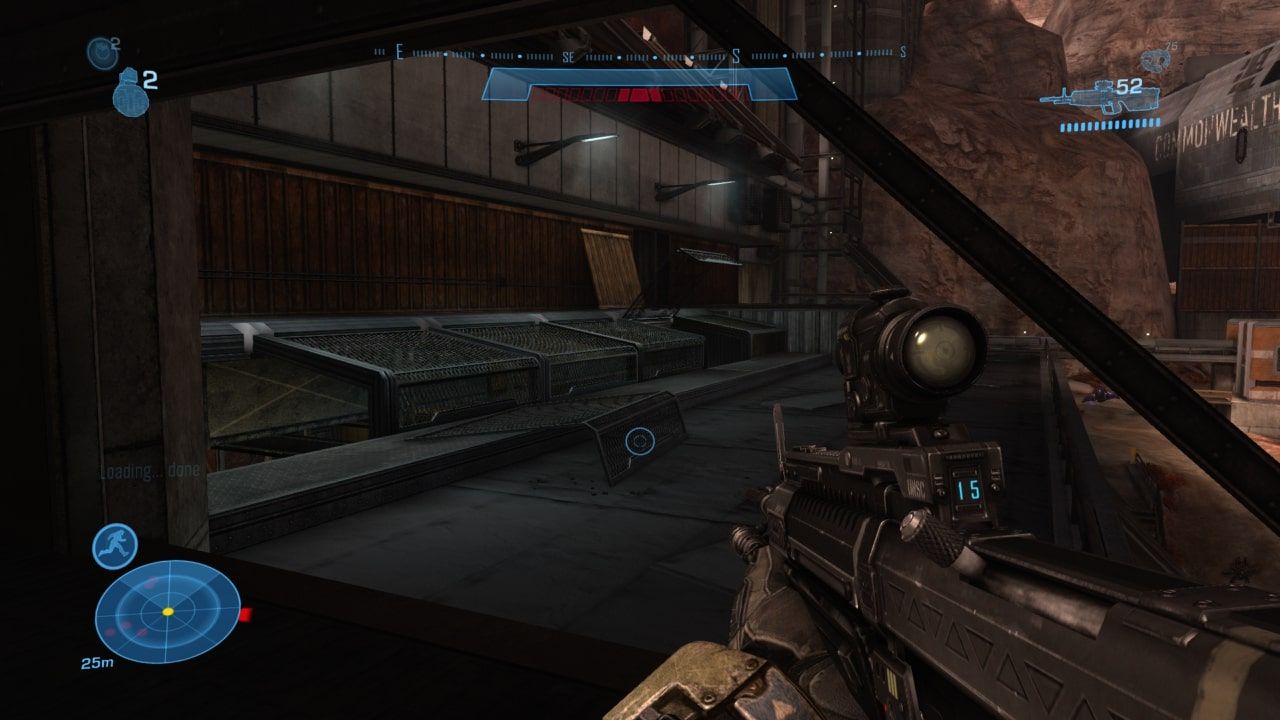
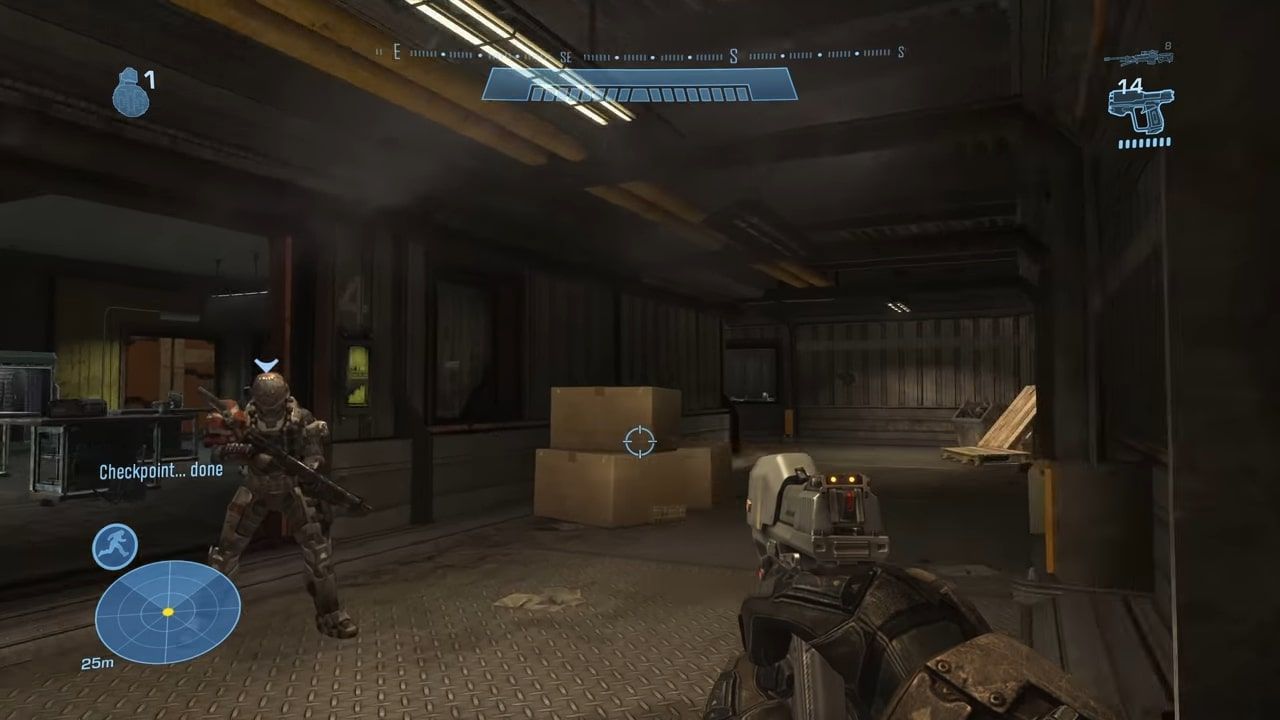
The Pillar of Autumn's two data pads can be gotten quickly from Rally Point Bravo, and the first must be done on Legendary. Advance up into the building and walk to the far end, then take a right and go up the staircase past the weapon crate, the stairs underneath the four lights in the second picture below.
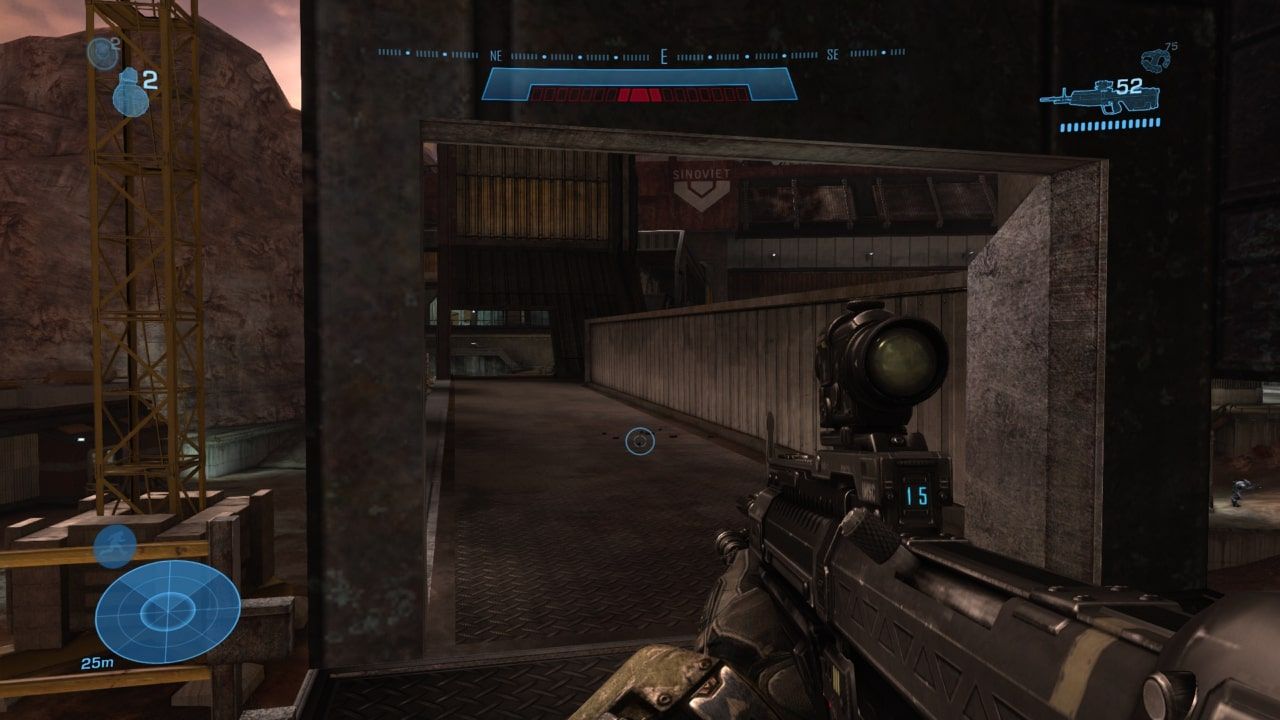
Cross the bridge to the far building, then run to the right along the roof.
Take a left around the corner to find the data pad in the corner.
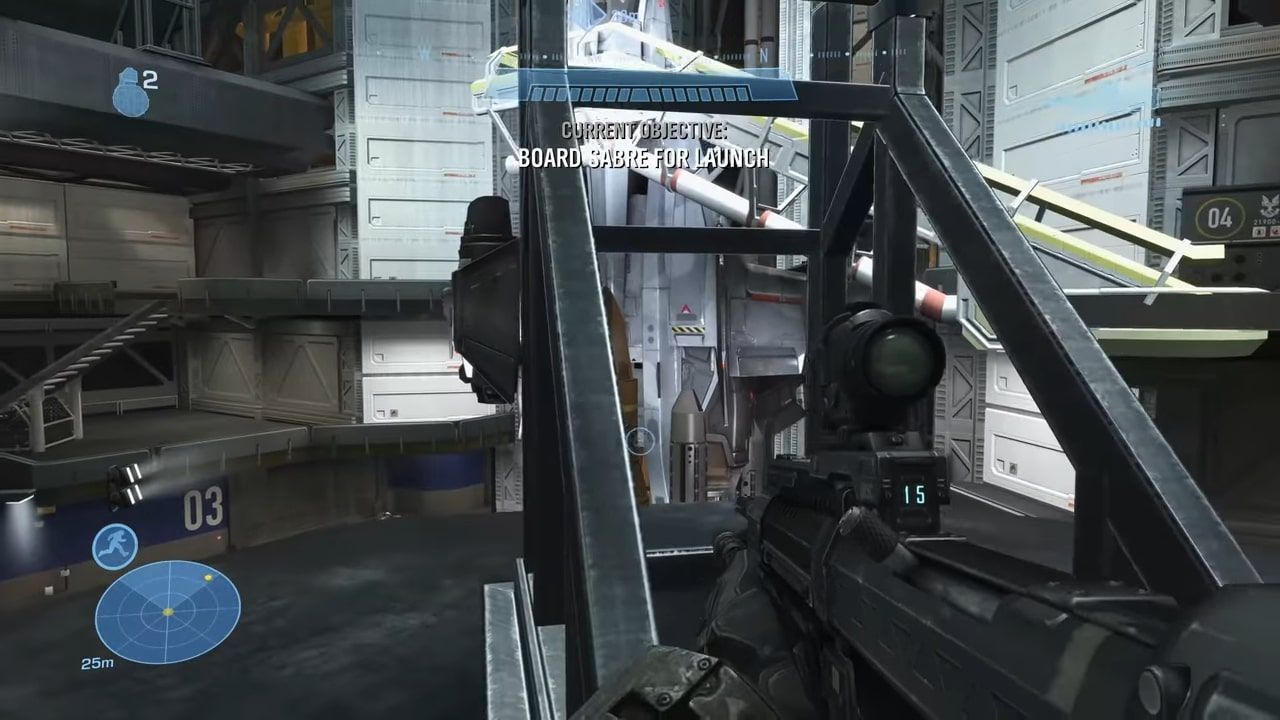
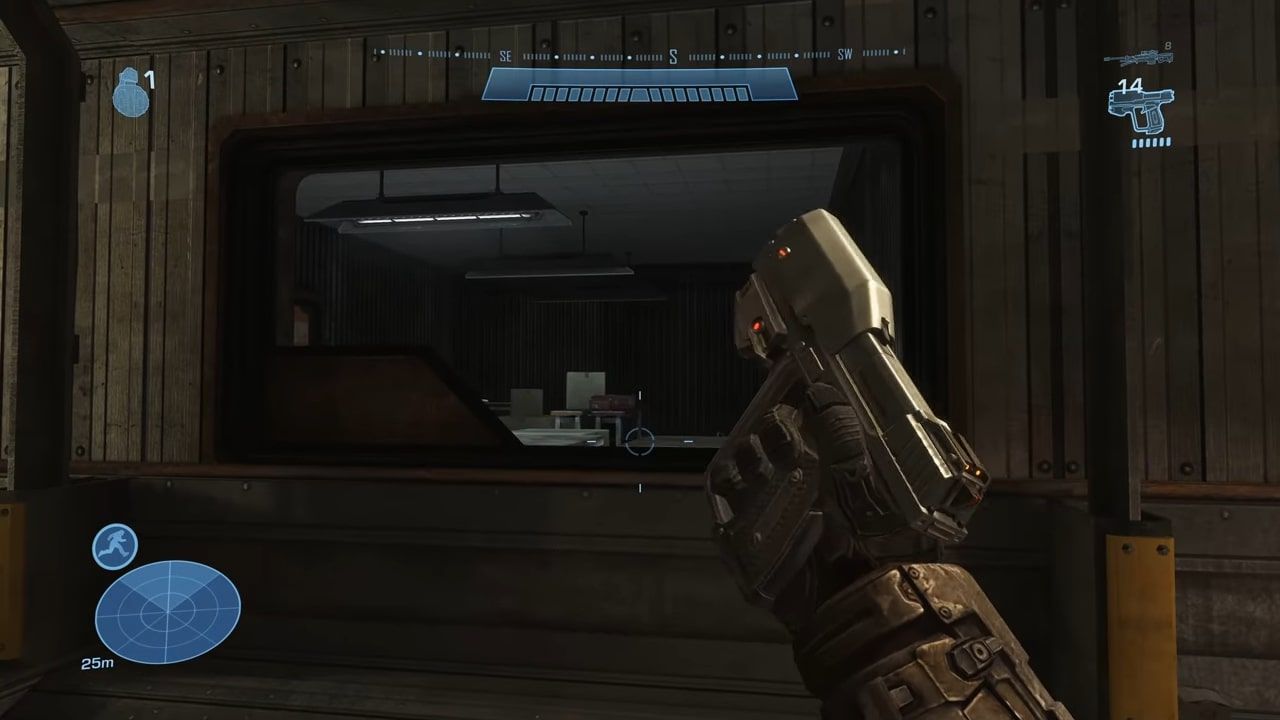
A bit further into the level, you will reach the point pictured below. Continue down the hallway instead of going into room four. Shoot the second window you pass on the right and jump through it.
The data pad can be found in this room, in the back corner on a table.
Lone Wolf
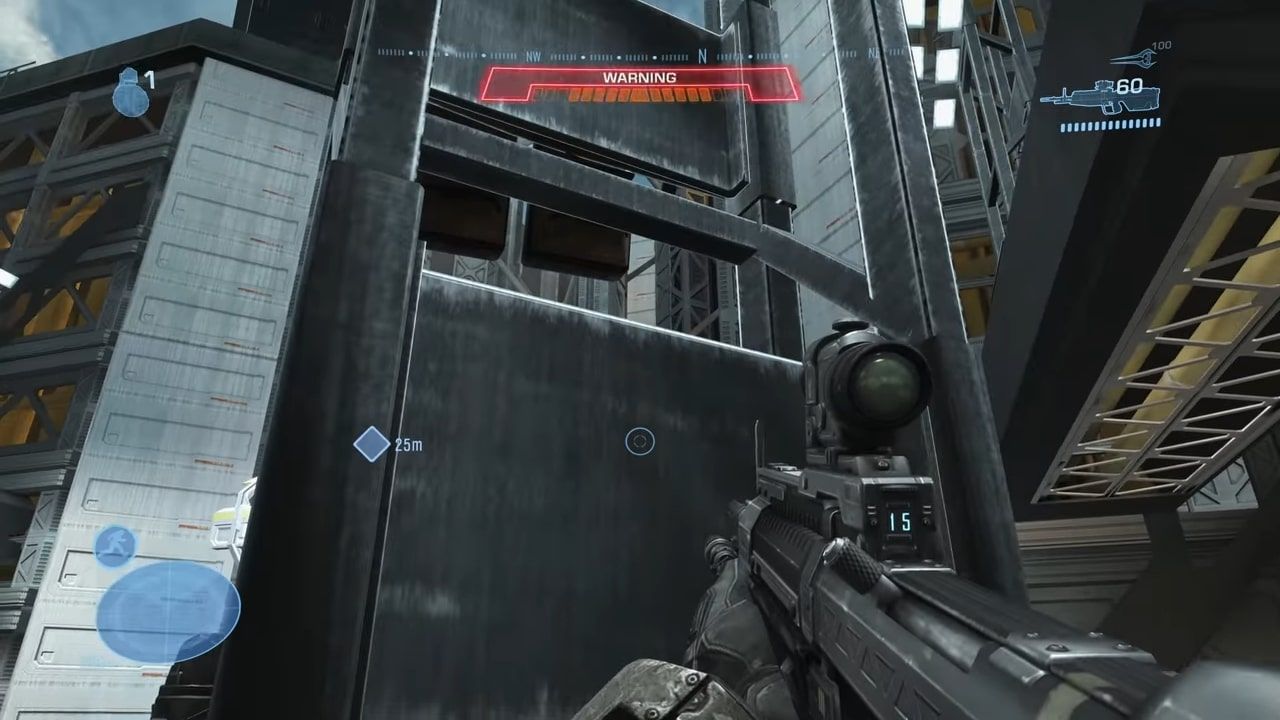
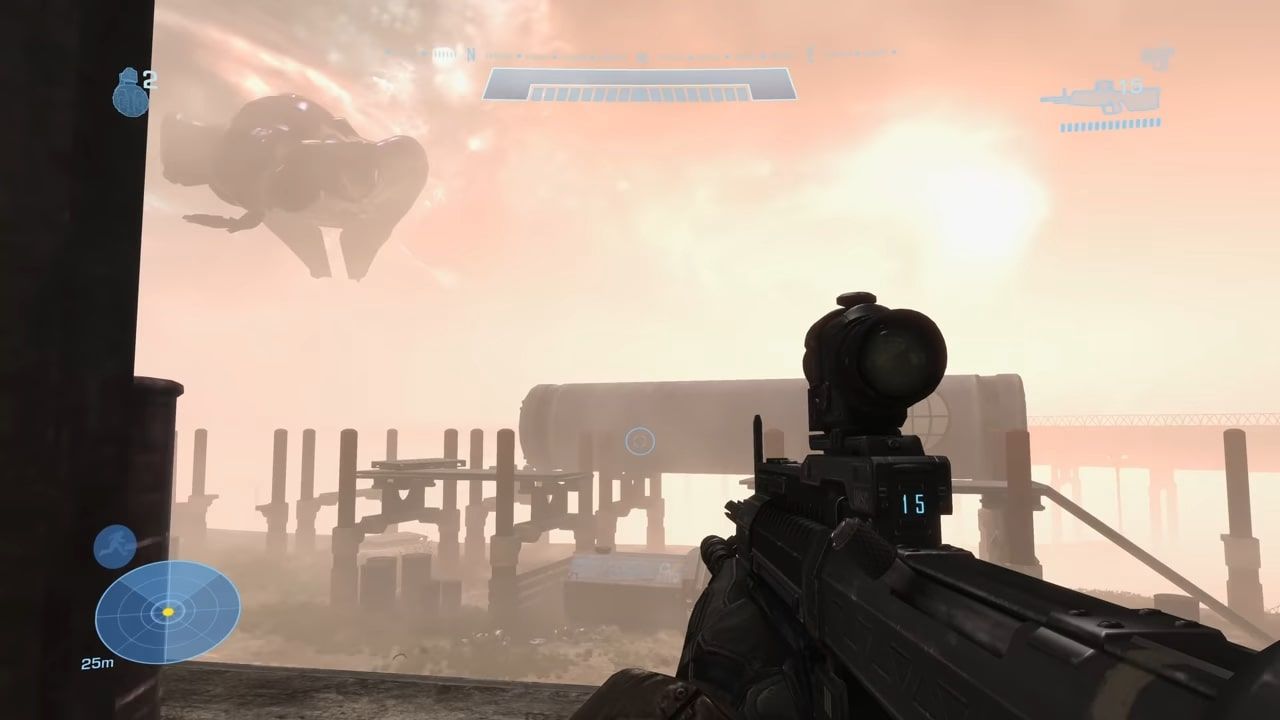
Lone Wolf features only one data pad that must be gotten on Legendary difficulty. From the spawn, go straight through the building to the large silo pictured below.
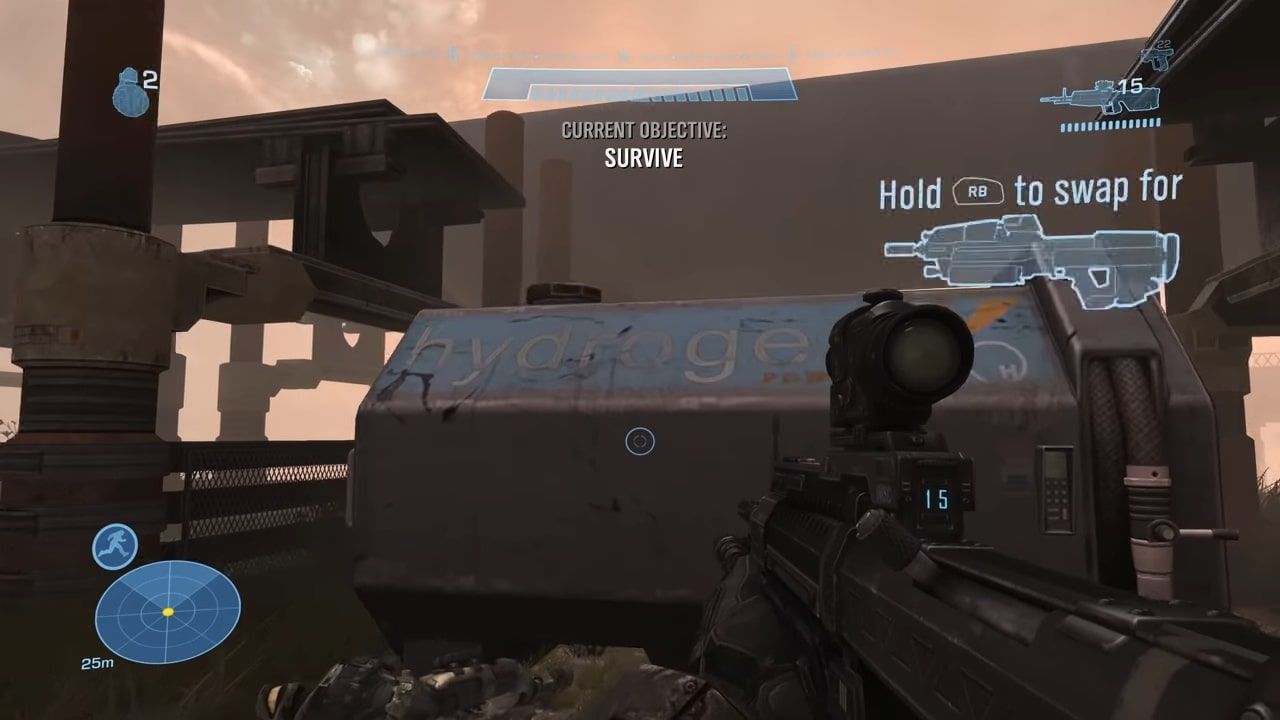
Jump up onto the blue hydrogen tank, then up to the platform on your left.
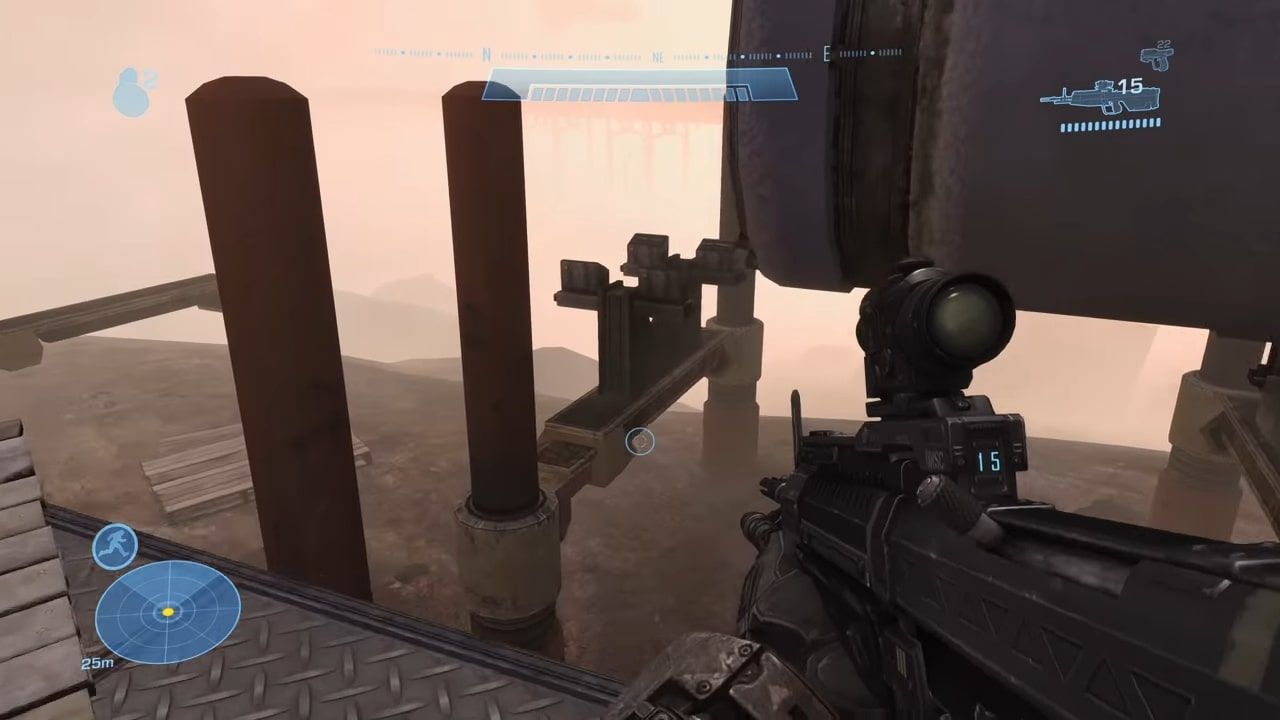
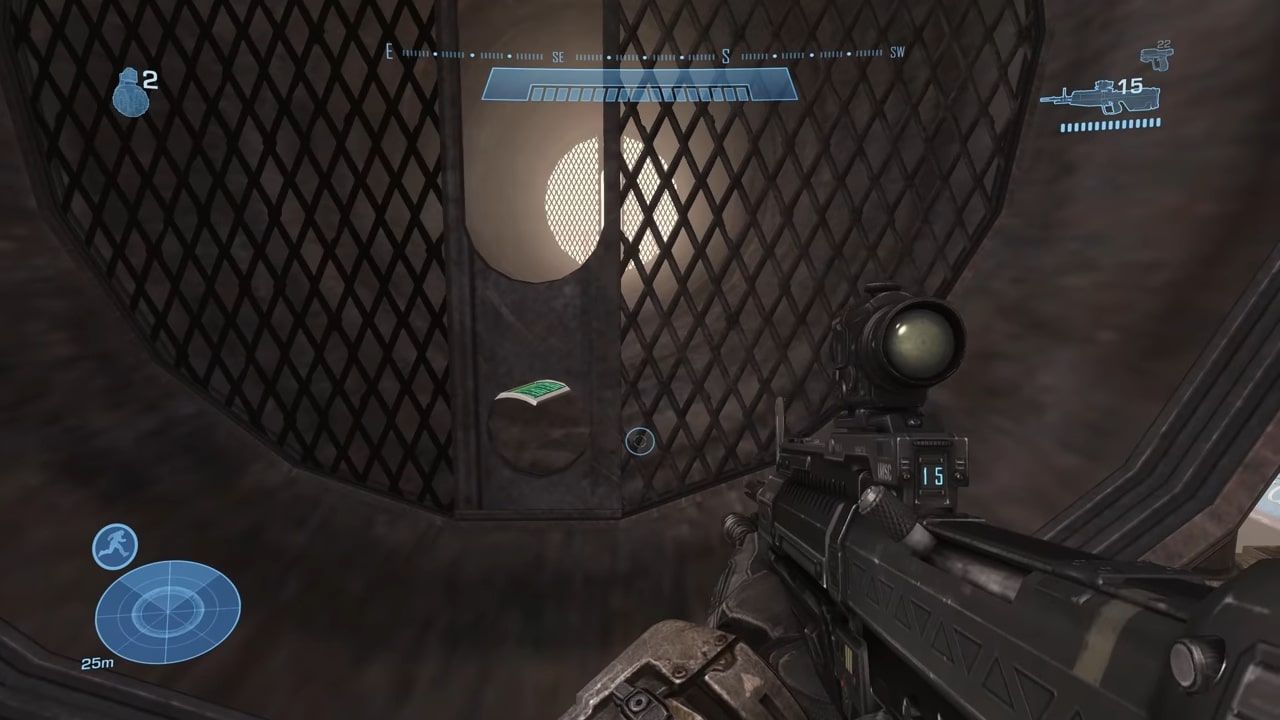
Hop to the shrapnel on the far end of the silo, then into the silo. You can pick up the 19th and final data pad through the fenced wall.

