Harvestella marries JRPG and farming sim elements, setting you off on a world-saving adventure where you need to make sure you tend to your crops and livestock before you go off on your way. It balances both genres well, giving you a taste of both and not leaving you wanting more either way. Between fighting monsters and watering crops though, you'll also have the chance to hunt for collectibles.
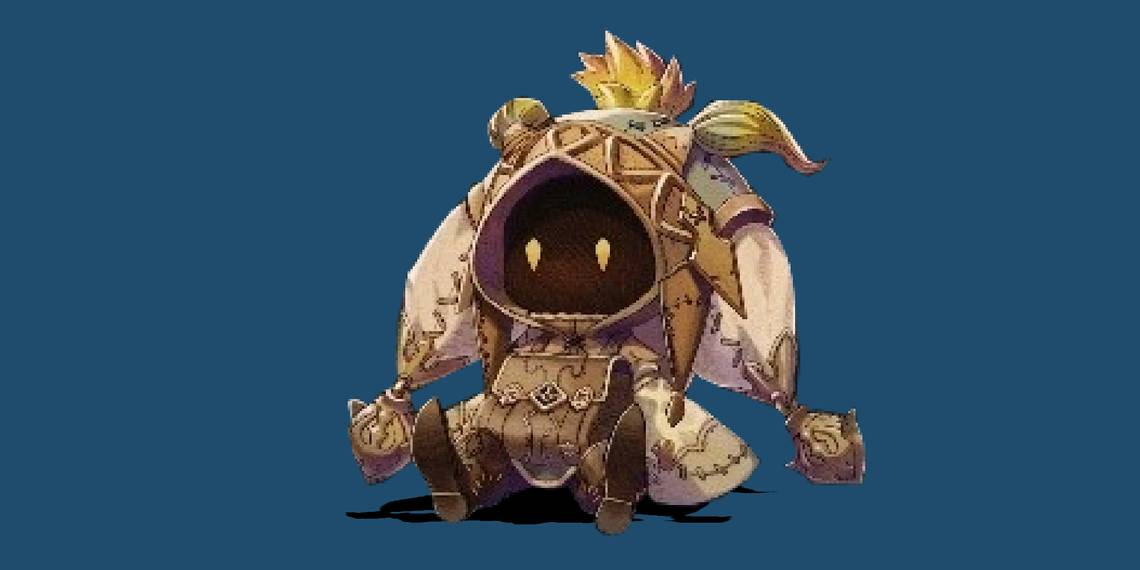
While you're exploring the dungeons are towns of Harvestella, you may come across jester-like dolls that resemble black mages. It's in your best interest to collect them all, as a Conellu merchant named Chief Conellu in the seaside town of Shatolla will offer you rewards in exchange for them. Take them to him, and you'll get a reward for every five you collect. The young boy in his shop suspects he's harbouring a secret, though... you'll just have to collect all the dolls to find out what he's hiding.
In each map, the character's position is marked by a yellow arrow with a dot. This is where the Conellu Doll can be found.
Where To Find Every Conellu Doll

The Conellu Dolls are located all across the world of Harvestella — in towns, dungeons, and secret areas you might not discover on your own. Here's the location for all 40 Conellu dolls.
Bird’s Eye Brae
|
Doll |
Location |
Notes |
|---|---|---|

|

|
A Conellu Doll is located on the southeast part of your farm, behind a bombable wall. Use a bomb to destroy the wall and find the doll in front of you. |

|

|
A second Conellu Doll can be found behind the waterfall in the Cave Biome. You will need to have the Wind faerie on your farm, and complete a number of quests for them, to unlock the Cave Biome. |
Lethe Village
|
Doll |
Location |
Notes |
|---|---|---|

|

|
There's only one Conellu Doll available in Lethe Village, and you'll find it near the Conellu merchant. Head to the merchant's stall, then up the stairs to the left. The Conellu Doll is behind the house on your right. |
Higan Canyon
|
Doll |
Location |
Notes |
|---|---|---|

|

|
The doll is located on the Scarlet Gorge floor, on the east side of the map. Once you reach the open land on the east side, there will be a small route opening on the right. You'll find the Conellu Doll here. |

|

|
The second Conellu Doll is located in Cypress Crossing. It's up on the northwest corner of the map, and you'll need to sneak past two FEAR to get to it. Behind the second FEAR, there's a small route that leads to the Conellu Doll. |
Njord Steppe
|
Doll |
Location |
Notes |
|---|---|---|

|

|
There's just one Conellu Doll in the Njord Steppe, and it's right next to the Nemea Side Motus Monolite. Facing Nemea, it's in the crevice to your right. |
Nemea
|
Doll |
Location |
Notes |
|---|---|---|

|

|
Nemea's Conellu Doll is located behind the Orphanage. When you're in front of the Orphanage, go to the very edge on the right and follow the path behind it. A Conellu Doll is waiting for you at the end. |
Heaven’s Egg
|
Doll |
Location |
Notes |
|---|---|---|

|

|
The first Conellu Doll in Heaven's Egg is located on the Improper Ruins floor. It's located somewhat centrally in the top half of the map. If you've already completed the section and fixed the ladder, just head up the ladder and turn right. In this wider section, there's a small route in the top right, where the Conellu Doll is found. If you've not fixed the ladder, you'll just have to go the long way around, past the (broken) ladder. You'll loop back to where the doll is, though. |

|

|
The second Conellu Doll in the Heaven's Egg is on the Mutant Vegetation Floor. It's located in the top right of the map, right near the exit. Instead of heading to the next floor, turn right instead. There's a short passage with the Conellu Doll at the end. |

|

|
The third and final Conellu Doll in the Heaven's Egg in on the Wet Footprints level. It's located in the top right of the map, where there are multiple platforms that you'll need to ride the wind to access. The doll itself is on the farthest platform. Head to the back of the room where the ladder is, and ride the wind to the next platform, making sure to refill the wind power before moving to the next platform. Once you get there, refill again, and head to the platform on the right on the map. The Conellu Doll is in the centre of the platform. |
Jade Forest
|
Doll |
Location |
Notes |
|---|---|---|

|

|
From the Lethe Side of the forest, head towards the fourth big area on the right of the map. It's connected to the previous area by a thin passage (a bridge). Once there, head towards the Twilight Forest Guardian. You can either defeat it or attempt to sneak past it, as the Conellu Doll is behind it. |
Shatolla
|
Doll |
Location |
Notes |
|---|---|---|

|

|
Shatolla has just one Conellu Doll, located behind the lighthouse. However, to get there, you'll need to head to Heine's atelier and walk north along the beach. You'll see the Conellu Doll on the sand. |
Coral Shrine
|
Doll |
Location |
Notes |
|---|---|---|

|

|
The first Conellu Doll in the Coral Shrine is in the Seabed Corridor. Come in through the top entrance, and head to the left. There will be a wall that you can bomb open. Use a bomb and the Conellu Doll will be waiting. |

|

|
You'll find the next Conellu Doll at the very top of the Three-Pronged Crossroads. When you're on the bridge on the right, jump down to the lower level and head right, into the corner. There's a small section with a Conellu Doll inside. |

|

|
The final Conellu Doll of the Coral Shrine is on the Echo of the Bulla floor, located on the left side of the map. Once you've drained the water, there's a small area with ladders on either side that was previously a pool. Head down here to find the Conellu Doll at the bottom. |
Silent Cave
|
Doll |
Location |
Notes |
|---|---|---|

|

|
The Conellu Doll in the Silent Cave is hidden in the grass next to a FEAR named the Shadow Crawling in Murk. It's easily accessed from the Shatolla side. You can dodge the monster's attacks and grab the doll without engaging, if you don't want to fight it. |
Holy Capital Argene
|
Doll |
Location |
Notes |
|---|---|---|

|

|
In Holy Capital Argene, you'll find a Conellu Doll behind the Temple Indulgentia. Travel to the Temple Indulgentia Motus Monolite and head around the back to the right. You'll find the Doll at the end of the passage. |
Divine Seaslight Cave
|
Doll |
Location |
Notes |
|---|---|---|

|

|
The first Conellu Doll in the Divine Seaslight Cave is in the Hidden Glacier Approach, close to the exit to the next area. You'll need to sneak past two FEAR to enter the small passage at the bottom of the room. At the end of the passage, there's a Conellu Doll. |

|

|
You'll also find a Conellu Doll in the Frozen Crossroads. Towards the end of the area, there are two FEAR monsters — the Conellu Doll is hidden near the first one you come across (not the one near the exit). If you've frozen the water in this area, you should be able to get to the Conellu Doll just fine, as the monster will be encased in ice. Otherwise, you'll need to avoid the monster to retrieve it. |

|

|
The final Doll in the Divine Seaslight Cave is located at the very top of the Chilled Confinement floor. Head to the room directly above the Winter Monolite. In the bottom right corner, there's a FEAR. If the Winter Monolite is switched on, and the monster is encased in ice, you won't be able to pass. Do not switch it on as you go past it. Go towards the route leading out of the room above the FEAR, to the top on the right. Keep going until there's an opening on the left. This room is full of FEAR, so you'll need to be careful, but a Conellu Doll is tucked away at the very end of the room. |
Castle Of Illusion
|
Doll |
Location |
Notes |
|---|---|---|

|

|
The first Conellu Doll inside the Castle of Illusion is on the Steps of Truth floor, located at the top of the map. Follow the open doors until you reach the top of the map and the path forks. Take the path up and follow it around. On the map, there's a small dot, representing a pillar. The Conellu Doll is hidden behind the pillar. |

|

|
The second Conellu Doll is on the Steps of the Divine Gift floor, in a square room on the bottom of the map. Simply make your way through the dungeon as normal to find the room marked on the map. The Conellu Doll is located in the top right of the room, surrounded by lasers. |

|

|
The Conellu Doll on the Solstitial Steps floor is located in the northeast part of the map. From the central room, take the top door on the right. Follow the path around until you reach a large square room full of lasers. The Conellu Doll is about half-way up the left side of the room, near a FEAR. You'll have to do your best to avoid the lasers or fight Omens to proceed to it. |
Abandoned Eden
|
Doll |
Location |
Notes |
|---|---|---|

|

|
After leaving Abandoned Eden, turn back on yourself to enter Abandoned Eden again. The Conellu Doll is in the middle crevice on the right-hand side of the first room you enter. |
Panthalassa Junction
|
Doll |
Location |
Notes |
|---|---|---|

|

|
From the Center Motus Monolite, go up the road to the right and take the stairs down. At the end of the flights of stairs, you'll see a chest. Continue past the chest to find the Conellu Doll. |
Phantasmagoria
|
Doll |
Location |
Notes |
|---|---|---|

|

|
You'll find the first Conellu Doll in Memory Lane. After entering from the bottom of the map, simply follow the path around until you loop around to the second row on the right, and stop one room before you reach the central area. At the bottom of this room, you'll see a bunch of debris. Walk around it and down a small path to reach the Conellu Doll. |

|

|
This Conellu Doll is near the end of the Dream Terminus level. Simply follow the path around until you find a merry-go-round with two FEAR on it. To the left, you'll see a FEAR blocking an exit. The Conellu Doll is behind the monster. You can either defeat it, or engage it and lure it away to sneak past it. |
Astrum Helix Research Facility
|
Doll |
Location |
Notes |
|---|---|---|

|

|
The first Conellu Doll here is on the fourth floor of the Planetary Life Tower. The Conellu Doll is behind a locked door, so you can't access it right away. Follow the path around as if you were going up to the fifth floor, until you reach a room with various weak areas that you fall through if you stand on them. Go to the one in the farthest corner of the room on the left. You should land directly in front of the Conellu Doll. |

|
This location appears blank on the map. Just use the elevator to reach the Middle Layer Elevator. |
To the left of the Middle Layer elevator in the Seraph Memorial Garden, you should see a ledge. Jump off and you'll land on another ledge. Jump two more times, and you'll find the Conellu Doll. |

|

|
This Conellu Doll is located on the eighth floor of Where Paradise Hatches. It's located in the hexagonal central area on a broken platform. To ensure you reach the platform and don't fall to the level below, don't jump from the first ledge you see. Walk around to the other side. The distance is shorter, allowing you to make the jump easier and net the Conellu Doll. |
Space Elevator Vergillus
|
Doll |
Location |
Notes |
|---|---|---|

|

|
The Conellu Doll is located on the first level of Purgatorium Torque, but you'll need to go to the second level to reach it. Once you're on the second floor, head for the second elevator (marked by a blue arrow on your map). When you get off the elevator, the Conellu Doll will be in front of you. |

|
Orbital Cradle
|
Doll |
Location |
Notes |
|---|---|---|

|

|
In the Heaven's Steps part of the Orbital Cradle, head through the dungeon as normal. When you reach the first H room, use the transporter to go to the second H room. The Conellu Doll will be here. |

|

|
Once in the Beatrice's Lullaby floor of the Orbital Cradle, head round to the H-shaped room at the bottom of the map. The room is full of lasers, so be careful. When the moving lasers are clear, hop over the lasers on the floor and find the Conellu Doll in the top left part of the room, on the right. |

|

|
The third Conellu Doll is on the Empireo floor, in a room between the I and J transporters. It's located behind the FEAR. |
Stella Nursery
|
Doll |
Location |
Notes |
|---|---|---|

|

|
The first Conellu Doll is located on the Untrodden Path floor, behind a FEAR. Follow the path around to the right side of the map to reach a second room where you need to ride the wind. The Conellu Doll is in the top right of the room. |

|

|
The second Conellu Doll is located on the left side of the Spiral to the Beginning floor. Follow the path round (or just go up the ladders if you've fixed them) until you reach the top left area, where two rooms are connected by fountains. The Conellu Doll is hidden behind multiple FEAR. |
Hidden Cave
|
Doll |
Location |
Notes |
|---|---|---|

|

|
Take Heine's submarine and go right, past Shatolla. On the second island you see, ride the Totokaku and dig. A Hidden Cave will be revealed with a Conellu Doll inside. You need to have leveled up your Totokaku twice to reach this Conellu Doll. |
Karenoid (Quietus Dungeon)
You receive a Conellu Doll for reaching the fifth, 40th and 60th floors of the Karenoid dungeon. The Conellu Doll will be between two chests on the floor.
Conellu Doll Rewards

You can exchange the Conellu Dolls for rewards at the Mystery Store in Shatolla.
To find the store, head for the lighthouse on the northernmost part of the map. Before you reach the lighthouse, you should see a passageway to your right. Head in here and follow the path around. When the road forks, take a right. Here, you'll find the door to the Mystery Store. Activate the Motus Monolite to fast travel here whenever you want to exchange dolls.
The following rewards are offered in exchange for collecting Conellu Dolls.
|
Number Of Dolls |
Reward |
|---|---|
|
5 |
Arched Green Fence Recipe |
|
10 |
Simple Vitality Ring |
|
15 |
Accessory Synthesis Jar Recipe |
|
20 |
Conellu Bun Recipe |
|
25 |
Opulent Dexterity Ring |
|
30 |
Feed Maker Lv 3 Recipe |
|
35 |
Sacred Tenacity Ring |
|
40 |
Conellu Statue |