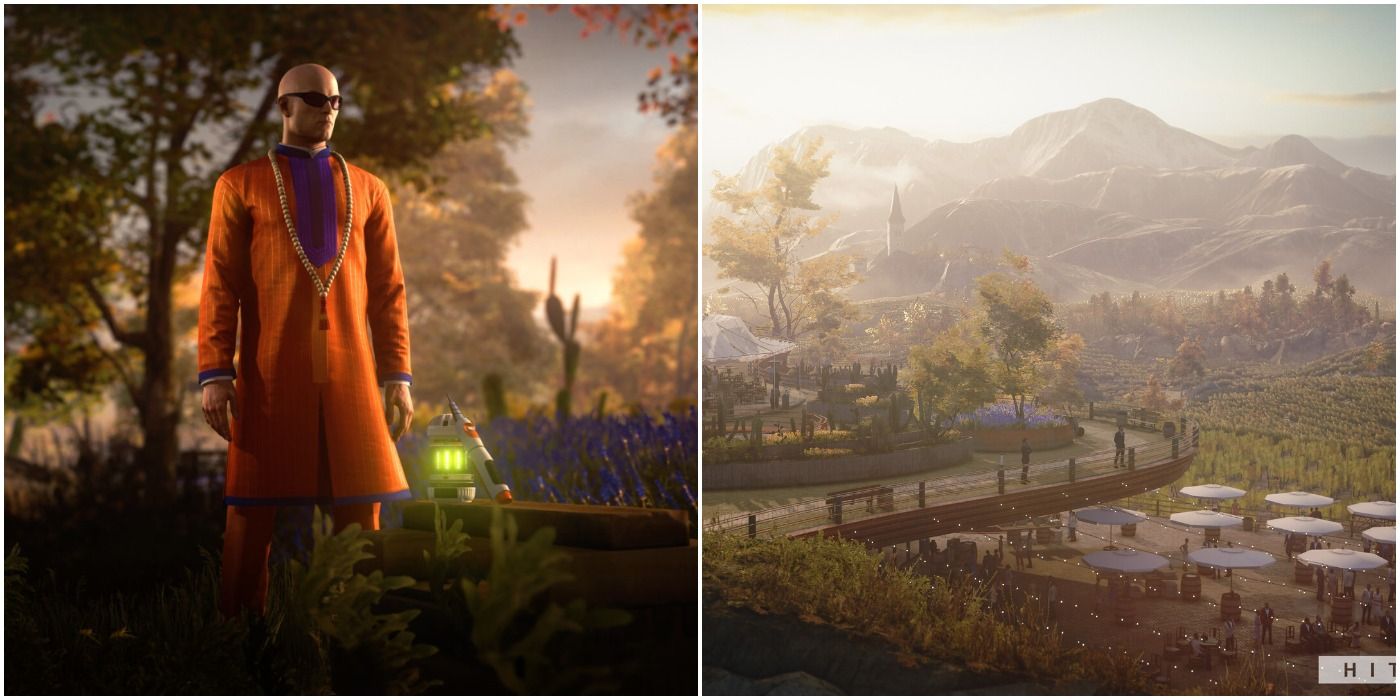
Spiritual enlightenment often comes not from places of tranquility but from places of great turmoil. The Hitman 3 developers over at IO Interactive are all too aware of this fact which is why they put the guru outfit in the middle of Mendoza. Despite the shady dealings, the double-crossings, the attempted coups, and the assassinations that happen here, you can find your inner peace.
Well, at least a certain degree of peace. It's more than just the suit, there's also an emetic syringe and an emetic grenade up for grabs. Yes, that's less peaceful, but you gotta break some eggs, right 47? This is a guide that is designed to make sure you get your hands on all three of these exclusive items for completing this escalation.
Level One
- Start with a restricted loadout.
- Find the guru outfit.
- Find the emetic grenade.
- Find the emetic syringe.
- Secret objective: Eliminate the target while he is poisoned.
This is a bit of an Easter Egg hunt, but thankfully you can take your time and play it safe. There are plenty of enforcers and guards around, but you can complete this leg of the journey without having to put anyone (except the target) out of their misery.
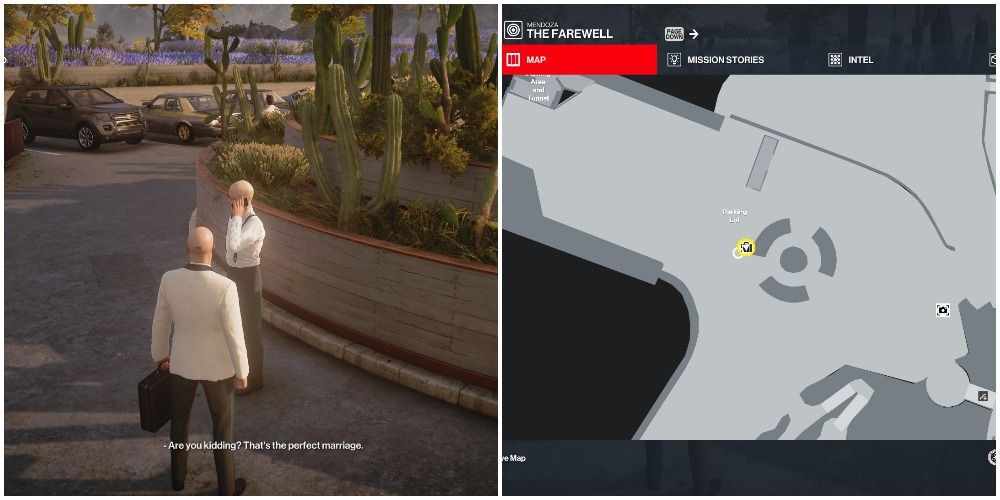
From your starting location in the parking lot, you're going to want to get close to Aron Ford Jr. This will trigger a phone call.
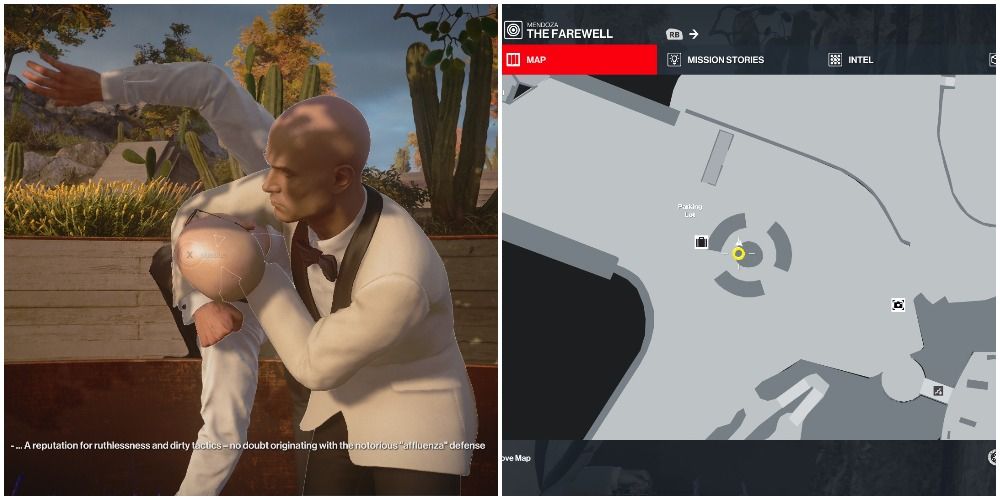
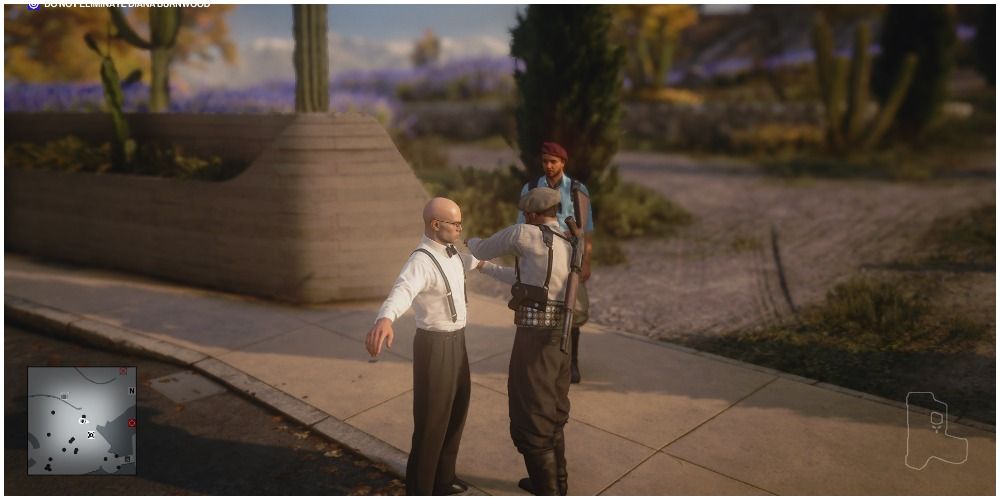
After that happens, go hide in the planter nearby. He'll begin to head to the villa but a rare bird will distract him over to your location. Wait until he finishes his remarks about the bird and then subdue him (subduing him too early means a party guest will see you). Grab his outfit and go get frisked for the guards.
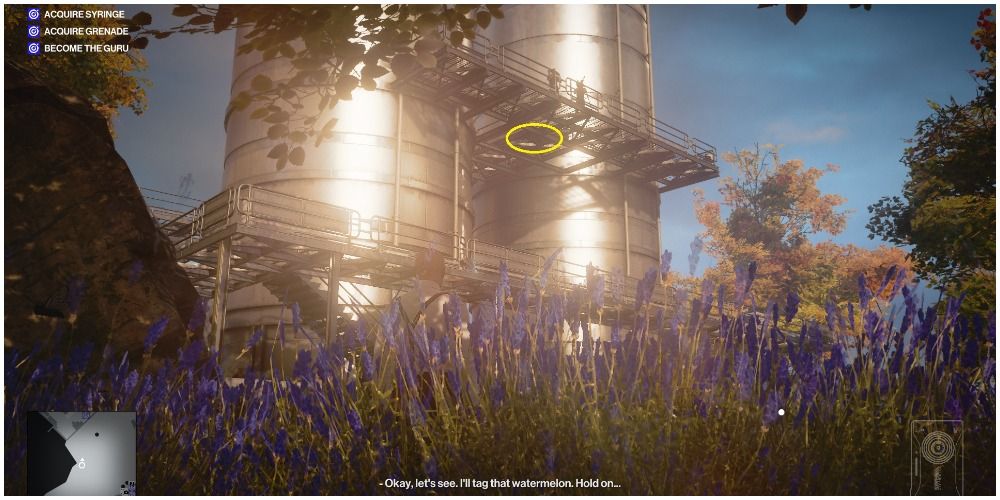
Once they're done, you're free to wander the field outside of the manor. You're specifically looking for the sniper's nest for the location of your first item.
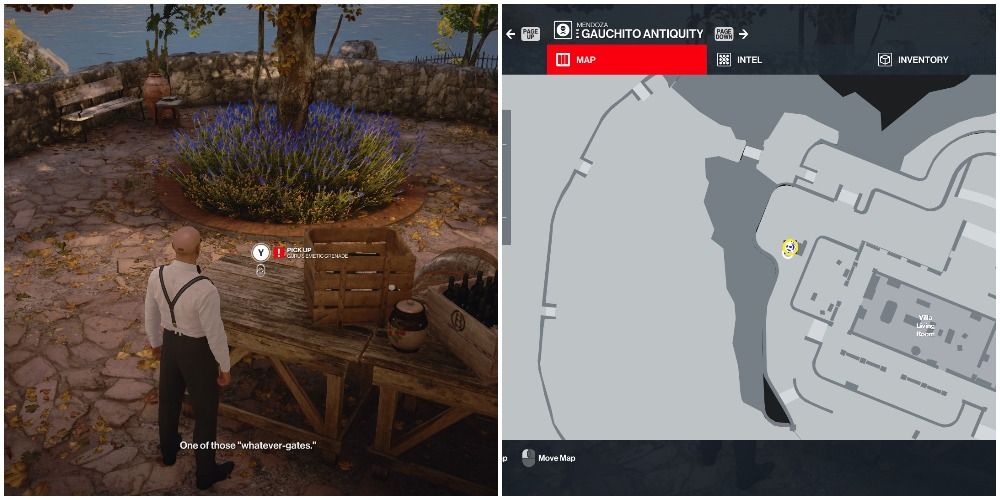
You can spot a table from the ground. The syringe is directly on top of it.
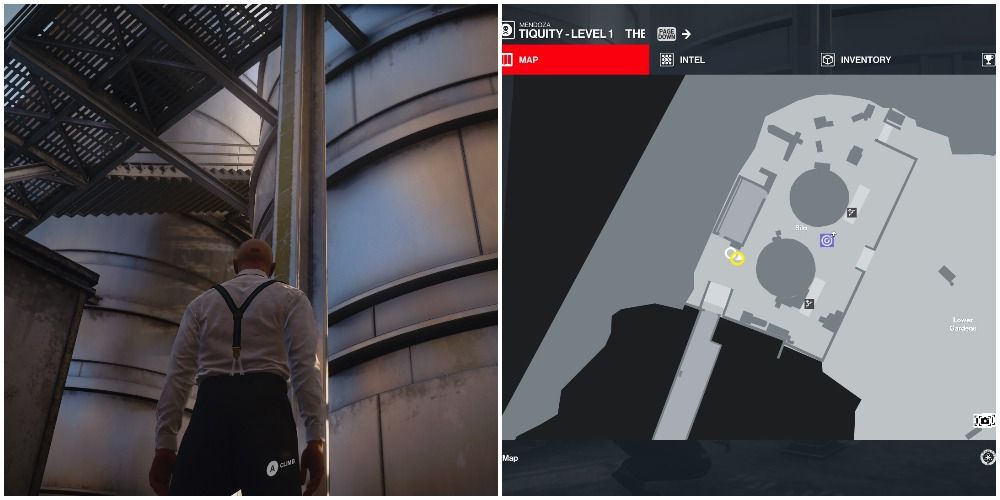
Hop over the fence and use the rail to climb up. Just be wary of the enforcers that patrol on both stories.
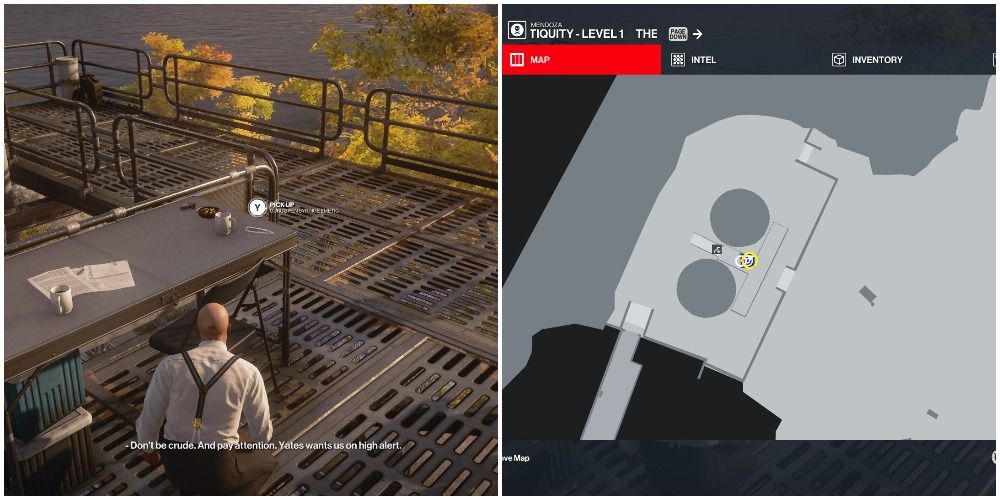
Pick up the syringe, retrace your steps back out of this sniper area, and head to the villa itself.
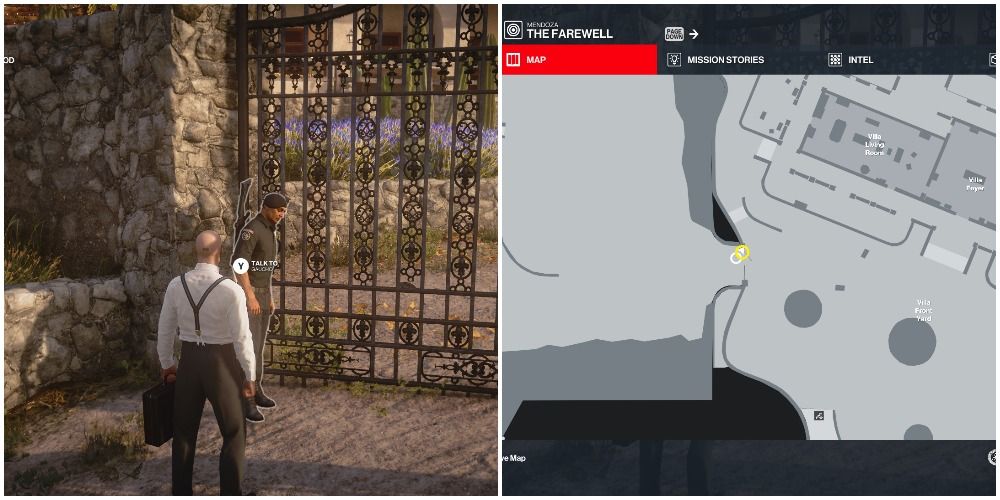
Talk to the gaucho guarding the gate. By doing so in this disguise, you're welcome just about anywhere and have no enforcers around to see through your disguise.
Take an immediate left and find the grenade on a table by some more gauchos. Do not pick this grenade up until no one is watching as it is an illegal action to do so.
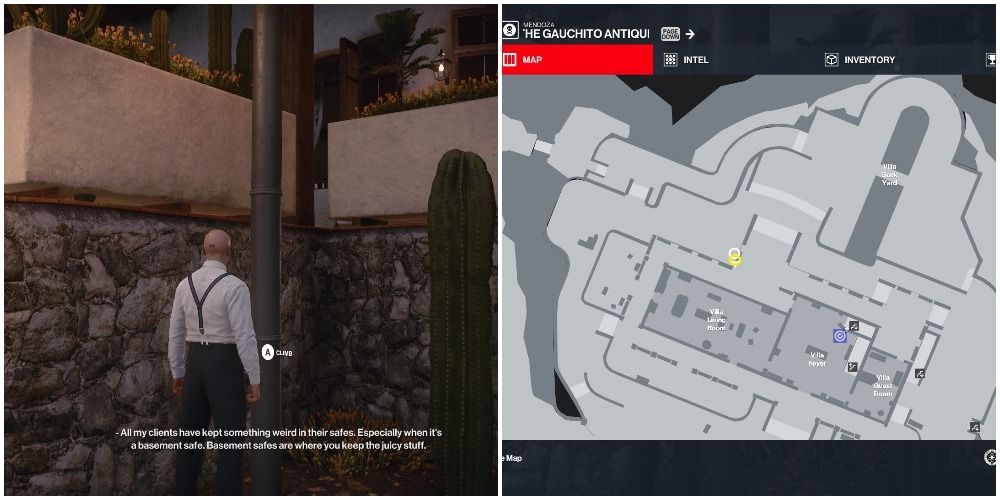
Continue down the path and turn right toward the house. You'll spot a pipe that leads to the roof. Climb up, then climb a second pipe that leads to the attic.
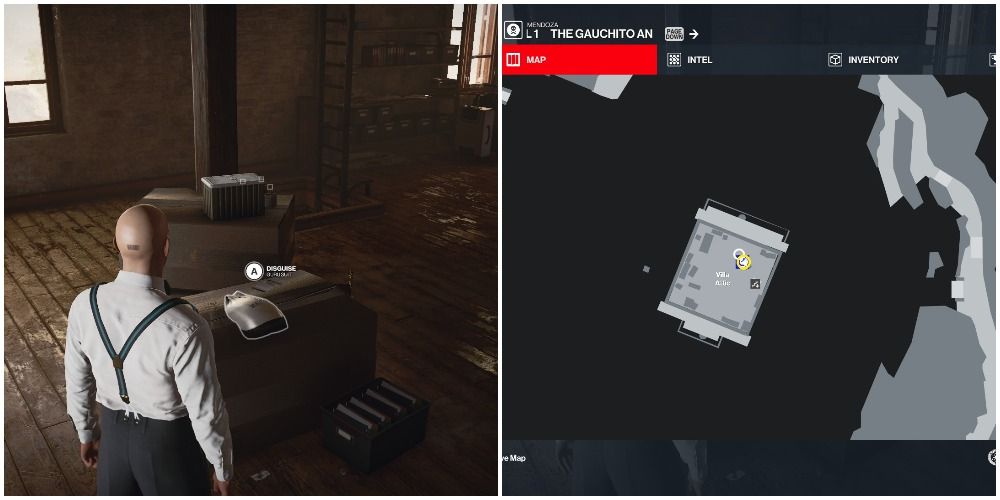
Inside, you'll find the guru suit. Putting this on will complete an objective, but it will also turn everyone at the manor into enforcers. So you're going to have to be very stealthy from here on out.
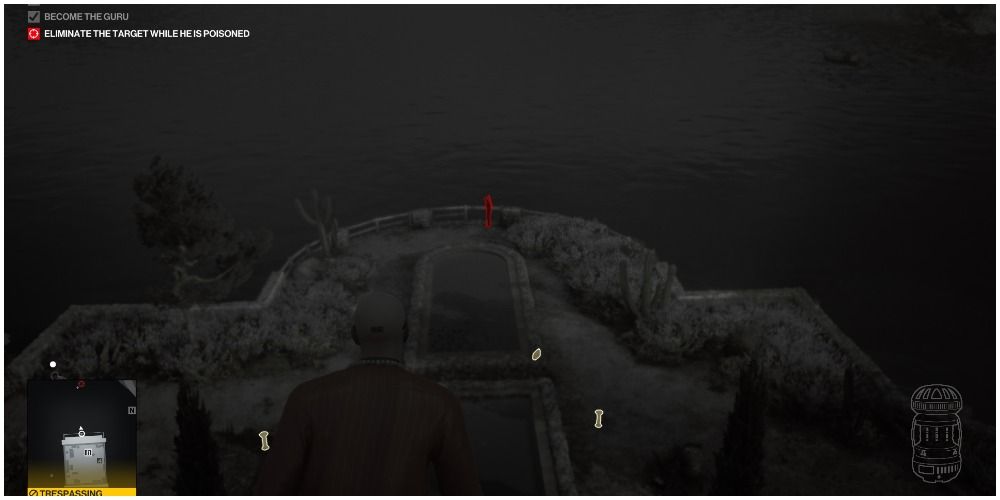
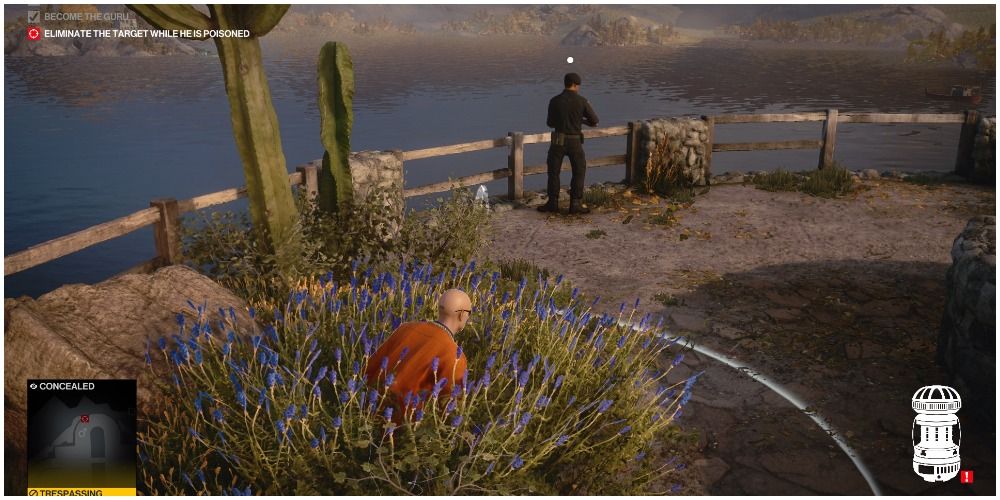
You'll now be prompted to fulfill a secret objective by killing a target while he is poisoned. If you look down from your vantage point while using instinct, you can see him in the backyard. 47 has a pretty good arm, but he can't quite land a grenade toss from up here, so go back down and use the bushes for cover.
Use the emetic grenade as it is far less risky than the syringe. Toss it between his feet and the cliff.
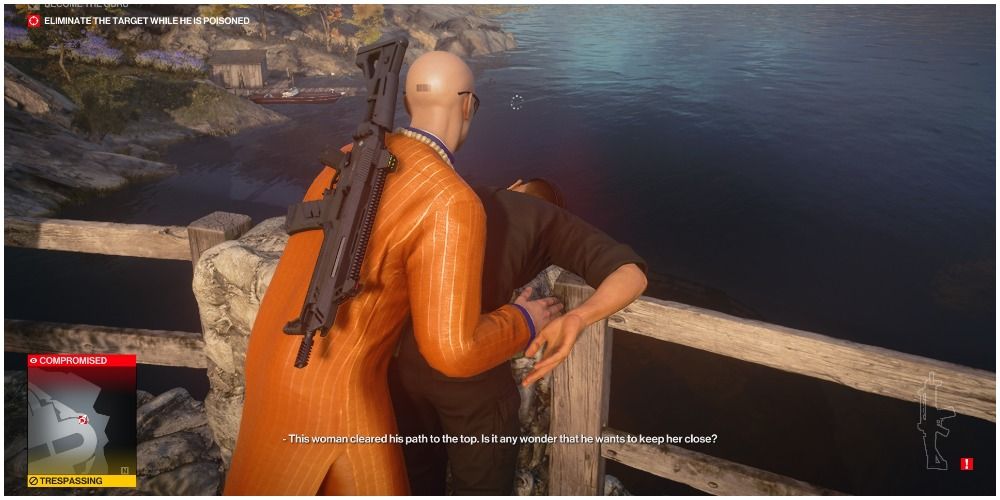
He will turn around, get poisoned, and you'll be able to push him off the edge with no issue.
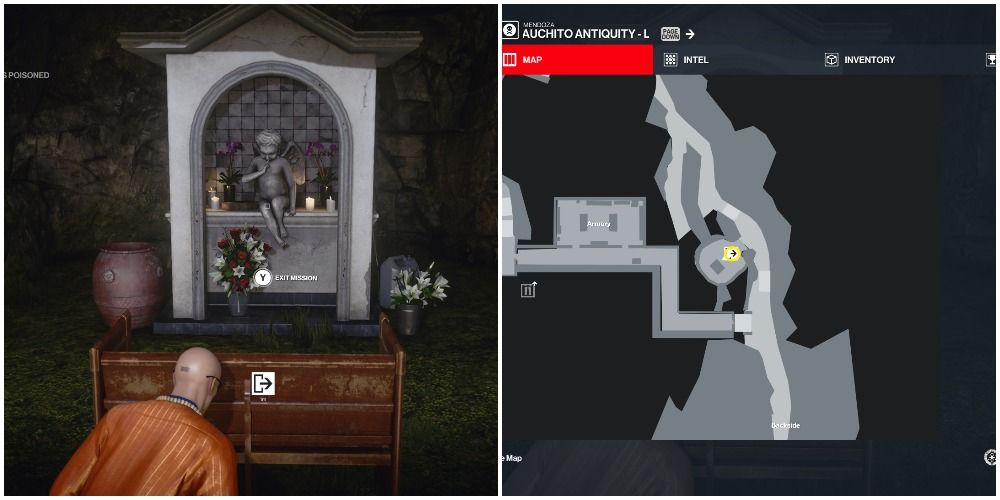
All you have to do is leave, but the only exit you're allowed to use is in the opposite direction from which you entered. Be wary of the guards and get ready for level two!
Level Two
- Start with a restricted loadout.
- If you change your disguise at any time, you will fail the mission.
- Kill three targets while they are poisoned.
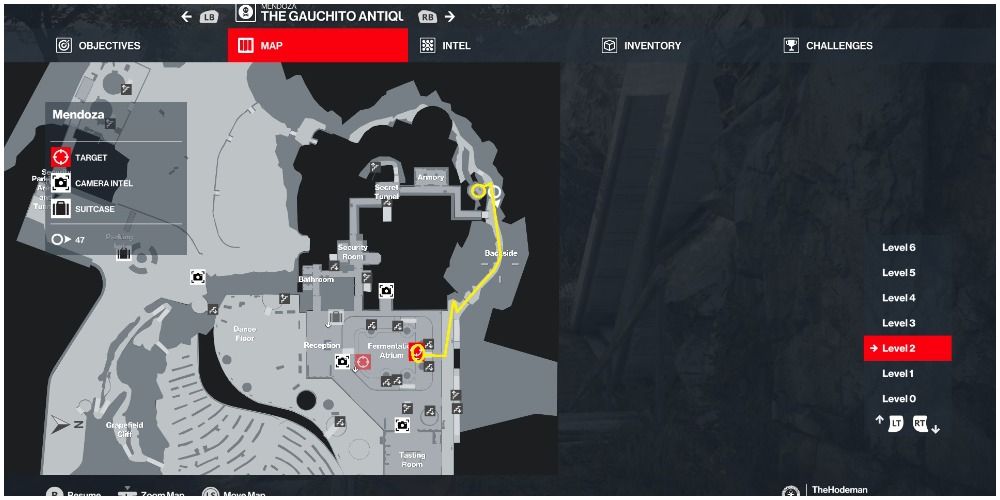
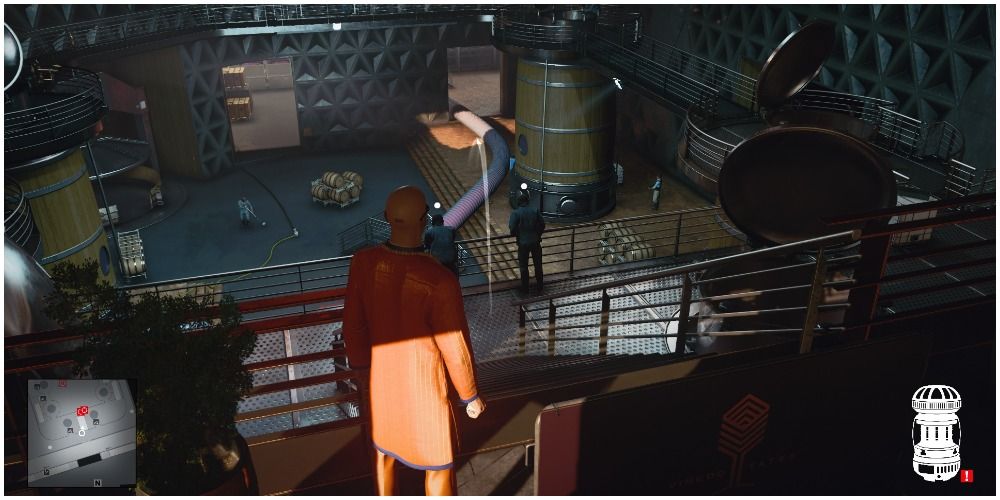
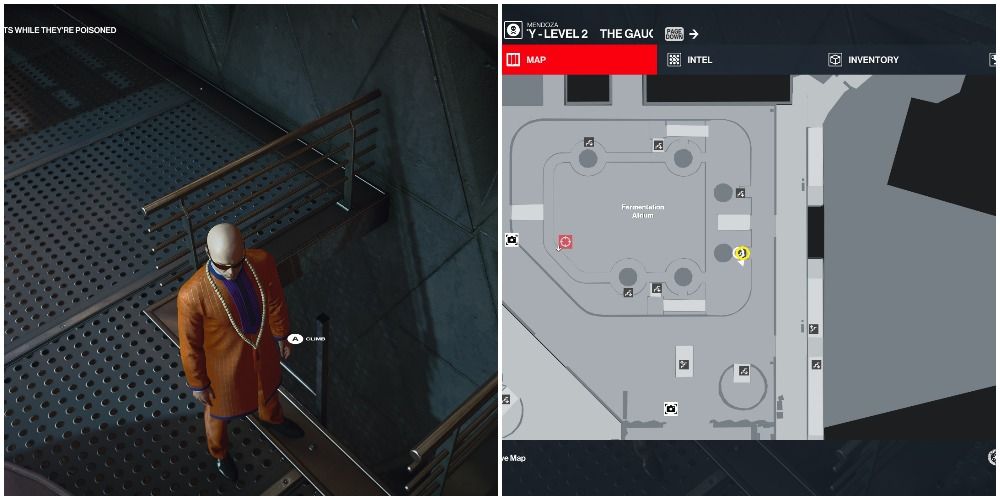
Get to the fermentation atrium. It's a straight shot from your current location and, for a brief while, you'll actually be welcome in the guru outfit while in the party area!
Open the door to the atrium and toss the grenade between the two individuals.
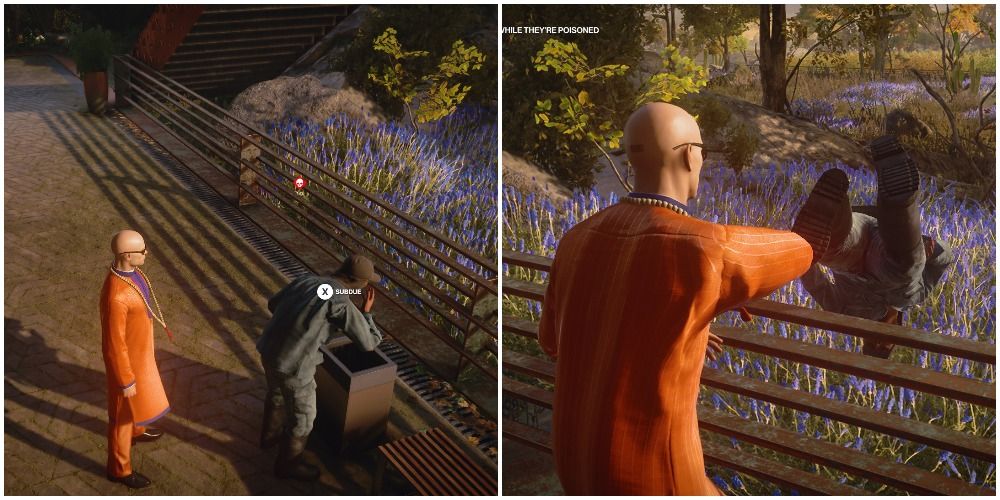
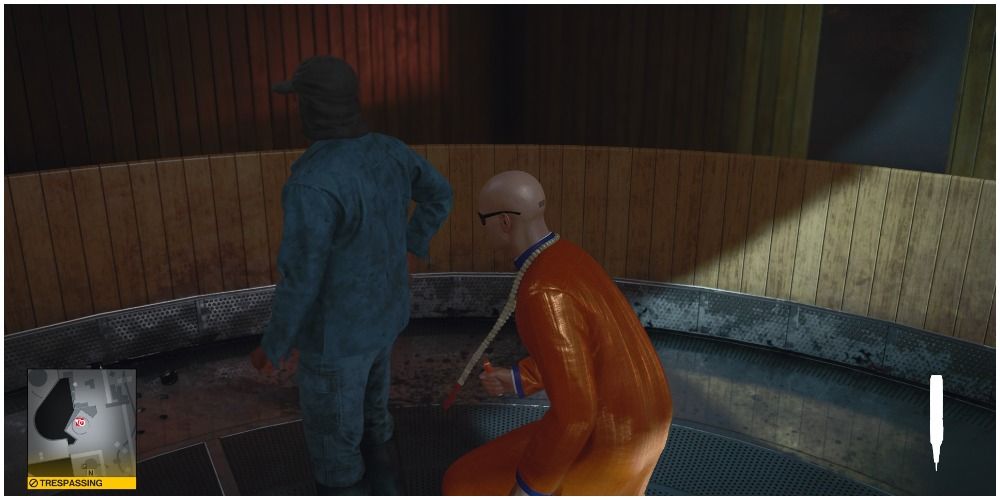
They will come outside to throw up in two separate receptacles. They are oblivious while throwing up, so subdue them, break their necks, and toss them over the side.
Find the stairs that go down to the lower level this area will be trespassing, so keep your guard up!
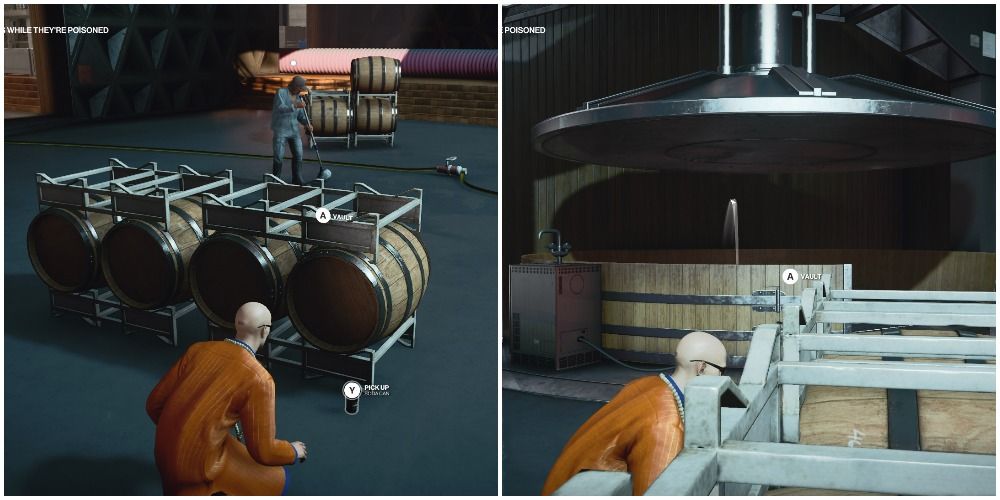
While this winery worker is mopping, he looks left, right, and even behind him constantly. It's way too inconsistent to try and sneak up on him. Thankfully, there is a soda can right next to you. Throw it into the grape press.
Hit him with the syringe while he's investigating. Do not use the grape press because it is too loud. Also, do not wait for him to throw up, the receptacle he uses is within sight of the guards. Snap his neck right here and retrace your steps all the way back to the shrine. Now for level three!
Level Three
- Start with a restricted loadout.
- If you change your disguise at any time, you will fail the mission.
- Kill five targets while they are poisoned.
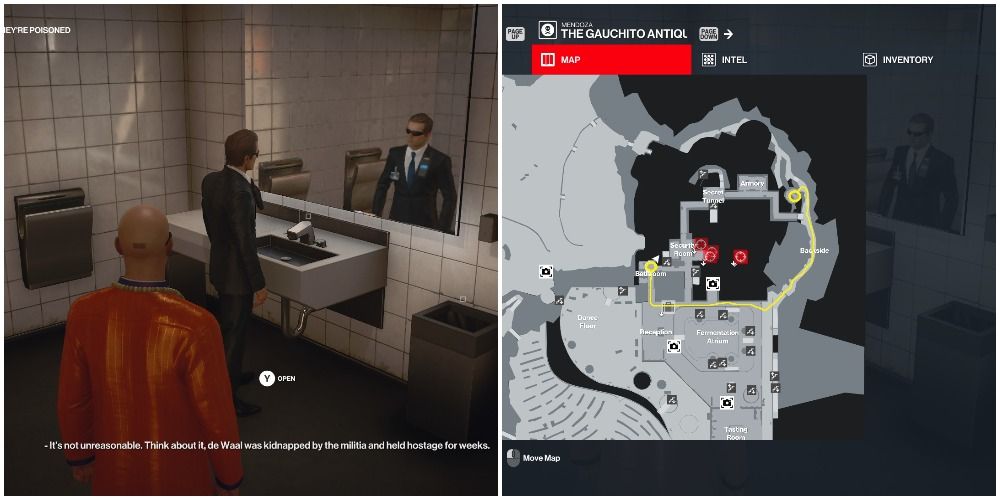
Make your way to the bathroom from the start location.
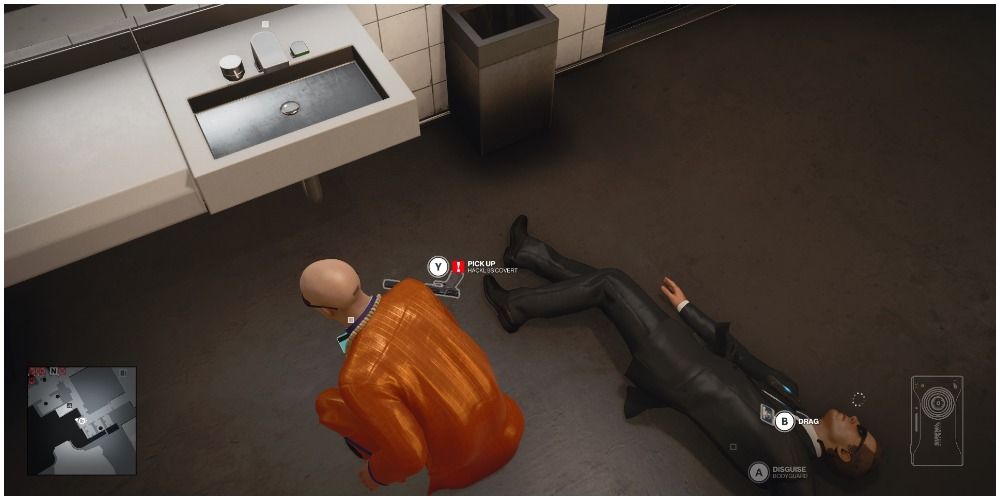
There are two people in here, one that stands in front of a mirror and another that goes back and forth between the sink and the bathroom (apparently somebody had too much champagne at the party). The one you need to knock out is the stationary one. When the wanderer goes into the bathroom, knock out this bodyguard, then take his keycard and his silenced pistol. Drag his body into the unused stall.
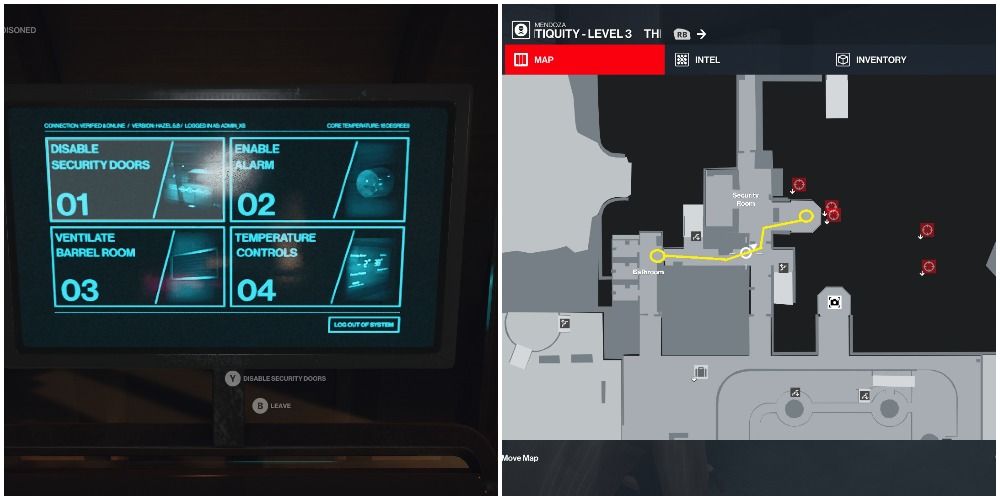
Use the keycard on the door in this restroom. Go past the stairs on the left, then sneak past the guards and use the master computer. Select "Disable Security Doors" and "Ventilate Barrel Room" and then quickly head down the stairs that you previously passed.
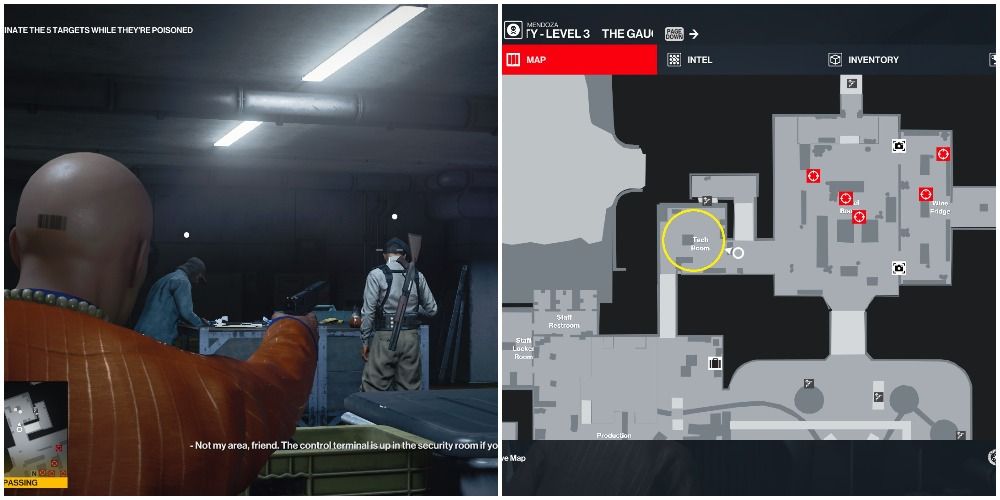
Turn right at the bottom and you'll be in the tech room. Shoot both the guard and the worker in here with your silenced pistol.
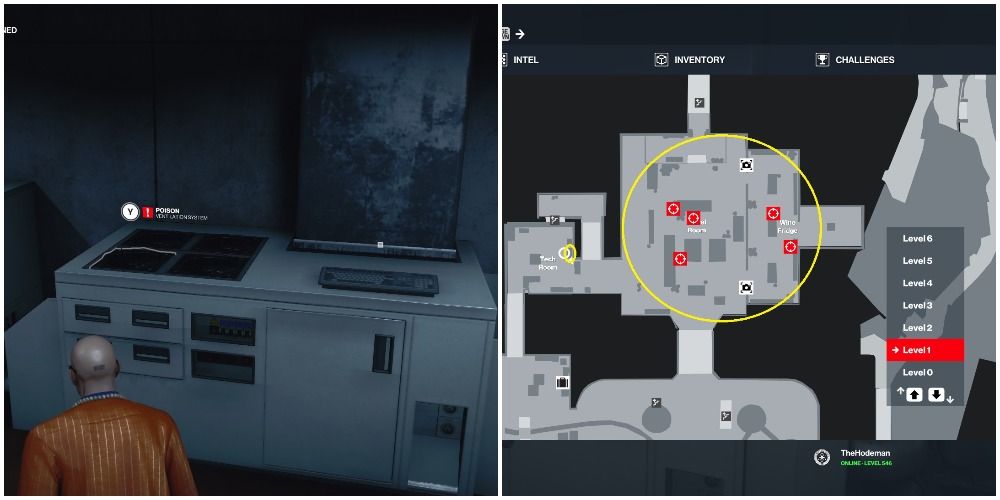
Next, grab the rat poison, put it into the ventilation system, and turn the machine on. This will poison every single one of your five targets. Turn off the ventilation system before you enter the room they are in, otherwise you'll be poisoned as well.
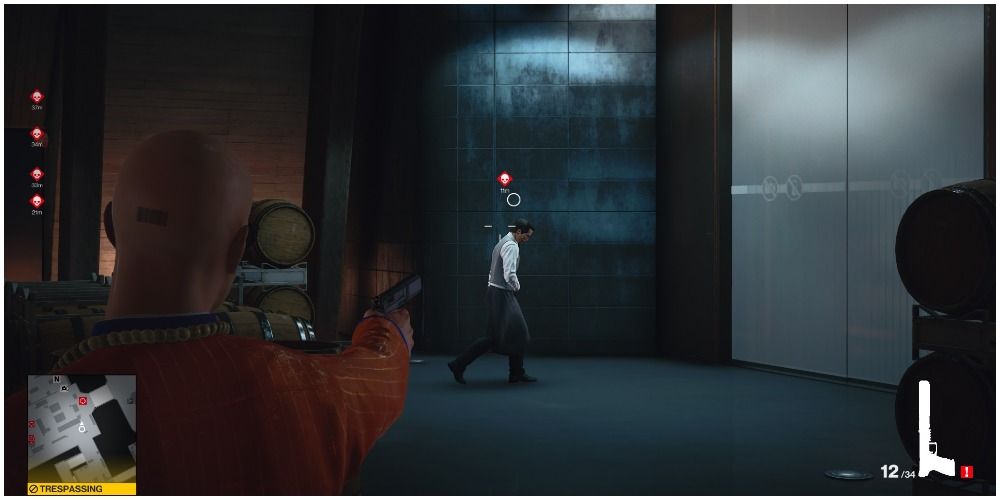
From here, shoot them all with your gun. If you wait for them to vomit, they'll go past guards and into areas where you are not allowed to be.
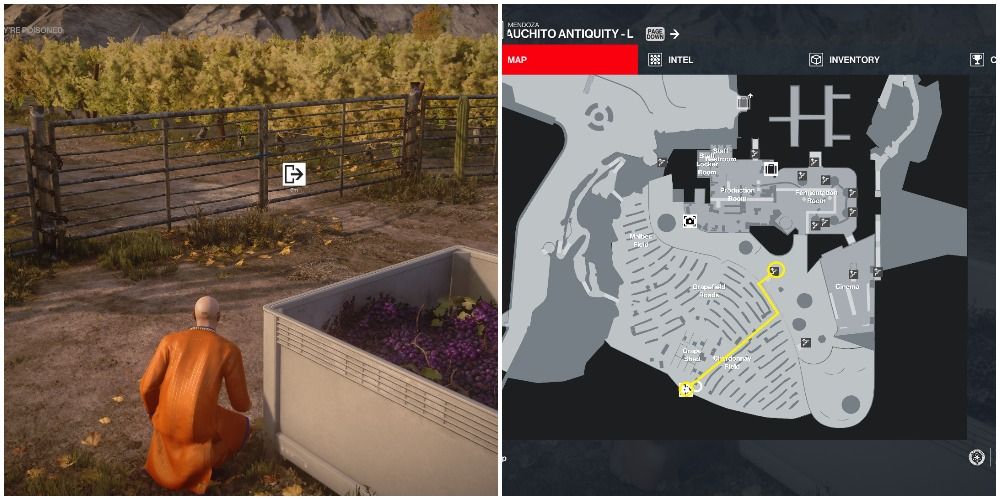
This time, the exit is deep into the vineyard. Do not even attempt to exit through the main doors until you feel like Billy the Kid. Instead, circle around and join the party by going up the ladder and stairs that you used in part two. Then walk down to the vineyard and use the vines for cover on your way out.
Congratulations on an escalation well done! Orange always was a great color on you, 47.

