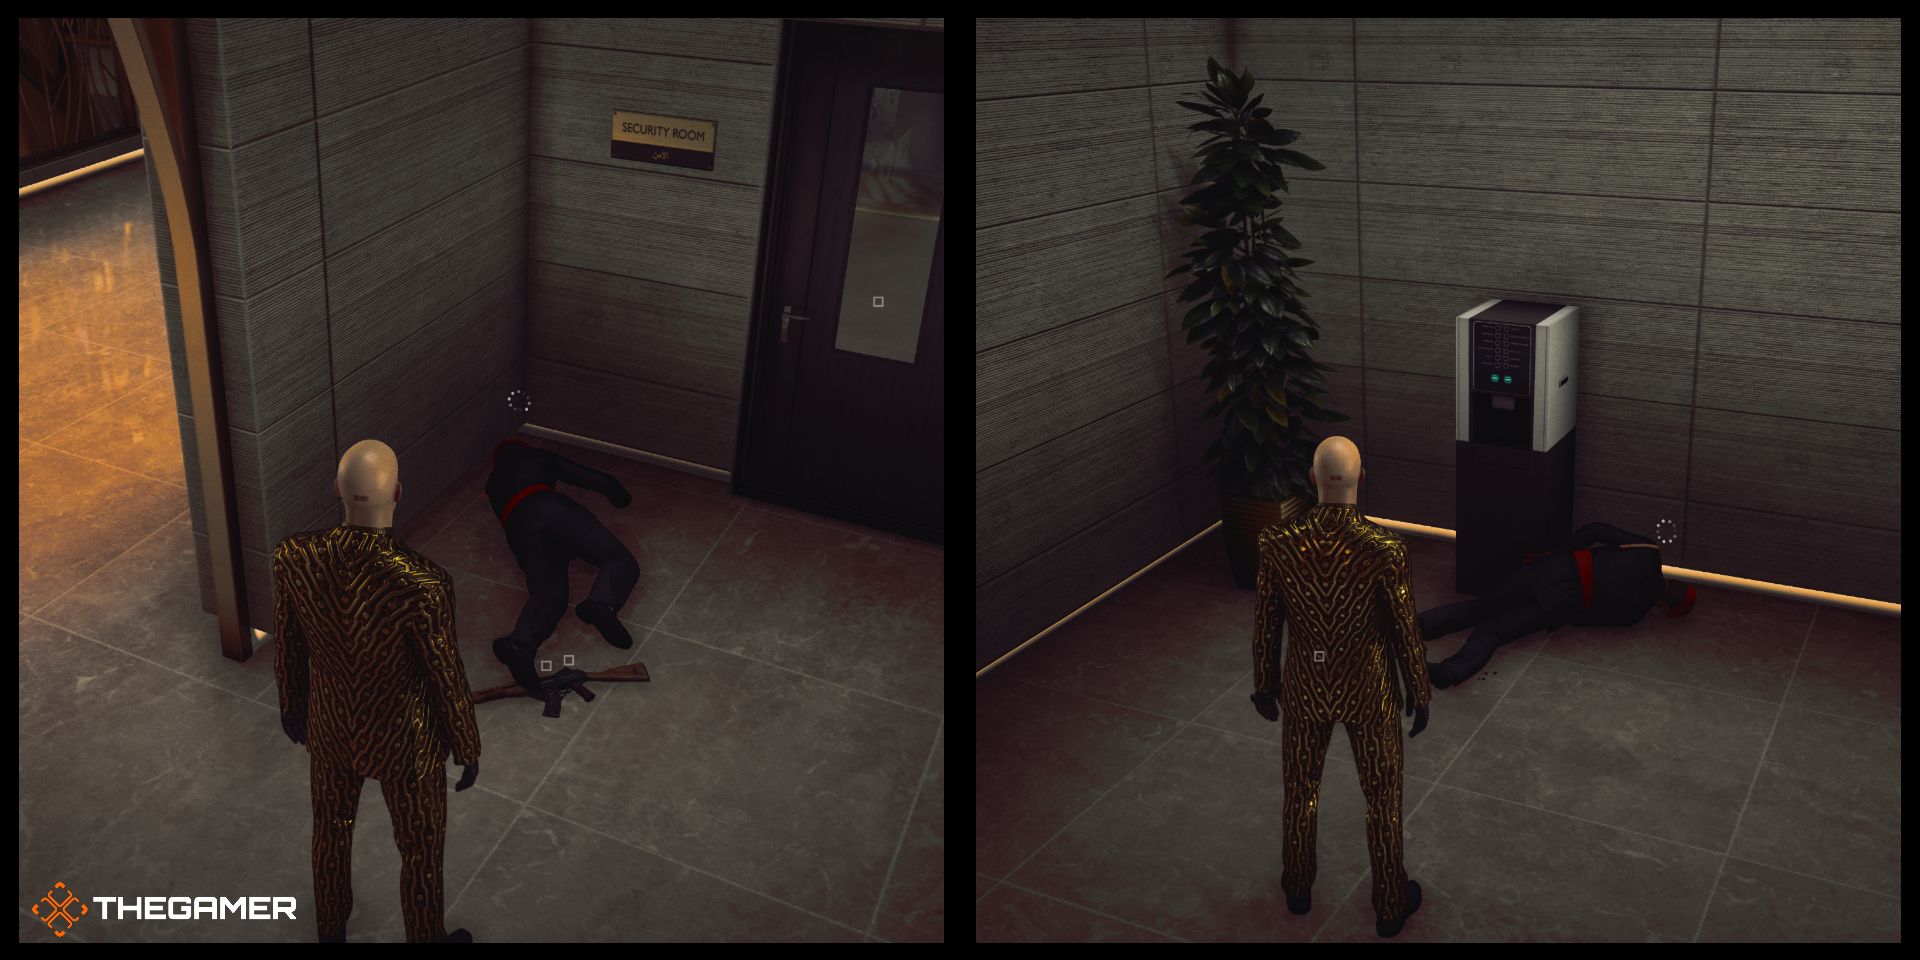
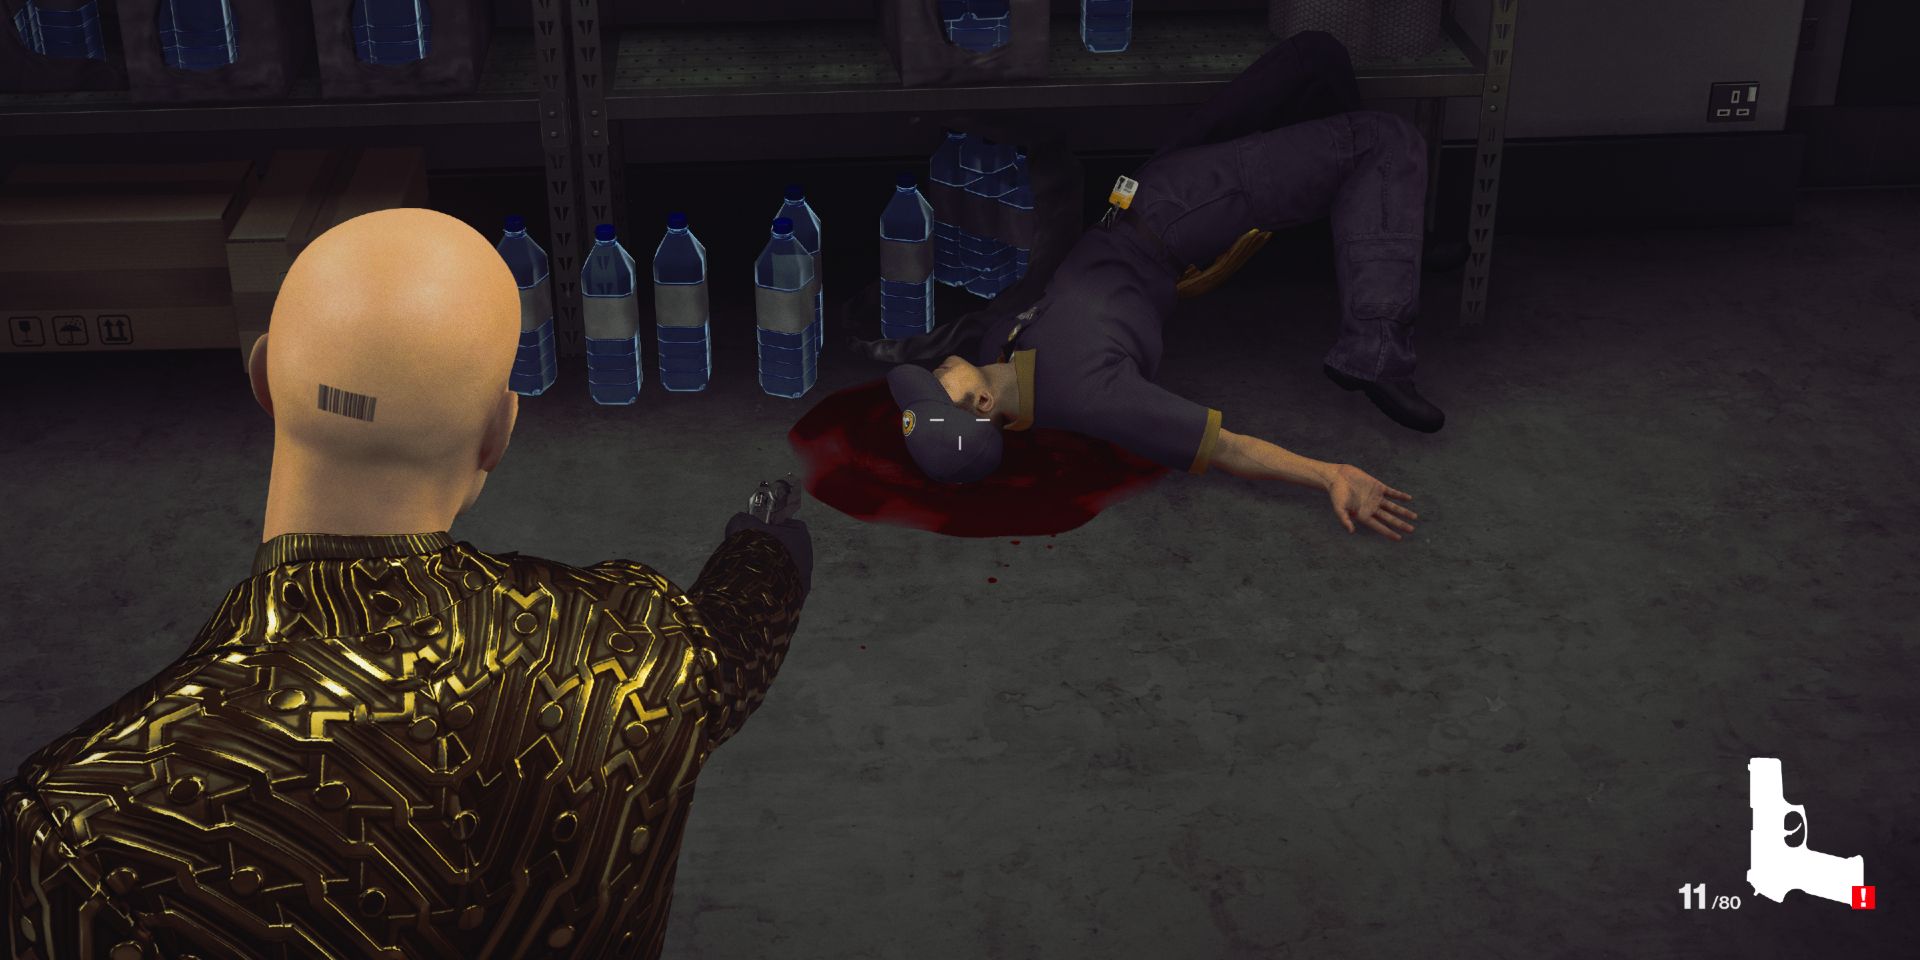
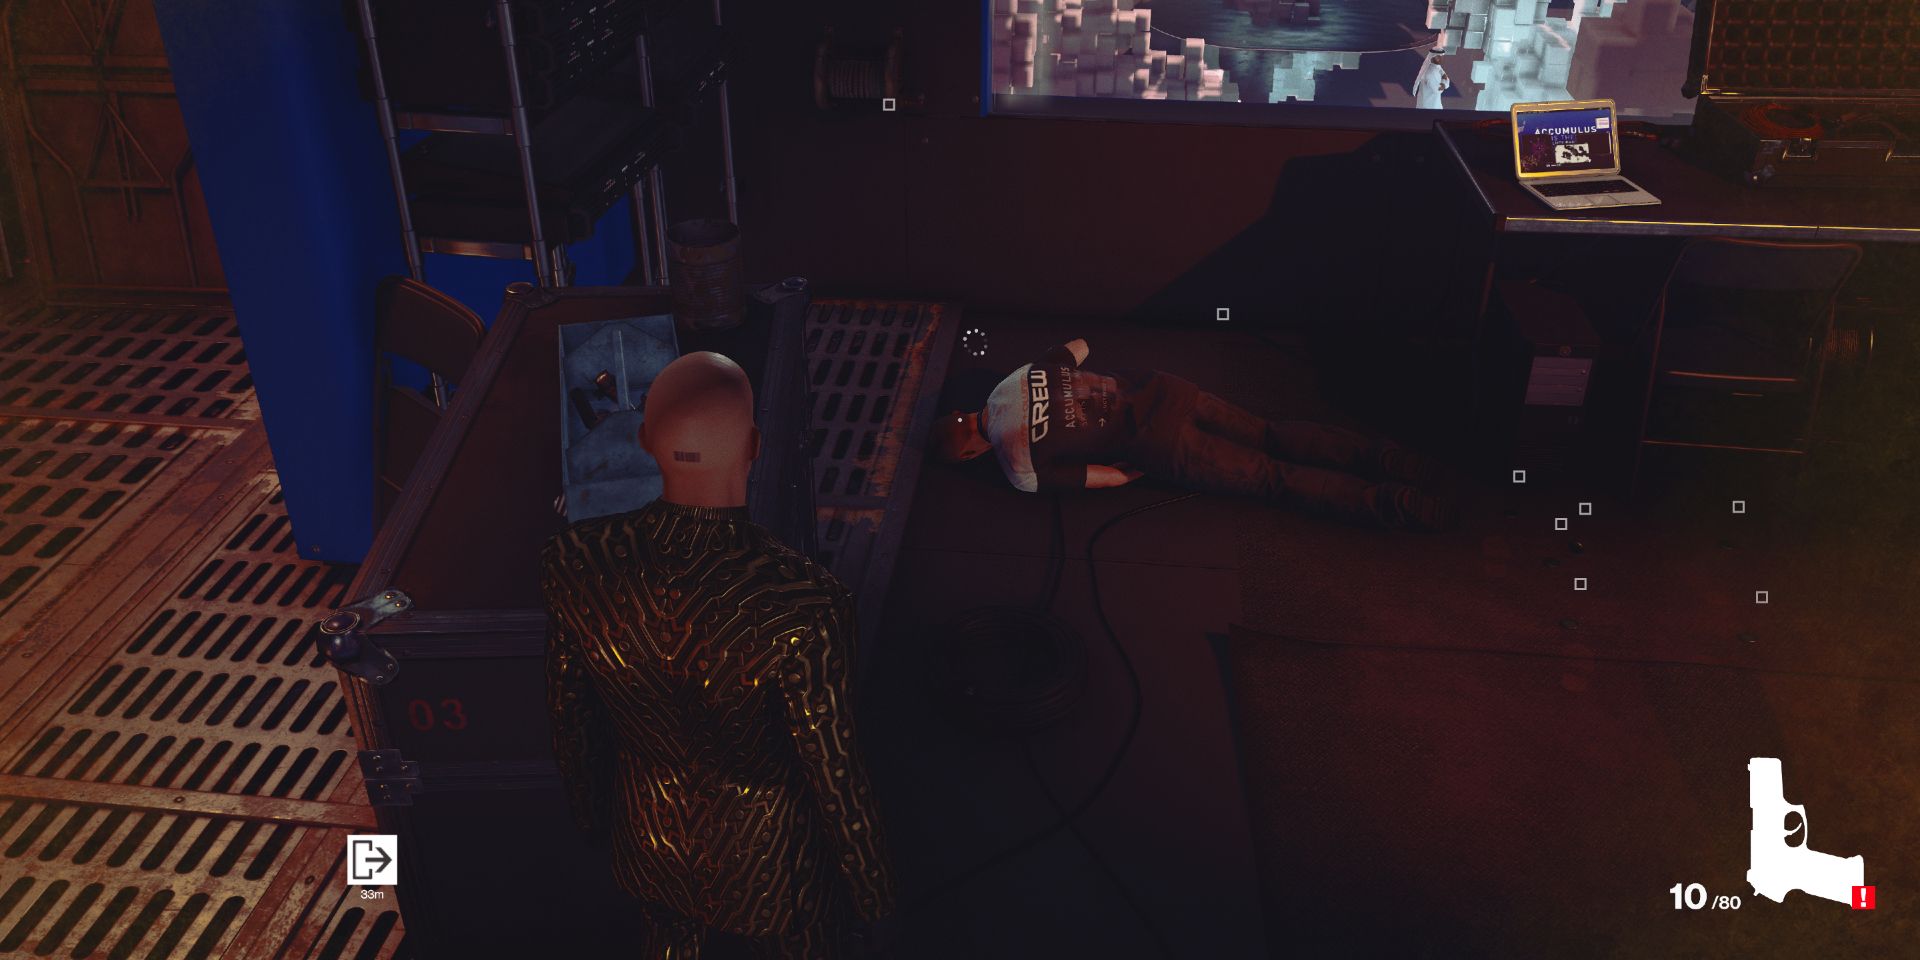
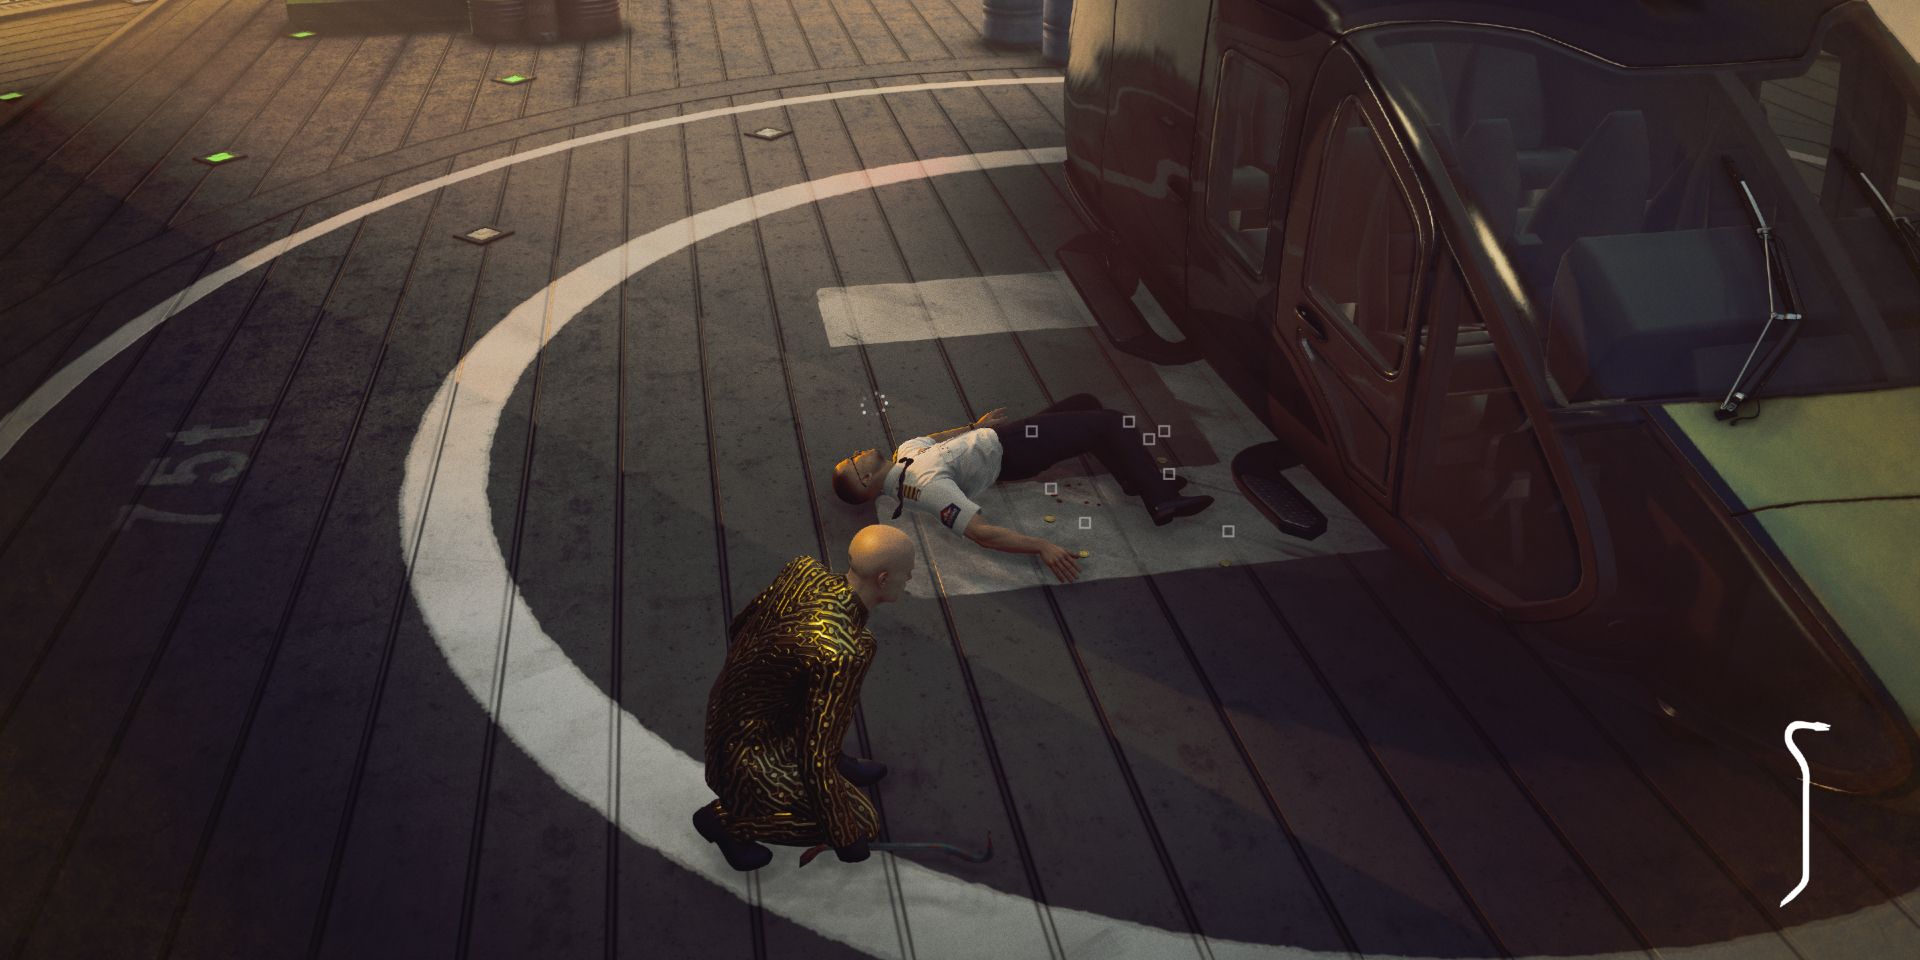
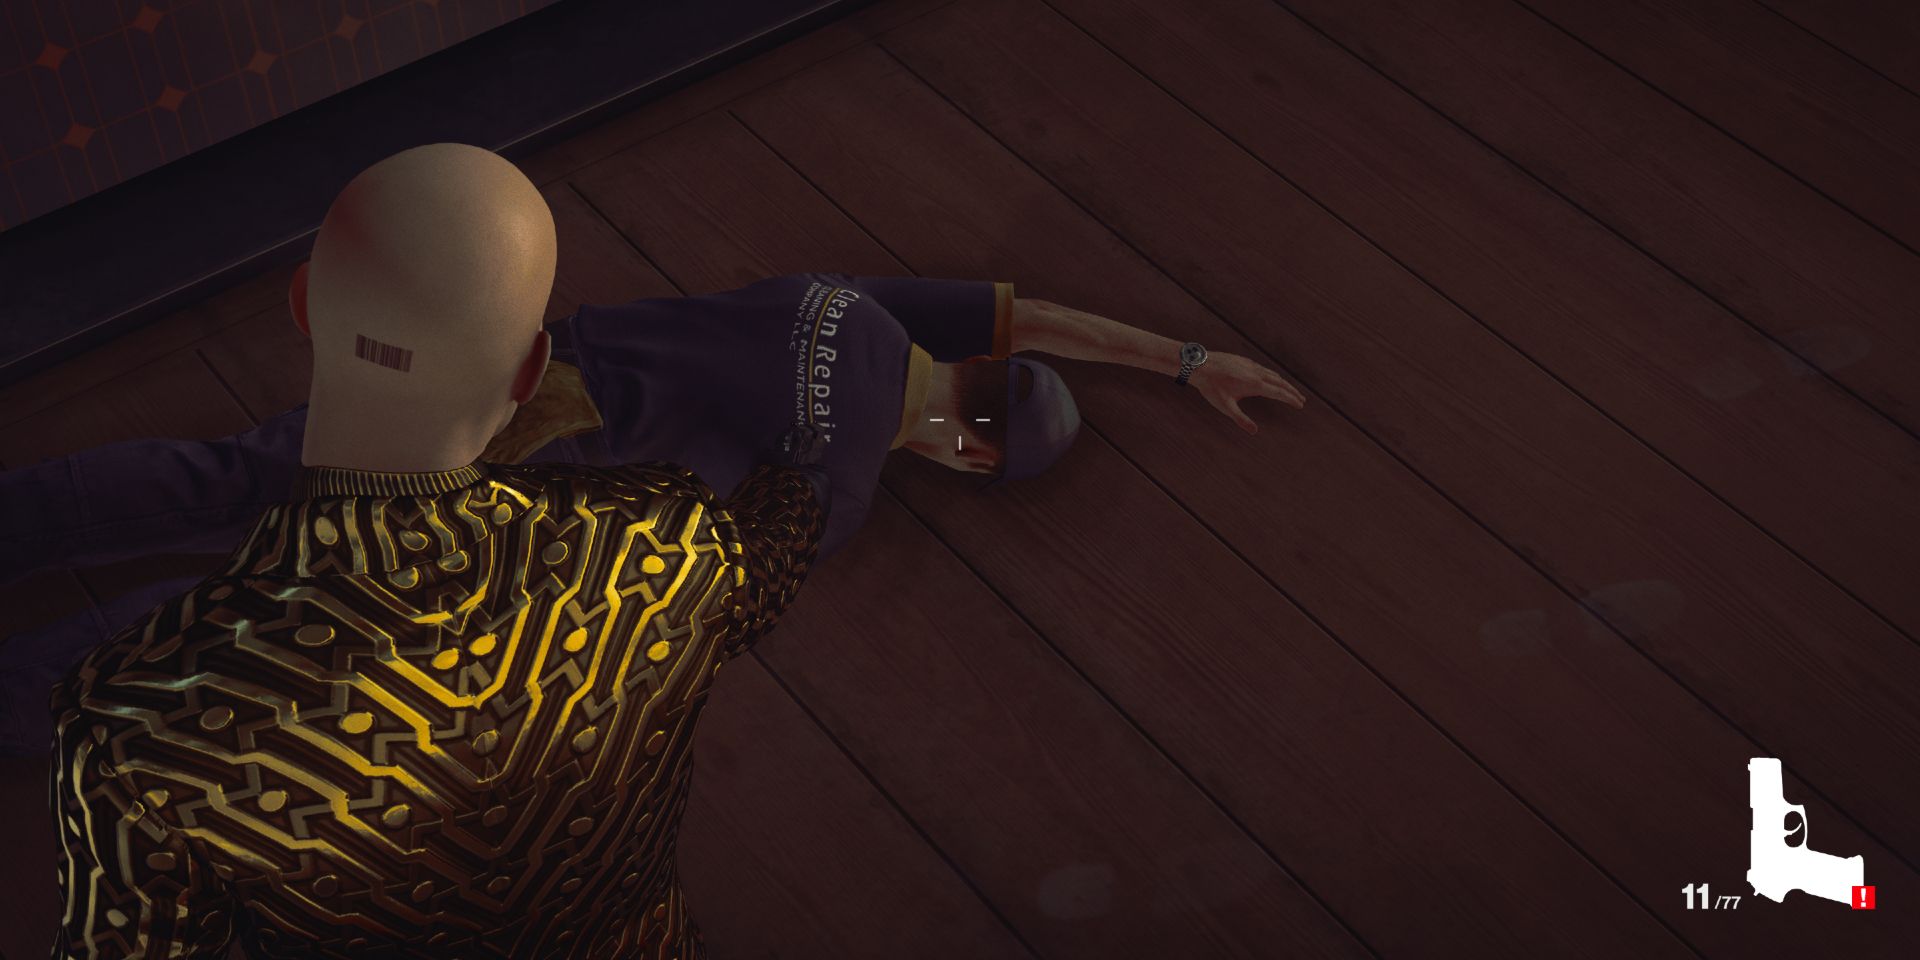
The Greed Enumeration Escalation is the first of seven new contracts included in the Seven Deadly Sins DLC for Hitman 3. This contract sends Agent 47 back to Dubai to take out targets while dressed in the ostentatiously gold Rapacious Suit.
This escalation consists of just 3 levels of increasing difficulty, with the Greed Coins you collect at each level carrying over to the next. Starting the contract will reward players with the Rapacious Suit, and completing the first level will get them the Greedy Little Coin. Why stop there, though? Might as well complete all levels of the escalation to earn progress toward the Escalation Track rewards too.
Escalation Level 1
- 47 Starts with a restricted loadout
- The Greed Coins you keep when exiting a level will be carried over to the next
- Additional objectives will be revealed once you complete the previous ones
The contract starts with Agent 47 standing in the main lobby area of the Burj Al-Ghazali in Dubai. In front of you will be a strange golden frog statue (more on this later).
Target 1
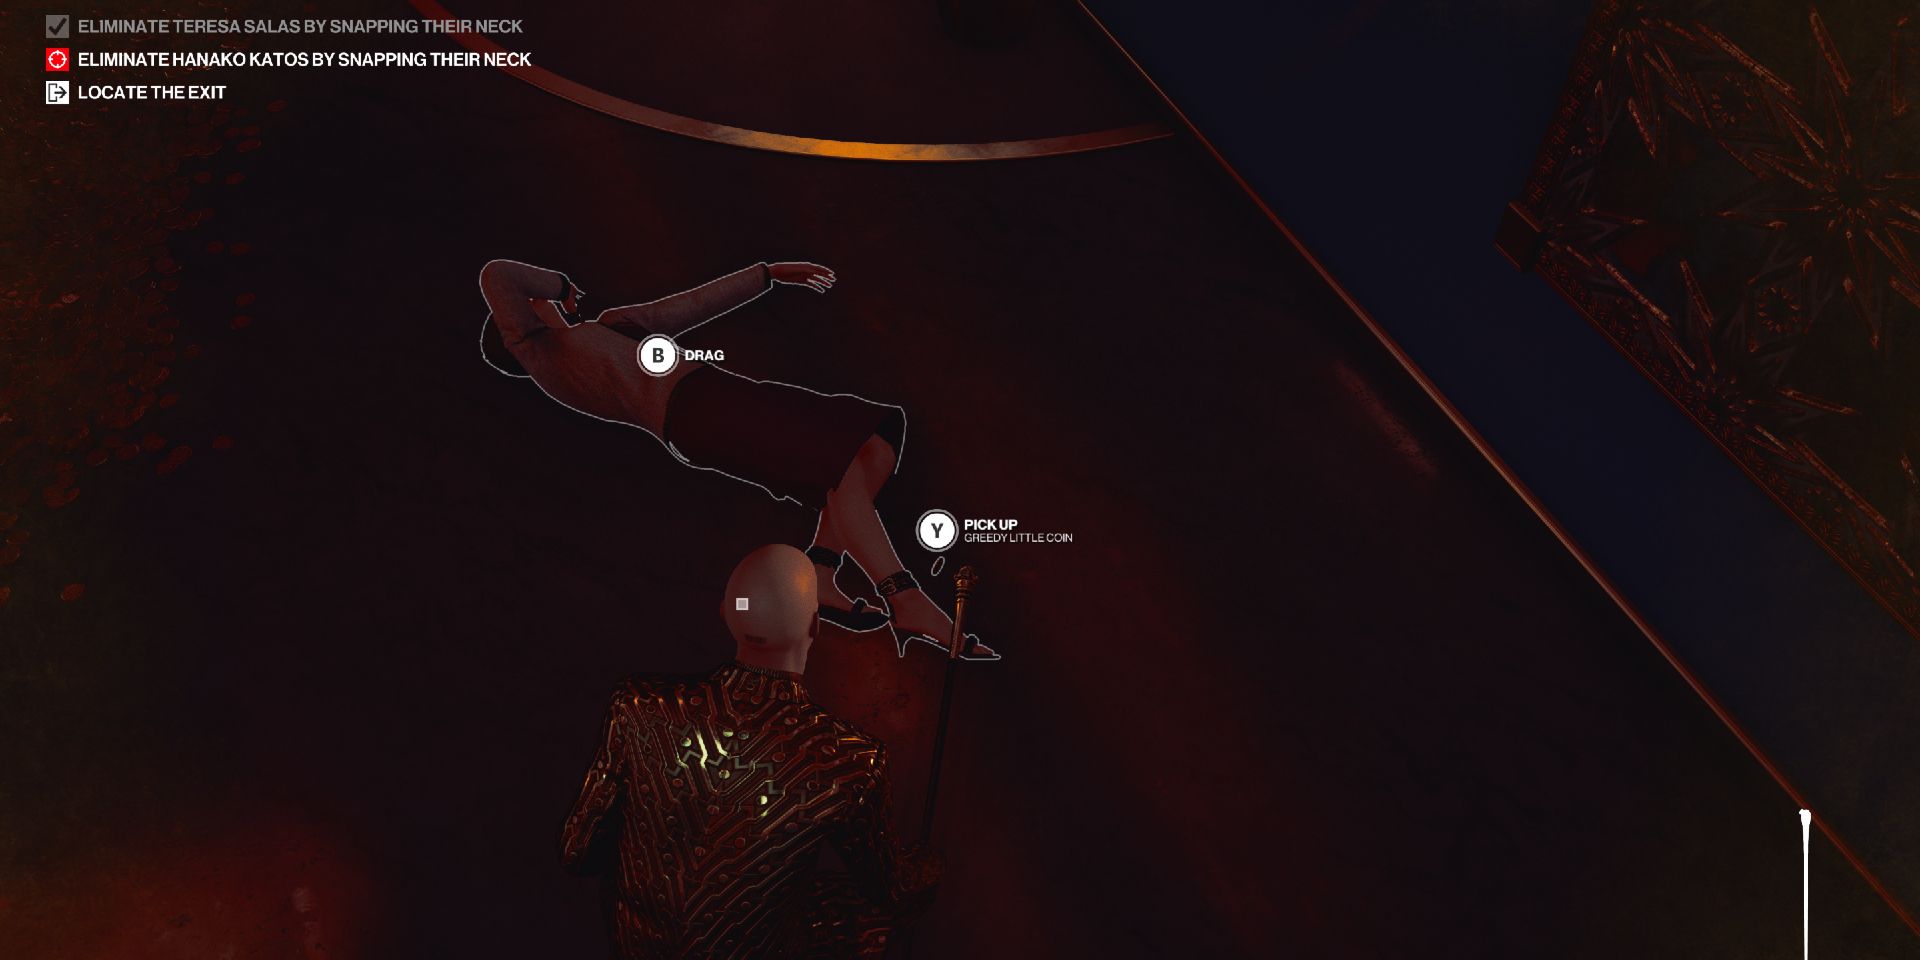
Your first target is located just on the other side of the staircase in front of you. Wait until she is looking at the artwork on the right, then knock her out with the Devil's Cane. Upon knocking your target out with the cane, 2 Greedy Little Coins fall out of the victim. Snap her neck and claim the coins for yourself.
Now, this is where you have a choice to make. Make your way to the elevator for the exit, or you can try for the next target to get more Greedy Little Coins. Depending on how greedy you want to be, this Escalation can be pretty easy, or it can possibly be more difficult than The Sinbad Stringent Escalation.
Target 2
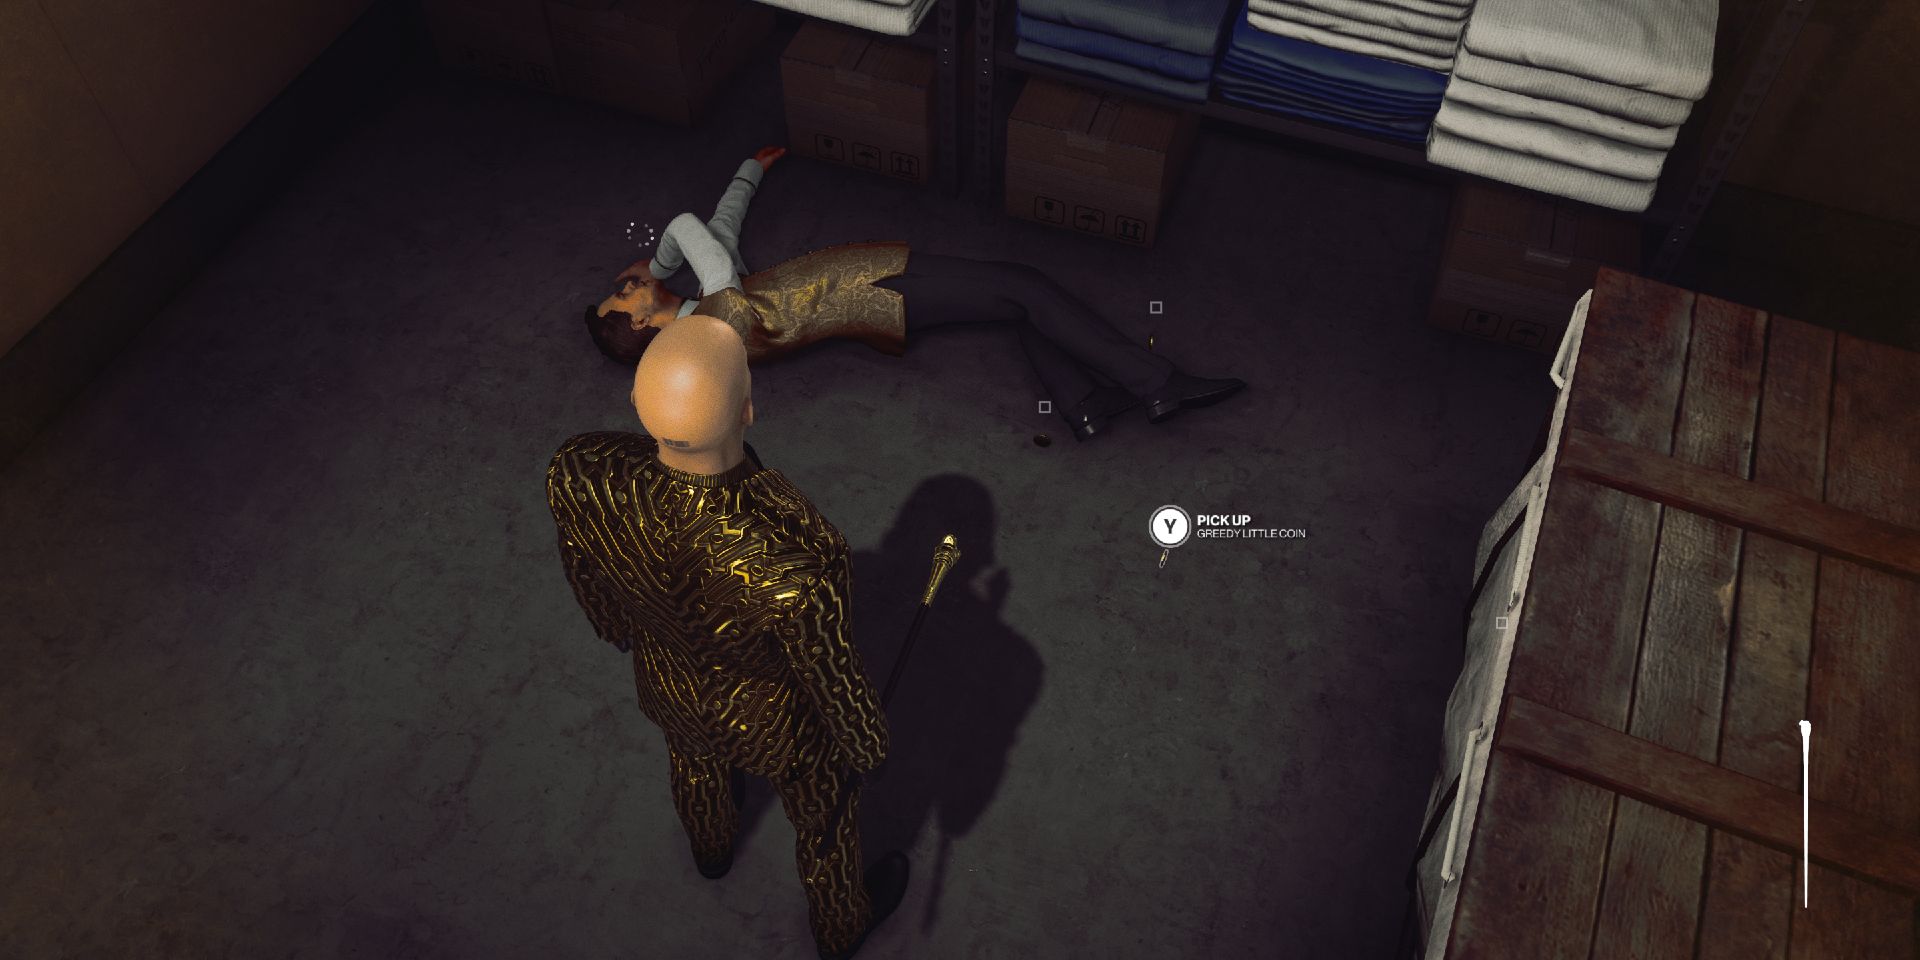
If you choose to go for the next target, head upstairs and to the left, making your way around until you reach The Black Gold Bar. When the bartender turns around to grab something from the cabinet, sneak through the staff door on the left into the storage room. Knock out the event staff member in here and hide the body. Proceed through the double doors and through the laundry room door on the right, making sure the target in the next room has his back turned to you. Knock him out with the Devil's Cane and watch 3 more Greedy Little Coins fall out of his body. Snap his neck to complete the objective.
Your next target requires that he be killed with a thrown weapon. This is where the gold frog statue comes in. If you feed it 5 Greedy little coins, it will give Agent 47 a burial dagger, which can be thrown for a lethal kill on your last target. However, if you choose to be greedy, (that is what this DLC is based on, isn't it?) you can keep your 5 Greedy Little Coins and find an alternate thrown weapon. Any screwdriver you find on this map will make an excellent killing tool in this situation!
Target 3
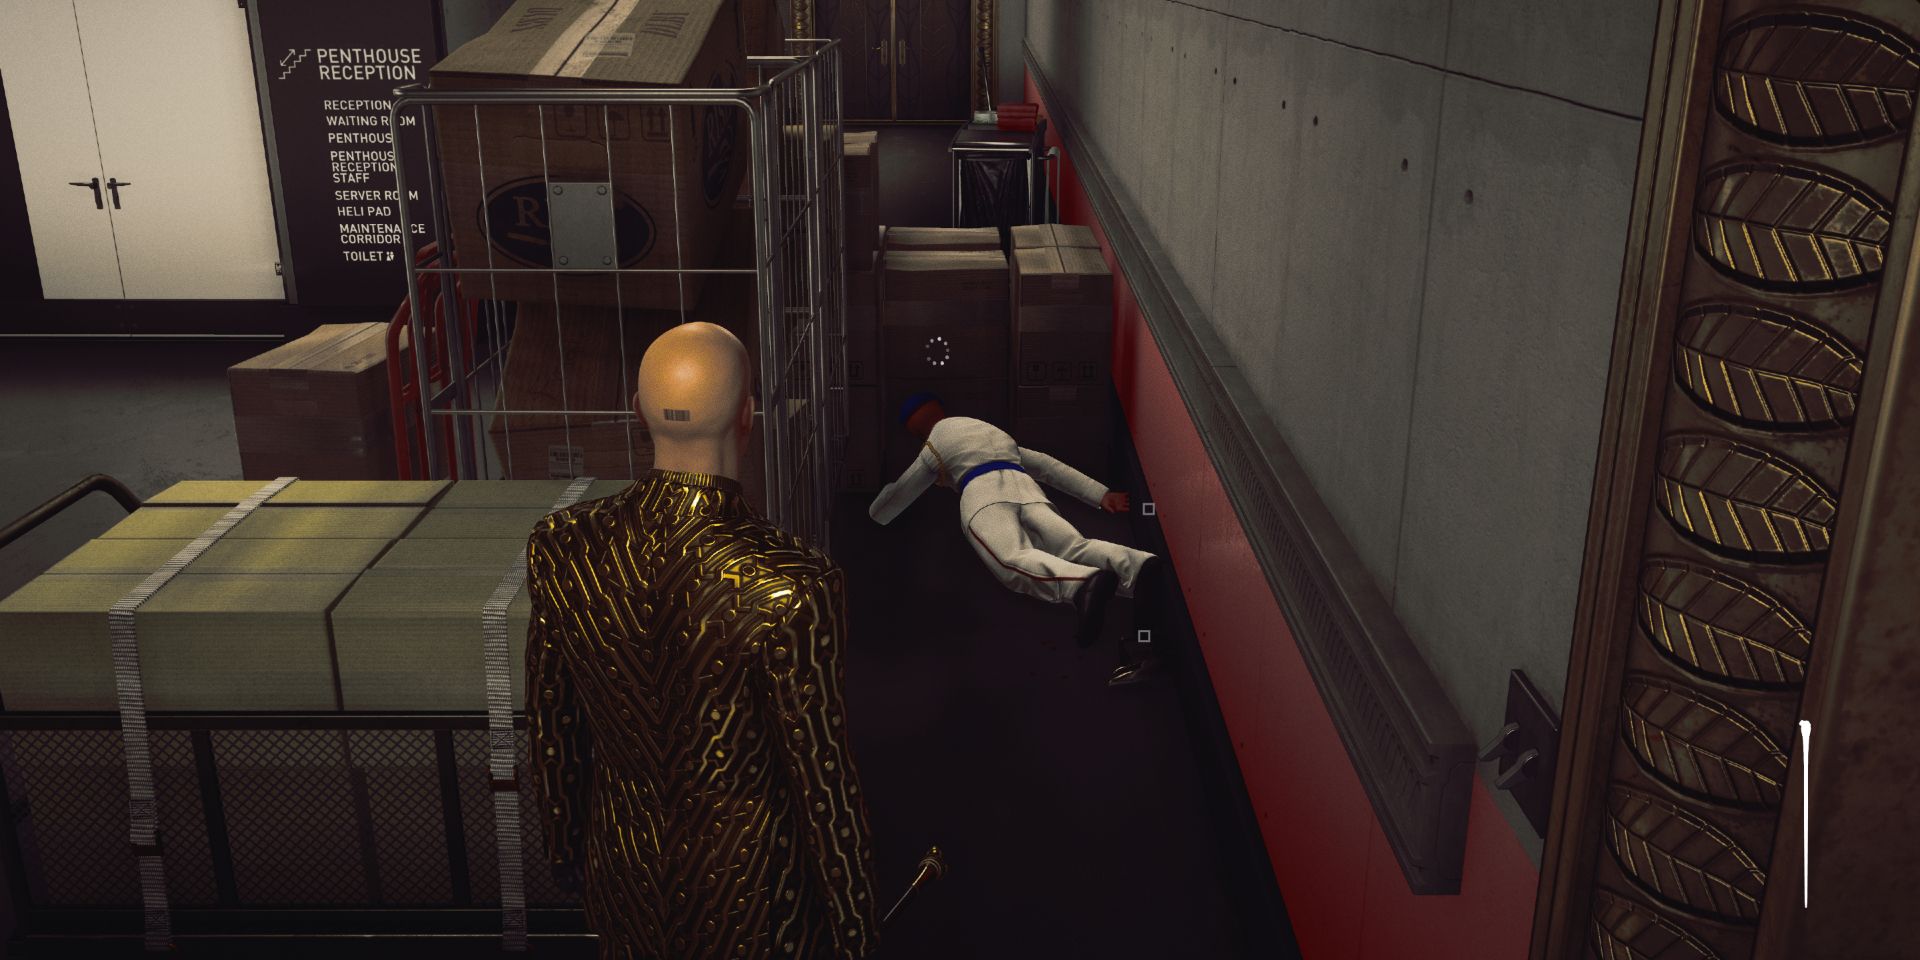
Leaving the laundry room, walk up the stairs just far enough that the security guard starts to see you. Your ridiculously gold suit will draw attention very quickly, so don't let the meter fill before you walk back down the stairs. Hide around the corner and wait for him to turn his back to you. Knock him out to help clear the way to your target. Crouch-run down the hall, keeping out of sight of the maintenance worker on your left, and proceed through the double doors at the far end of the hall.
Once through the doors, watch for the patrolling guard on your right, and run toward the left, hugging the blue wall until you see a door next to a storage crate. Go inside and pick up the screwdriver. This will serve as your lethal throwing weapon. Continue in this corridor until you see two technicians. Wait until one of them just finishes looking at the fusebox, then quickly run up and whack her with your cane, then immediately throw your cane at the other technician.
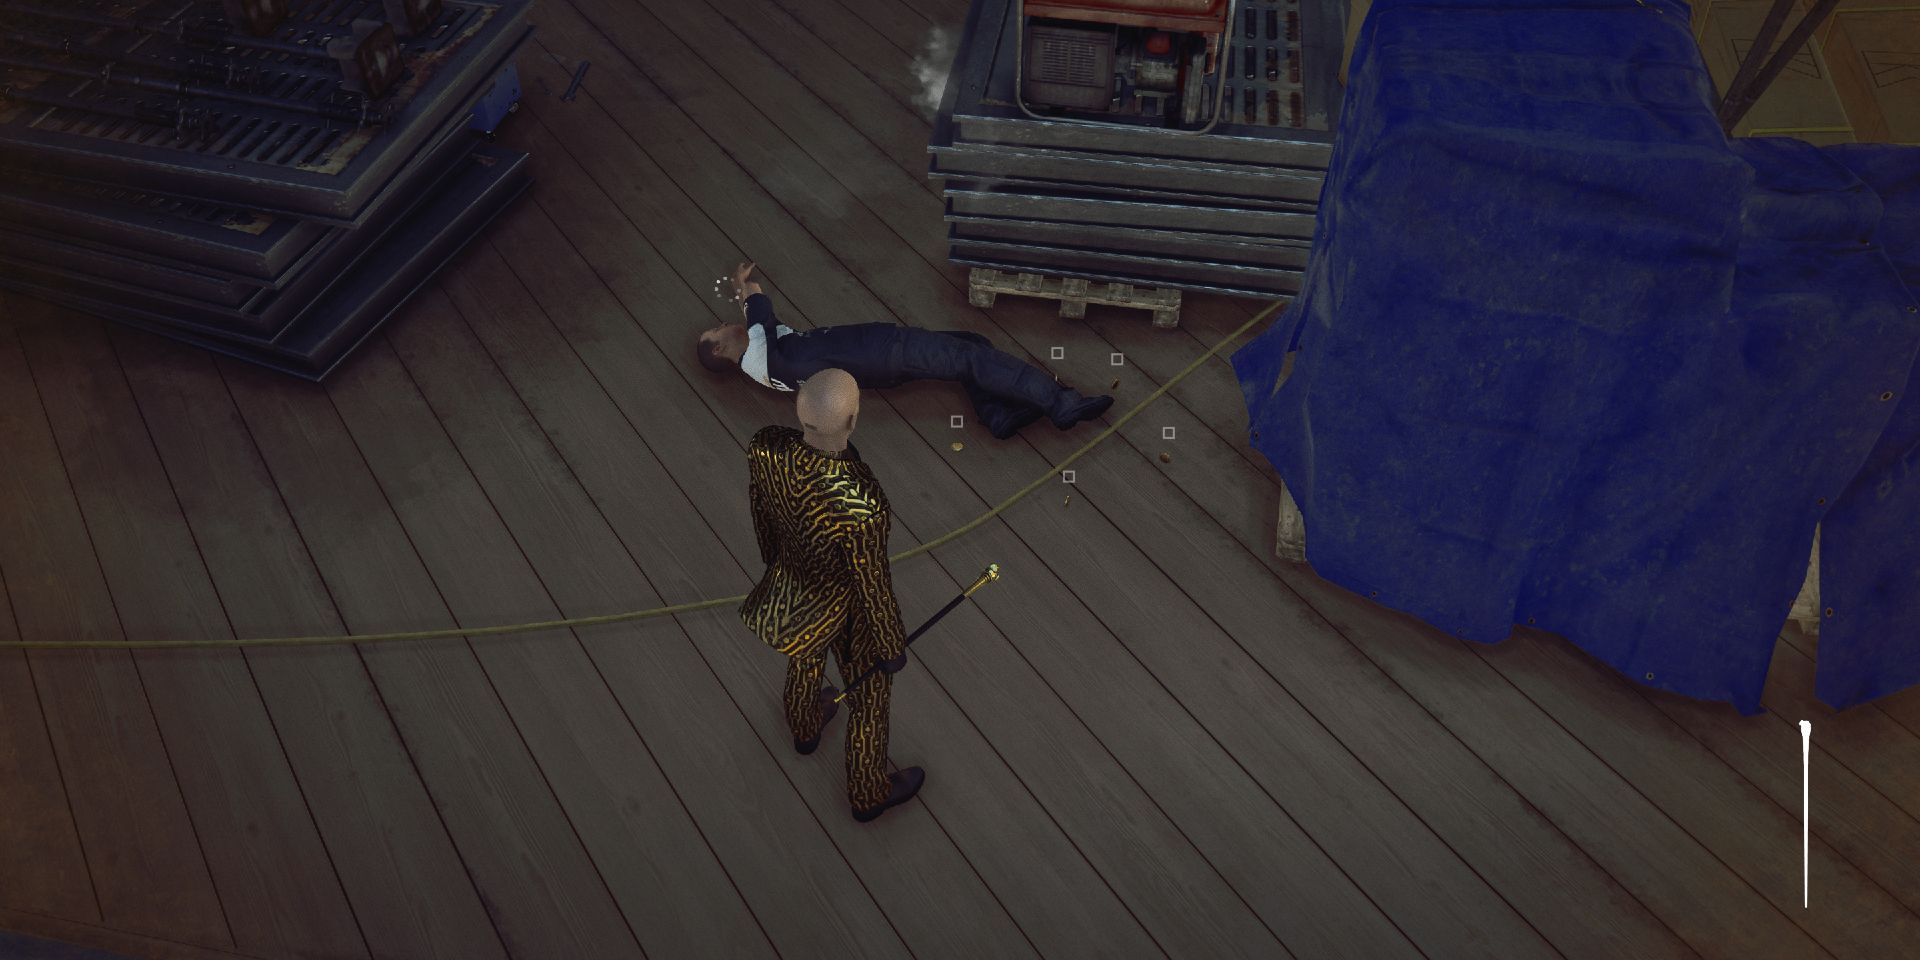
Go out the glass door, making sure your target isn't watching you while also keeping an eye on the camera grid on the ground. Crouch behind the scaffolding equipment and wait until your target has his back turned. Turn off the generator and hide while he comes to turn it back on. Once he's distracted, throw your screwdriver at him to make him drop 5 Greedy Little Coins.
The Escape
Head back through the glass door, and turn left down the corridor. Proceed through the door at the end of the corridor, and you will find yourself out on the Balcony Bar. From here, go through the door on the far left, then start making your way downstairs through the main lobby area until you reach the elevator to the exit.
Escalation Level 2
- 47 starts with a restricted loadout
- Additional objectives will be revealed once you complete the previous ones
- The greed coins you keep when exiting a level will be carried over to the next.
- [NEW] If you change your starting disguise at any point you will immediately fail the mission
Target 1
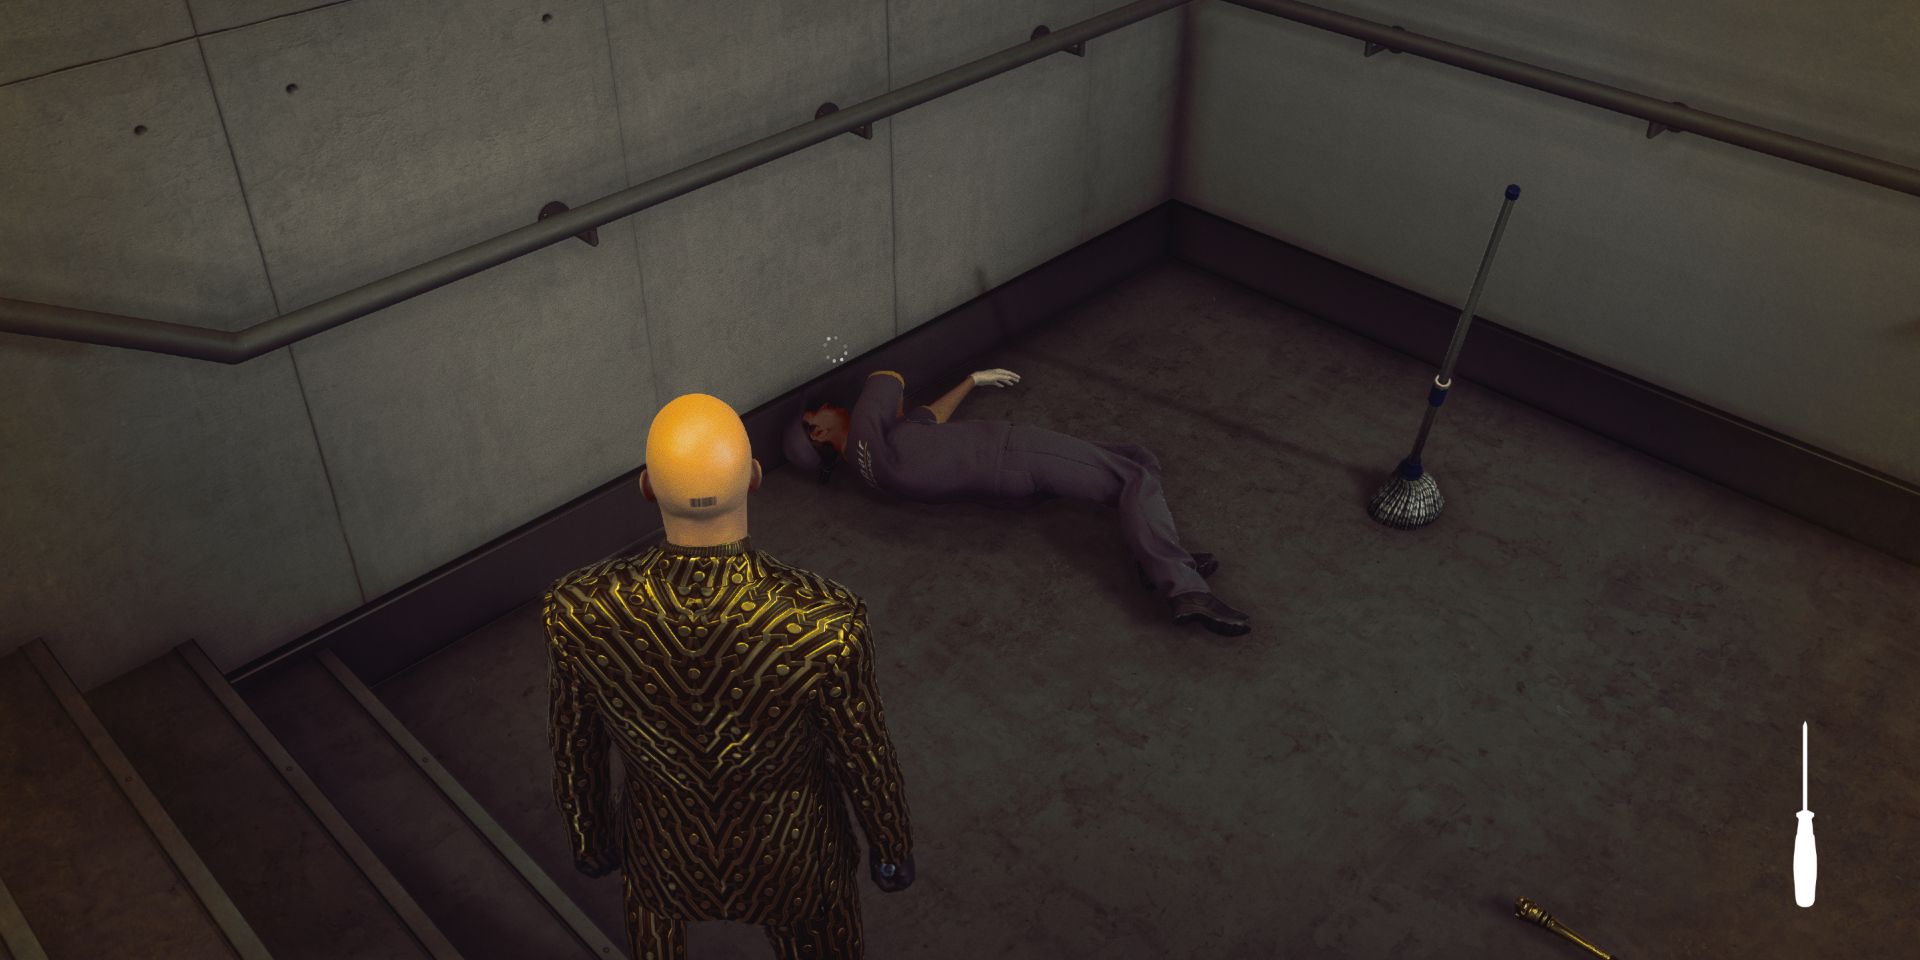
Your first target must be eliminated with a thrown weapon, but luckily she drops a screwdriver when you knock her out. Getting to her easily requires that you have unlocked the Atrium Lobby Door Shortcut, since she has cleaning in that stairwell. If you have been choosing the full greed path thus far, you should have 10 Greedy Little Coins from the previous escalation level, and knocking this target out will get you 5 more. Make your way back to the elevator for a quick getaway or head to your next target for more coins.
Target 2
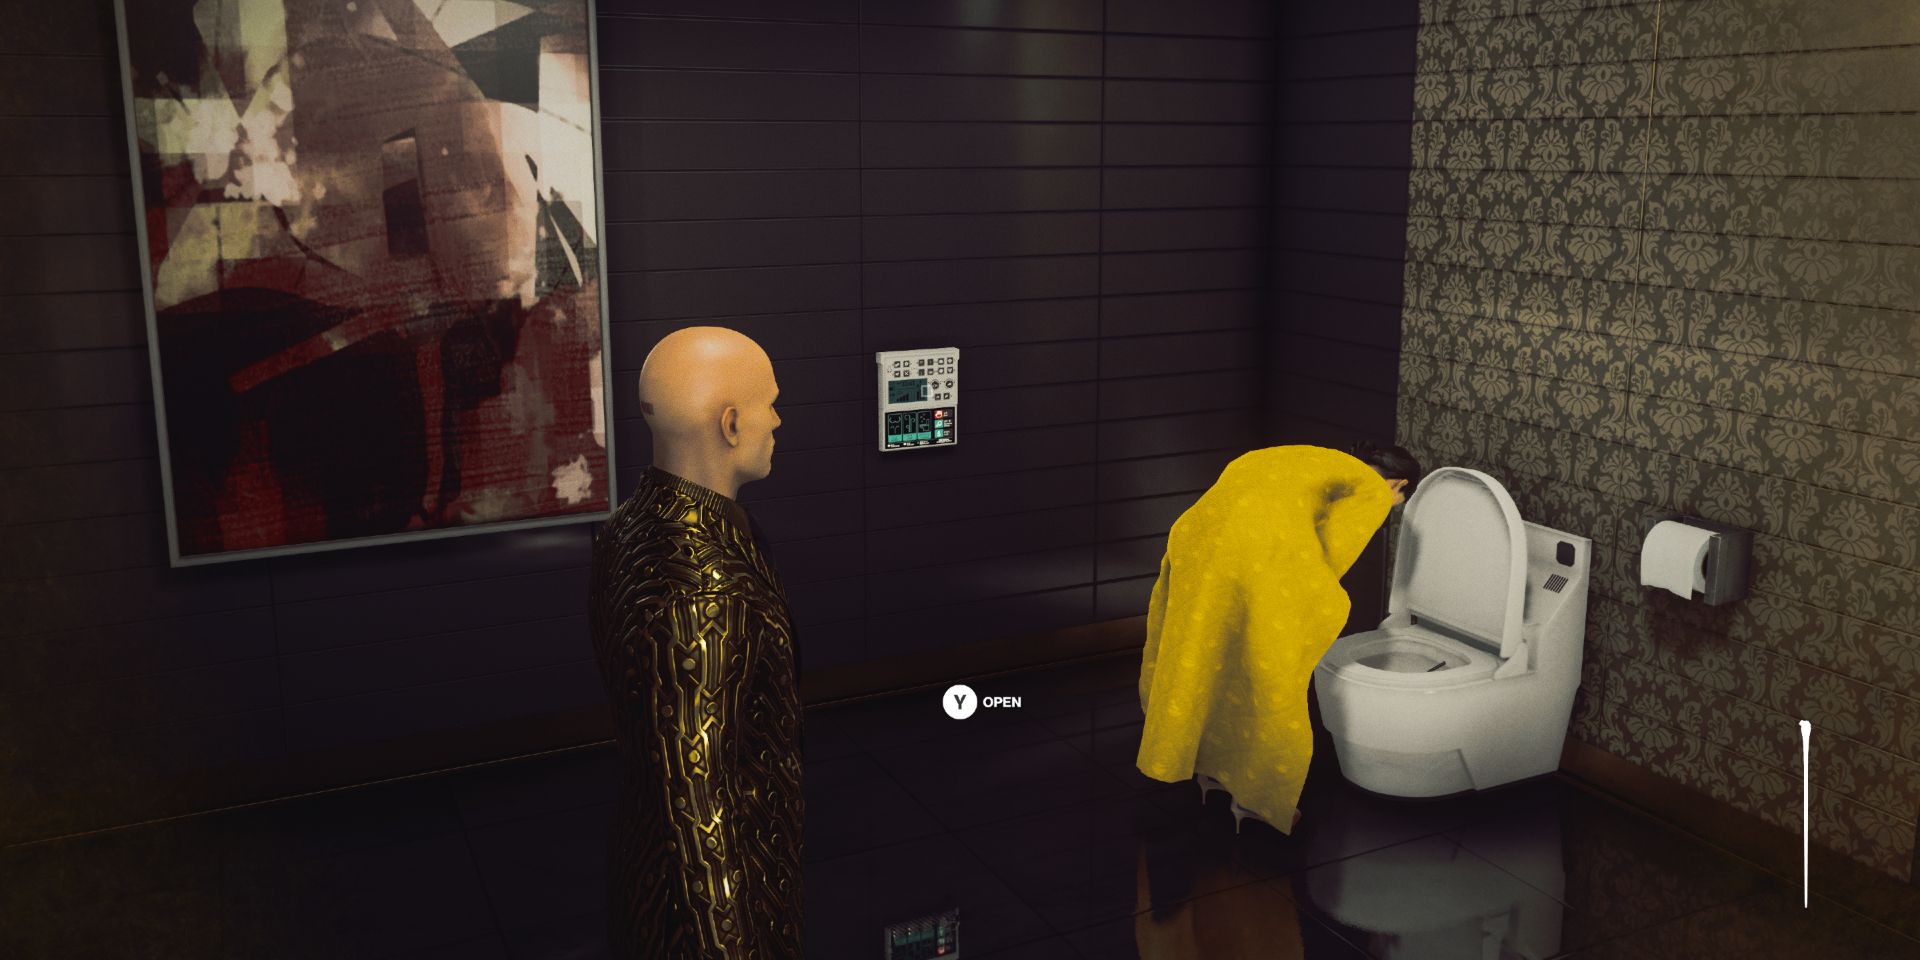
Head upstairs and enter the storage room on your right, using the janitor's key that your first target dropped. Grab the rat poison in this room, then carefully exit the room and head upstairs to the left once you are out of sight of the camera. Take a right, then hang a left onto the balcony. Use instinct mode to find the climbable vines, then climb up and over the railing. Head toward the water bottle sitting on the security room window and poison the water. Climb back down over the railing, pick up your cane, and head out toward your target to overhear her conversation.
After she speaks with Zana "The Vulture" Kazem, she will walk upstairs and take a drink from the bottle. Follow her down to the bathroom and drown her while she is vomiting to complete the objective.
Target 3
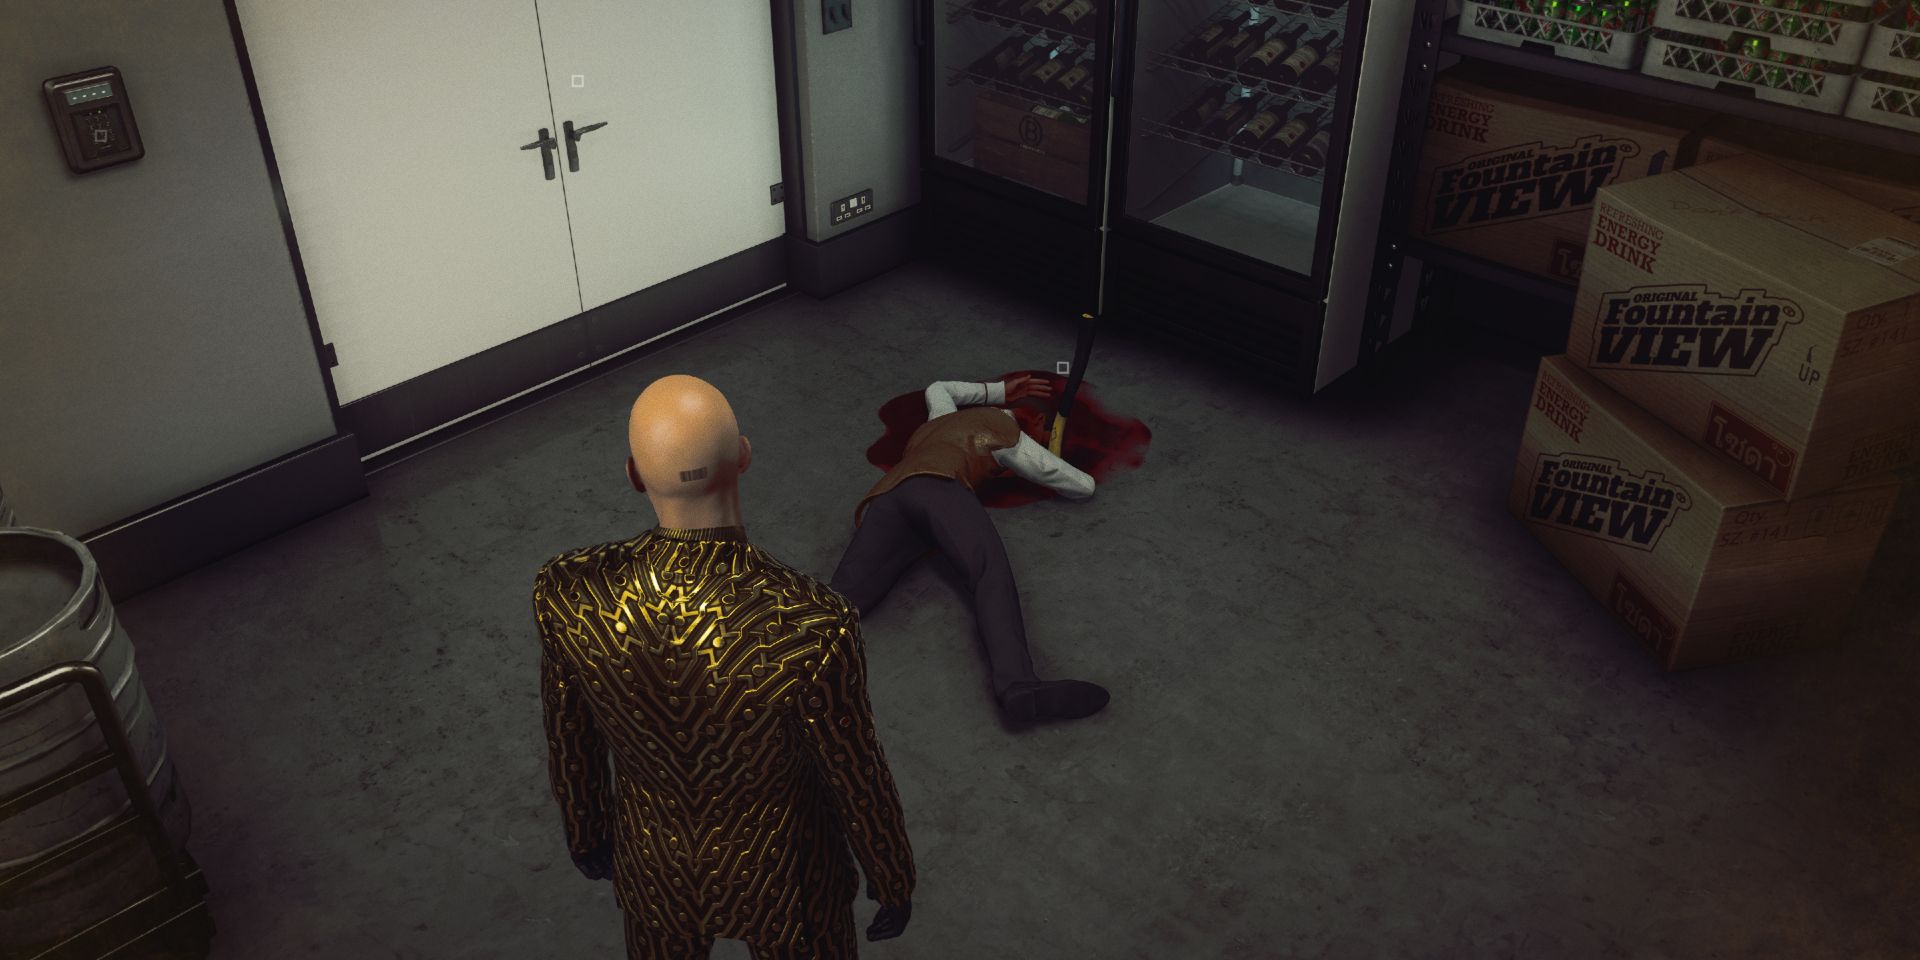
Remember the staff member that we knocked out before the second target in Escalation Level 1? He's a target now, and he's located in the stock room of The Black Gold Bar. He requires being killed with an axe to complete his objective. You can spend 10 of your coins at the gold frog statue to get an ice axe, or you can make do with something on the map. Thankfully, there's a fireman's axe in the stairwell just beyond the white double doors near him. Knock him out, retrieve the axe in the stairwell, then throw it at his head. He drops 5 Greedy Little Coins.
Target 4
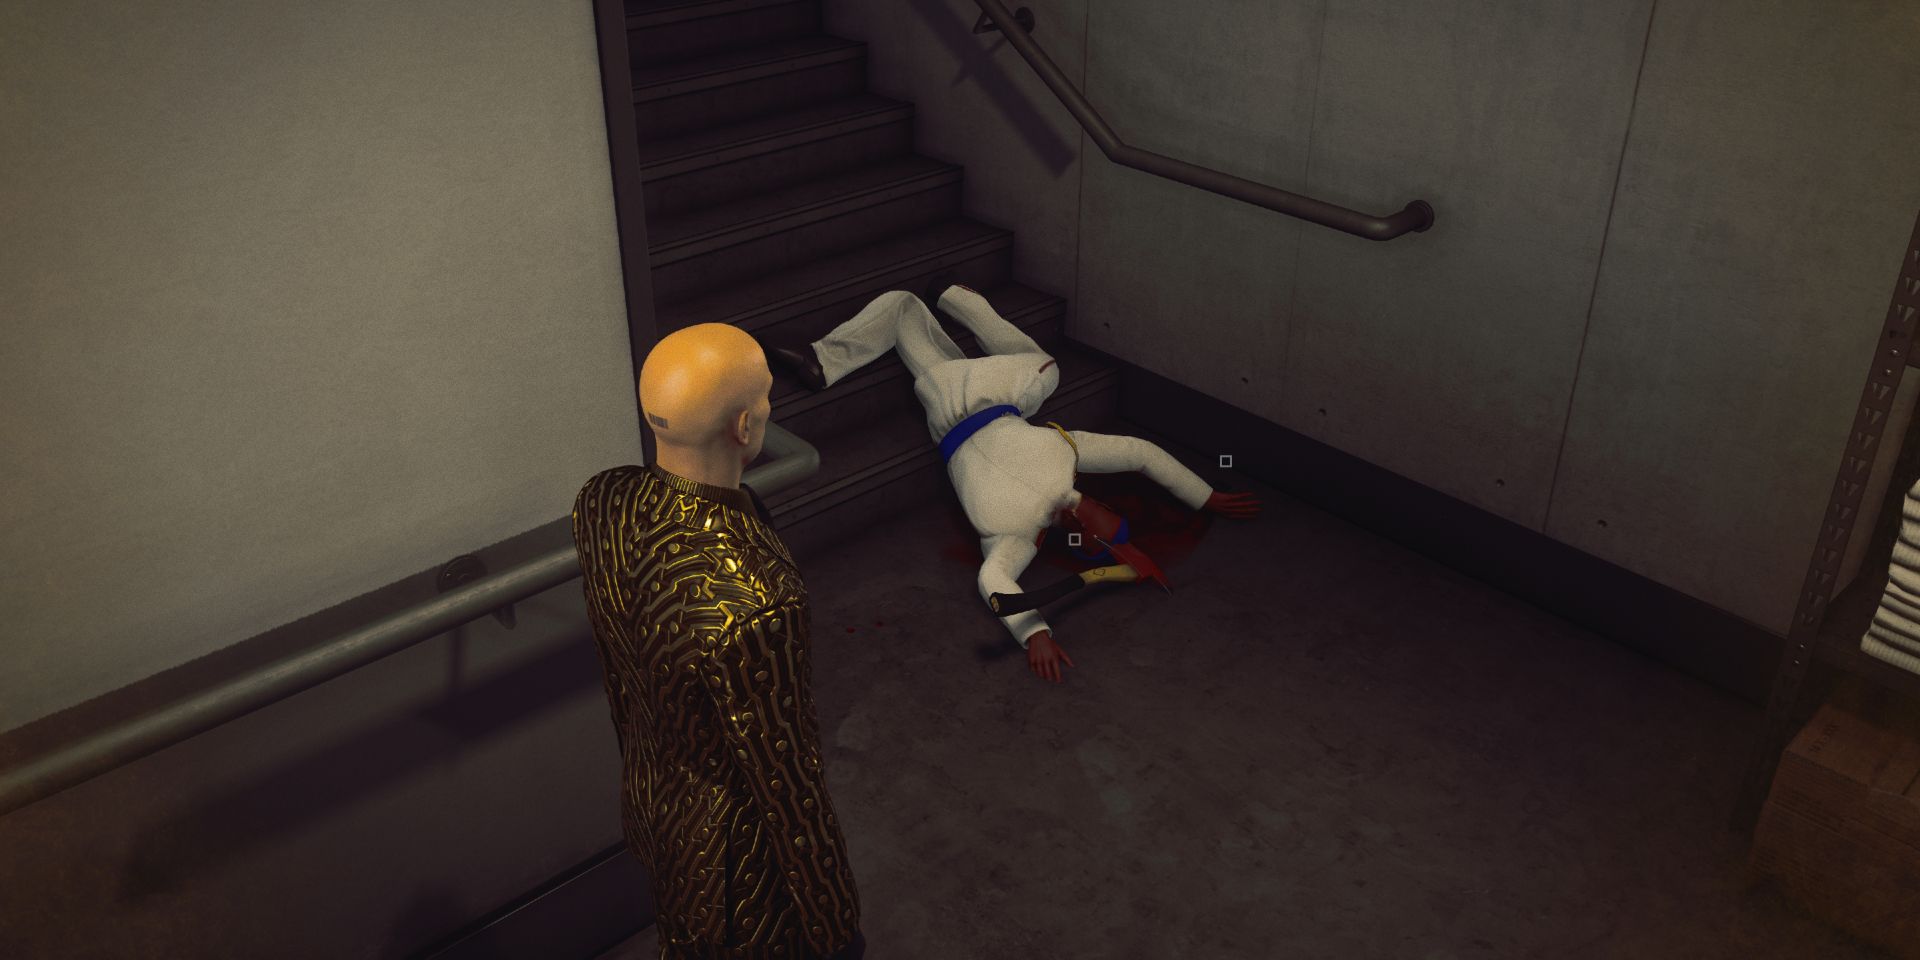
Your next target is the same security guard that we coaxed into walking down the stairwell to knock out in Escalation Level 1. He's in the same stairwell as the axe and you can use the same one that you used to kill Target 3 since it's required for his objective anyway. Lure him down the stairwell like before, then kill him with the axe when he's not looking. He will drop 5 Greedy Little Coins, bringing your total to 30.
The Escape
From the stairwell, head back through the double doors, and out the staff door of the stock room, waiting for the bartender to look away. This will put you back into the main lobby area. Head down and around the stairs again to the elevator to exit the mission.
Escalation Level 3
- 47 starts with a restricted loadout
- Additional Objectives will be revealed once you complete the previous ones
- The greed coins you keep when exiting a level will be carried over to the next
- If you change your starting disguise at any point you will immediately fail the mission
- [NEW] If anyone sees you performing an illegal or suspicious activity, you will immediately fail the mission
This Escalation Level will be a bit trickier since we have to be even more careful not to be spotted. In the last two levels, you could get away with being spotted, as long as you have eliminated the witness. But now you automatically fail once you're detected at all.
Target 1
Your first target can be eliminated via any method of your choosing, but you must be very careful not to be spotted in restricted areas or seen doing suspicious activities, otherwise you'll fail the mission immediately.
Head up the stairs and to the left toward the back room of The Black Gold Bar. Knock out the staff member in here and proceed through the double doors. Go into the laundry room and knock out the staff member in here as well, and hide his body in the hamper. Leave the laundry room and turn on the vacuum cleaner. Use instinct mode to see if the guard is at the top of the stairs, and if he is, toss a coin at the foot of the stairs to get his attention. As he comes down to investigate, he'll notice the vacuum cleaner and attempt to shut it off. Once he does, knock him out and hide the body if you choose.
Head upstairs and knock out the janitor standing in front of the vending machines. Move her body out of the line of sight of the doors where your target is to your right. If you do this quick enough, you can catch the art crew member as she walks through this room, because she becomes a nuisance later. Knock her out and hide the body as you wish.
Wait until the target is just on the other side of the doors, then open them and hide to the right. Toss a coin at the cardboard boxes on your left and wait for your target to investigate. Eliminate him how you please, and he'll drop 3 Greedy Little Coins.
Target 2
The next part is where it gets pretty tricky. Your remaining targets all need to be eliminated with a pistol, and unless you want to spend 15 Greedy Little Coins at the frog statue to get a silenced pistol, the only pistols on the map are not silenced. This means you need to knock out anyone nearby that might be within earshot of your target when you kill them.
Wait until the guard leaves the doorway near the previous target, then follow him around the corner and knock him out. Turn around and go back down the corridor to knock out the art crew member when he isn't looking. Hide the art crew member in the nearby container, and dump the guard down the elevator shaft in the same corridor where you took out your last target.
Climb the nearby ladder onto the scaffolding and watch for the guard that's just beyond the railing above you. Wait until he takes his phone call and turns away from you, then climb over the railing and knock him out. Now turn around and wait for the guard that is nearest your target to move towards the coffee vending machine in the corner. Knock him out as well.
Go through the door into the maintenance room and make sure the door is shut behind you. Draw your pistol (you likely grabbed one from the several security guards you knocked out at this point) and shoot your target in the head. Collect the 5 Greedy Little Coins that he drops.
Target 3
Go back through the maintenance room door and climb over the railing onto the scaffolding, being mindful of the two art crew members in the control booth area. Sneak closer to them, and when they have their backs to each other, quickly knock out both. Hide the non-target body in the nearby container, then shoot your target in the head. He drops 7 Greedy Little Coins when he dies. Be careful that Marcus Stuyvesant isn't in the room when you do this, because he does patrol through here from time to time.
Target 4
Several people are between you and your next target, and while you probably could sneak around them, it is probably best that you knock them out and hide the bodies. Head past the control booth on the right side, and carefully make your way down the stairwell, so as not to be seen by the two art crew members here. Turn off the fusebox, then hide behind the red container, waiting for the crew member to investigate. Knock her out while her back is turned, hide the body, then wash, rinse, and repeat for the other crew member around the corner.
Your next order of business is to carefully go out the glass door without getting spotted by the camera or the art crew member outside. Use the same technique to get rid of him as you did back when he was a target in Escalation Level 1, using the generator as a distraction. Head toward the catwalk with the ladder to the helipad.
Climb the ladder then immediately head left at the top. Circle around and knock out your target, and save him for when you clear the area. Wait for one of the nearby guards to separate from the other one, then throw a coin at the box on the left to draw his attention over there. Knock him out, pick up your coin, then make your way back toward the other guard. Throw a blunt object at him and he'll fall off the tower. Head back over to your target, and shoot him in the head now that the coast is clear. He drops 7 Greedy Little Coins, putting your total at 52.
Target 5
Your last target is in the ventilation area just above the helipad and requires the Ventilation Area Ladder Shortcut to be unlocked to get to him very easily. Climb up the ladder but stop before you reach the top. Wait until your target stops to take a smoke break, then climb up and throw a blunt object at his head. Pick up the 8 Greedy Little Coins he drops to bring you to 60, then make your way back to the ladder.
The Escape
Climb down the ventilation area ladder, then climb back down the same ladder you used to reach the helipad. Walk around all the debris to get back to the glass door, but don't forget about the camera by the door. Use the same escape route as you used in Escalation Level 1, making a left once you go through the glass door, then exiting the corridor via the door at the end, which brings you out onto the Balcony Bar. Proceed through the crowd at the bar and pass through the art gallery entrance. From here, just make your way back downstairs to the initial spawn point, and you're home free! Finishing this level with all 60 Greedy Little Coins completes the Greed Grandmaster Challenge.


