The Sloth Depletion is the third escalation contract as part of the Seven Deadly Sins Collection for Hitman 3. As is the case with all Escalations, there are multiple levels with increasing difficulty for you to overcome within the contract.
The unique aspect of the Sloth Depletion is that Agent 47 has a Vitality gauge that depletes as you perform any action, including sprinting, throwing weapons, climbing over obstacles, and even walking. Once the gauge reaches zero percent, Agent 47 will start losing health.
This guide will show you how to complete all three levels of the escalation, as well as all of the challenges associated with the Season of Sloth.
Escalation Level One
- Start with a restricted loadout
- Keep the outfit you were wearing on mission start, or you will fail the mission
- Movement and certain actions cost Vitality. Reach zero percent and 47 will take damage over time
- Additional objectives will be revealed once you complete the previous ones
- [Optional] Eliminate or pacify the jogger to restore Vitality
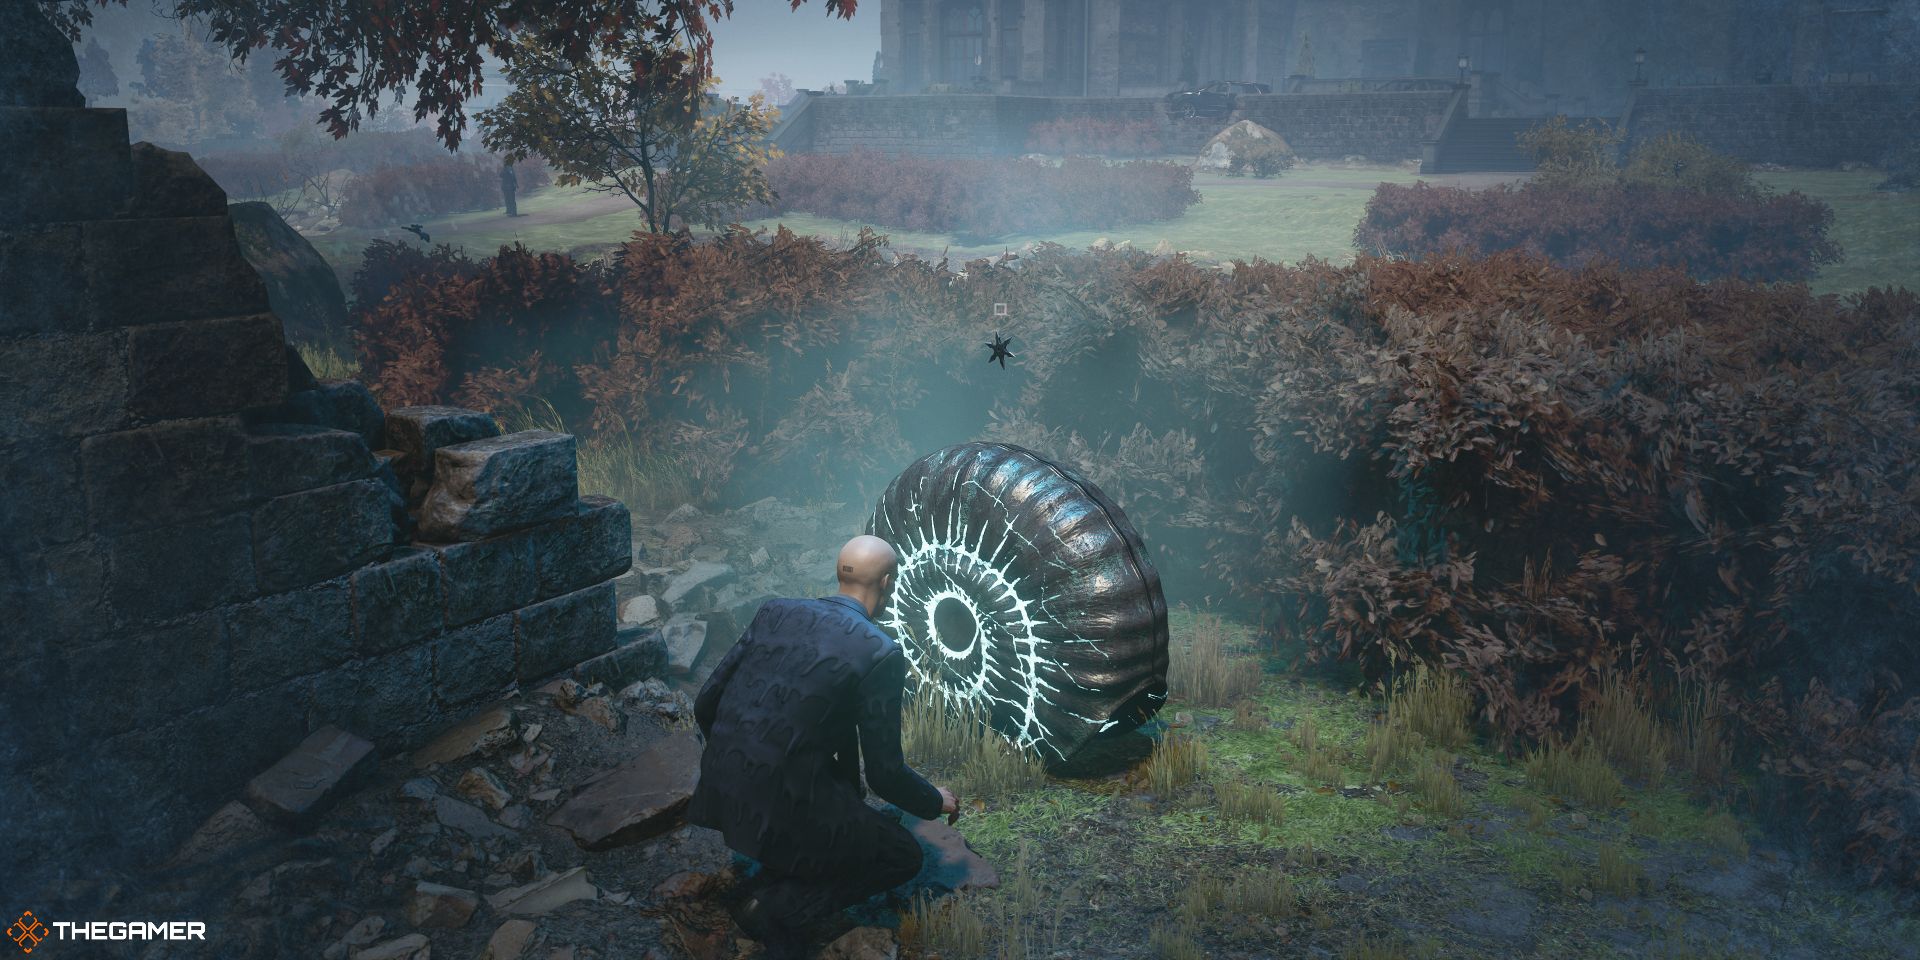
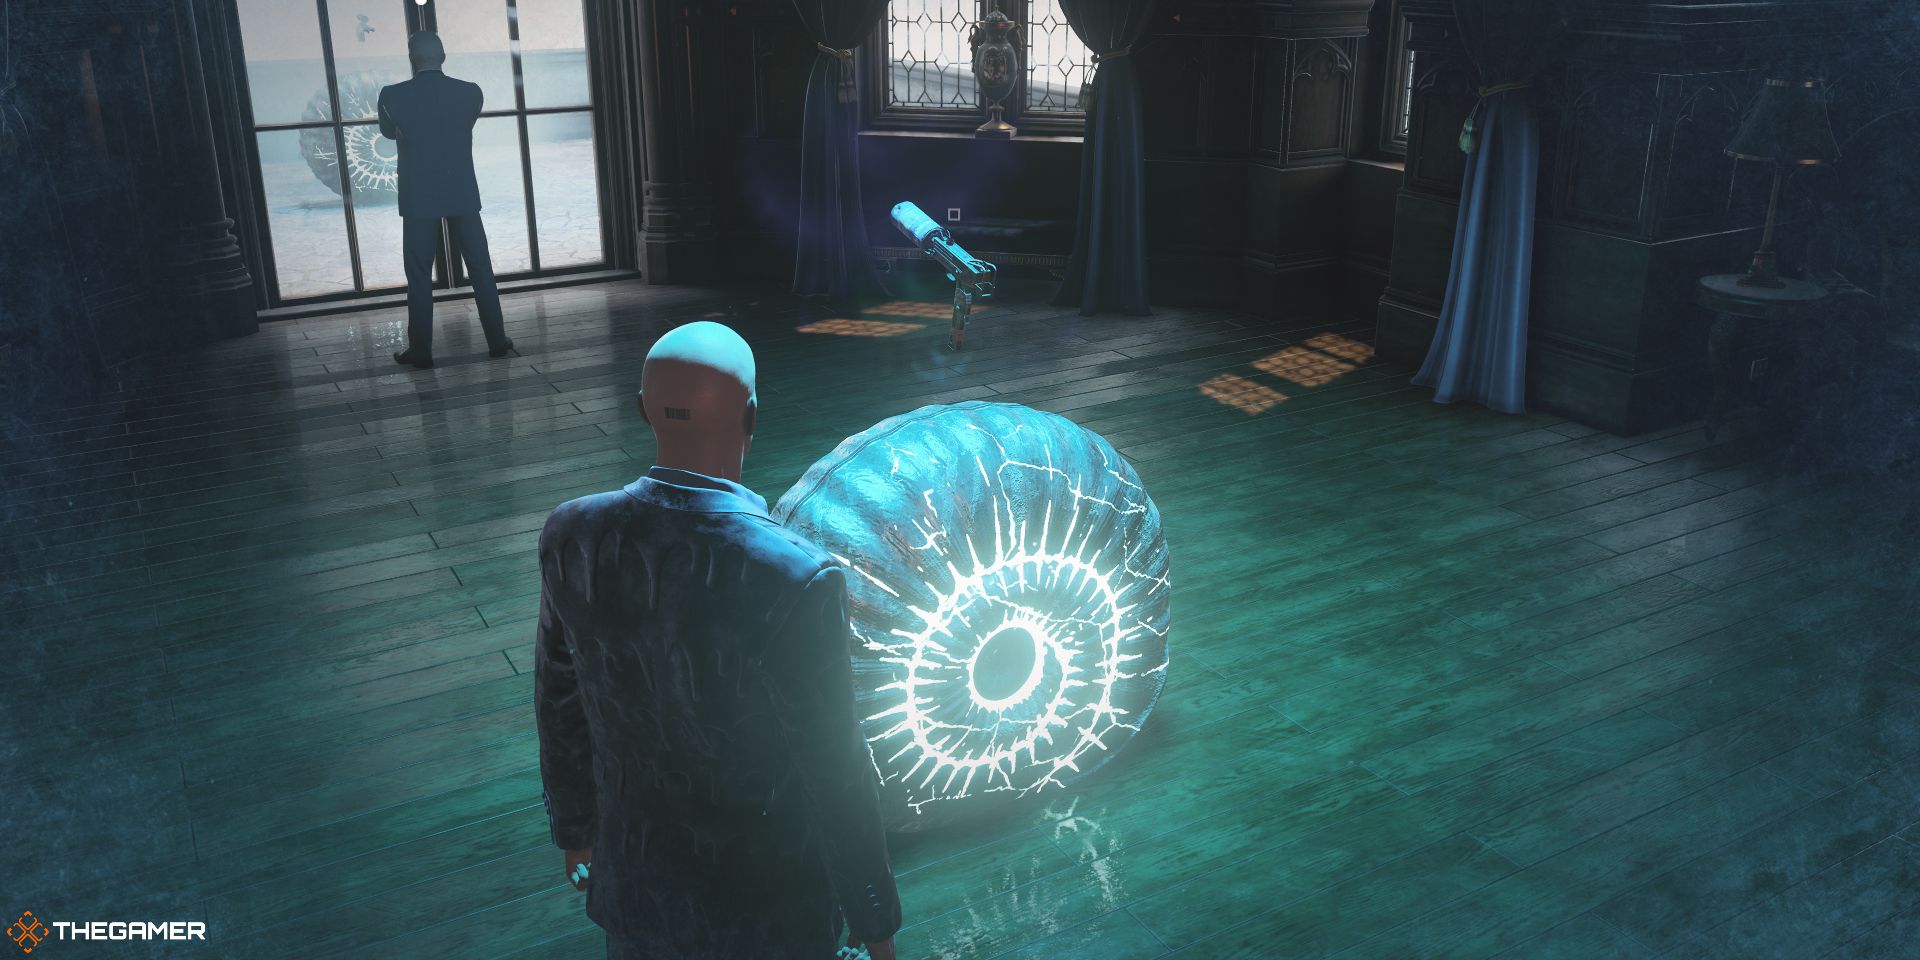
The Escalation starts Agent 47 near the graveyard right in front of the first target. Your first order of business is to find the Snail statue, which is visible through the window right in front of you.
Target One
This target requires that you eliminate him using a thrown weapon. Sneak around the building, using the bushes for cover, until you reach the Snail statue, which has a Shuriken for you.
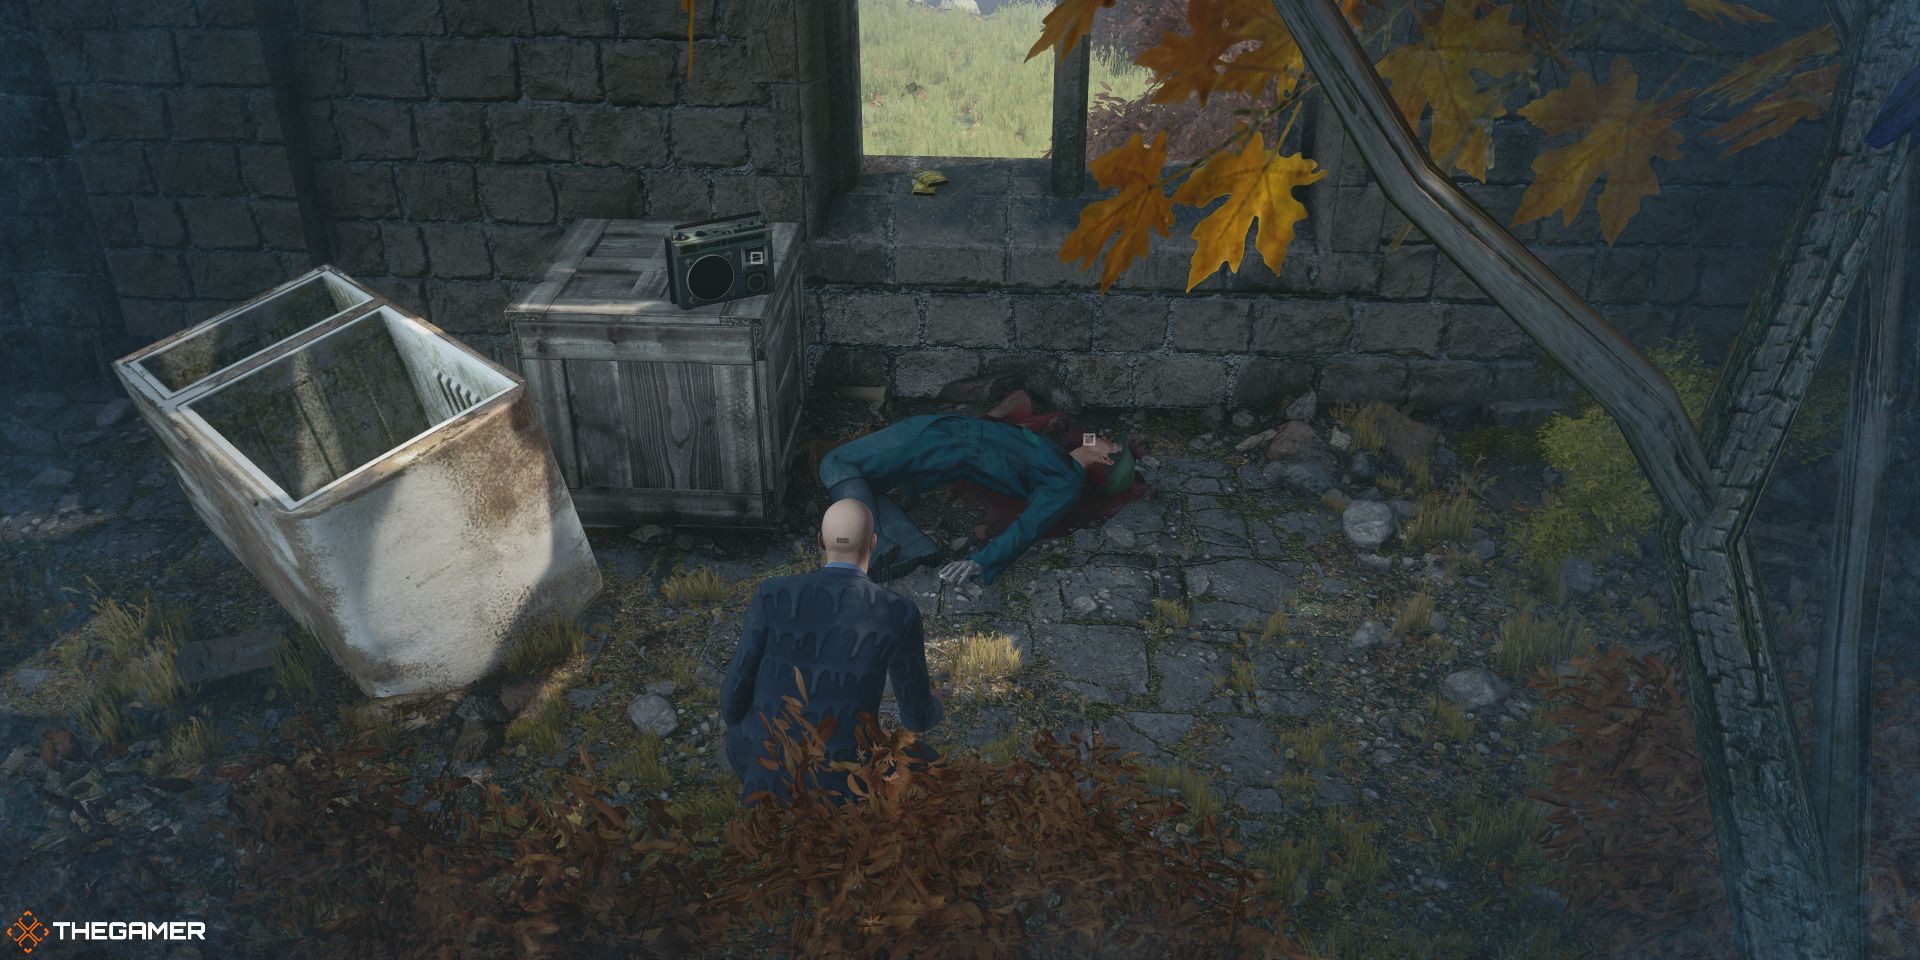
Wait until your target takes his smoke break by the lawnmower, then sneak up to the radio and turn it on. Hide in the nearby bushes as he comes to investigate. Once he turns off the radio, throw the shuriken at his head and head toward your next target.
Target Two
Your next target patrols the graveyard and can be taken out with any method you choose. You can even use the same shuriken that you killed the first target with.
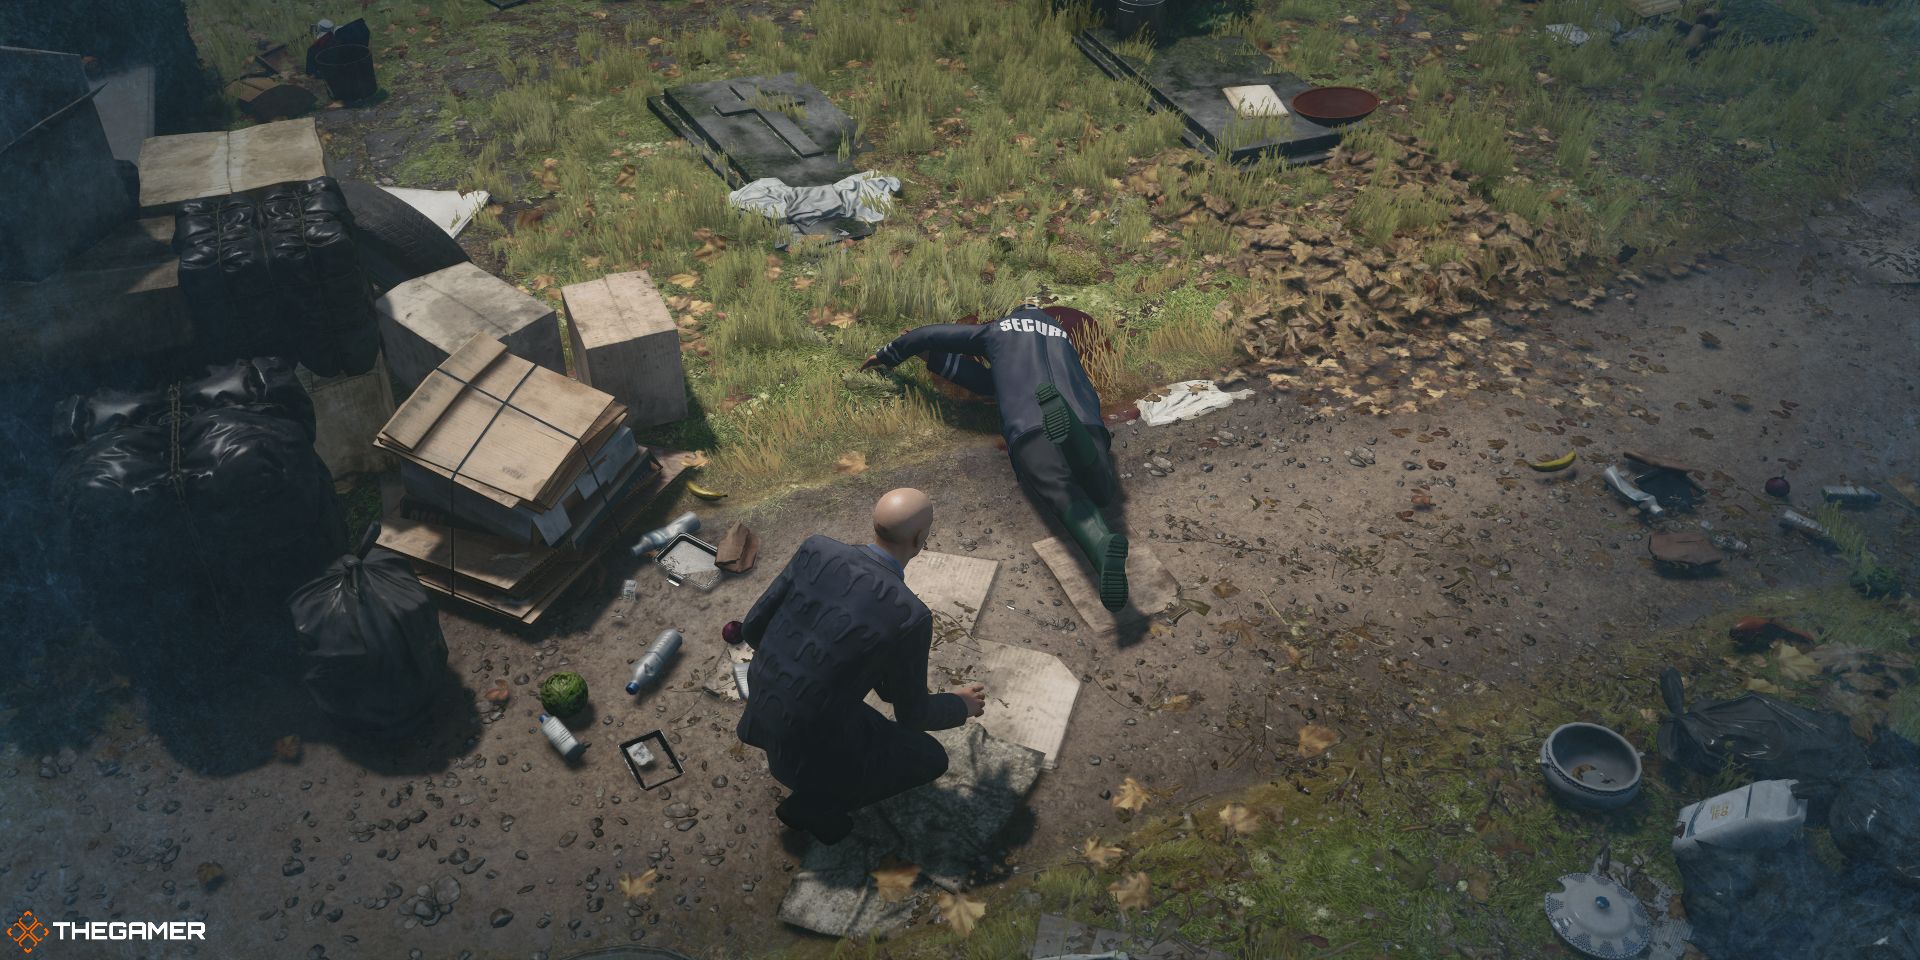
Move behind the headstones, using them as cover, until you reach the L-shaped hedge behind a tall headstone. Wait here until the gardener walks away, and your target will begin walking to the left. Throw the shuriken at his head while he isn't paying attention, then quickly drag his body toward the nearby storage bin.
- Do not dump the body in the bin, because it uses up too much vitality. Just keep the body out of the line of sight.
Target Three
Your last target is the undertaker and he needs to be killed in an accident. He will periodically be checking Alexa Carlisle's portrait, as well as her grave plot, so be mindful of his location.
While he is still outside of the actual graveyard, sneak past the gardener and up to the podium near the grave, then grab the screwdriver. Make your way down to Alexa's portrait, and sabotage the electrical outlet in the puddle (don't worry, the power isn't on...yet).
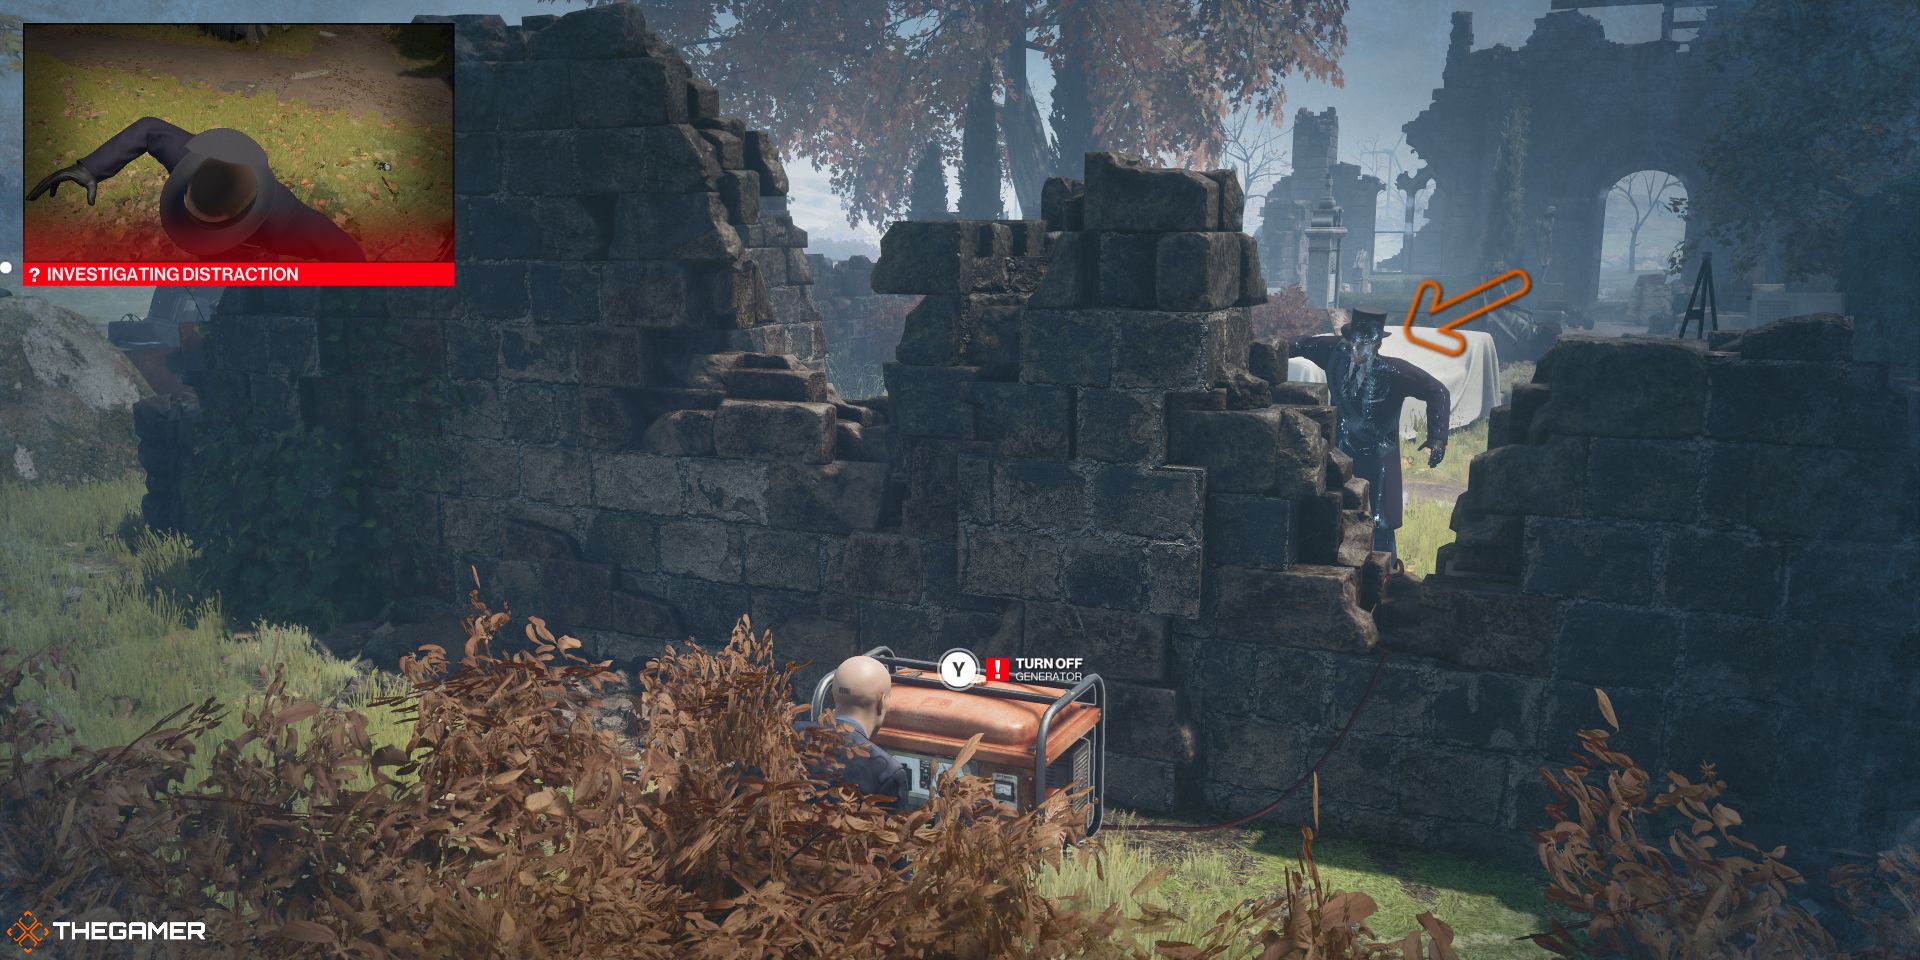
Hop over the brick wall directly in front of you and wait in the bush without moving until the undertaker examines the portrait. Once he is standing in front of the portrait, turn on the nearby generator and watch your target get zapped.
[Optional Objective]
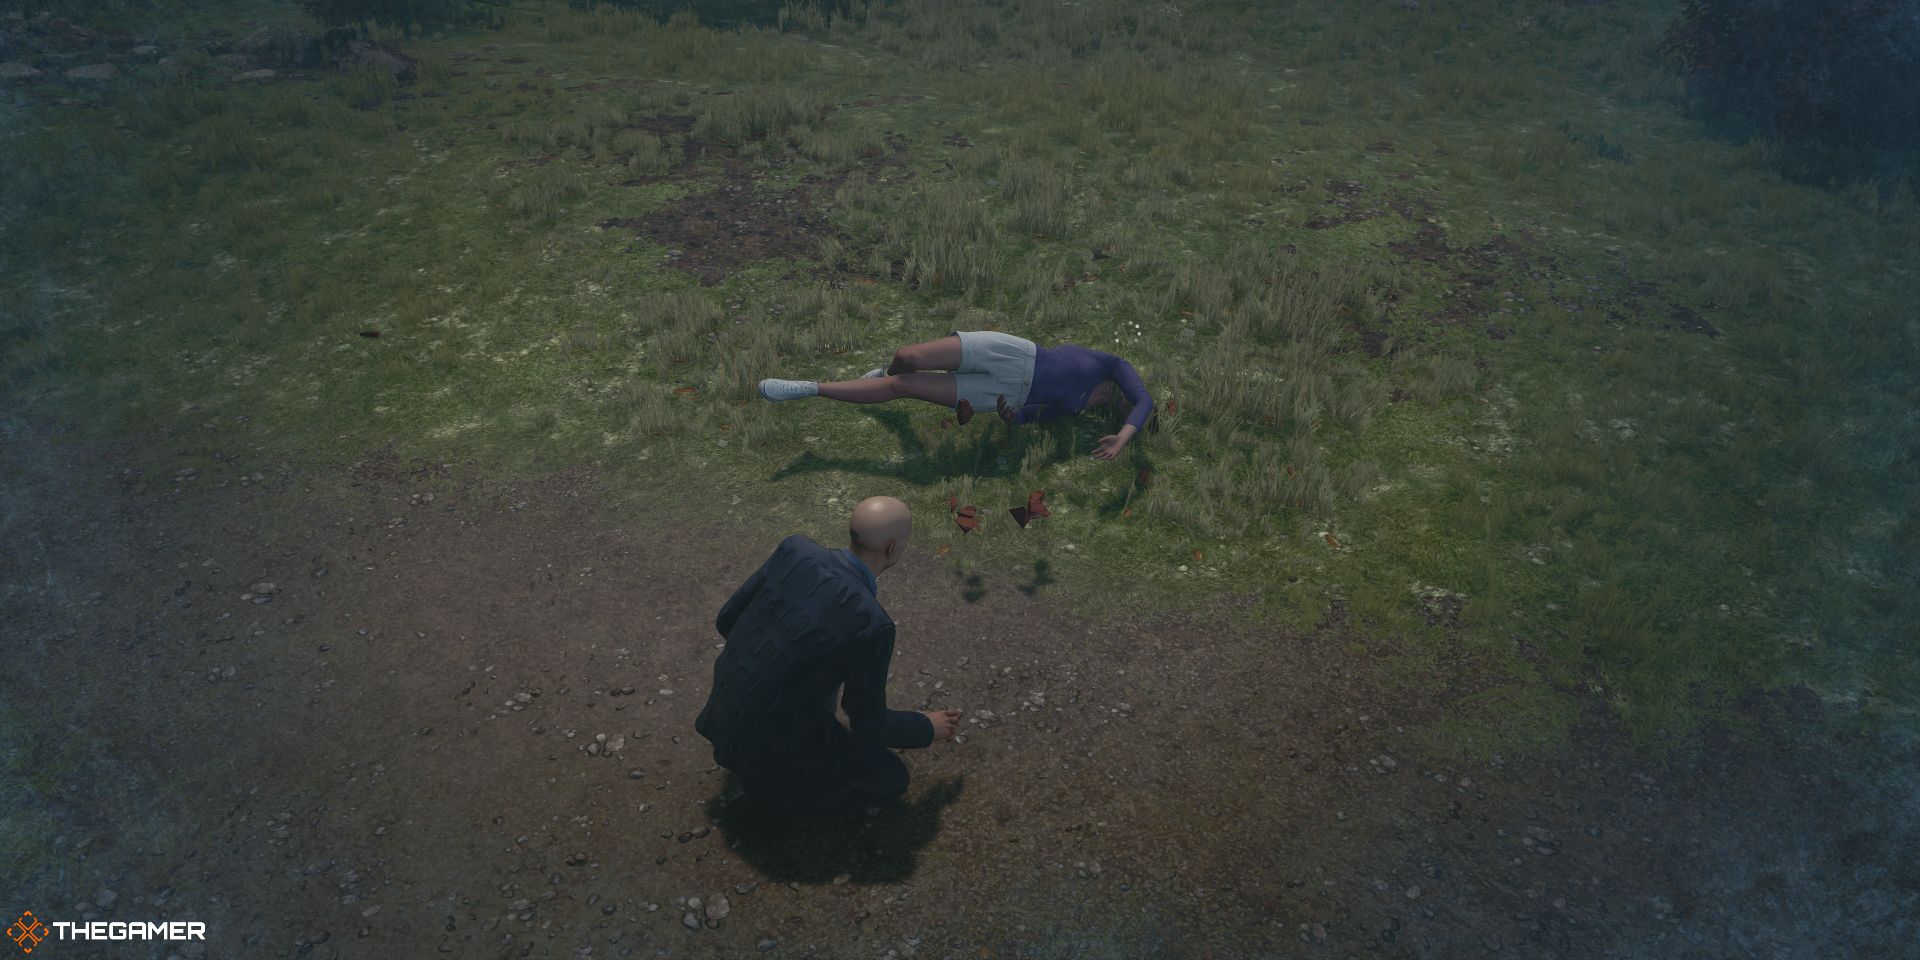
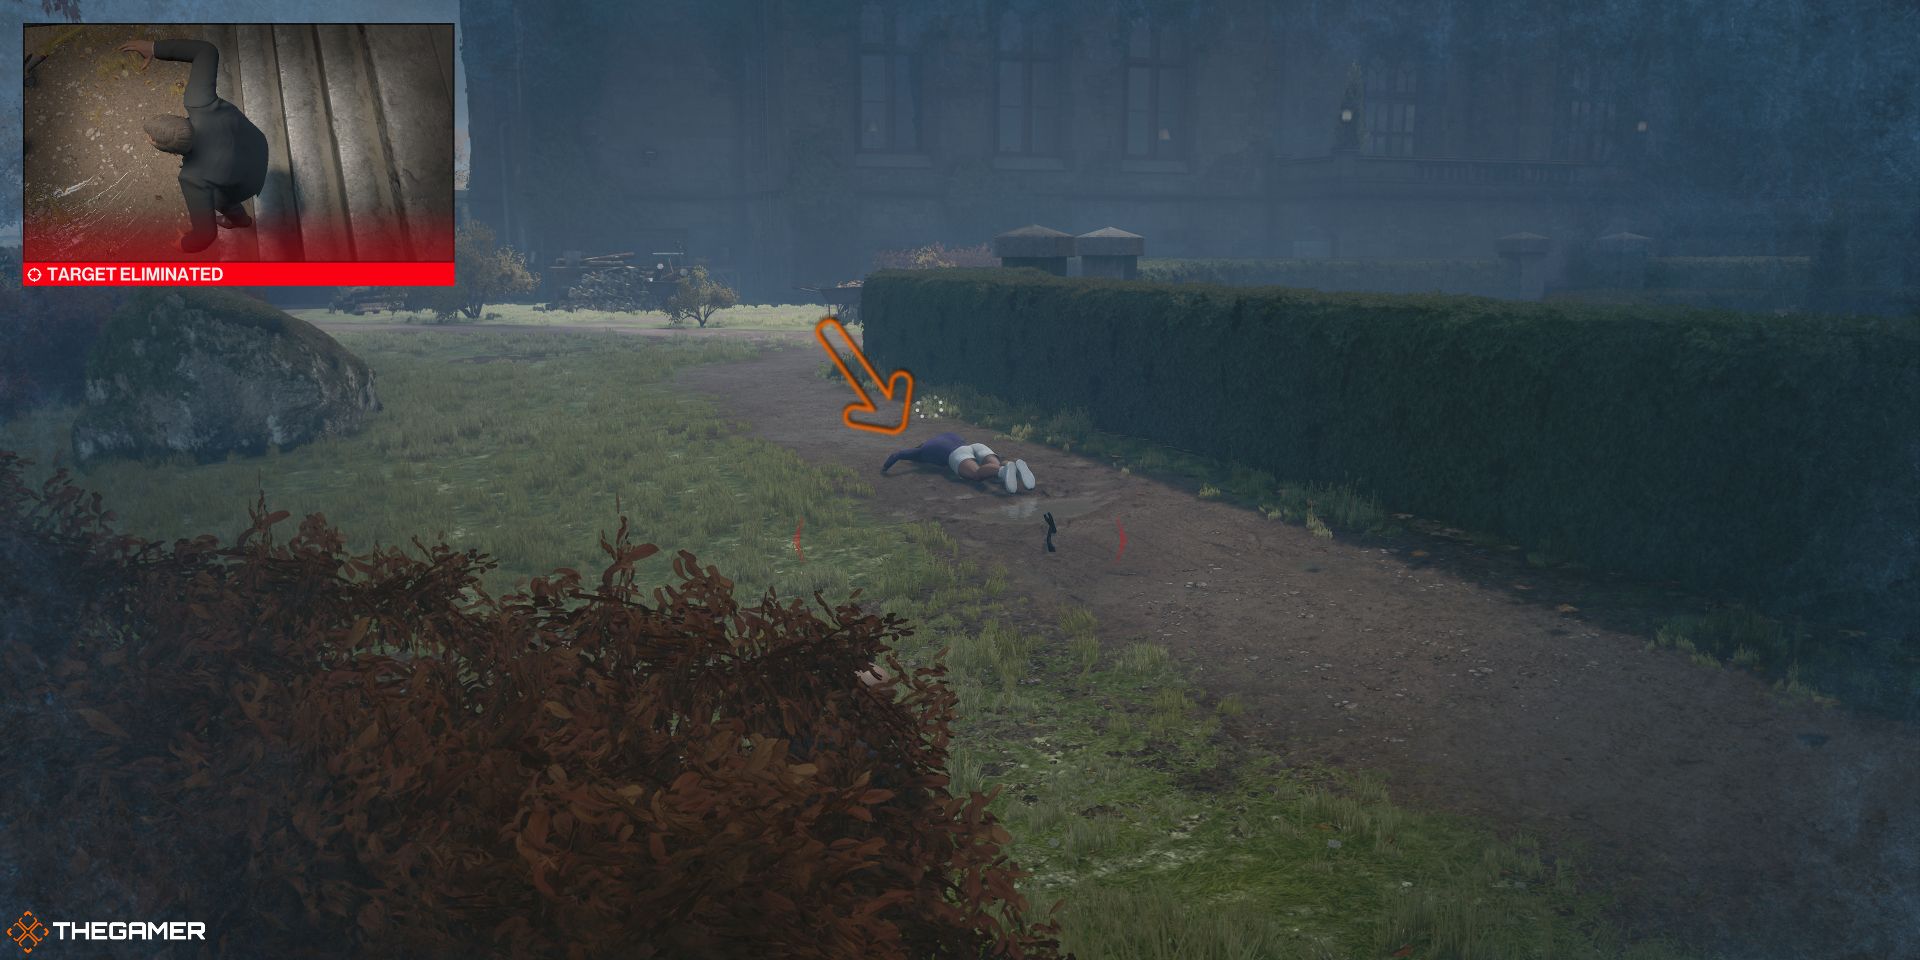
Now that you've eliminated all your targets, your Vitality level will lock, allowing you to perform any actions you want. Take this opportunity to wait in one of the bushes surrounding the mansion grounds until the jogger comes around the dirt path. When she passes by, throw a blunt object at her or walk up and knock her out to restore some of your lost Vitality.
It should be noted that in order to complete the Tortoise and the Hare - Level one challenge, you must kill the jogger, at the cost of your Silent Assassin Rating. It is recommended that you do this first before attempting anything else, then restart the level, because your completion still counts even when you restart.
The Escape
Your getaway should be fairly easy here since there is an exit chair located right behind the generator you used to kill Target three.
If you followed along thus far, without straying or wandering too far off the path, you should be above 50 percent Vitality with a Silent Assassin rating, which completes the Self-Care Level one and Sleeper Agent Level one challenges.
Finishing Escalation Level one Unlocks the Lotophage Suit and Slapdash SMG for use in other missions.
Escalation Level Two
- Start with a restricted loadout
- Keep the outfit you were wearing on mission start, or you will fail the mission
- Additional objectives will be revealed once you complete the previous ones
- Movement and certain actions cost Vitality. Reach zero percent and Agent 47 will take damage over time.
- [Optional] Eliminate or pacify the jogger to restore vitality
Level two of this Escalation begins near the greenhouse on the backside of the Carlisle estate where you complete the main game's Poison Ivy challenge.
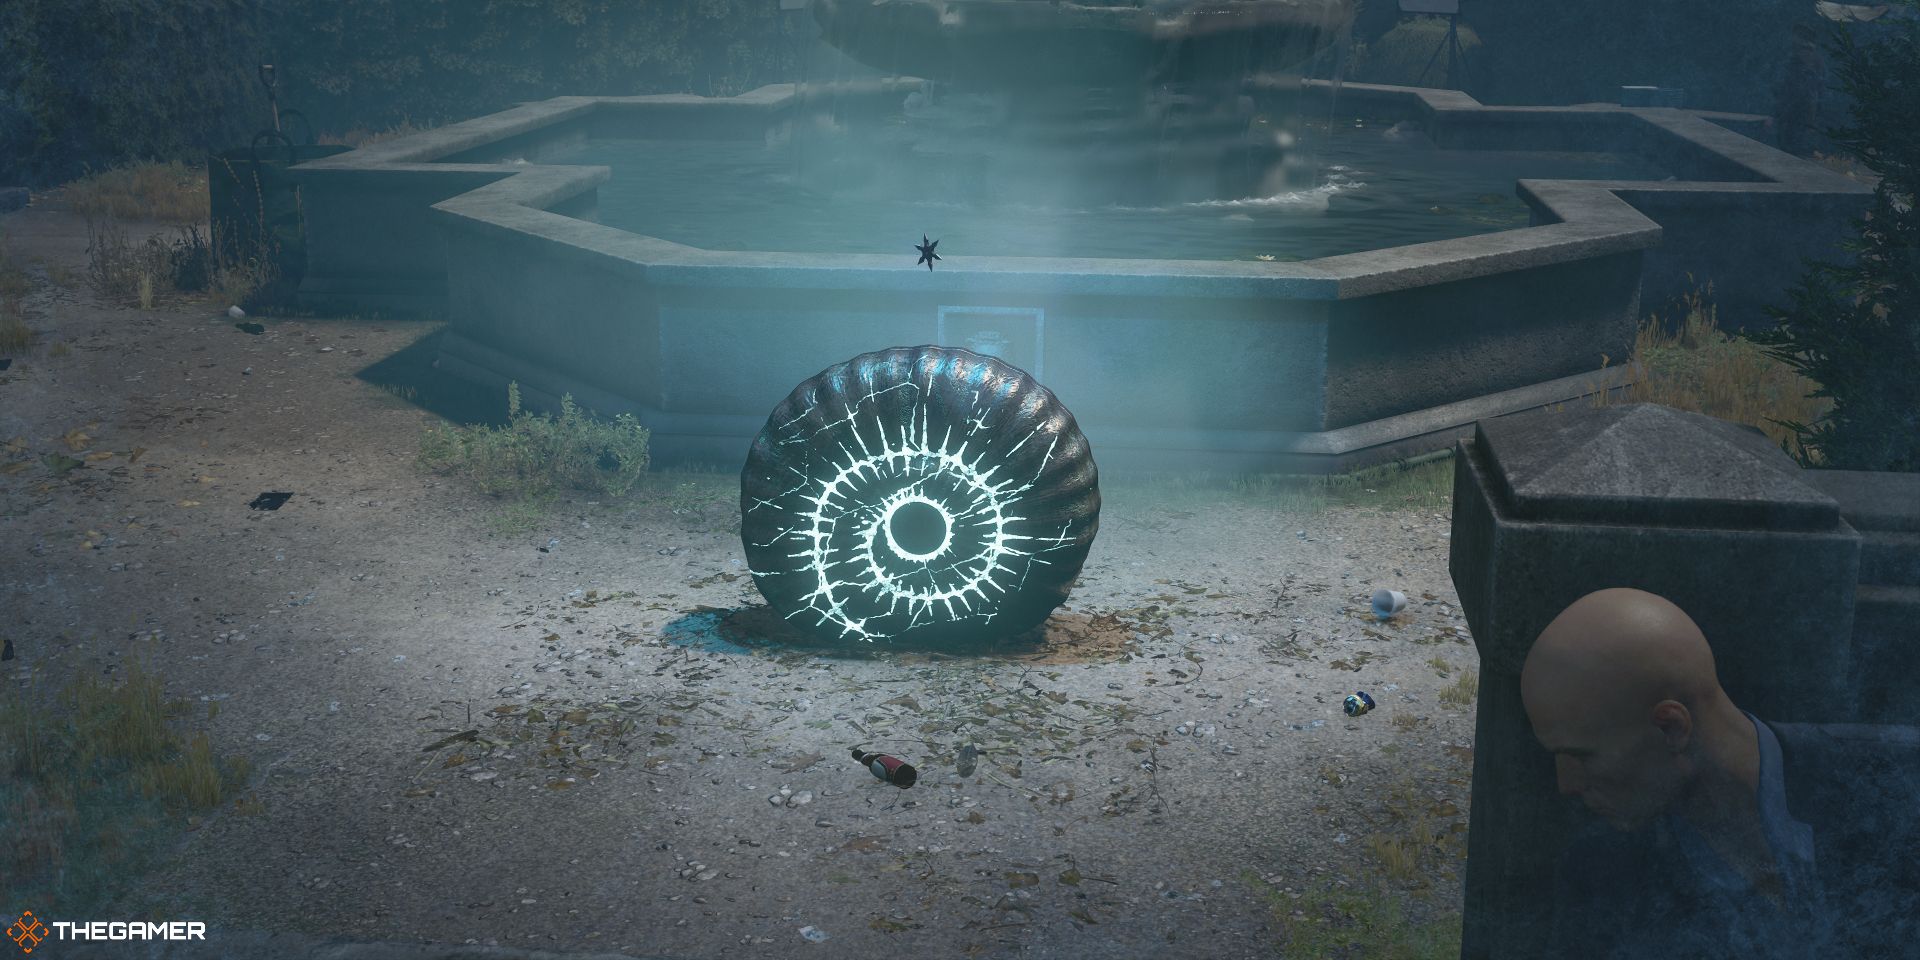
Make your way to the Snail statue near the fountain.
Target One
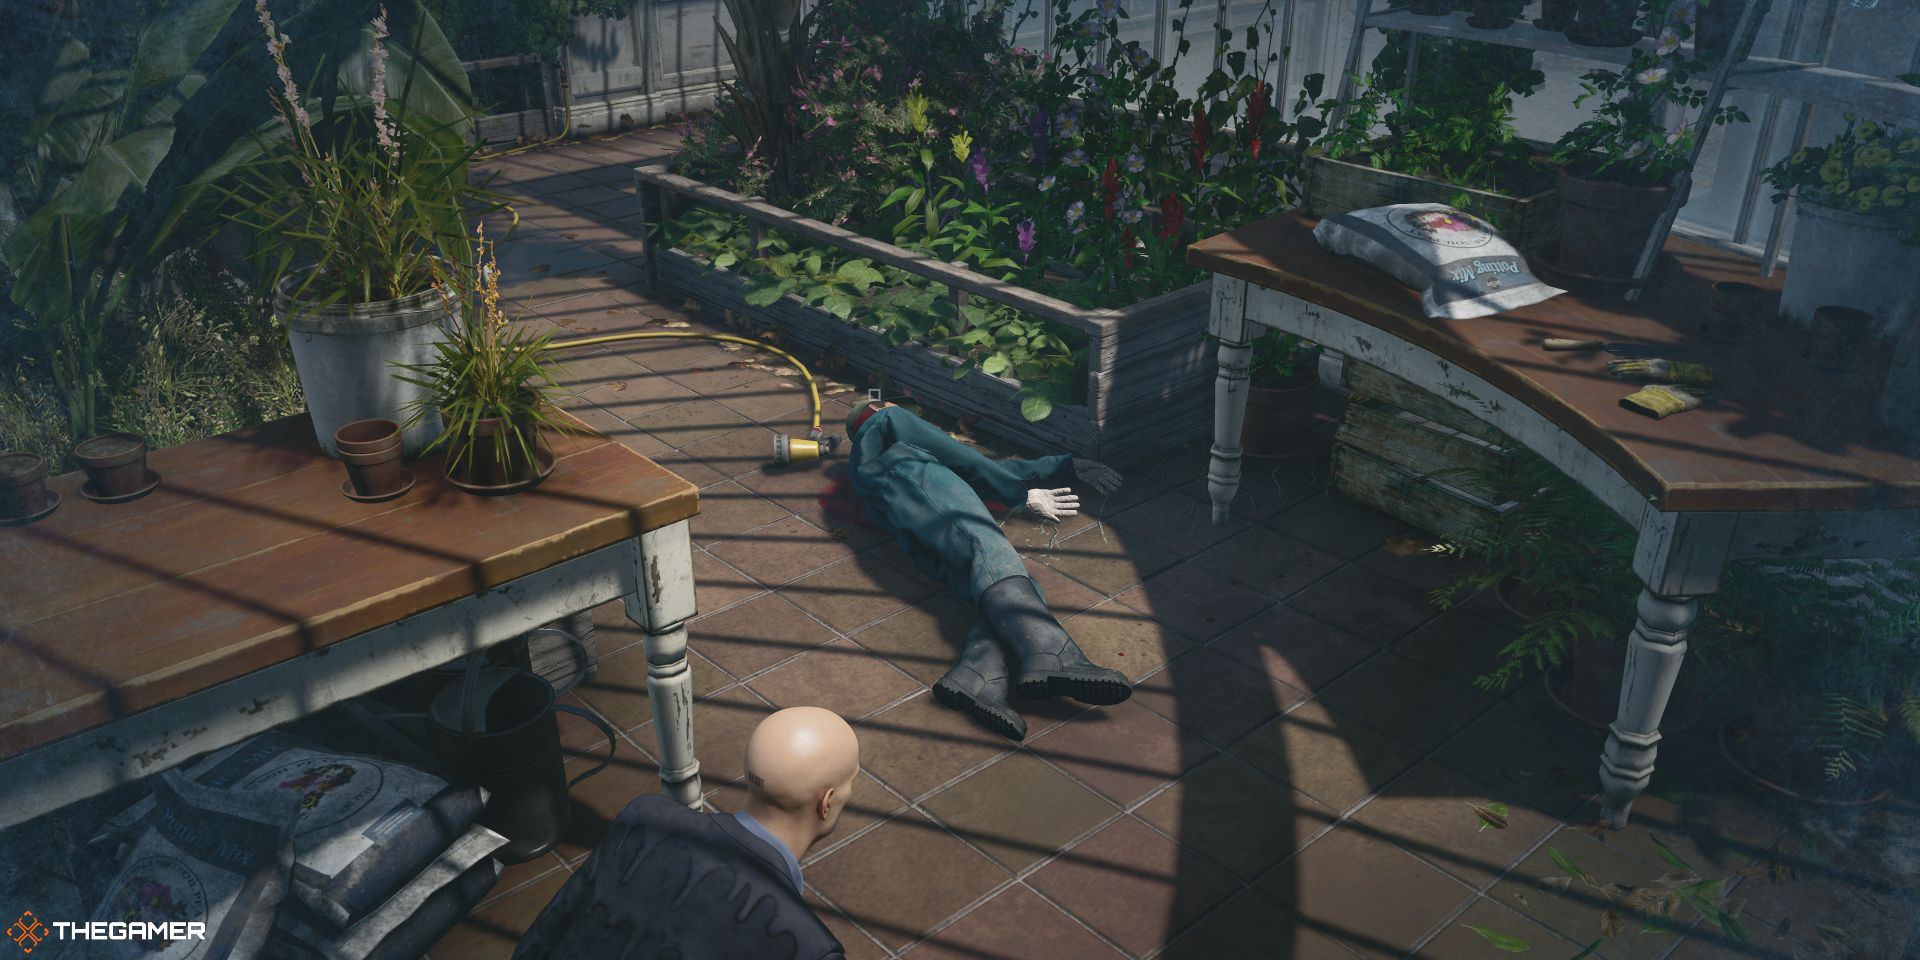
Your first target must be eliminated with a lethal throw, so take the Shuriken from the Snail statue. Turn around, then follow your target into the greenhouse.
Move to the bench on the right, then while your target has his back turned, throw the shuriken at his head. Exit the greenhouse and head to your right.
Target Two
This target must be killed in an accident. Head past the greenhouse, putting the hedges on your left and the greenhouse on your right until you come across another faucet. If your target is at the top of the stairs, wait until he walks to the right.
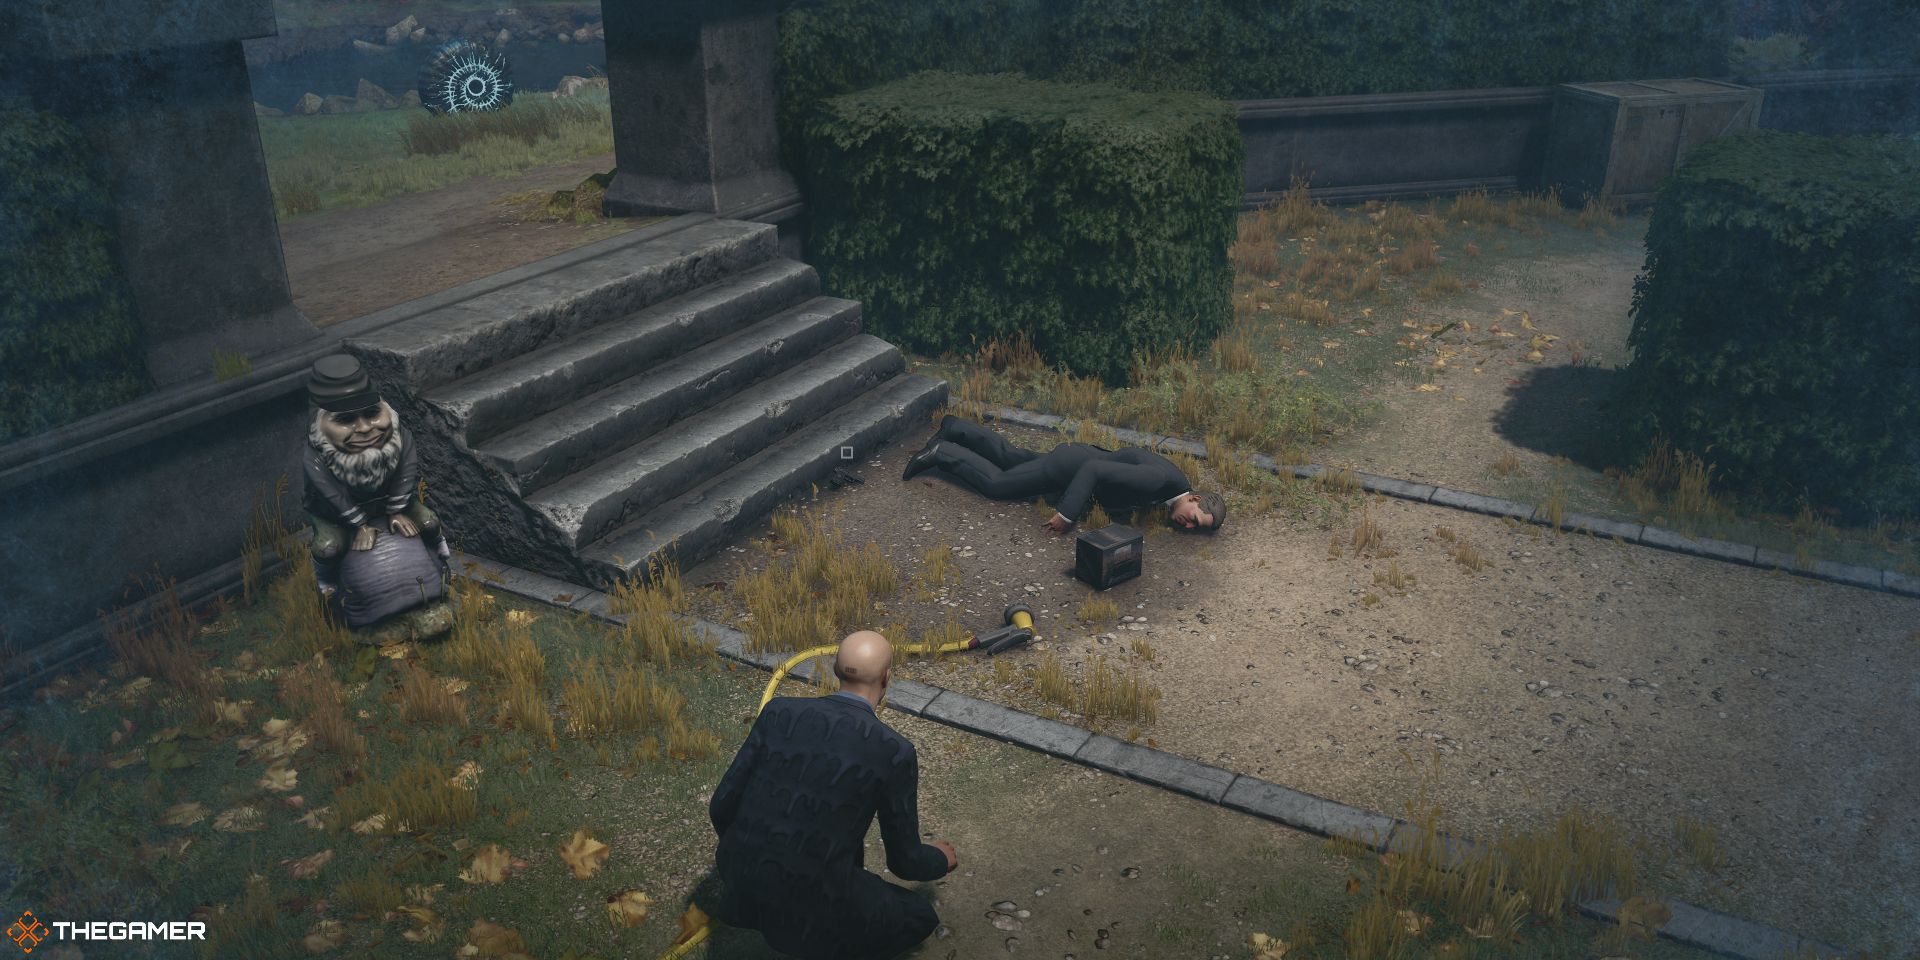
Turn on the faucet, and wait for a puddle to form near the stairs. Once it's formed, turn off the faucet and make your way to the outer perimeter to a Snail statue with a car battery.
When no one is watching, toss the battery into the puddle, creating an electrical trap. No need to stick around here, so head over to the bushes on the outer perimeter.
[Optional Objective]
Follow the path around the perimeter of the mansion grounds, as this is the jogger's running path. If you've been following along with this guide up to this point, the jogger should be making her way toward you.
Hide in the bushes, and wait for her to run by. As she approaches, run up behind her and knock her out, then drag her body into the bushes. Incapacitating her will refill some of your lost Vitality. Head towards the backside of the mansion and pick up the baseball in front of the round stairs where the exit chair resides.
Remember, in order to complete the Tortoise and the Hare - Level two challenge, the jogger must be killed, at the cost of your Silent Assassin Rating. Do this first, then restart the level.
Target Three
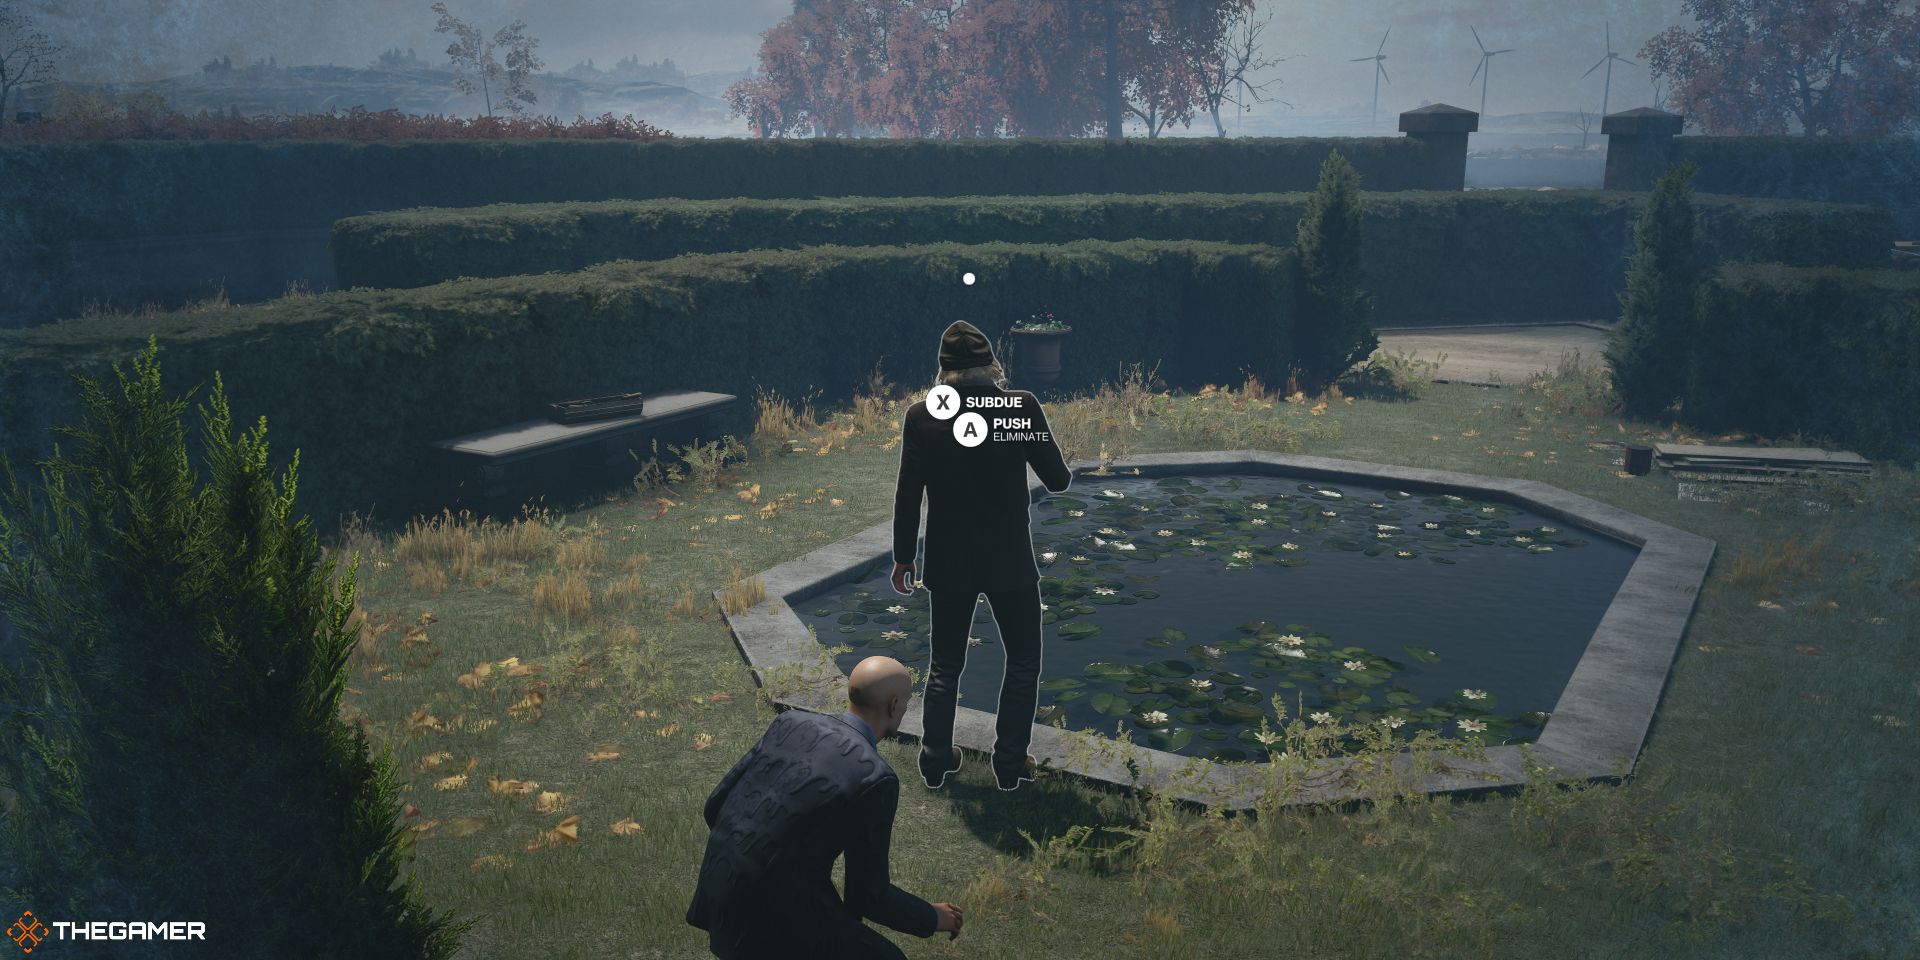
Your next target is the photographer, and he likes to stand in front of the pond near the fountain. The main problem is the mansion staff member that sits right in front of said pond.
Wait until your target is approaching the pond, then toss the baseball near the radio and storage container. The mansion staff member will investigate, so use this opportunity to push your target into the pond.
Target Four
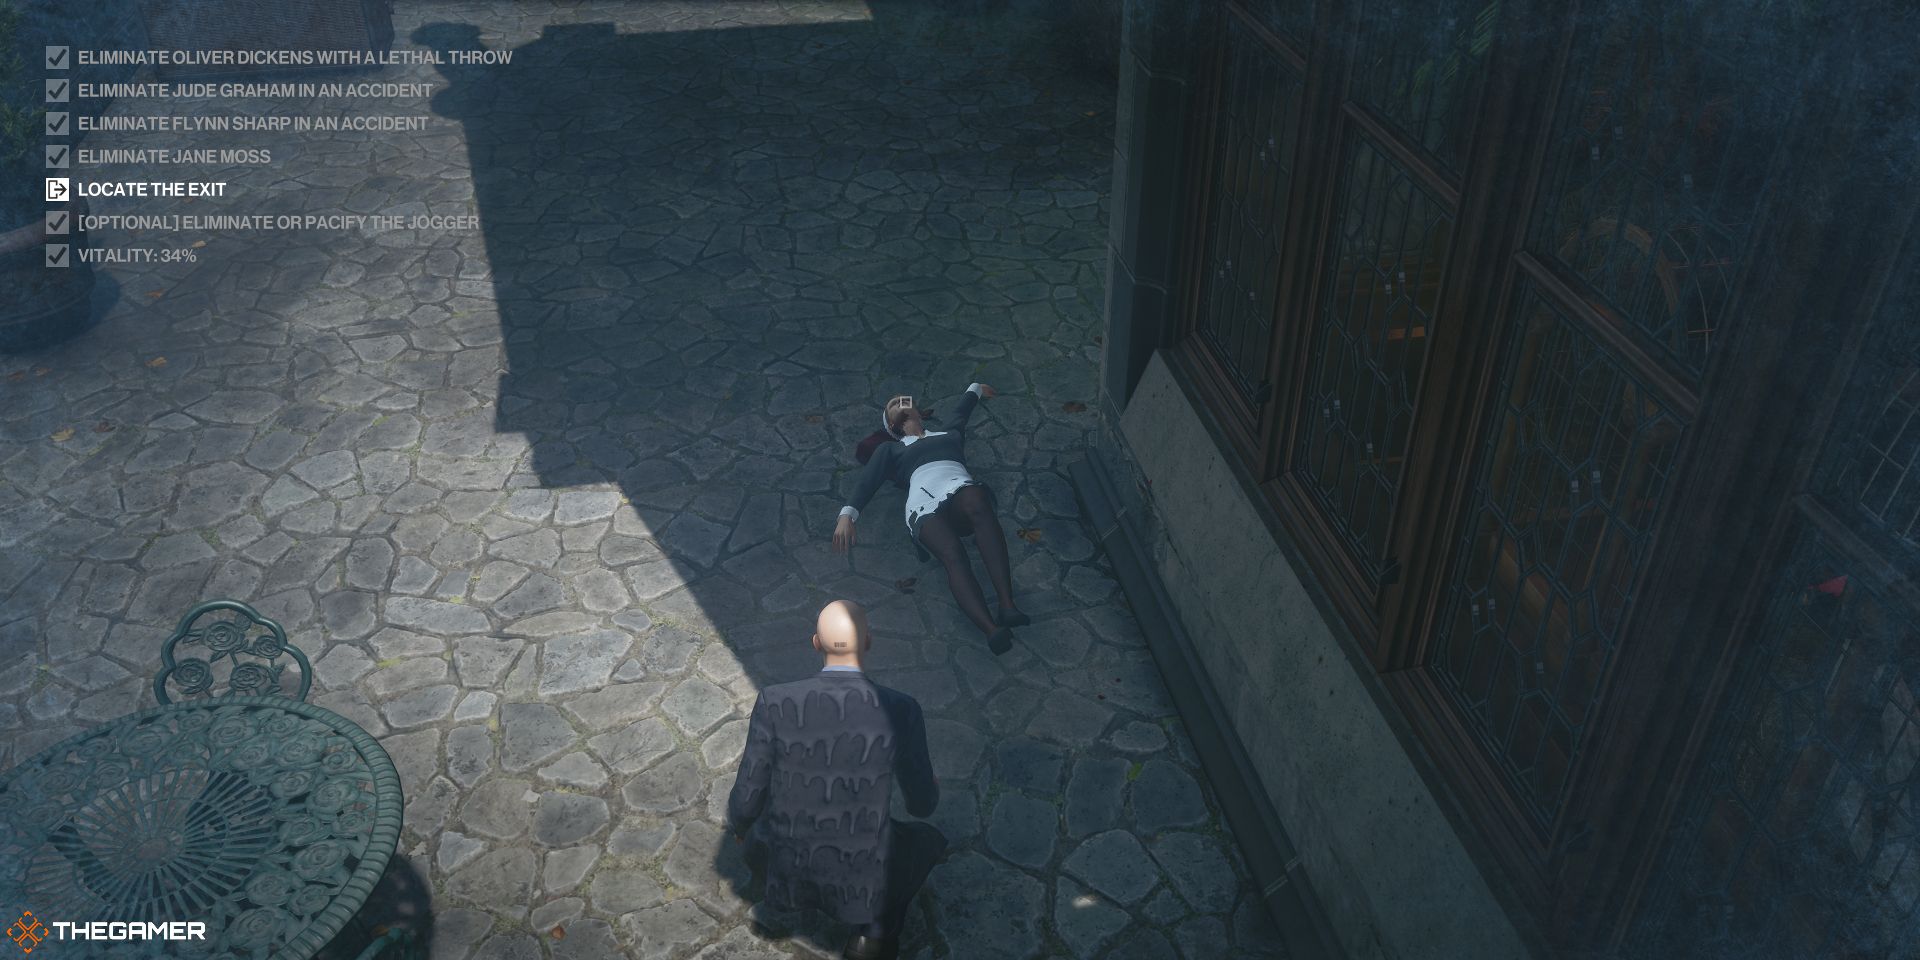
Your last target is a maid that periodically cleans the windows of the mansion directly across from the pond where you took out Target three.
Make your way around to the right and up the stairs and wait until she has her back to you, then throw your shuriken at her head when no one is looking.
The Escape
You should already be near an exit chair after eliminating Target four. Thankfully, once you take out your last target, your Vitality stays locked, so you can perform as many actions as you want until you exit.
As long as you've been following along, you should be above 50 percent Vitality with a Silent Assassin rating, which completes the Sleeper Agent Level two and Self-Care Level two challenges.
Escalation Level Three
- Start with a restricted loadout
- Keep the outfit you were wearing on mission start, or you will fail the mission
- Additional Objectives will be revealed once you complete the previous ones
- Movement and certain actions cost vitality. Reach zero percent and Agent 47 will take damage over time
- [Optional] Eliminate or pacify the jogger to restore vitality
Level three starts Agent 47 above the room where the Carlisle family has their meeting. Turn around and carefully make your way towards the Snail statue on the eastern side of the mansion.
There is a guard in the adjacent hallway, so make sure to wait until his back is turned before you run by. Make a right at the stairwell before the guard, then vault over the railing on your left to sneak past the guard.
All you have to do now is wait for the other guard on the other side of the railings to have his back to you, then you can grab the Slapdash SMG. Go back the way you came until you reach the starting point again.
Target One
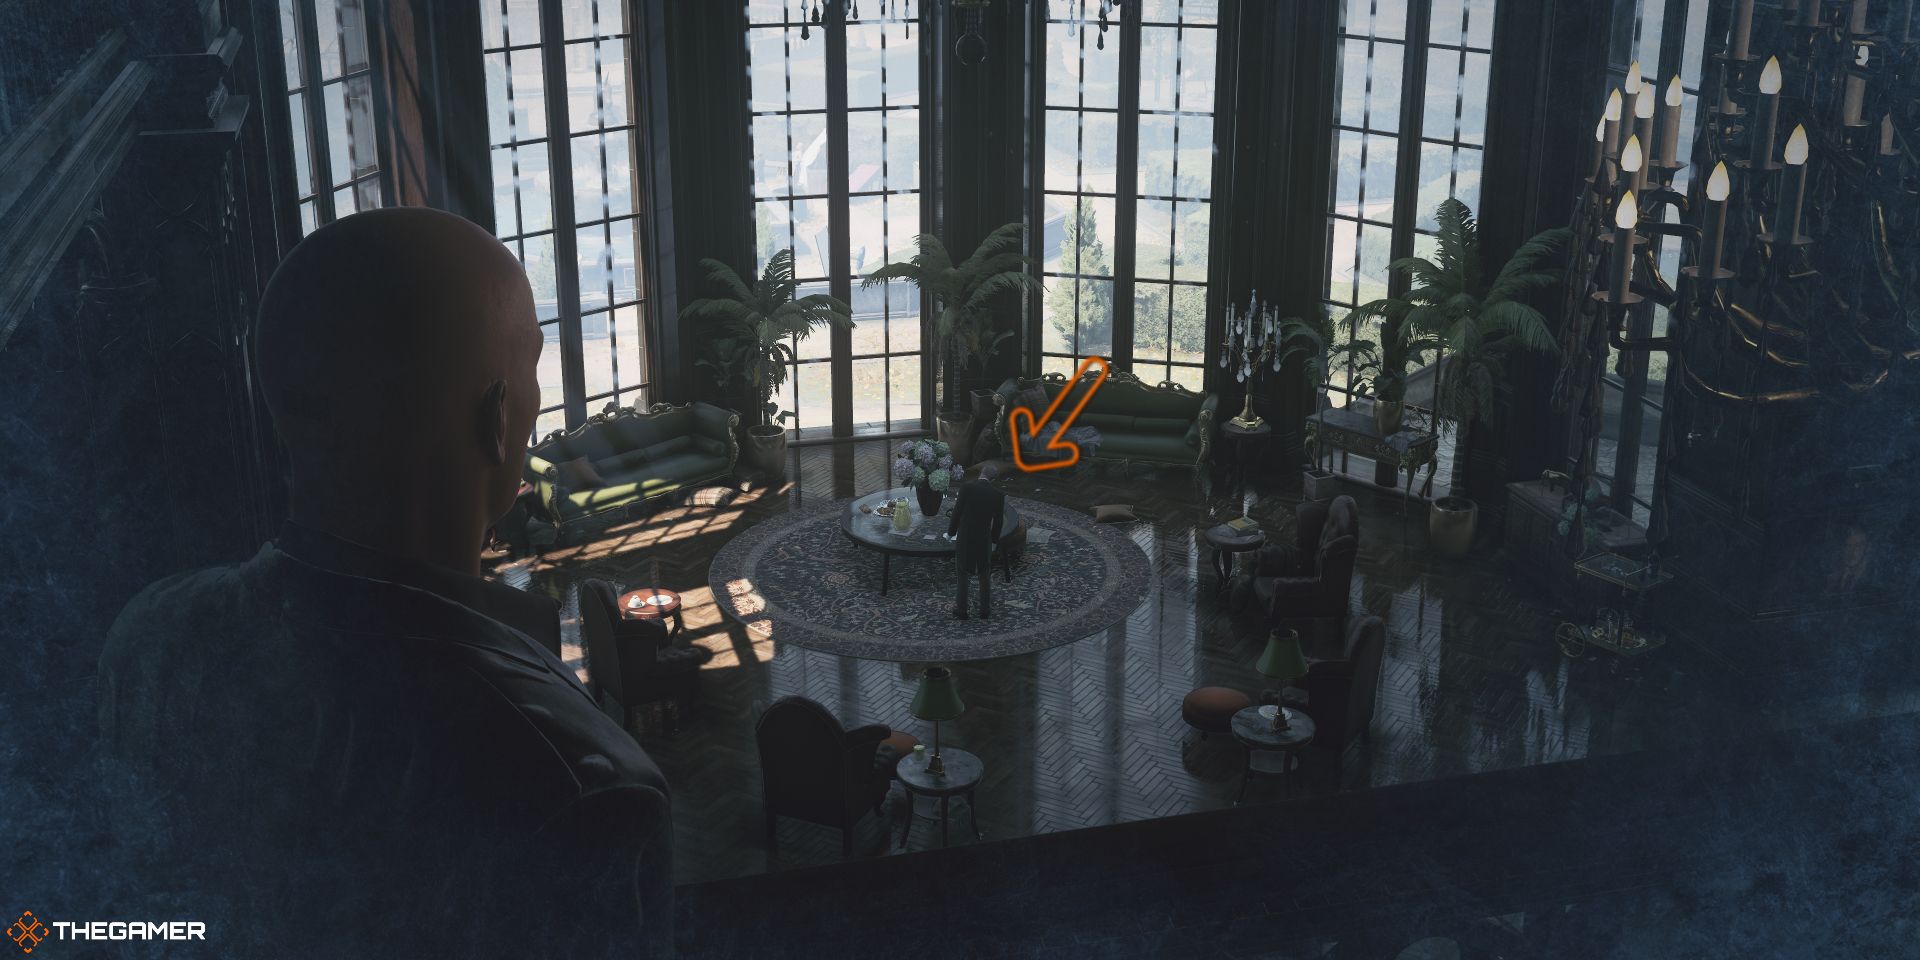
Your first target is Mr. Fernsby, and he must be killed in an accident. He spends his time in the Carlisle family meeting room, (where Gregory and Emma hang out during the Baskerville Barney Escalation) standing beneath some precariously placed chandeliers.
Use your Slapdash SMG to shoot the chain holding the chandelier above your target. Grab the nearby newspaper, then grab the letter opener from the hallway to the north of this room (you'll need these later).
Target Two
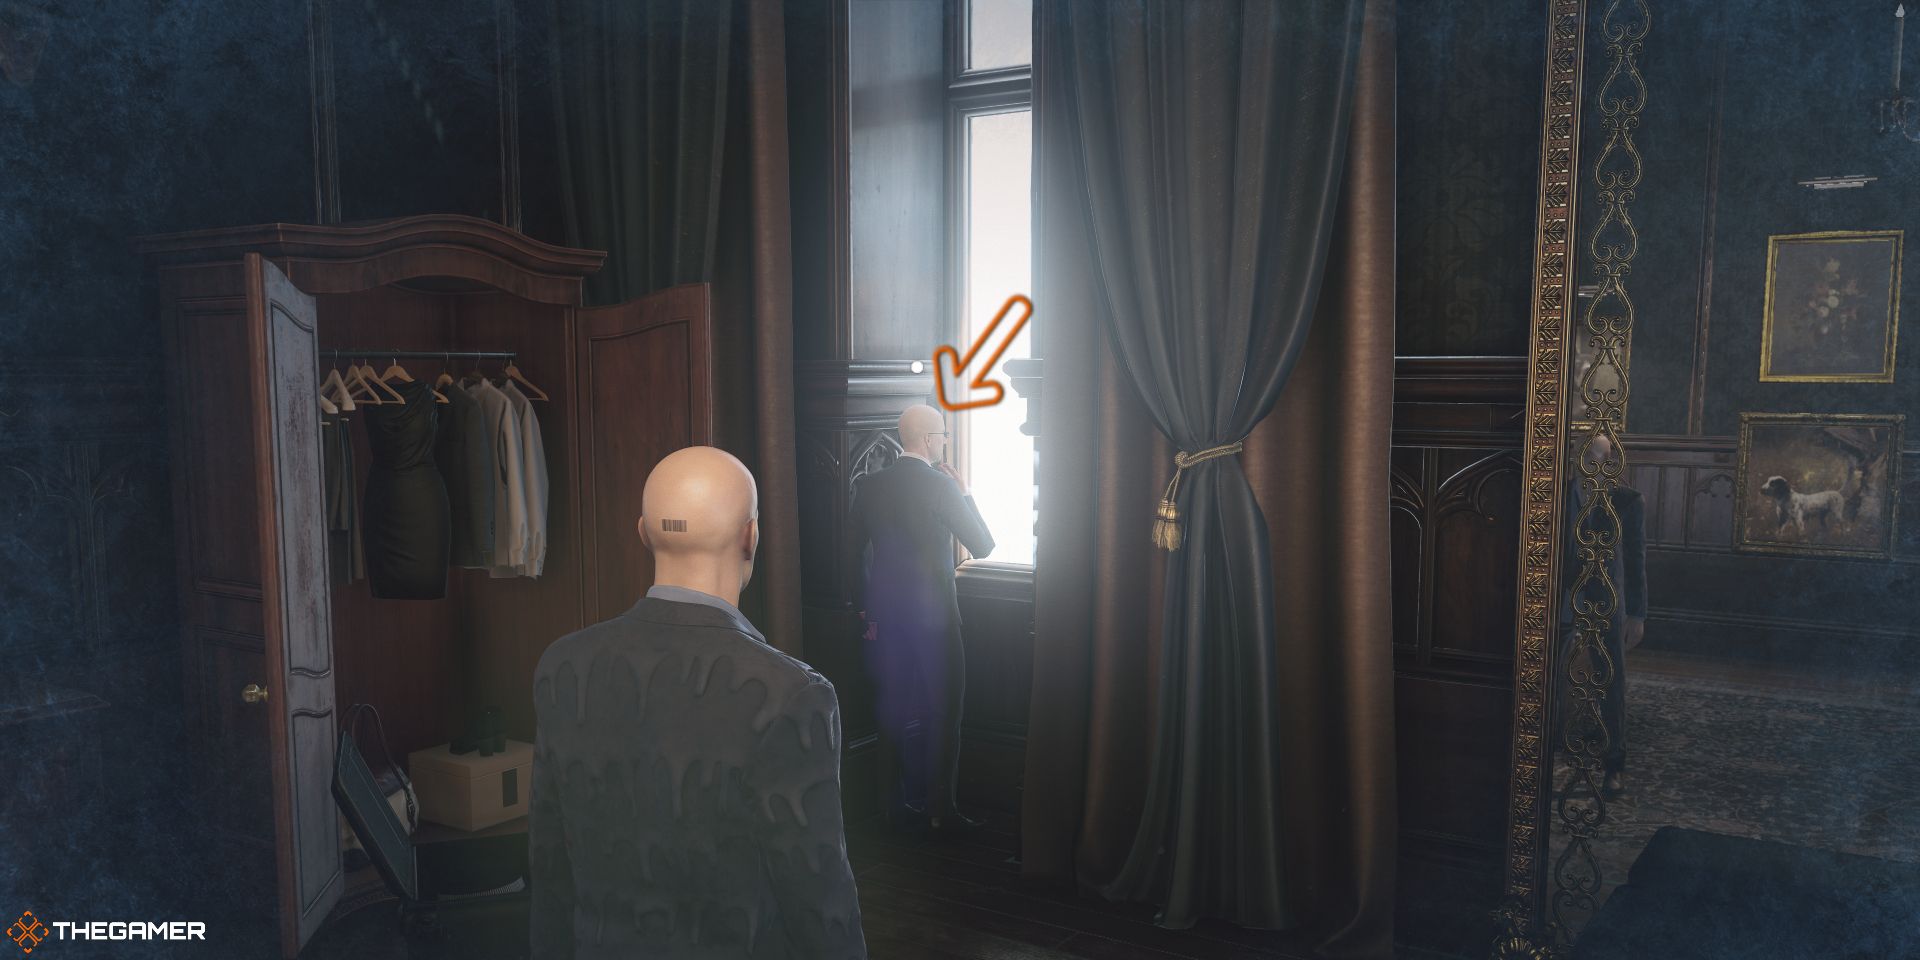
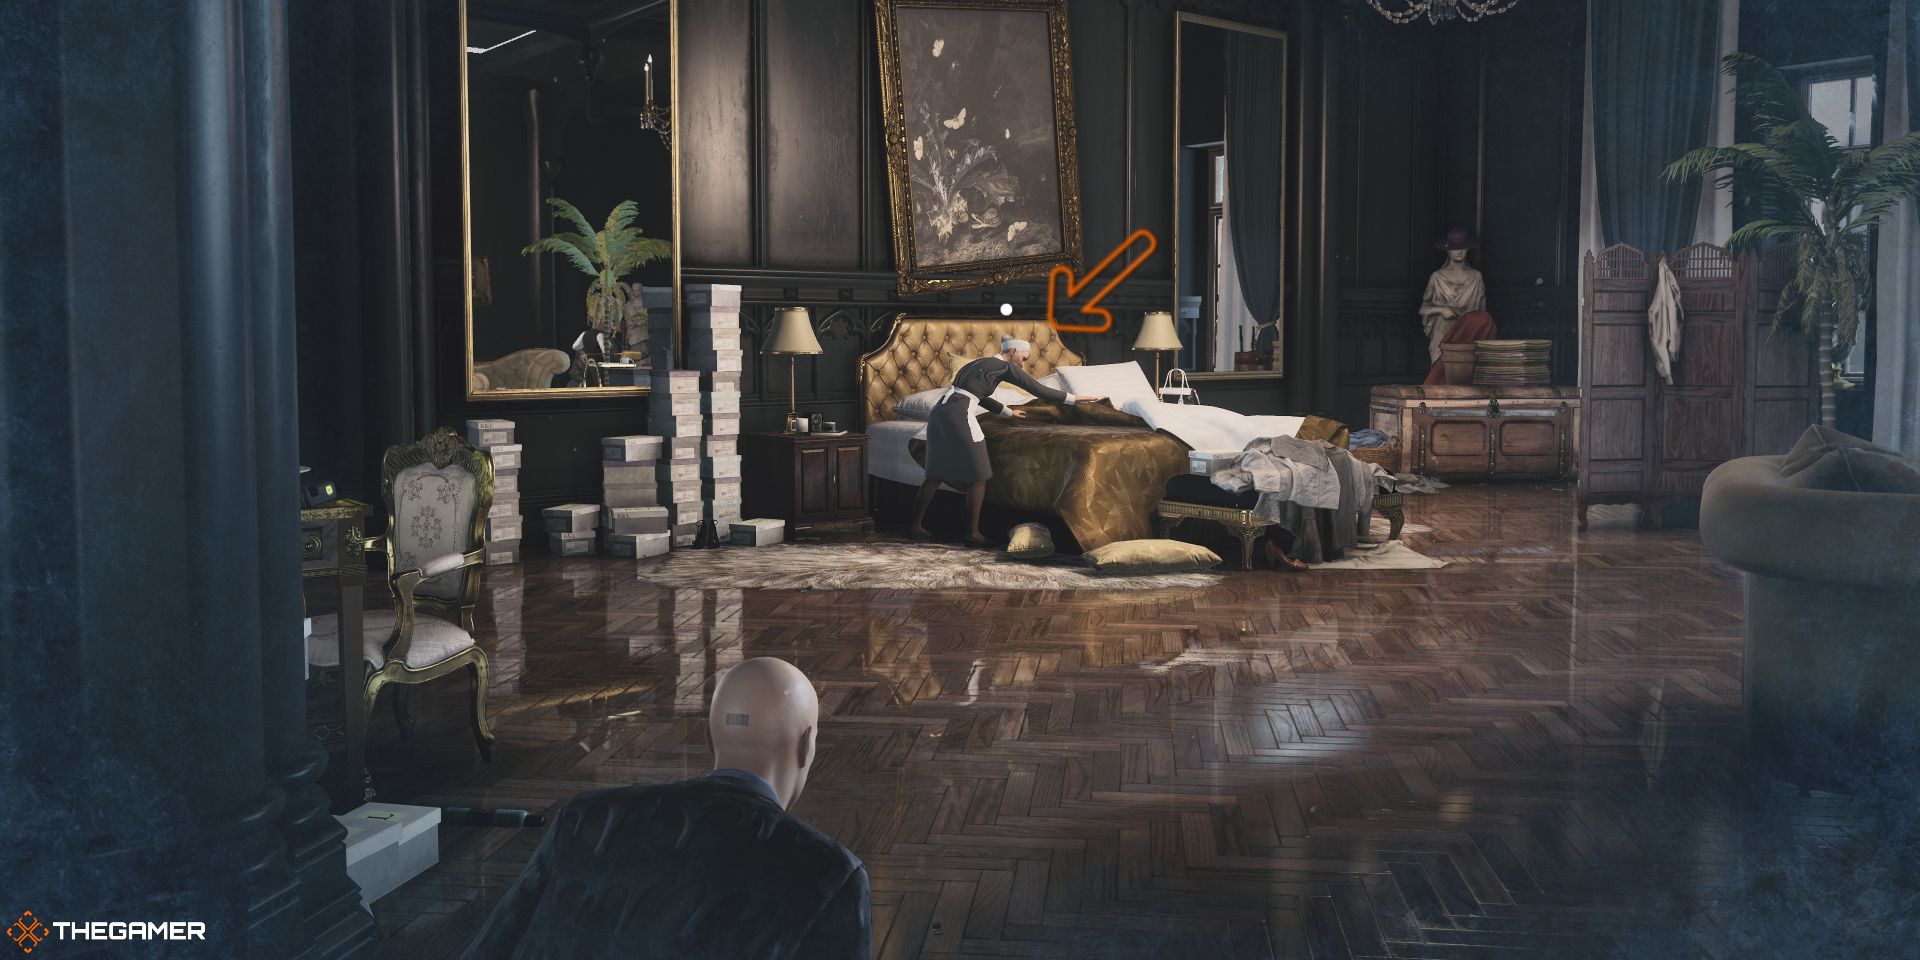
Your next target is a bald man taking a smoke break in front of an open window in Rebecca's Room on the second floor. It just so happens that he must be eliminated by pushing. Make your way back through the adjacent hallway and this time take a left down the stairs and vault over the railing to your right. Enter the hallway on your left, and climb out the nearby window.
This part is tricky, because just by being on the ledge, Agent 47 will lose Vitality at a steady rate. Quickly make your way to the right, until you reach the open window, then climb in. Your target will be to your right in front of the next window. Give him a good shove.
Target Three
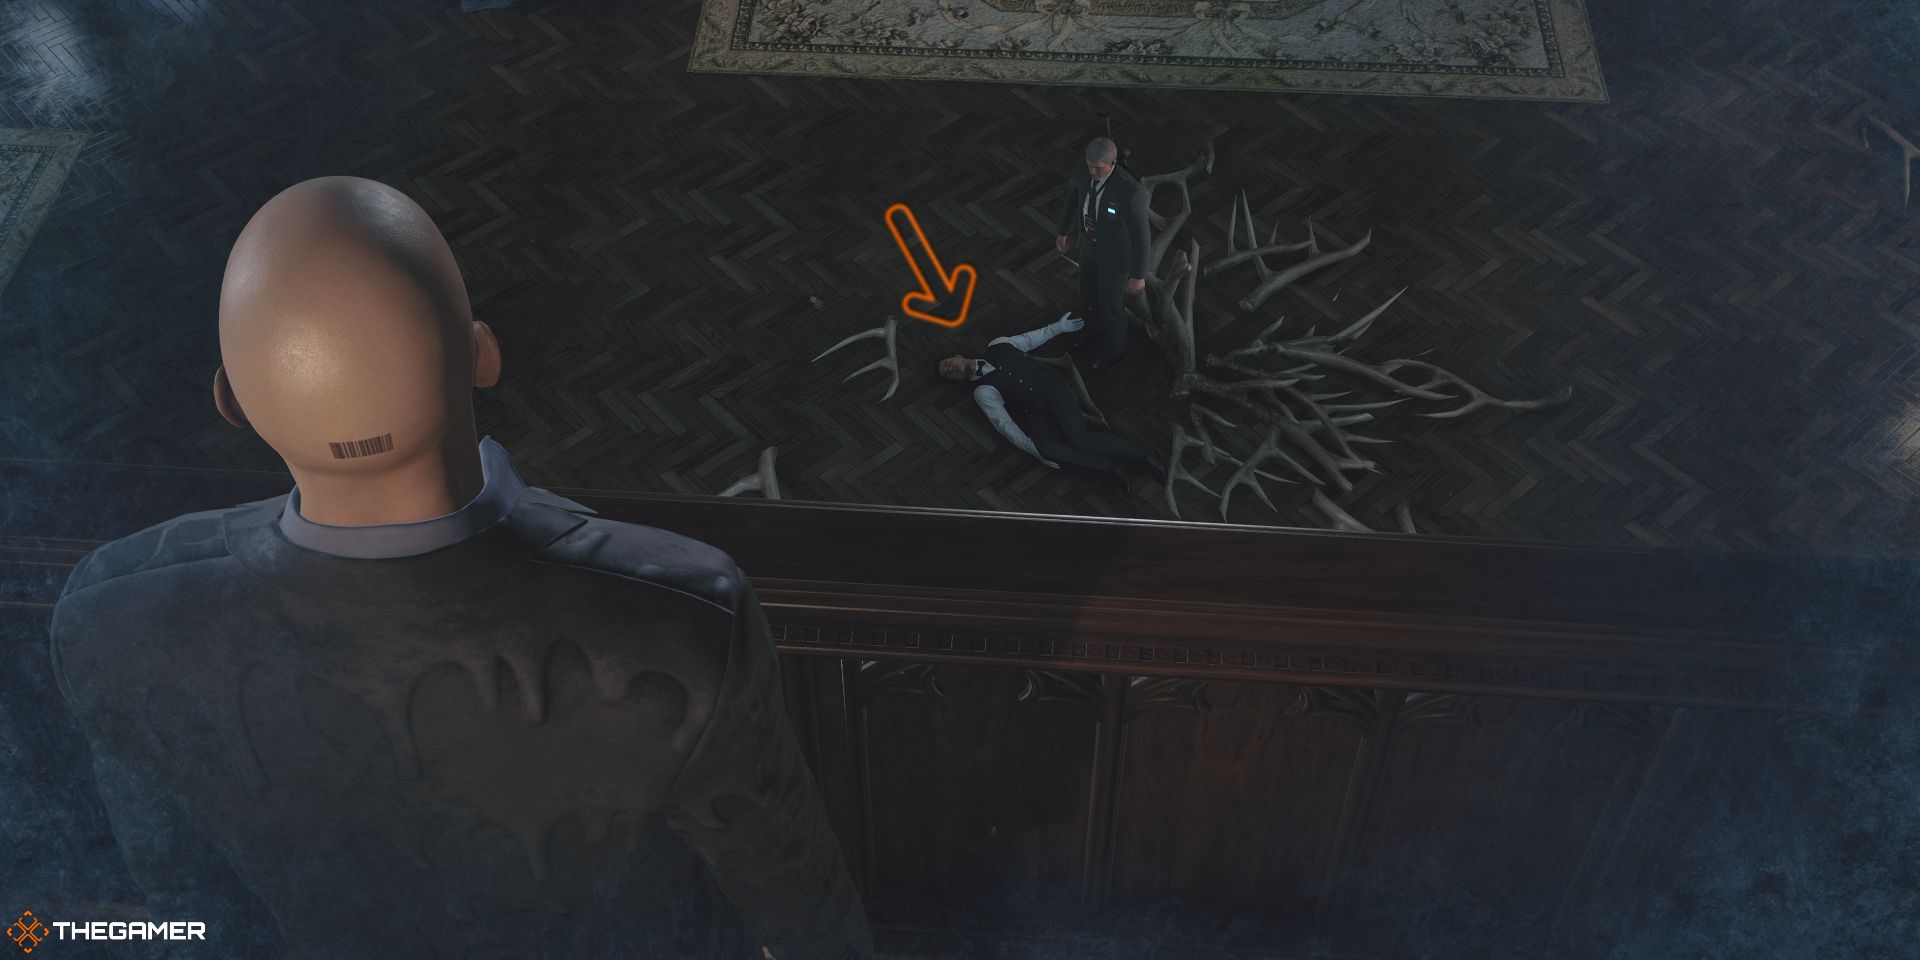
Your next target must be killed in an accident, so your objective is to drop the antler chandelier on him.
Leave Rebecca's room and press against the right side of the doorway looking straight into the room with the chandelier. Wait until your target stands beneath it, then shoot the chain with your Slapdash SMG.
Target Four
This target must be killed with a lethal throw. Remember that letter opener you grabbed earlier? This is where you will be using it. Starting from where you shot the antler chandelier, turn right and move down the hallway a bit until you reach the stairwell with the banister you can vault over to get upstairs. Pick up the feather duster on your way by.
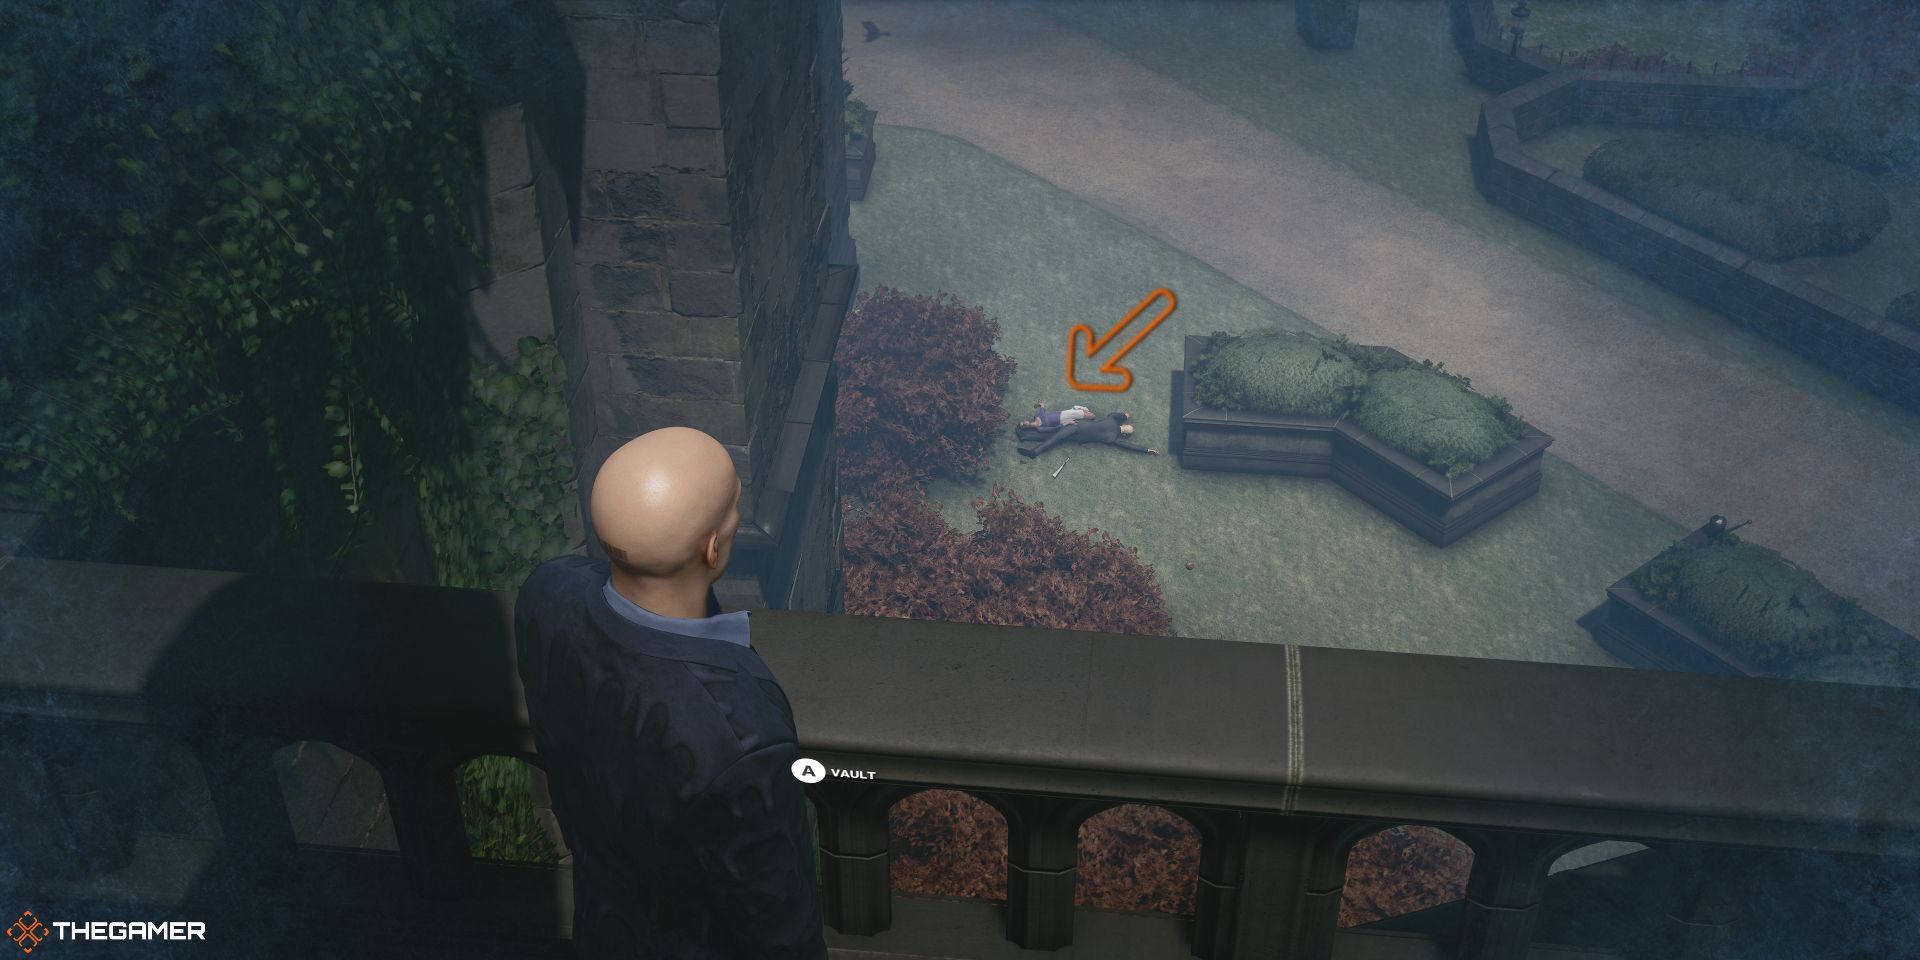
Head upstairs and keep an eye out for the maid in the hallway. When she walks to the right, enter the room on your left. Wait for the staff member on the right to turn his back to you, then throw the feather duster or newspaper to knock him out. Quickly turn to your left and throw the letter opener to kill your target. Immediately after taking out your target, run out to the balcony and turn left to see the body of Target two on the ground.
[Optional Objective]
Now, this is where it gets interesting because if you've been following along and you've been deliberate with your movements, the jogger will be finding the body of Target two, since you pushed him out the window.
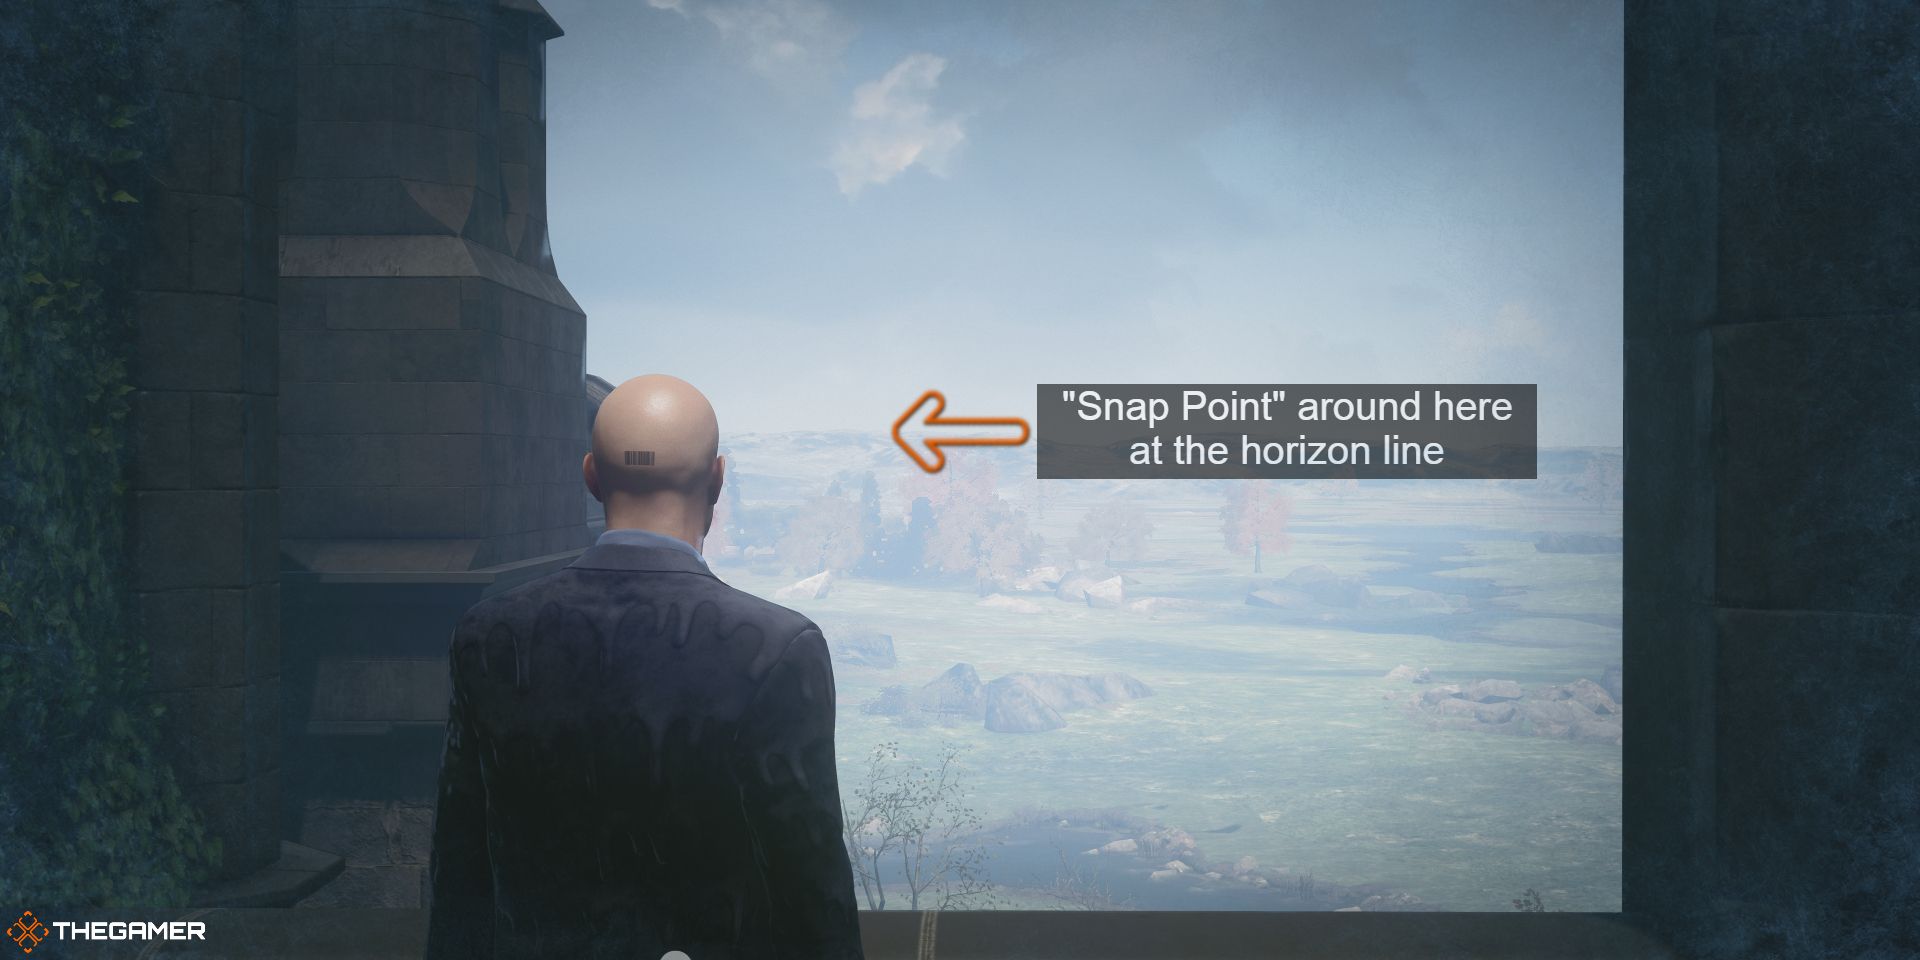
Equip the feather duster or newspaper (whichever you didn't use on the staff member in the nearby room), and aim in a large arc toward the jogger as she investigates the body.
The sweet spot where it "snaps" to aim at her head is about where the horizon line is. You'll see your aiming trajectory arc snap downward, and this is when you should throw the blunt object. Act quickly here, because the jogger will go to get help, which will make things more difficult. Knocking her out will restore some lost Vitality.
Just like the first two Escalation Levels, the jogger must be killed in order to complete the Tortoise and the Hare - Level three challenge. There is a covert sniper rifle nearby to help achieve this, but you will forfeit the Silent Assassin rating.
Target Five
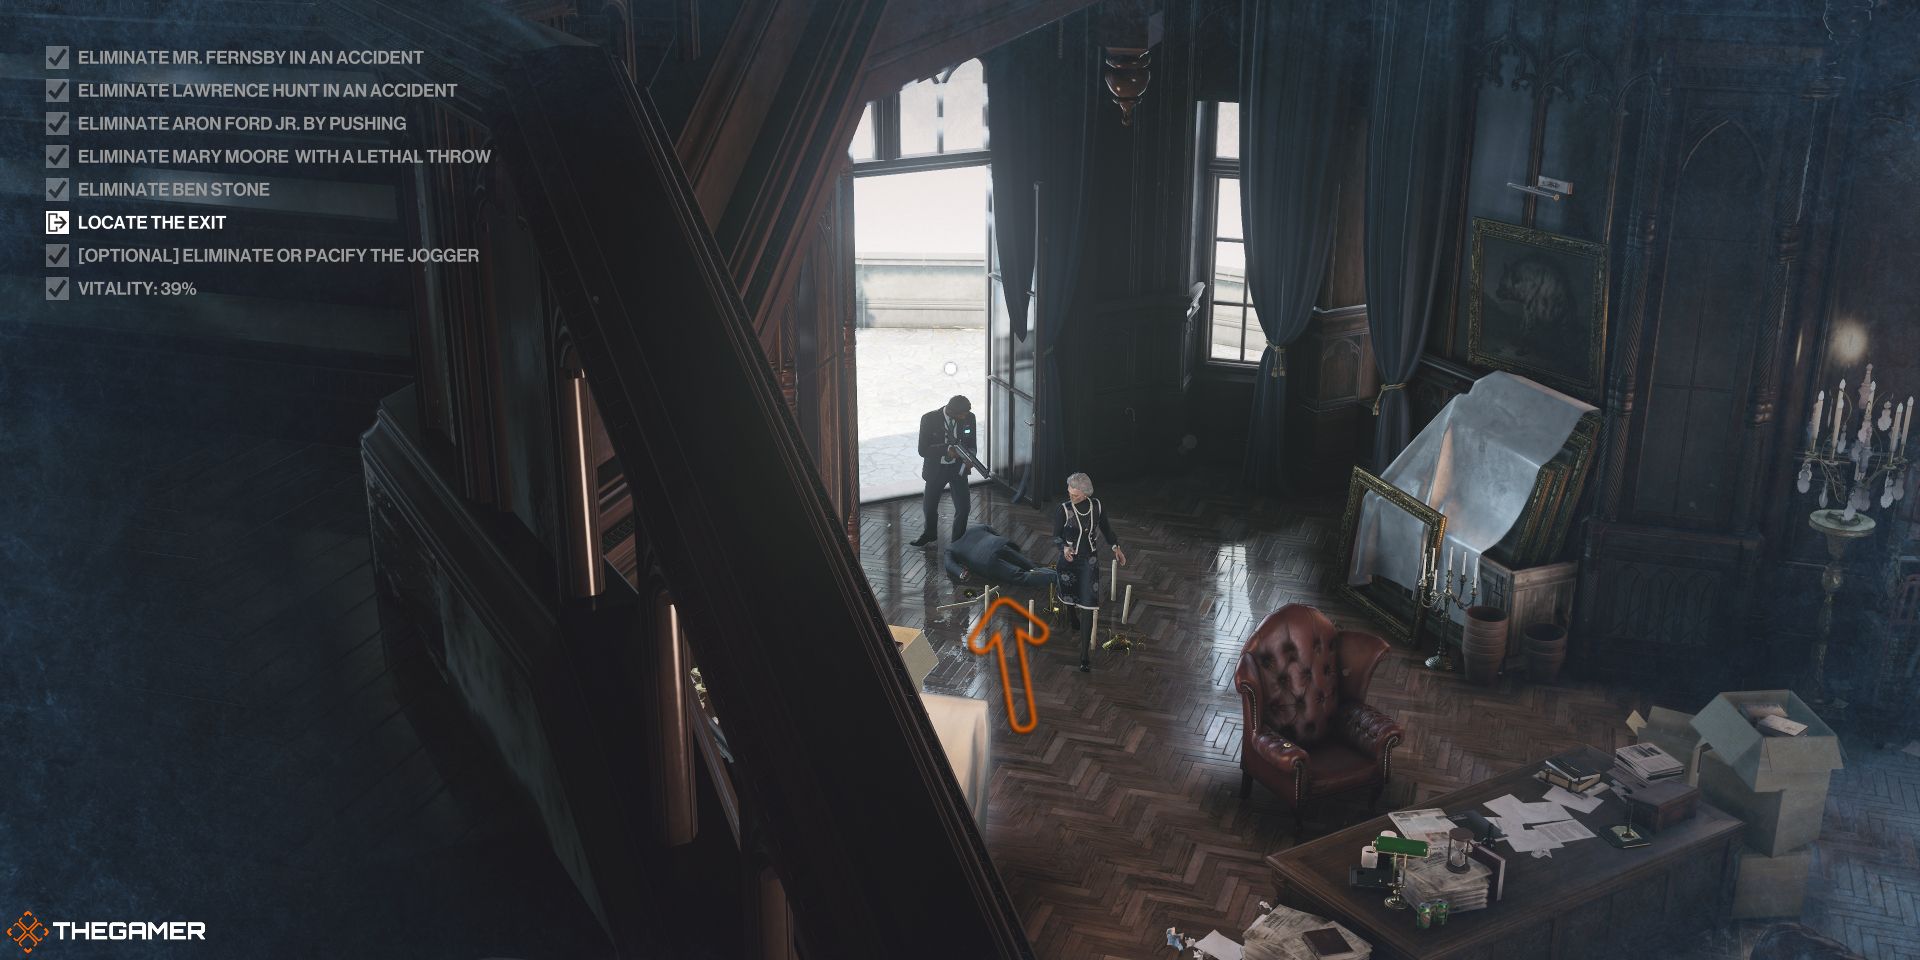
Your last target is in Alexa Carlisle's office, which is across the hall from Target four. Enter the room and quickly go up the stairs to the left, out of the line of sight of Alexa and the guard beneath you.
When your target starts to walk toward the balcony, wait for him to be under the chandelier, then shoot the chain, killing him in an accident.
The Escape
Thankfully, the exit chair is at the top of the stairs, and if you've been following along, you should be above 30 percent Vitality with a Silent Assassin rating, which completes the Sleeper Agent Level three Self-Care Level three, and Sabbatical challenges.

