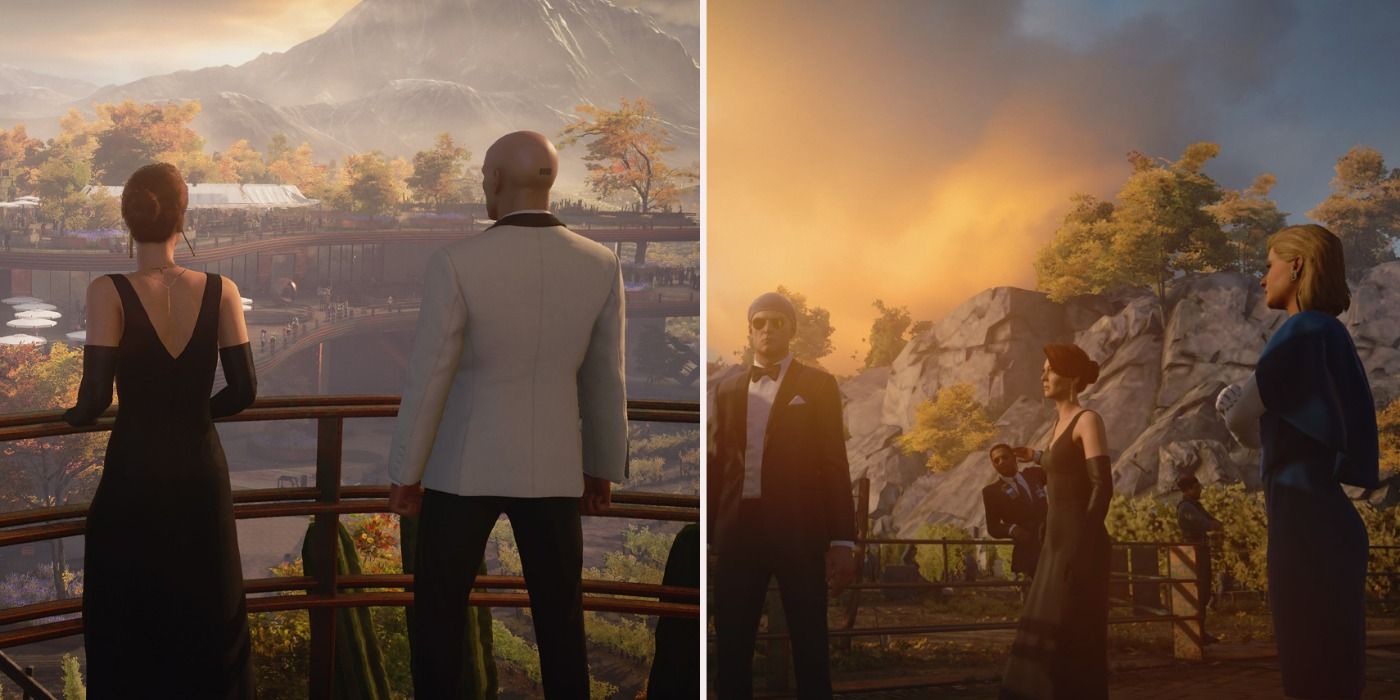
Here it is, the second to last level of Hitman 3. You've paid your dues and you're so close to the finish line. Completionists everywhere are in awe as only three total redacted challenges remain and one of them is the easy-to-do secret ending of the final mission. So really, it's just these last two in Mendoza and then you're home free.
But Mendoza is a massive map with sprawling fields and one of the redacted challenges has so many twists and turns that it took an entire community of brilliant collaborators to solve it. Don't panic! Following this guide will get you the two remaining redacted challenges knocked out in a single playthrough.
Loadout
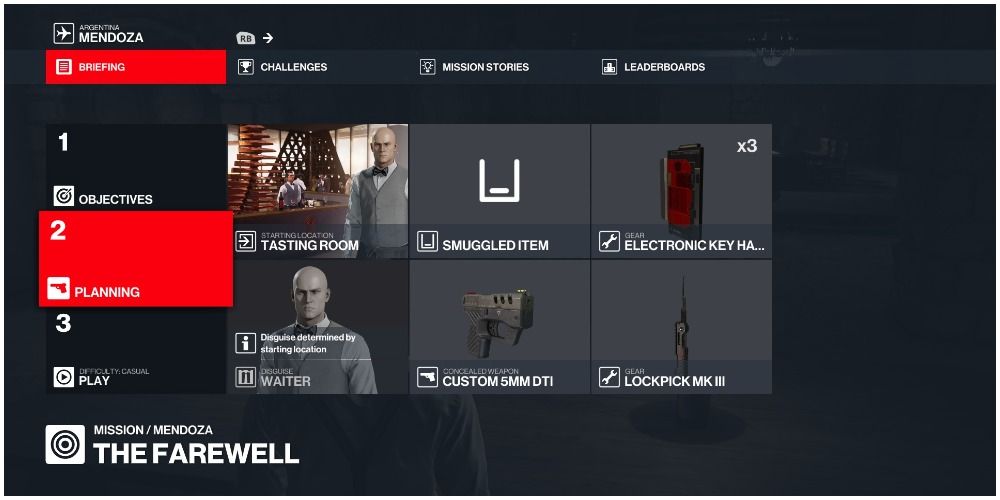
The most important part of this loadout is bringing a gun that can get through a frisk. The 5MM DTI is also silenced, which is a huge help. The biggest drawback of the gun is that it can only fire a limited number of shots, but you will only need to fire one or two bullets.
Aside from that, the Tasting Room starting location is the closest to where you need to go, but any means you have of getting into the main party will do fine.
Take Corvo Black's Disguise
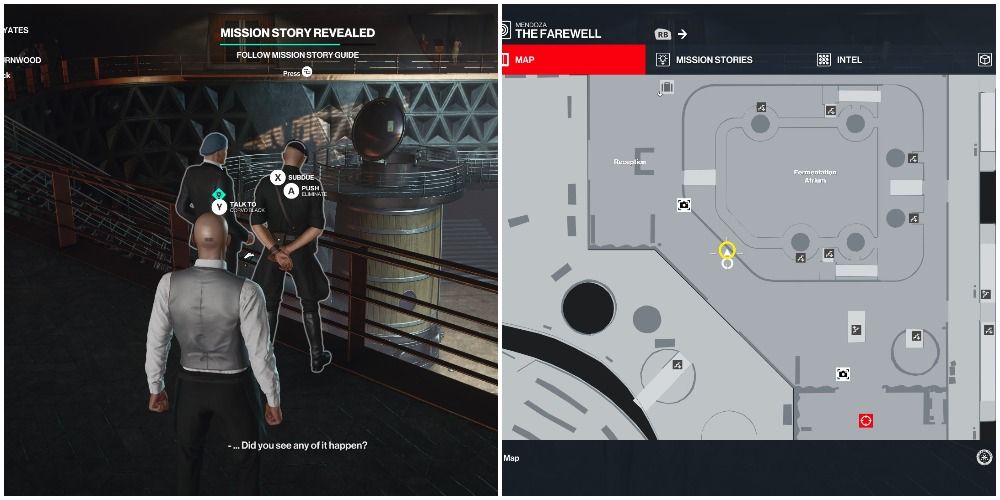
The first part of these redacted challenges will operate exactly like the story mission "The Tour" but there is a secret ending that we're going for. For now, start as normal and find Corvo Black complaining with a friend. Trail him for a bit and take him out after he isolates himself.
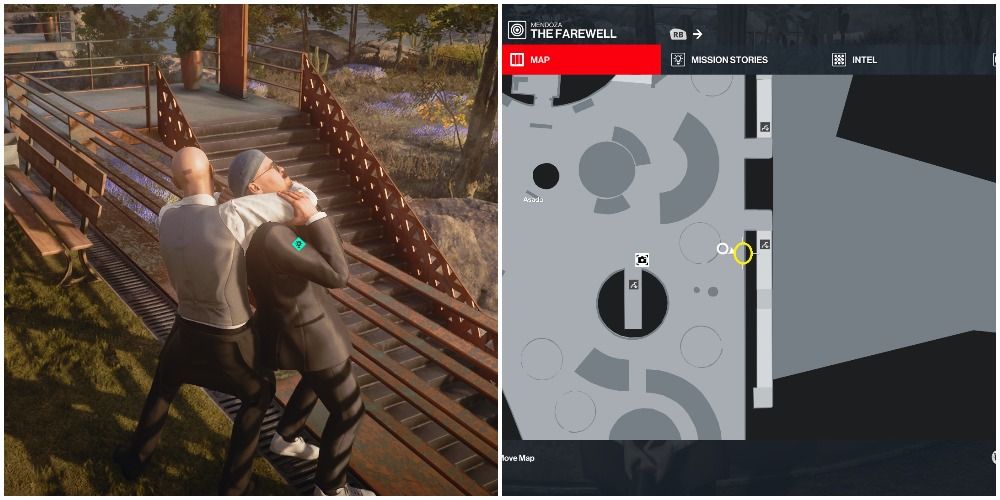
You can't simply wait for him at the ambush location, you must trigger his conversation by getting close to him first. Also, do not speak to him yourself as this will make it so he goes into a public area and you need him to find a quiet spot for the ambush location. Dump him into the garden nearby and don his disguise.
Talk To The Receptionist
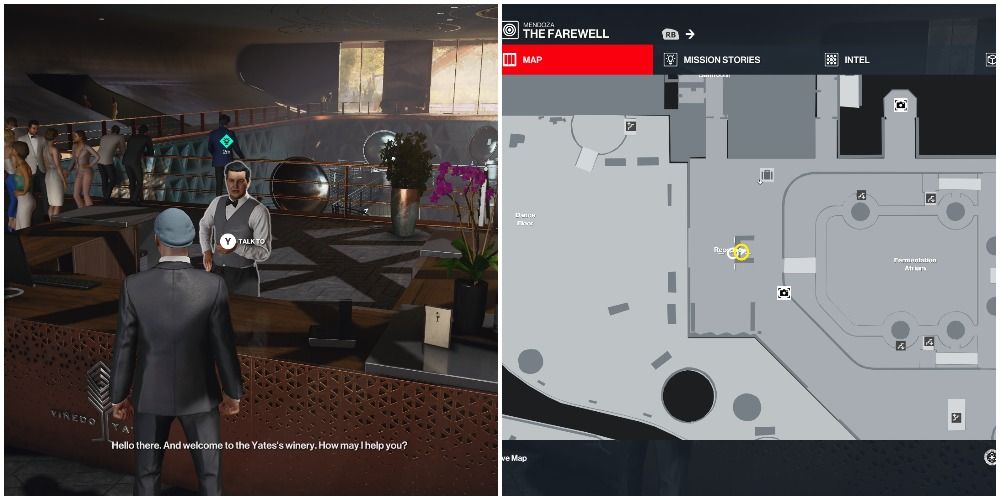
Head downstairs and to the right. Thankfully, it looks like Agent 47 makes for a pretty solid Corvo Black look-alike, so no enforcers will hinder your progress. Chat up the receptionist and you'll get a new destination.
Join The Other Guests
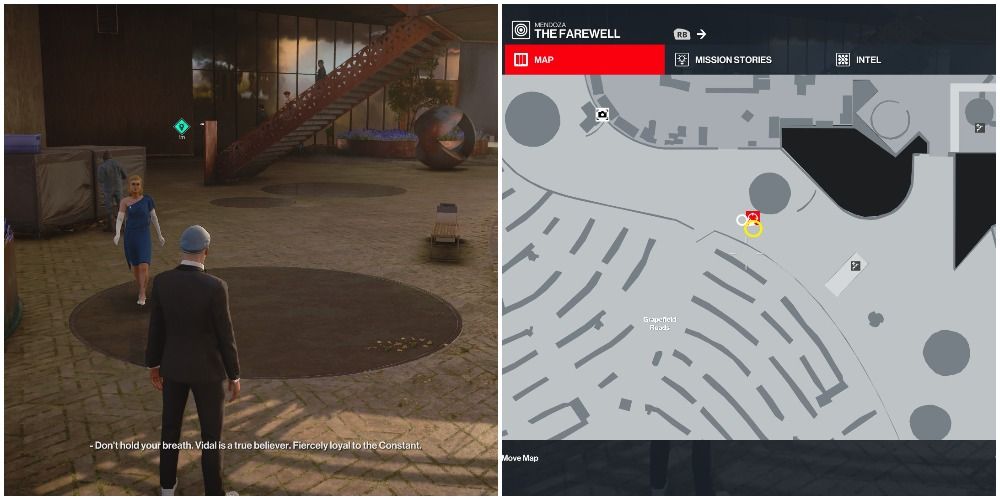
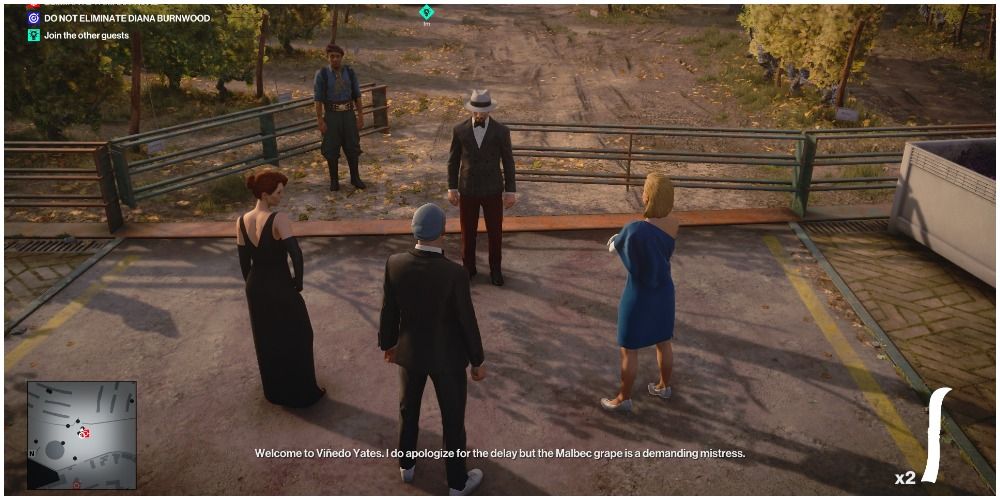
Once again, you're going downstairs. The conversation with the receptionist will trigger Diana Burnwood, Tamara Vidal, and their entourage to head to a certain location. You'll most certainly get there faster than them, so wait patiently in the meeting spot as they make their way.
Iron Out The Hold-Up
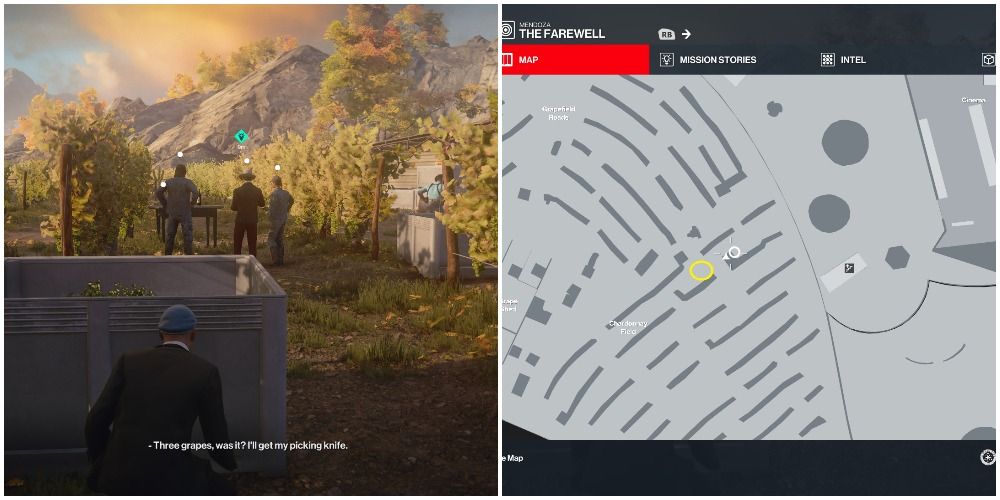
Don't be fooled by the conversation, being in the vineyard as Corvo Black is trespassing, so walk along the fence and use the grapevines as cover. When you get within 12 meters, hold still and listen in.
The chief winemaker will direct an NPC, Ramon, to give him three clusters of grapes that prove the harvest is ripe before the tour continues. Unfortunately for you, Ramon is really, really bad at his job and will never actually complete the action. This means you now need to deliver the three grape clusters to Vargas in a worker's disguise.
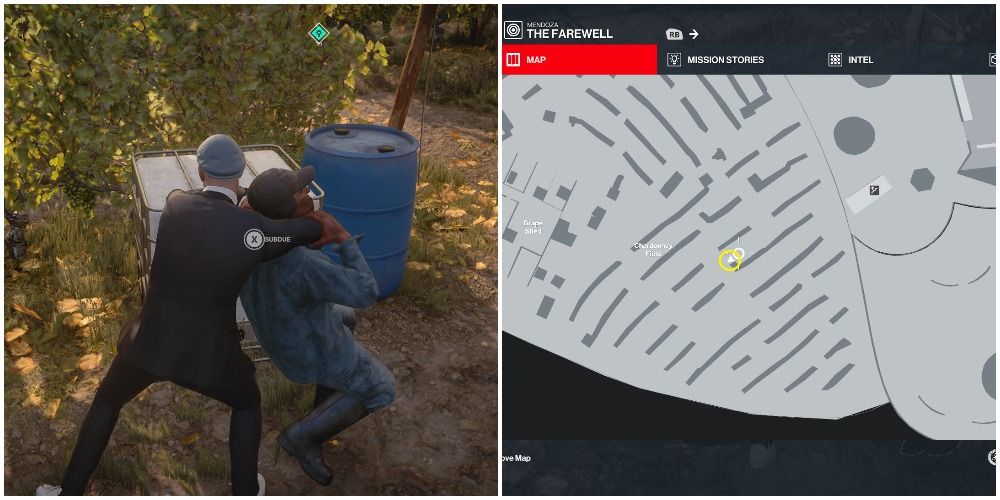
Luckily, Ramon will wander off by himself for a few moments. At this point, nab him, take his costume, dump him in the nearby crate, and pick up the key that he drops.
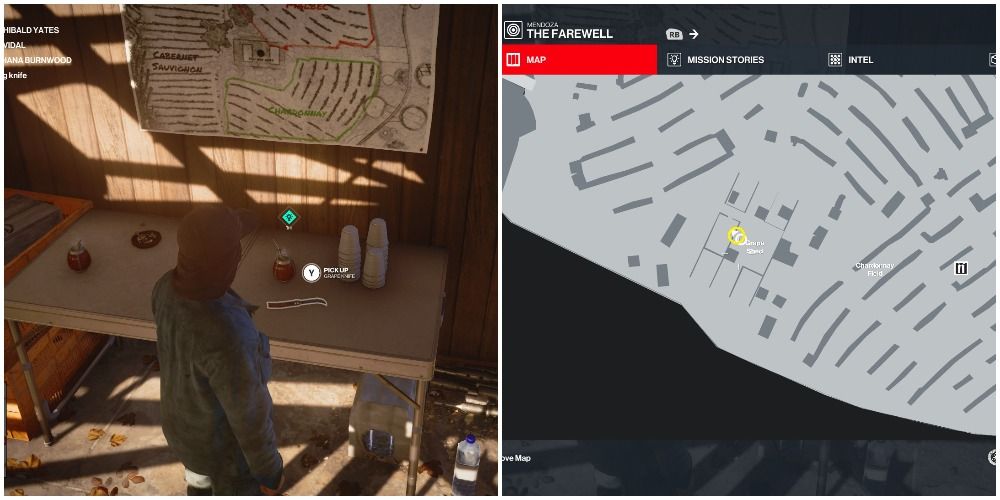
Unfortunately, he left his grape knife back in the grape shed, so head back that way and pick it up, keeping an eye out for enforcers.
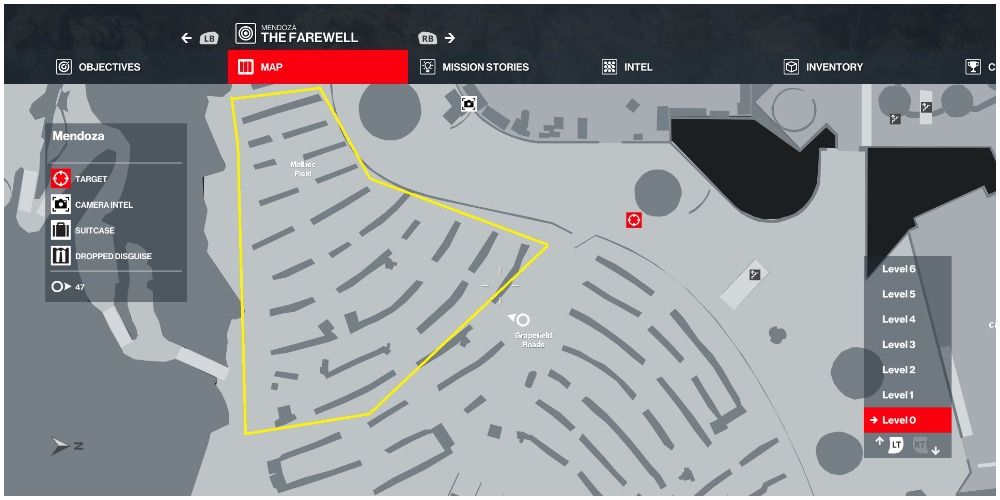
Now you can pick grapes, but not any grapes will do, you specifically need to harvest Malbec grapes, which are only in a specific field labeled on the map. Use your instinct to find three clusters ripe for harvest and return to Vargas as Ramon.
Change back into your Corvo Black disguise and rejoin the tour.
Take The Tour
For a few minutes, just go along for the ride. Your moment to pounce only happens after the tour has concluded so enjoy your time at the winery in the meantime!
You'll be prompted to ask various questions, almost all of which will set Tamara Vidal up for a quick death, but don't be tempted to kill any targets yet. Vidal will be taken care of momentarily. If you'd like, you can save at this moment and re-load after killing her in various ways to cross off several elimination challenges. Otherwise, carry on to the end.
Disguise As The Sommelier
After the tour has concluded, Don Yates will instruct his guard to prepare the Grand Paladin. This is where the secret ending begins.
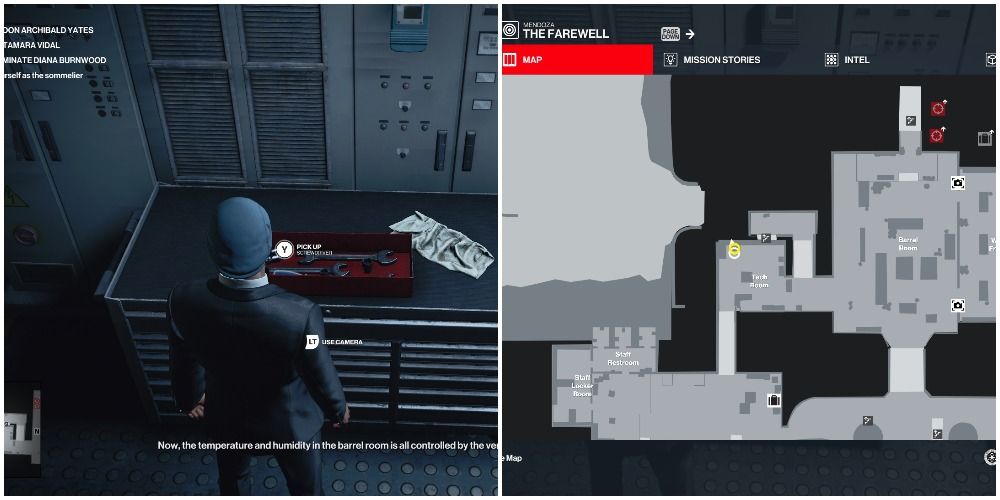
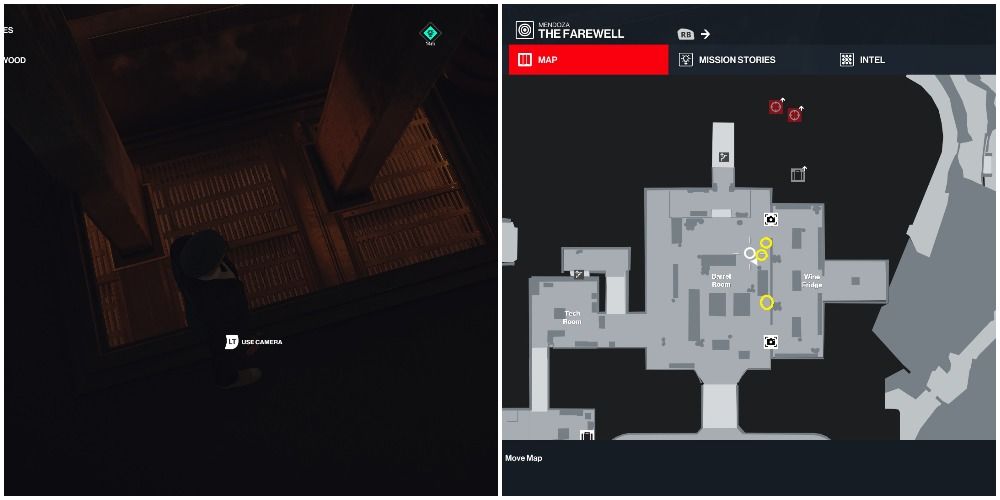
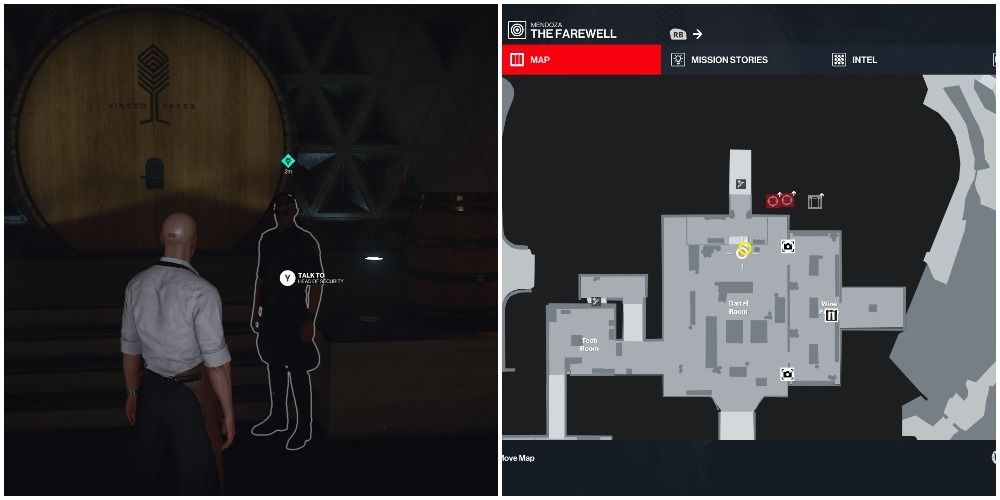
First thing's first, you'll need a screwdriver. The tech room right next to this one has a very convenient one to snag. Then go back to the barrel room where you concluded the tour.
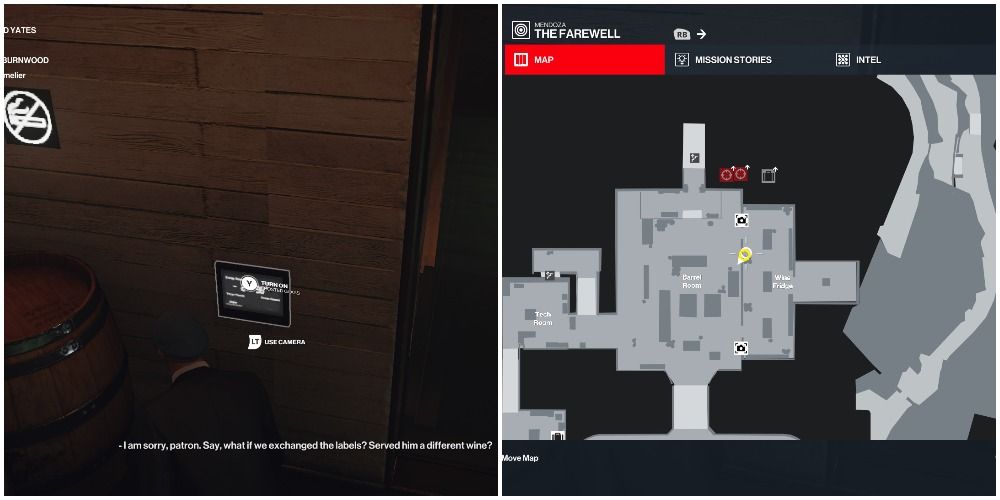
There are several convoluted ways of getting into the room the sommelier is in, but the easiest way is also the best way. Drop down and make your way to the room called the wine fridge on the map. Unscrew the vent blocking your way and pop up in the wine fridge.
There are two people in here, the sommelier and his assistant. Use the panel to turn on the frosted glass and blacken the tint so that outsiders can't see inside.
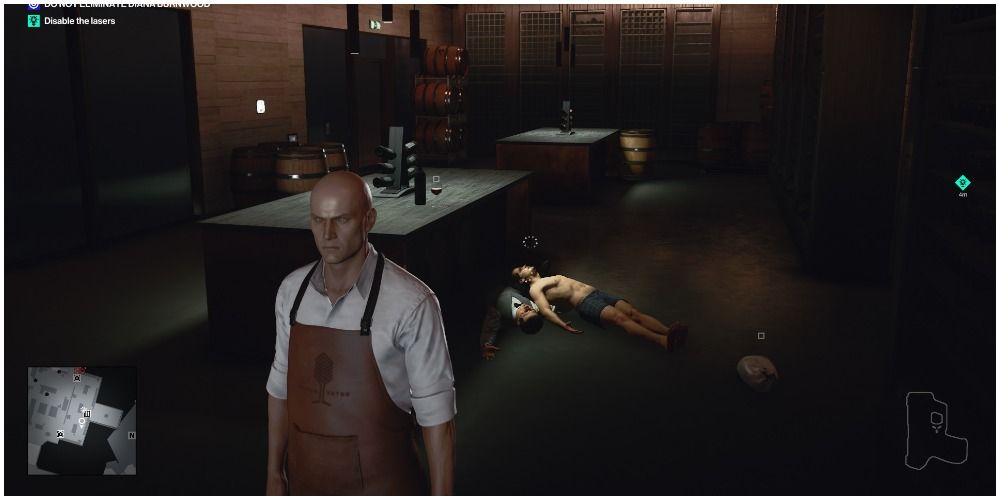
The screwdriver, having served its purpose, now makes for an excellent distraction. Toss it in a corner and subdue the assistant. That leaves only the poor sommelier, who is facing the wrong direction. Subdue him as well, and take his outfit. No one comes in here, so as long as the glass is frosted, the bodies are perfectly fine where they are.
Get To The Secret Meeting
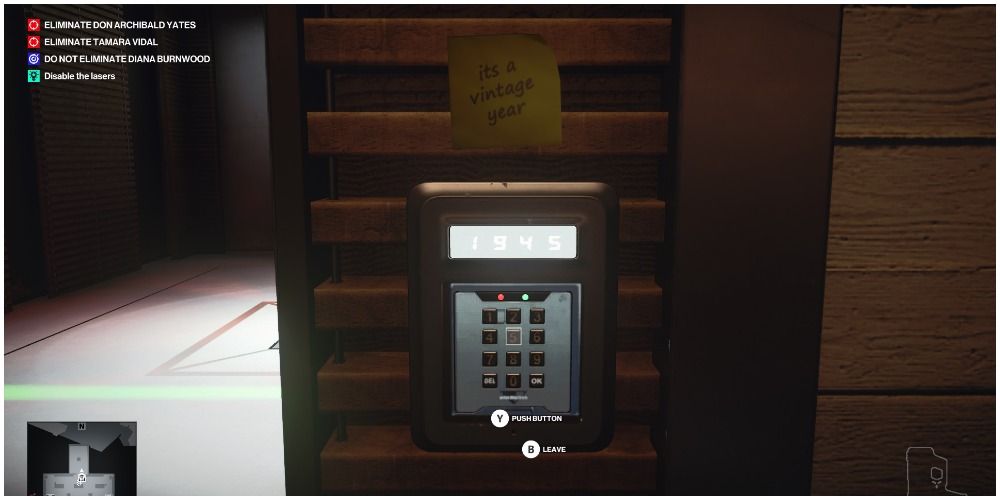
The code to the laser grid is 1945. Grab the bottle inside.
Talk to the guard just outside of the door. Then follow him up to the location of the secret meeting. You'll be frisked along the way, but because you're using a pistol that passes a frisk, there's no fear of anything that you have on you.
Scandal
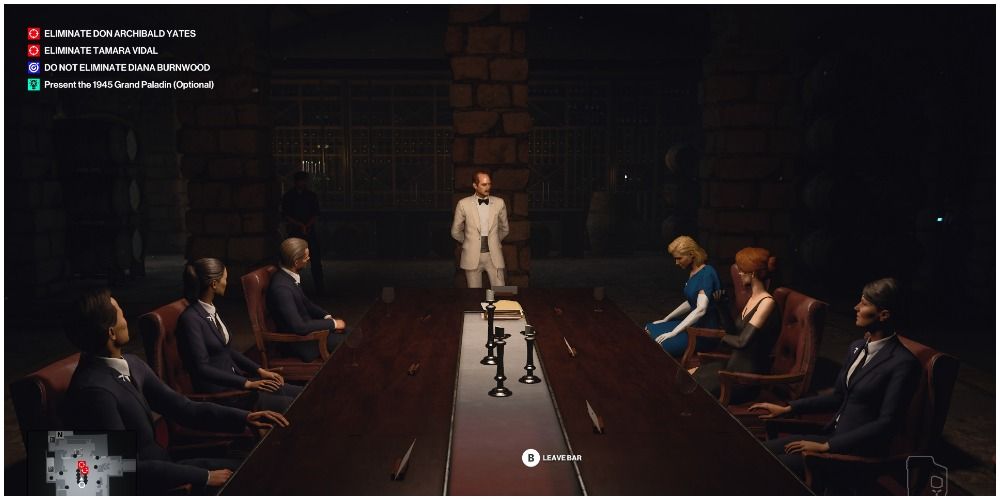
Place the wine on the table and then present it. This objective is optional, but it makes you less suspicious about the next thing you have to do. After your presentation, leave the bar.
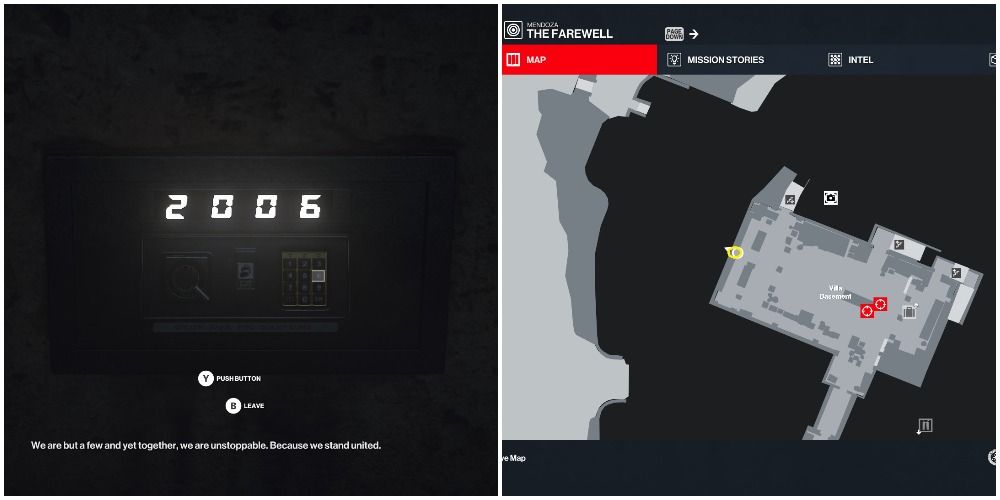
Turn around and open up the safe on the wall with the code 2006. Grabbing the papers inside will give you credit for the first redacted challenge. Remember this location. If you give these papers to the Don's wife, she'll actually kill him for you. It won't work for this playthrough, but it's good for a future endeavor.
Watch the rest of the meeting play out.
Save Diana
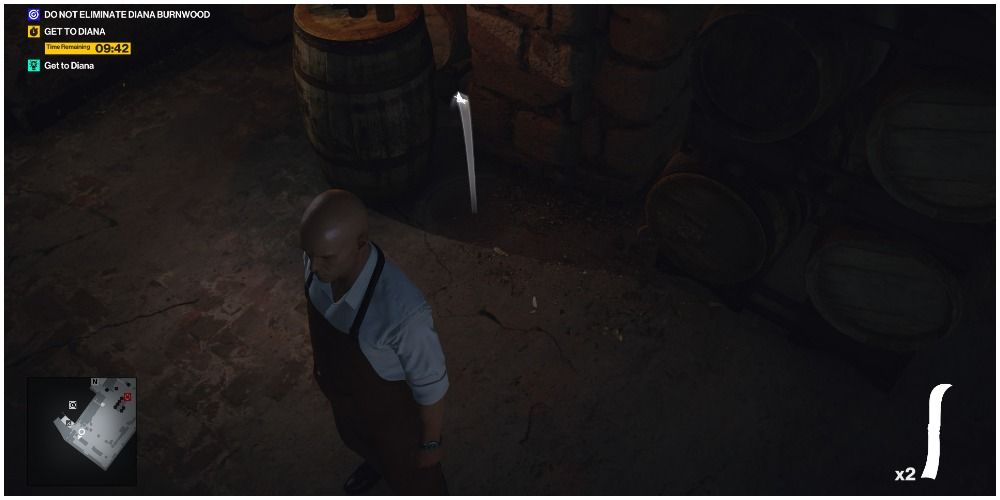
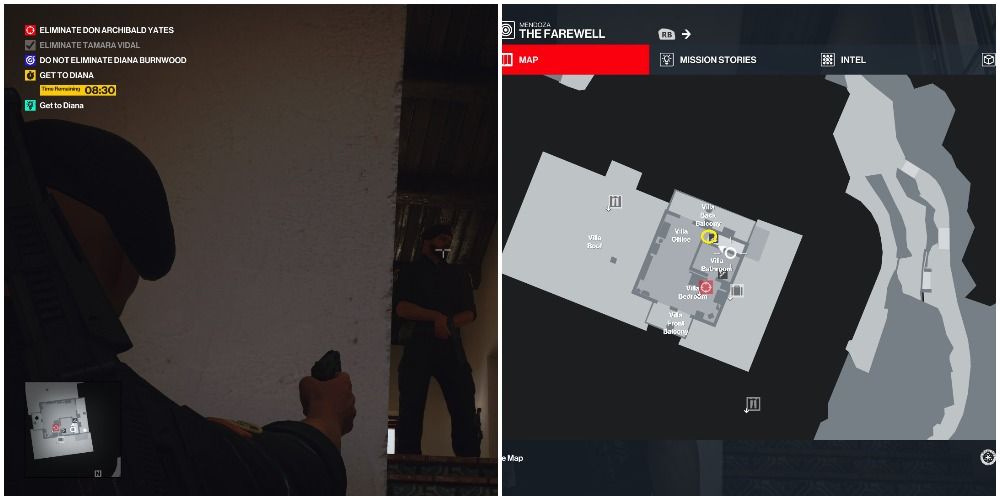
You're on the clock with only 10 minutes to save Diana. Since you lack a weapon that can kill this many enemies, it's best to nab one of these guards. Toss the grape knife you're no longer using in the corner of the room and behind some barrels. Only a single guard will come to investigate. Subdue him, grab his disguise and get upstairs.
This is where things get bloody. You have to eliminate every guard in the room with Diana, but if you do it loudly, you'll be overwhelmed by the guards on the floors below. Use that silenced gun. It only has five shots, so aim for the head on the first target. This first guard has a silenced pistol on him with lots of ammo, so after that, you should have no problem with the other two guards.
Hide the bodies in the two places in the room and then talk to Diana. She'll have you sit down and you'll both wait.
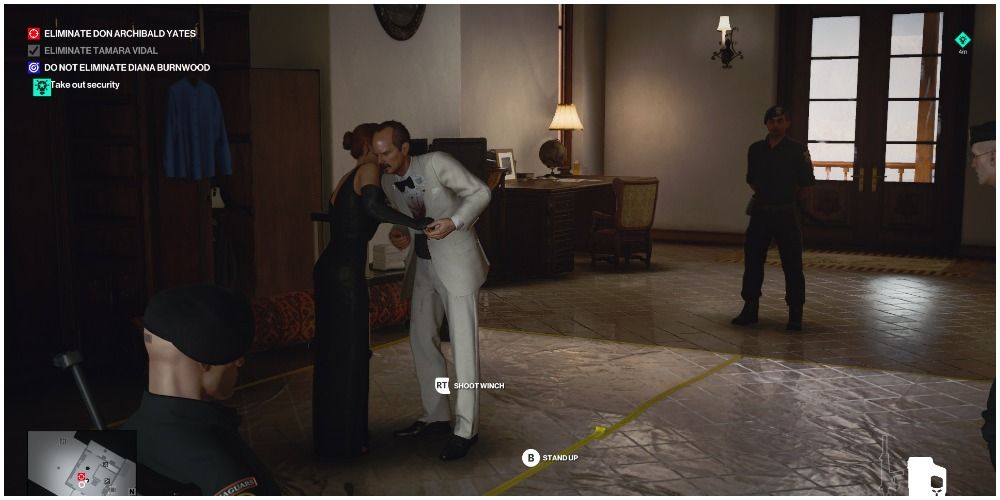
When she stabs Yates, you'll be prompted with a button to shoot the winch and you should do exactly that. This will crush the guard on the far side. The guard in front of you will turn around and you can take him out however you'd like.
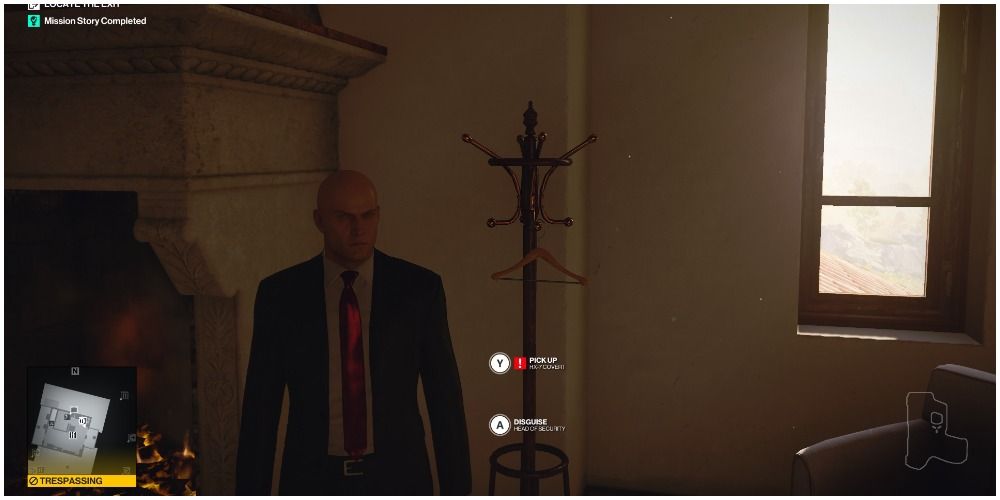
Diana will have you finish off Yates and dump his body into the last remaining container spot. After telling you to "Dress appropriately," you'll receive the final objective to pick up Agent 47's classic suit with gloves in this same room.
This will complete the secret mission and give you that redacted achievement! Congratulations and enjoy one last tango, 47!

