To complete the Silent Assassin, Suit Only challenge in Chongquig on Hitman 3 you’ll have to kill both Royce and Hush without being detected, wearing any disguises, or killing anyone else. This large map keeps the targets quite far apart but with a couple of shortcuts unlocked you’ll find it easy enough to get from one to the other without being caught.
For this guide, you’ll need to have previously unlocked the Block Ladder and Facility Elevator Shaft shortcuts.
Pre-mission Requirements
The Block Ladder shortcut can be found on the first-floor balcony of the Block, the building Hush is performing his experiments. You can reach it with a variety of costumes or by taking part in the Impulse Control story mission. Access to the balcony is easy enough as there is an unobserved window on the same floor you can climb through. You will need a crowbar to free the ladder though, but these can be found around the Block. One can be found in the Block courtyard, which is where the ladder will lead to once its open. The other can be found through the left door on the ground floor. Both are easily obtainable before reaching the shortcut.
The Facility Elevator Shaft can be unlocked from behind the Tier 1 Security Room underground. You might need a disguise to make it past some of the security measures when taking a different route into the facility. Once you've reached the lift shaft, climb on top of the elevator, then use the pipe and ledges to make your way up towards street level. Finally, you'll need to use your camera to open the air vent but you won't need any security dongles to do so. Once you've climbed through the vent, simply open the shortcut door and complete the level to access this route for all additional playthroughs.

Other than that, you don’t need anything else for the challenge, but a silenced pistol will come in handy to disable a few cameras in your path.
Getting to Royce Without a Disguise
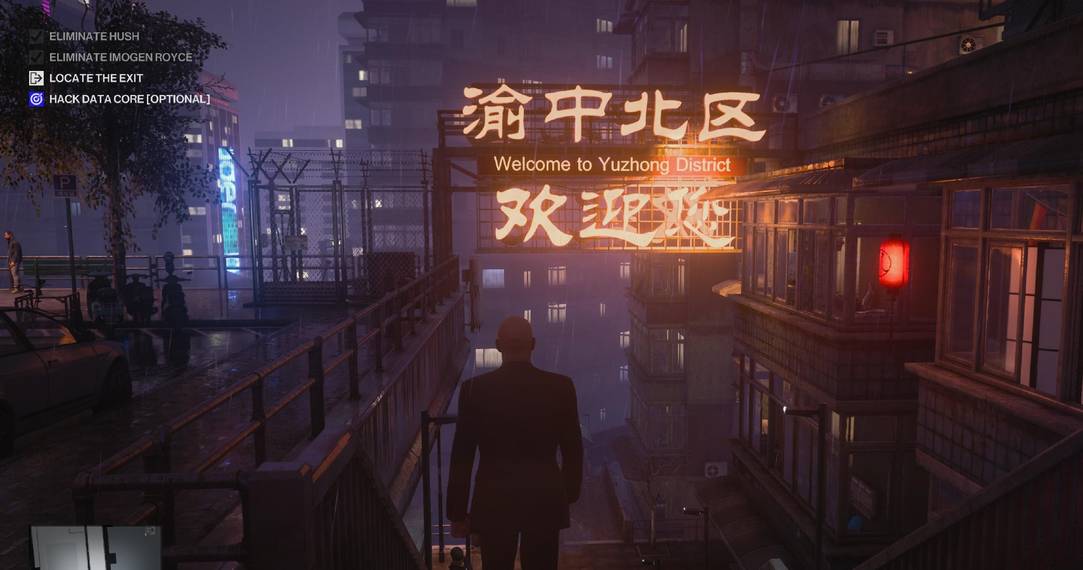
Starting the mission on the Riverside Walk, rudely abandoning the woman talking to you, and follow the path along to the right, past two ‘cooks’, until you come to an overhang above a small square. A woman will be trying to remember the code to the shipping container, so wait for her to leave (and if you need the code its 0118) then drop down and subdue the guard leaning against the container. There’s a box nearby to hide the body. With him out of the way you can head into the narrow corridor that leads to the elevator shortcut. Use your camera to open the vent and make your way down via the pipe.

Once inside the facility you’ll be need security dongles to open the various doors necessary to find Royce. The first is found in the Tier 1 Security Room room next to the elevator shaft, with several guards stationed inside. Only one of them moves so time it right and sneak between them to reach the dongle at the far side of the room. Return the way you came and now use the less observed door to head towards ICA Employee Vetting room.

Be careful of the camera above the Tier 2 door en route, and if you have a silenced pistol it might be worth quietly taking it out. Use your camera to unlock the vetting room once you’re past the camera and wait for the suit and the guard to look at the screens away from you. Sneak inside and head to the desk immediately on your left to find a Tier 2 dongle. With this, you can head back the way you came and use your camera to unlock the Tier 2 door.
Head downstairs and take a right. There will be a small laboratory in front of you with a single scientist in there working. Subdue him and hide his body in the cupboard behind one of the larger screens. Now that the room is empty, use your camera to open the vent that faces the computer he was working on.

Climb inside and wait for Royce to enter the room alone. Use this opportunity to kill her, and hide the body with the scientist in the cupboard. With her dead there’s no reason to remain in the facility, so follow the vent you’ve been hiding in to the emergency exit.
Killing Hush Without Any Witnesses
This exit will lead you all the way out of the facility and into the block courtyard. Look out for the two guards around while you climb out. Turn around and you should find the Block Ladder shortcut in the corner, directly behind you. Climb that to reach the first floor of the block. Once on the balcony, look out for a broken section of railing which you can use to climb a pipe up to the next floor. From here right to the door on the far side of the balcony and enter the large room. Several guards will be sitting and patrolling on this floor so be careful. While the nearest guard is looking off to the left, head past him and towards the doorway on the right.
Here there will be a few more guards but you should be able to go straight past them to the staircase leading higher. Once on the next floor you should find an open window that leads to a pipe, letting you climb to the floor Hush is conducting his experiments on.

After you’ve climbed the pipe, you’ll want to head to the right and enter the building through the window beside the doors. But don’t go through those doors, instead, wait for the two members of staff to look away before heading through the middle door along the same wall. This will lead you to Hush’s Private Lab, where he will be experimenting on rough sleepers.
Hug the wall to the left and use the door to head out onto the balcony. From here you’ll need an access code to enter the Therapy Room, which you can see written on a whiteboard facing the window (2552). Inside is one scientist and one guard, subdue them both while Hush is away. Hide their bodies out on the balcony, as you’ll need the hiding space to dispose of Hush.

Now head behind the sofa and wait for Hush to walk in. Once inside, you’ll have a moment of kill and hide him before his personal guard comes in to look for him, so don’t do anything too fancy.
Escaping The Level
With both targets dead, now all you need to do is head for an exit. Go back onto the balcony and down the bamboo scaffolding on the far side. From there you’ll see a makeshift bridge that leads over to the adjacent rooftop. Make your way over, avoiding the camera and guards that might spot you. Once on the far rooftop, keep to the left side until you find a broken section of railing you can climb down from.

Now on the lower roof you should head over to the opposite side, making sure to avoid being spotted by any guards on the staircase. There is another broken section of railing that will allow you access to a pipe that will lead you to an empty apartment you might remember if you’ve completed the Certainty Principle story mission. From here simply exit through the front door and make your way to the ground floor before finding an exit. You shouldn’t be trespassing once on the street so its clear sailing.
During the debrief you should see that Silent Assassin, Suit Only has been completed, as well as Silent Assassin if you haven’t already complete that one too.