The Trial Of The Conqueror is the second trial you can run through within Hollow Knight's Colosseum Of Fools. It's quite a bit more difficult than the first trial, the Trial Of The Warrior, and can pose a significant challenge to even the most hardened Hollow Knight player.
To help you through this second trial, we've cooked up this guide that should assist you in making it in and out of the Colosseum in one piece.
How To Begin The Trial And What To Expect From Its Waves

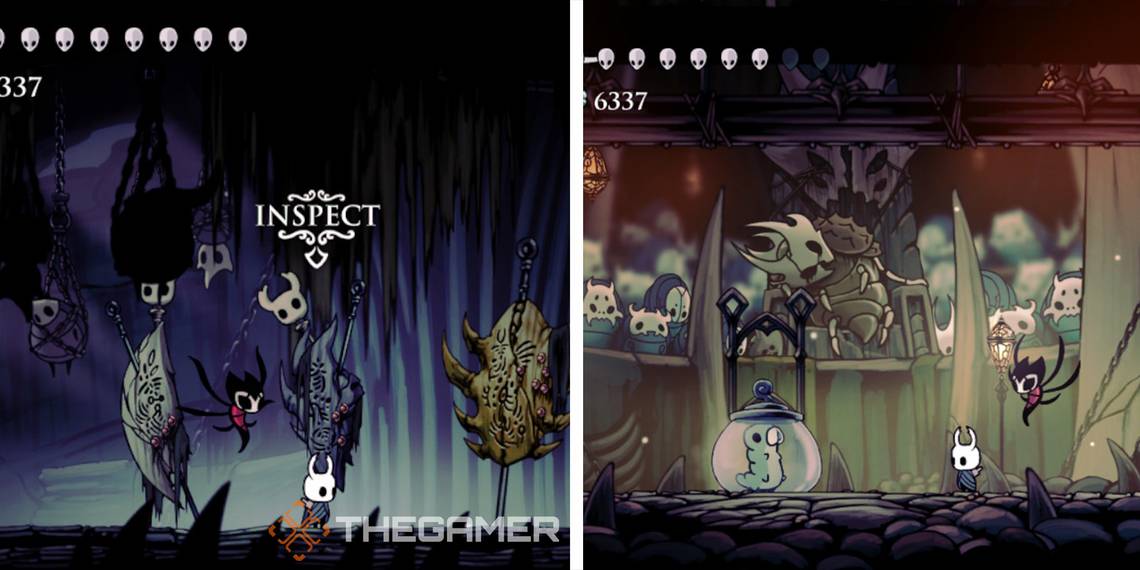
To begin this trial, walk up the middle banner near the entrance of the Colosseum. Pay the 450 geo entry fee and head to the right to enter the arena.
To beat this trial, you'll have to prepare yourself to fight through 17 grueling waves of enemies and obstacles. Here's a rundown of each wave you'll have to endure to conquer the Trial Of The Conqueror.
First Wave
The first enemy of this trial will be the slug-like Heavy Fool. They're rather imposing figures who will charge at you and hop to counter your air attacks. They're not too bad on their own, but when combined with other enemies they can become quite irritating to deal with. Slash this baddie and jump over his charge attacks.
When he's dead, two Winged Fools will appear. Their attacks mainly consist of swooping in and trying to slash you with their swords. Wall-jumping and then bouncing on their heads with nail jump attacks is a good way to deal with them. If they're being a pain, spells like Vengeful Spirit can be useful in taking them down. After this pair is defeated, a Heavy Fool and a Winged Fool will spawn in together.
Second Wave
Platforms rise up from the ground and two Armored Squits appear. These flying enemies don't seem very tough, but they attack by flying directly at you in a straight line and trying to impale you with their sharp beaks. If you have to face several Squits at once, things can get hectic quickly as you try to dodge them all. Jump over and nail jump them or use spells to wipe them out.
Third Wave
Now spikes will come out of the ground and two more Squits will spawn. Deal with them as you stay on the platforms and avoid their attacks. Be prepared to deal with these spikes for a while as they aren't going anywhere for quite a few waves.
Fourth Wave
All of the other platforms will lower except for a single small one in the middle. You'll fight a Winged Fool followed by an Armored Squit. You won't have much space to move, so don't jump around too much while you're dodging attacks.
Fifth Wave
Thankfully, several more platforms will rise up, which is good because you'll need to keep moving during this wave. You'll now fight a few groups of flying enemies. First, an Armored Squit and a Primal Aspid will spawn. Then another Squit and Aspid will appear. Three Volatile Gruzzers will show up not long after, followed by another pair of Gruzzers. Deal with the Squits and Aspids first, then heal if you need to when the Gruzzers arrive as their movement patterns are slow enough that you should have time. You can also use the platforms as shelter from the goo they drop. Kill the Gruzzers by nail jumping and slashing them, then watch out for their exploding corpses.
Sixth Wave
All of the other platforms will lower leaving you with only a medium-sized platform in the middle of the arena. A single Heavy Fool will spawn on this platform. This initially seems like a simple fight as you can either push it off the platform or just dodge out of its way and it'll kill itself on the spikes.
However, after the Fool is dead, Belfries will start to spawn. They'll start dive-bombing you to take you out with their explosive suicide attack. Trying to attack them will usually end with you getting blown up, so you're best to just avoid their attack. When they emit a high-pitched cry, that's their cue before they dive.
You should have the Monarch Wings by this point, which grant you the ability to double jump. Jump out of the way when you hear their cry and try to land back on the platform rather than the spikes. Or you can leap over and cling to the wall while they blow themselves up.
Seventh Wave
This wave is kind of a troll. The platform you're on will shrink and a single Belfry will spawn. Avoid it and that's all there is to this wave.
Eighth Wave
The spikes will finally retract along with the platform. Now you'll have to deal with some Hoppers. As you might've guessed from their name, these enemies will hop around the arena and try to land on your head. You'll have to fight eight of them, but they go down pretty easily.
After the Hoppers are done, a Great Hopper will spawn. This guy is much larger than a regular Hopper and will follow you around in its quest to squish you. That being said, it's still not very hard to fight. Just dodge under it when it hops and strike it whenever it lands.
Ninth Wave
The walls will close in on you and a Great Hopper will spawn in. Since you're now in a much more enclosed space, the Great Hopper's hops are much harder to dodge and you have less chance to heal. You can wall jump to get above the Hopper so you can land on its head and bounce off of it with nail jump attacks.
Tenth Wave
The ceiling will slightly lower and a glass jar with a Grub inside will pop out. This may seem like a reward for making it this far, but once you shatter the jar it'll turn out to be a Grub Mimic and charge at you. Kill it with some nail jumps.
Eleventh Wave
The roof will return to its normal height and a single platform will rise up. Now it's time to fight another large wave of enemies. Two Shielded Fools will spawn, followed by two Winged Fools, followed by a single Heavy Fool, and finally two Armored Squits. That platform will also lower after dealing with the first batch of enemies. Take them all and prioritize killing the flying baddies since they'll often be the most annoying ones.
Twelfth Wave
The walls will once again close in to reduce the arena's size. A Heavy Fool will appear and then a Winged Fool will spawn afterward. Wall jump and then land on these enemies' heads with nail jumps. That will also be good practice for the next wave.
Thirteenth Wave
Welcome to the worst wave of this trial. Spikes will now pop up out of the ground with no platforms for you to stand on. The only way to not land on them is to constantly wall jump in this enclosed space. To make matters worse, flying enemies will start to spawn in. First an Armored Squit, then a Winged Fool, and then a pair of Armored Squits. You'll need to keep jumping above the spikes while trying to stay close to the wall and slashing the enemies in the air.
This wave will be a bit easier if you've acquired the Monarch Wings as you'll be able to double jump and the Shade Cloak as you'll be able to dodge through some of the enemies.
Fourteenth Wave
If you survive the thirteenth wave, the walls will mercifully retract and give you more breathing room. You'll have three platforms to jump across as you fight a pair of Winged Fools followed by a Winged Fool and two Armored Squits. After that last wave, this one is a cakewalk.
Fifteenth Wave
You'll now have four platforms to move across and the spikes will temporarily go away. This will be the first wave where you'll encounter Battle Obbles, which are weird round enemies with four holes on their faces. These guys will fly around and shoot projectiles in a diagonal X-shaped formation. This makes them easy to dodge if you're directly underneath, above, or to the side of them. Killing some of them will cause more to continually spawn in. About halfway through this wave, the spikes and platforms will return. In total, you'll need to kill 9 Battle Obbles to get to the next wave.
Sixteenth Wave
In the penultimate wave, the spikes and platforms lower, but so does the ceiling. Four more Battle Obbles will spawn, which will be tougher since you'll have less room to dodge their attacks. Try to stay under them and slash upwards or get above and nail jump them. Spells can also be handy here if you can spare the soul.
Final Wave
At the end of this trial, you'll fight two Oblobbles. These are rotund, much larger versions of an Obble. They'll fly around and frantically shoot projectiles all around from various orifices on their bodies making it difficult to dodge them. Spells can be handy in taking them down. Focus on one of them at a time.
When one dies, the other one will become enraged. It'll move and shoot projectiles a lot faster. Keep dodging, slashing, and hitting it with spells and you should be able to survive.
Extra Tips And Tricks

While you can reach the Colosseum Of Fools as soon you make it to Kingdom's End, you shouldn't attempt the Trial Of The Conqueror until you have the Monarch Wings and the Shade Cloak. Wave thirteen can be very difficult without these abilities, so make it easier on yourself and wait until you've found these items. You should also find as many charms, charm notches, mask fragments, soul vessels, and nail upgrades as you possibly can. You're going to need a good amount of health, soul, and nail strength to complete this trial.
Offensive spells like Abyss Shriek or Vengeful Spirit can be useful in this trial to take out flying enemies. Just make sure you don't consume all of your soul as you'll need some for healing.
On the subject of healing, you should do so as much as possible. Be sure to pick the right moment to recover health. When you're in one of the waves where the walls or ceiling close in on you, there will be a lot less space between you and the enemy. Wave thirteen especially will give you no opportunity to heal since there's so safe ground to stand on. Wave ten is a good time to get some healing in as the Grub Mimic won't attack until you break the jar. Some waves will only trigger if you kill every enemy, so keep one alive and get away from it to get some health back.
As with the Trial Of The Warrior, some good charms to equip for this trial are Quick Focus to improve your healing speed and Grubsong or Soul Eater to gather more soul. Charms that give you a minion like Grimmchild can help you do some passive damage while you're jumping around. Other good charm choices include Dashmaster, Quick Slash, Mark Of Pride, and Unbreakable Strength.
When you beat the Trial Of The Conqueror, you'll receive around 2000 geo, the Conqueror achievement, and most importantly, some Pale Ore that you can bring to the Nailsmith to increase your nail's damage. Considering how hard the next trial is, you're going to want to make that nail as strong as it can get.