Quick Links
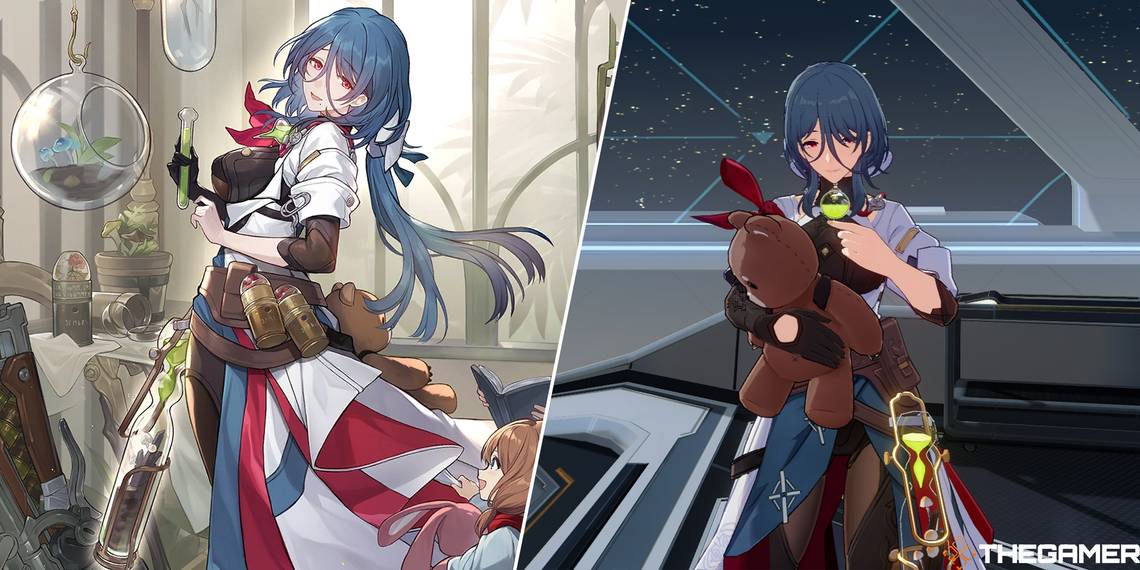
Natasha is a four-star physical-element Abundance character in Honkai: Star Rail. As a follower of the Abundance path, Natasha specializes in healing her allies using restorative techniques. This makes her an extremely valuable character in more difficult content, and is luckily available for free early on in the game.

Honkai: Star Rail - Best Team Members For Natasha
Here are the best possible teammates for Natasha in Honkai: Star Rail!If you learn how to build up your Natasha, you've come to the right place. Below, we'll take a look at the best Relics, Planar Ornaments, and Light Cones to use with Natasha, as well as a few tips for upgrading her Traces and using her in battle.
Updated February 22, 2024, by Sean Murray: To get the most out of Honkai: Star Rail's most powerful healer, you'll need Natasha's best Relics and Ornaments. This guide has that covered and a few more things thanks to the added links. We've also tweaked this guide's formatting to follow our most recent style.
Best Relics And Planar Ornaments For Natasha

To bolster Natasha's healing effectiveness you'll want to use Relics that increase Natasha's max HP. This is because her healing skills scale based on her max HP, meaning upgrading this stat will in turn make her heals stronger. To that end, we recommend using the following Relics with Natasha.
|
Type |
Name |
Explanation |
|---|---|---|
|
Relic |
Passerby of Wandering Cloud |
The 2-piece bonus of this set increases Outgoing Healing by 10%, while the 4-piece bonus restores a Skill Point at the start of battle. Overall, these Relics make Natasha's healing more powerful. |
|
Messenger Traversing Hackerspace |
The first set bonus of this Relic set increases the wearer's Speed by 6%, while the 4-piece bonus increases the Speed of all allies when the wearer uses their Ultimate. This set is better when higher speed is needed, or when you don't need to heal as much. |
|
|
Planar Ornament |
Fleet of the Ageless |
These Planar Ornaments increase the wearer's max HP by 12%, and if their speed is greater than 120, all allies' attack stat will be increased by 8%. The most important thing here is the increased health, but if you can reach 120 speed, the damage buff to other allies will be greatly beneficial. |
In addition to the bonus effects on your Relics, you'll want to prioritize different stats on each Relic when building Natasha. Generally, Outgoing Healing and max HP will provide the most additional healing, but Speed is also extremely useful. Below you can find the suggested main stats for each Relic piece.
|
Gear Type |
Main Stat Priority |
|---|---|
|
Head |
HP (guaranteed) |
|
Hands |
ATK (guaranteed) |
|
Body |
Outgoing Healing > HP |
|
Feet |
Speed |
|
Planar Sphere |
HP% |
|
Link Rope |
Energy Regeneration Rate > HP |
For Relic sub-stats, try to balance HP percent, HP, and Speed, with some Defense and Effect Res where possible to increase survivability.
If Natasha's heals are already strong enough to fully restore your party, you may want to focus on Speed over HP to gain the bonus effects of Passerby of Wandering Cloud's 4-piece set.

Honkai: Star Rail - All Chest Locations On Golden Hour
Golden Hour? More like Treasure Hour!Best Light Cones For Natasha
There are a few good choices for Light Cones to use with Natasha. Below, you can find a list of the best ones, as well as a brief description of what makes them good.
|
Light Cone |
Explanation |
|---|---|
|
Time Waits for No One (5-star) |
This Light Cone is perfect for Natasha, as it both increases her max HP by 19% and Outgoing Healing by 12%. Plus, when the wearer heals an ally, this heal is recorded and then acts as the base for a secondary attack when the wearer uses their normal attack. The only downside to this Light Cone is that it can only be obtained from Warping, meaning it won't be as accessible as other options. |
|
Post-Op Conversation (4-star) |
Post-Op Conversation is Natasha's signature Light Cone, increasing the wearer's Energy Regeneration by 8% and Outgoing Healing of their Ultimate by 12%. Overall, this Light Cone synergizes very well with Natasha, allowing her to use her Ultimate more often, which will heal for even more. |
|
Warmth Shortens Cold Nights (4-star) |
Warmth Shortens Cold Nights is a battle pass-exclusive Light Cone that increases the wearer's max HP by 16%, and heals all allies for 2% of their max HP when the wearer uses a basic attack or skill. The AoE heal provided by this Light Cone is almost negligible, but the big increase to max HP can make it worth it if you don't have Post-Op Conversation. |
|
Shared Feeling (4-star) |
Shared Feeling increases the wearer's Outgoing Healing by 10%, and provides all allies with 2 Energy when using a Skill. This Light Cone is great for boosting the Ultimate recharge rate for allies while healing a bit more with Natasha's skill and Ultimate. |
|
Cornucopia (3-star) |
Cornucopia is a Light Cone that increases the Outgoing Healing of the wearer's Skill and Ultimate by 12%. These bonuses are pretty good considering the Light Cone's rarity, but the base stats are outclassed by Light Cones of higher rarity. |
|
Fine Fruit (3-star) |
Fine Fruit regenerates 6 energy for all allies at the start of the battle. While not the best, this Light Cone can be good for short battles where you want to use your Ultimates immediately at the start of the battle. However, for Natasha, there are several much better choices. |

Honkai: Star Rail - Complete Simulated Universe Guide
Simulated Universe is hosted by Herta herself, and it gives you a lot of information on different Aeons and their behavior in Honkai: Star Rail.Natasha Traces Overview And Priority

Natasha has several good passive talents and abilities that should be upgraded to bring her to full potential. Below, you can see a list of her Trace abilities, and some tips for choosing which to prioritize with your limited materials.
|
Ability Name |
Type |
Description |
|---|---|---|
|
Behind the Kindness |
Basic Attack |
Deals physical damage to a single enemy. |
|
Love, Heal, and Choose |
Skill |
Restore an ally's health, then continue to restore their health each turn for 2 turns. |
|
Gift of Rebirth |
Ultimate |
Heal all allies. |
|
Innervation |
Talent |
When healing allies that are below 30% HP, increase Outgoing Healing. |
|
Hypnosis Research |
Technique |
Attack the enemy. When entering battle, deal physical damage to a random enemy, then weaken all enemies. Weakened enemies deal 30% less damage for 1 turn. |
|
Soothe |
Bonus Ability |
Natasha's skill removes 1 debuff from the targeted ally. |
|
Healer |
Bonus Ability |
Increases Natasha's Outgoing Healing. |
|
Recuperation |
Bonus Ability |
Increases the duration of Natasha's skill's continuous healing by 1 turn. |
When upgrading Natasha's Traces, focus on her Skill, Ultimate, and Talent first, followed by her attack and Technique. Her Skill is her most useful asset, so increasing its effectiveness should be a priority.
Unlocking Soothe and Recuperation should also be high on your list of priorities, as these abilities can drastically increase Natasha's effectiveness.
Tips For Using Natasha

With the number of build options available for characters in Honkai: Star Rail, it can get confusing when it comes time to prioritize which materials to get and where to spend them. For Natasha, you'll want to be careful when stacking max HP and Outgoing Healing, as this can lead to diminishing returns at higher levels.
Depending on your party's max HP and defense stats, having the highest healing power you can get might not be worth it. For example, if Natasha's skill is healing for way more health than any of your characters' even have, you may want to cut down on these stats in favor of others.
Speed will provide more benefit than max HP and Outgoing Healing at higher levels, as it will allow Natasha to heal more frequently for smaller amounts rather than a large amount, but with longer time between each heal.
Try to balance your stats efficiently to maximize Natasha's effectiveness in battle.
Due to the way Natasha's skills work, it may be beneficial to wait for an ally's health to go below 30 percent before healing them. This tactic can be risky, but the healing bonus makes it worth it. Healing allies below 30 percent health will make the heal you target them with even stronger.
Also, try to always save at least one Skill Point to heal allies in a pinch, and save Natasha's Ultimate for when two or three allies are hurt. You'll want to wait to use these limited abilities to maximize their usefulness.
If you're using the Messenger Traversing Hackerspace Relic set, and aren't in immediate danger, you can use Natasha's Ultimate as soon as it's available to give your party a nice Speed boost.
Are Natasha's Eidolons Worth It?

Even with no Eidolon levels, Natasha is already an extremely powerful healer. Her Eidolon levels only work to increase this effectiveness, but they are a bit more situational, relying on the character being healed to be less than 30 percent health.
Overall, Natasha's Eidolon's are good, but not worth investing heavily into. However, due to Natasha being a 4-star character, and one you can obtain for free from the story, there is a high chance you will get a duplicate or two of her later down the line through Warping.
Any Eidolon levels you unlock for her will be beneficial, but don't prioritize upgrading her to Eidolon level six.
