Quick Links
Honkai: Star Rail brings a new experience aboard the Astral Express, where a bunch of colorful characters will visit different worlds and meet all kinds of people and monsters. In a game as diverse as this one, there are a lot of different challenges, treasures, and game modes to enjoy.
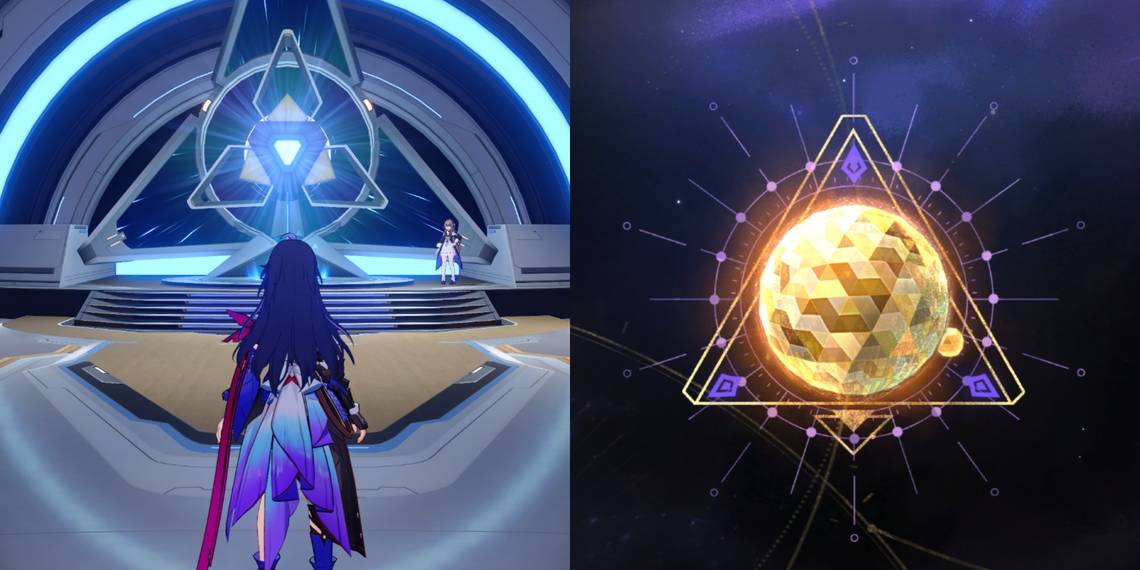
The Simulated Universe is one of those game modes, where you will face an array of different enemies and rivals to defeat. During the fourth world, you will re-visit Jarilo-VI and its many foes, and face Svarog once again in a deadly match.
Possible Enemies In World Four

Throughout your journey across World Four, you will face different enemies that belong to the Fragmentum Monsters and Jarilo-VI enemy factions. While most of the stages in this world display foes of a minor rank and randomized events, there are certain fixed Elite enemies, and one particular Boss fight to keep in mind.
Elite Enemies
|
Enemy |
Weaknesses |
Resistances |
Tips and Abilities |
|---|---|---|---|
|
Stormbringer (Bug) |
|
|
This enemy capitalizes on inflicting extra damage if you're afflicted with Wind Shear, an effect that can be triggered by any of his usual techniques. Wind-Twisting Crossbow and Windfall Storm form a combo that will deal extra damage to your party if they're affected by the Wind Shear effect, so bringing someone who can mitigate damage or remove debuffs can be really helpful. The Stormbringer can also summon Windspawns, but they're not really difficult to slay. |
|
Frigid Prowler |
|
|
The Frigid Prowler uses an array of Ice Damage moves that can inflict the Deep Freeze effect on your party, so you must be able to mitigate damage or remove debuffs to deal with it, as it will decrease your Speed. The Frigid Prowler can also summon Everwinter Shadewalkers, which aren't difficult to defeat. |
|
Automaton Grizzly |
|
|
This robot will inflict the Taunt effect on your party by using Enrage Order, conditioning them to attack it. This will be accompanied by a combo of moves called Overcombust Order and Purge Order, which will make the Automaton Grizzly enter a Charge state, and then release a massive amount of Physical Damage in the next turn. The Automaton Grizzly can also summon Automaton Spiders, but those can be quickly beaten. |
|
Decaying Shadow |
|
|
The Decaying Shadow has several attacks that will deal Imaginary Damage to your party members, but one of her most annoying techniques is not one of her offensive ones. Fleeting Veil, an ability that can annoyingly increase the length of the battle by mitigating damage, also has the possibility of imprisoning one of your characters. When it uses Binding of the Golden Age, it will gain nine Gauge Recollection stacks before casting Liberation of the Golden Age the next turn. It will lose one stack per successful attack against it, and the resulting damage will depend on the number of stacks in its possession. |
Boss Battle: Svarog (Complete)

|
Name |
Category |
Weaknesses |
Resistances |
|---|---|---|---|
|
Svarog (Complete) |
Boss - Physical |
|
|
Svarog's Abilities
|
Technique |
Effect |
|---|---|
|
Banishing Punch |
Deals Physical Damage to a target. |
|
Burning Beam |
Deals Physical Damage to a target and delays their action by 50%. |
|
Oversaturated Bombardment |
Deals Physical Damage to all targets, with a high chance of reducing their Defense. |
|
Oppressive Embrace |
Imprisons a target, preventing them from taking action or being targeted. |
|
Boost Deployment |
Summons an Auxiliary Robot Arm Unit. |
|
Overload Warning |
Auxiliary Robot Arm Unit triggers an Overload Countdown, before casting Controlled Blasting. |
|
Controlled Blasting |
The Auxiliary Robot Arm Unit explodes, inflicting Physical Damage to a target. |
|
Emergency Support |
Summons Automaton Beetle and/or Automaton Hound. |
|
Tactical Support |
Summons Automaton Direwolf. |
|
Power Amplification |
Increases the Damage dealt by all friendly units. |
During the first phase of this fight, Svarog will start using Emergency Support to employ the help of two Automaton Beetles and Automaton Hounds. While the band of little ones doesn't really inflict that much damage, their damage as a group can catch you off guard, so it is advised to dispatch them as quickly as possible until Svarog's first HP bar is depleted.
Once you advance to the second phase, he will use Tactical Support and summon two Automaton Direwolves into the battlefield. These will inflict significantly more damage than the minor spawns in the last phase, and Svarog's own attacks also aren't something to scoff at, so having a balanced party becomes key since you will need someone who can heal or mitigate damage until you reach the final phase.
In the last phase, Svarog will use a really annoying technique called Boost deployment, which will summon an Auxiliary Robot Arm unit. This specific unit can use a move called Oppressive Embrace, which will hinder your party really badly by capturing one of your party members preventing them from doing anything.
Believe me, there's nothing worse than losing one party member, even if it's temporary, so your goal is to inflict break and destroy those robotic hands as fast as possible until you can finally end Svarog.
Recommended Setup For World Four

The Svarog fight will not be like the main story, and you must be prepared to face a way more powerful version of that foe. His Resistance to Quantum and Imaginary will render some of the most powerful DPS units in the roster useless, so you must pay close attention to the path you choose and the party you will assemble for this challenge.
It is strongly advised to bring a balanced party to this battle, as Svarog's attack moves can pack a hard punch, inflicting huge Physical Damage. Doing a Tank + Healer + two DPS units composition is the way to go, as you should be able to mitigate and recover quickly, while also retaining your ability to damage Svarog consistently enough.
Given Svarog's Weaknesses and Resistances, some of the best options are the Trailblazer from the Path of Preservation as the tank, Dan Heng or Himeko as possible Main DPS units, and Asta or Bronya as supporting DPS units. For healing, the best option is, by far, Bailu, but depending on your path of choice you can be adventurous and try to use a support unit instead, like Tingyun.
On the possible Path choices, there are three that honestly stand out more than the rest. Choosing Path of the Hunt will be beneficial if your approach to the combat is to invest in your party speed, so they can always hit first and as many times as possible before your enemy can even figure out what's going on.
Then, the Path of Nihility will be the best if you choose units that can inflict great Damage over Time effects, like Burn and Wind Shear. And last, the Path of Abundance, while unlocked later on, will basically remove the need for a Healer unit in your party with its many healing-related blessings, which will liberate an extra slot to invest in more DPS or Support units that can increase your party's stats.
Recommended Characters
|
Character Name |
Role |
Damage Type |
|---|---|---|
|
Main DPS |
Fire |
|
|
Tank |
Fire |
|
|
DPS/Support |
Fire |
|
|
DPS/Support |
Wind |
|
|
Main DPS |
Wind |
|
|
Support |
Lightning |
|
|
Healing |
Lightning |
Recommended Path
|
Path Name |
Passive Buff |
Path Resonance Ability |
|---|---|---|
|
Path Of The Hunt |
|
Path Resonance: The Hunt - Spend 100 points of Energy to use this ability and resonate with the Path of The Hunt, dealing Wind DMG to all enemies based on the current Attack of the character currently with the highest Attack stats. |
|
Path Of Nihility |
|
Path Resonance: Nihility - Spend 100 points of Energy to use this ability and resonate with the Path of Nihility, with an 80% base chance to apply Burn, Shock, Bleed, and two stacks of Wind Shear on all enemies for two turns. |
|
Path Of The Abundance |
|
Path Resonance: Abundance - Spend 100 points of Energy to restore HP for all allies by 50% of their respective Max HP, and increase their respective Max HP by 15% for two turns. |
Simulated Universe - World Four Rewards

Doing any world for the first time will award you some special rewards, but you can also obtain different drops throughout the many stages and Immersion Rewards if you can afford them. The full list of rewards for this world is the following:
|
Condition |
Item List |
|---|---|
|
First-Time Completion Rewards |
|
|
Extra Drops Pool |
|
|
Immersion Rewards Pool |
|