After all the preparation you've been through, you've finally pulled all five disparate islands together using the electromagnets, beaten a ton of bosses both on land and in the sky, and now it's time for the final showdown.
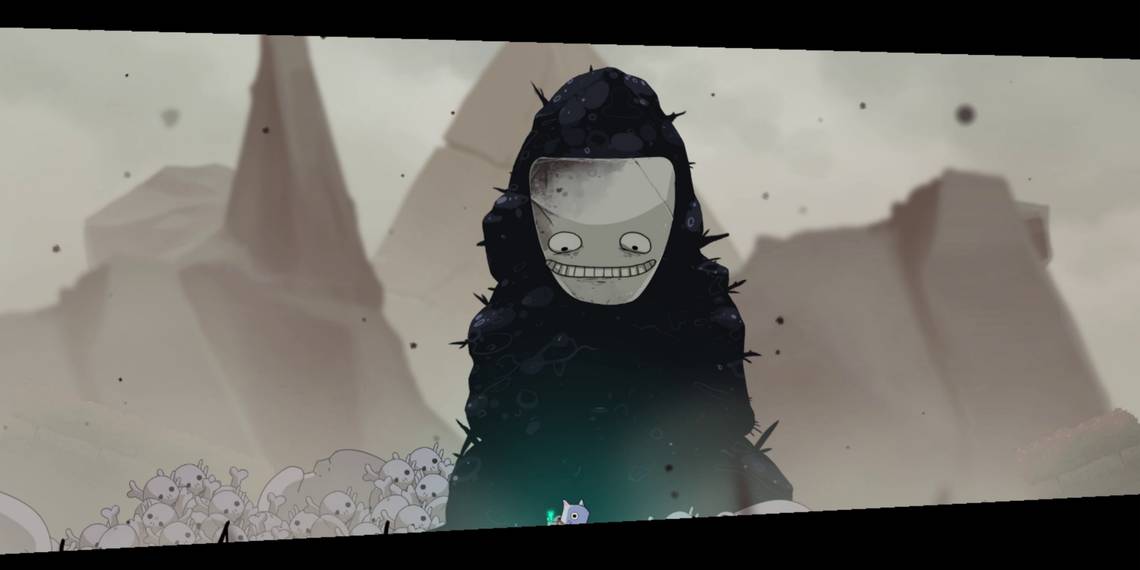
The final stretch of Islets puts you up against some of the hardest platforming in the entire game and three unique boss fights. This guide looks at BoneGolem, a very long, sinister mountain of malice who knows exactly how to ruin your day, all with a grin on its face. Here's how to take down the shambling menace.
BoneGolem's Attacks

The BoneGolem actually has three phases - you'll know exactly when they occur, though, don't worry. It's extremely obvious when they happen.


|
Attack |
Description |
How To Counter |
|---|---|---|
|
Bone Ball |
BoneGolem throws a ball of bones and gore into the air that bounces around the arena. Every time it hits the ground, it will throw up a shower of large bones that damage you if you touch them. |
The Bone Ball lasts a very long time, so you'll have to keep an eye on it at all times as you attack the boss. Try to position yourself between falling bones, but dodge roll through the ball if it comes close. |
|
Forest of Pain |
This attack is telegraphed with small spikes appearing on the ground that don't hurt you. After a few moments, they will shoot up in succession. |
This attack is very similar to one that the Forgotten Grave uses. It will look like you have no room to stay safe, but if you position yourself right in the middle of two of the spikes, you won't take damage. |
|
Sword Circle |
BoneGolem summons a circle of swords around you. They will follow you for a moment before they all attempt to strike through you. They will pass through the other side. |
If you only dodge roll through the initial attack, you'll get struck by the sword that comes out the other side of it. Instead, dodge roll and then immediately jump so that the second sword passes underneath. |
|
Enraged Homing Arrows |
In its spider form, BoneGolem shoots out small bones that will fly towards you. Their pathing is erratic, but there's a slight homing to them. |
Some of the projectiles can be ignored, but others will have a far better homing quality - you'll have to jump over or dodge through these. |
|
Enraged Leg Smash |
BoneGolem raises its spider legs into the air for a short moment and then slams them down, sending out huge shockwaves across the arena. |
When you see the legs raise into the air, double jump so you can avoid the shockwaves - they are taller than the shockwaves you are used to. |
|
Enraged Skull Rain |
BoneGolem starts spewing out lots of skulls that hurt if you touch them. |
While the skulls are randomly thrown, they are always in your general vicinity. Move to the left and to the right, dodging through skulls as you need to. |
|
Furious Bounce Skulls |
In its final form, BoneGolem will bounce around the arena constantly, periodically shooting out Skull Rain. |
You'll have to stay on your toes during this phase. This attack doesn't end and you'll need to be wary of the bouncing and the skulls. Dodge when you need to, but you'll want to try and stand in between the falling skulls for the most part. |
How To Beat BoneGolem

Despite having three entire phases and lots of attacks, BoneGolem's difficulty stays generally consistent throughout the entire fight.
- As such a large target, BoneGolem is quite an easy target for sword slam attacks - this is less useful in the second and third phases, however. Try using them to burst down the first phase quickly and you won't have to worry too much about those attacks, especially the annoying Forest of Pain, which makes you stand in place.
- Sword Circle is one of the more difficult moves to deal with in this fight. Try to learn the timing for this attack as soon as you can so you can avoid taking damage early on in the fight.
-
It may be a good idea to save your arrows for the third phase - the bouncing BoneGolem head can be difficult to get melee hits on, so unleashing a barrage of arrows into it is a good way to burst down the very short third phase.
- If you're an avid user of the bow, remember to stock up on arrows with melee attacks towards the end of BoneGolem's spider phase.
- If your arrows aren't good enough, consider hunting for more upgrades. At this point of the game, you have the ability to go and grab all 60 upgrades in the entire game. If you're having trouble finding them, get the Upgrade Map Marker from the shop in Sky City.