Quick Links
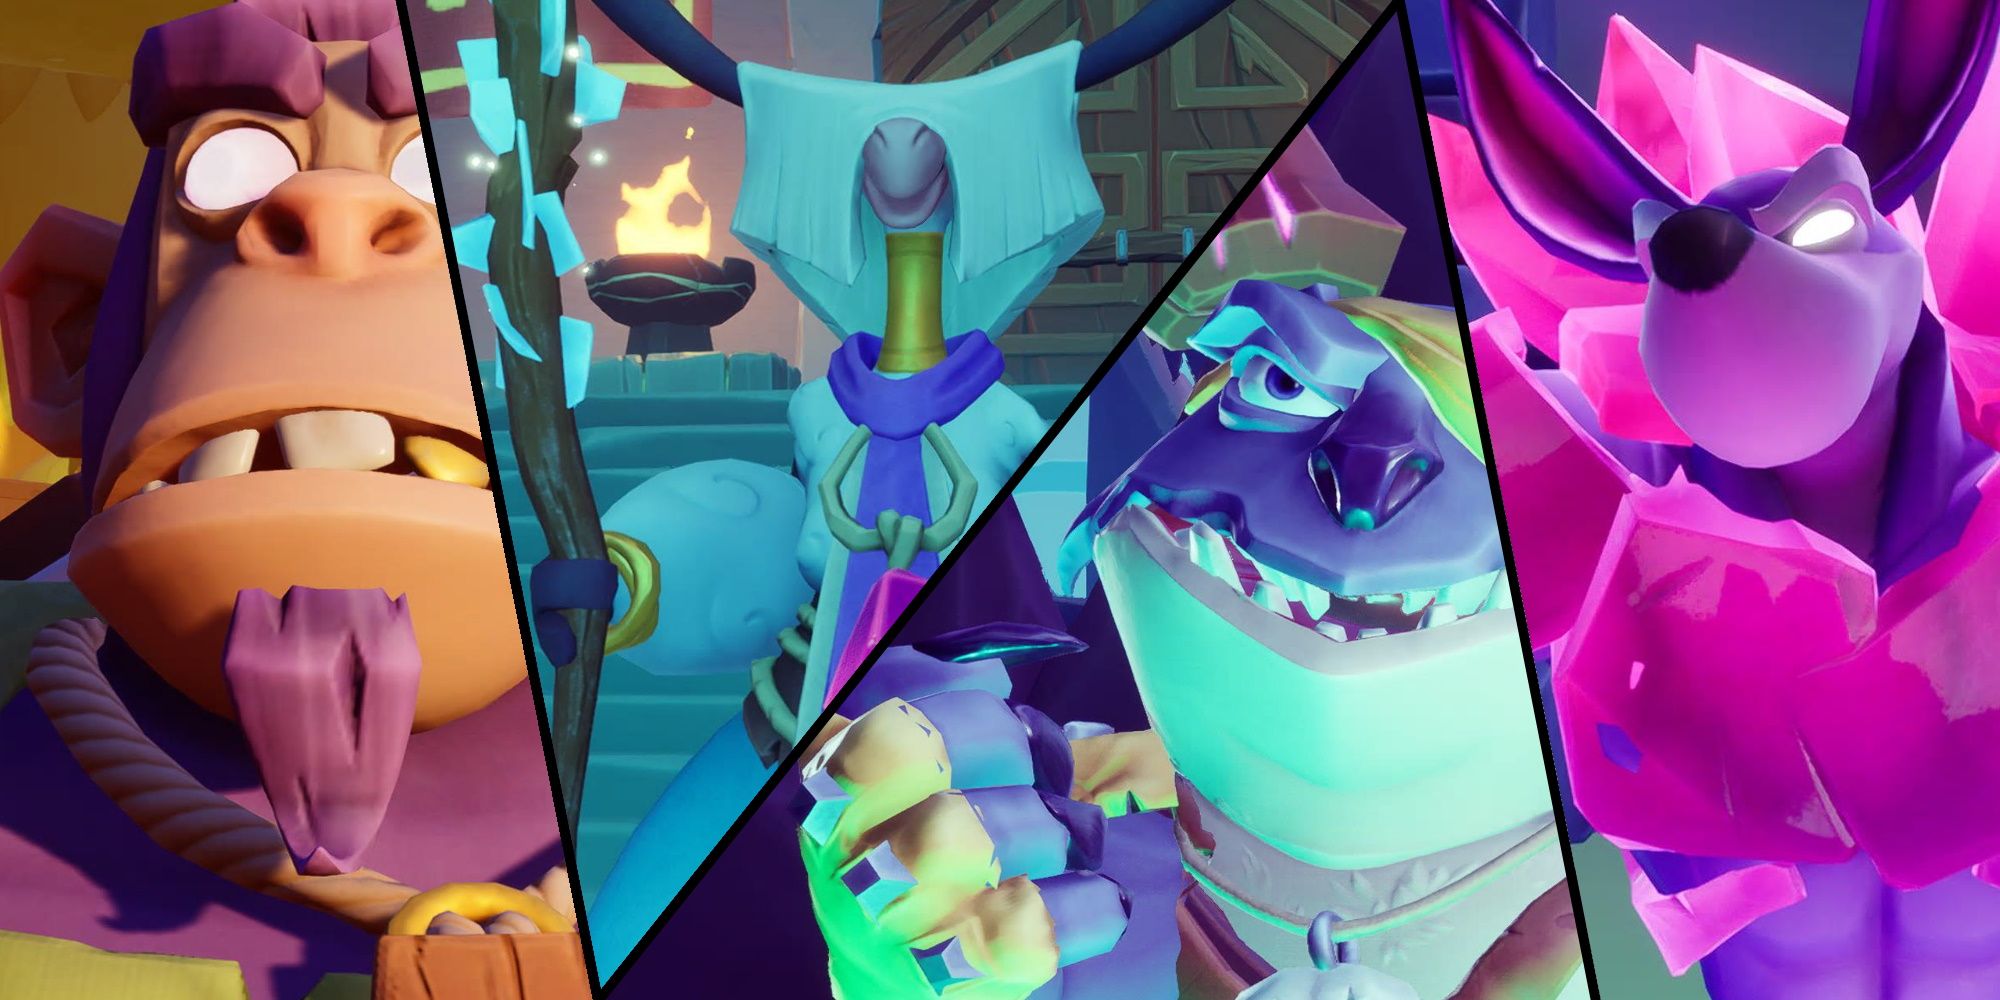
Kao The Kangaroo isn't a combat-focused title. Instead, it tends to place a much greater emphasis on platforming. It isn't surprising, then, that all the boss fights have a platforming component in one shape or another. You will be jumping, using your elemental powers, and utilizing the stage to work your way through different phases in each of these battles.
But it isn't just platforming, there are fisticuffs involved in these encounters as well. Here you will find tips for how to dodge tornados, deflect lasers, and avoid charging monkeys. Each boss comes packing multiple phases, with multiple attacks associated with them; We will provide you with the best strategies for dealing with all of this. Consider this guide your one-stop shop for beating every boss the game has to throw at you!
How To Beat The Terror
Overview
Generally speaking, the difficulty of The Terror will depend largely on how well you use your dodge roll. The Terror's attacks can absolutely catch you off guard. Being ready to roll through them will help you preserve those hearts. That is another element that will subtly increase the difficulty of this encounter: you won't have many hearts at this point in the game.
Phase One
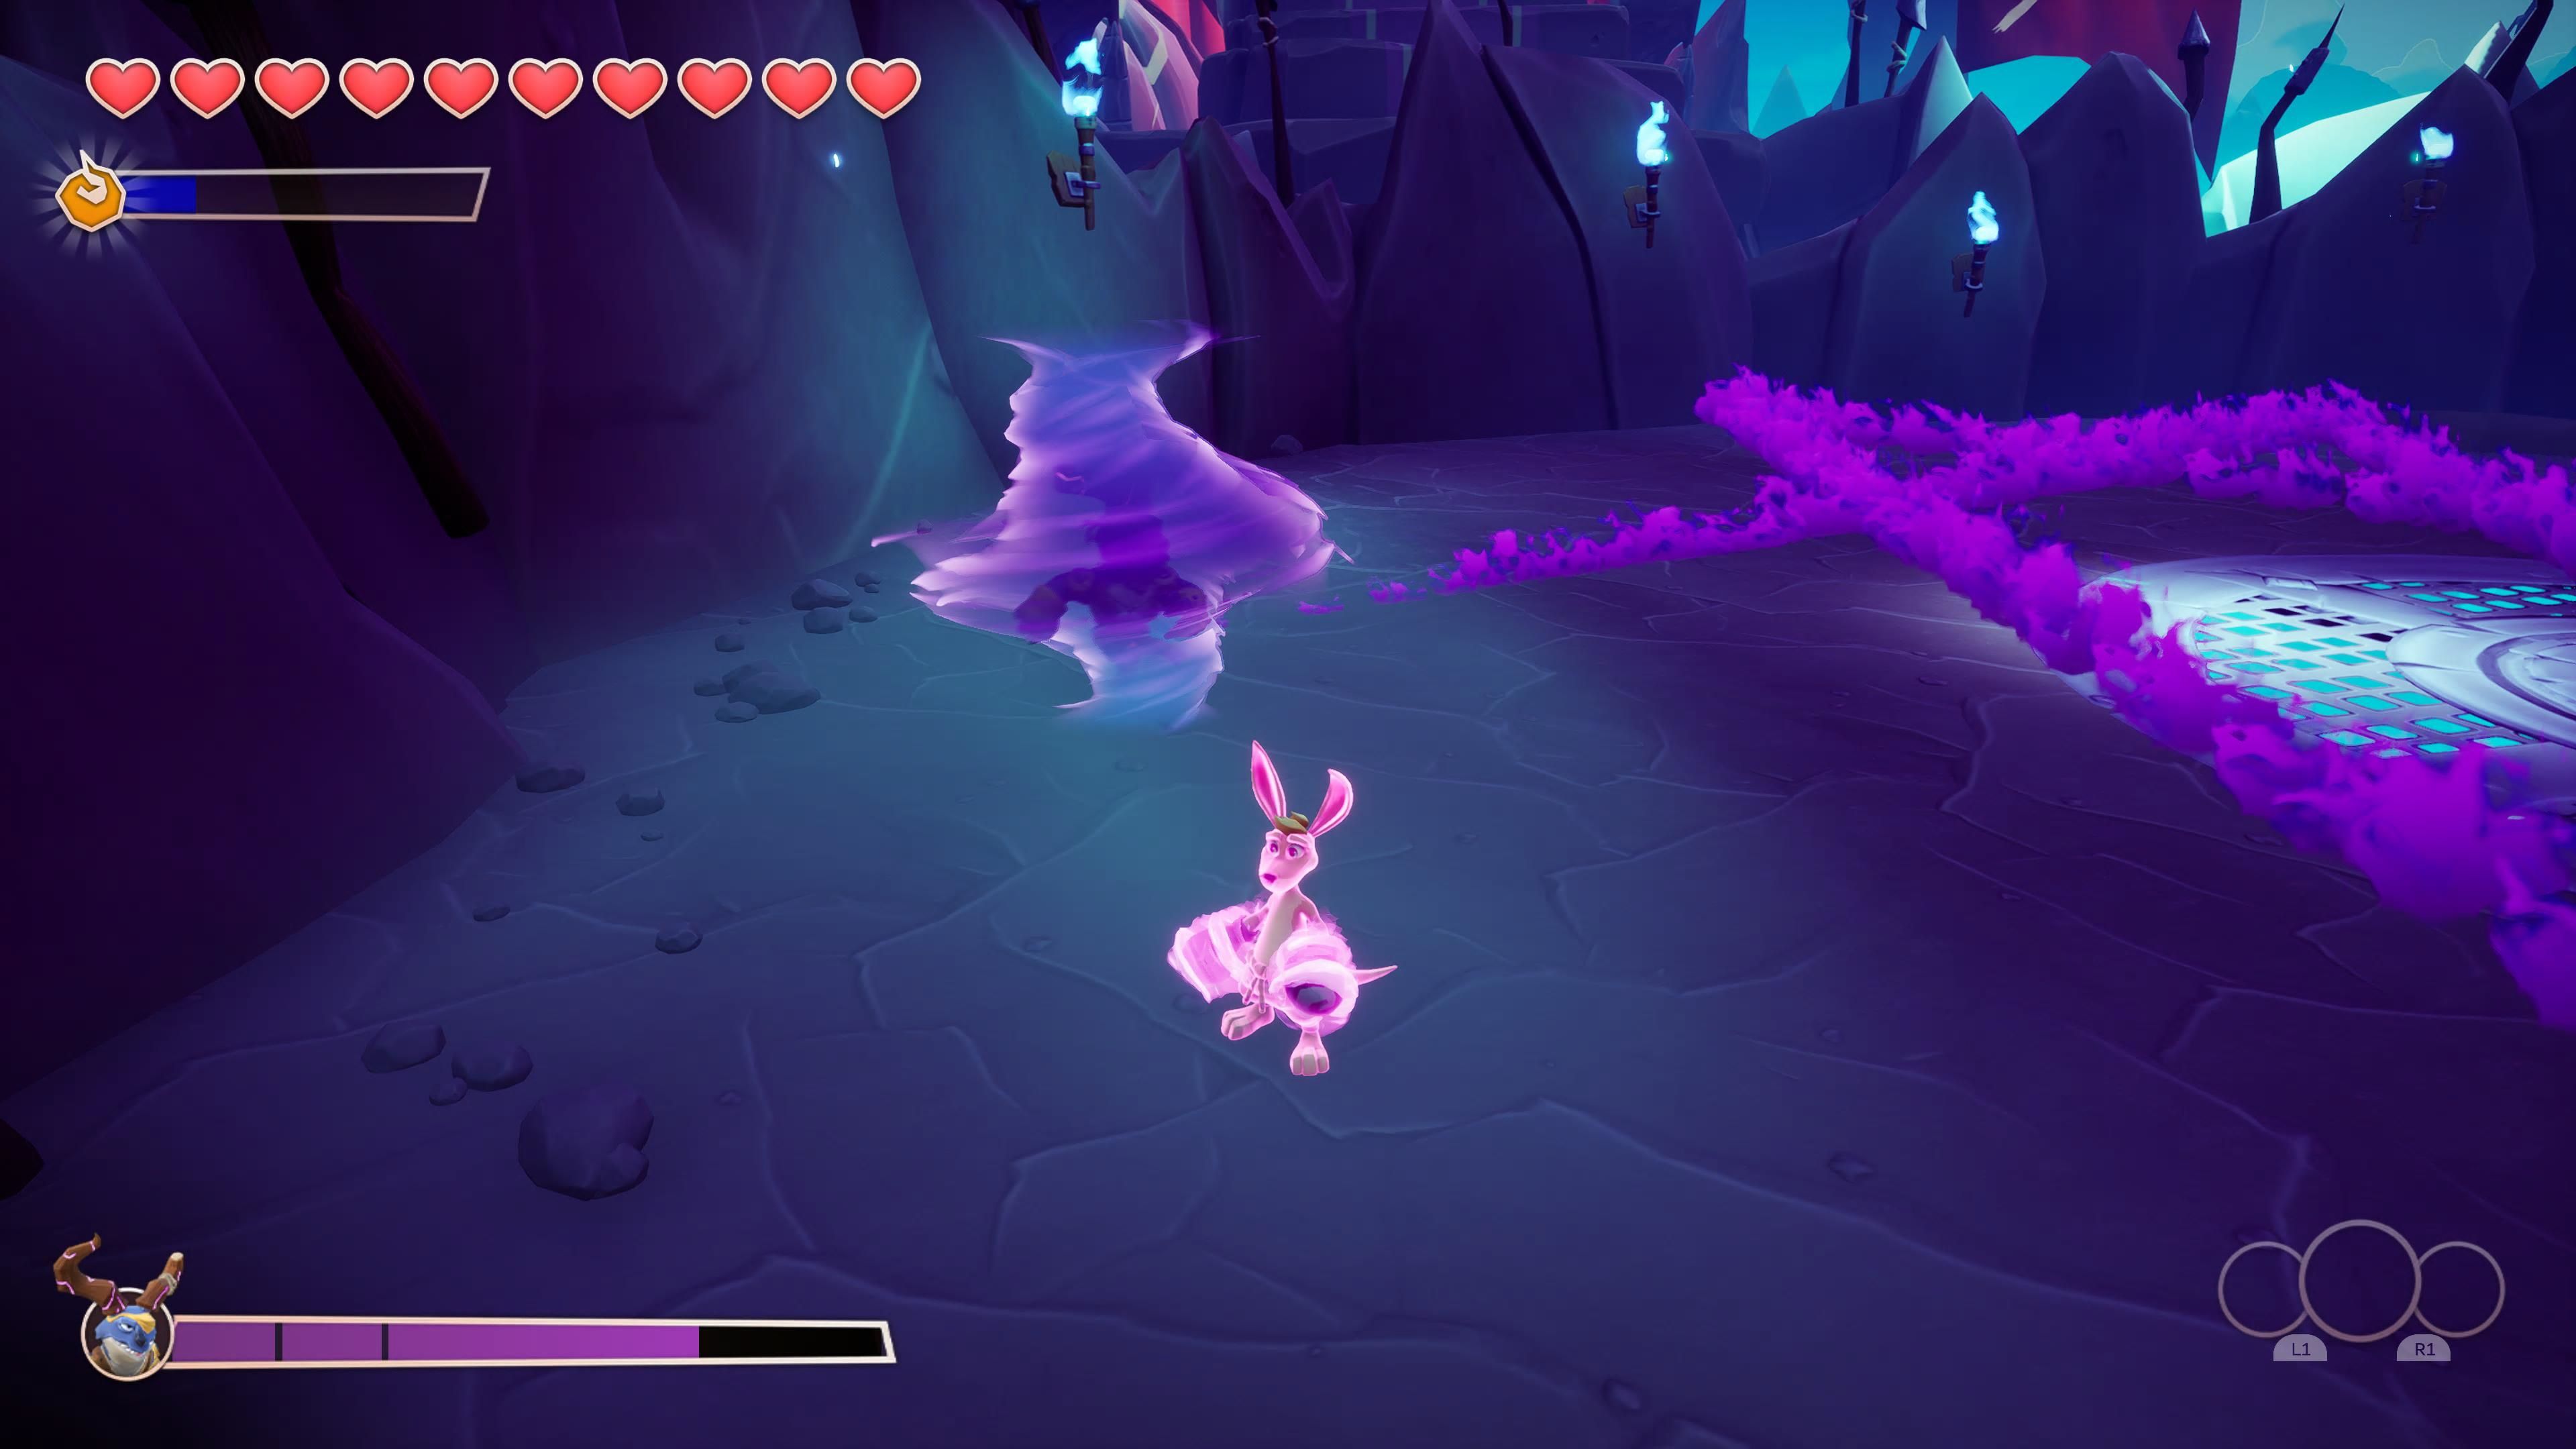
In this phase, The Terror will spin so quickly that he becomes a little tornado (think Taz from Loony Tunes). He will travel in a direct line toward you, leaving a trail of flames behind. You just need to wait until he is committed and then move to the side. Once he has missed you four times, he will become dizzy. Go over and give him a few whacks. Do this three times, and he will move on to his second phase.
Phase Two
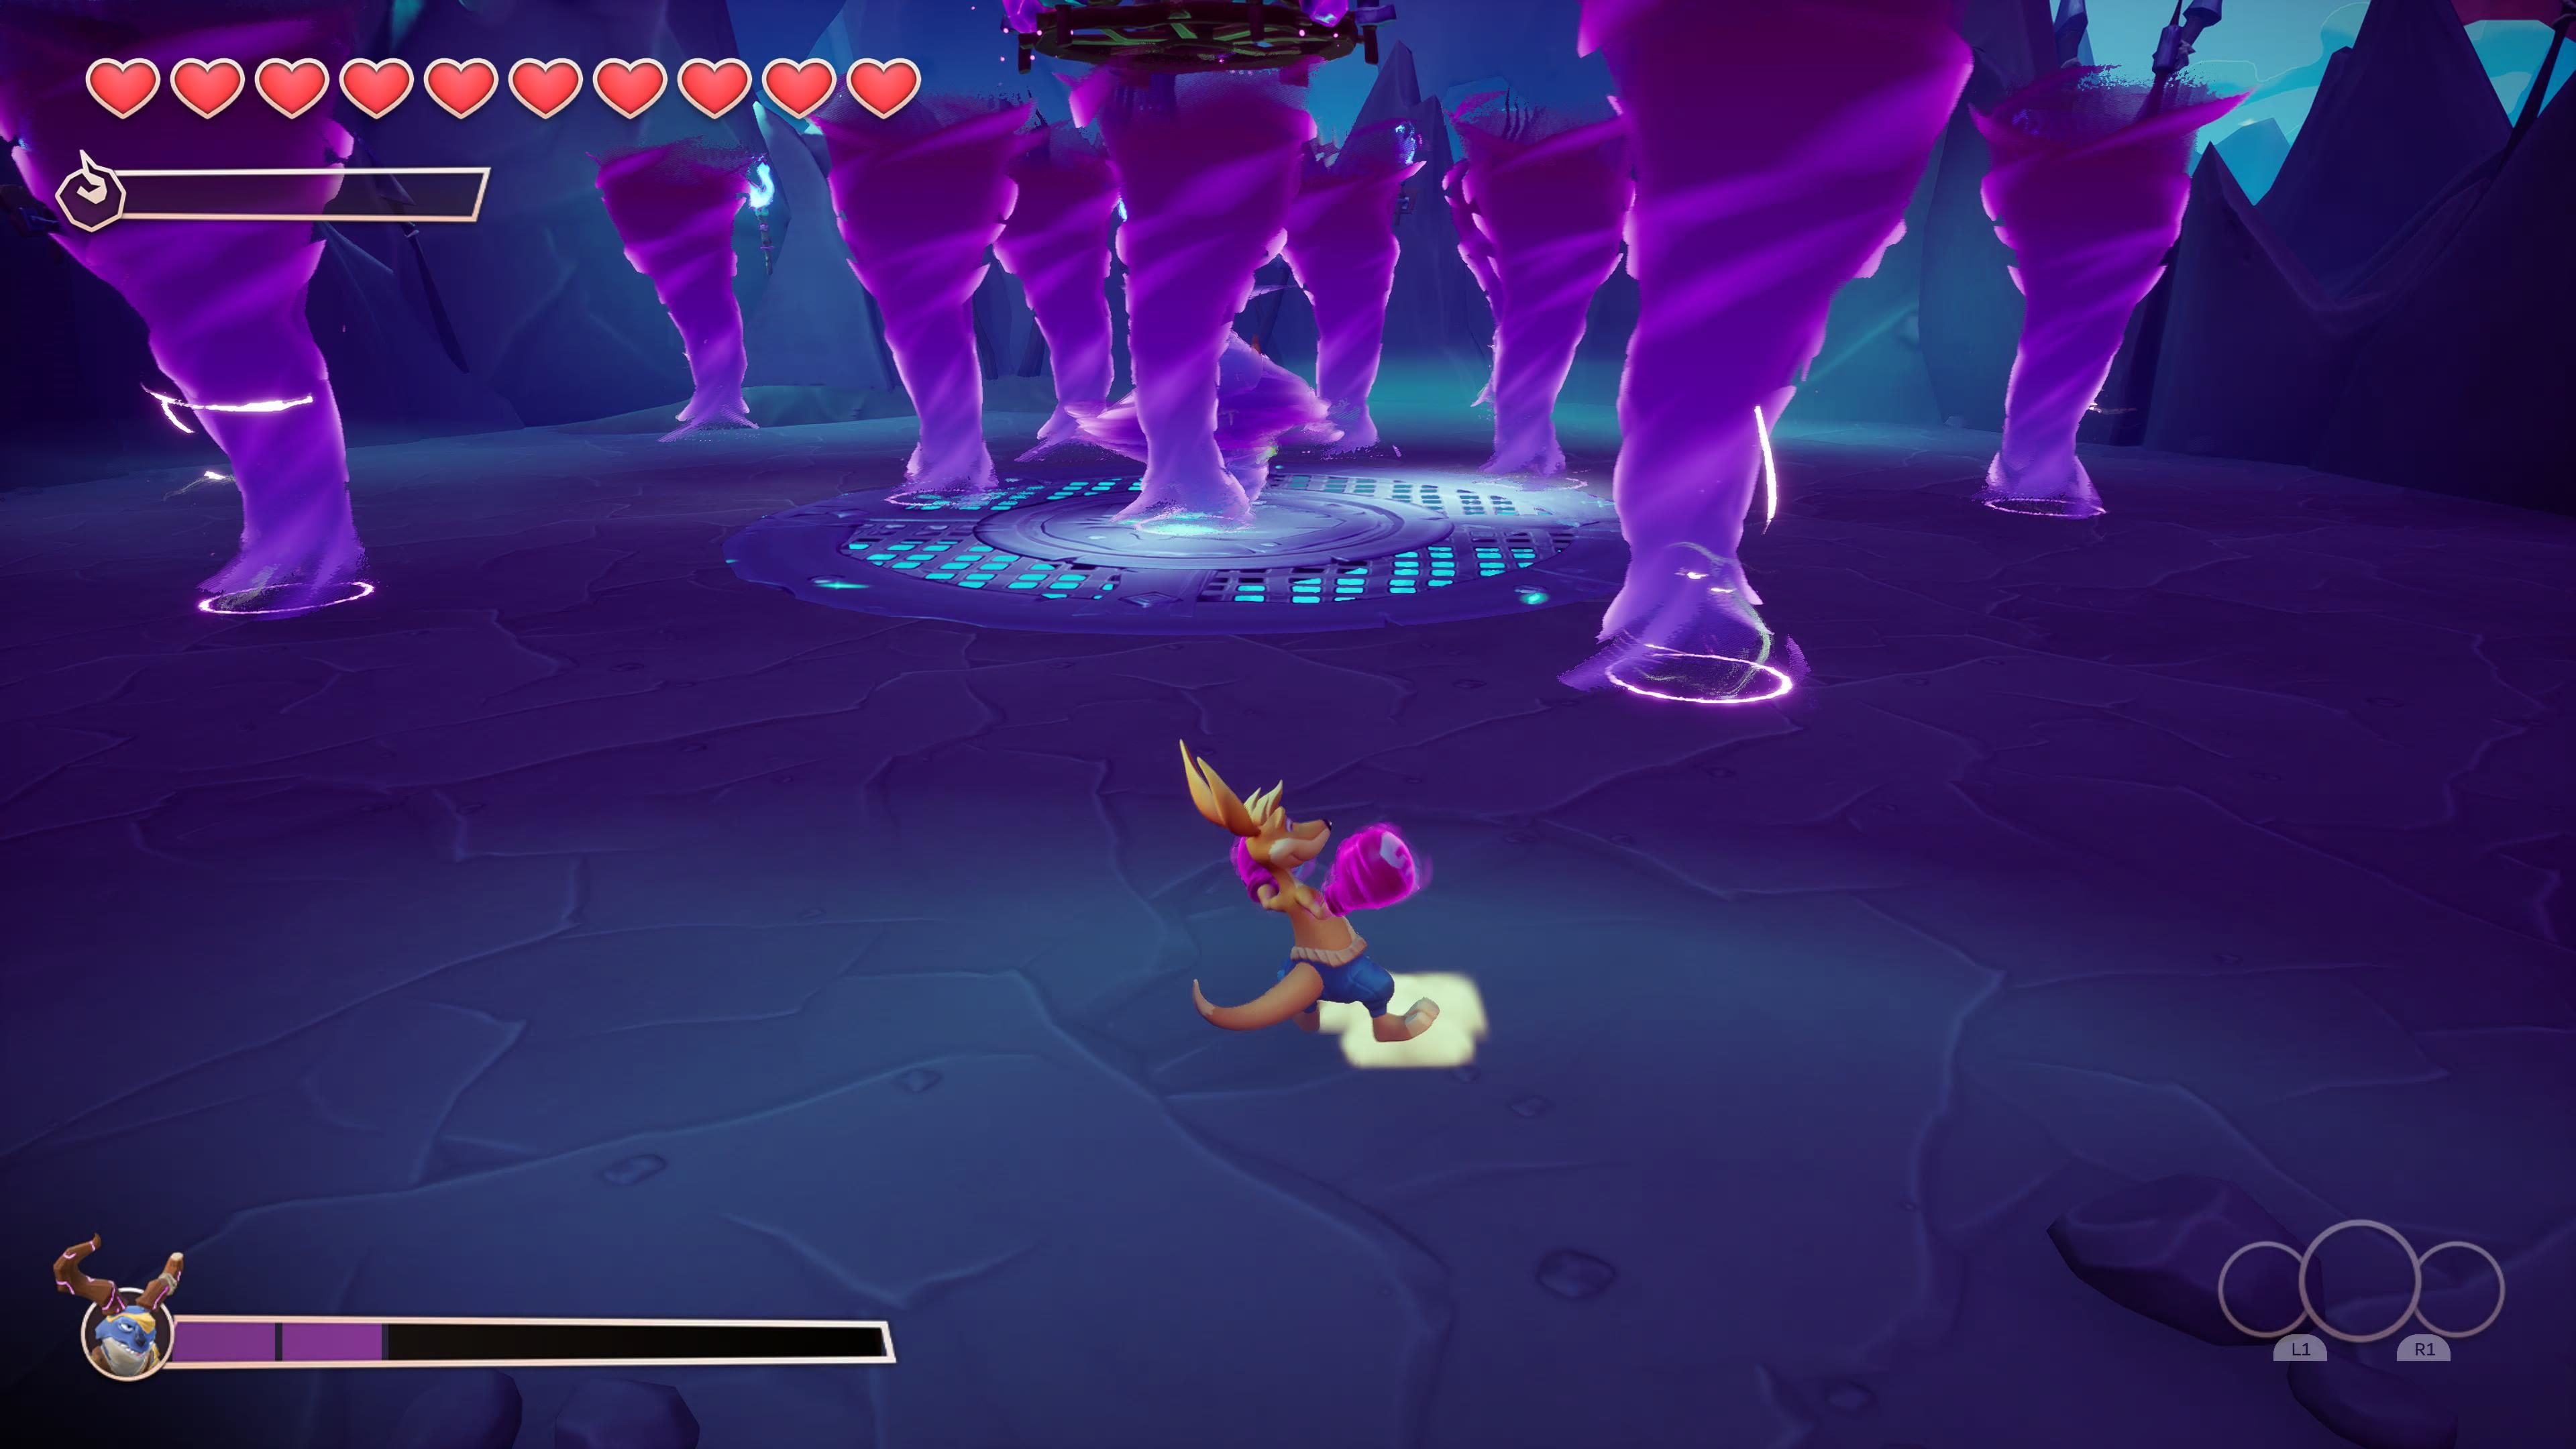
For the second part of this fight, The Terror will stick to the middle of the screen. He will send twisters in your direction. Just dodge them until he gets dizzy. Once he is dizzy, balls will drop from the ceiling. Pick them up and throw them at the chandelier hanging above his head. You will need to do this three times. His twisters do get quicker as the battle progresses. Just make sure to be ready to use your roll. Once you hit the chandelier three times, it will drop. However, The Terror will use his dark power to suspend it in mid-air.
Phase Three
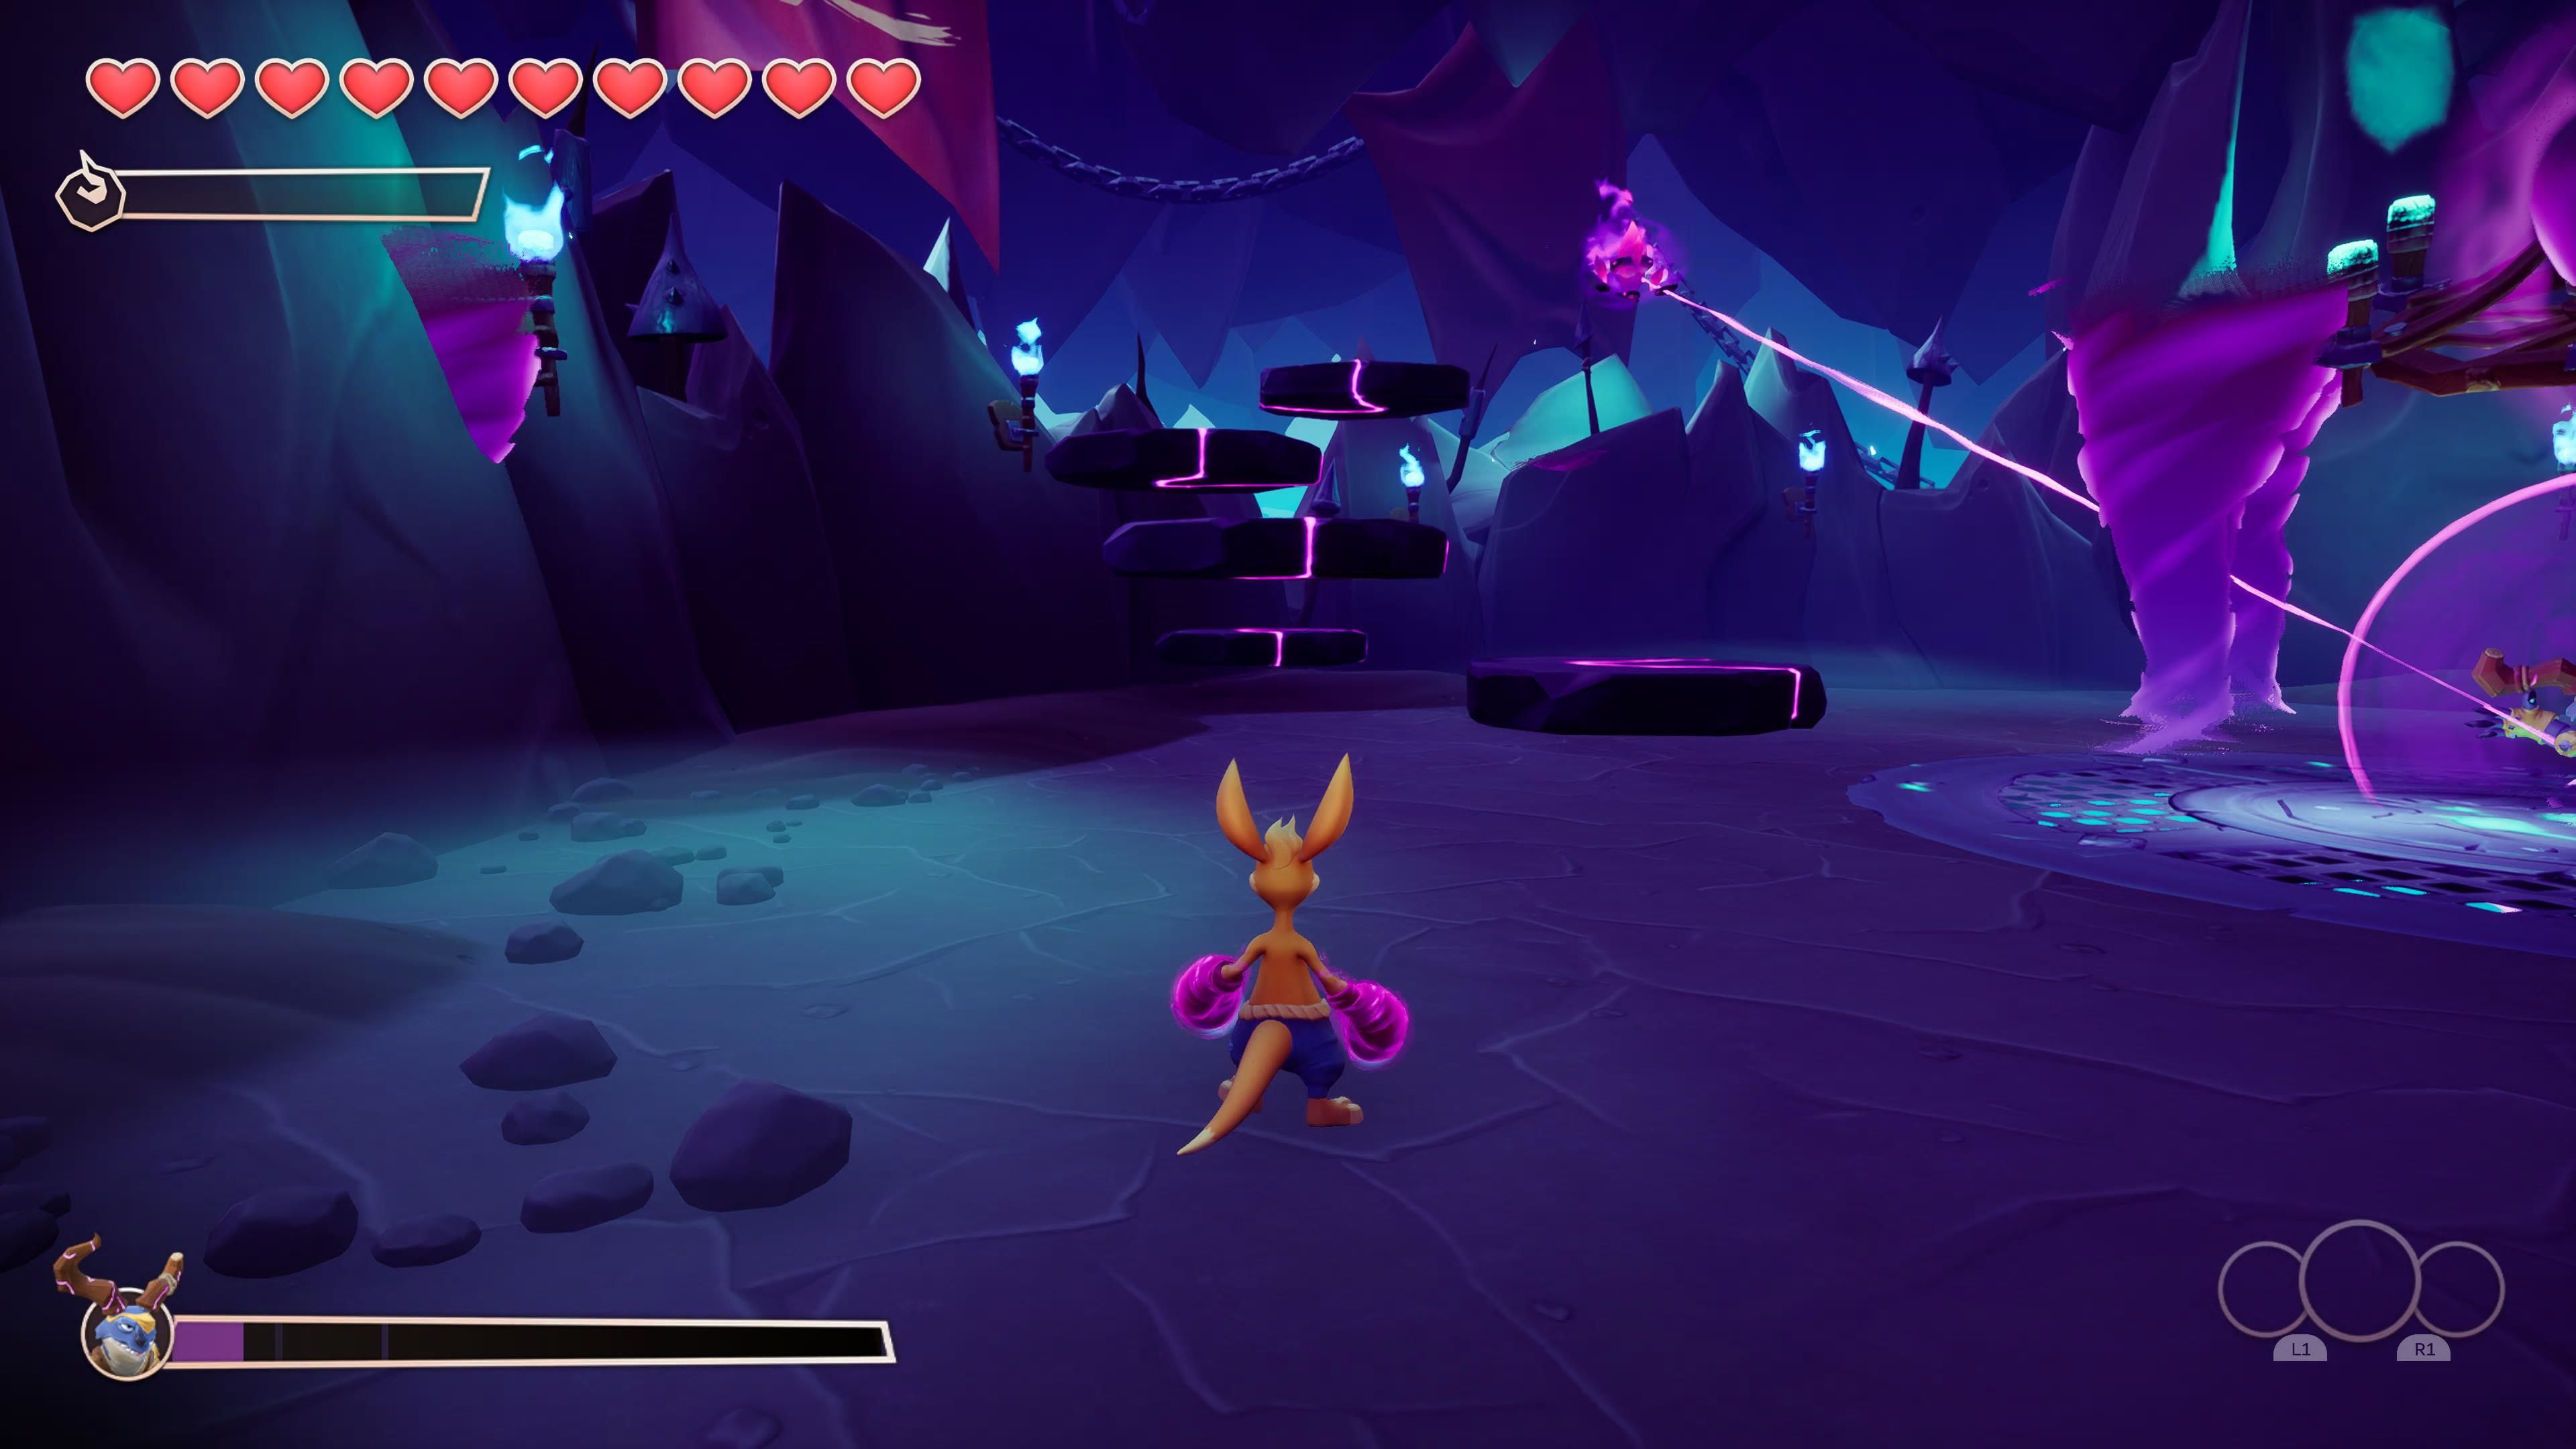
Now, in the third phase of this fight, The Terror will create an energy shield around himself. This force field will be powered by dark crystals that will appear around the room. Platform up to them and destroy them. There will be three in all. Once you have done this, the chandelier will drop on his head, and you will be victorious.
How To Beat Jayabaya
Overview
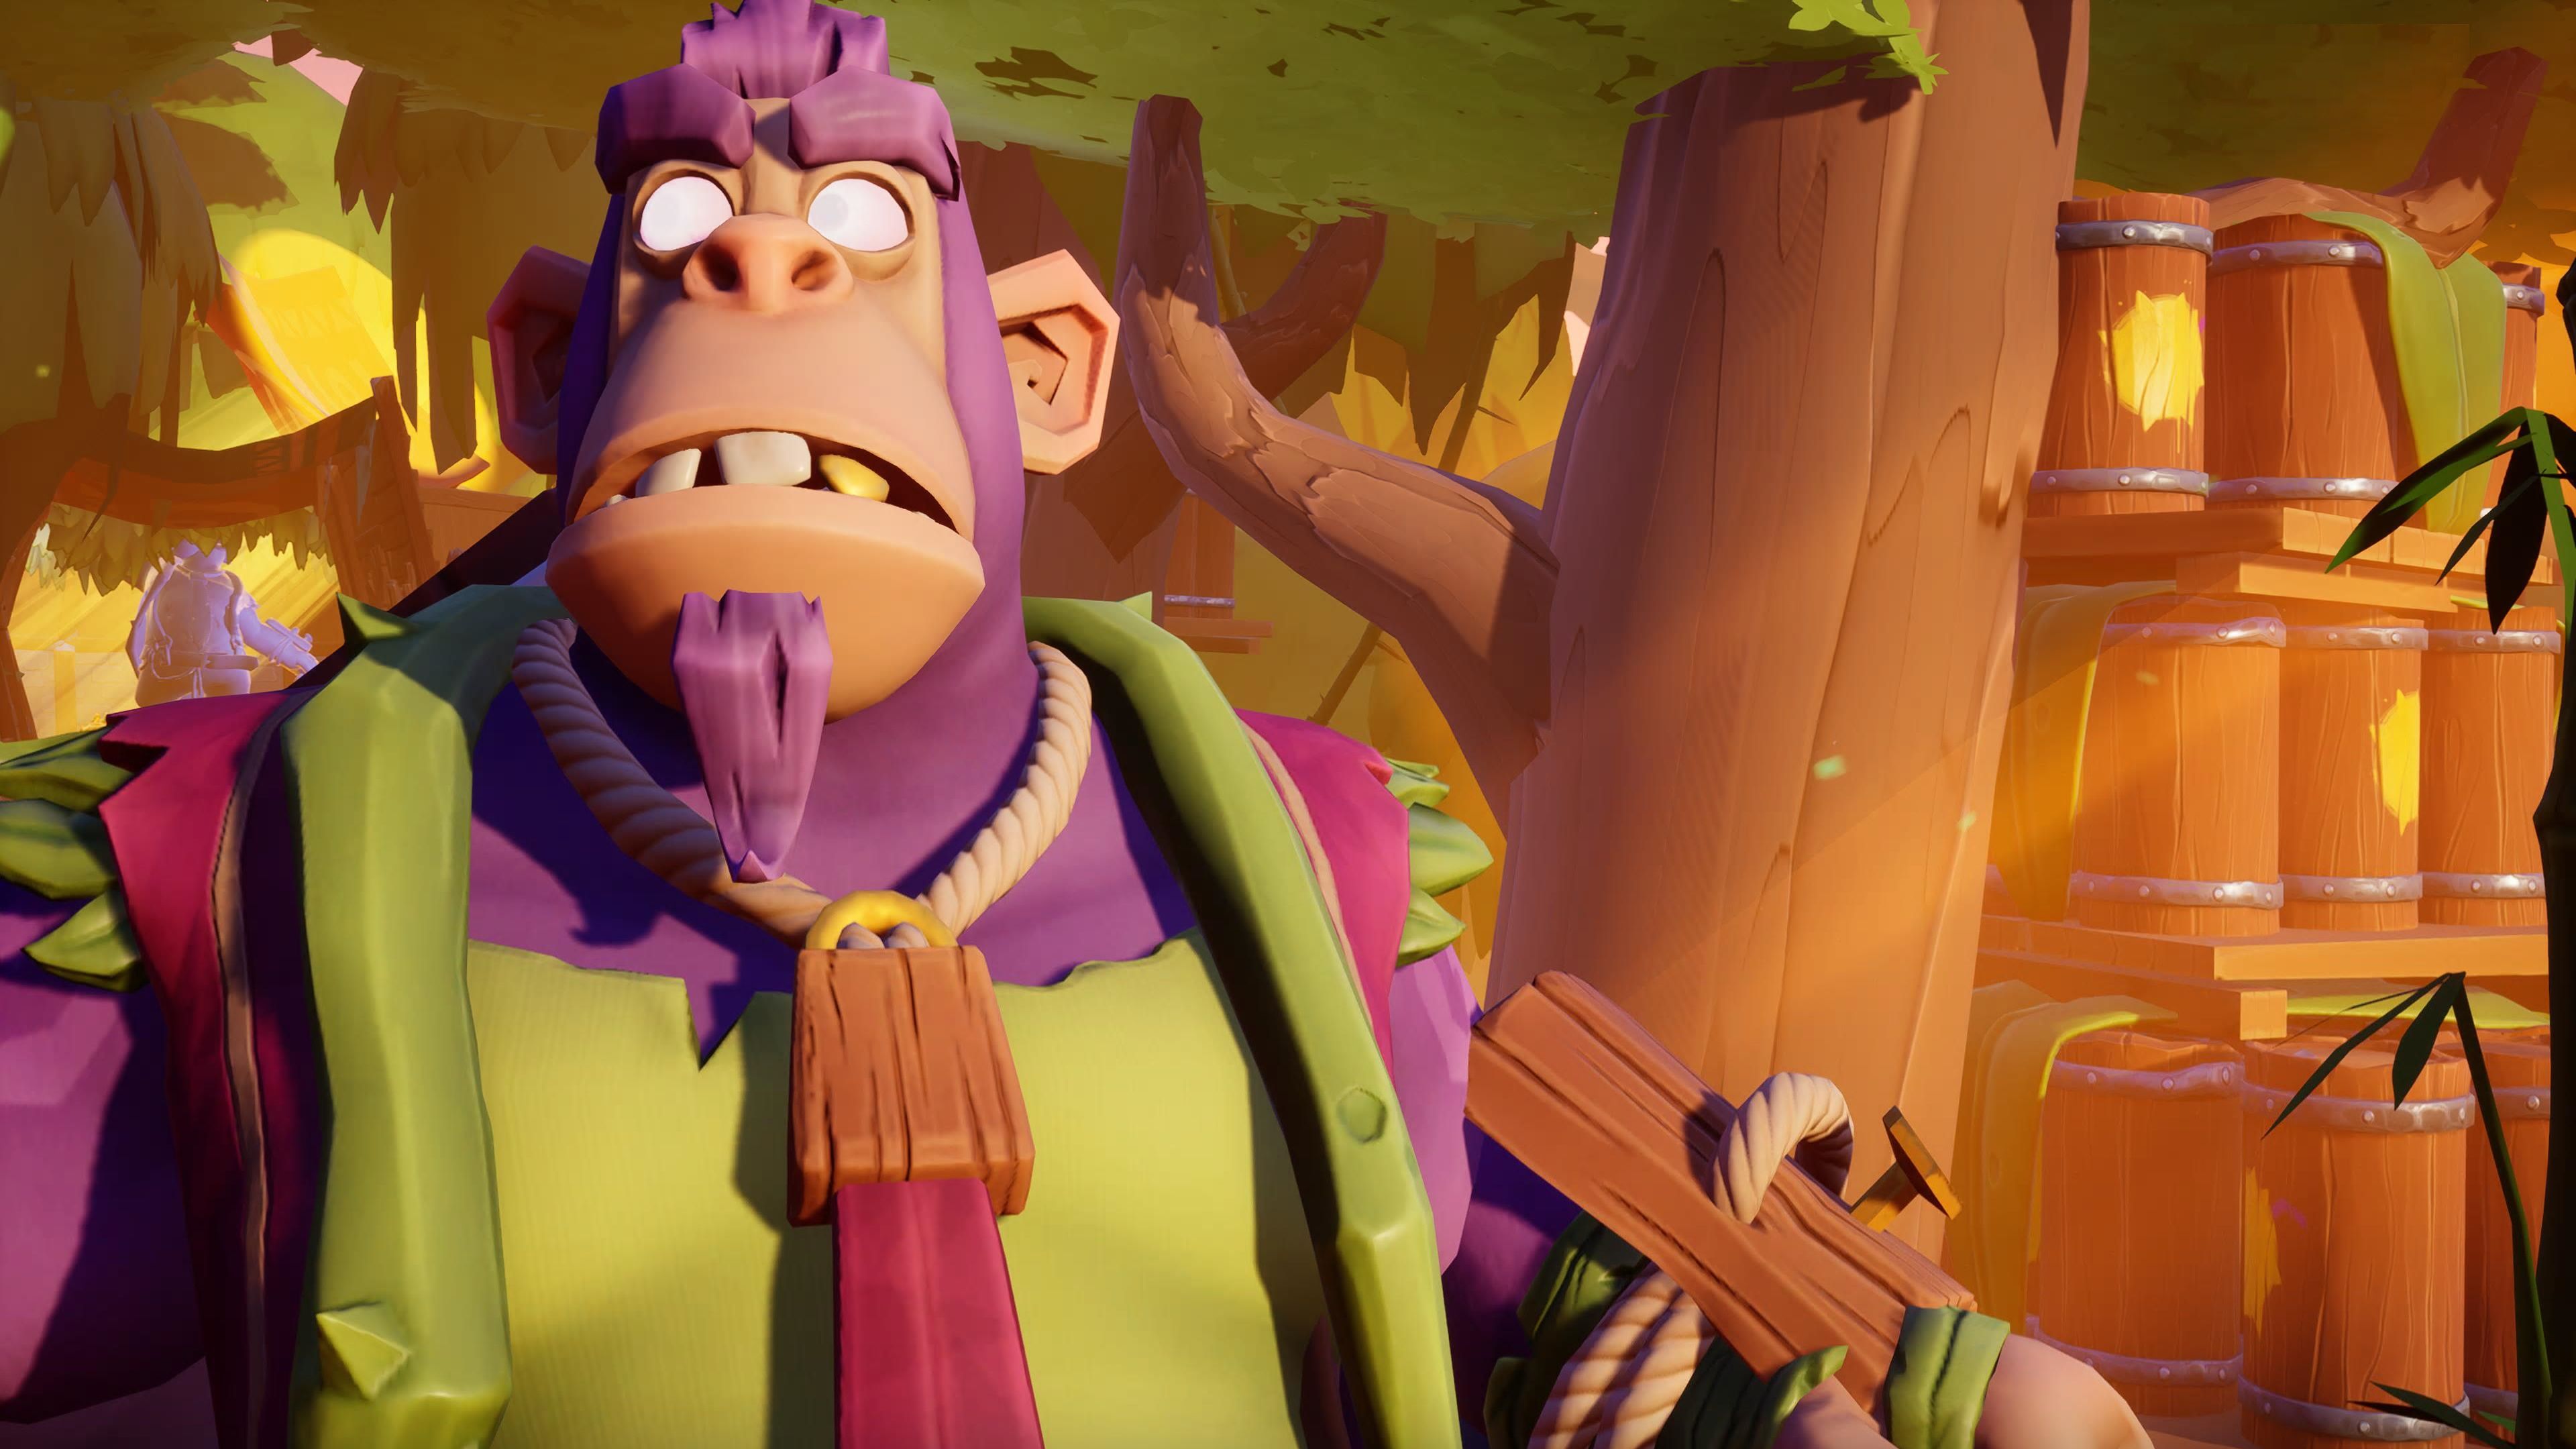
Jayabaya is a big hulking monstrosity. He will pounce from a great distance, and if you aren't prepared, you can absolutely get tagged by these attacks. However, he is also relatively predictable, and a well-placed roll will be all you need to claim victory.
Phase One
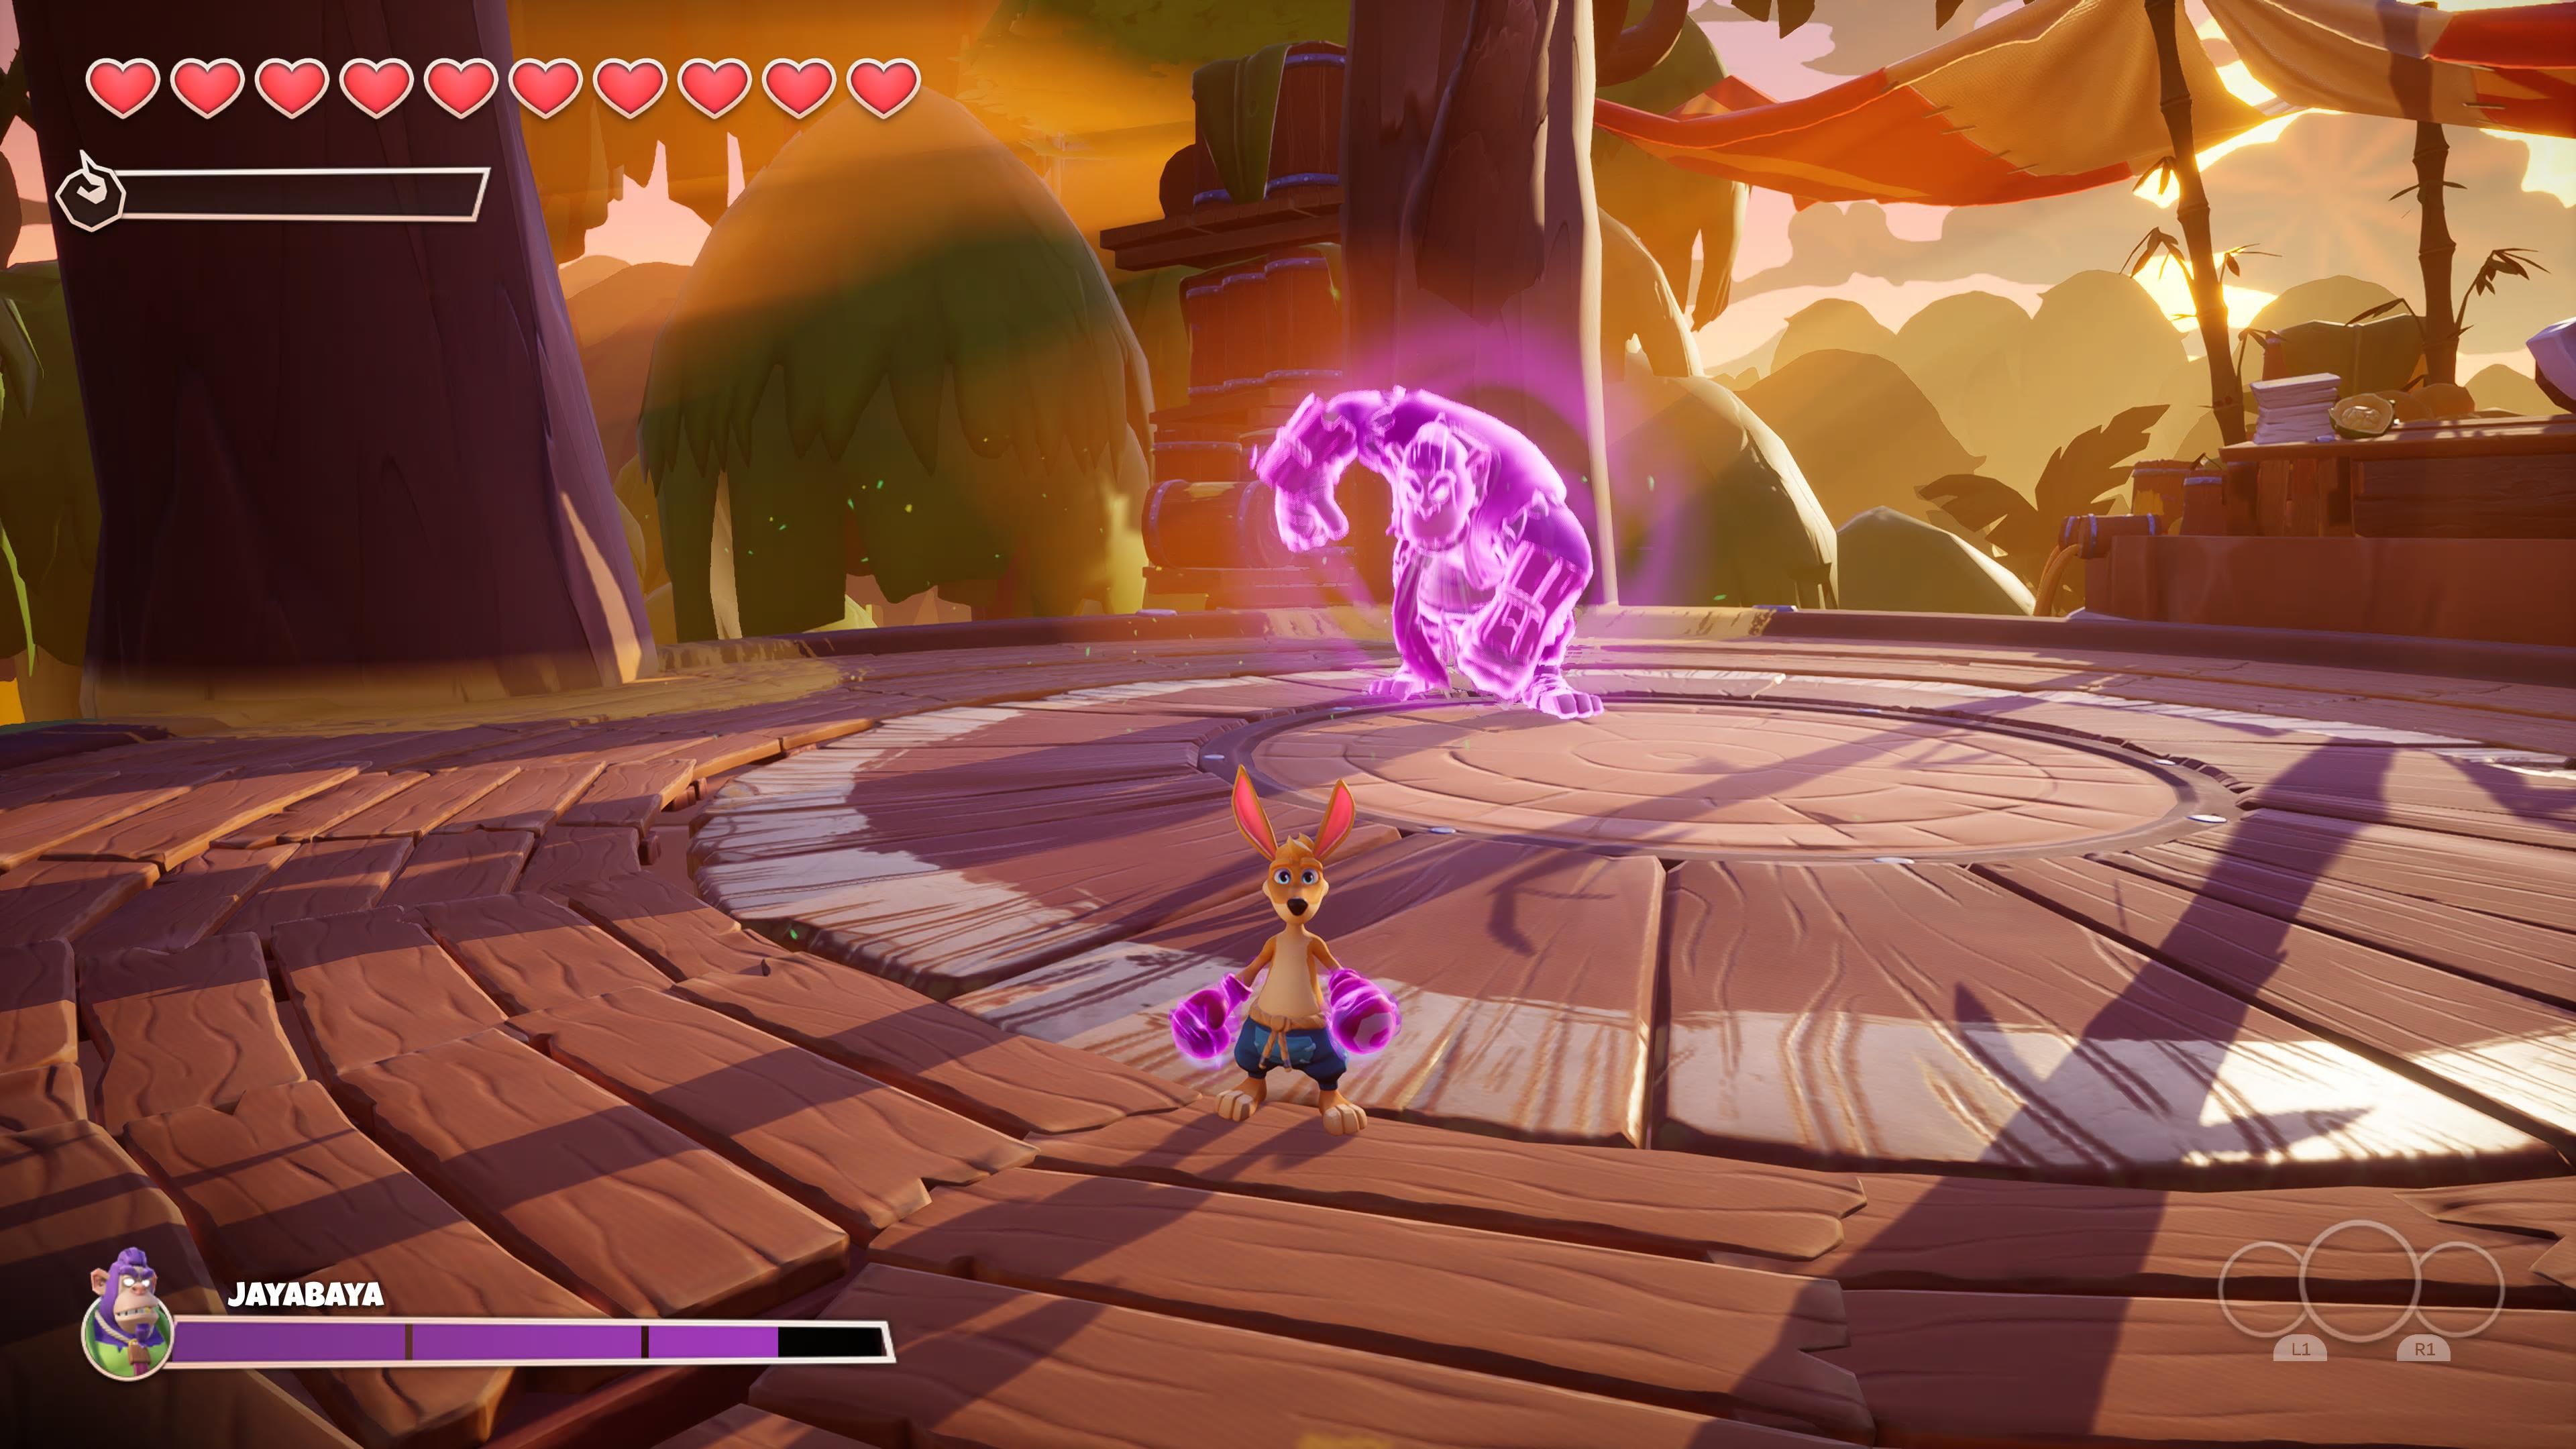
Jayabaya has two attacks in his first phase. He will pounce at you, which will require that you roll away from him. And he will charge at you. Which will also require that you roll away from him. He has a predictable sequence. He will pounce three times; the third time his hand will get stuck, leaving him open to attacks. And he after the third pounce he will charge at you once. After you dodge his charge, he will, once again, be open to attacks. He will rinse and repeat this pattern until you take away a third of his health.
Phase Two
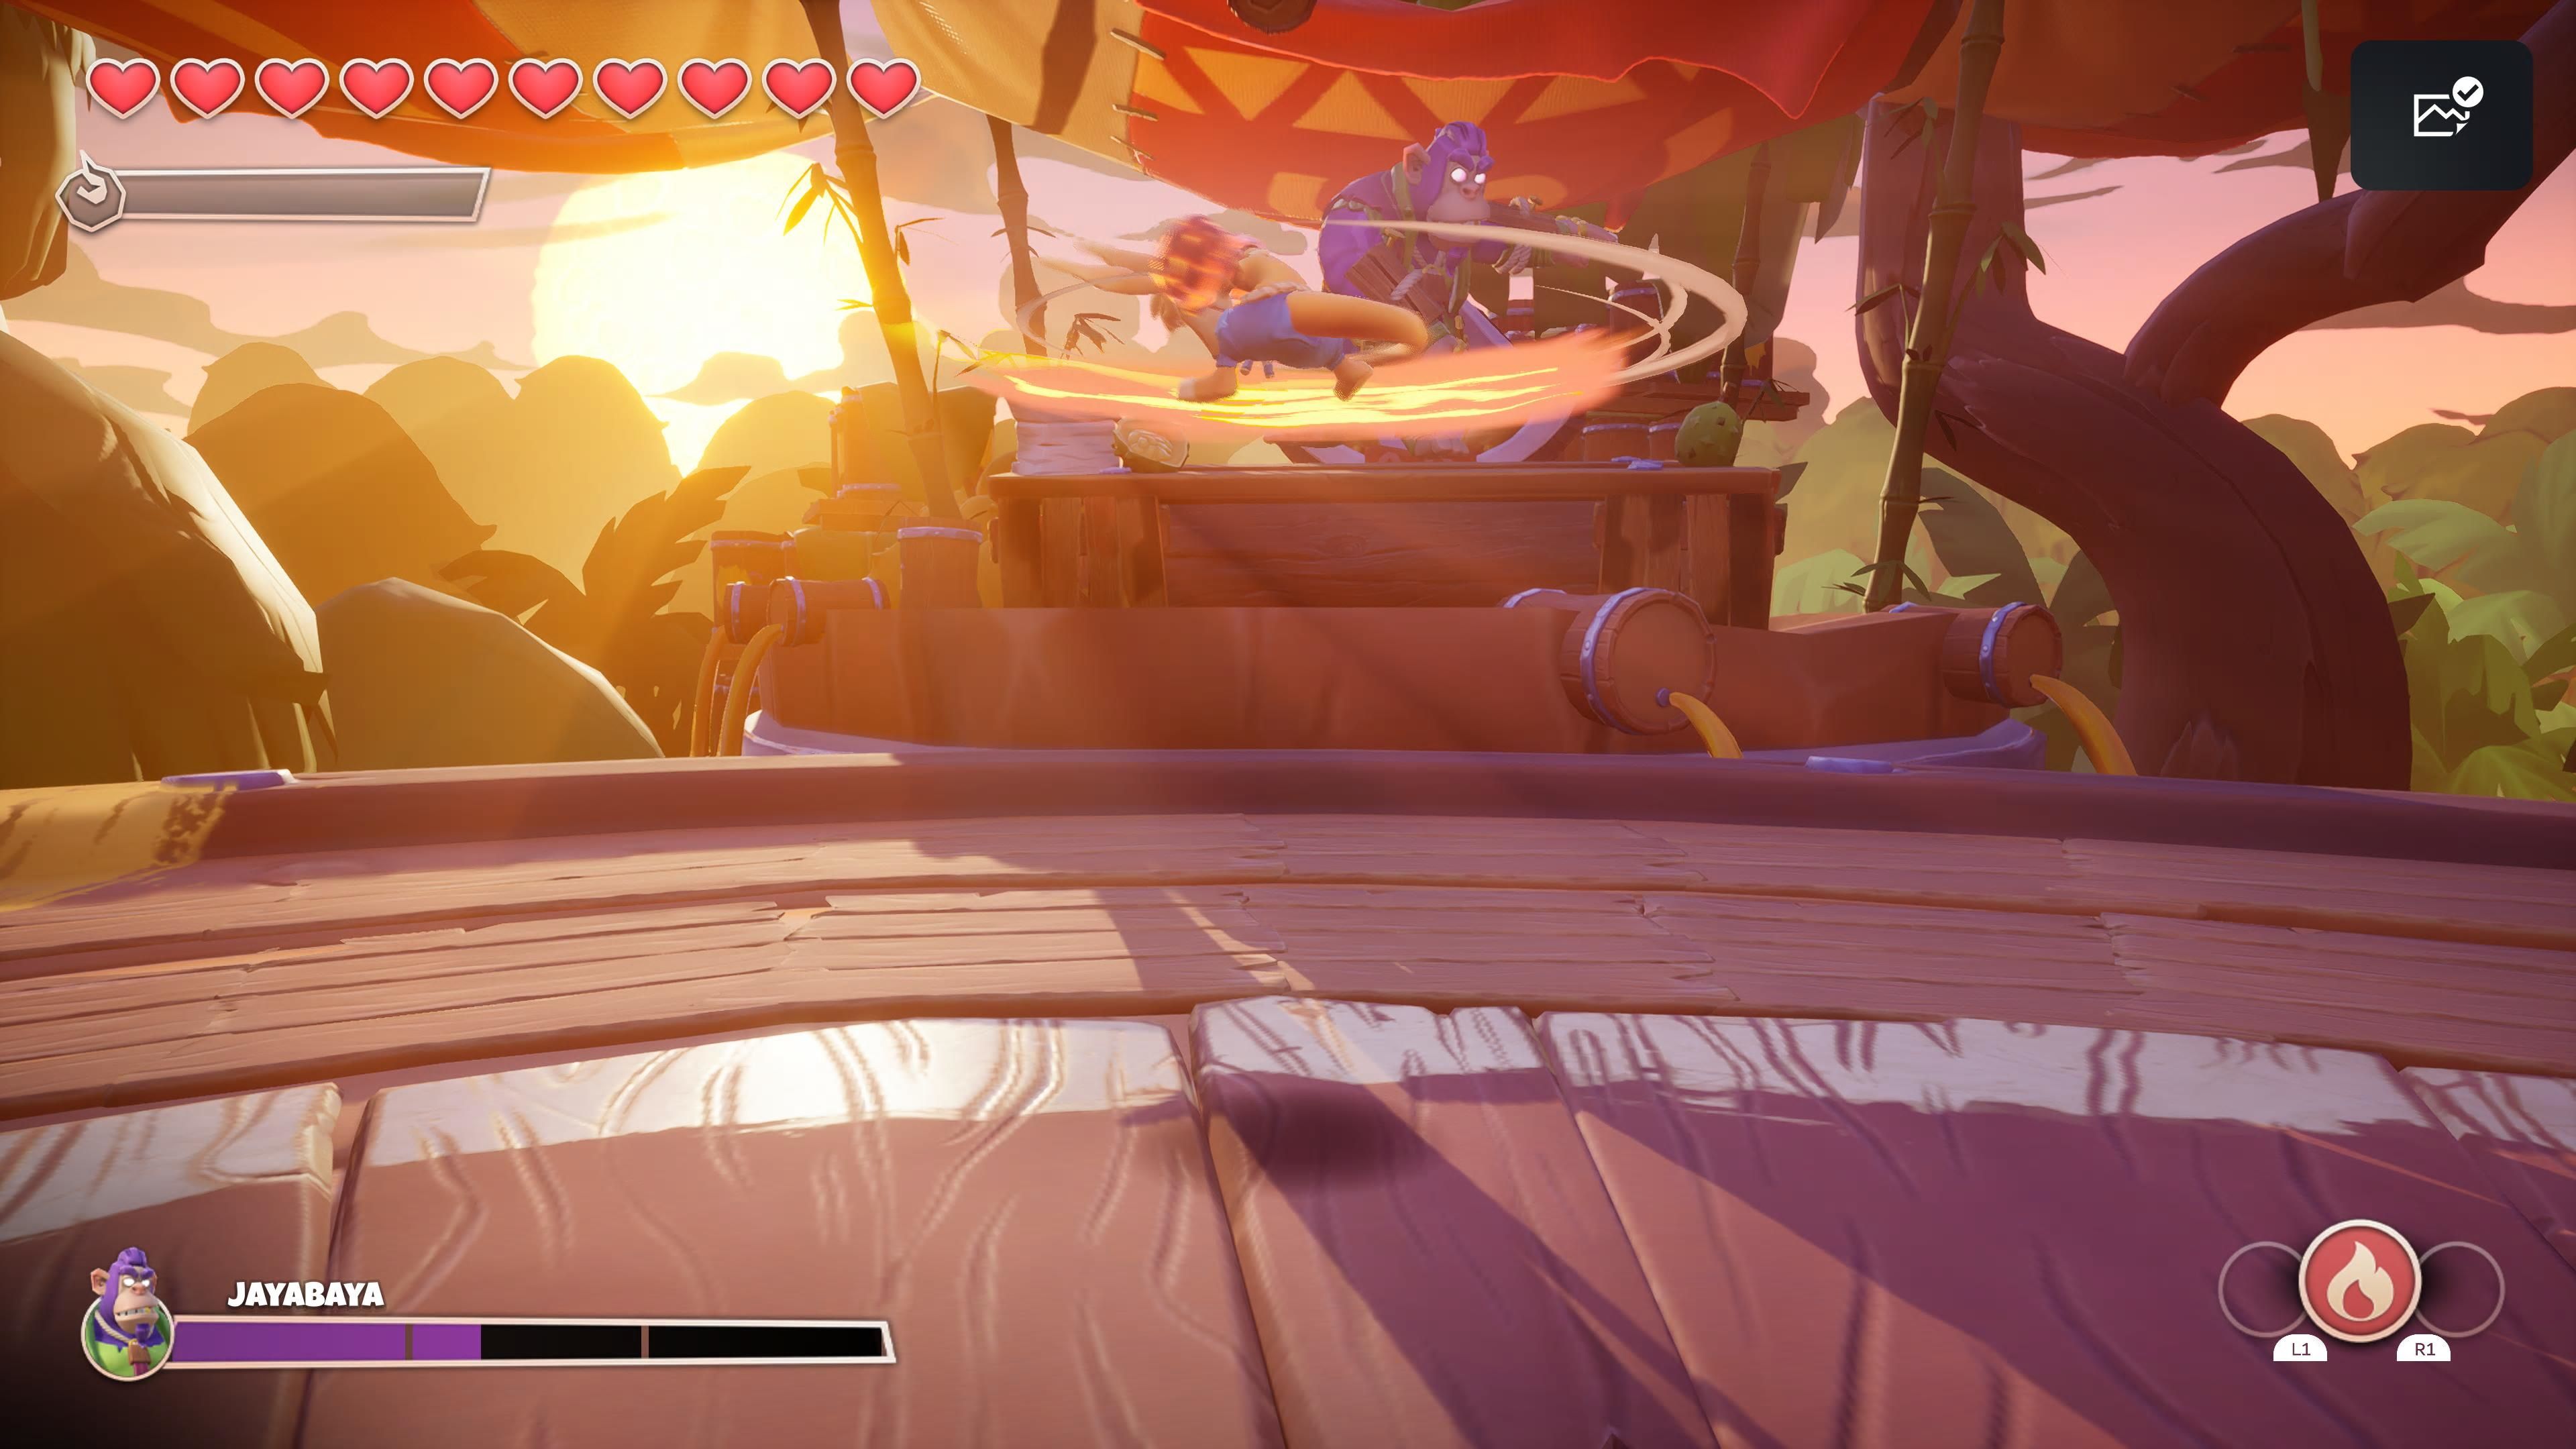
In this phase, Jayabaya will hop onto a distant platform and drink his juice. While he drinks, you will fight a gang of monkeys. Once you beat them, you will get a charge of your fire power. Now, Jayabaya will throw barrels at you; you simply need to jump up and deflect a barrel back at him mid-air. The timing here can be a little tricky, but don't worry about missing once or twice as he will keep throwing barrels at you until you deflect one successfully. Do this three times to beat this phase.
Phase Three
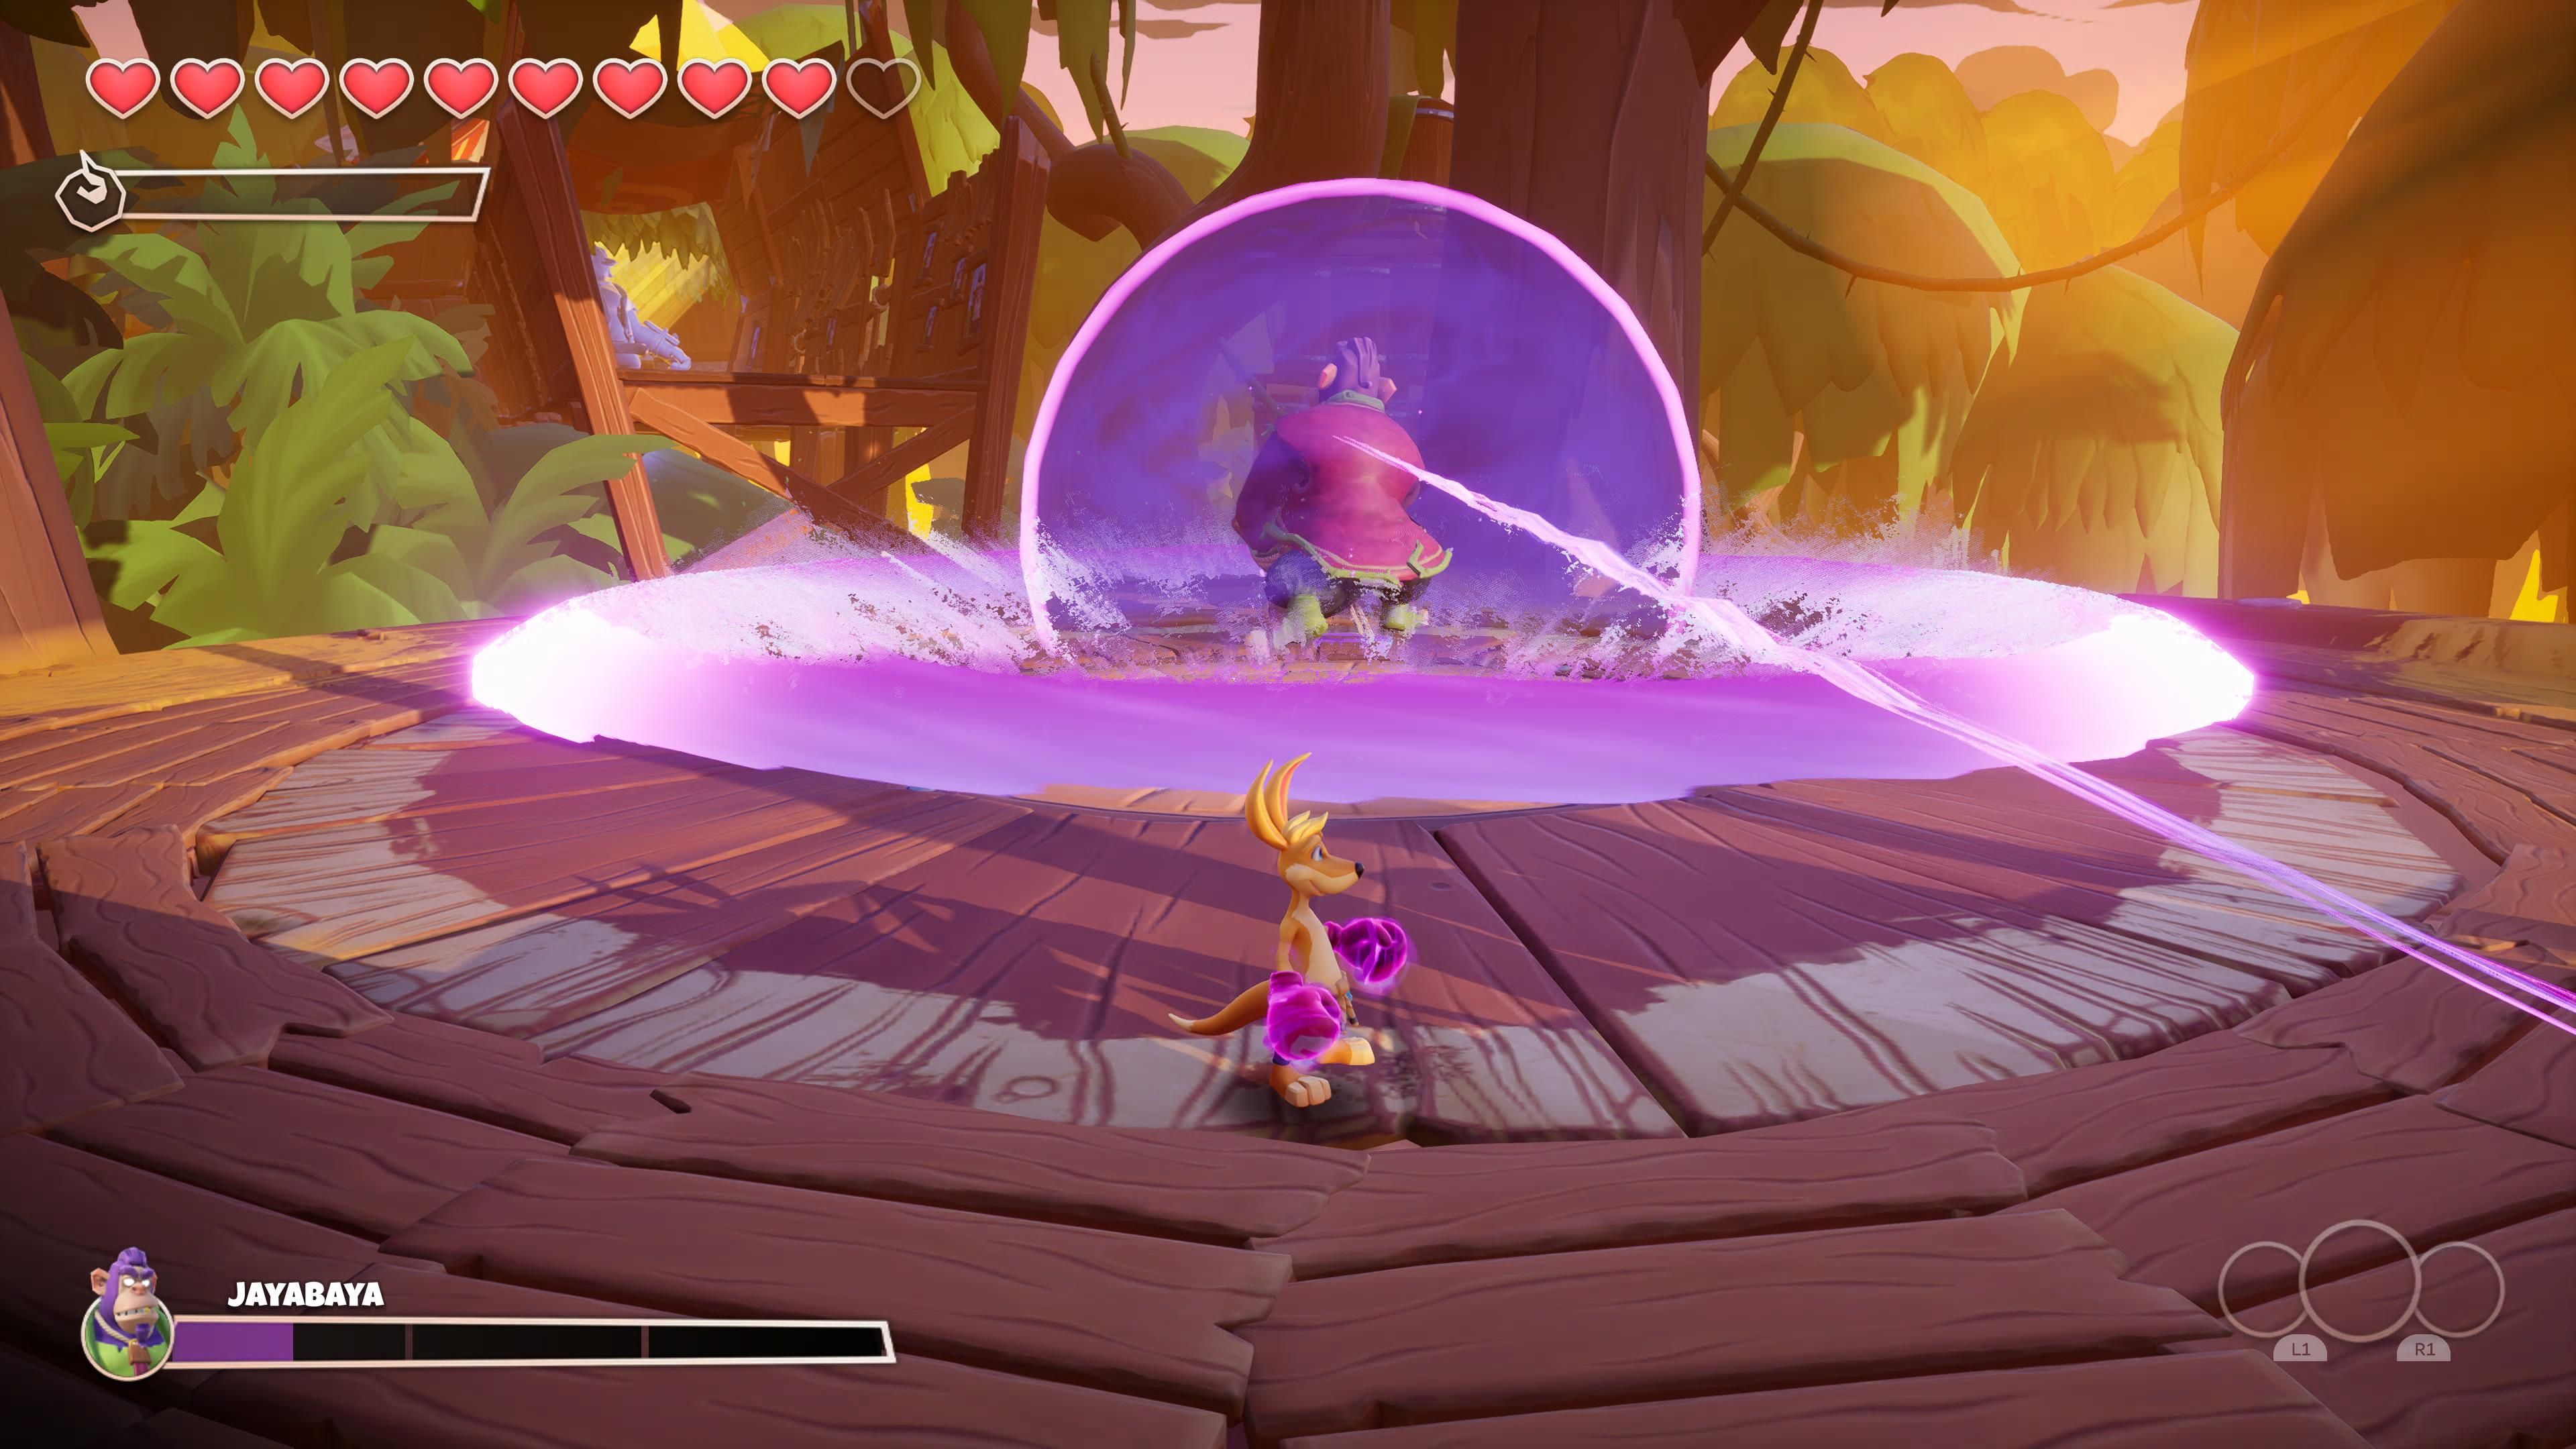
This phase is identical to the first phase with one notable exception: after the third pounce, as Jayabaya's hand is stuck in the ground, he will now be protected by a force field that will send waves of dark energy in every direction. Jump over the waves and destroy the crystal tethered to the force field. Once you have done this three times, you will have beaten Jayabaya.
How To Beat The Oldest One
Overview
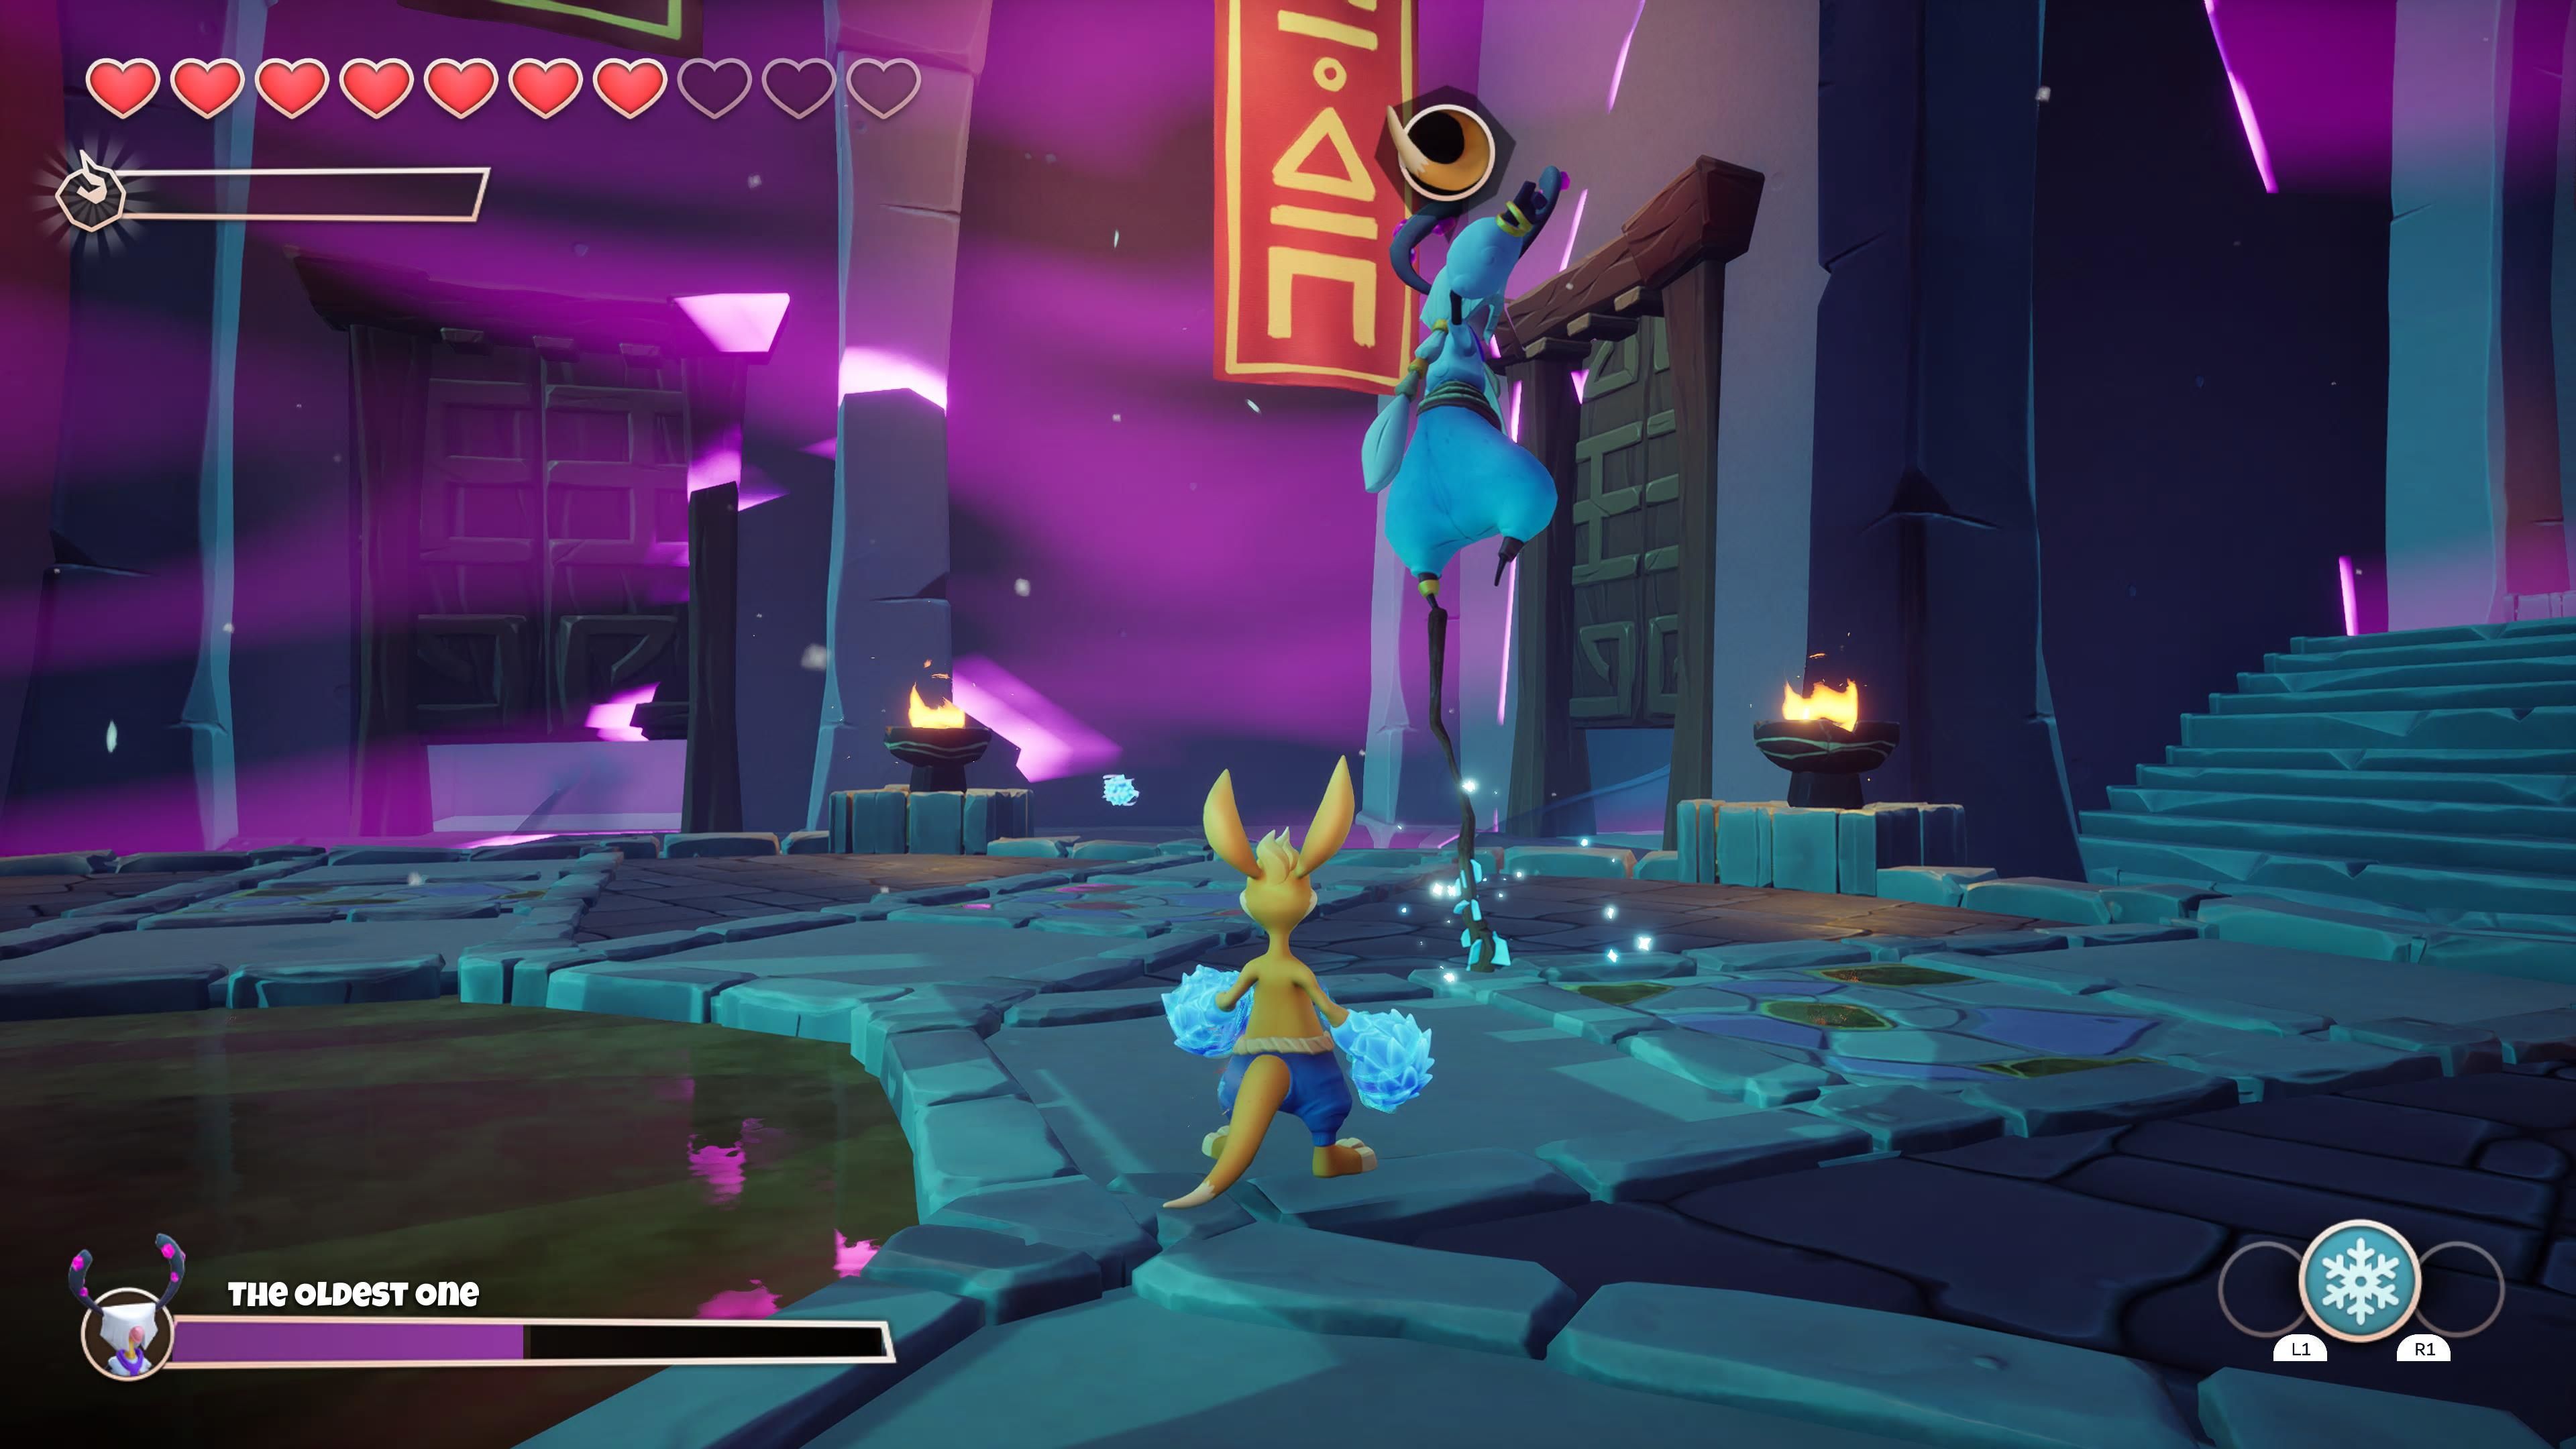
The Oldest One comes packing two phases: one fairly simple one where you need to deflect her attacks, and another more difficult one where you need to deal with The Oldest one and her four clones.
Phase One
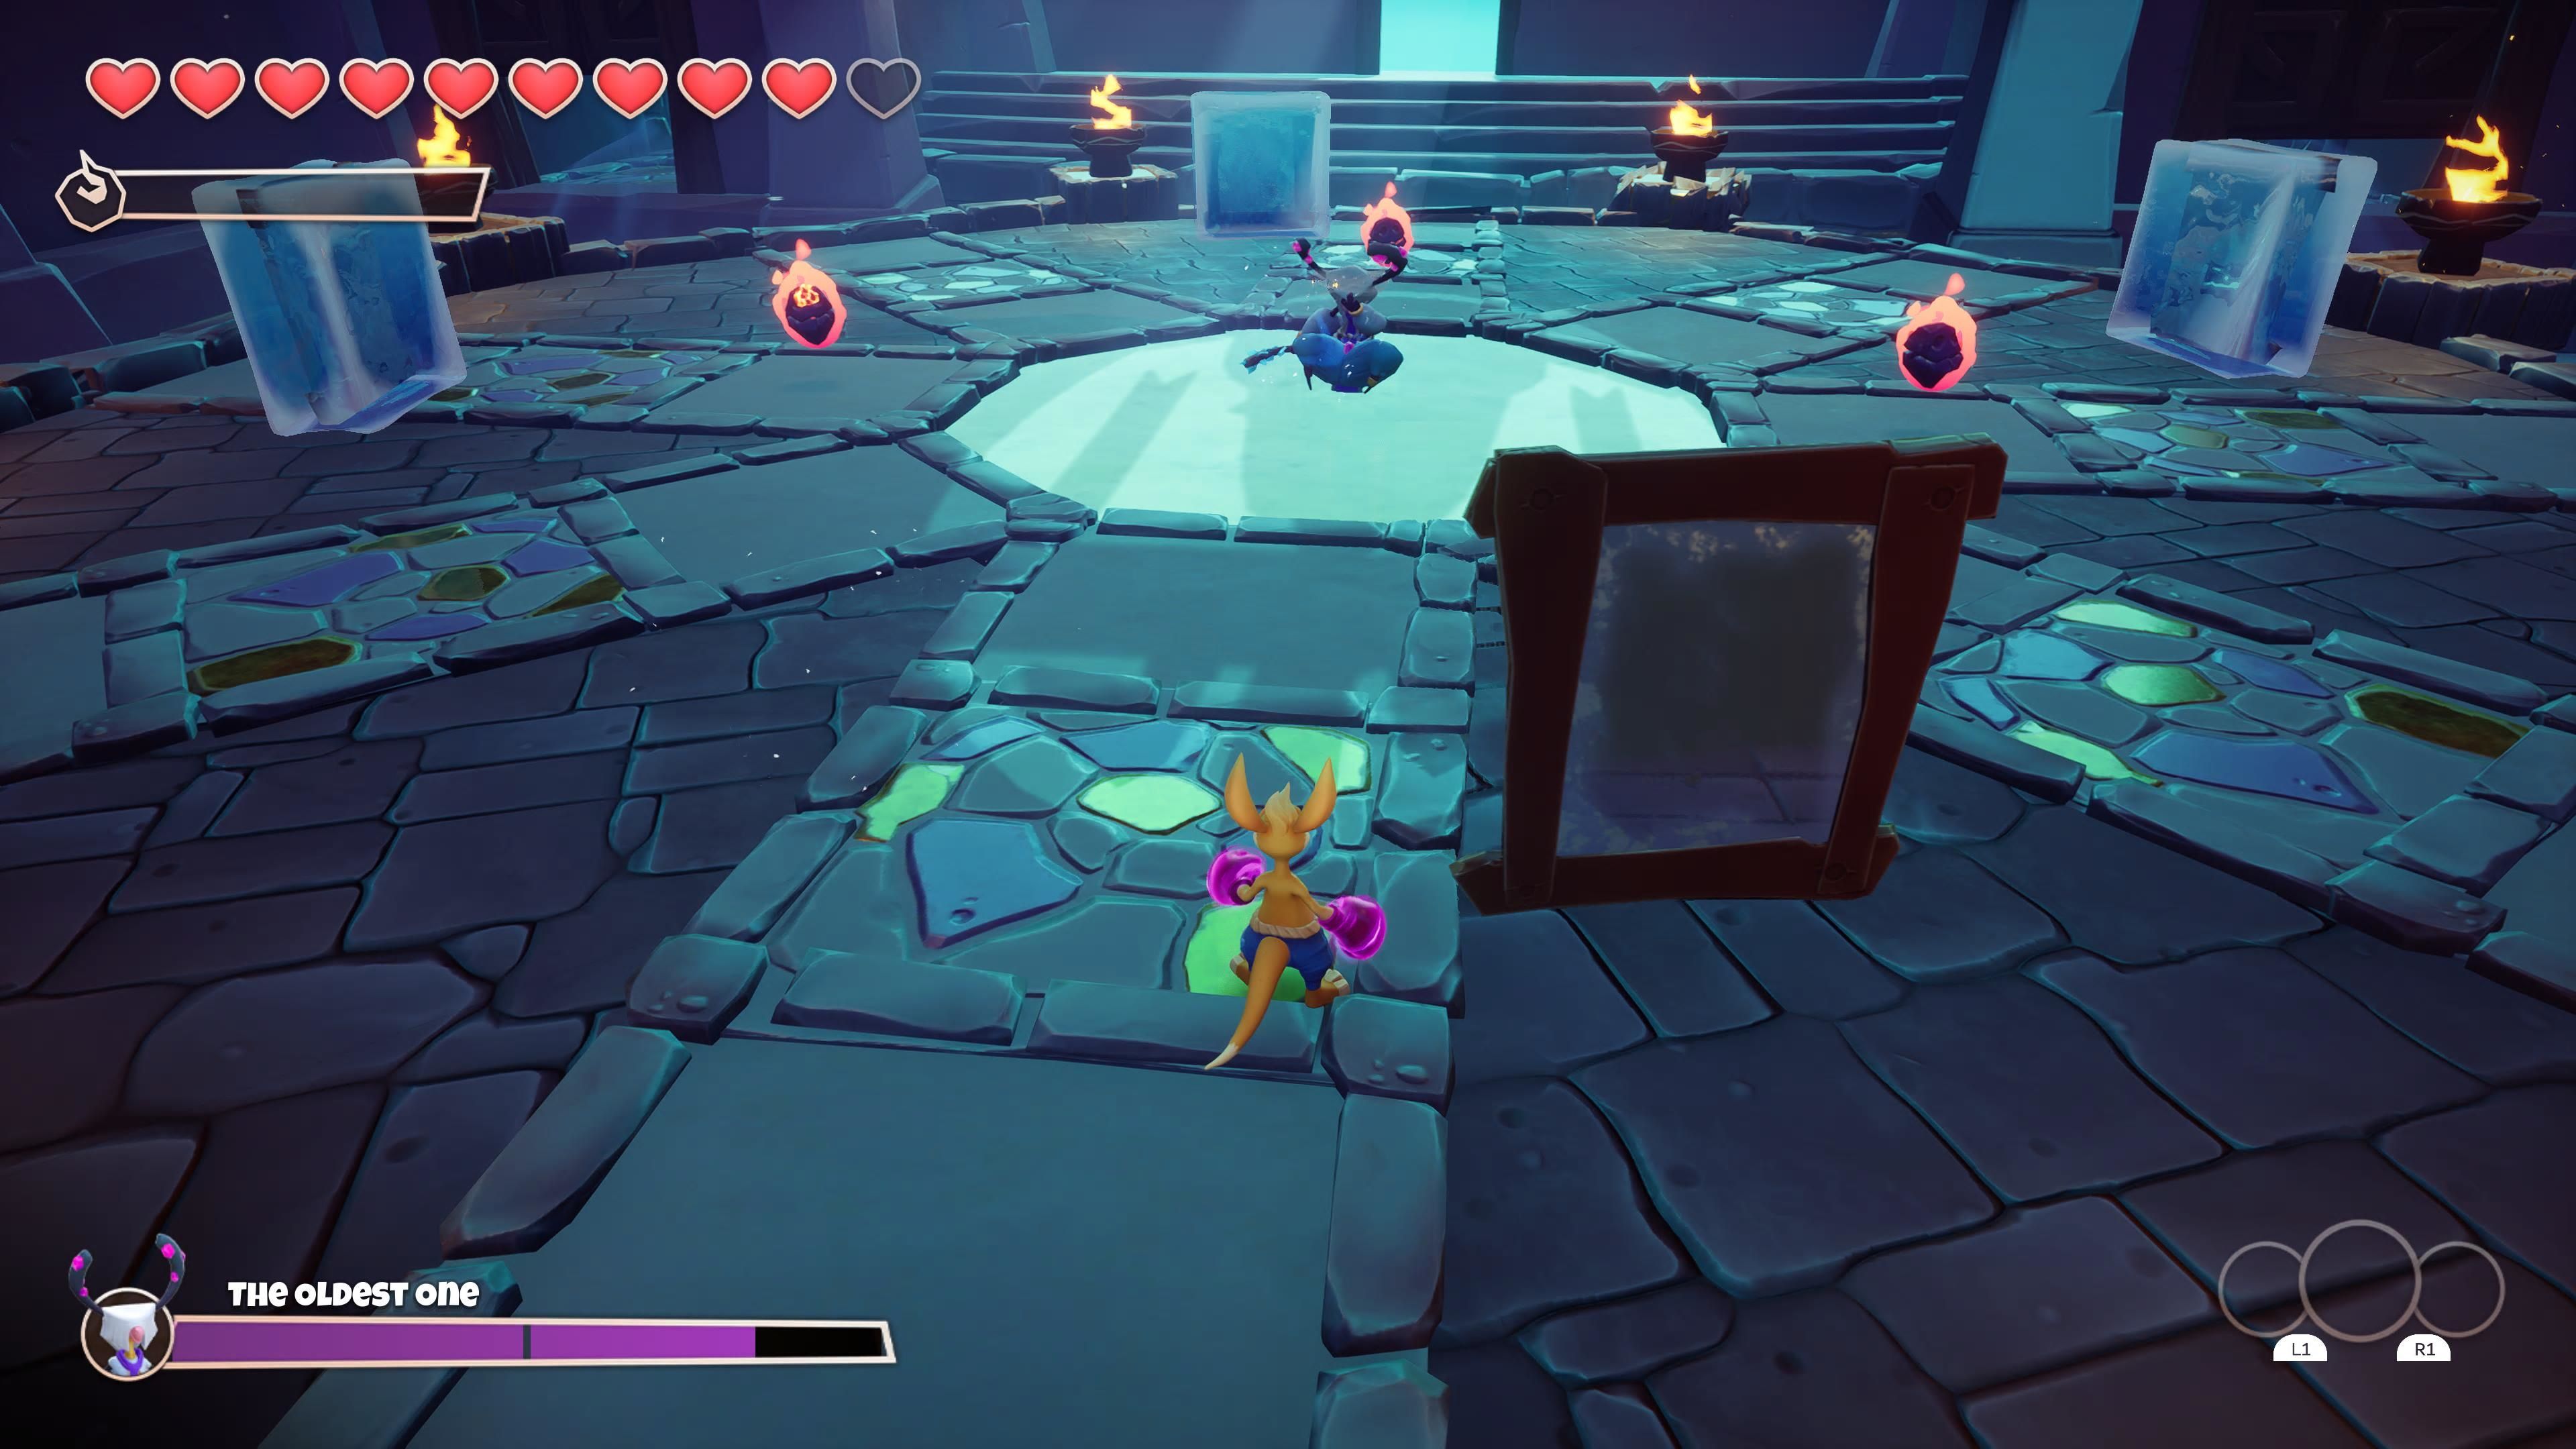
All you need to do here is use a charge of your fire attack to melt the ice around a mirror, then hide behind said mirror in order to deflect The Oldest One's attack back at her. This will dizzy her and give you an opening to get in a few punches. After you do this the first time, the mirrors will start to rotate. Once she gets up after you get your punches in, she will send out a wave of energy that will refreeze the mirrors. Make sure to jump over it. You will have to deflect her shots back at her about three times before she will move on to her next phase.
Phase 2
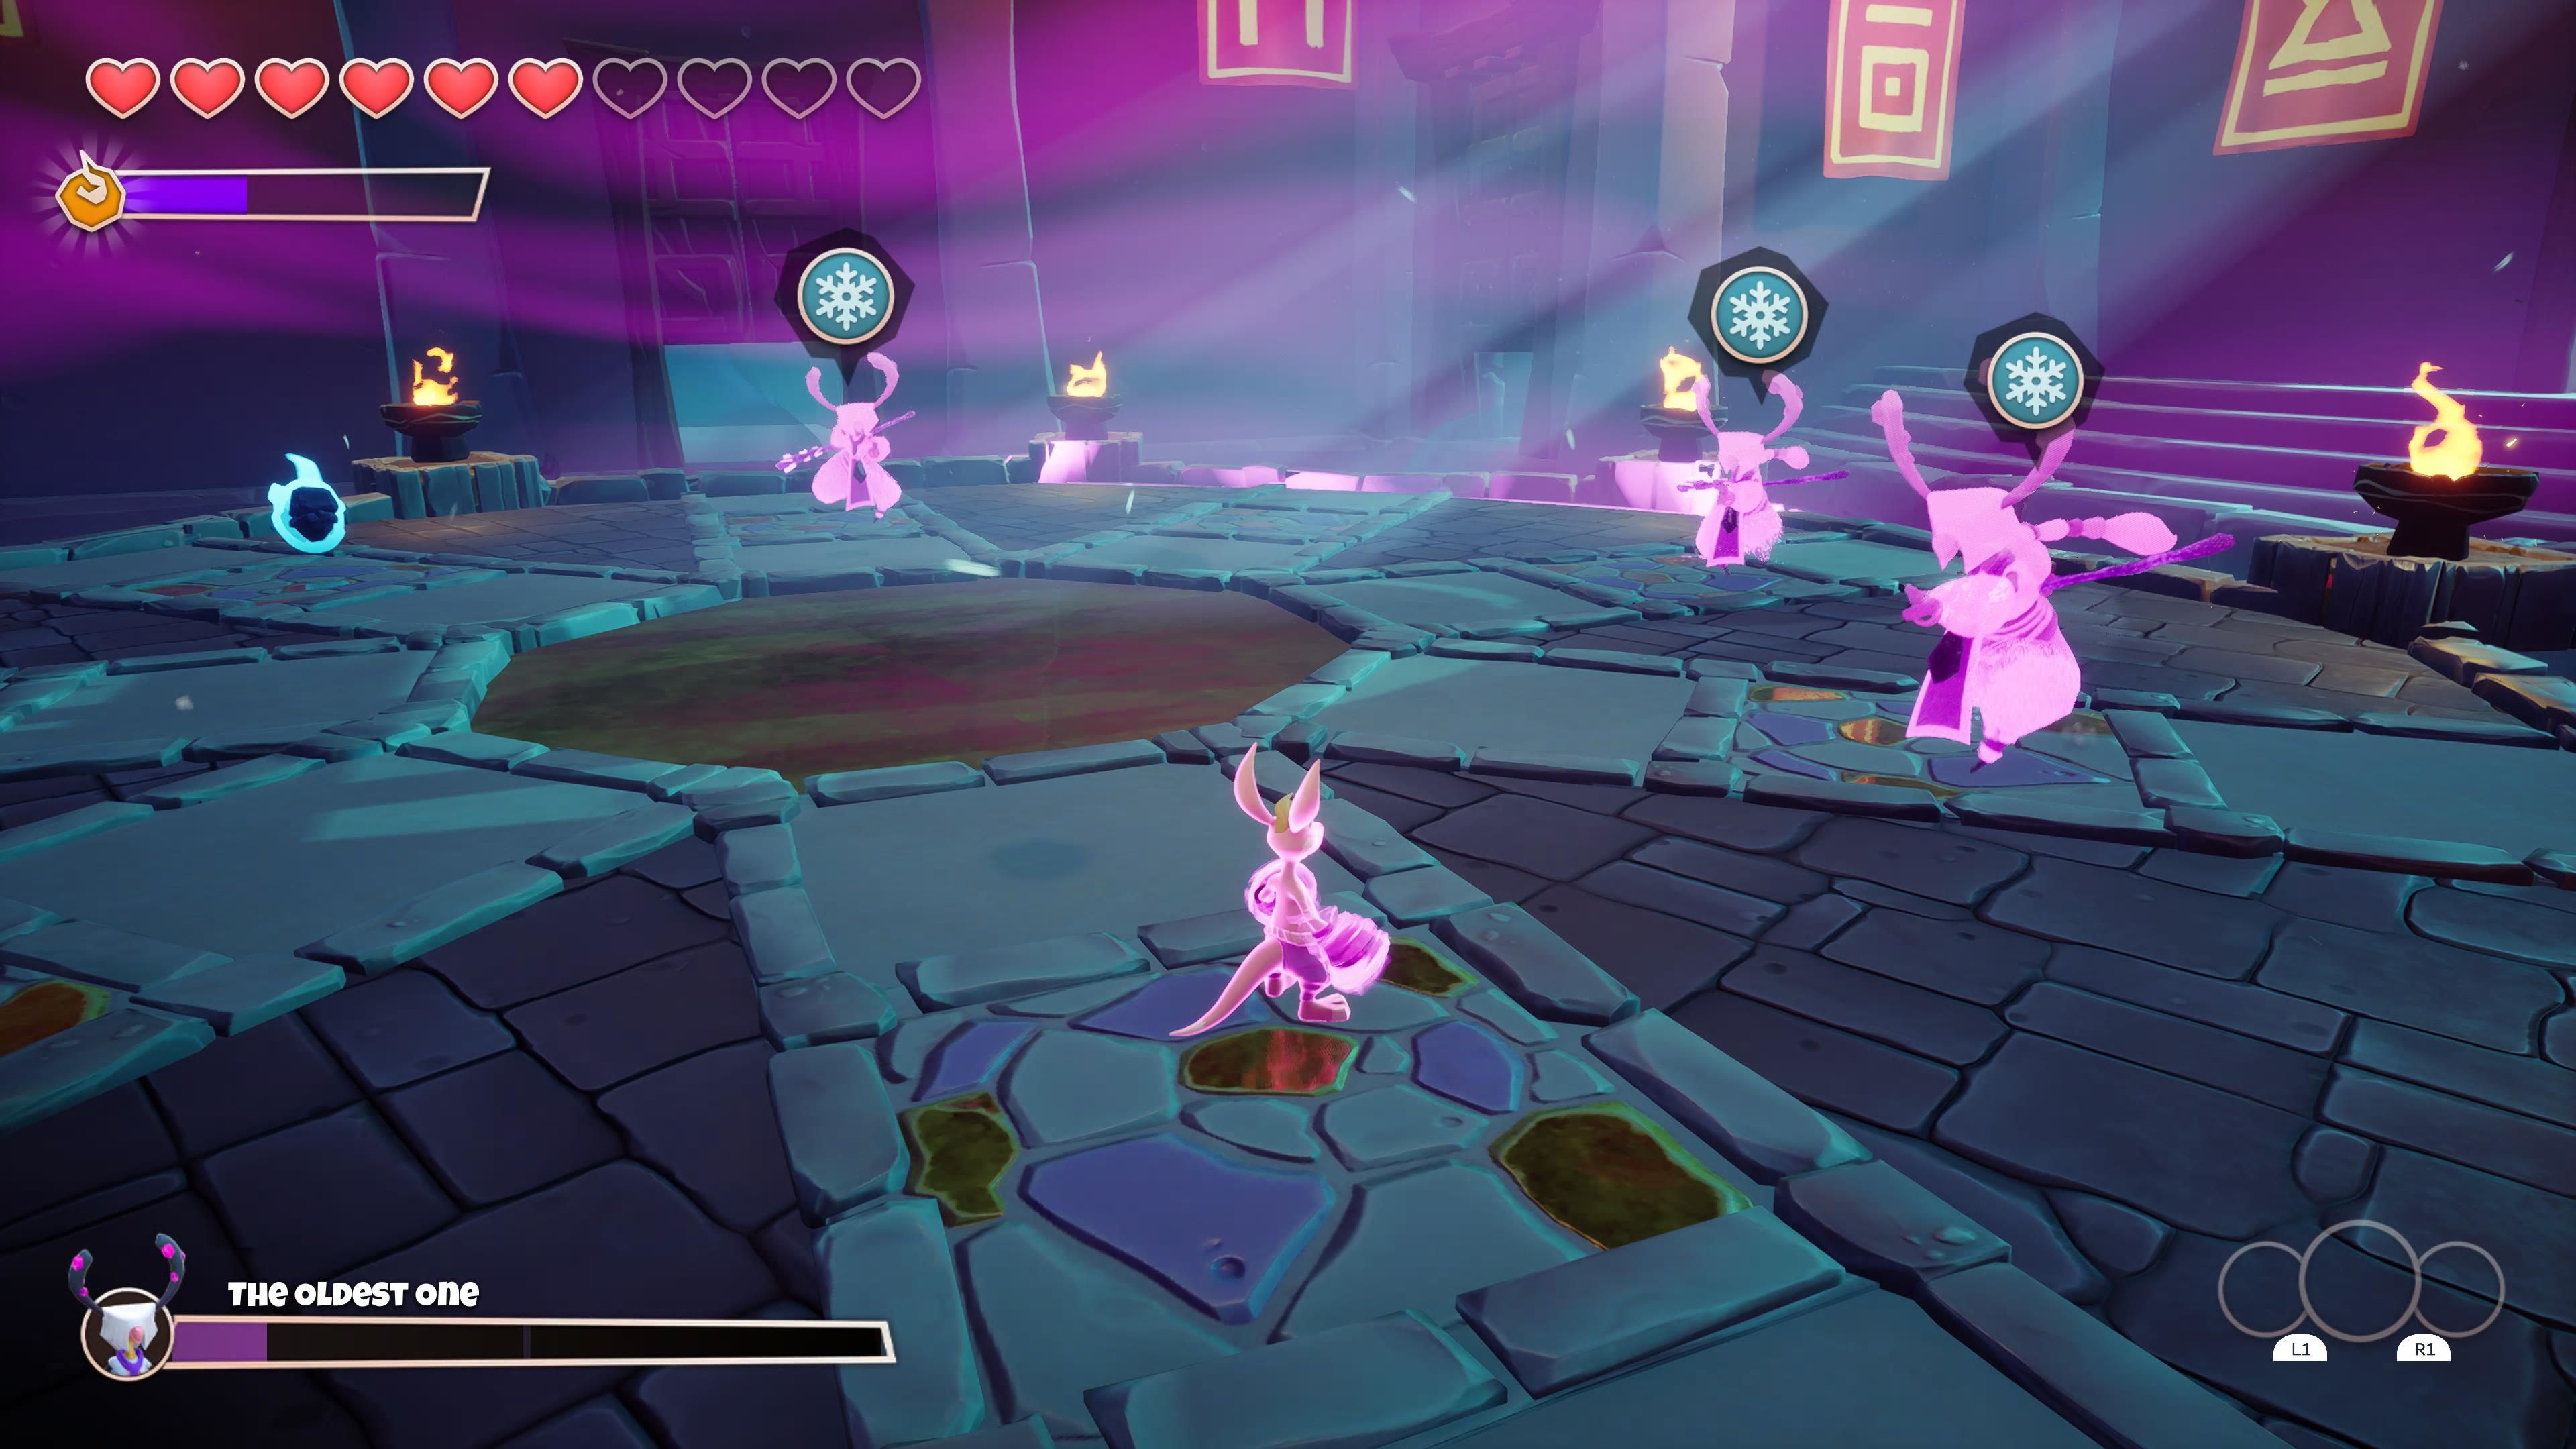
The Oldest One's second phase is a little trickier. She will now appear as five separate versions of herself. You need to find the real Oldest One. In order to do that, you will have to use your ice attack. The best thing to do is to run right to the ice totem and get as many charges in as you can. If you attack thoughtlessly, you will definitely take some damage. So, you should try to pick your shots.
The Oldest One only has one attack pattern. She will do a three-hit combo and then balance on her staff. When she is balancing on her staff she is at her most vulnerable. Watch out, as her attacks have surprisingly good range, which can be tricky when you are fighting five of her. Thankfully, your ice attack will either reveal her to be the real deal, or it will freeze a clone.
Once you reveal the real Oldest One, hit her while she is balancing on her staff and she will be dizzied. Do enough damage and she will summon her clones again. Once you have uncovered her three times you will win this battle.
How To Beat The Eternal Warrior
Overview
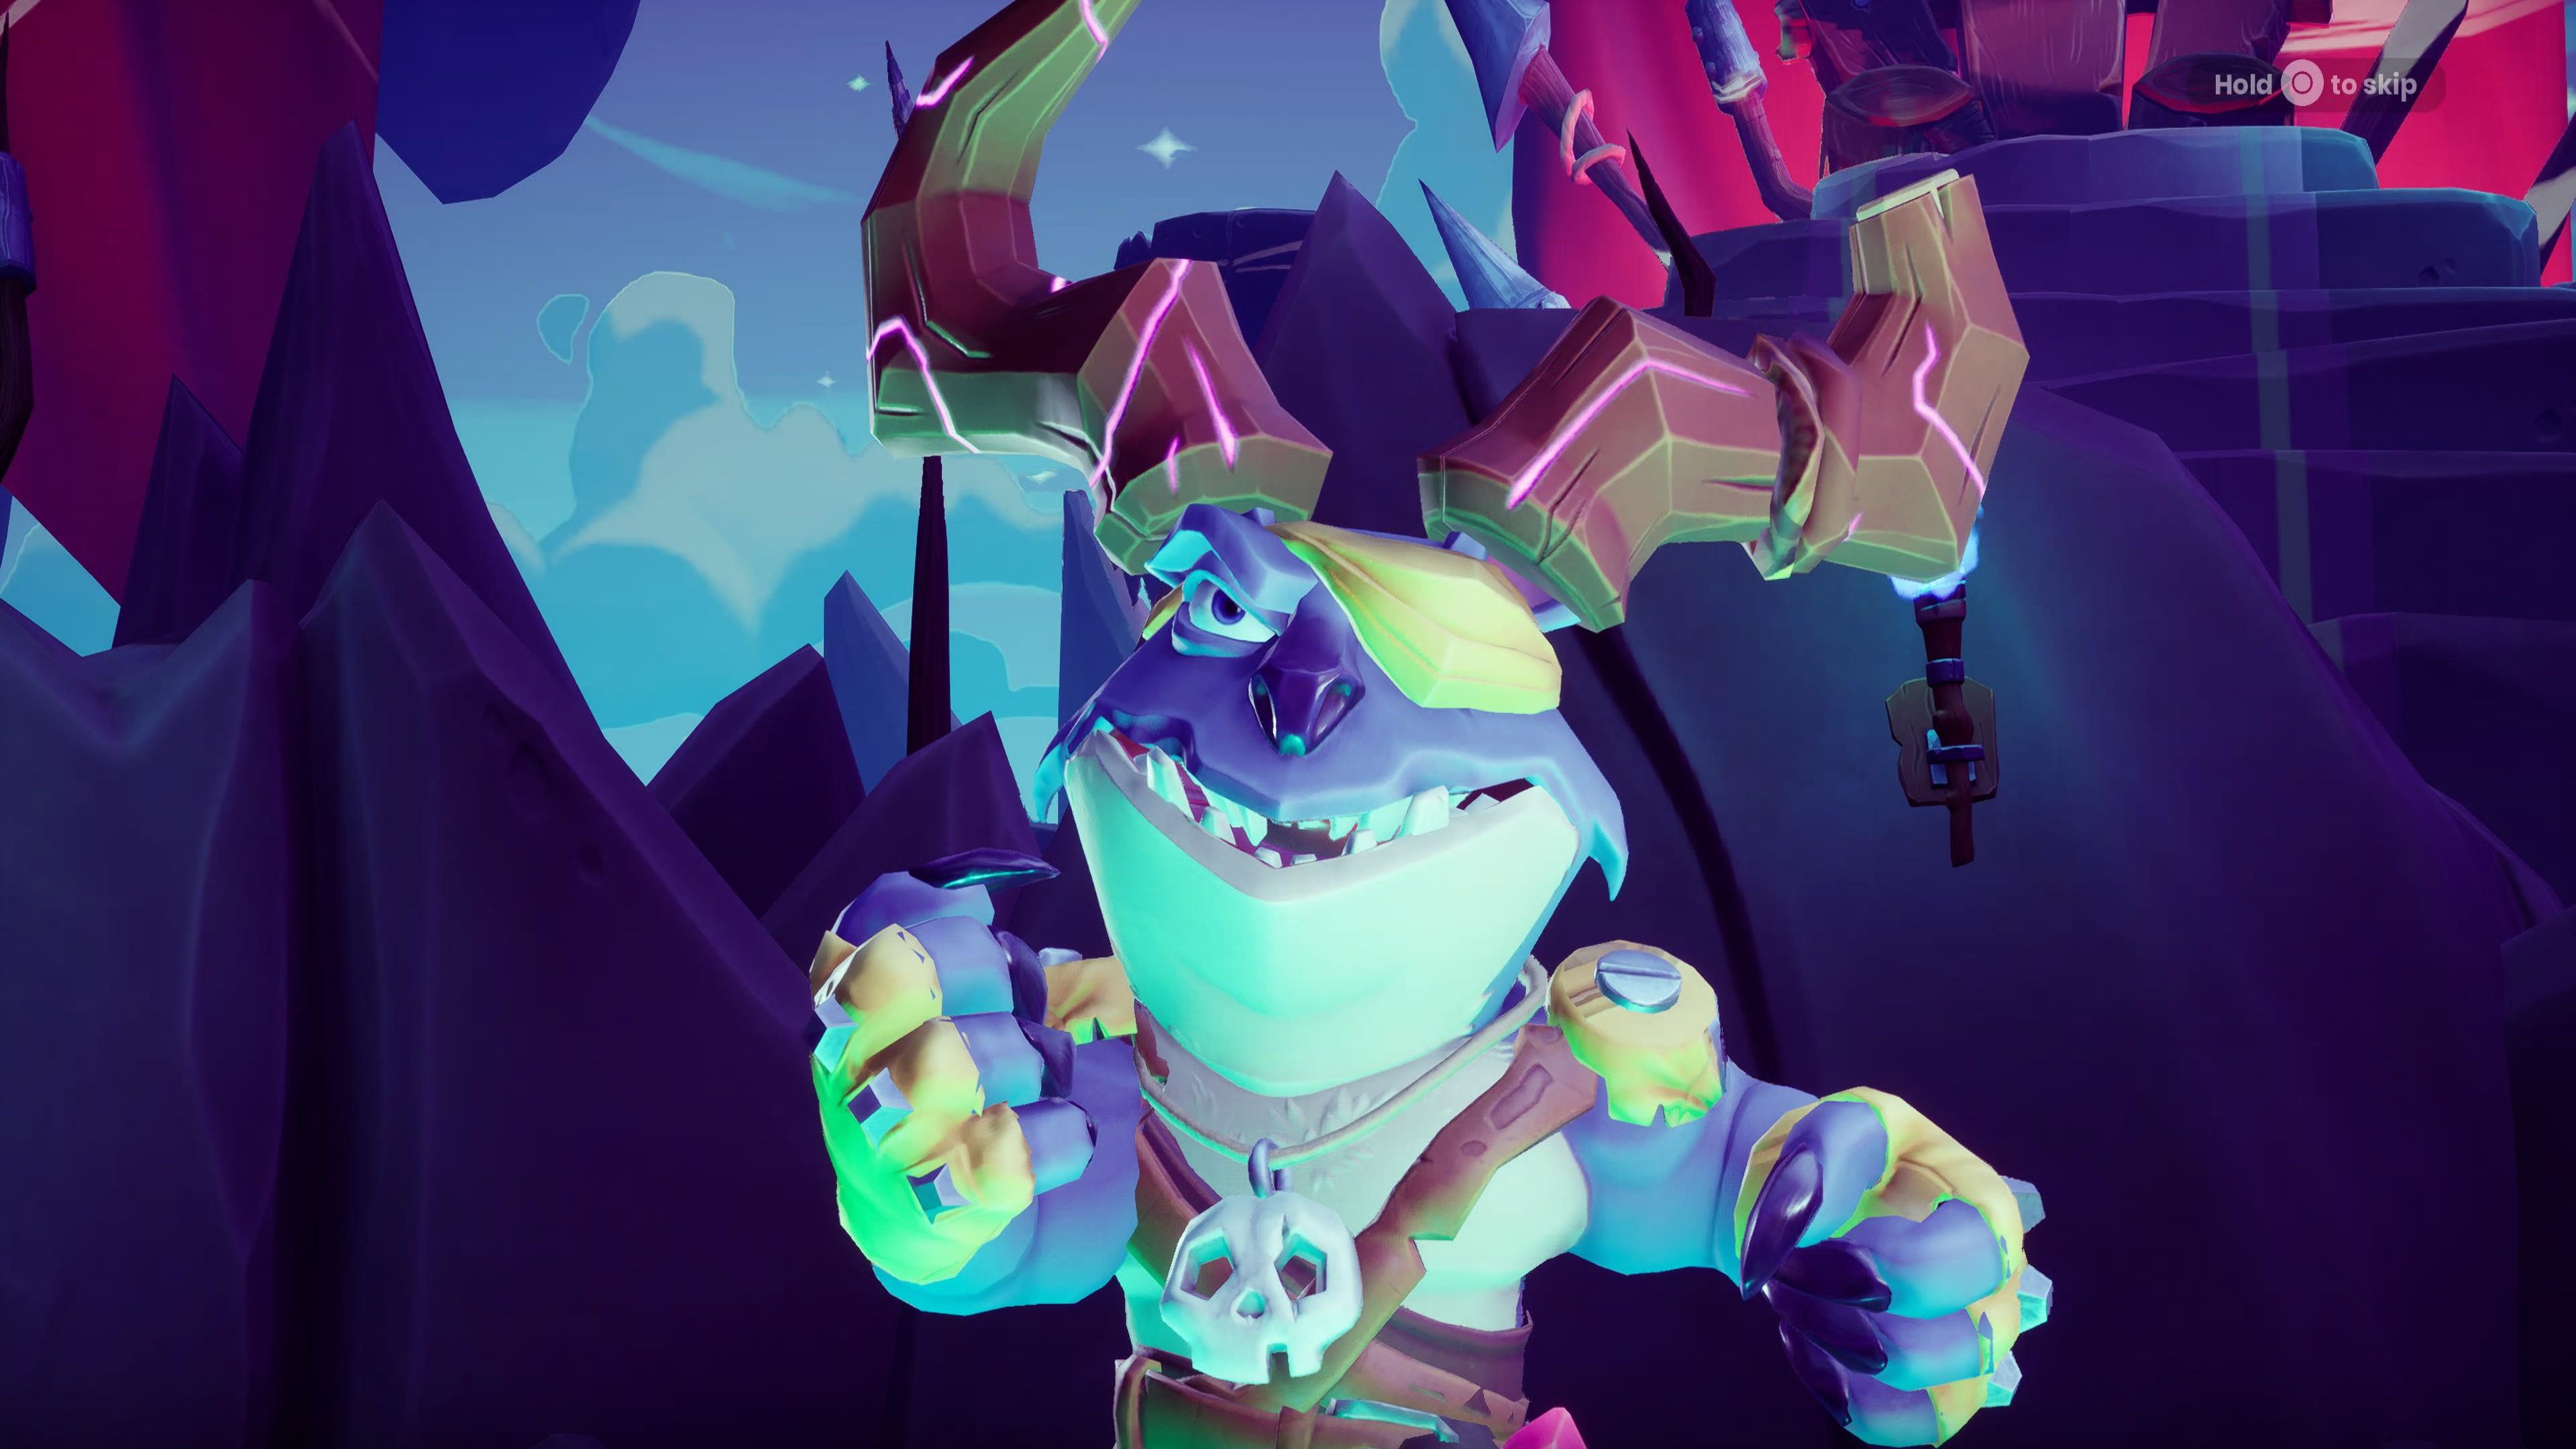
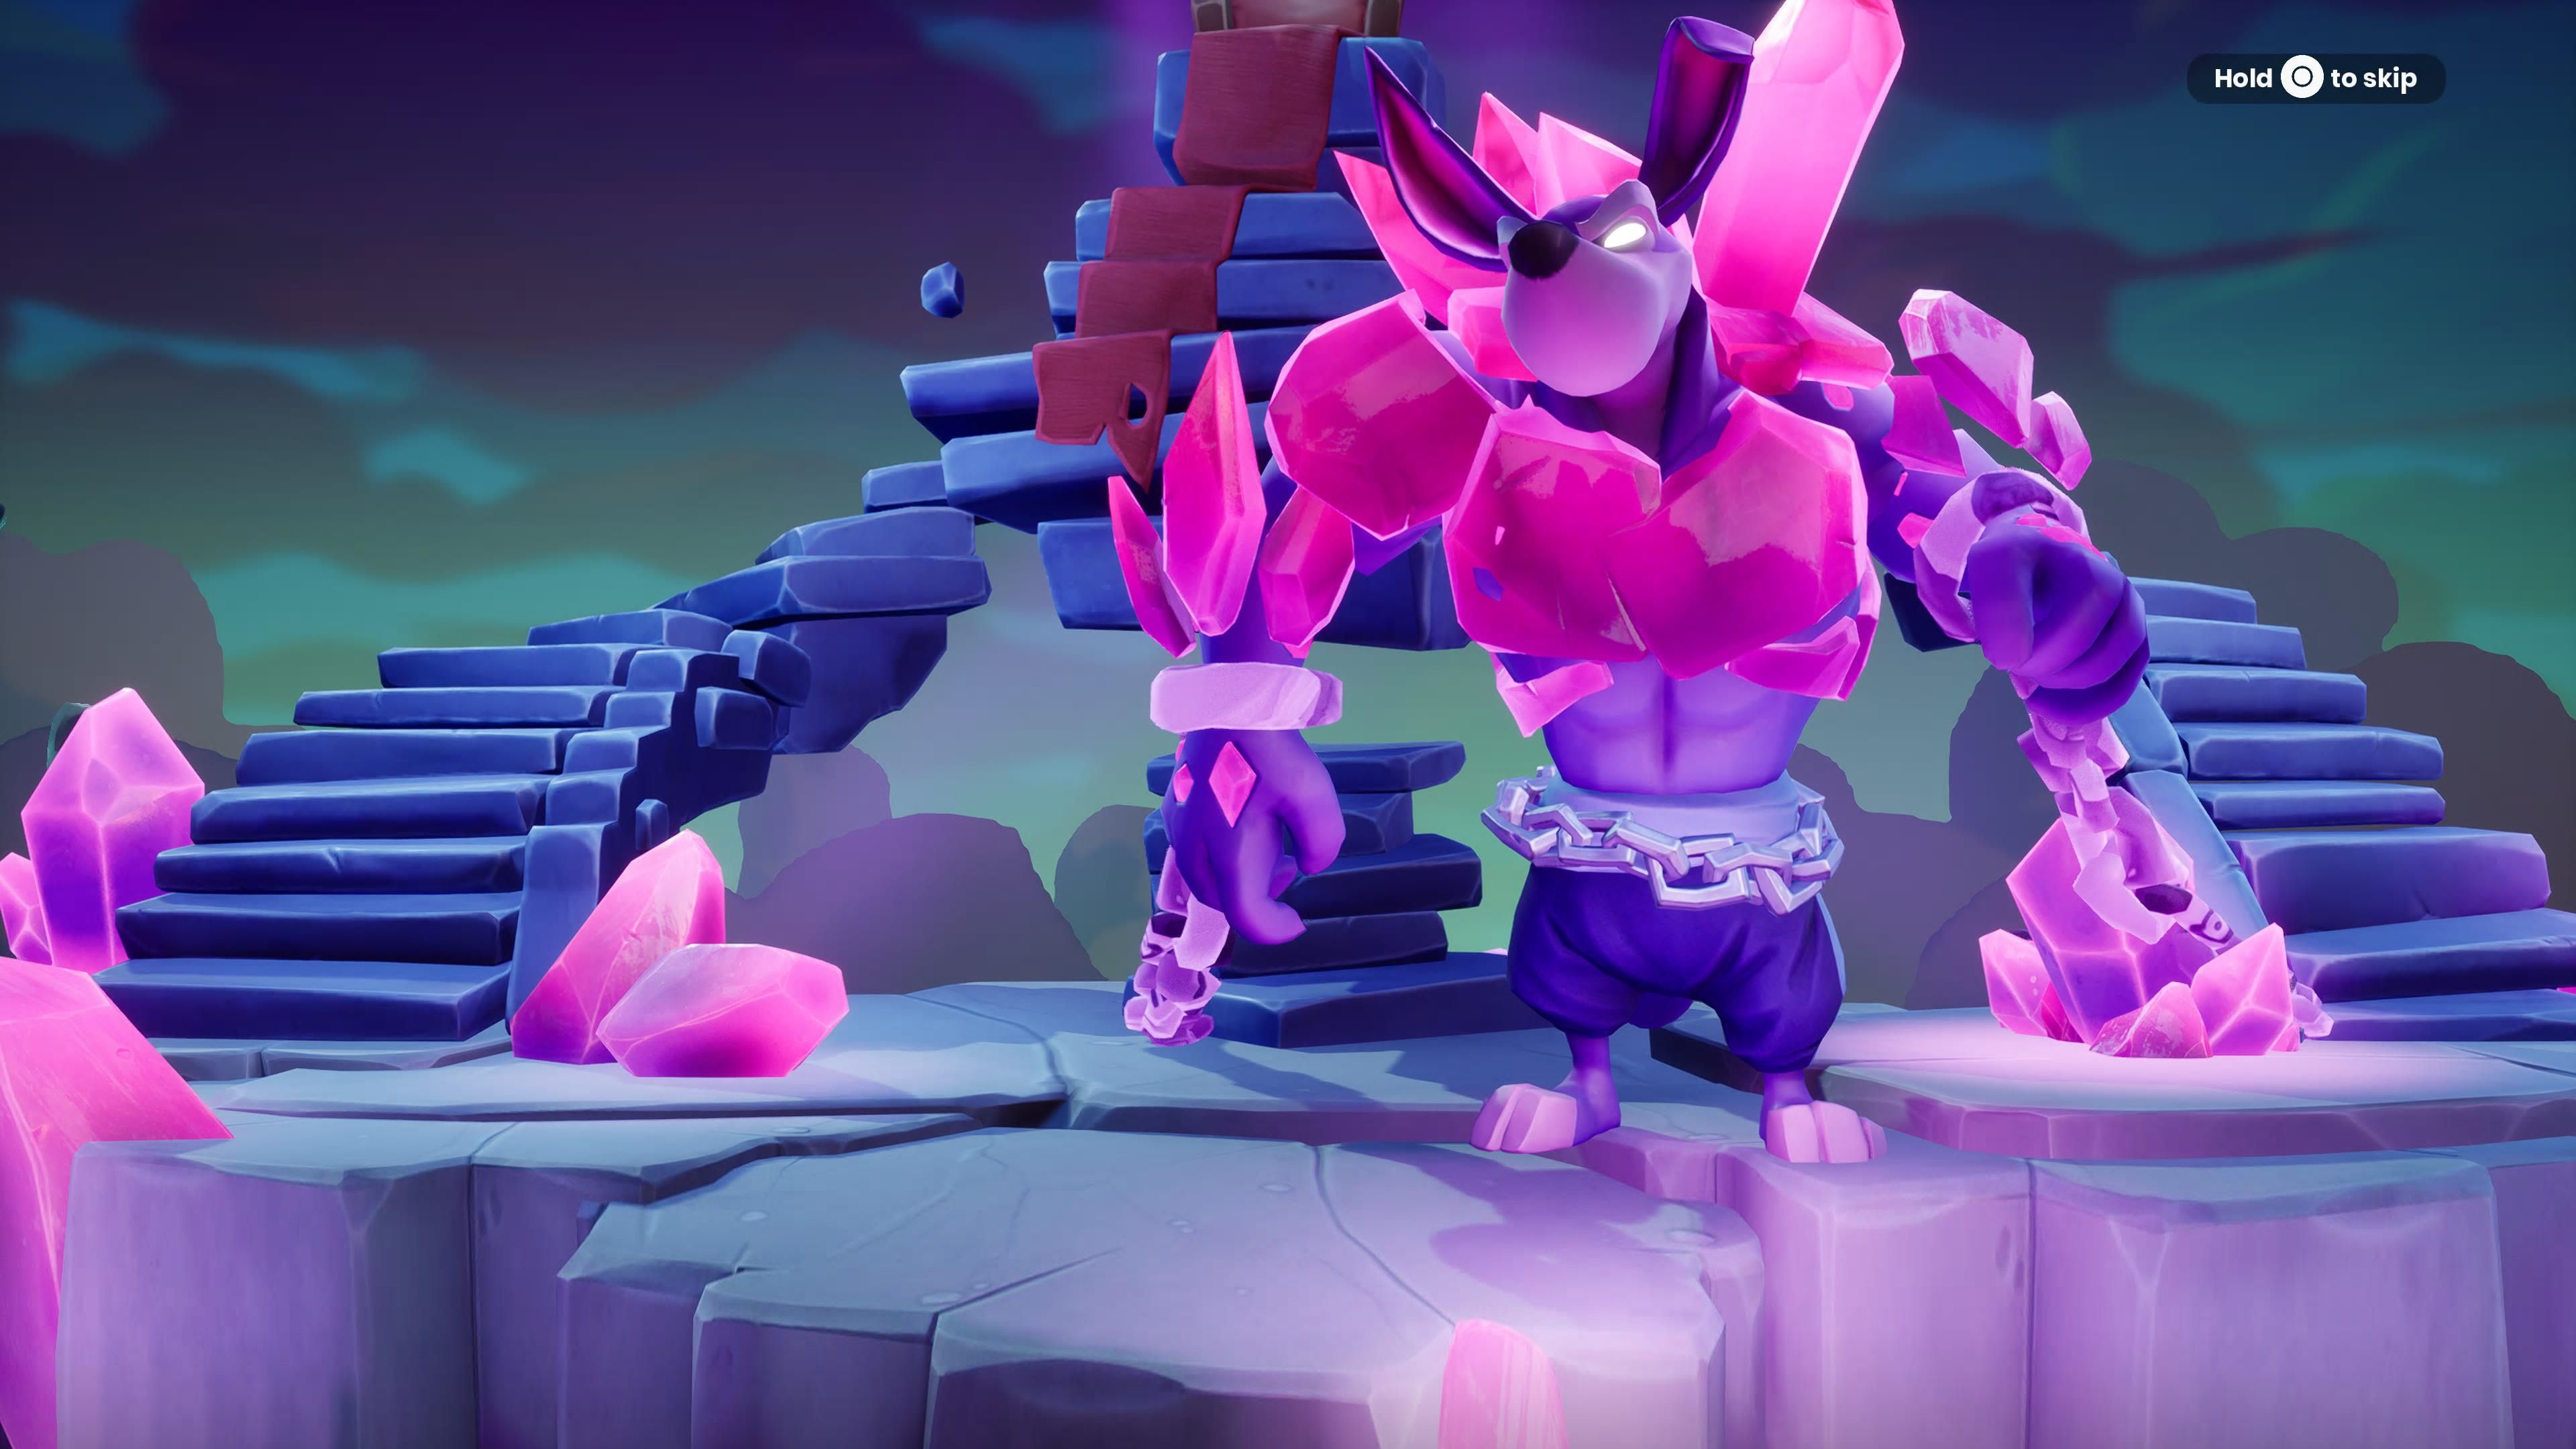
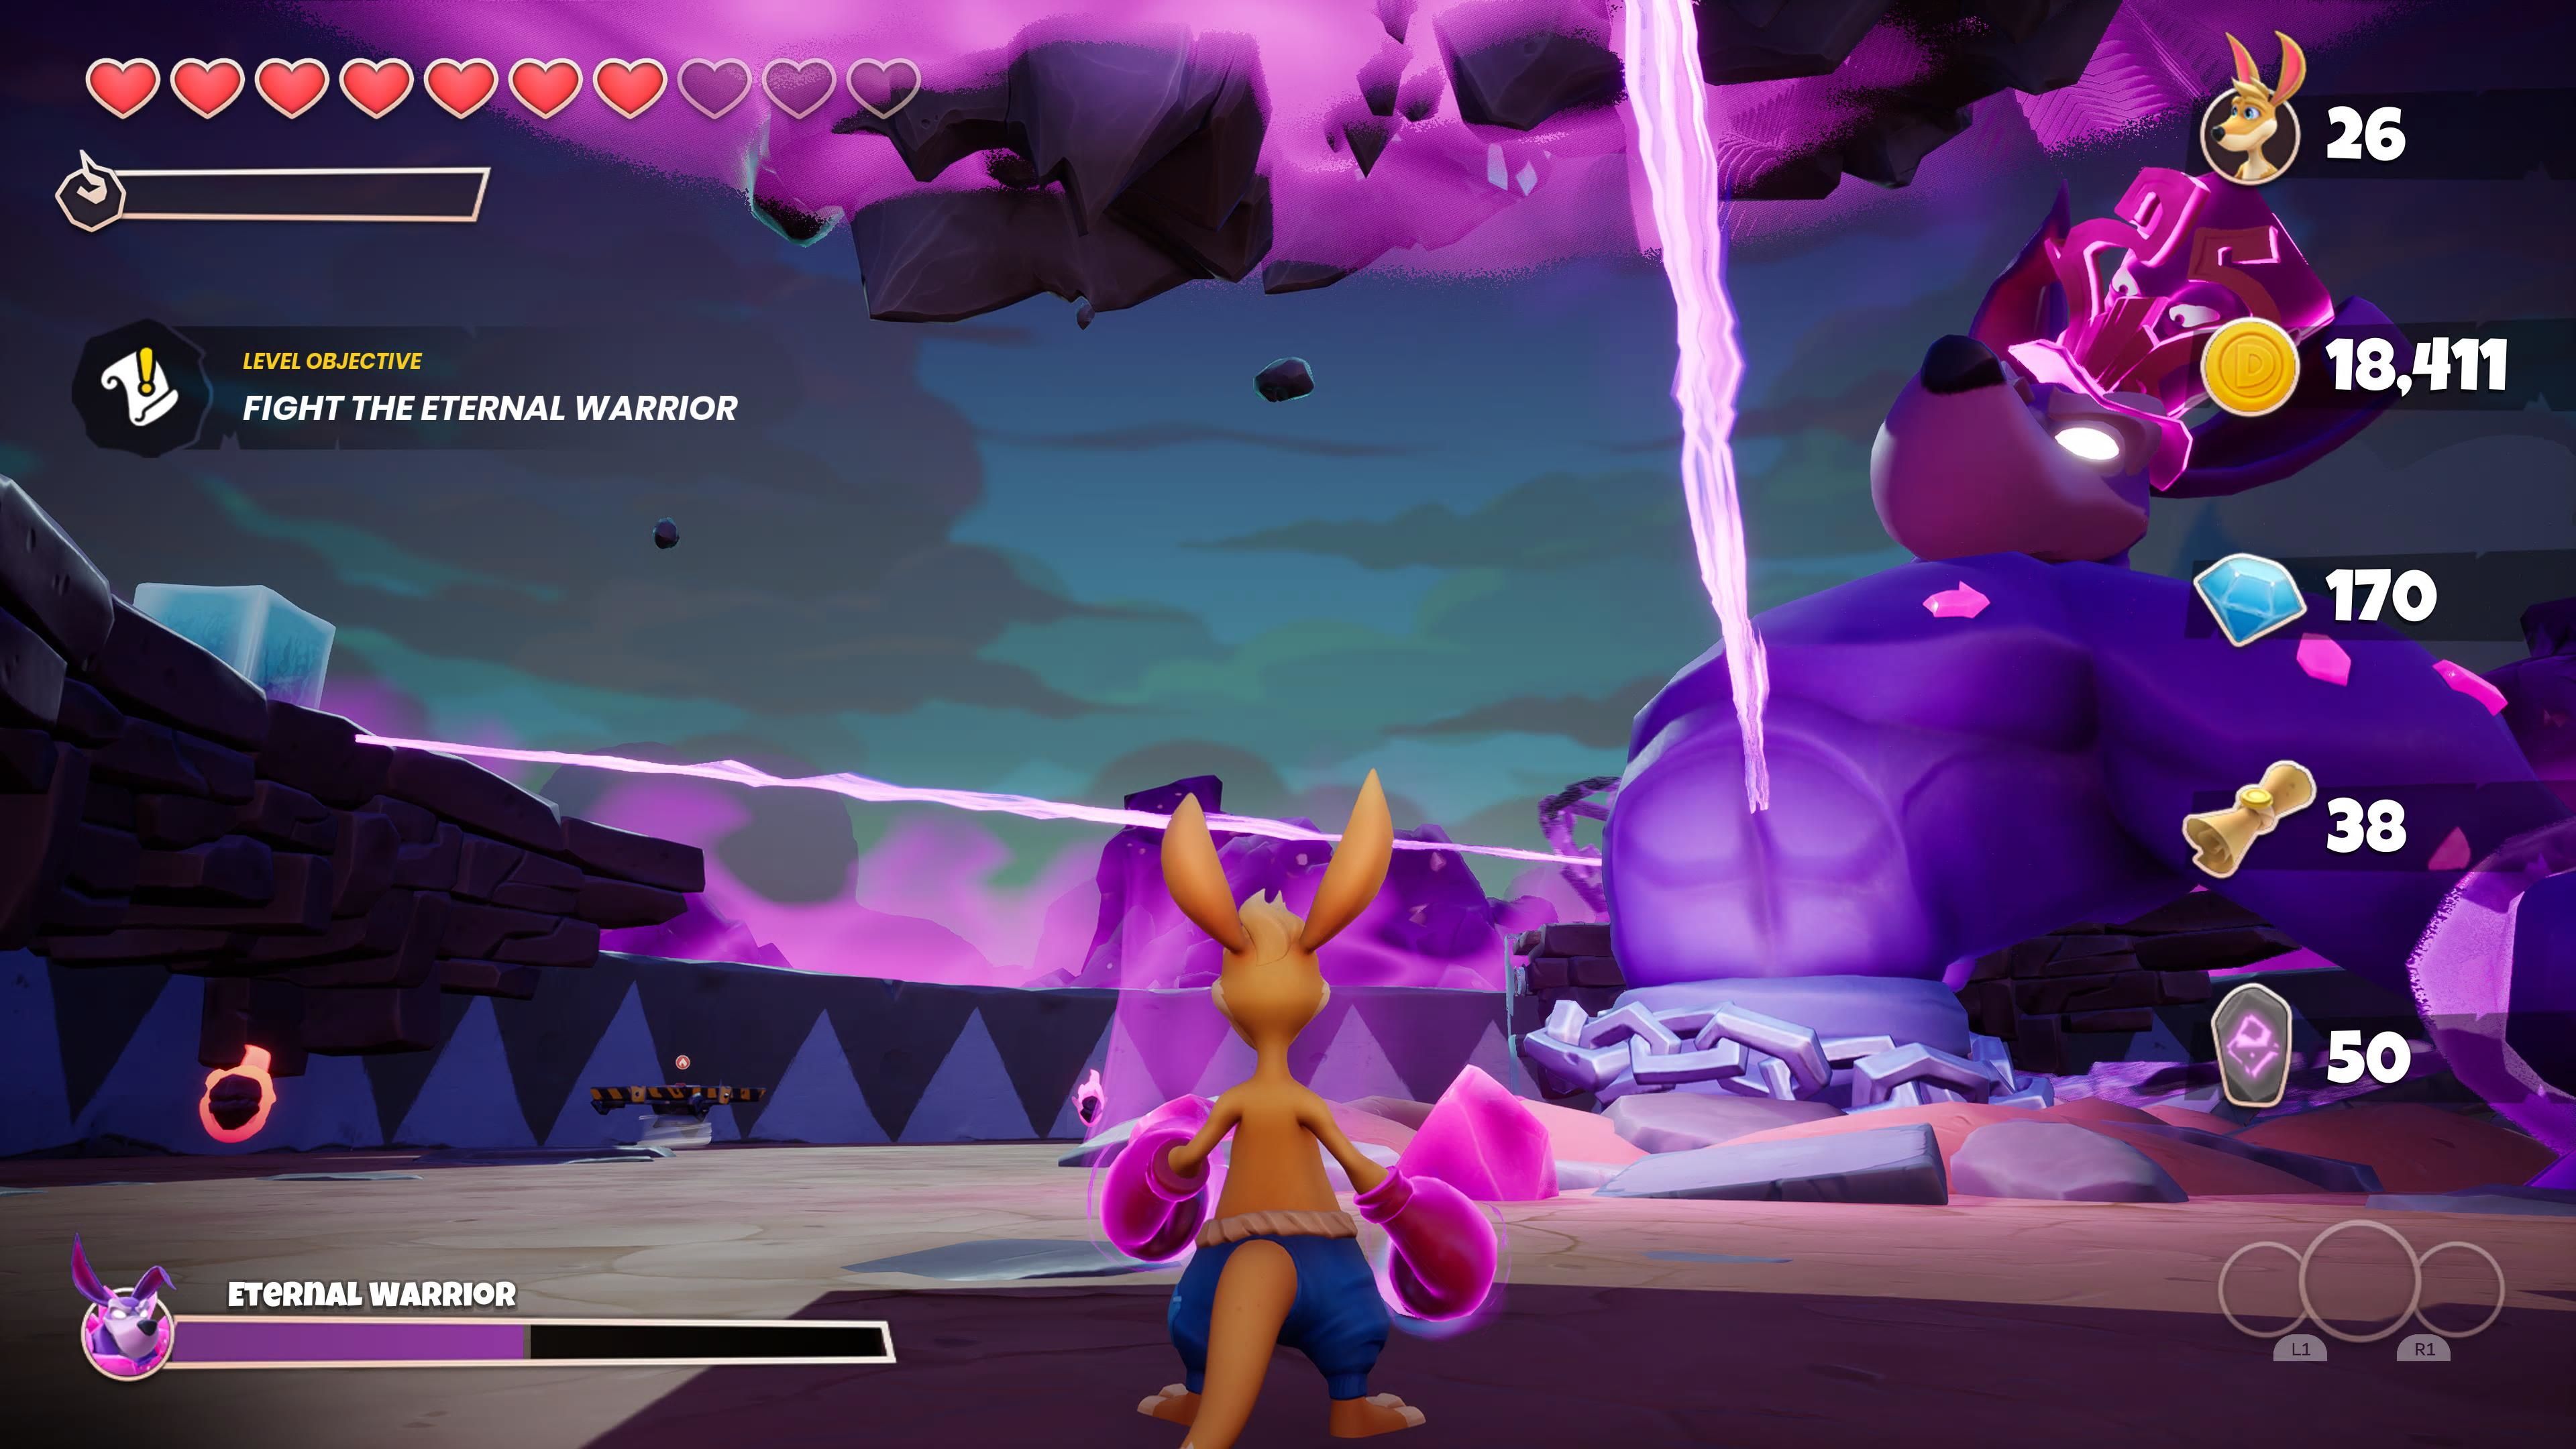
And now we have it, the final boss of the game: The Eternal Warrior. This behemoth has two very distinct phases. The first phase will have you fighting goons, the second phase will have you solving puzzles while dodging attacks. We will break down how to navigate both phases and deal with this Eternal Warrior fellow once and for all.
Phase One
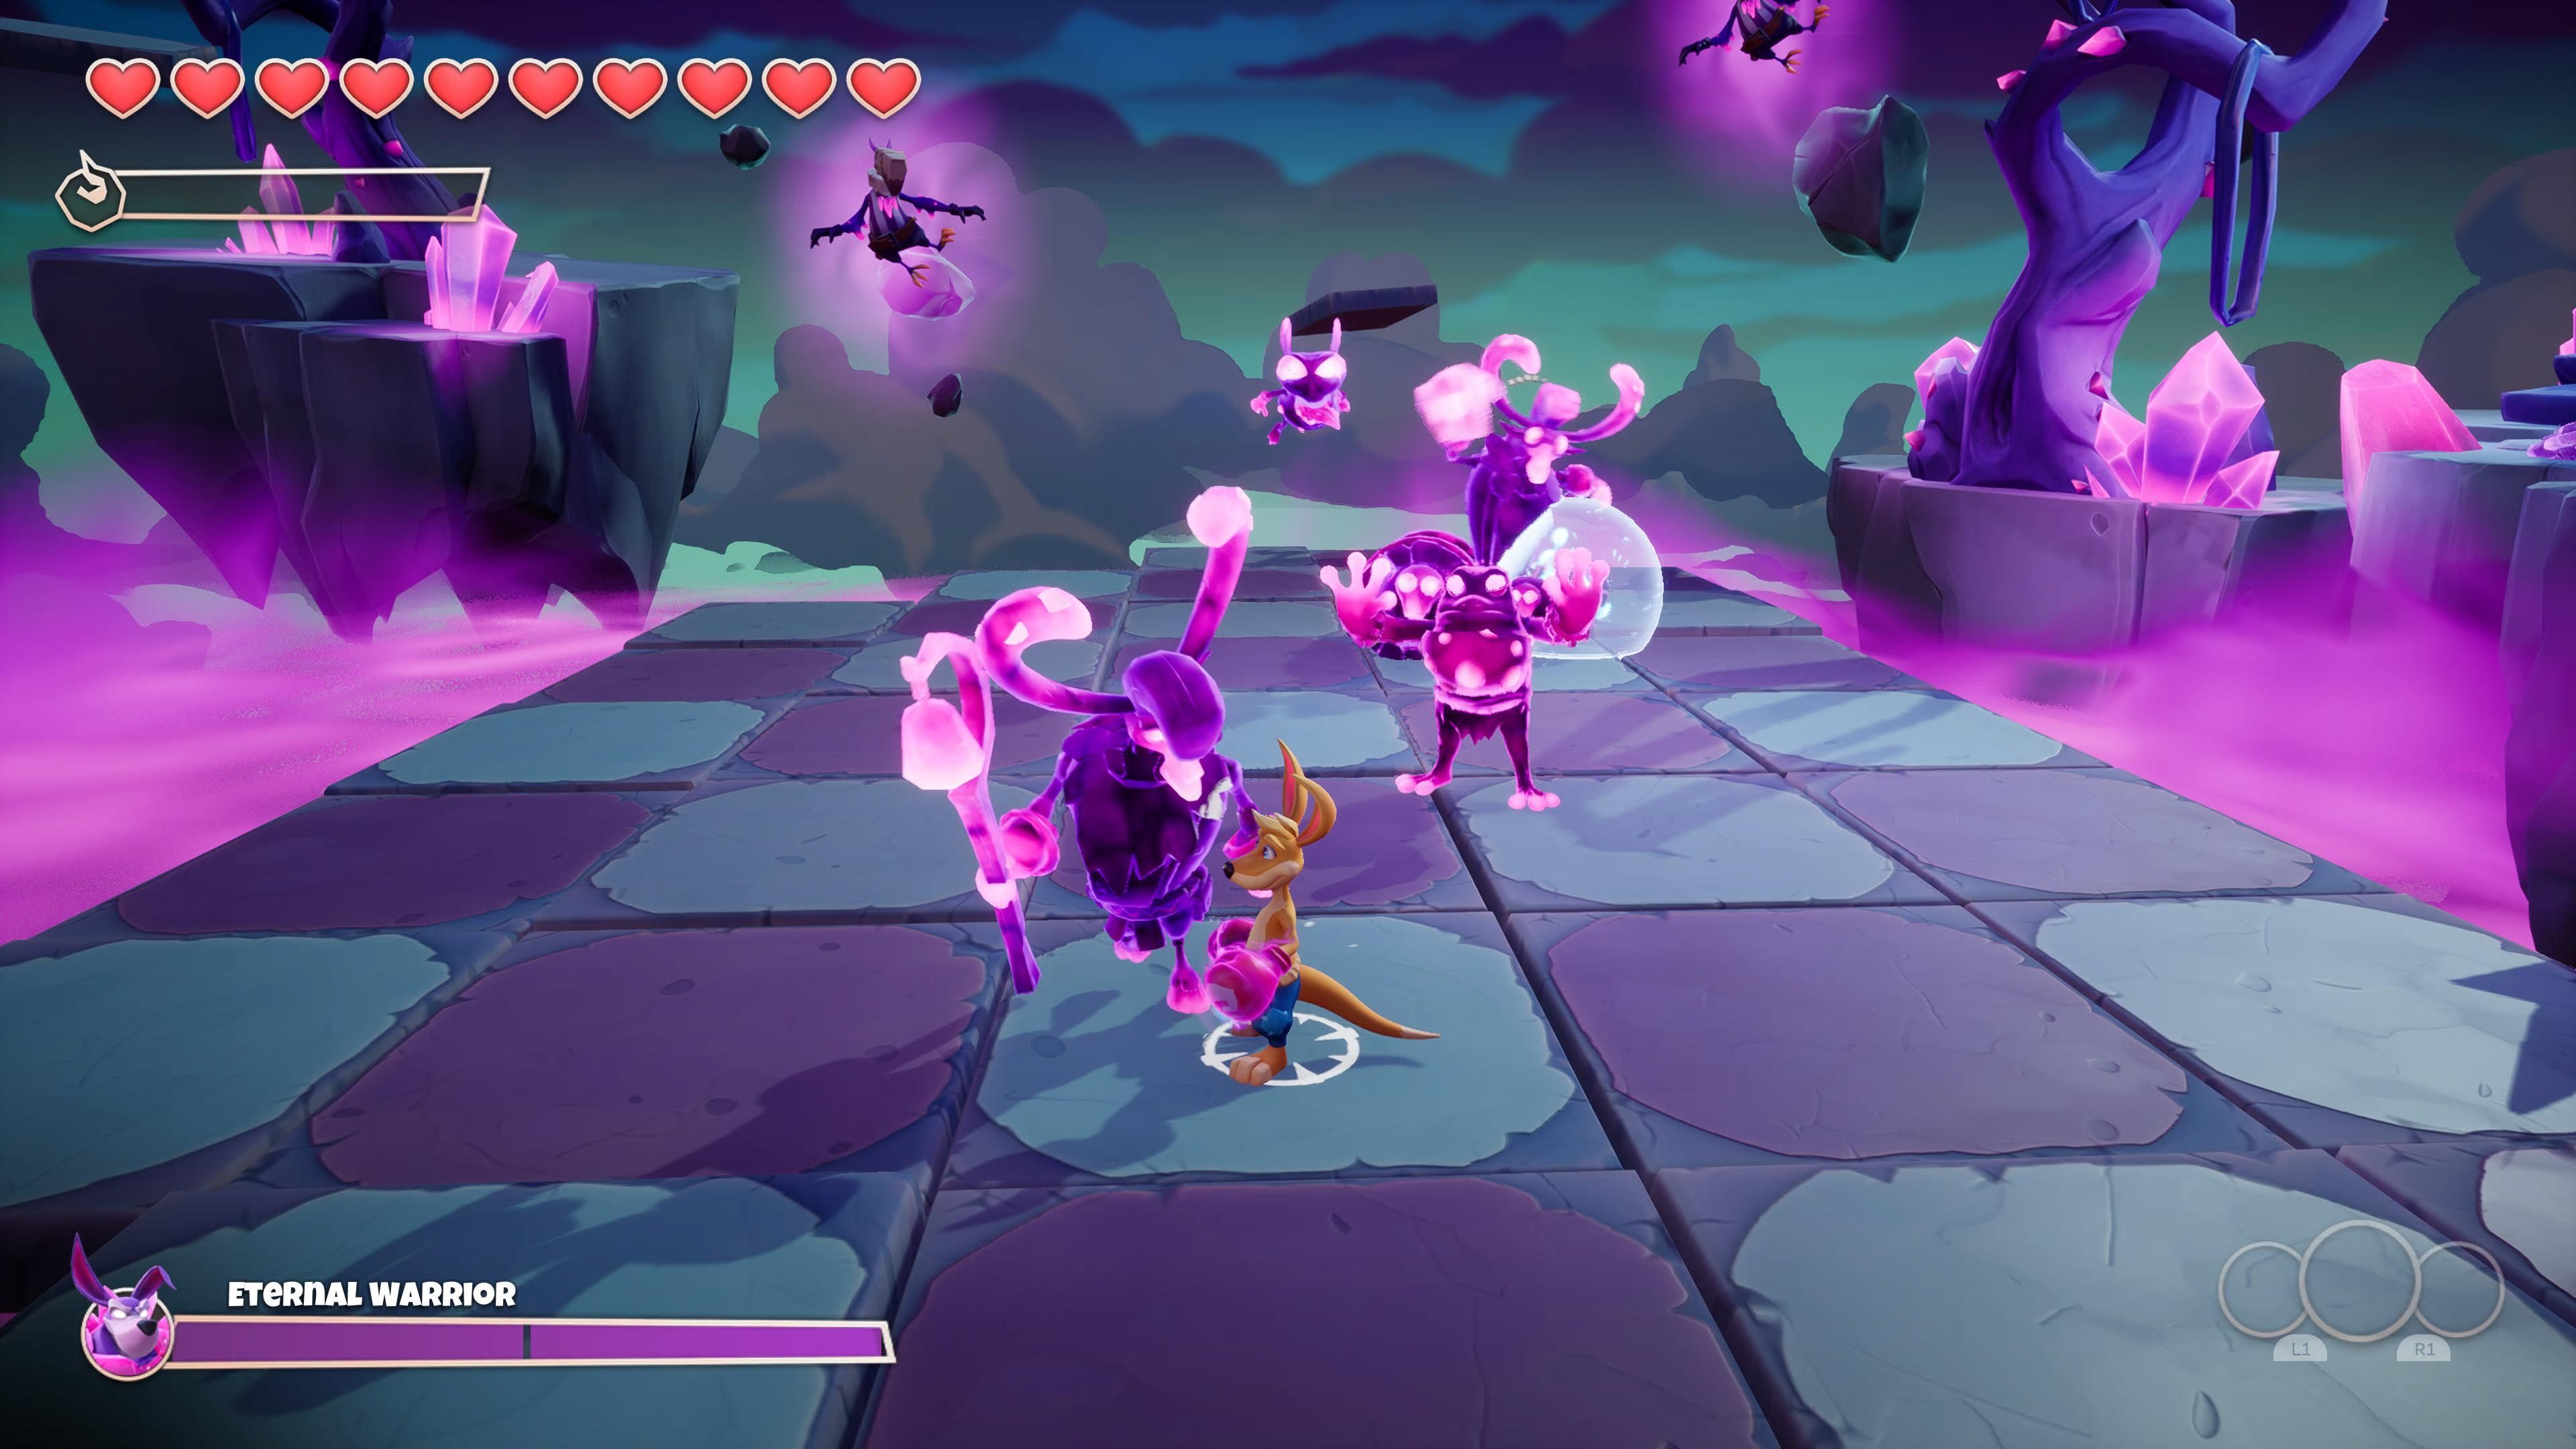
In the first phase of this battle, you will start by clearing out a gang of troops. Once you take them out, a ball will fall from the sky. The ball will rest on some raised platforms. So, hop up, grab it, and then throw it at The Eternal Warrior. You will need to do this three times in total.
There really isn't that much to this first phase. The biggest threat is probably the fringer with the sheep launcher. Make sure to take them out first, so they aren't shooting you while you deal with the other enemies.
Phase Two
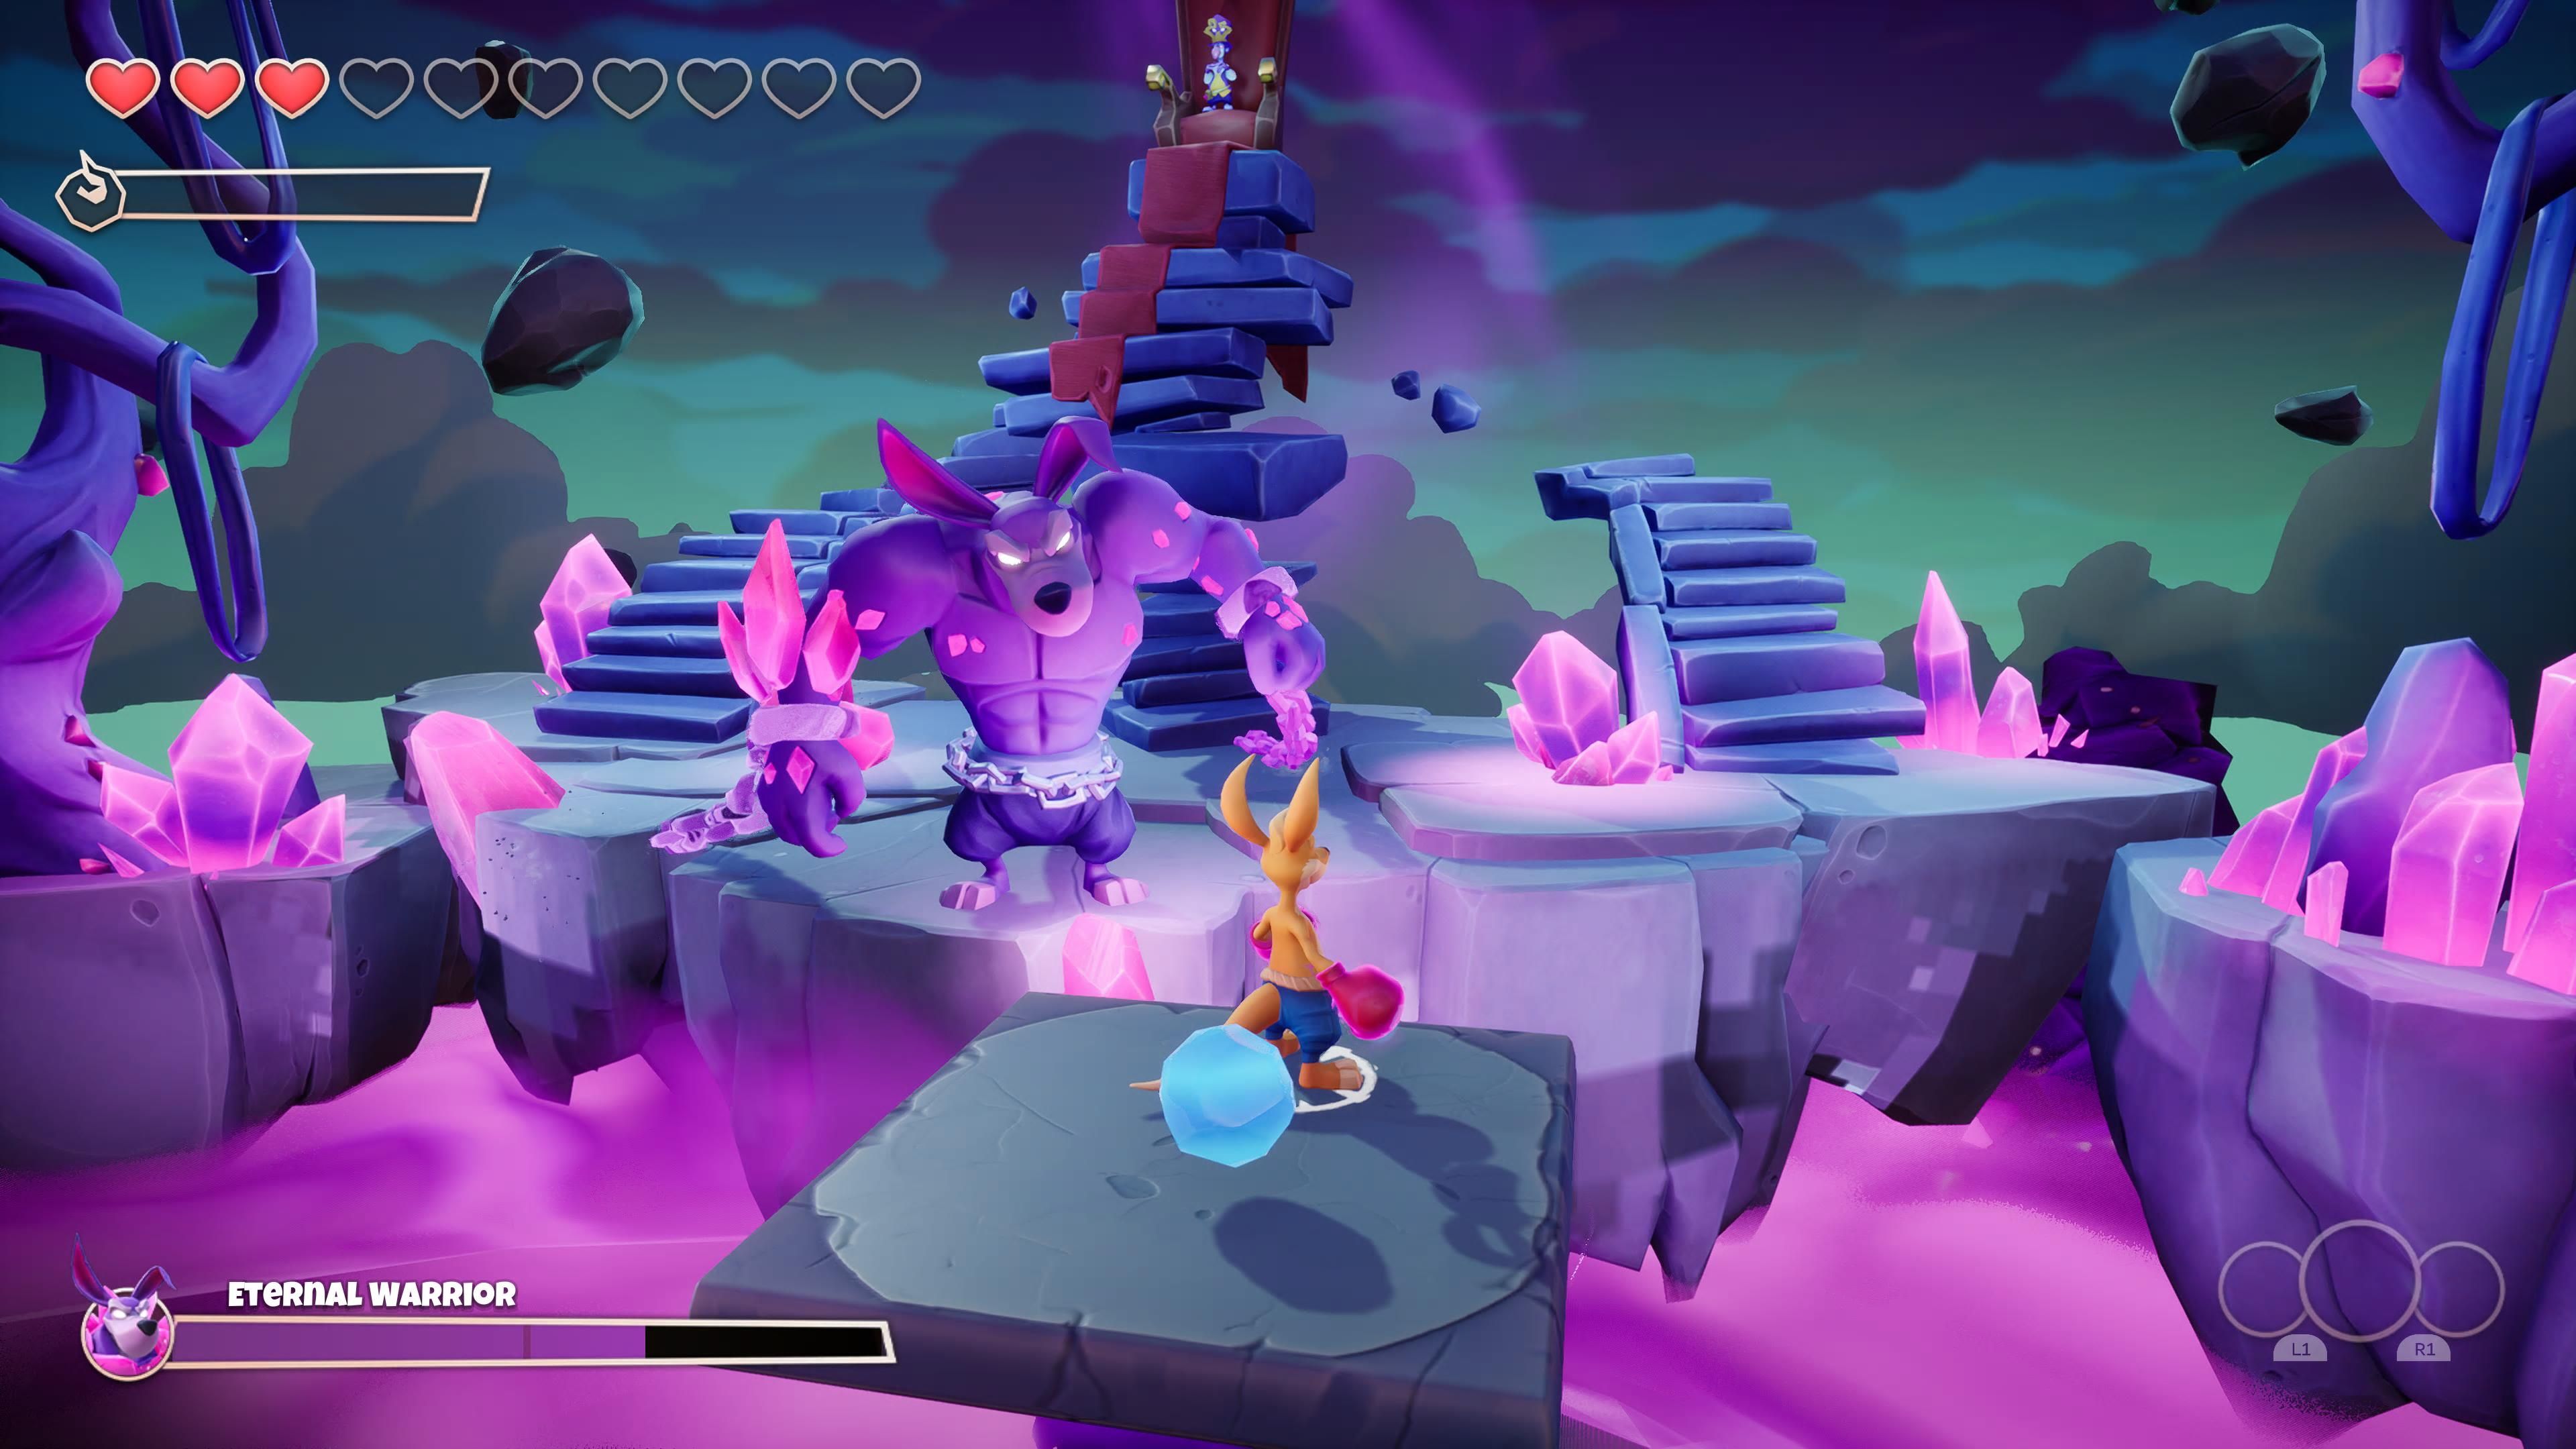
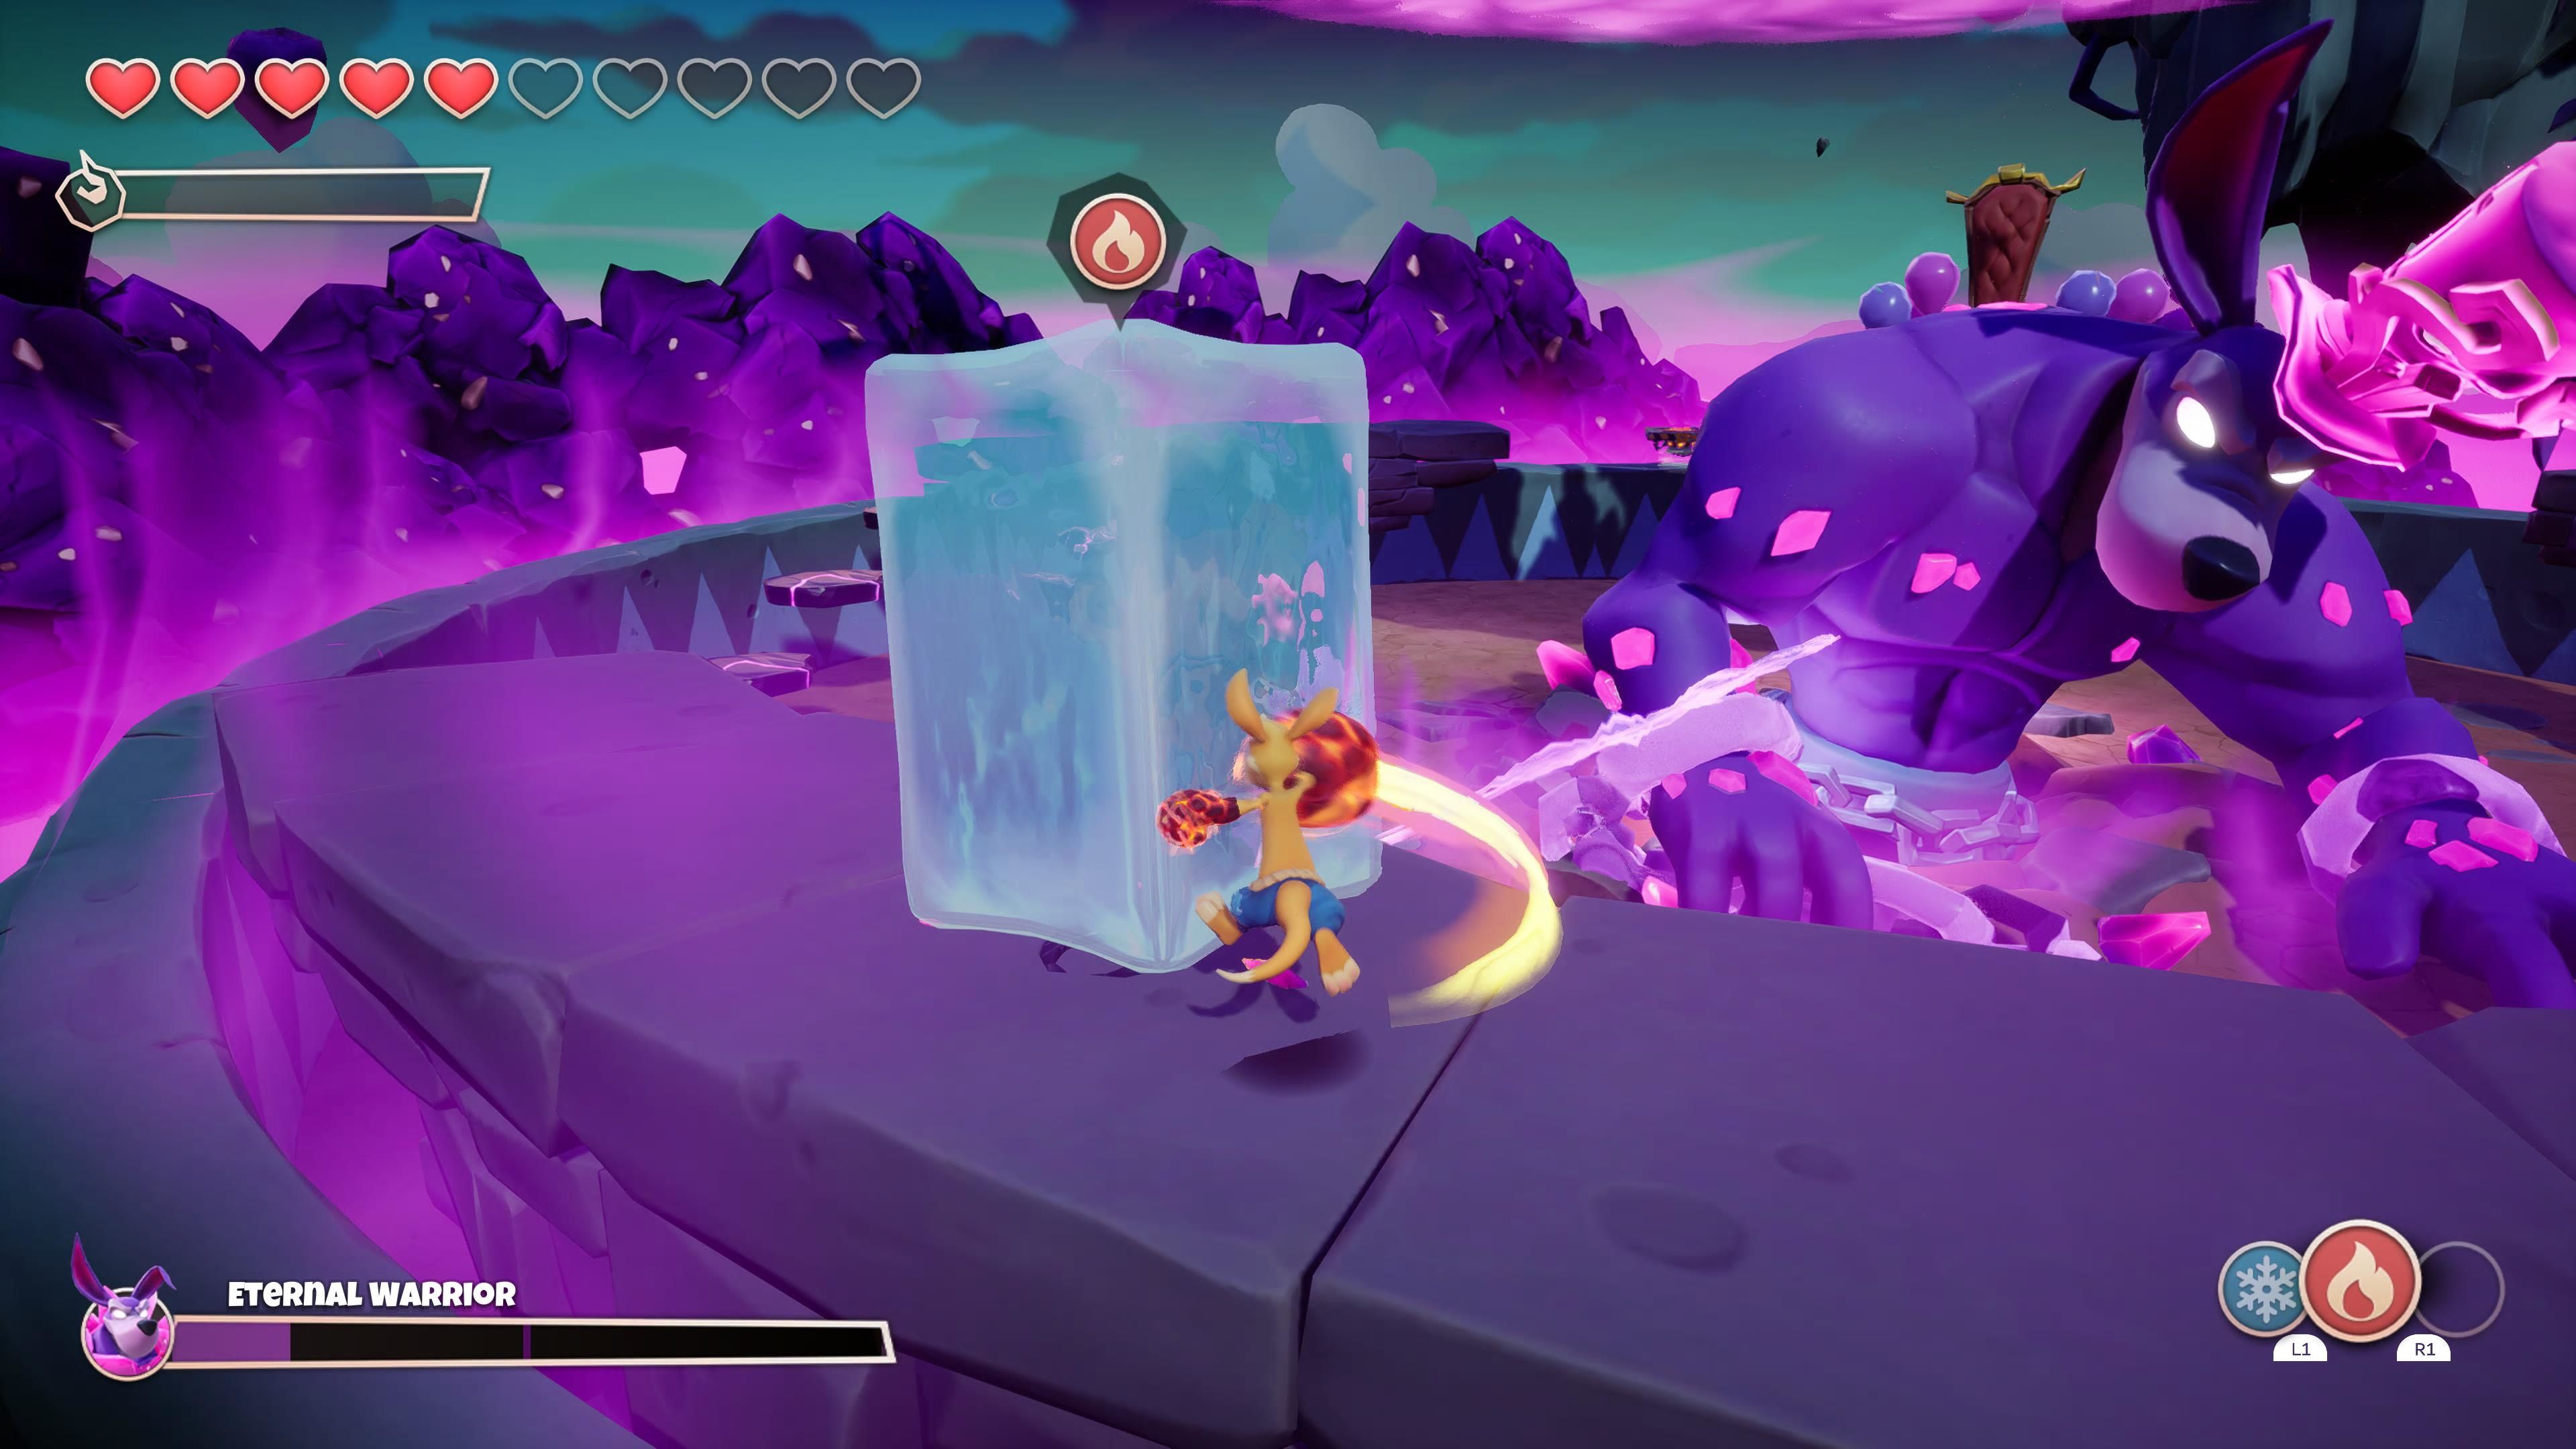
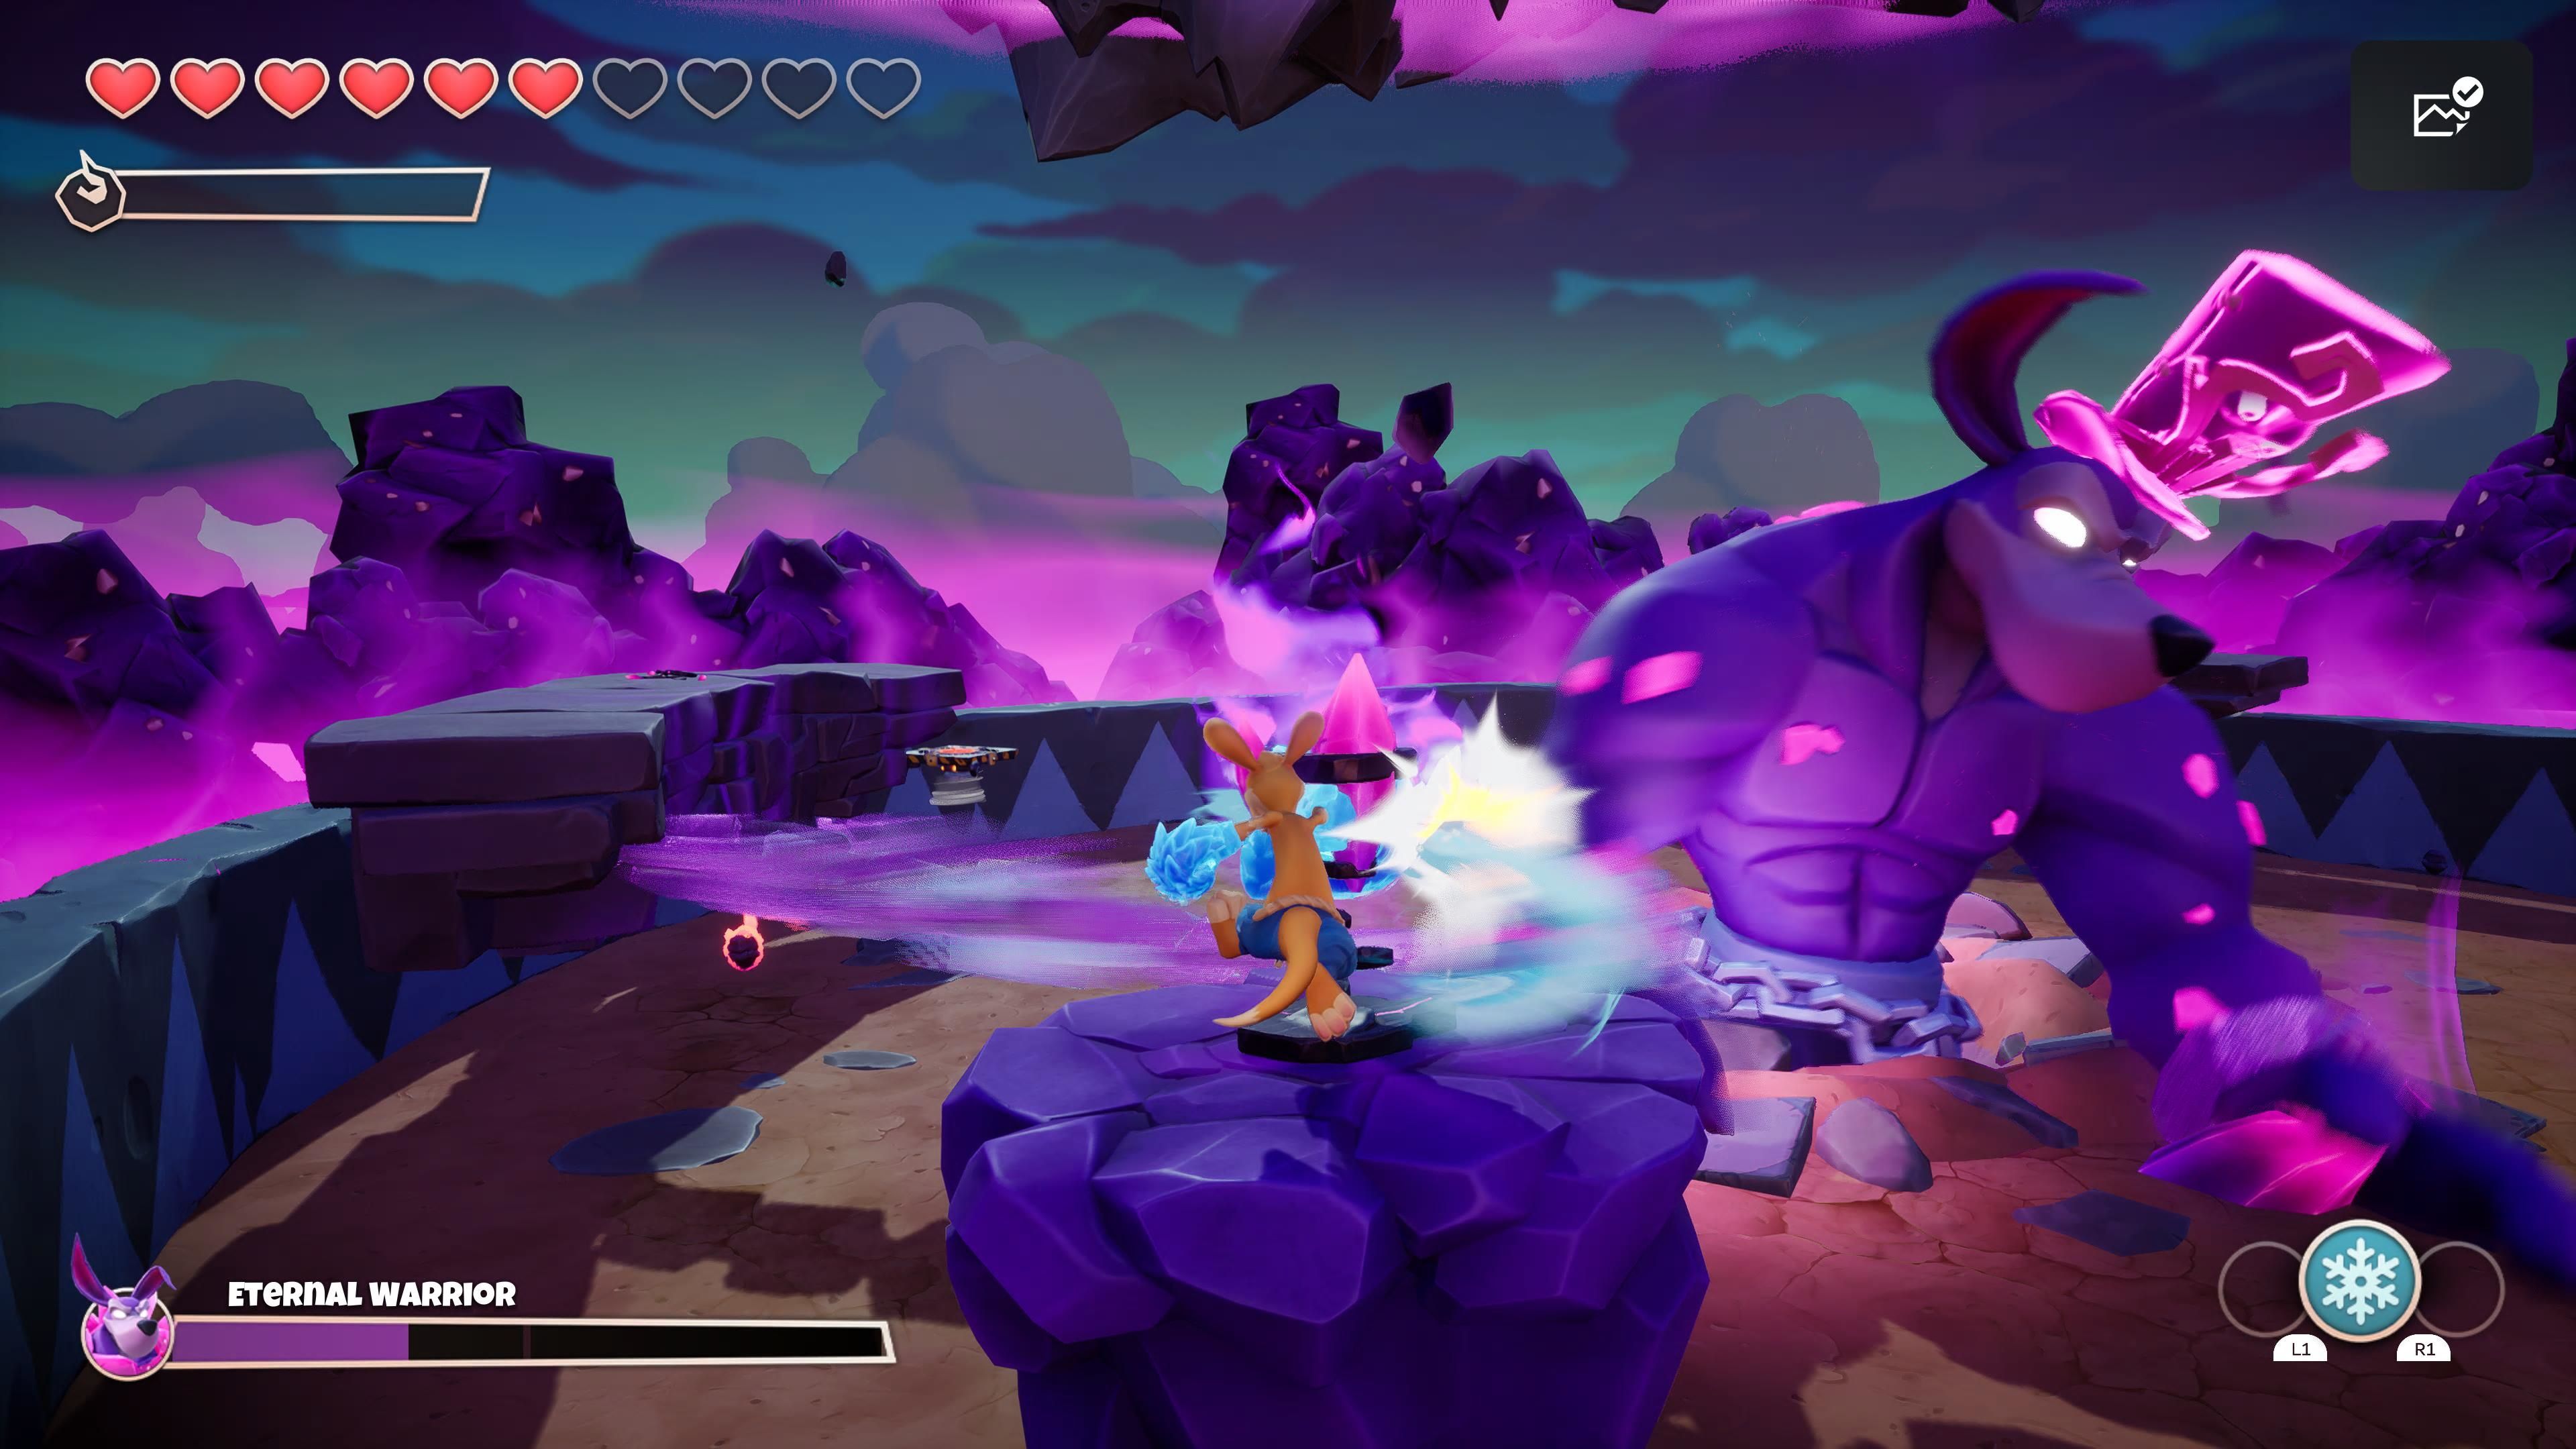
In his second form, you need to complete three platforming puzzles. Every time you complete one of these puzzles, you will stun The Eternal Warrior, opening him up to attacks. You will need to gain various charges of the different element types. There is a totem for each element spread around the room. The Eternal Warrior only has two attacks. One where he winds up and wallops you, this you can dodge just by moving to the side, and another where he swings his chain around, for this attack you will need to hop over it.
Start by getting two fire charges and one wind charge. Climb the steps, use the wind to pull the platform, then jump onto the platform and power it up using a fire charge. Finally, when you get to the water cube, use your remaining fire charge to evaporate it. Now break the dark crystal. That is one down.
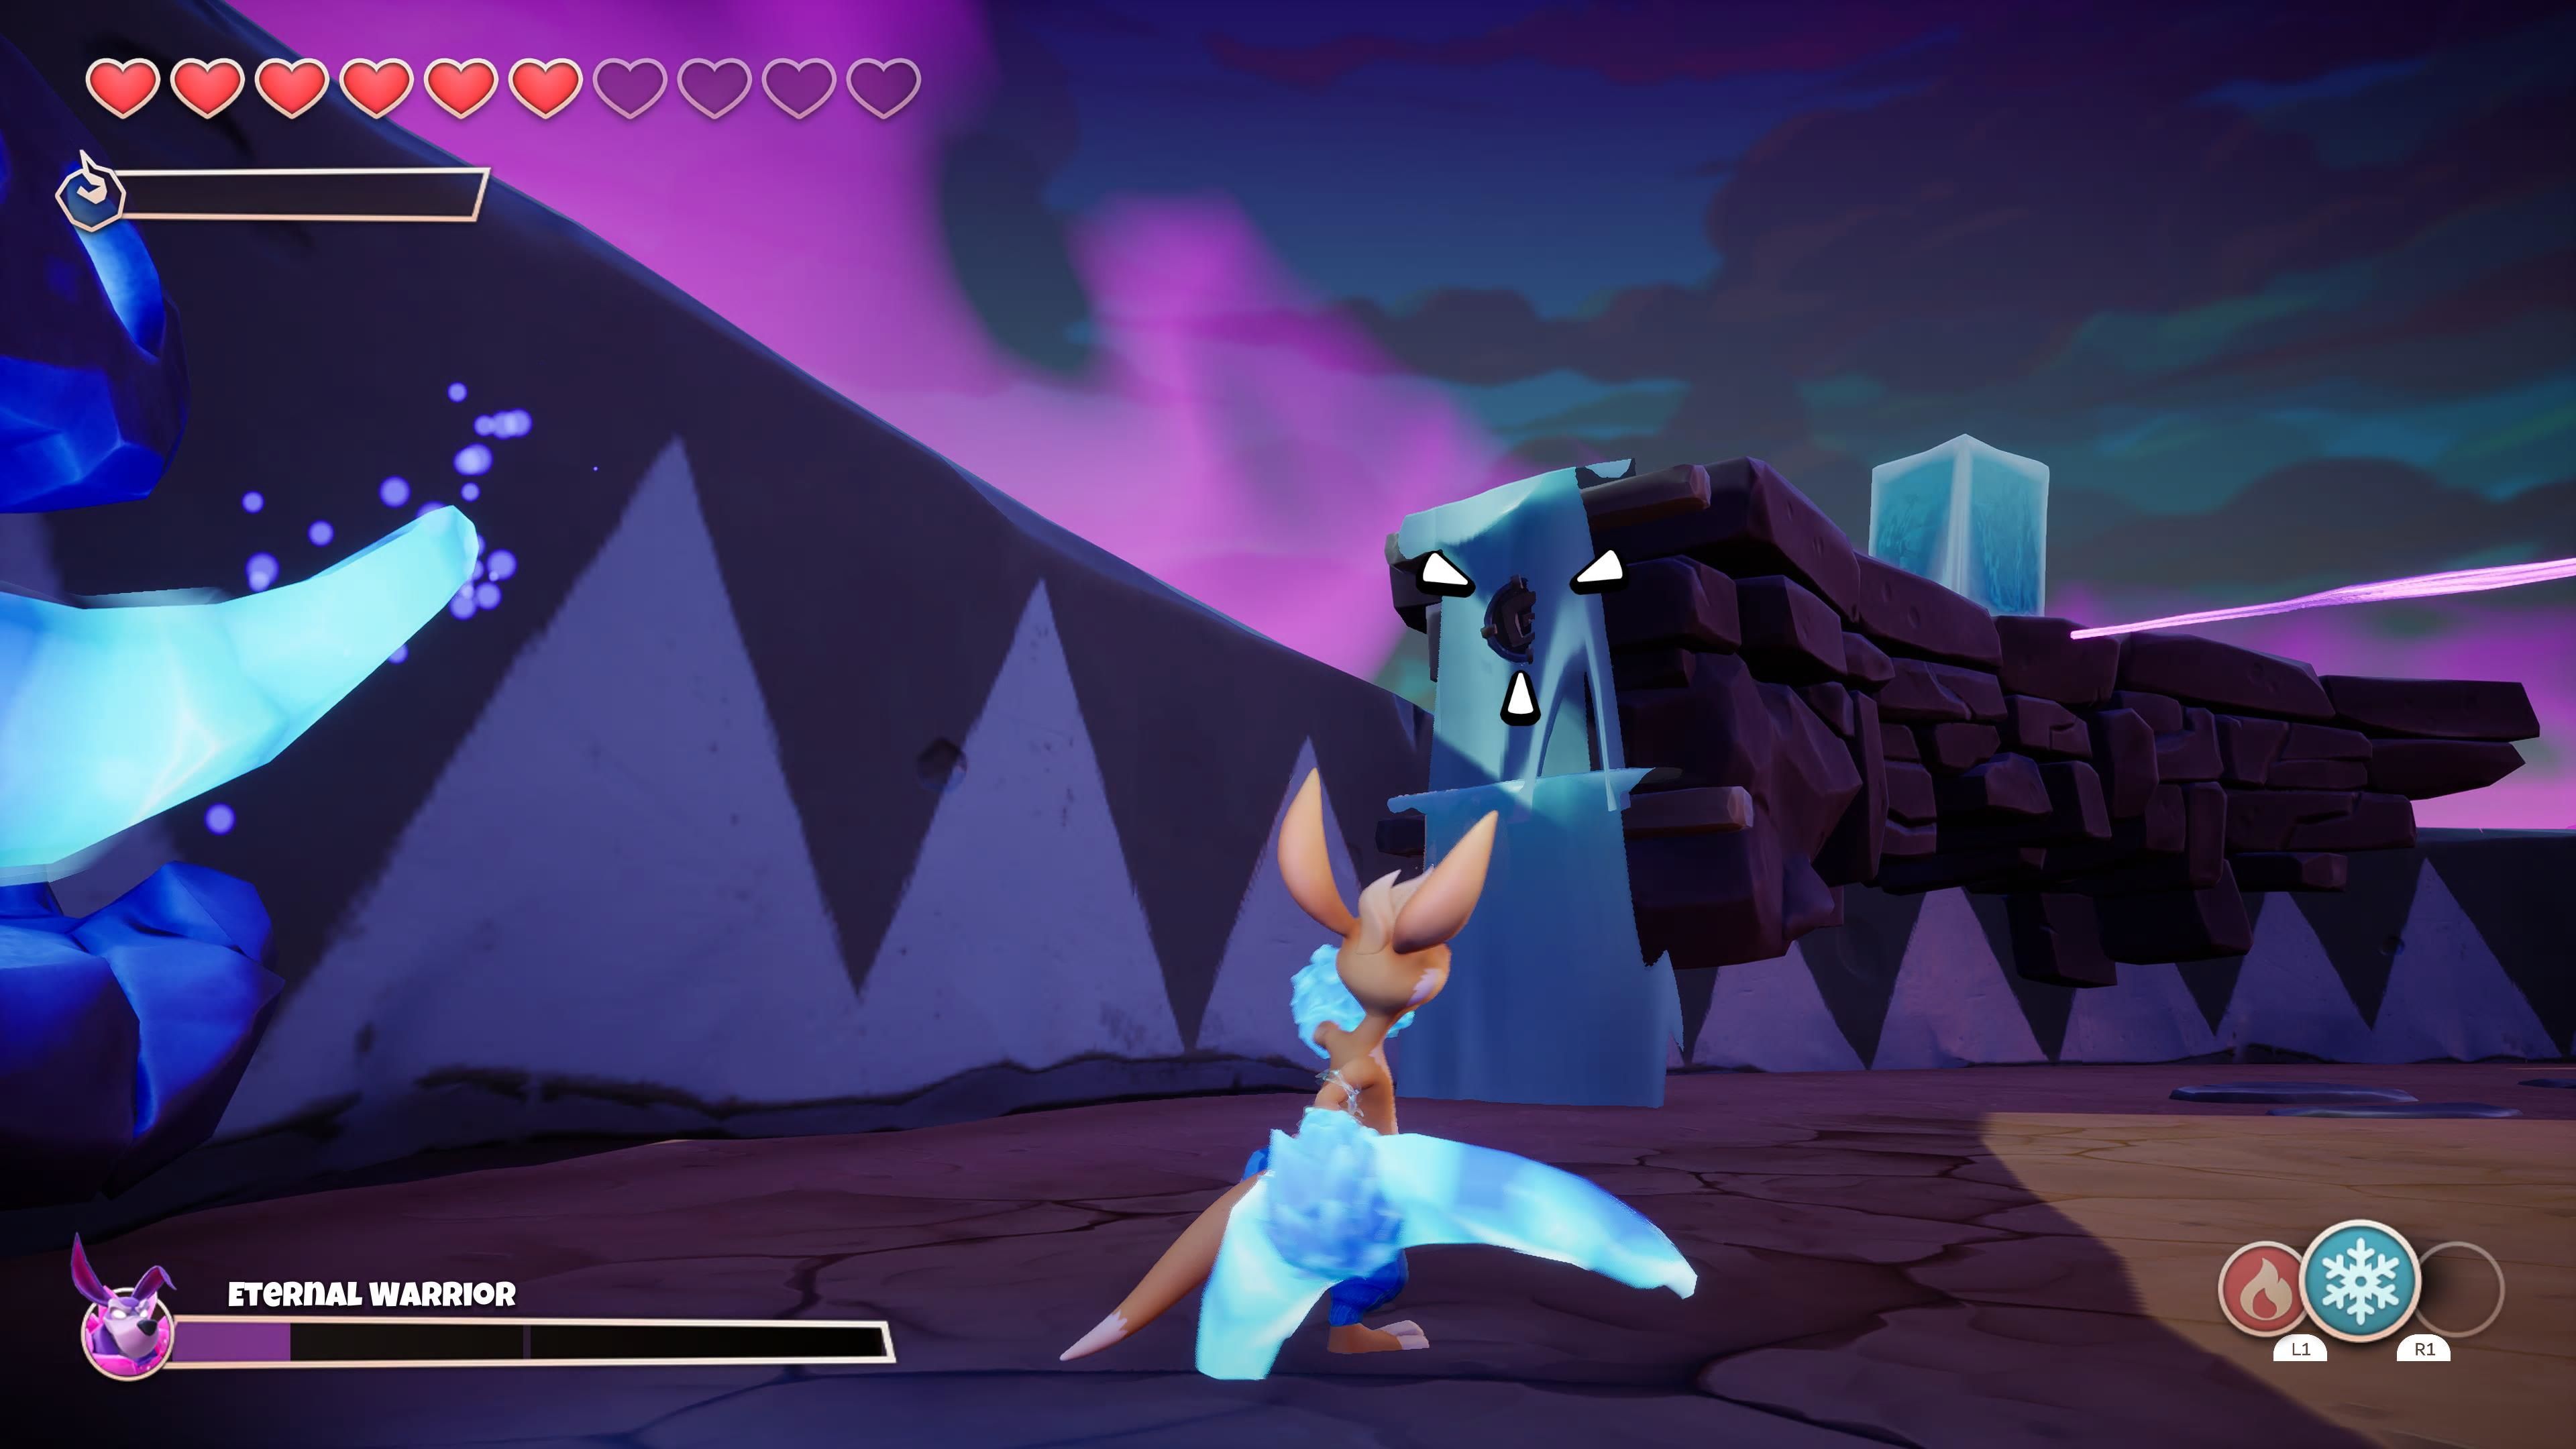
Next, get an ice charge and a fire charge. Use the ice charge on the boomerang, then throw the boomerang at the gushing water to freeze it. Once it is frozen, platform up and evaporate the water cube with your fire charge and destroy the dark crystal. Two down, one to go.
For the final dark crystal, just grab two fire charges. Use one to power up the platform to allow you to move up, and use the other the evaporate the final water cube. Destroy the dark crystal, attack the stunned Eternal Warrior, and you will defeat him. That is all there is to it!

