Quick Links
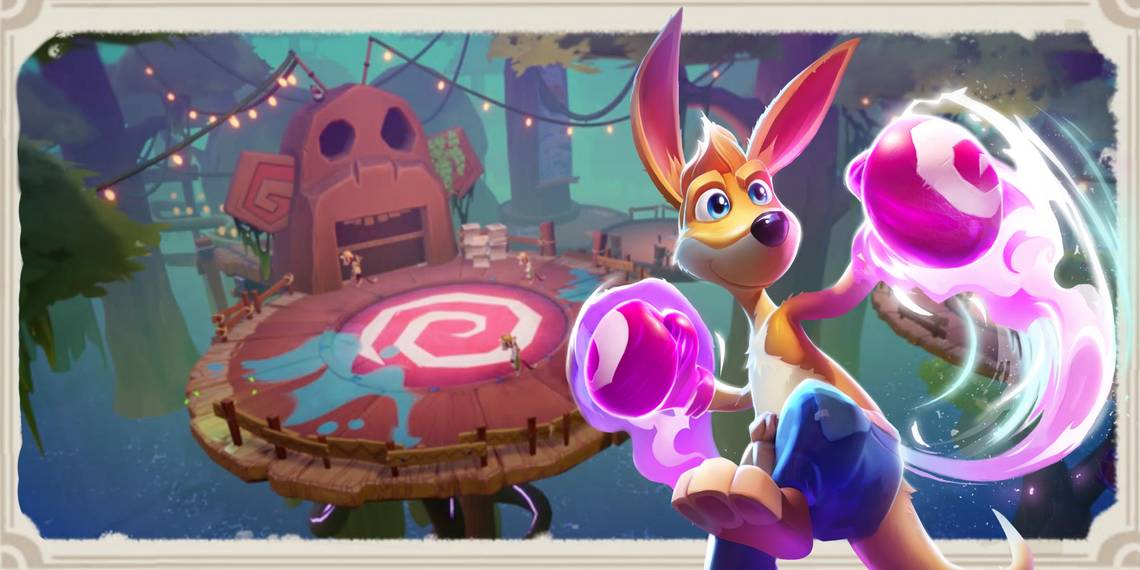
Kao The Kangaroo's Monkey Park stage has a lot going on. You will be grappling between platforms, climbing nets, and dodging giant pendulums. On top of that, there is a whole variety of monkeys you will have to fight here. It is a pretty expansive, sprawling stage. However, despite its size, this guide is set to keep you on track.
We will show you where to find every last rune, crystal, scroll, and treasure chest. For good measure, we have even included the location of, and solution to, each Eternal Well. Don't let The Monkey Park stage make a monkey out of you; follow this guide and hop away victorious!
Step-By-Step Collectible Guide
|
Crystals |
10 |
|---|---|
|
Scrolls |
1 |
|
Runes |
4 |
|
Treasure Chests |
5 |
|
Extra Lives |
2 |
|
Heart Pieces |
2 |

At the beginning of the stage, the first crystal (1/10) will be on your left. You will encounter a flying monkey soon after. Grab the fire orb on your left and head over to the giant spiderweb on your right. Here you will grab the letter K. Hop back onto the main path and start climbing mushroom platforms up a tree.

Travel through the trees using your grappling ability. There will be a crystal (2/10) on your left up here. You will encounter a giant button. Hit it and you will lower an elevator. At the top of the elevator, you will receive your first rune (1/2). After you get to the top of the elevator, hop over to the next platform, while dodging pendulums, and grab the fire orb to the left. Use your fire charge to destroy the spiderweb.

Jump up and grab the net hanging overhead to climb across the gap and enter into the shack. There is another fire orb nearby, grab it and use it to heat the boiler in the shack, then jump out the window and grab the treasure chest. Lighting the boiler will raise a platform. Backtrack and hop along until you reach the next checkpoint. Now, head over to the next hut by throwing dark energy boomerangs at crystals to create new platforms.

Midway to the next hut, there are crystals on your left (3/10) and on your right (4/10). Both require timing-based platforming where you create dark energy platforms to get to them. Platform over to the next hut and light the next boiler. You can hop onto the nearby trampoline and it will get you back on the main path. Take a left, and you will find the next Eternal Well.
|
Eternal Well 7 |
|---|

Here you will be platforming through deadly pendulums. After the first stretch, there is a crystal down below and there is a treasure chest to your right. From here on out, the platforming is pretty simple. Just swing from grappling hook to grappling hook.

Continue forward and you will reach a large platform with a giant set of doors to the left with a rune (2/4) in the doorway. However, don't go through the doors yet; to the right of these doors (if you are facing them) there is another crystal (5/10) hidden down below. Now, grab the rune and ride the vine down to the next area. Near the end of your vine ride, jump up and grab the crystal (6/10).

On the left, there will be a platform powered by your fire ability. Ride the platform and make sure to grab the crystal (7/10) as you make your way through the log traps. On your right, you will find a monkey and some paintings. This will lead you to a platform section with a heart piece at the end of it. Head back to the main path. You will be platforming over some more log traps on your way to the next checkpoint.

Here you will fight some buff monkeys. There is a little platform hidden by bushes that contains a treasure chest. Head back to the main path and grab an extra life along the way. You will do a little more net climbing on the main path, just as the net section is ending there will be a crystal (8/10) dangling below you. Make sure to grab it. You will now receive the third rune (3/4).

From here, take a right. You will have to do some platforming, destroy some spiderwebs, and scale another overhead net, but it will lead you to the letter A. Hop on the nearby trampoline and you will be taken back to the main path. You will have to do a little climbing, work through a dark crystal platforming section, and swing between a bunch of grappling points.

This will all take you to a large hut. Take a left and enter onto a small platform with a fire totem; here you will find the next crystal (9/10). From where you just found the crystal, hop over to the nearby platform and get another treasure chest. Now, jump down below the platform you were on previously; there is an Eternal Well down here.
|
Eternal Well 8 |
|---|

This is a very straightforward obstacle course. The majority of it will take place on a long stretch of overhead net. The three crystals are completely out in the open, just make sure to look to your right for the treasure chest at the mid-way point (it is hanging upside down on the net).

Once you have finished the challenge well, hop on the nearby trampoline. It will take you to a heart piece. From there, grapple over to the extra life. Jump down, and you will be back on the main path. From here, you will travel along some moving platforms that you will power with your fire ability. After the section with the moving platforms, you will reach an area with a giant crate on your left. Look up, there is a crystal (10/10) on that crate!

Now, on the right side of this area (opposite the crate) there is a platform. Go this way and you will end up swinging between a number of grappling points. This section will end with the letter O. A nearby trampoline will take you back to the main path. Head straight into the hut and grab the scroll (1/1) sitting on the hammock. Talk to the monkey and you will receive the final rune (4/4).
Where To Find The KAO Letters
|
K |

|
The letter K is obtained very early in the stage. Just take the path on the right (through the spiderweb) at the beginning of the stage. |
|---|---|---|
|
A |

|
You can find this letter after scaling an optional overhead net section found shortly after you obtain the third rune. |
|
O |

|
This letter is at the end of an optional grappling section that you will encounter outside the final hut in this stage. |
Where To Find The Runes
|
Rune 1 |

|
This rune is found at the top of the elevator you travel upon while platforming through the trees. |
|---|---|---|
|
Rune 2 |

|
This rune is encountered after you have lit both boilers. |
|
Rune 3 |

|
You will find this rune after you finish climbing the final overhead net section (on the main path). |
|
Rune 4 |

|
Talk to the monkey at the end of the stage and you will obtain this rune. |
Where To Find The Crystals
|
Crystal 1 |
|
This crystal is on the left at the very beginning of the stage. |
|---|---|---|
|
Crystal 2 |
|
You will find this crystal soon after you climb the first tree (it will be on your left). Just hop over the gap and grab it. |
|
Crystal 3 |
|
On your way to the second boiler, this crystal is on the left. |
|
Crystal 4 |

|
On your way to the second boiler, this crystal is on the right. |
|
Crystal 5 |
|
When you get to the second rune, this crystal is hidden below the platform holding said rune. |
|
Crystal 6 |

|
While you are sliding down the vine (right after you obtain the second rune) this crystal will be near the end of the vine. You will need to hop up to grab it. |
|
Crystal 7 |

|
This crystal is hovering in between two log traps. |
|
Crystal 8 |

|
Just at the end of the final net scaling section, this crystal will be dangling below you. |
|
Crystal 9 |

|
This crystal is on the platform that holds the fire totem. It is hidden behind some junk. |
|
Crystal 10 |
|
You will be able to find this crystal sitting on top of a giant crate right outside the final hut in this stage. |
Where To Find The Scrolls
|
Scroll 1 |
|
This scroll is sitting on a hammock in the very last room at the end of the stage. |
|---|