Quick Links
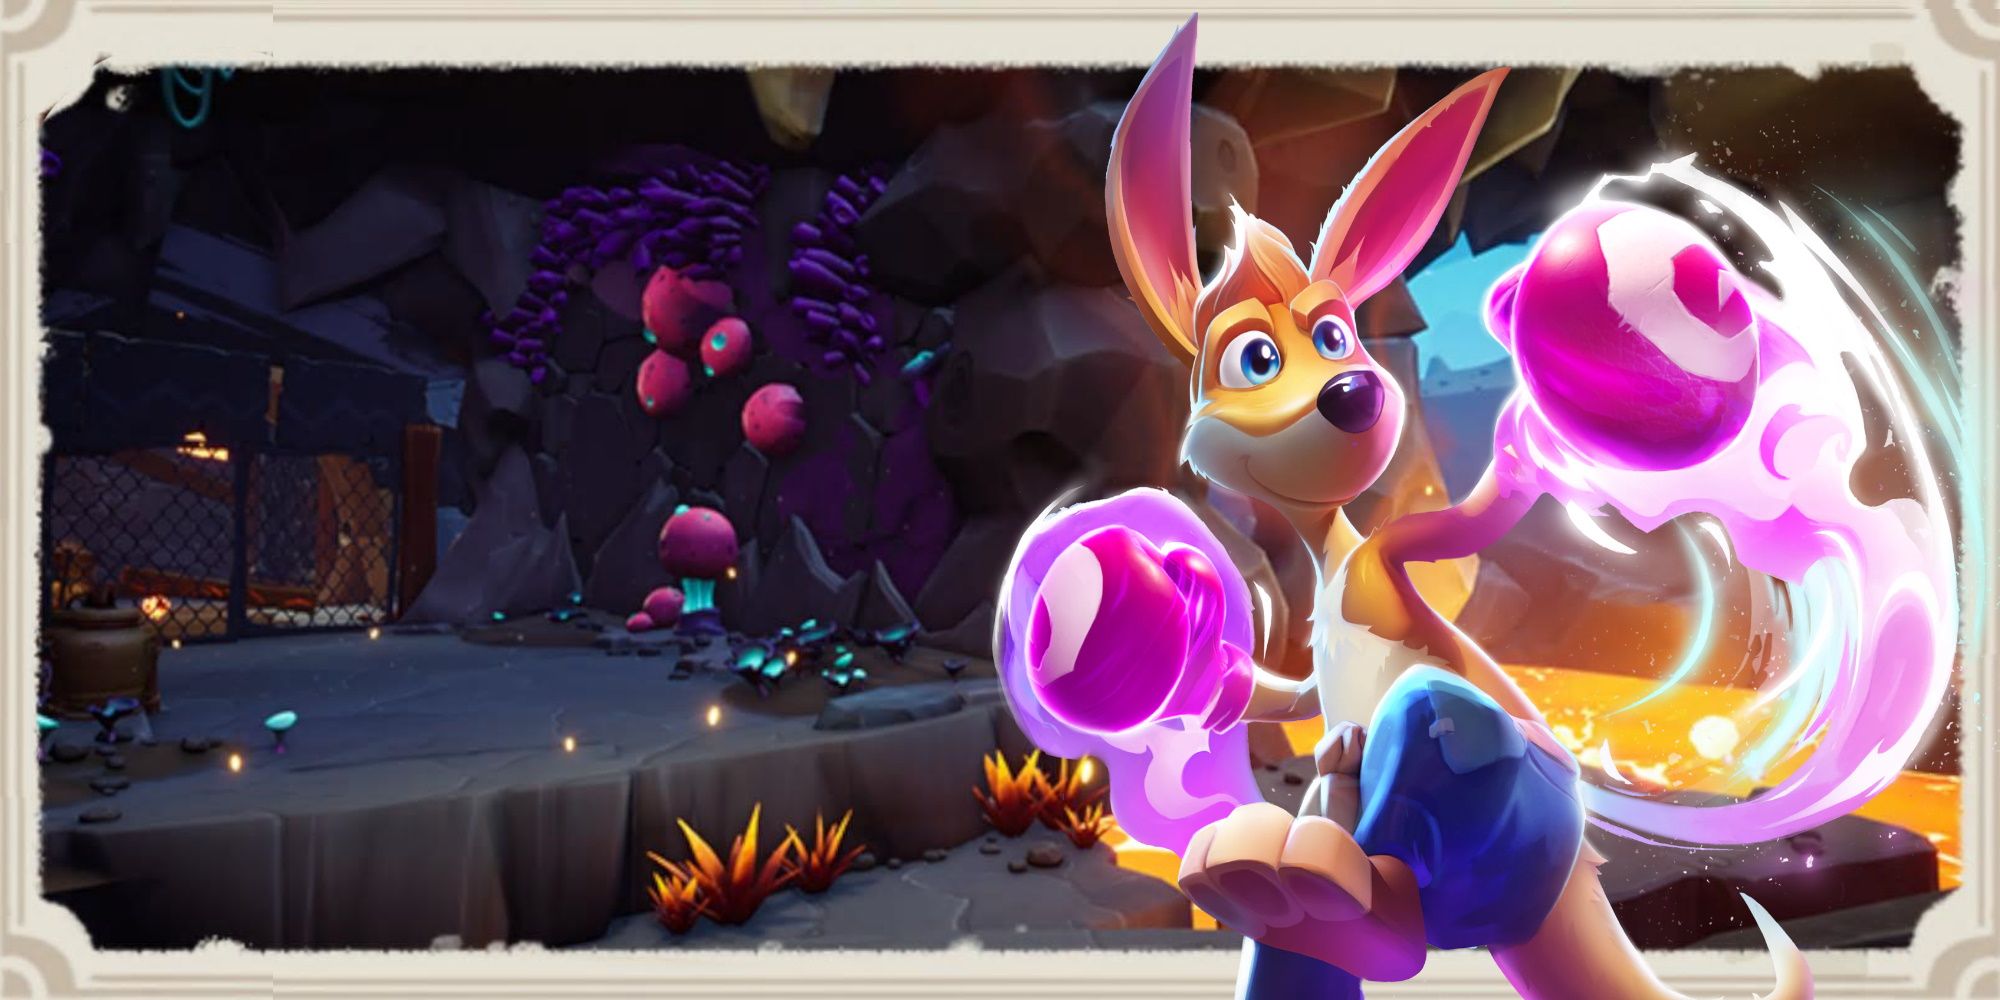
Kao The Kangaroo's Lava Caves aren't simply home to Gadget's wrench (your objective), they are also home to some tricky platforming and a few exceptionally well-hidden collectibles. It is here that you will obtain your fire-based powers. This means that this dungeon will also act as your tutorial for how to utilize said powers. You may even encounter a laser puzzle: classic!
While The Lava Caves contain a smaller number of collectibles than other stages in the game, they are (largely) pretty well hidden. Some of them are wedged off to the side, others are really deviously concealed between nooks and crates. Thankfully, we have the inside scoop and will show you the way.
Step-By-Step Collectible Guide
|
Crystals |
5 |
|---|---|
|
Scrolls |
1 |
|
Runes |
4 |
|
Treasure Chests |
6 |
|
Extra Lives |
1 |
|
Heart Pieces |
3 |
You will start the stage by pulling the lever on the elevator. You will then be granted your fire abilities. To the left side of the lift, there is a platform with a bunch of coins on top. After grabbing the coins, punch the plank of wood blocking the door to enter an area that has spider webs blocking a few areas. You need to find one of those fire orbs so that you can rekindle your fire powers.
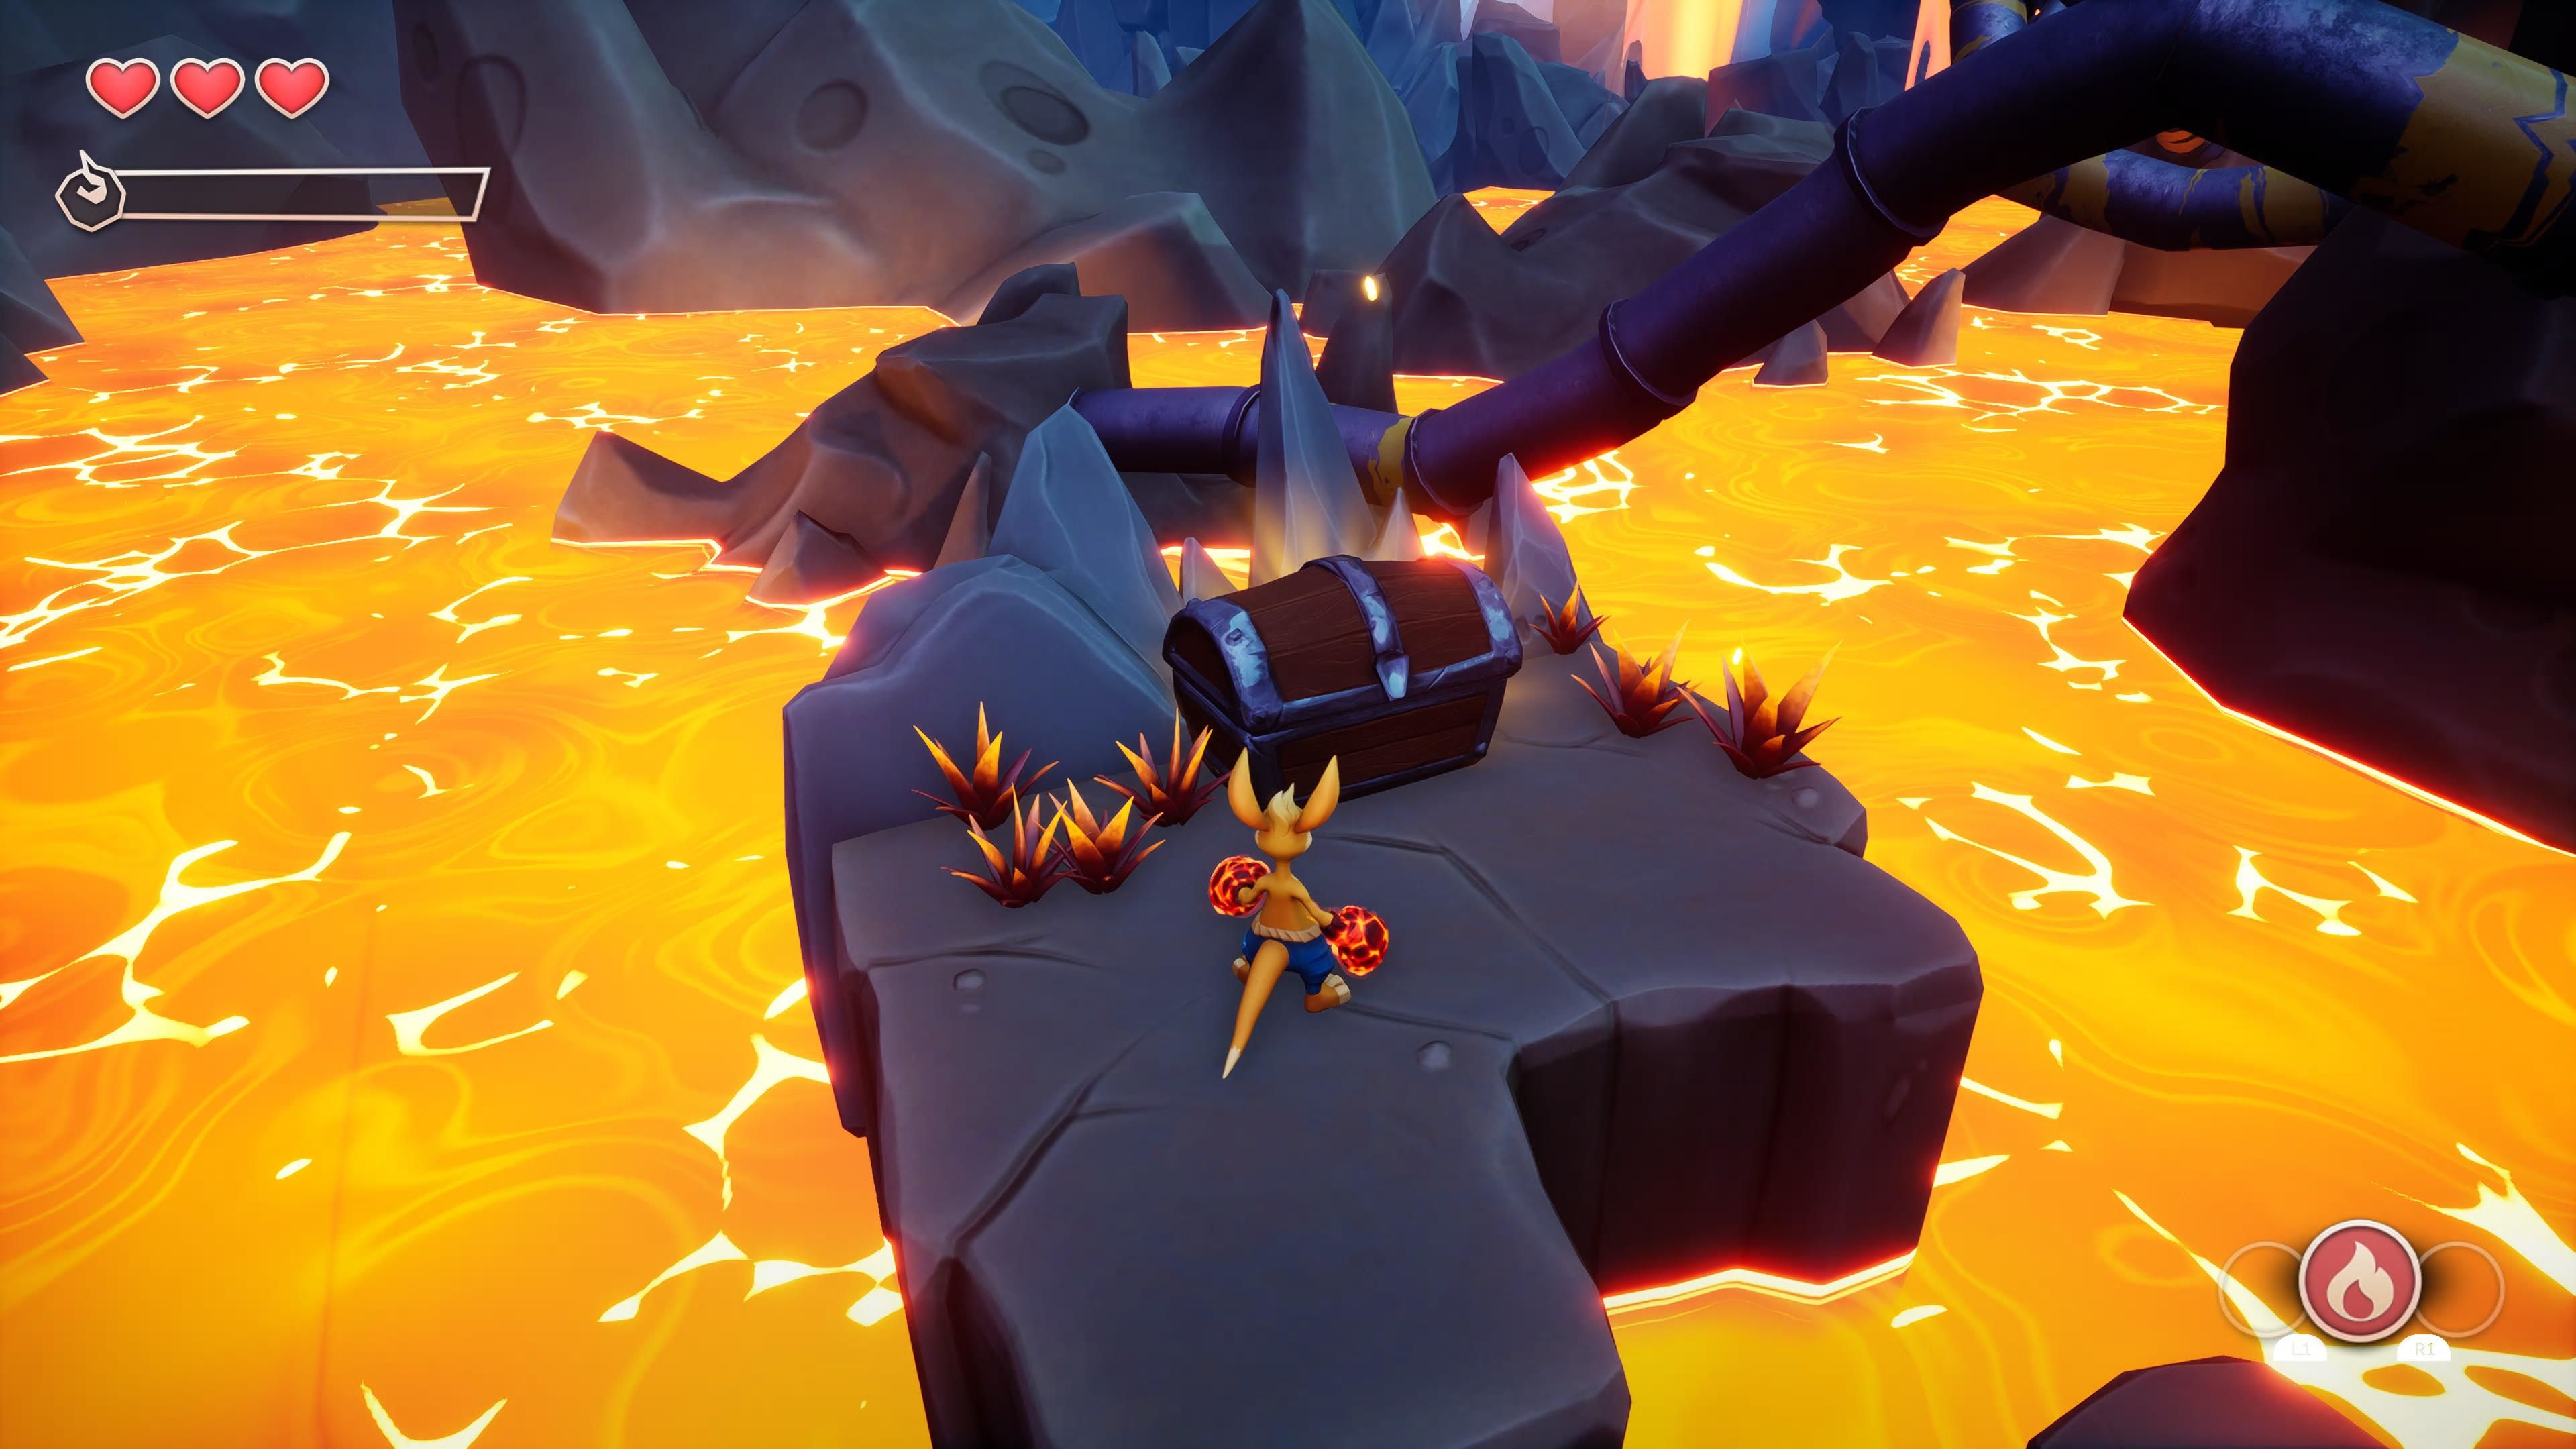
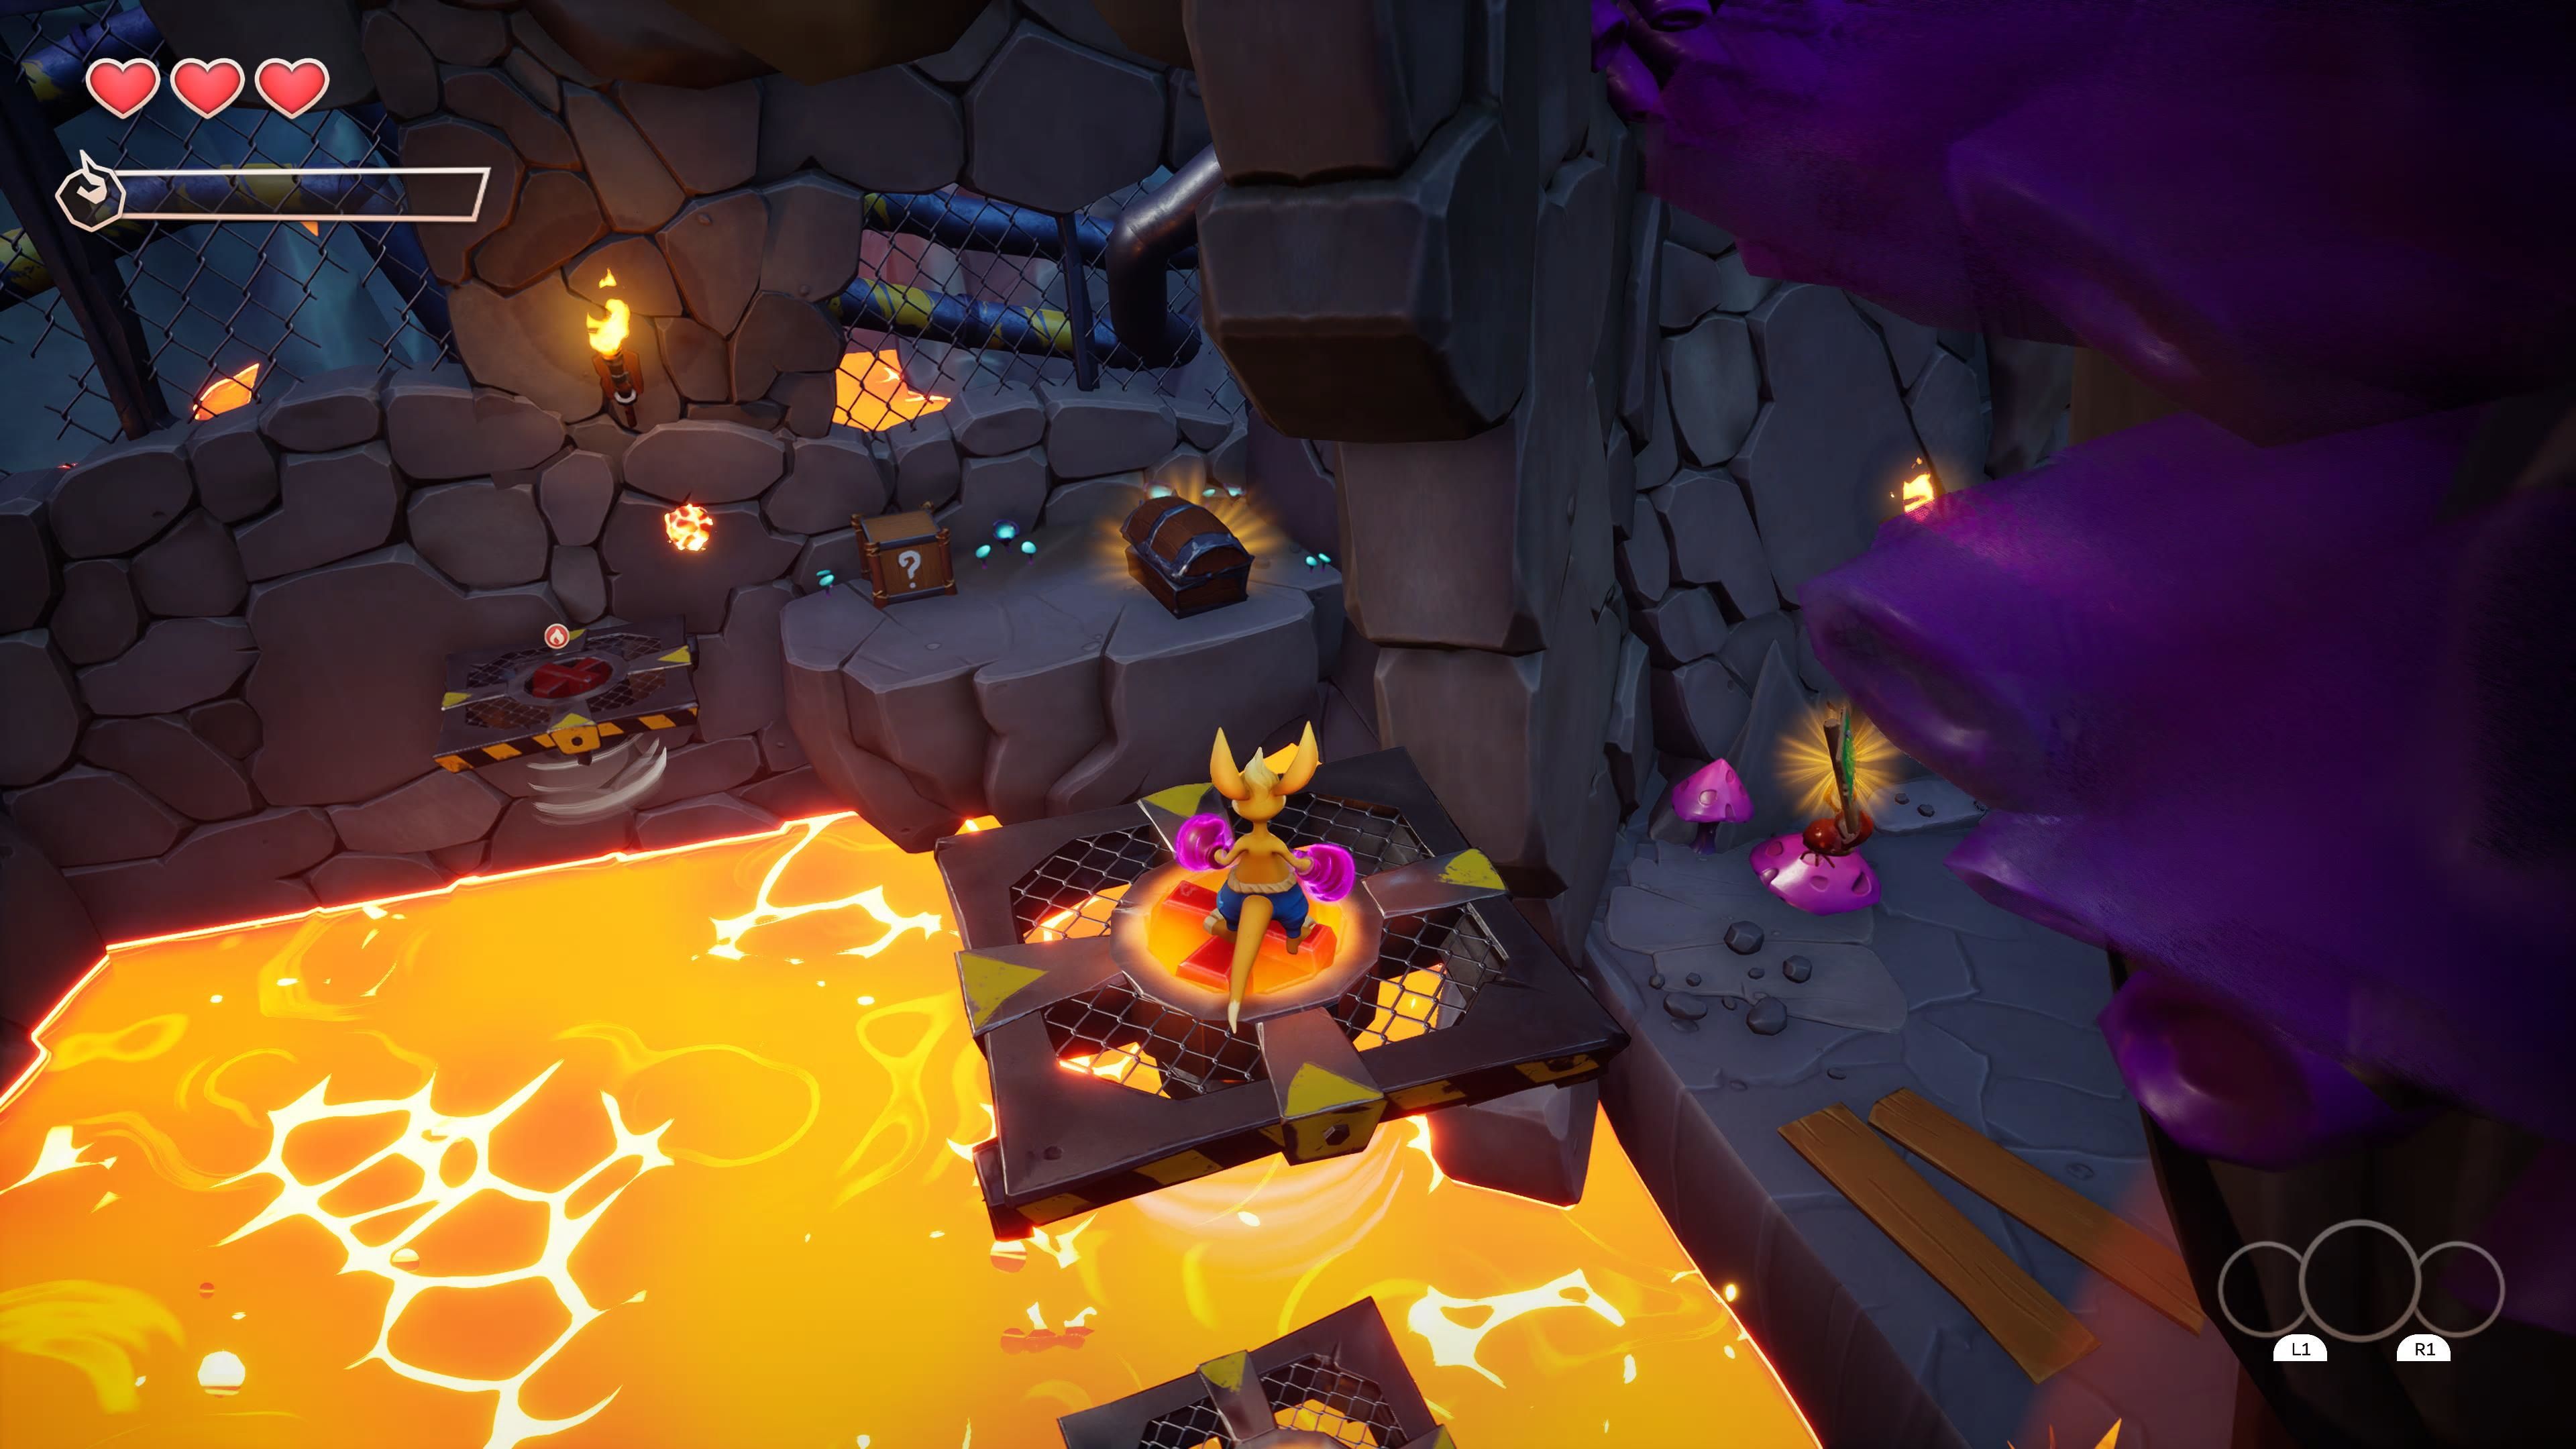
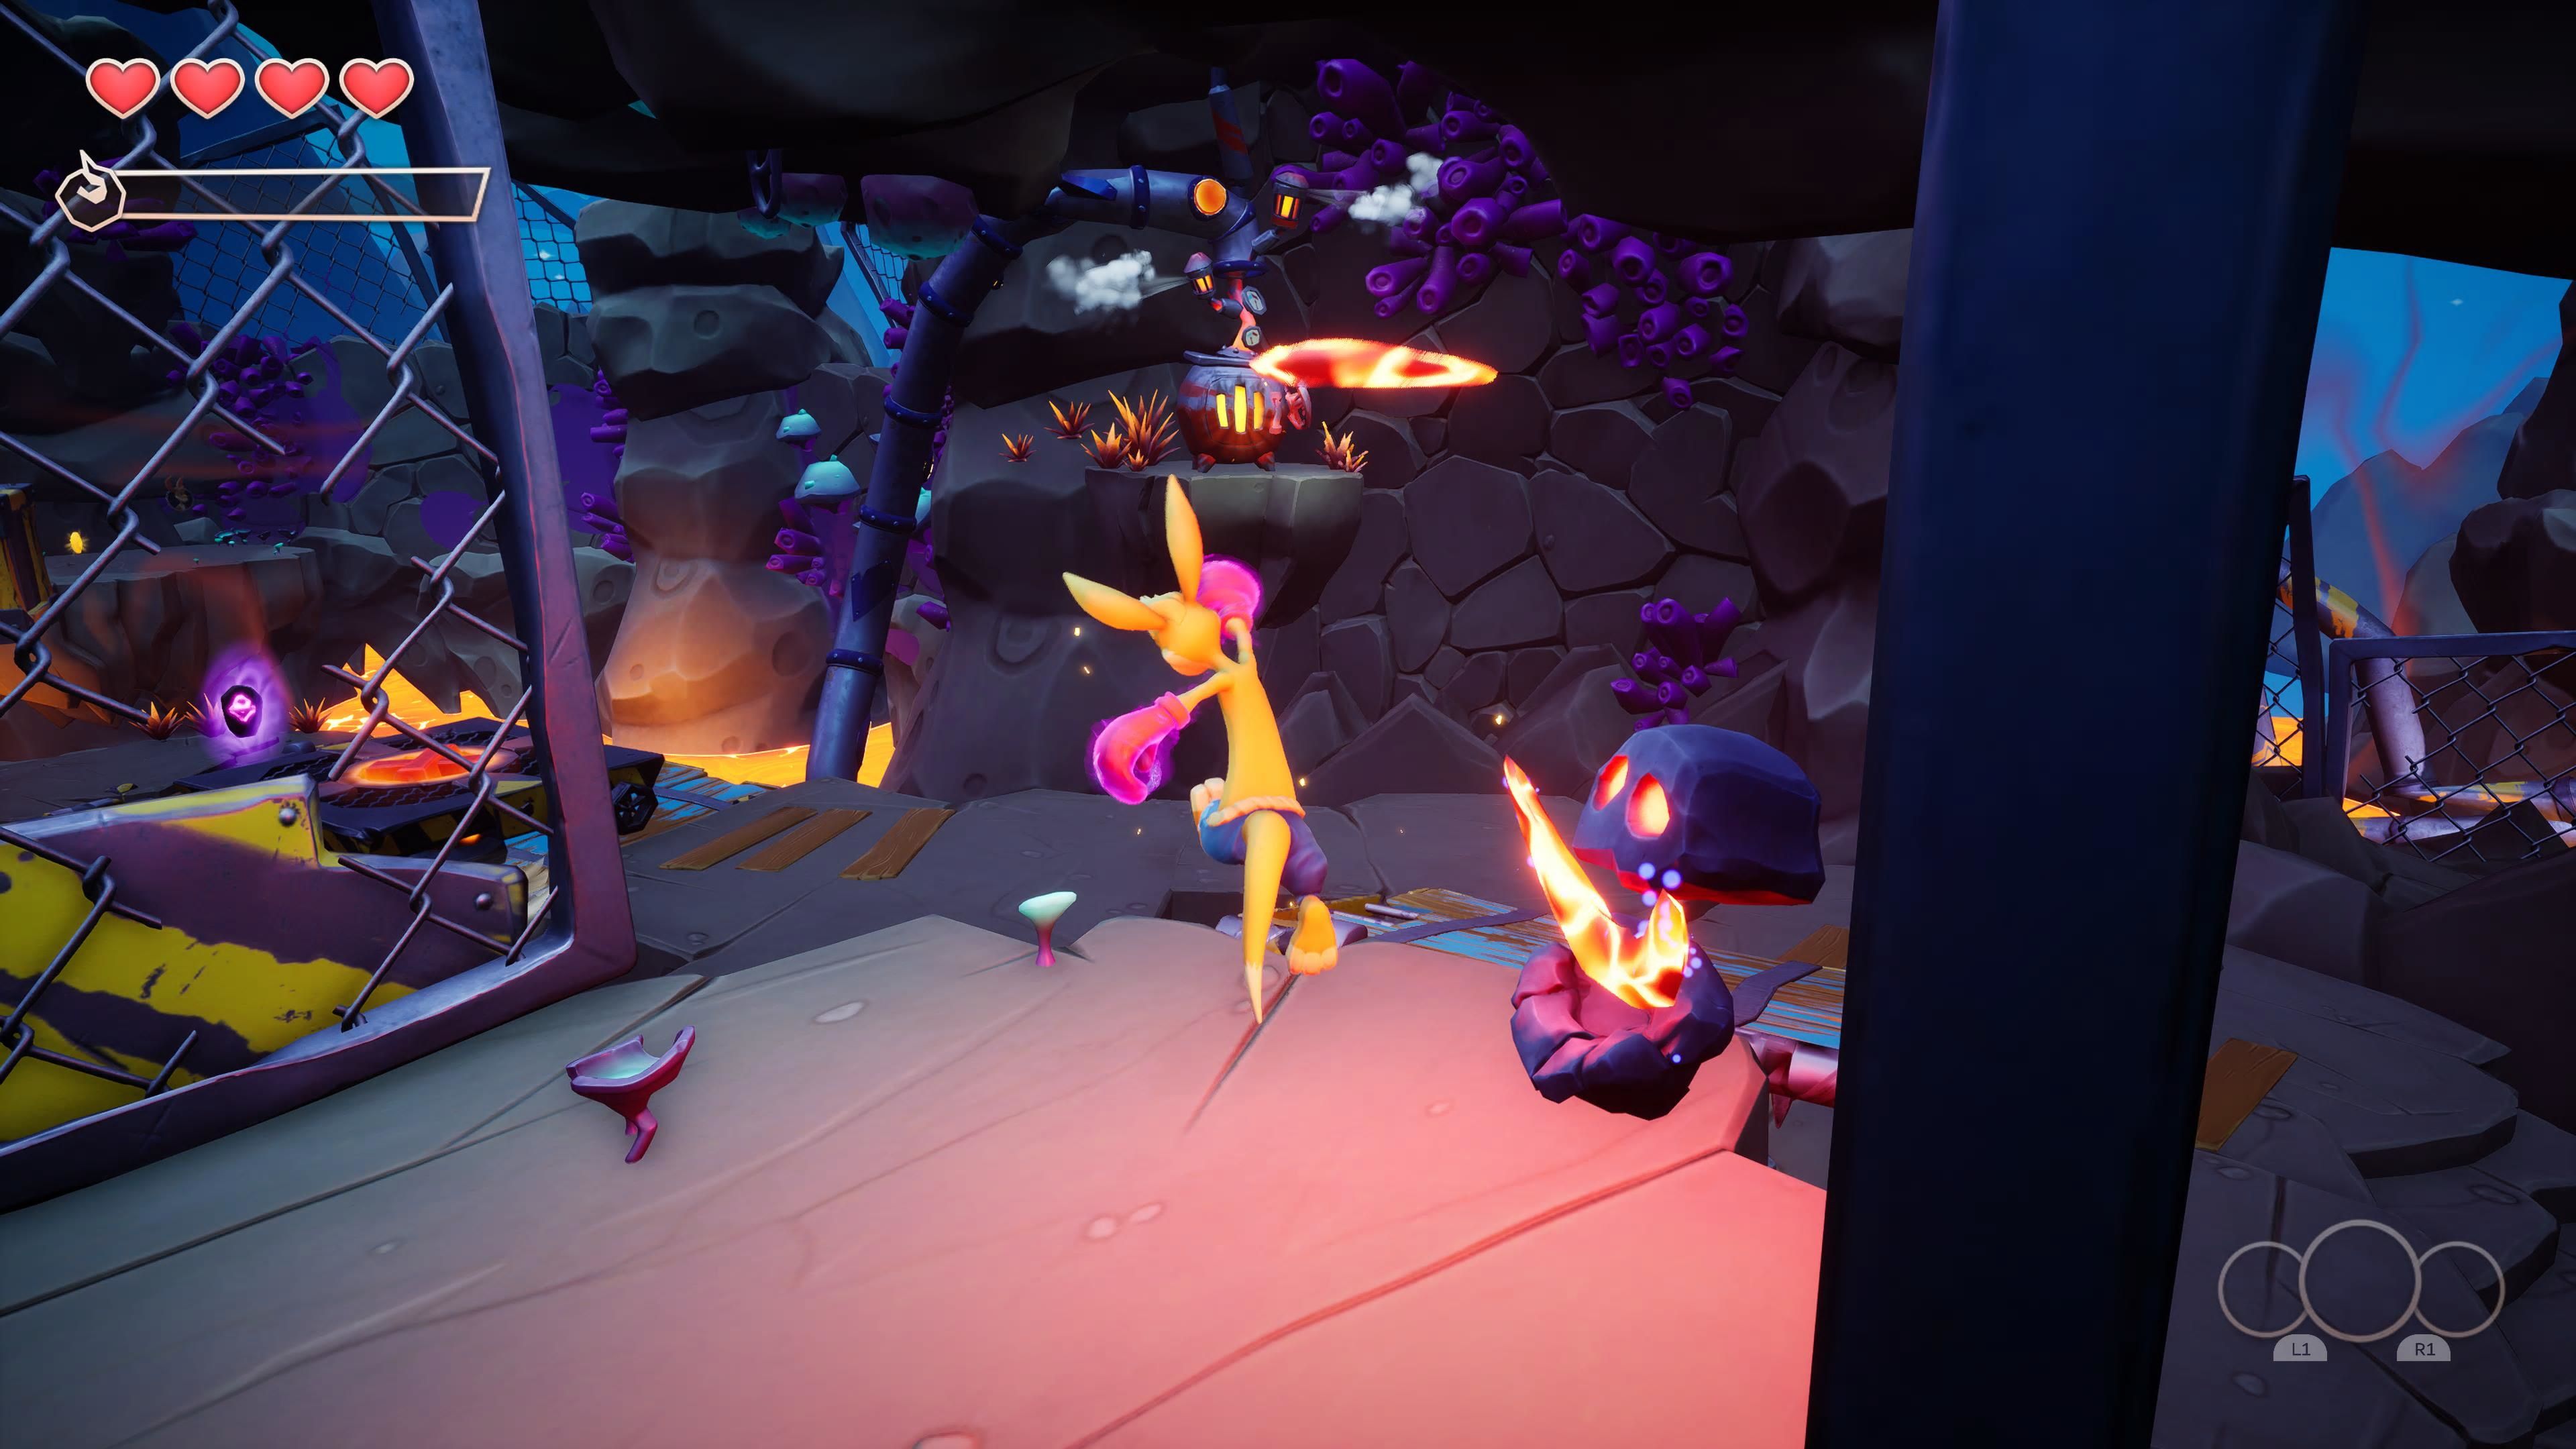
Climb around the perimeter of the room, and you will acquire two charges, which is exactly what you will need to blow through both webs. The path that was on your right when you entered the room contains a treasure chest, go grab it. Now, continue onto the main path. In the next room, there are some platforms that are powered by the fire ability. Ground pound them (while having a charge of your fire power) in order to get them moving. There is one platform off to the right that holds a treasure chest with coins in it. Don't miss it!
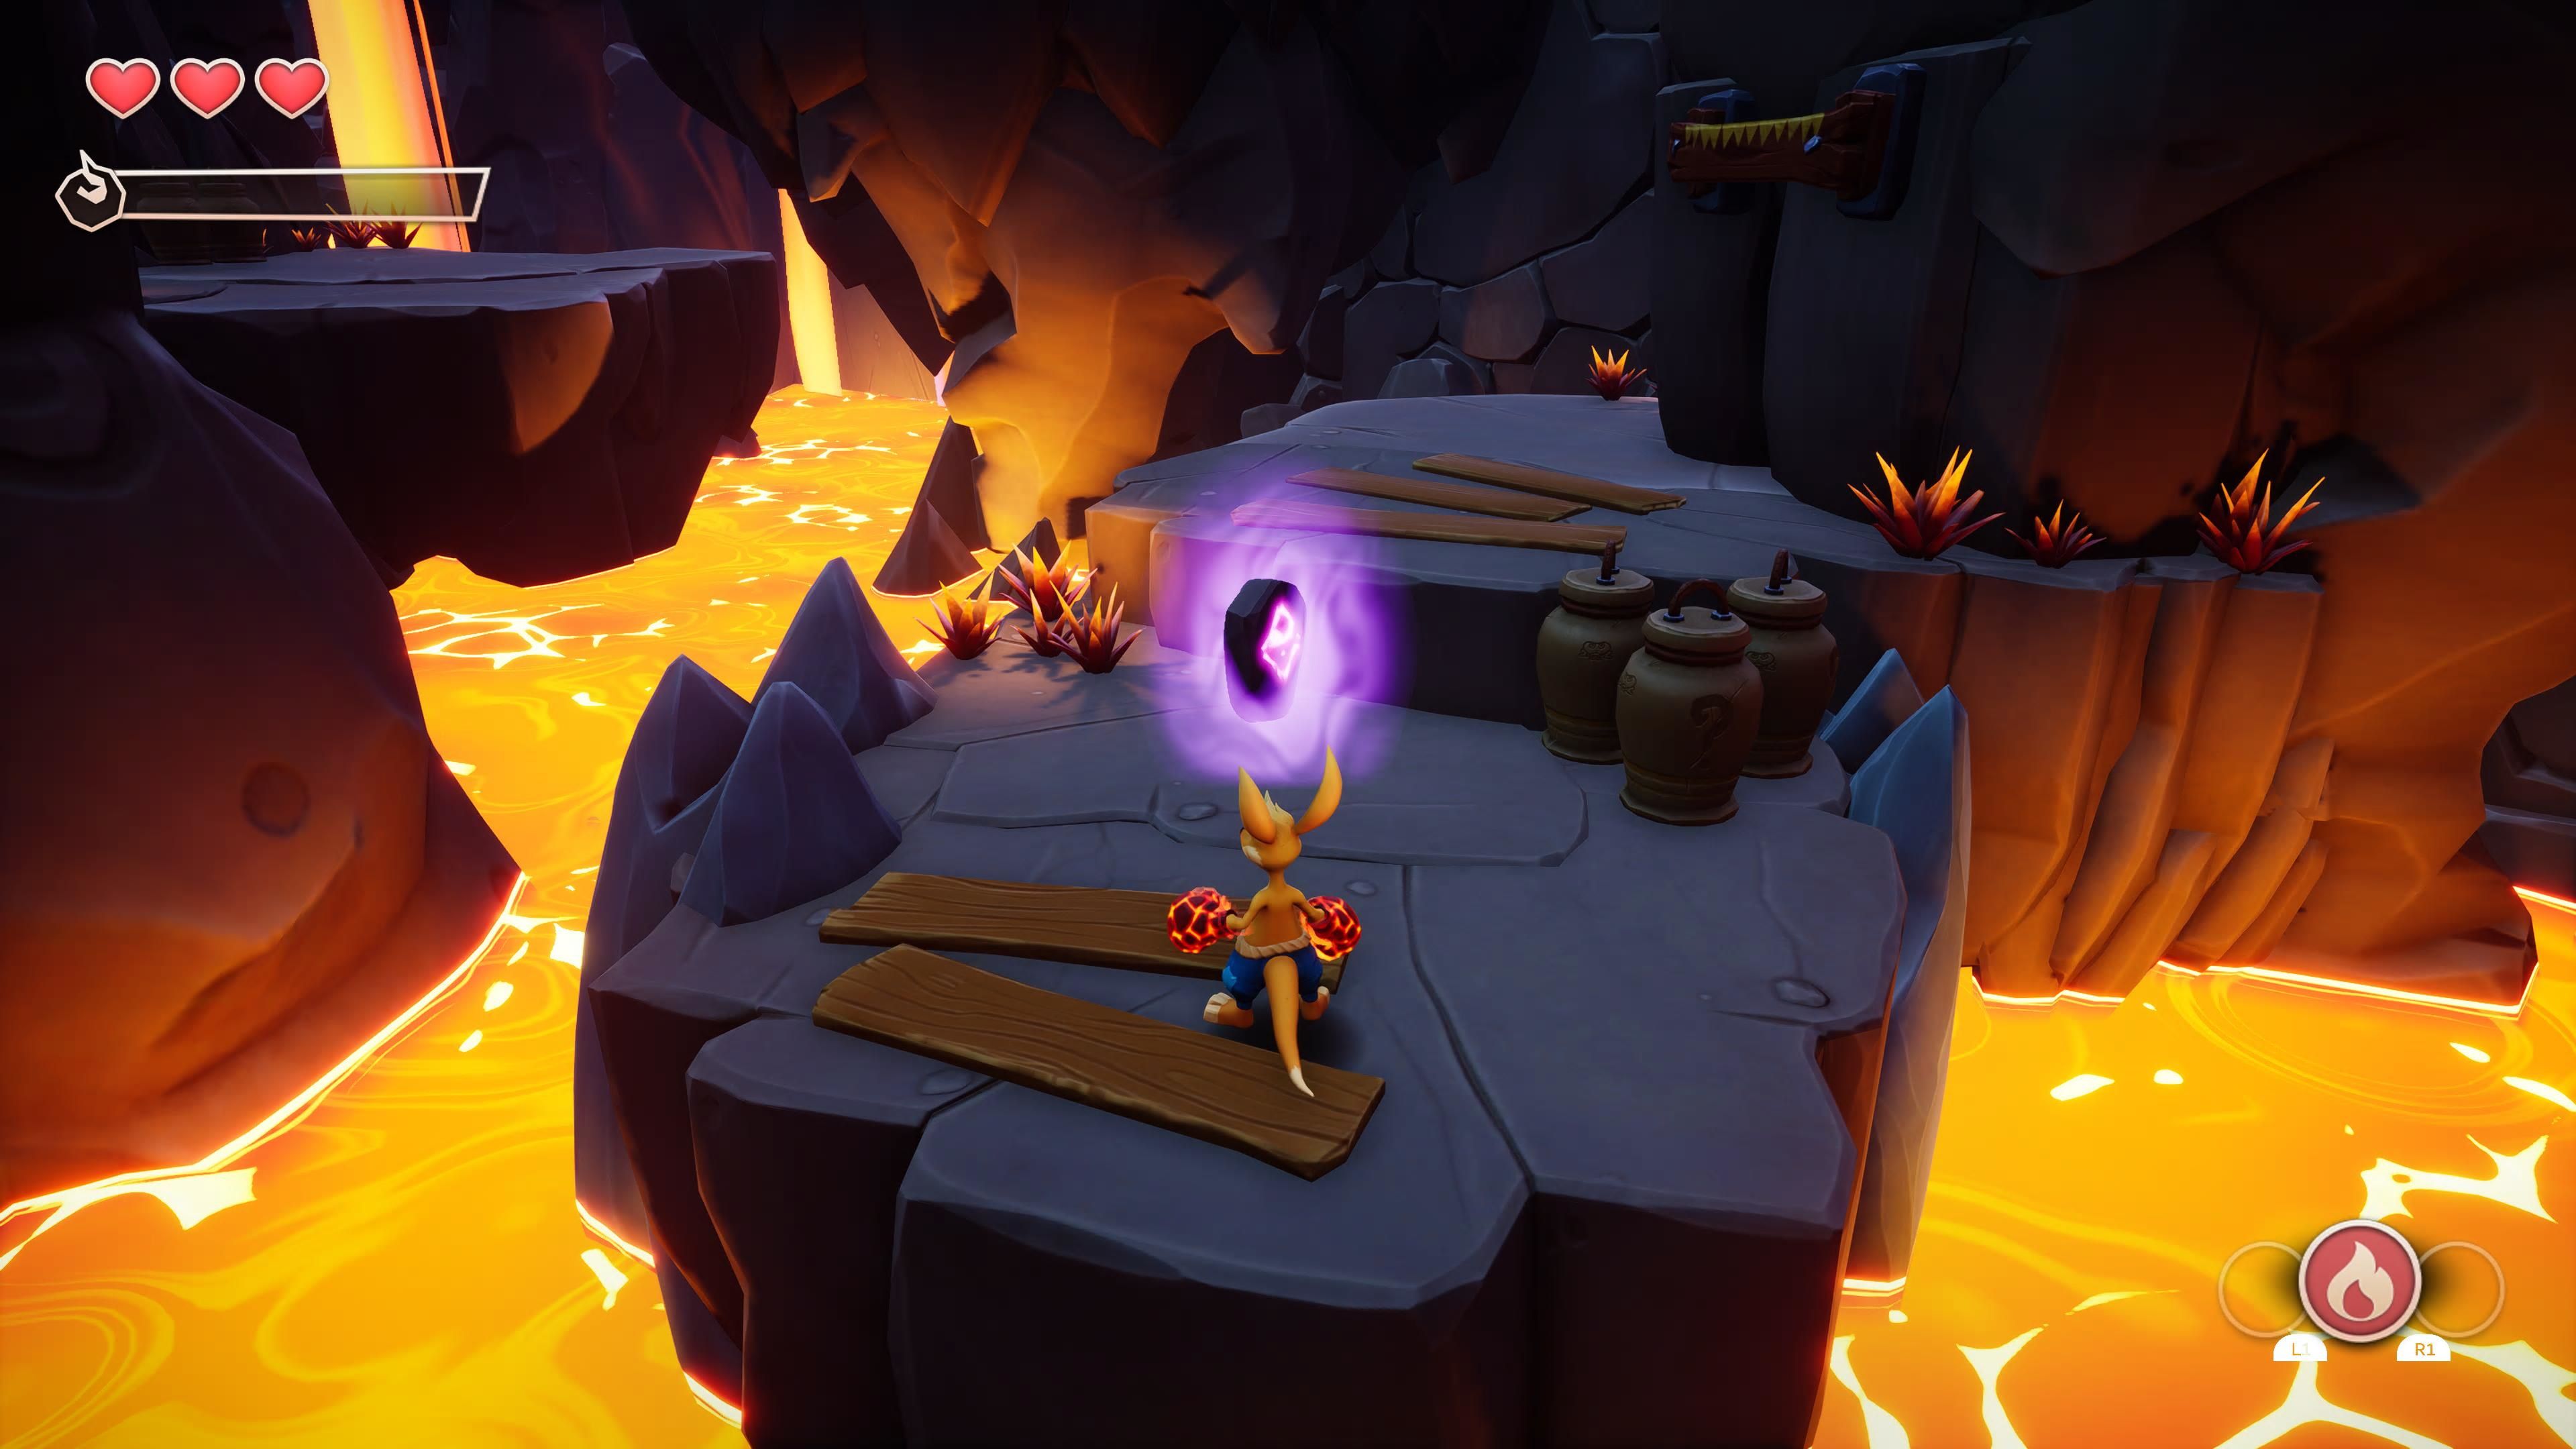
Roll under the gate, and you will fight some frogsters. After you deal with them, collect the fire charges in the area. Then, use the boomerang to drop the crate suspended above into the lava, this will create a platform that will help you cross the lava. Before you do that, though, make sure to collect the treasure chest: if you are facing the rune, the treasure chest is on your right. Now, grab the rune (1/4) and continue on the path.
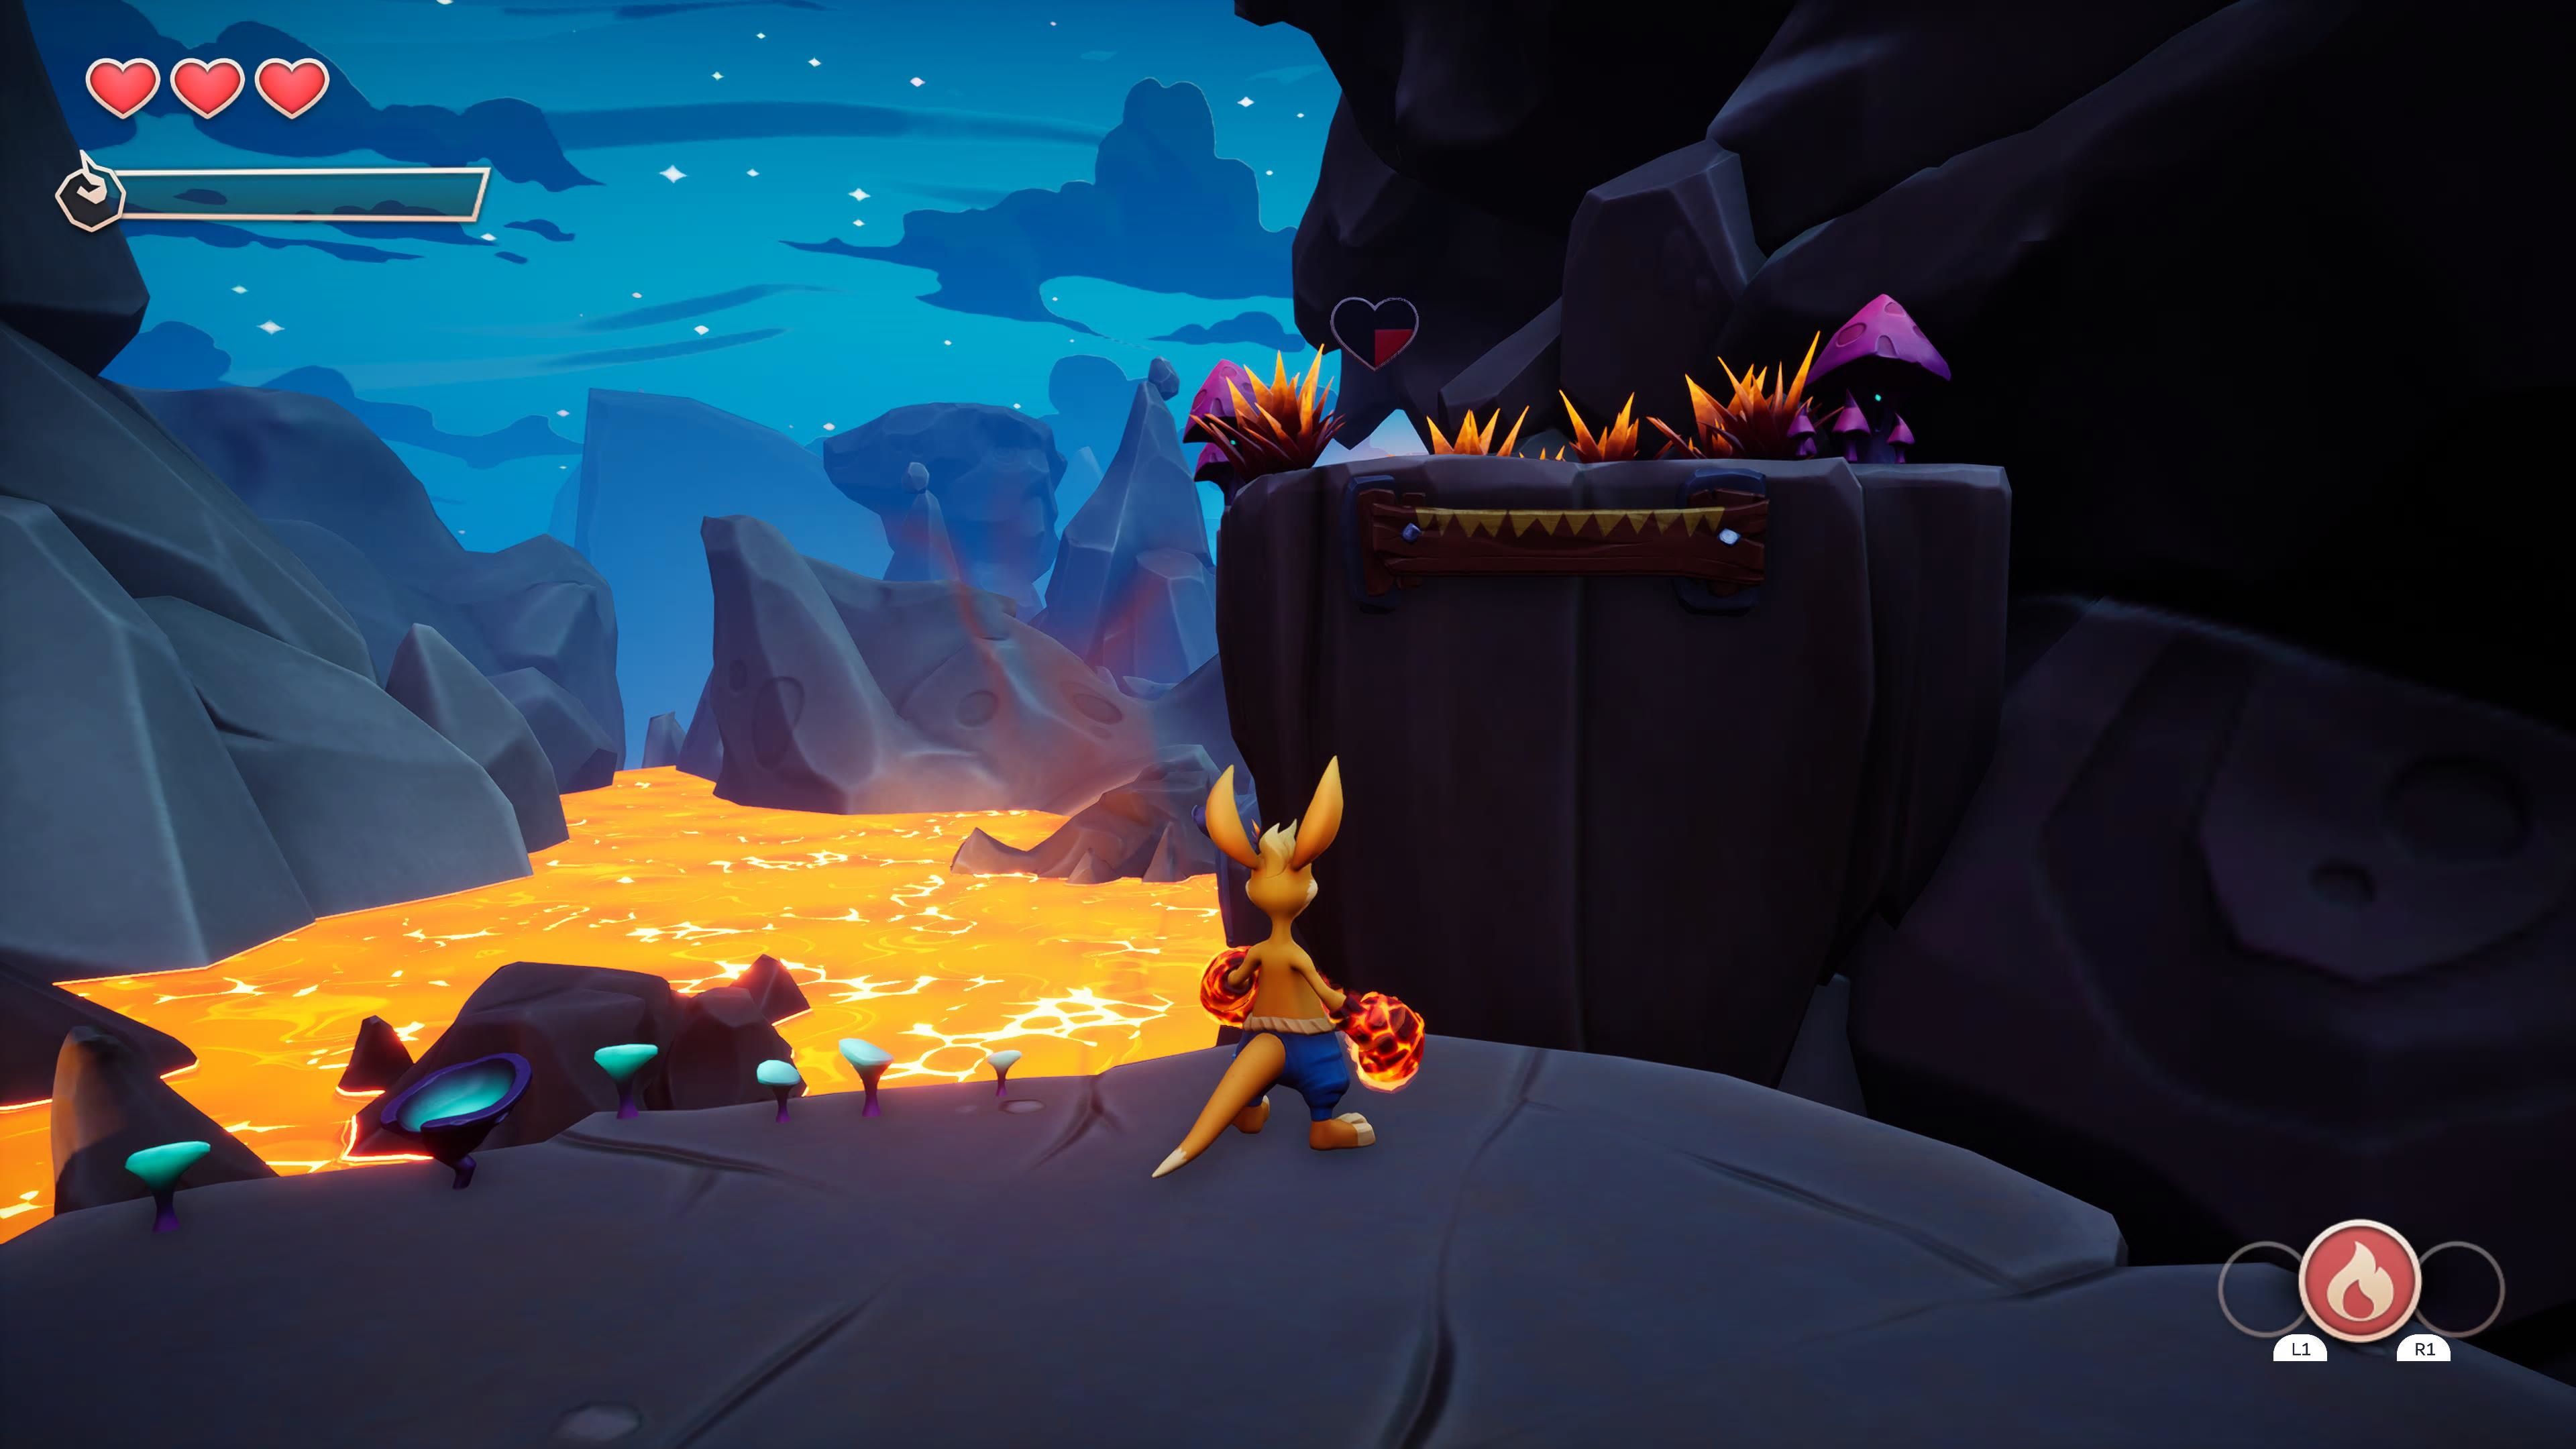
Just past the rune, climb up the wall, and take a right. There is a heart piece here. Now, retrace your steps and go in the opposite direction of the heart piece. Jump down, burn the spider web, and you will find the third Eternal Well.
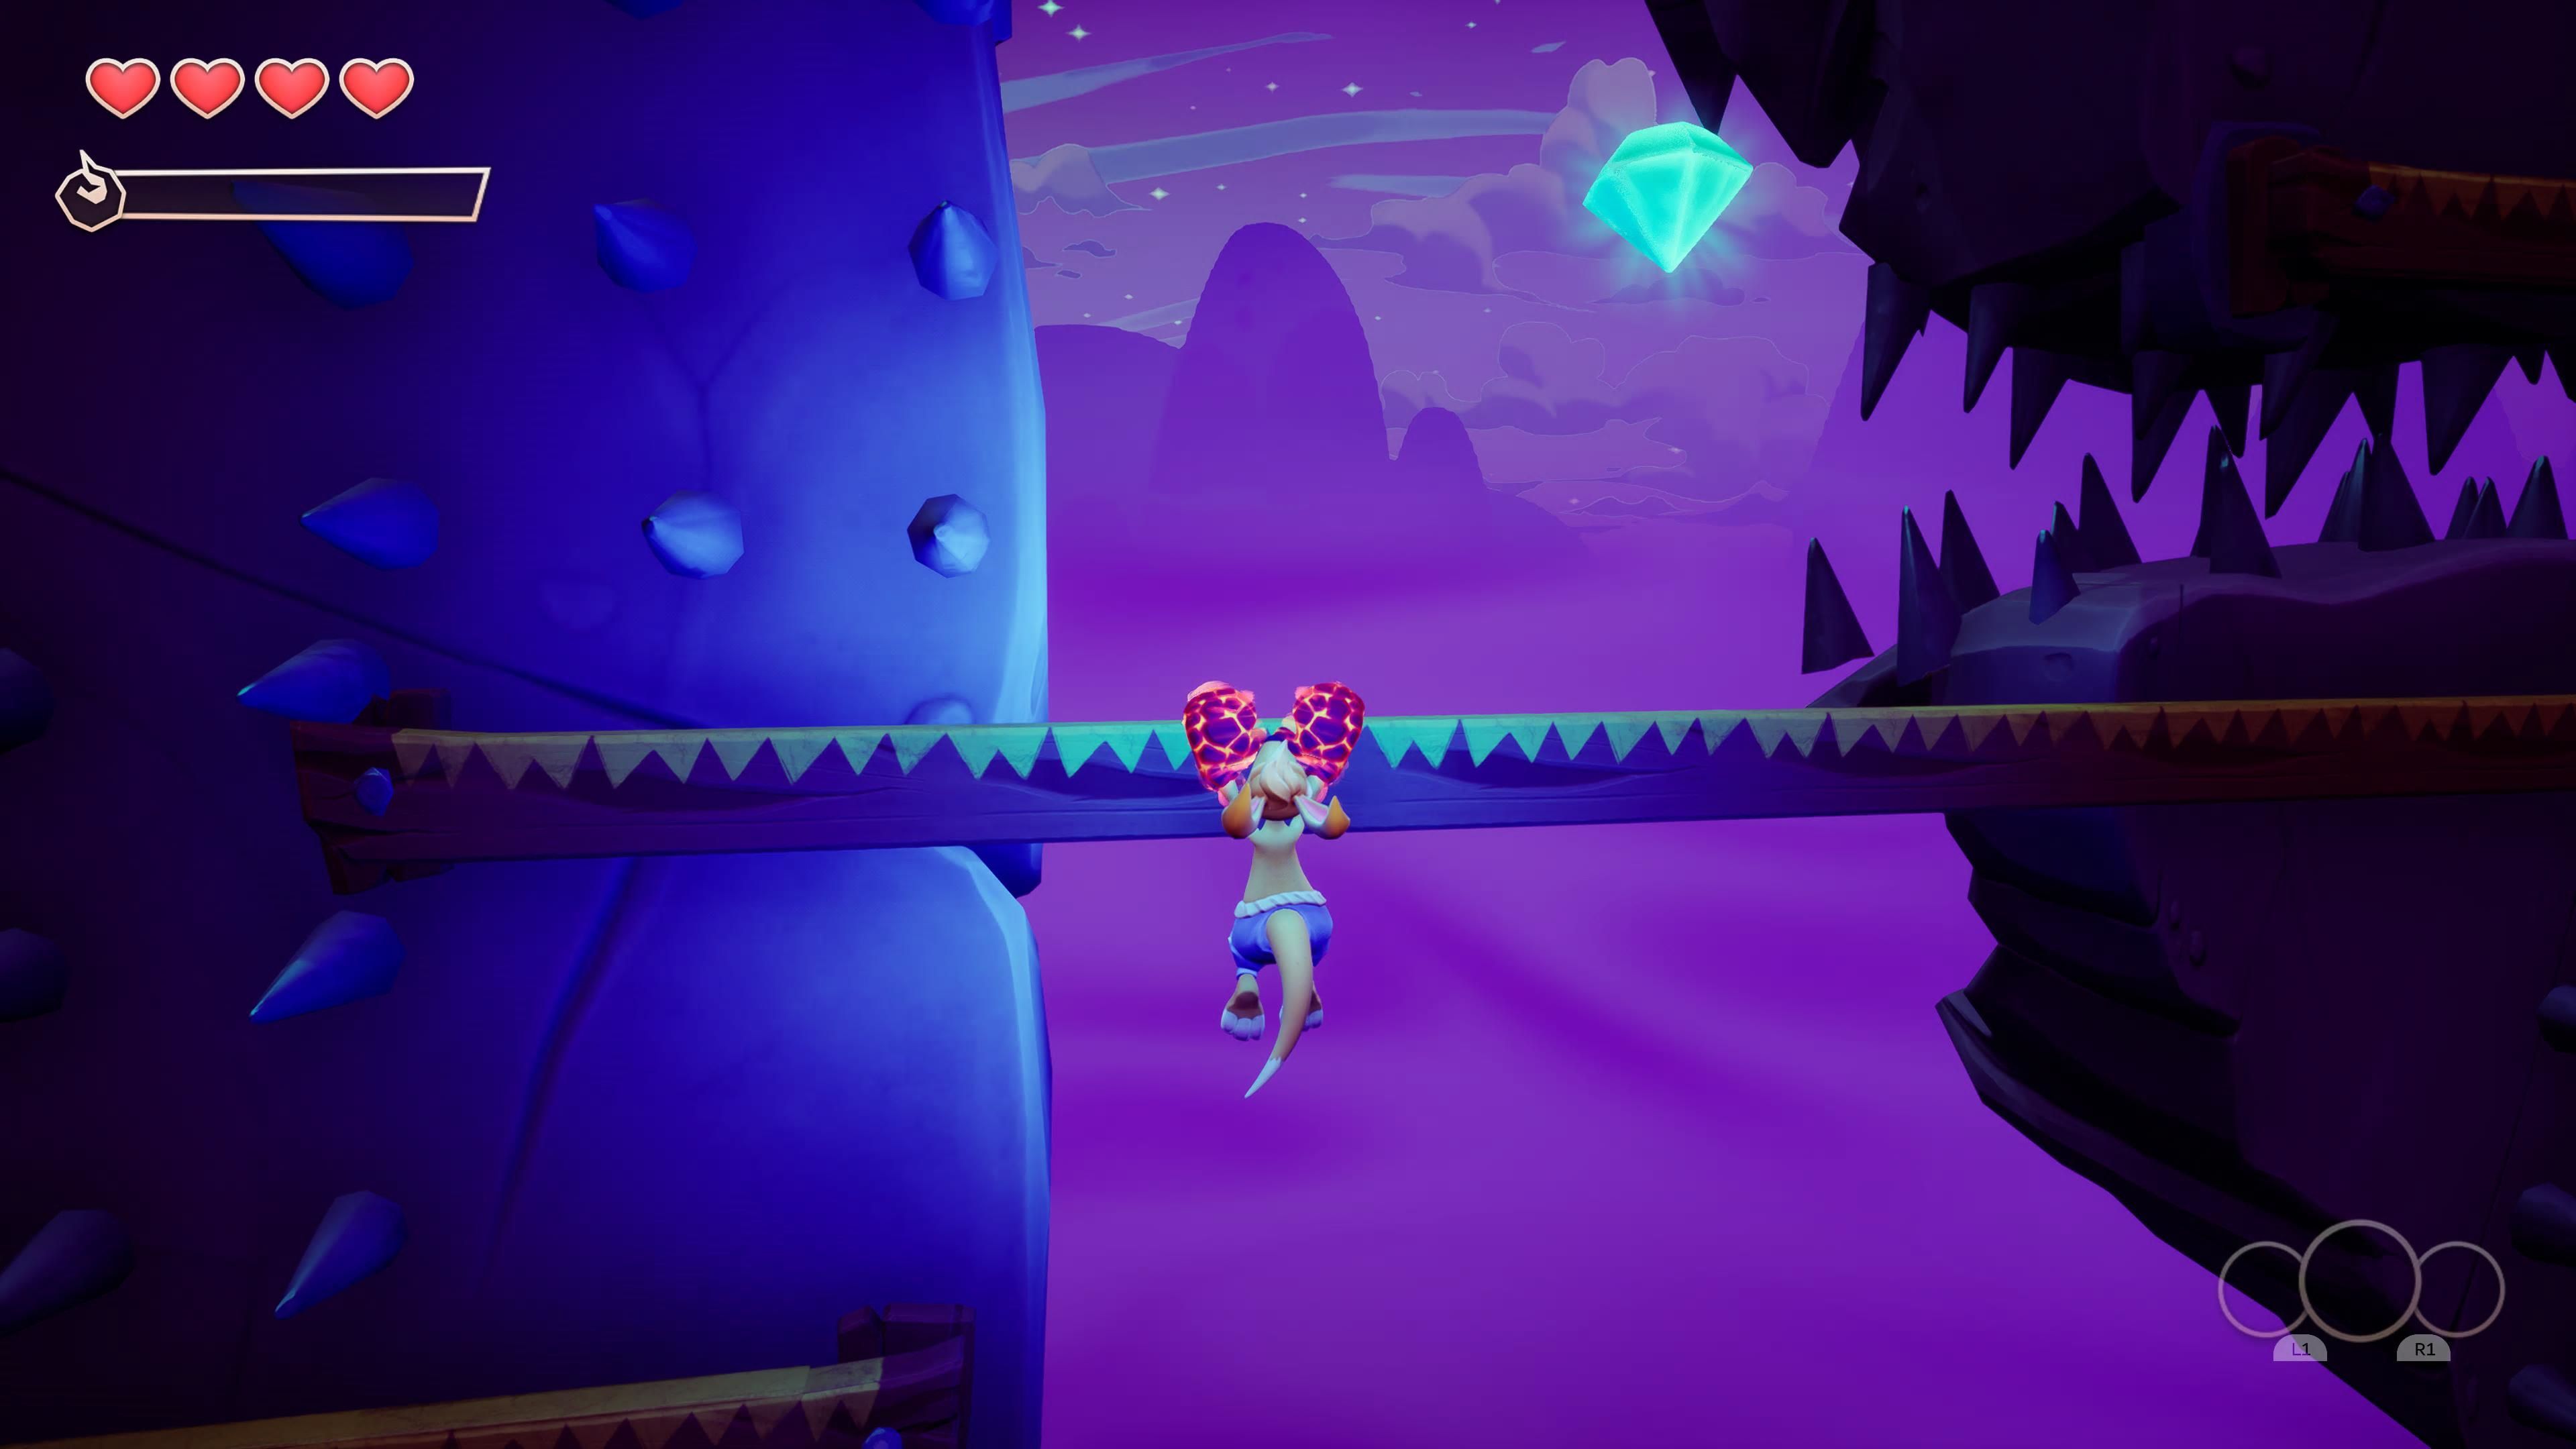
Now, back on the main path, there is a fire charge below the platform on your right, an elevator is moving up and down, just hop on. On your way back up, hop over to the platform with a crystal (1/5) on it. Now, hop onto the main path again. There is a treasure chest down below, right where the moving platforms are.
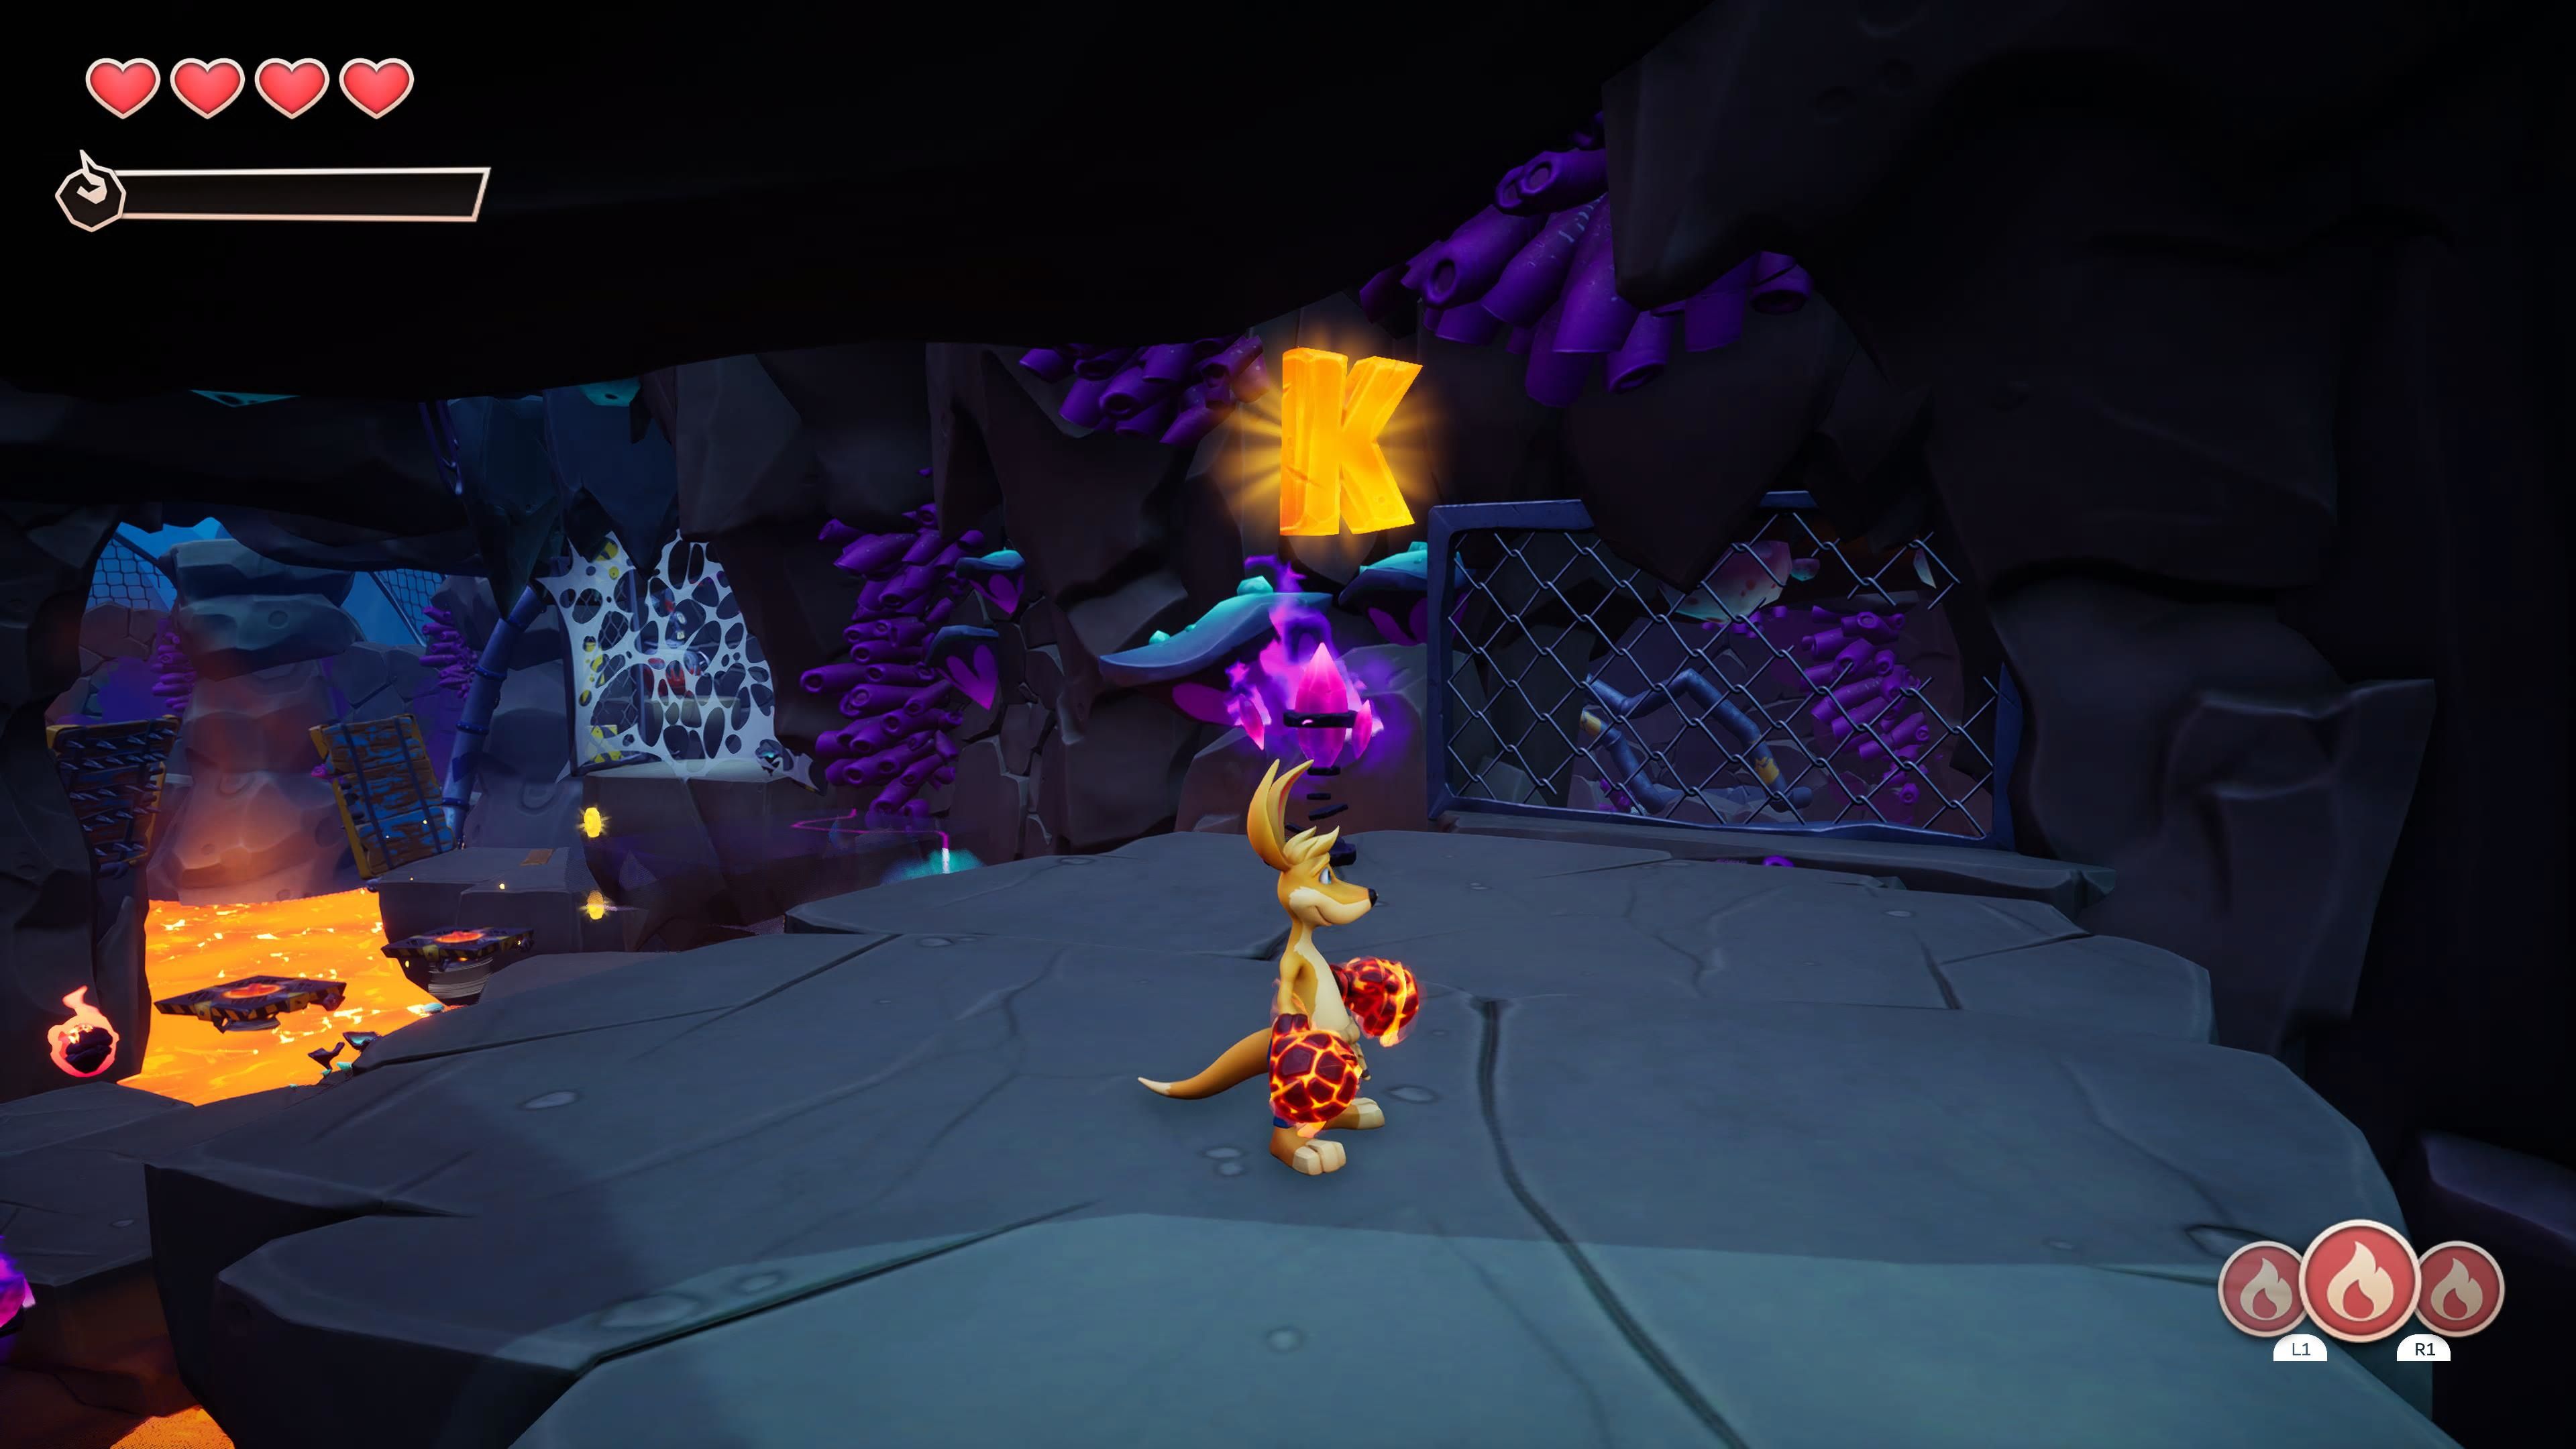
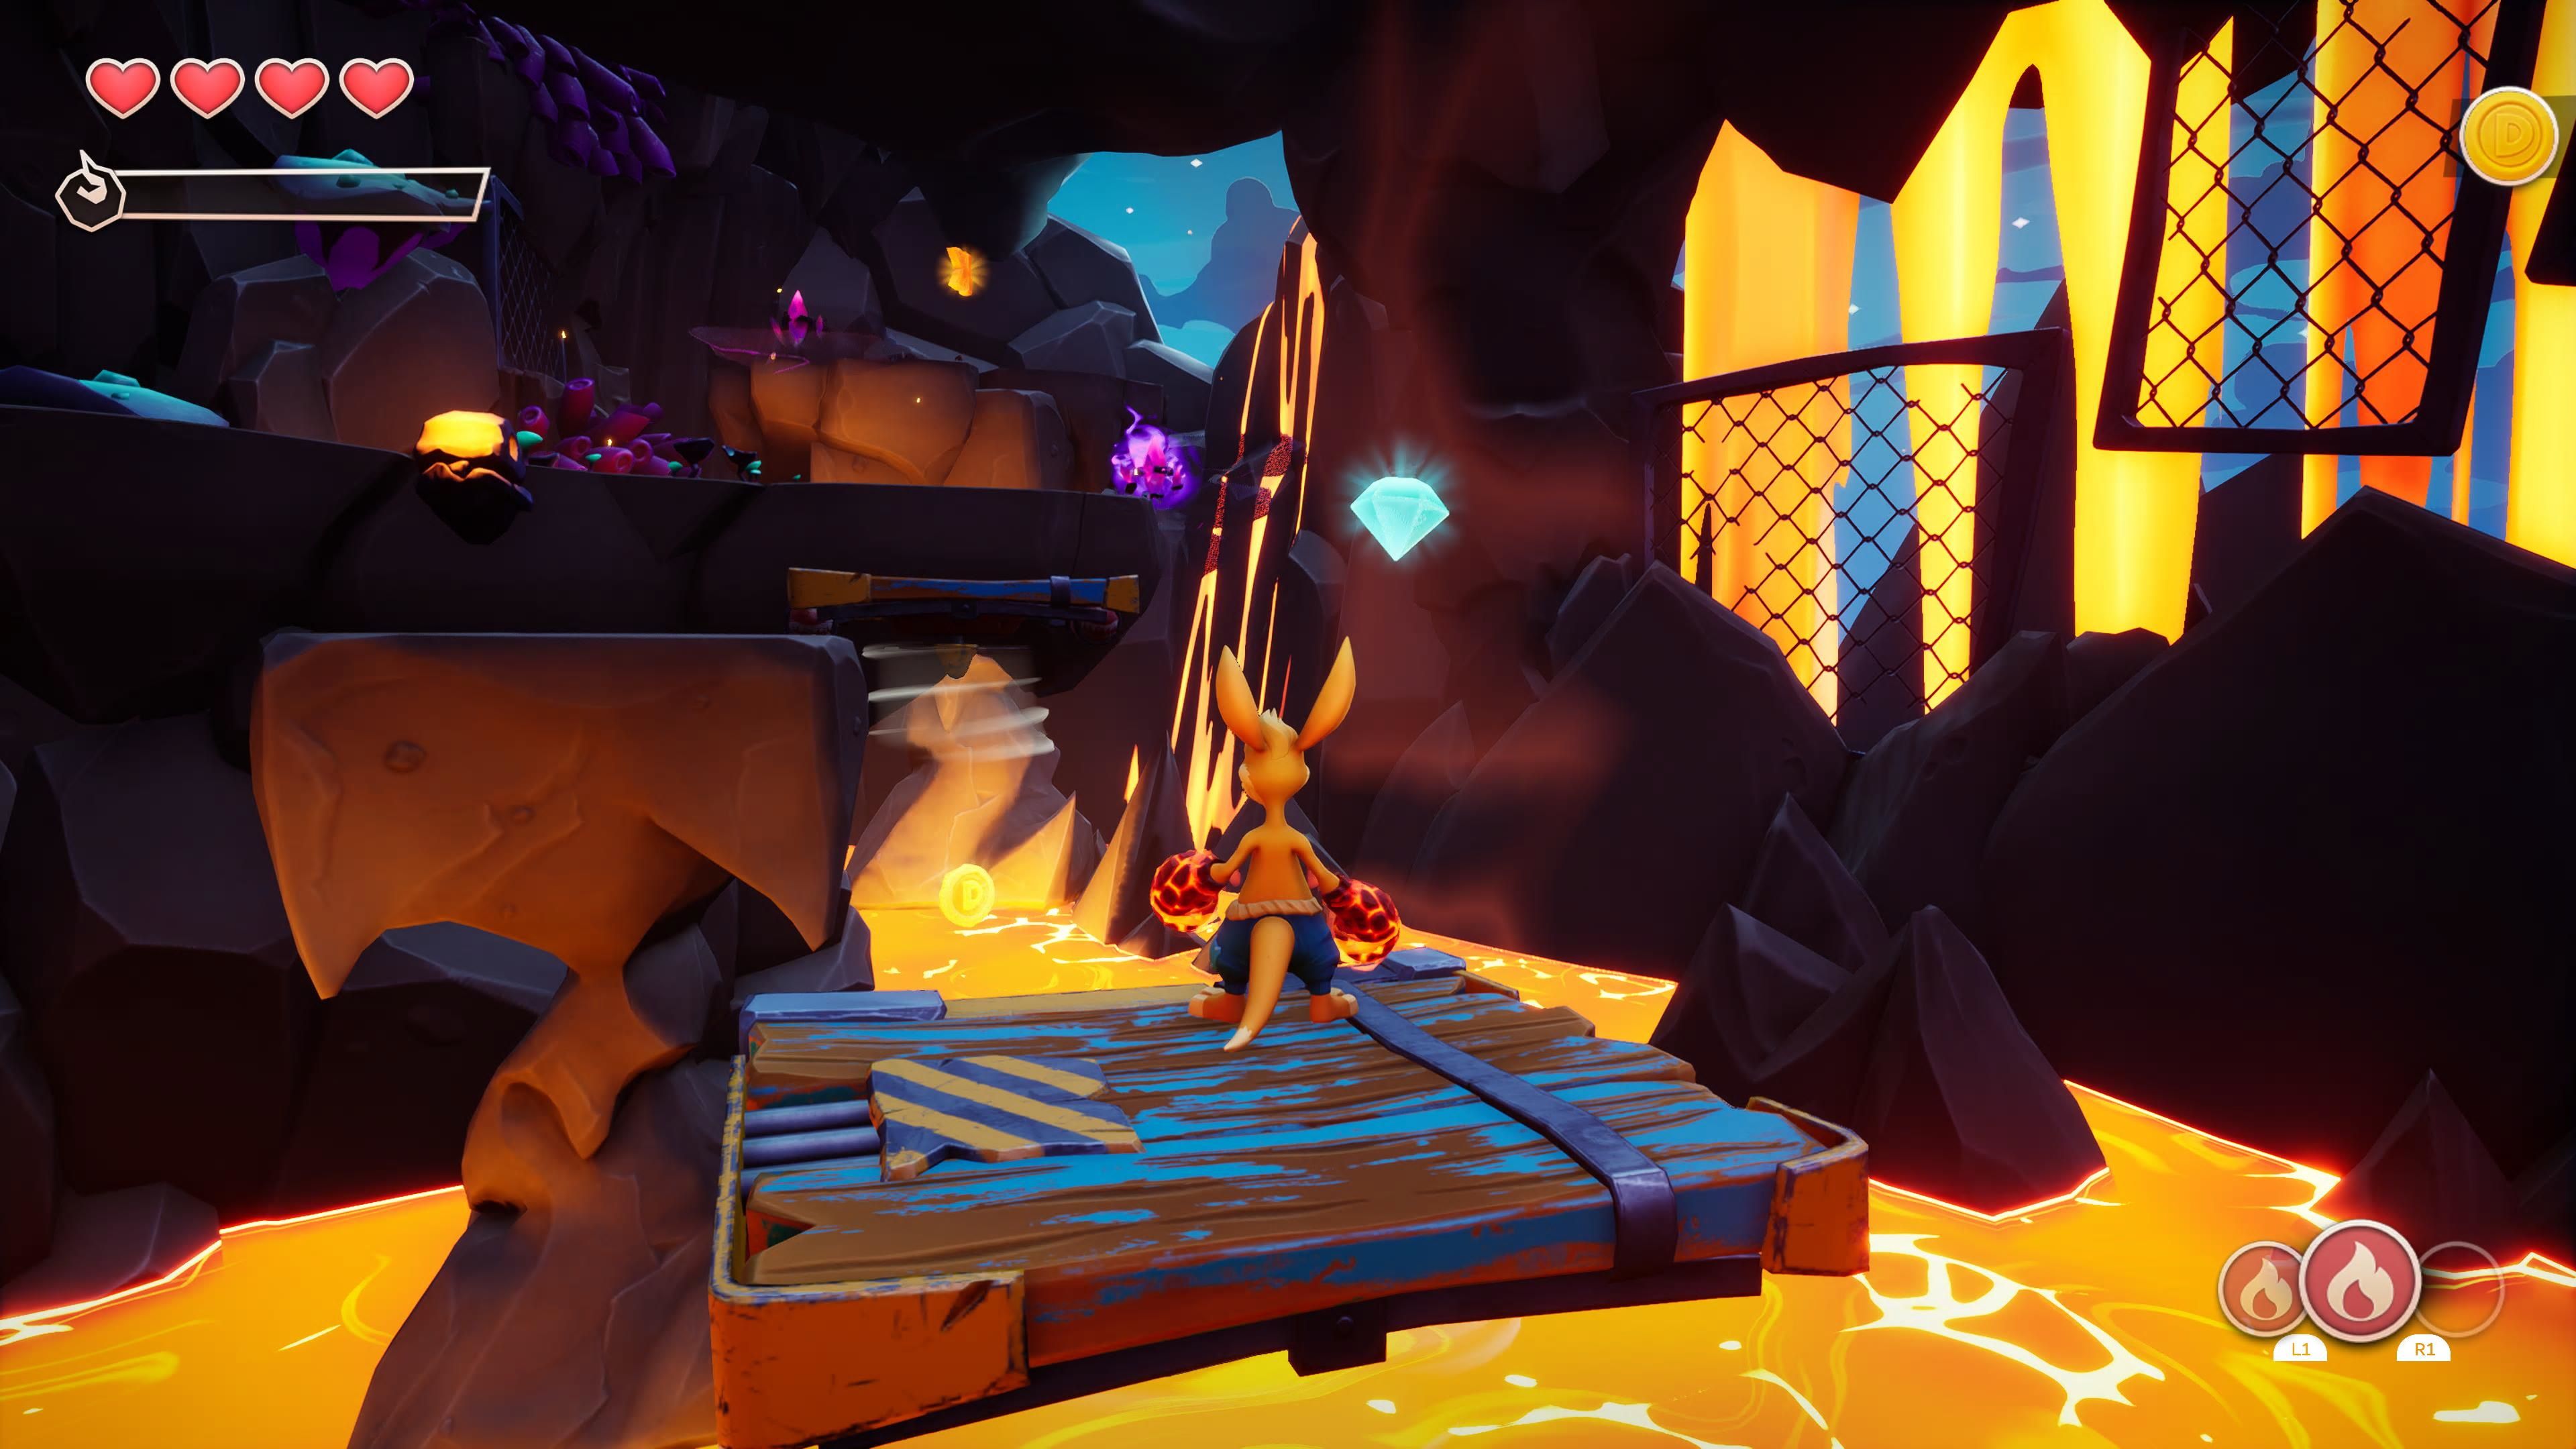
After performing some basic platforming where you activate the platforms using your fire charge and the ground pound attack, you will land in a spot where you can fully charge your fire. From here you will do some more platforming using these fire-powered platforms. As a matter of course, you will obtain the next crystal (2/5) and the letter K.
Once you make your way around, you will reach a spot where you will use a boomerang to heat up the boiler on the other side of the room. However, you will need to have a charge of your flame power to set the boomerang on fire first. Before you jump down, take another boomerang. Hop back down, and you will be at the Fire Totem (the thing that charges your fire power) again. Now, cross the bridge to collect another rune (2/4). Use the boomerang you are holding onto to cut down the hanging block, and cross the lava flow using it to gain an extra life.
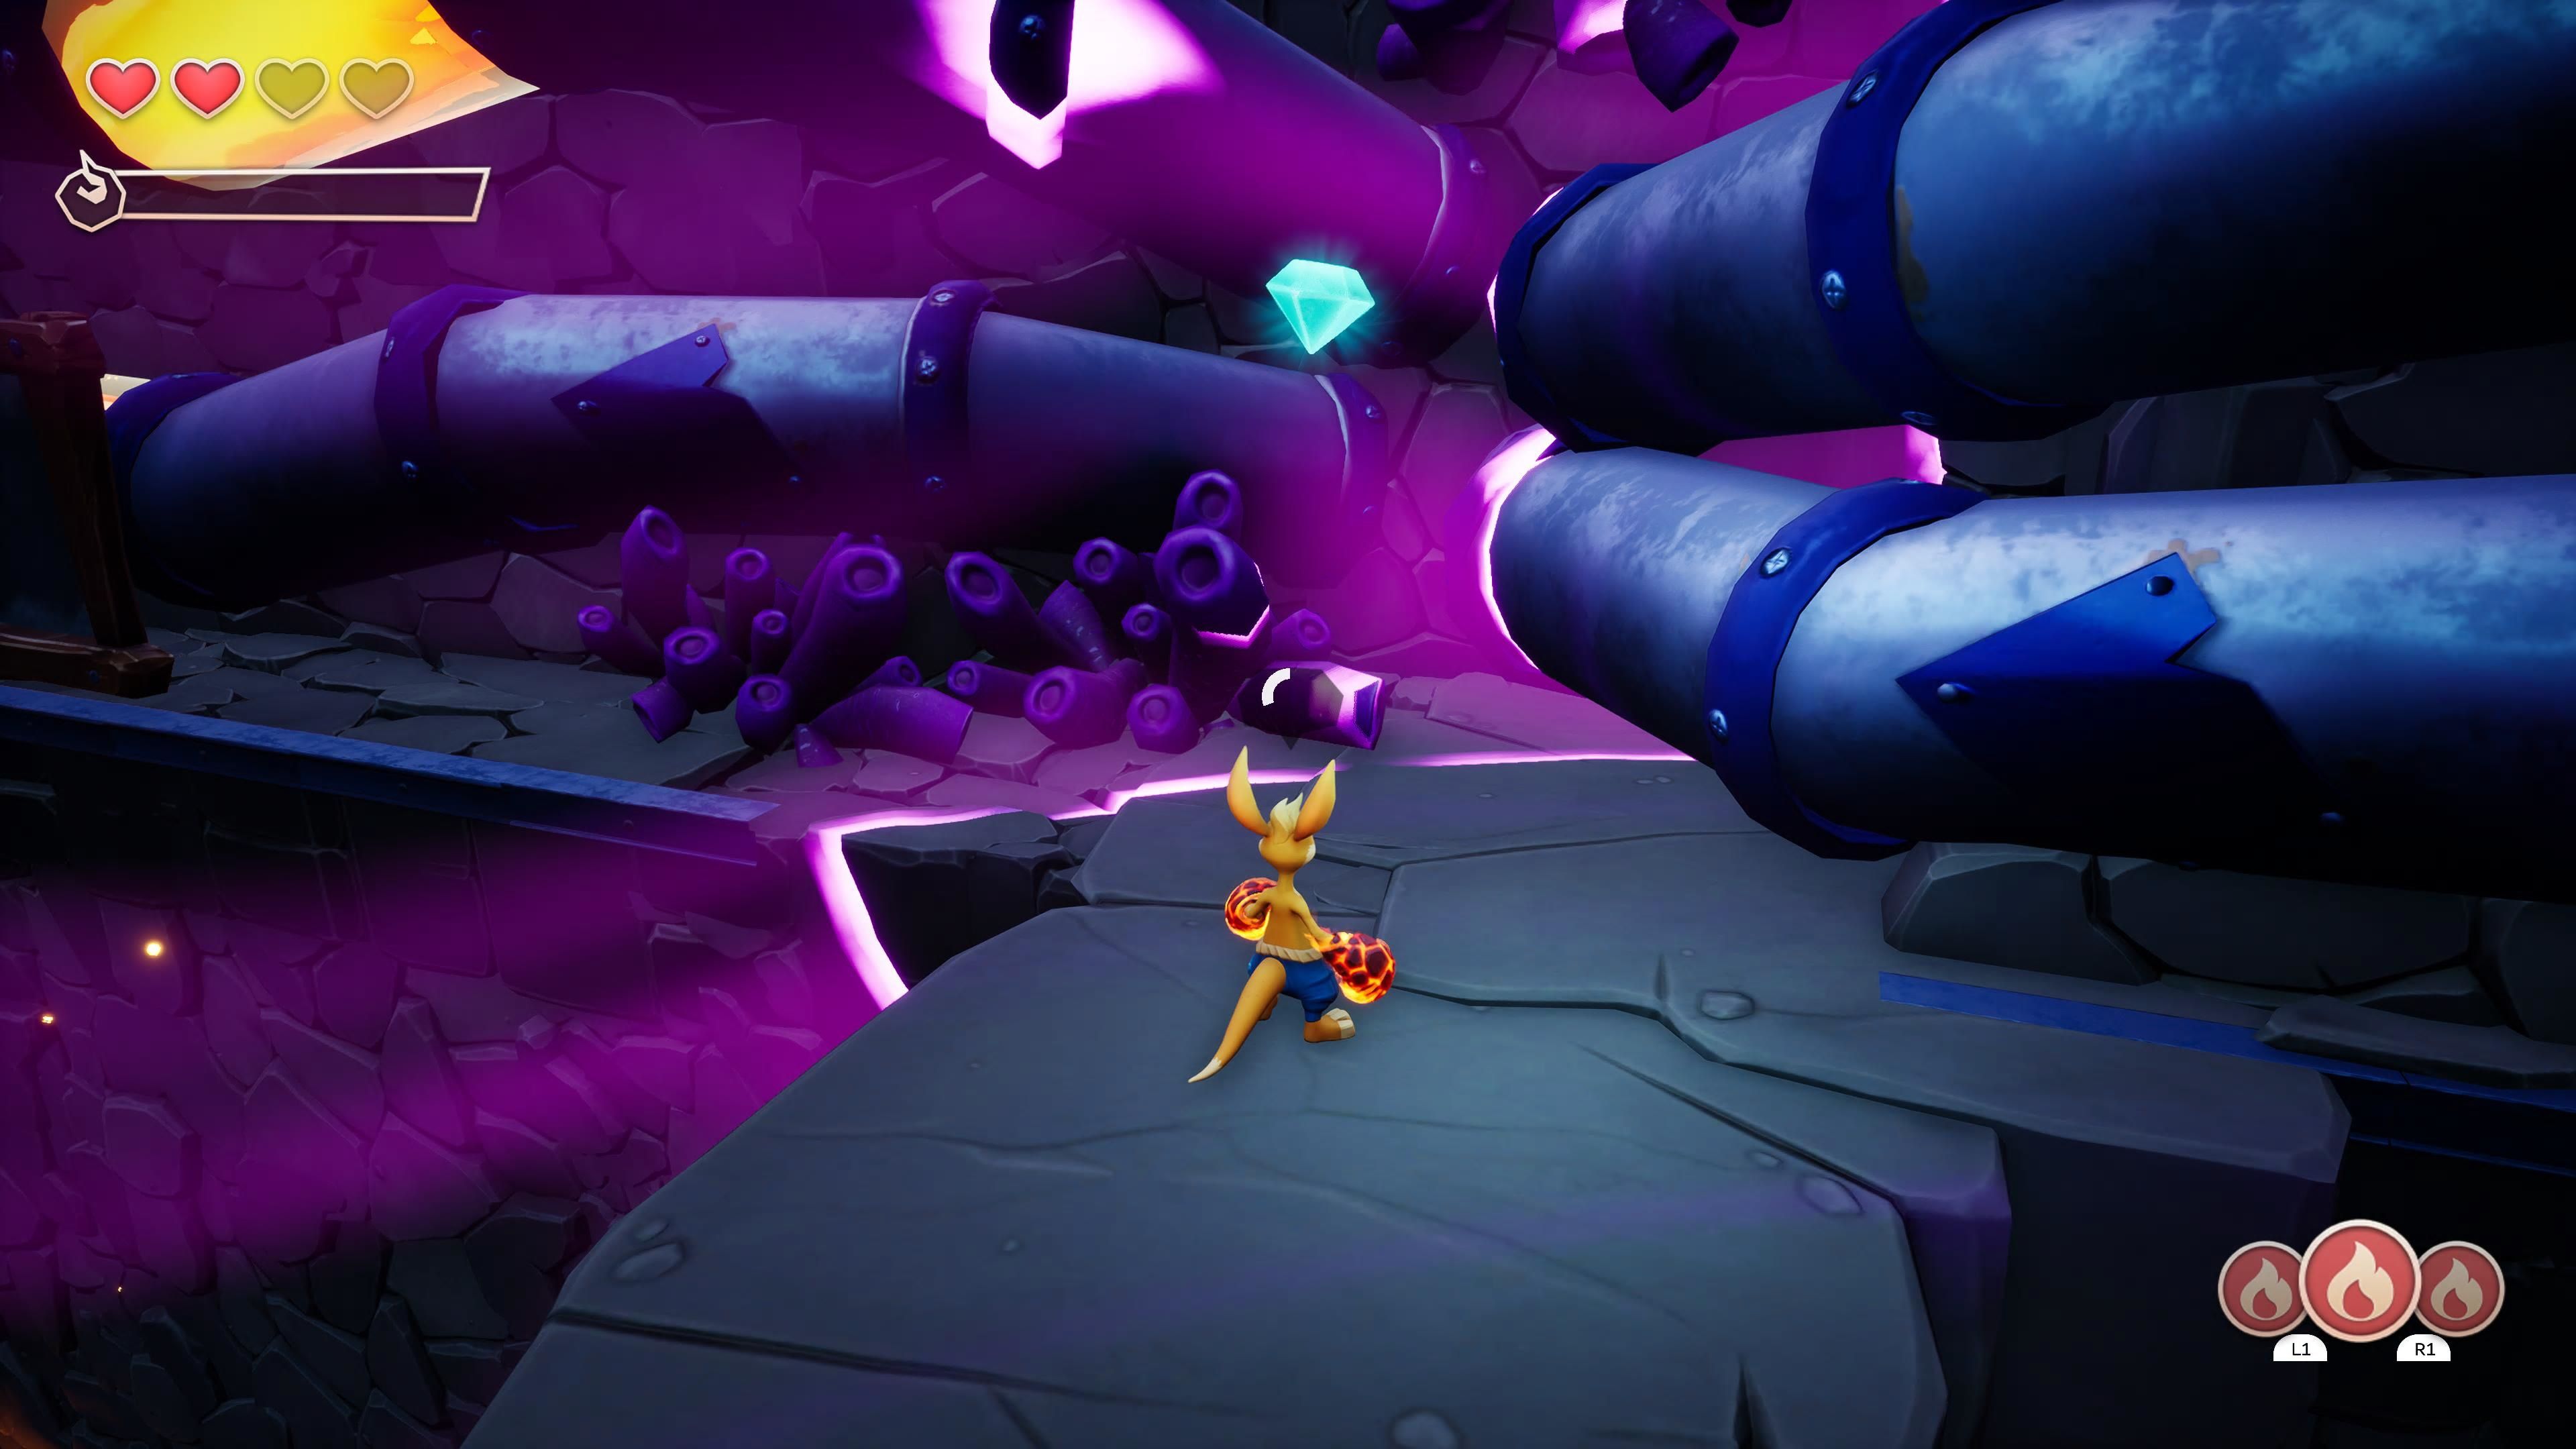
Continuing down the main path, you will encounter a room with dark-world platforms. Hit the dark crystal and jump across. At the halfway point, there is a crystal (3/5) to your right. Now, jump down. There is a heart piece down here (it will be behind you). After getting the heart piece, jump over the lasers and climb up the other side. There is another rune (3/4) waiting for you up above.
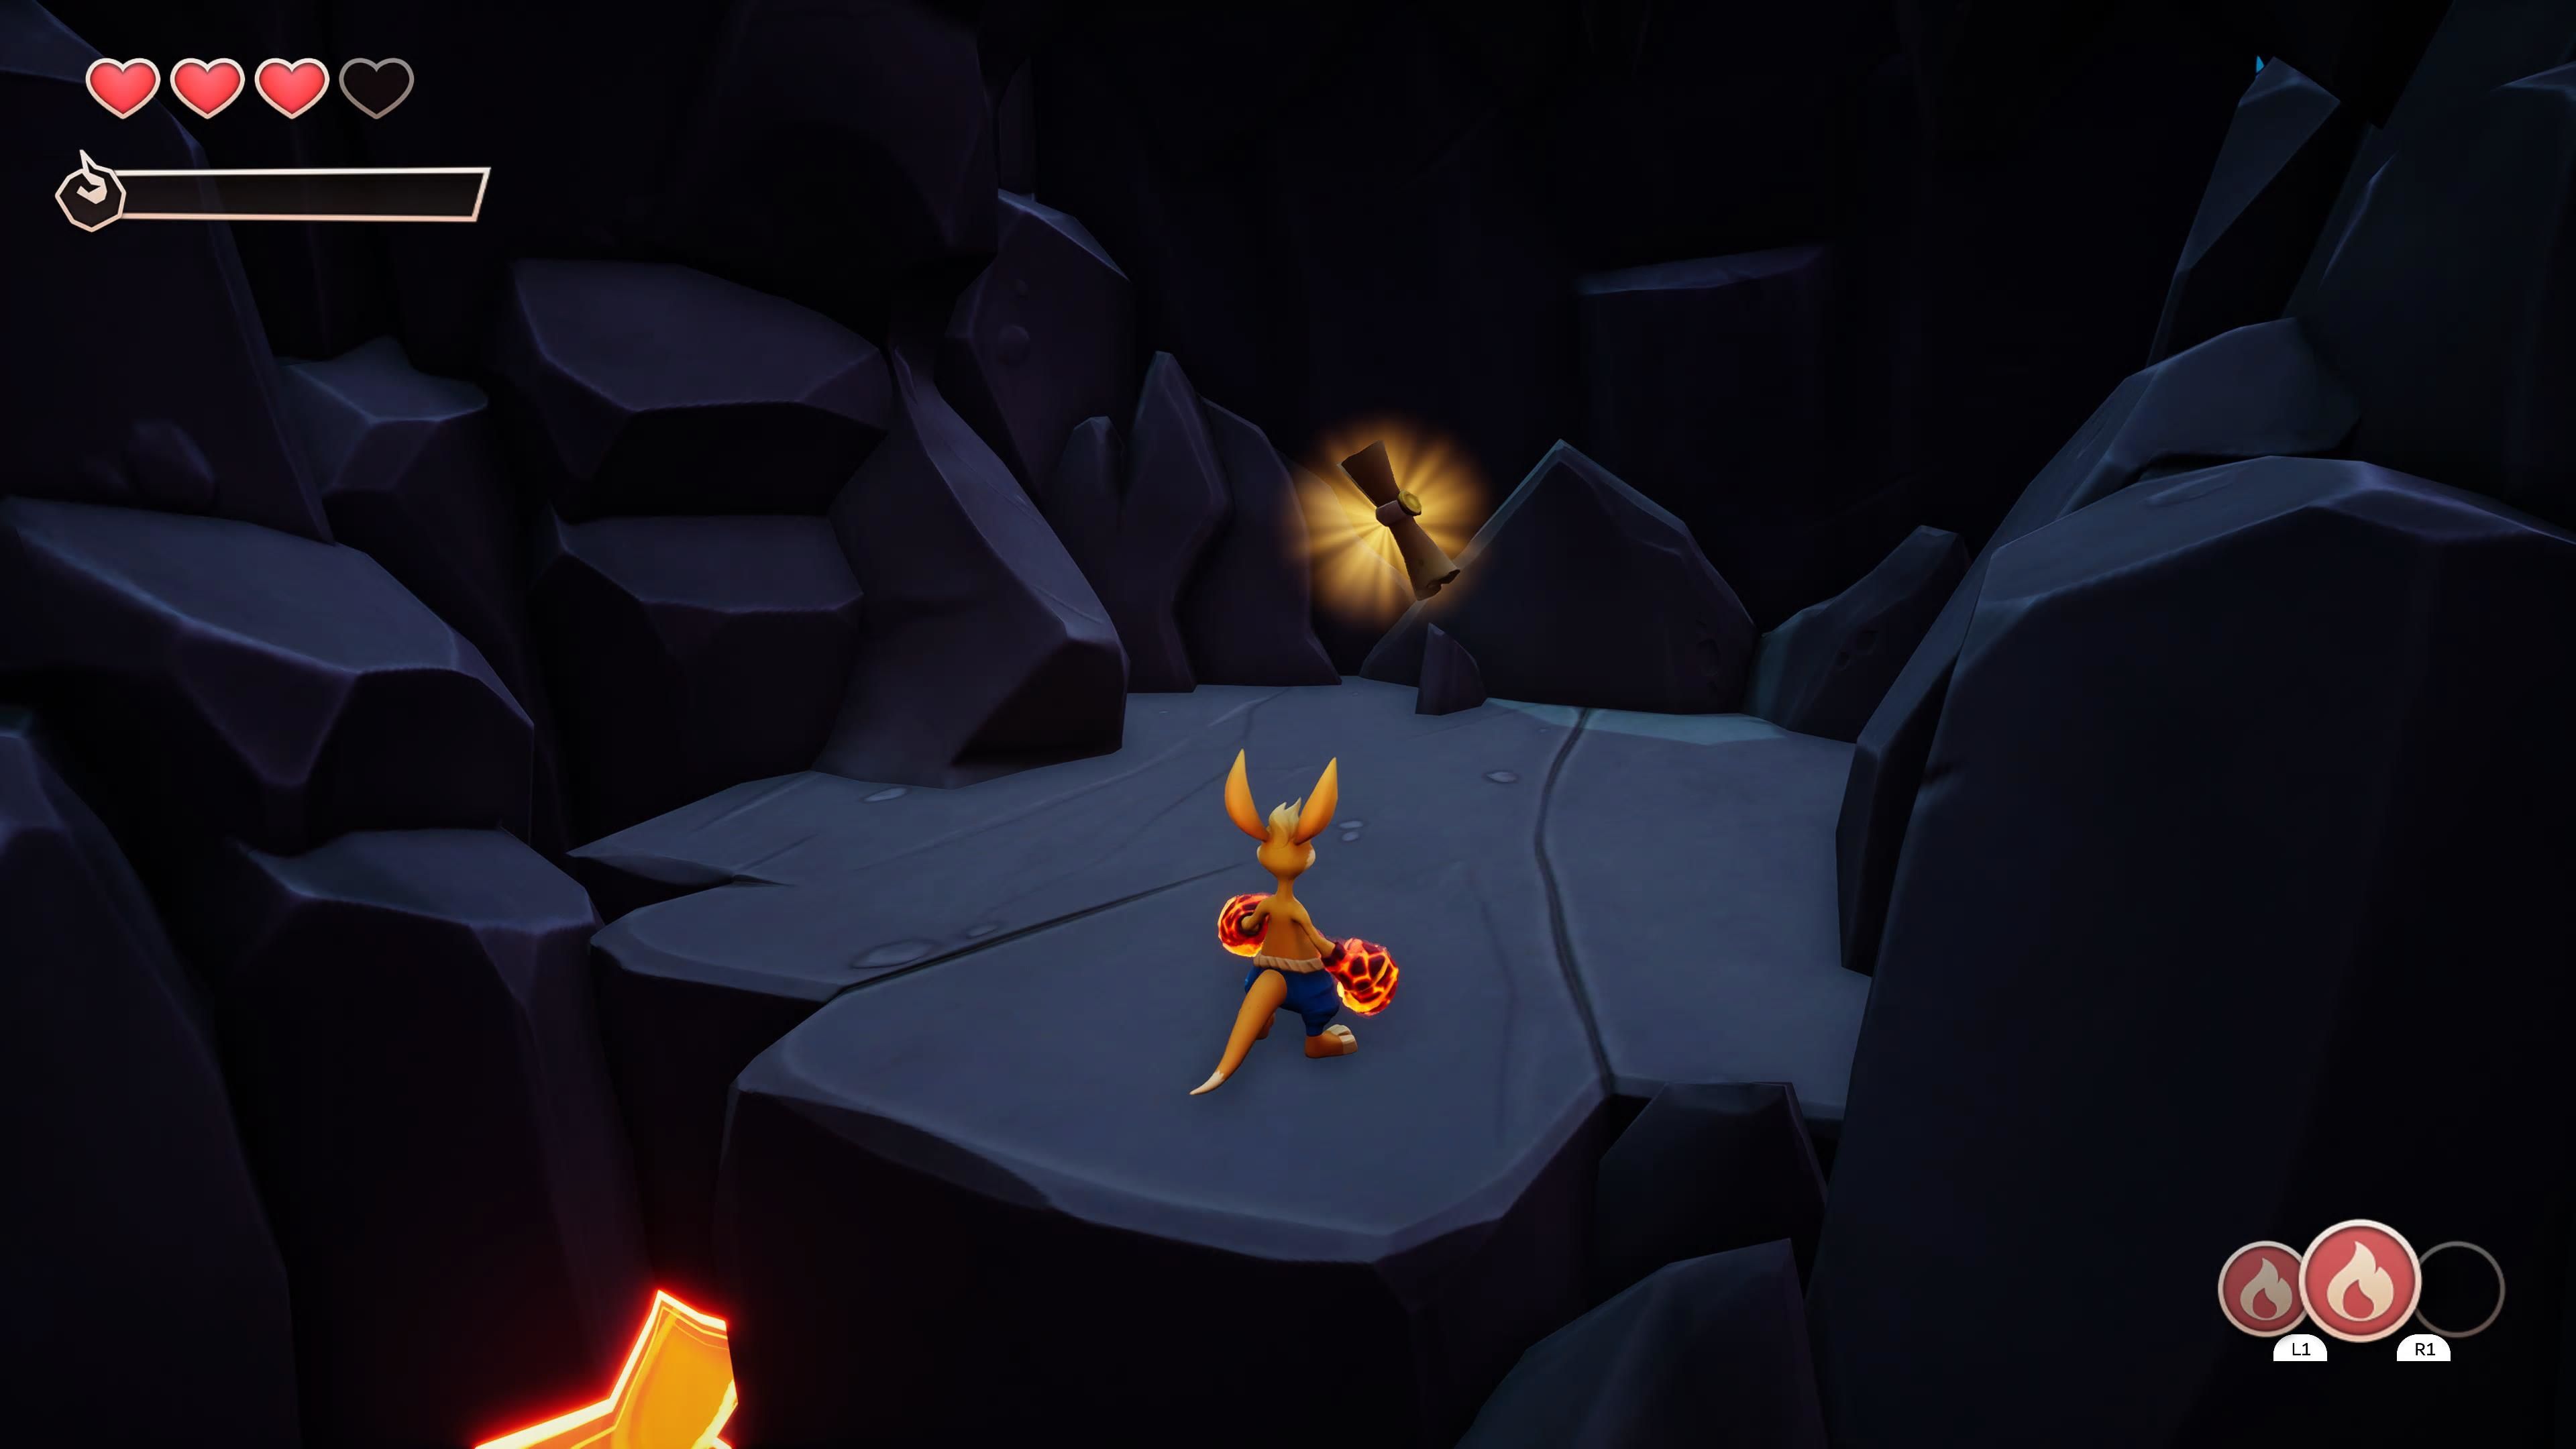
Up ahead, there is a frogster who will throw spears at you, jump up and deflect one back at him with your tail. Then, jump to where that frogster was and head to the back corner to get this stage's lone scroll (1/1). After that, you will encounter a log, burn it and roll under the wall.
Before you step on the upcoming trapdoor, make sure you have collected everything up to this point. You will not be able to backtrack after you fall down through the trap door!
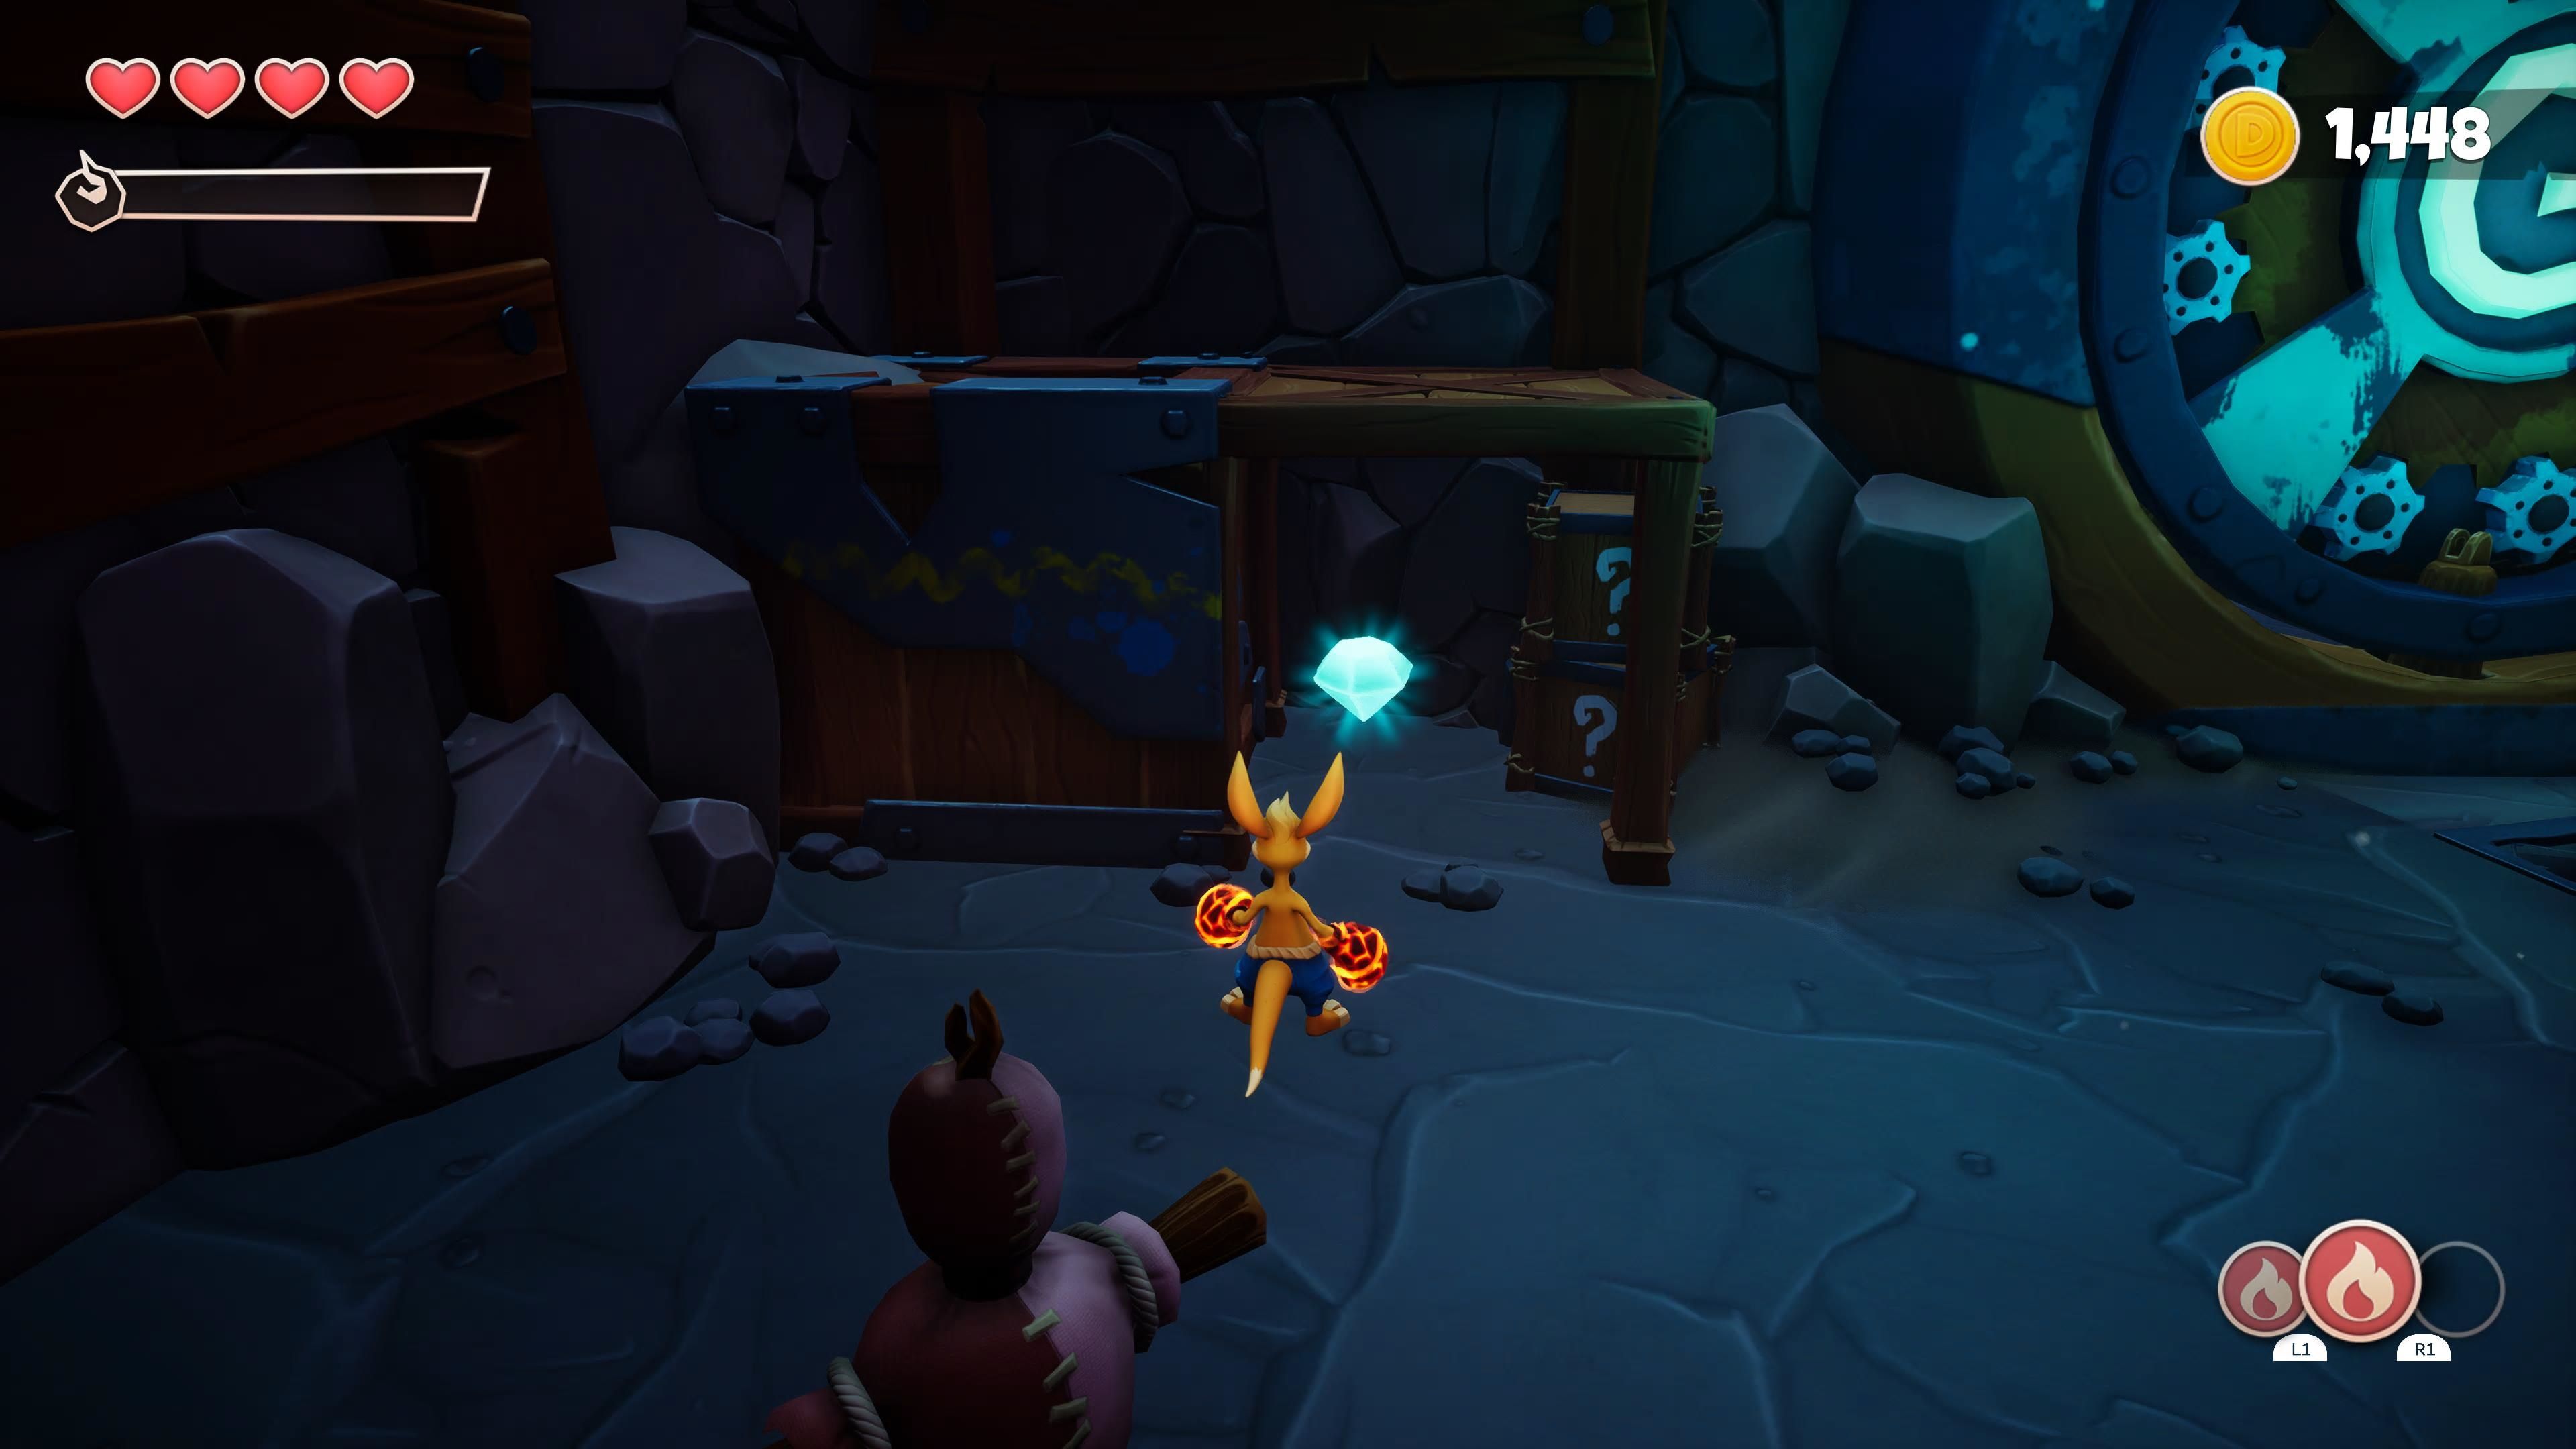
Now, continue forward, that wooden platform is a trapdoor. It will drop you into a vault-like room. Destroy all the boxes to reveal another crystal (4/5). On the other side of the room is a stack of boxes, destroy the top box and reveal a little passageway you will need to roll through. In this room you will acquire another heart piece as well as a treasure chest.
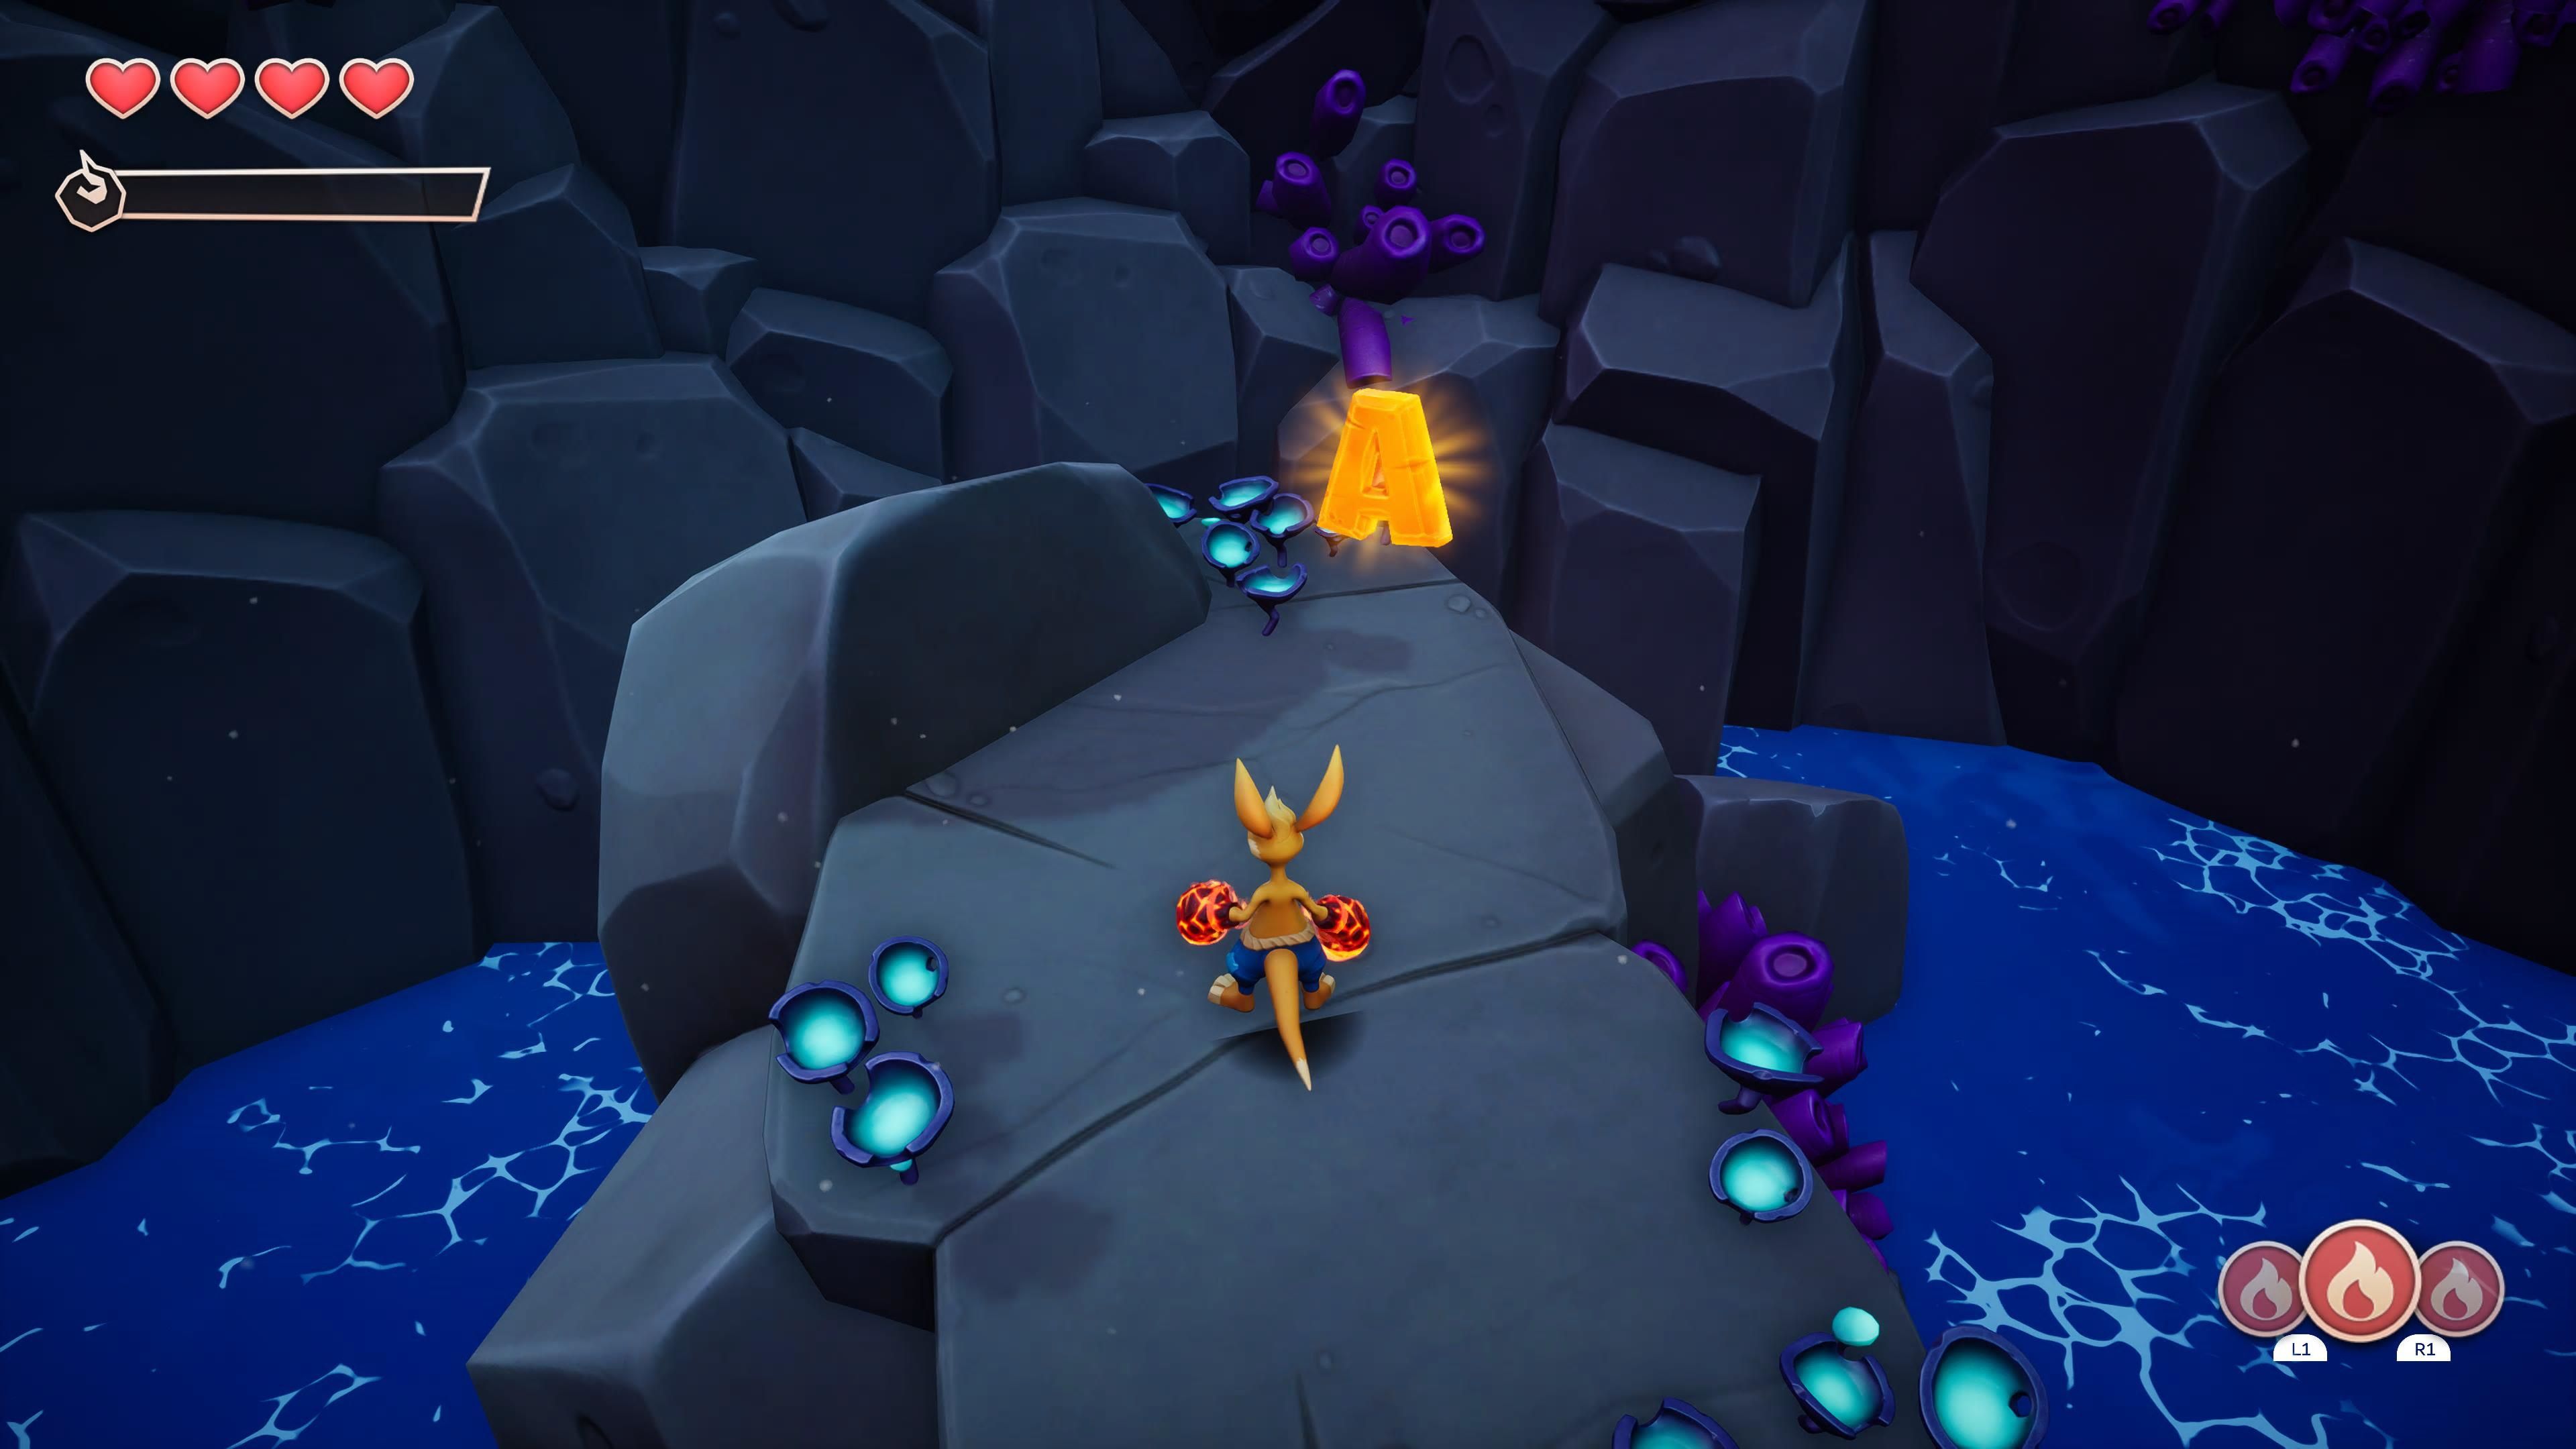
Follow the tunnel into a flooded room. You can see the letter A sitting on a large rock in the center of the room. There are some climbable rungs on the left side. Once you climb up, you will have to beat up some frogsters. After you do so, destroy the boxes. This will reveal a giant hole in the wall. You can now jump over to the letter A.
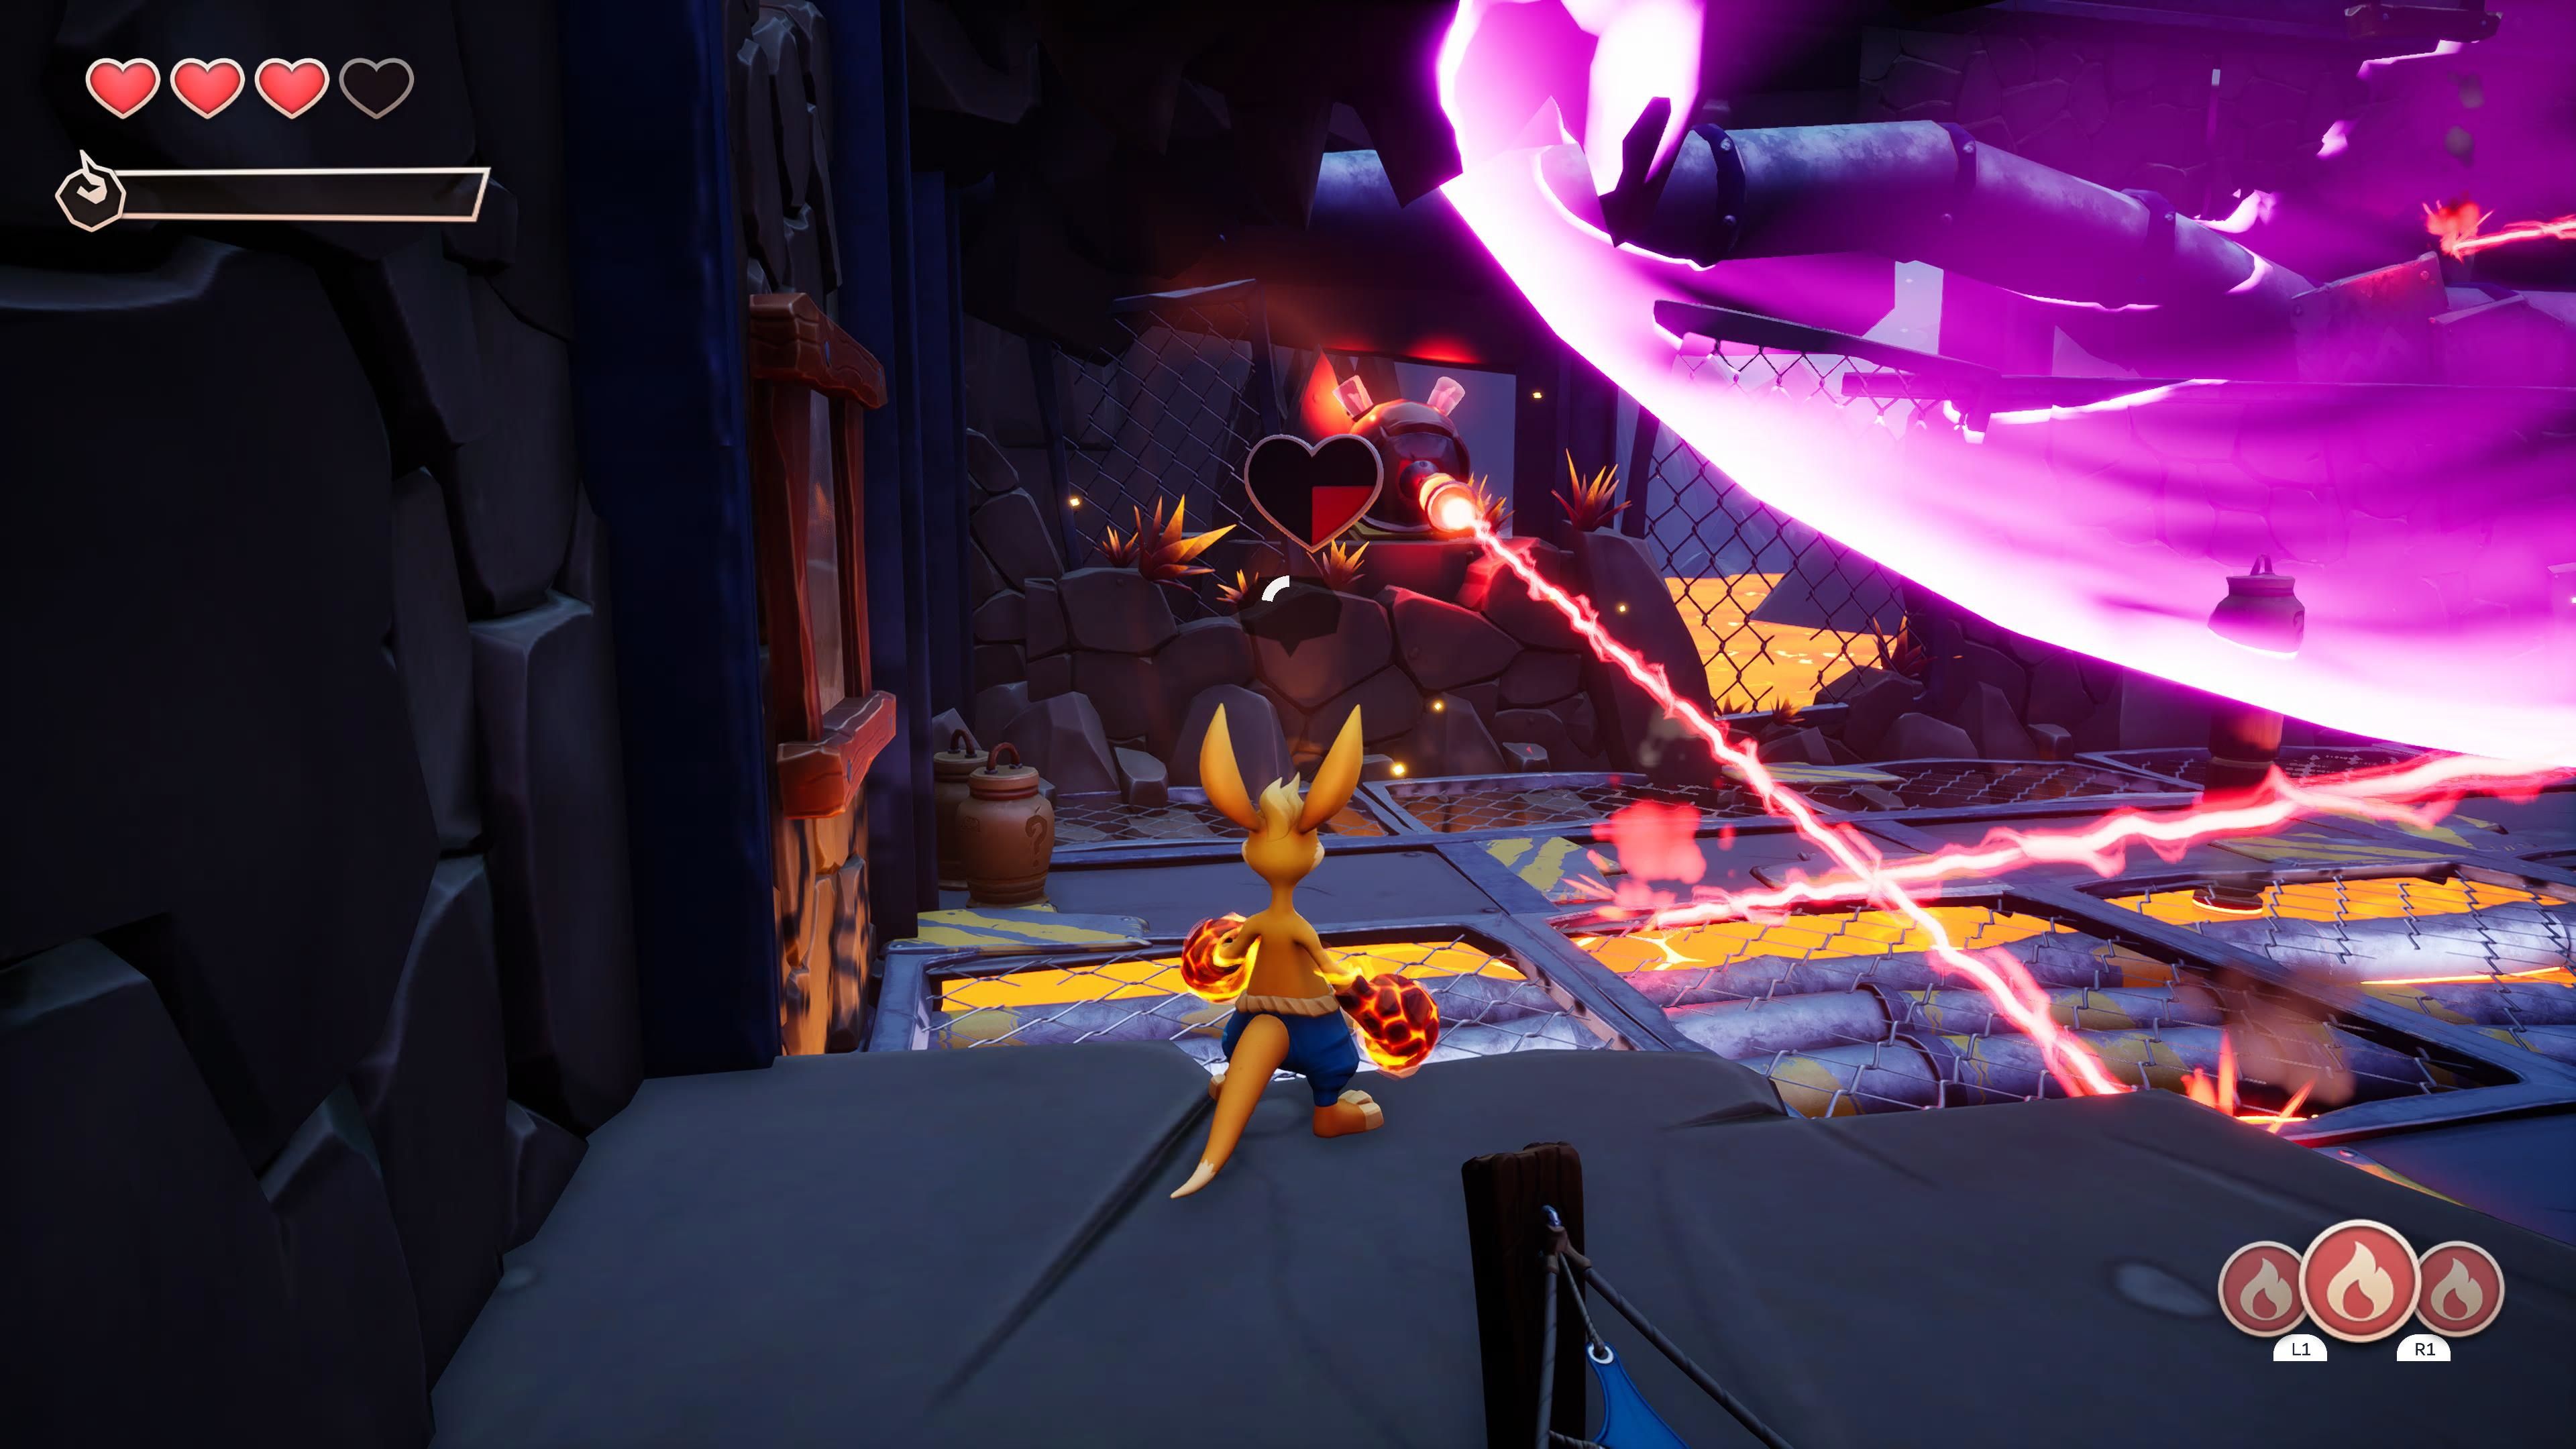
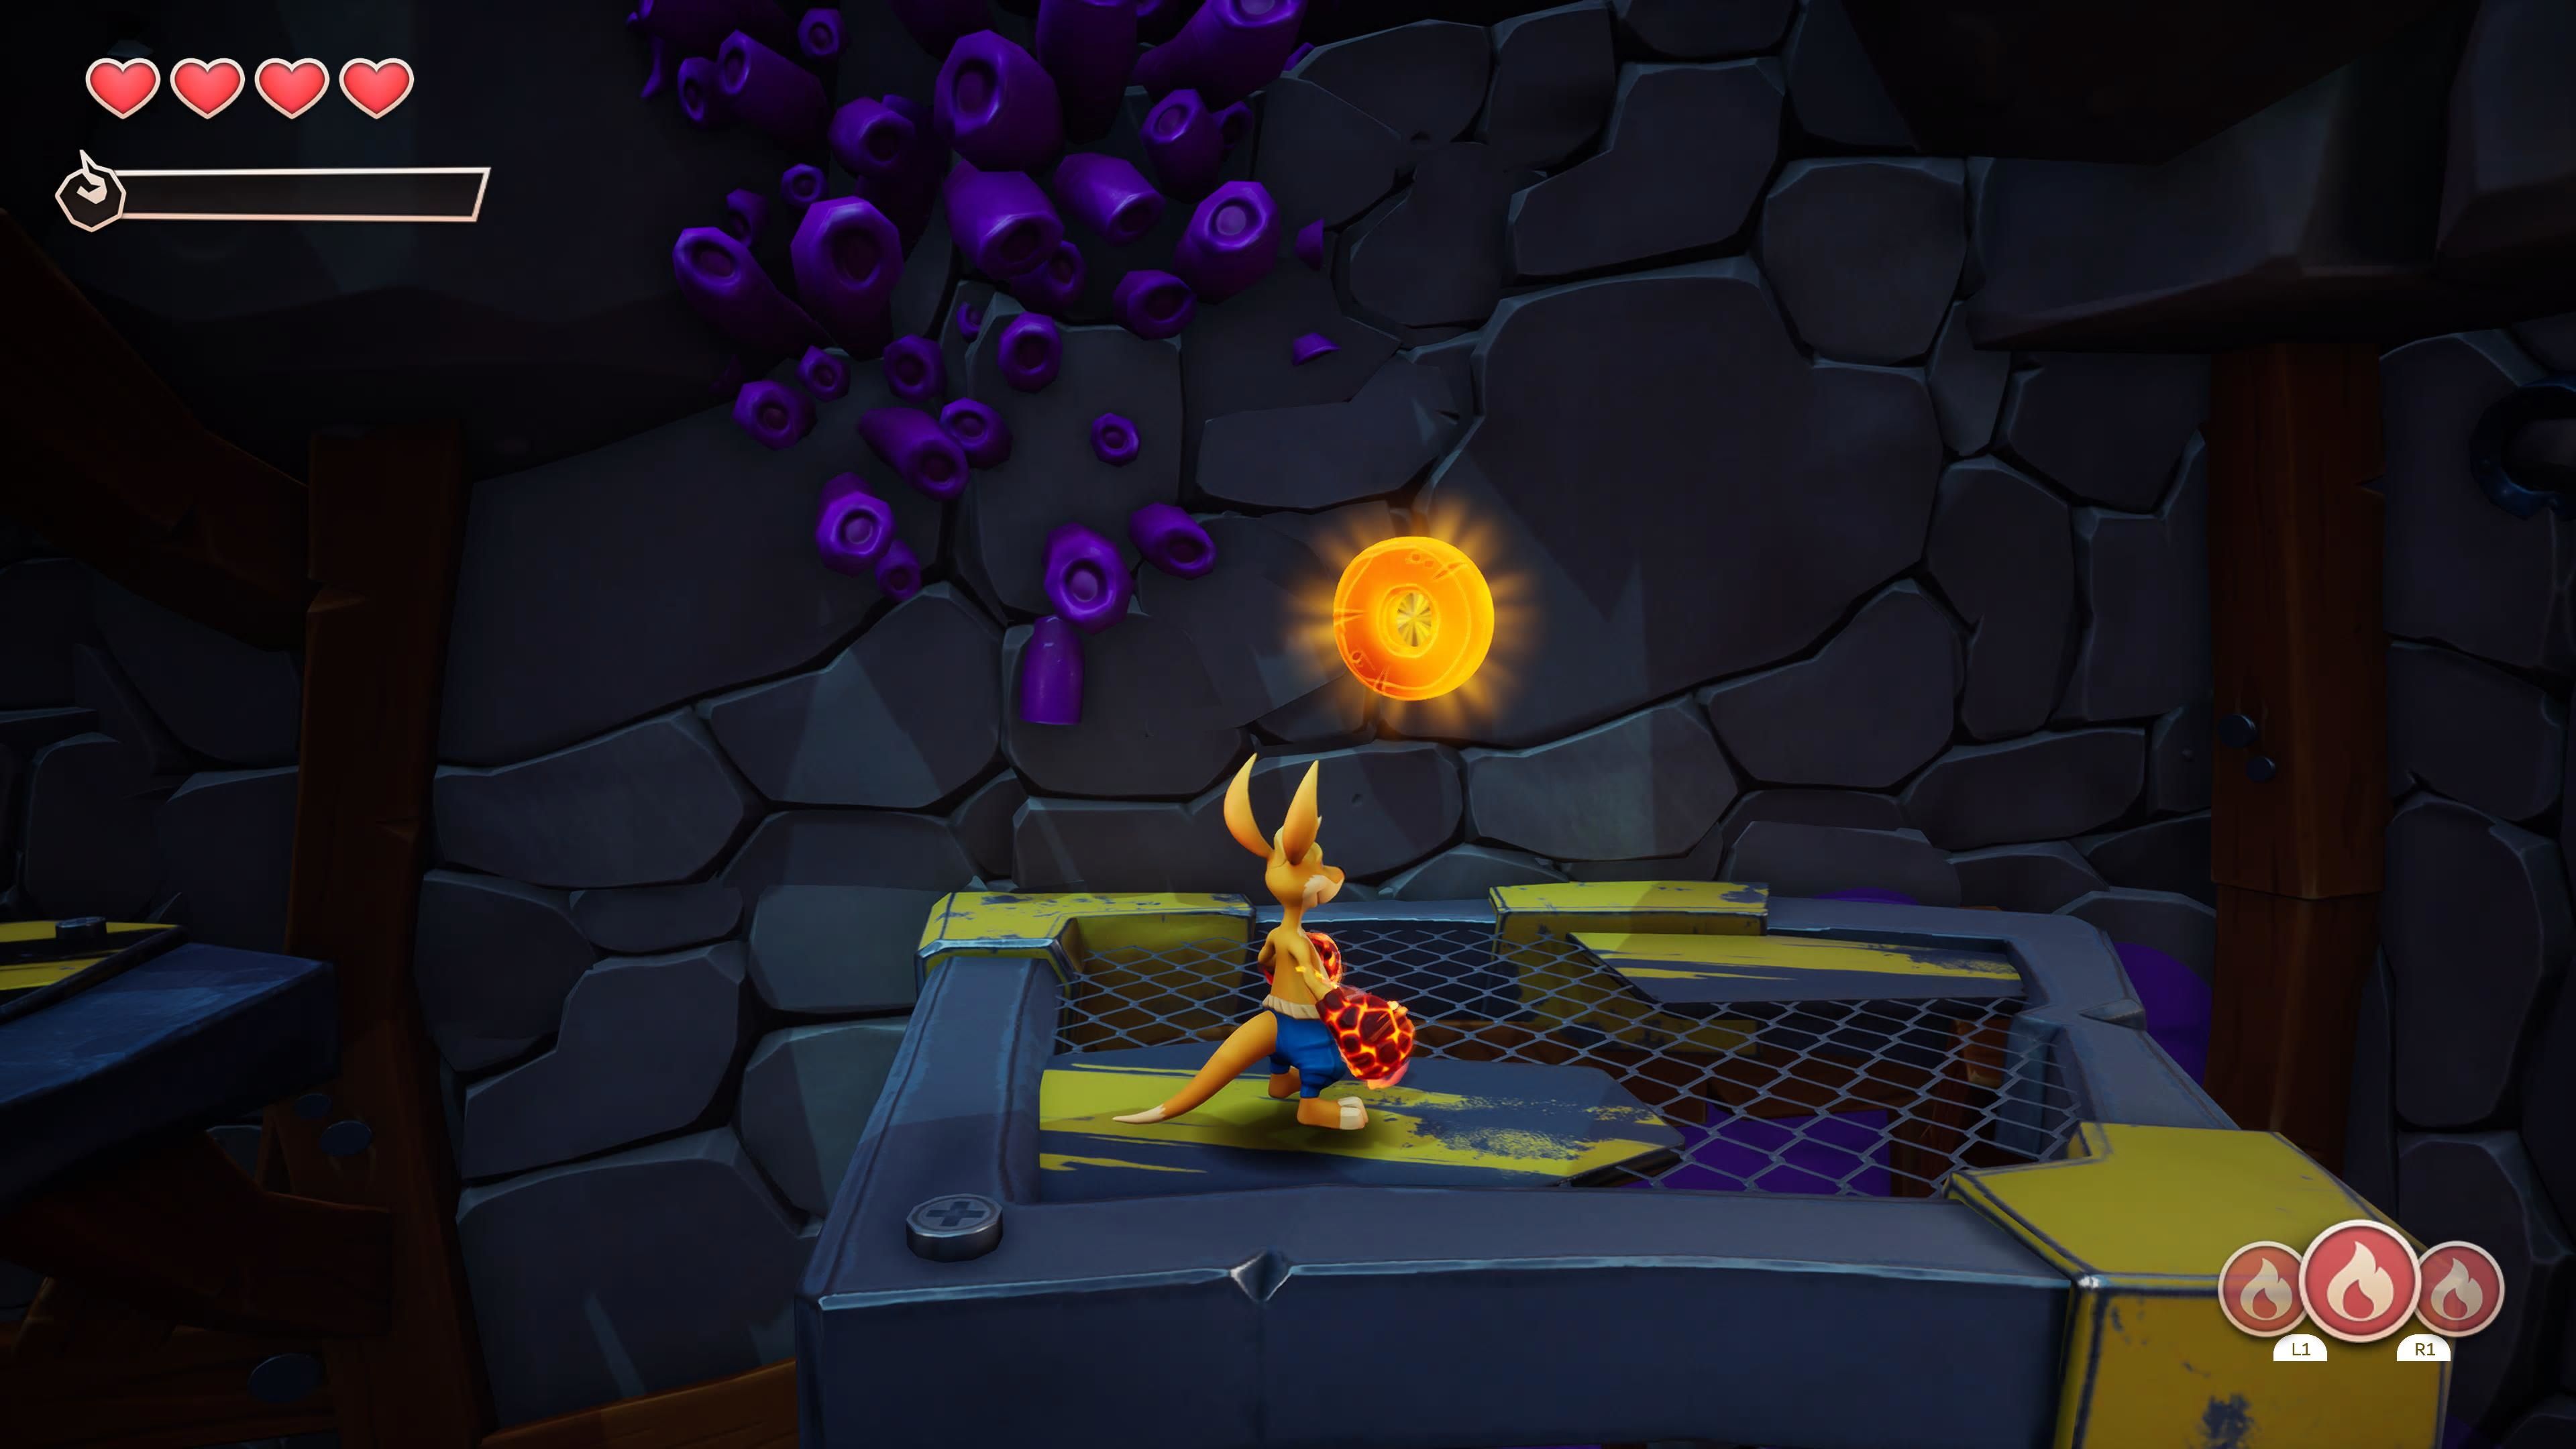
You will find yourself in Gadget's lab. You need to get all the lasers shooting the thing generating the force field. For the one on your left, just punch it to get it started and pull the lever to point it upward. Then climb up to the second level using the boxes. Now, punch the laser turret up top. Before jumping down, continue along the second level to grab the letter O.
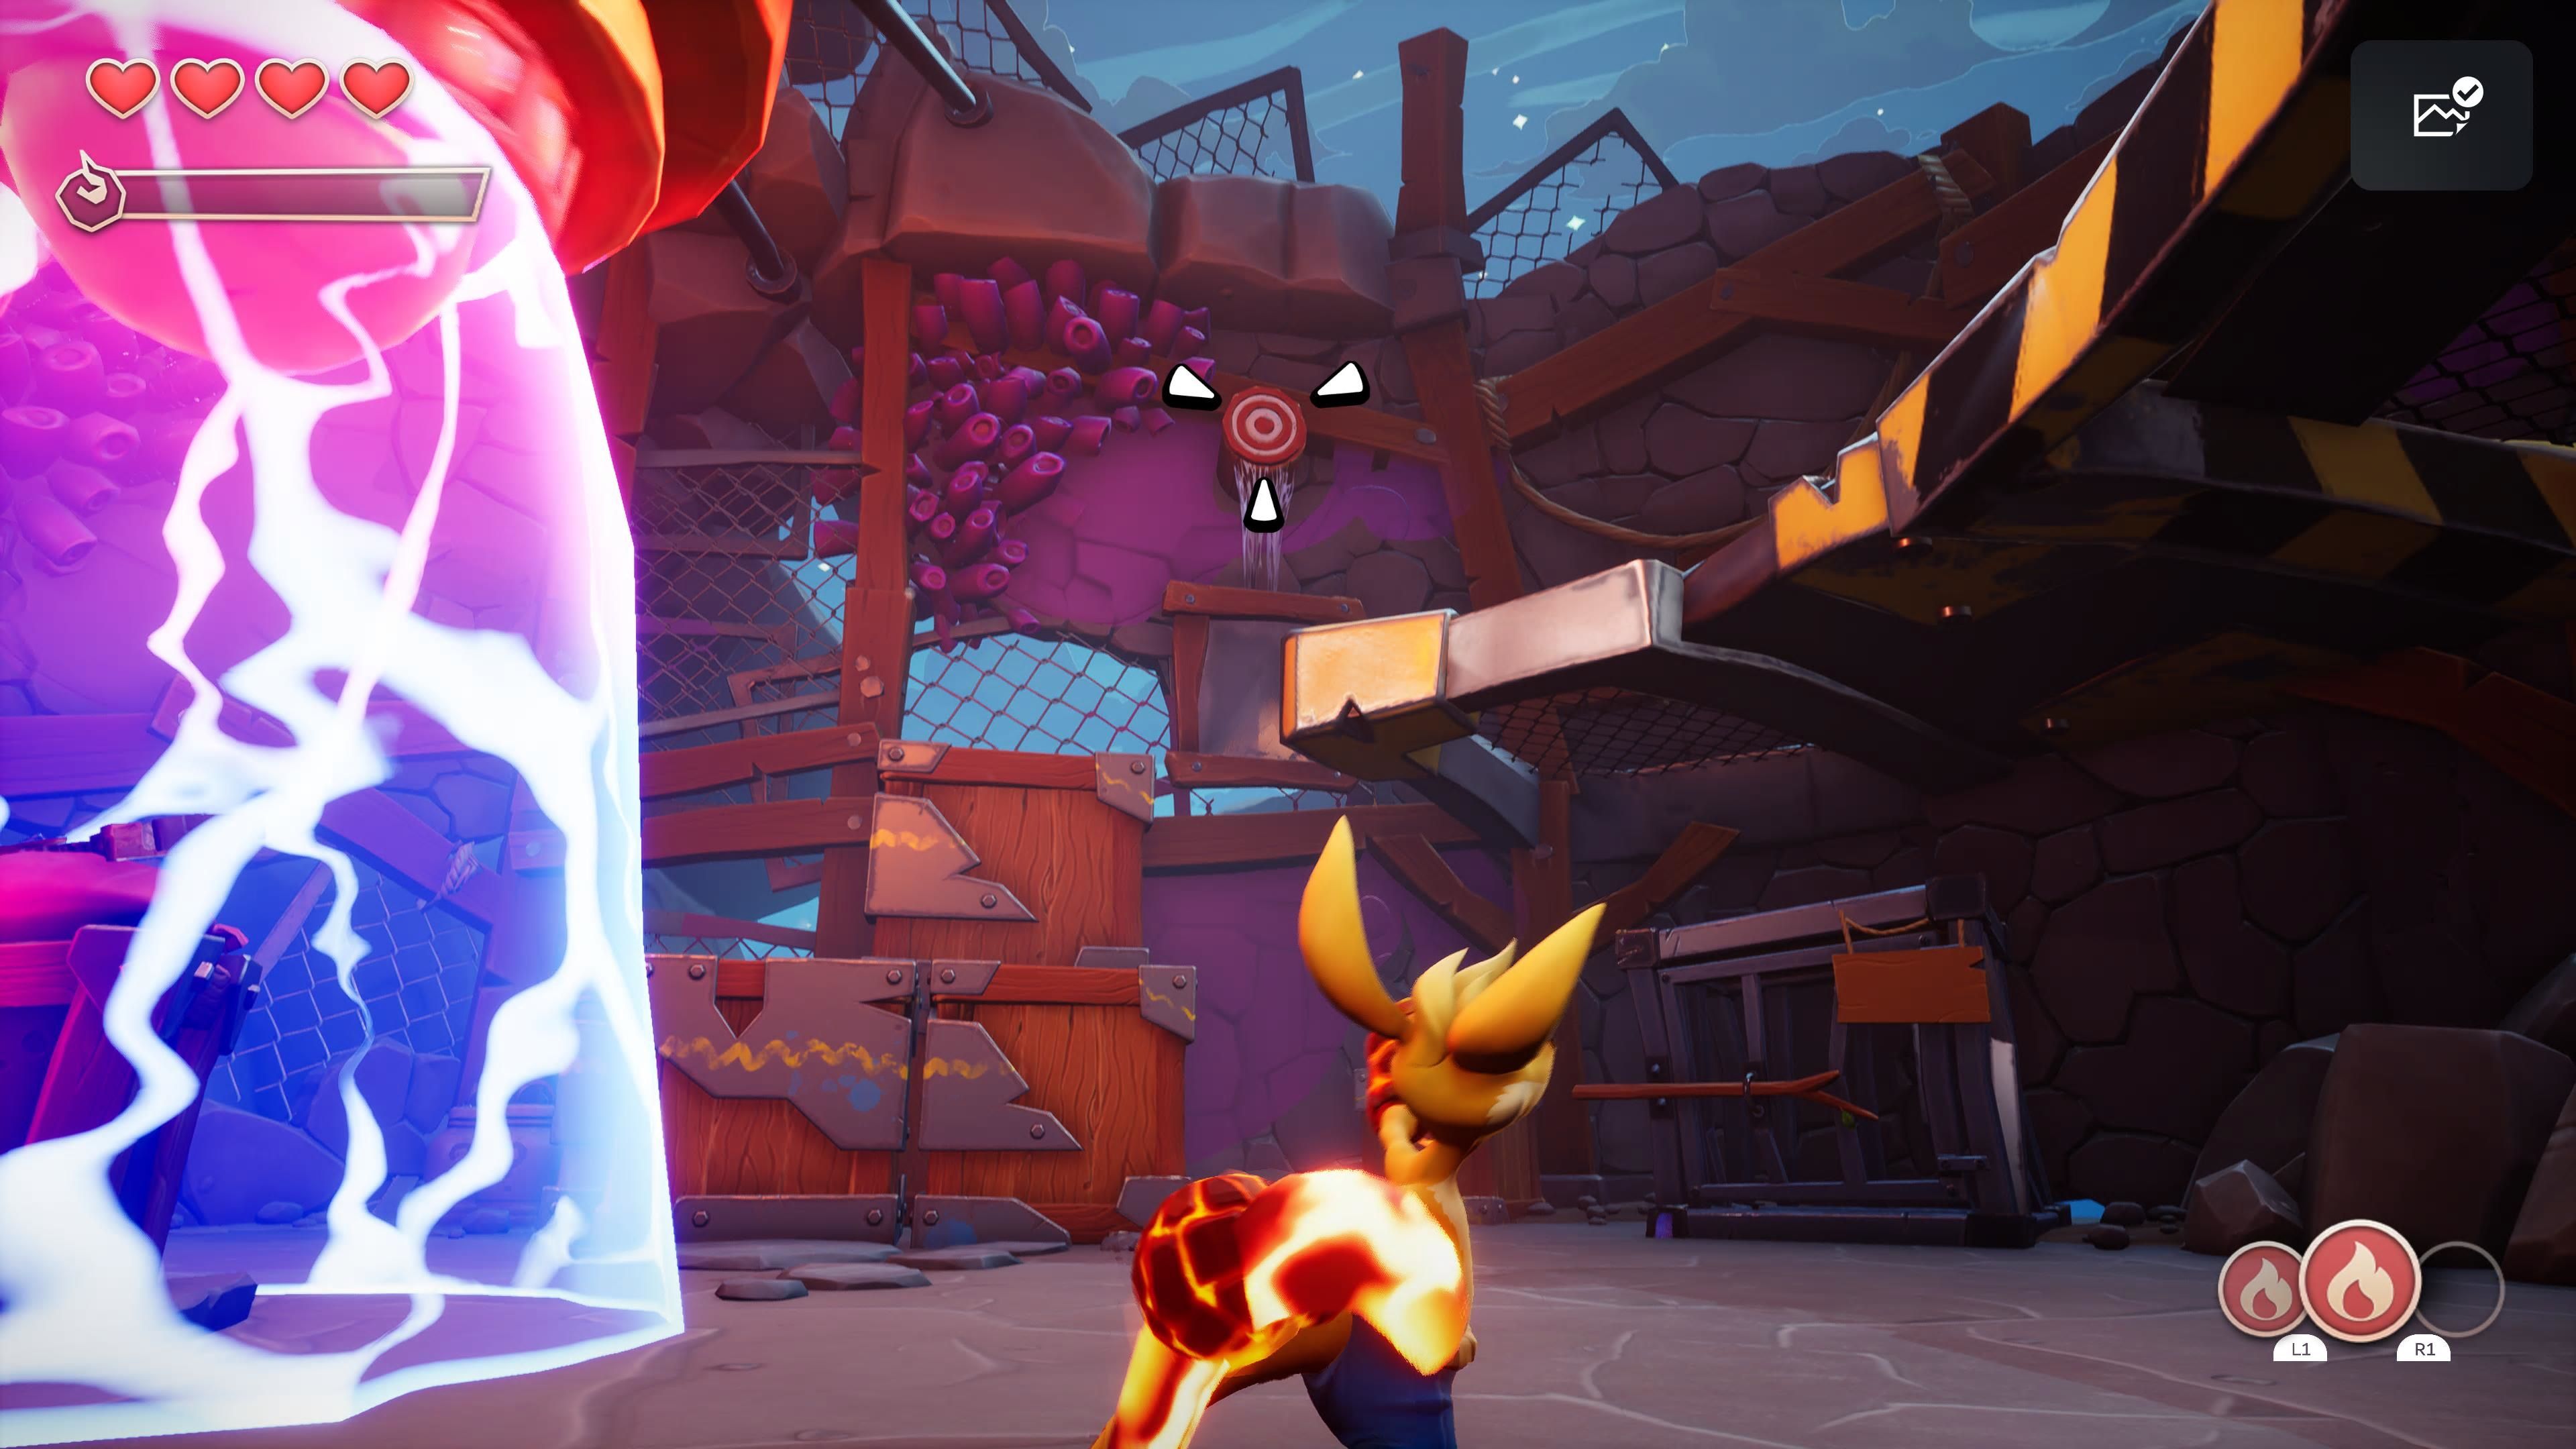
Now, there is just one more laser turret we need to get going. Punch it so that it is on the right side of the track. It will be shooting at the wall. Above where the laser is hitting there is a mirror hanging on the wall. Use a boomerang to cut it free. Once it drops it will deflect the laser into the force-field generator. And just like that, you have solved the puzzle!
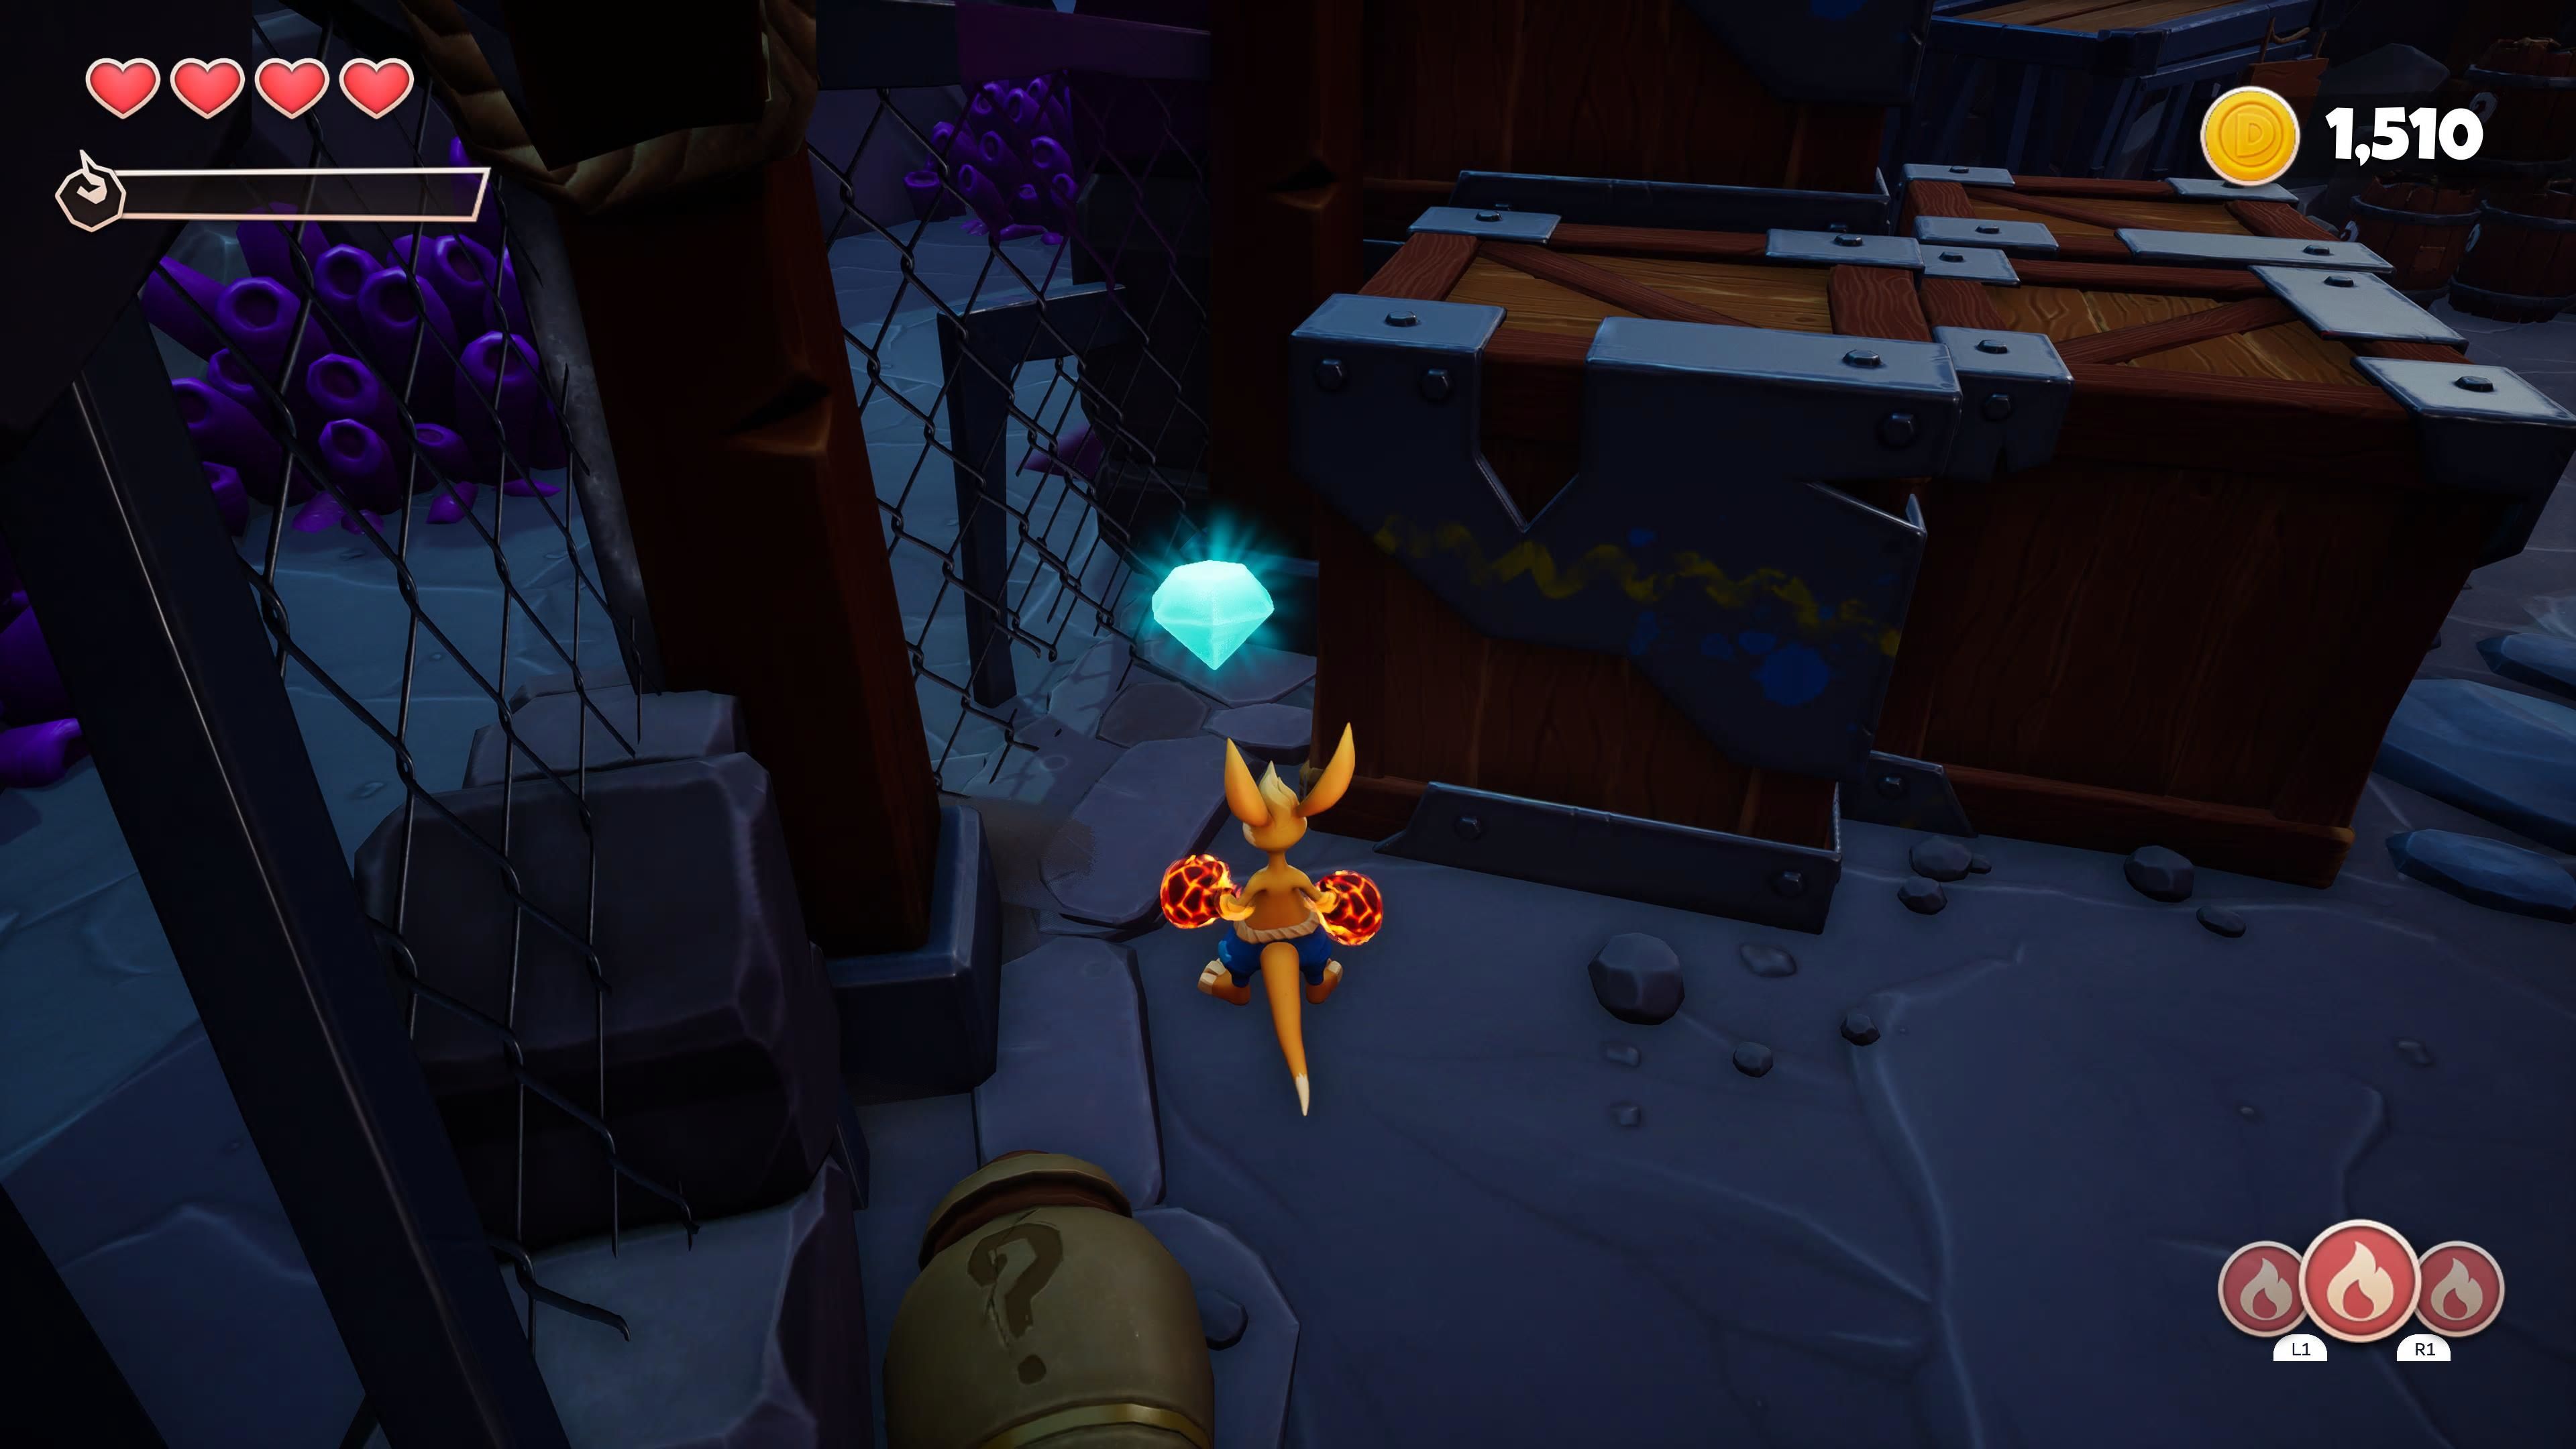
Now, before you talk to Gadget and complete the stage, destroy all the boxes, and you will find the last crystal (5/5) wedged behind some crates (this is very easy to miss). Grab the final rune (4/4) and talk to Gadget to complete the level.
Where To Find The KAO Letters
|
K |
|
The letter K is located on the platform to the right of where you use the boomerang to heat up the boiler. |
|---|---|---|
|
A |
|
The letter O is on a little island in the section just before Gadget's lab. You will need to break some boxes in order to reveal it. |
|
O |
|
You will find the letter O in the final area of this stage, on the second floor. |
Where To Find The Runes
|
Rune 1 |
|
After you drop the first crate using a boomerang, this rune will be sitting on the other side of the fiery river. |
|---|---|---|
|
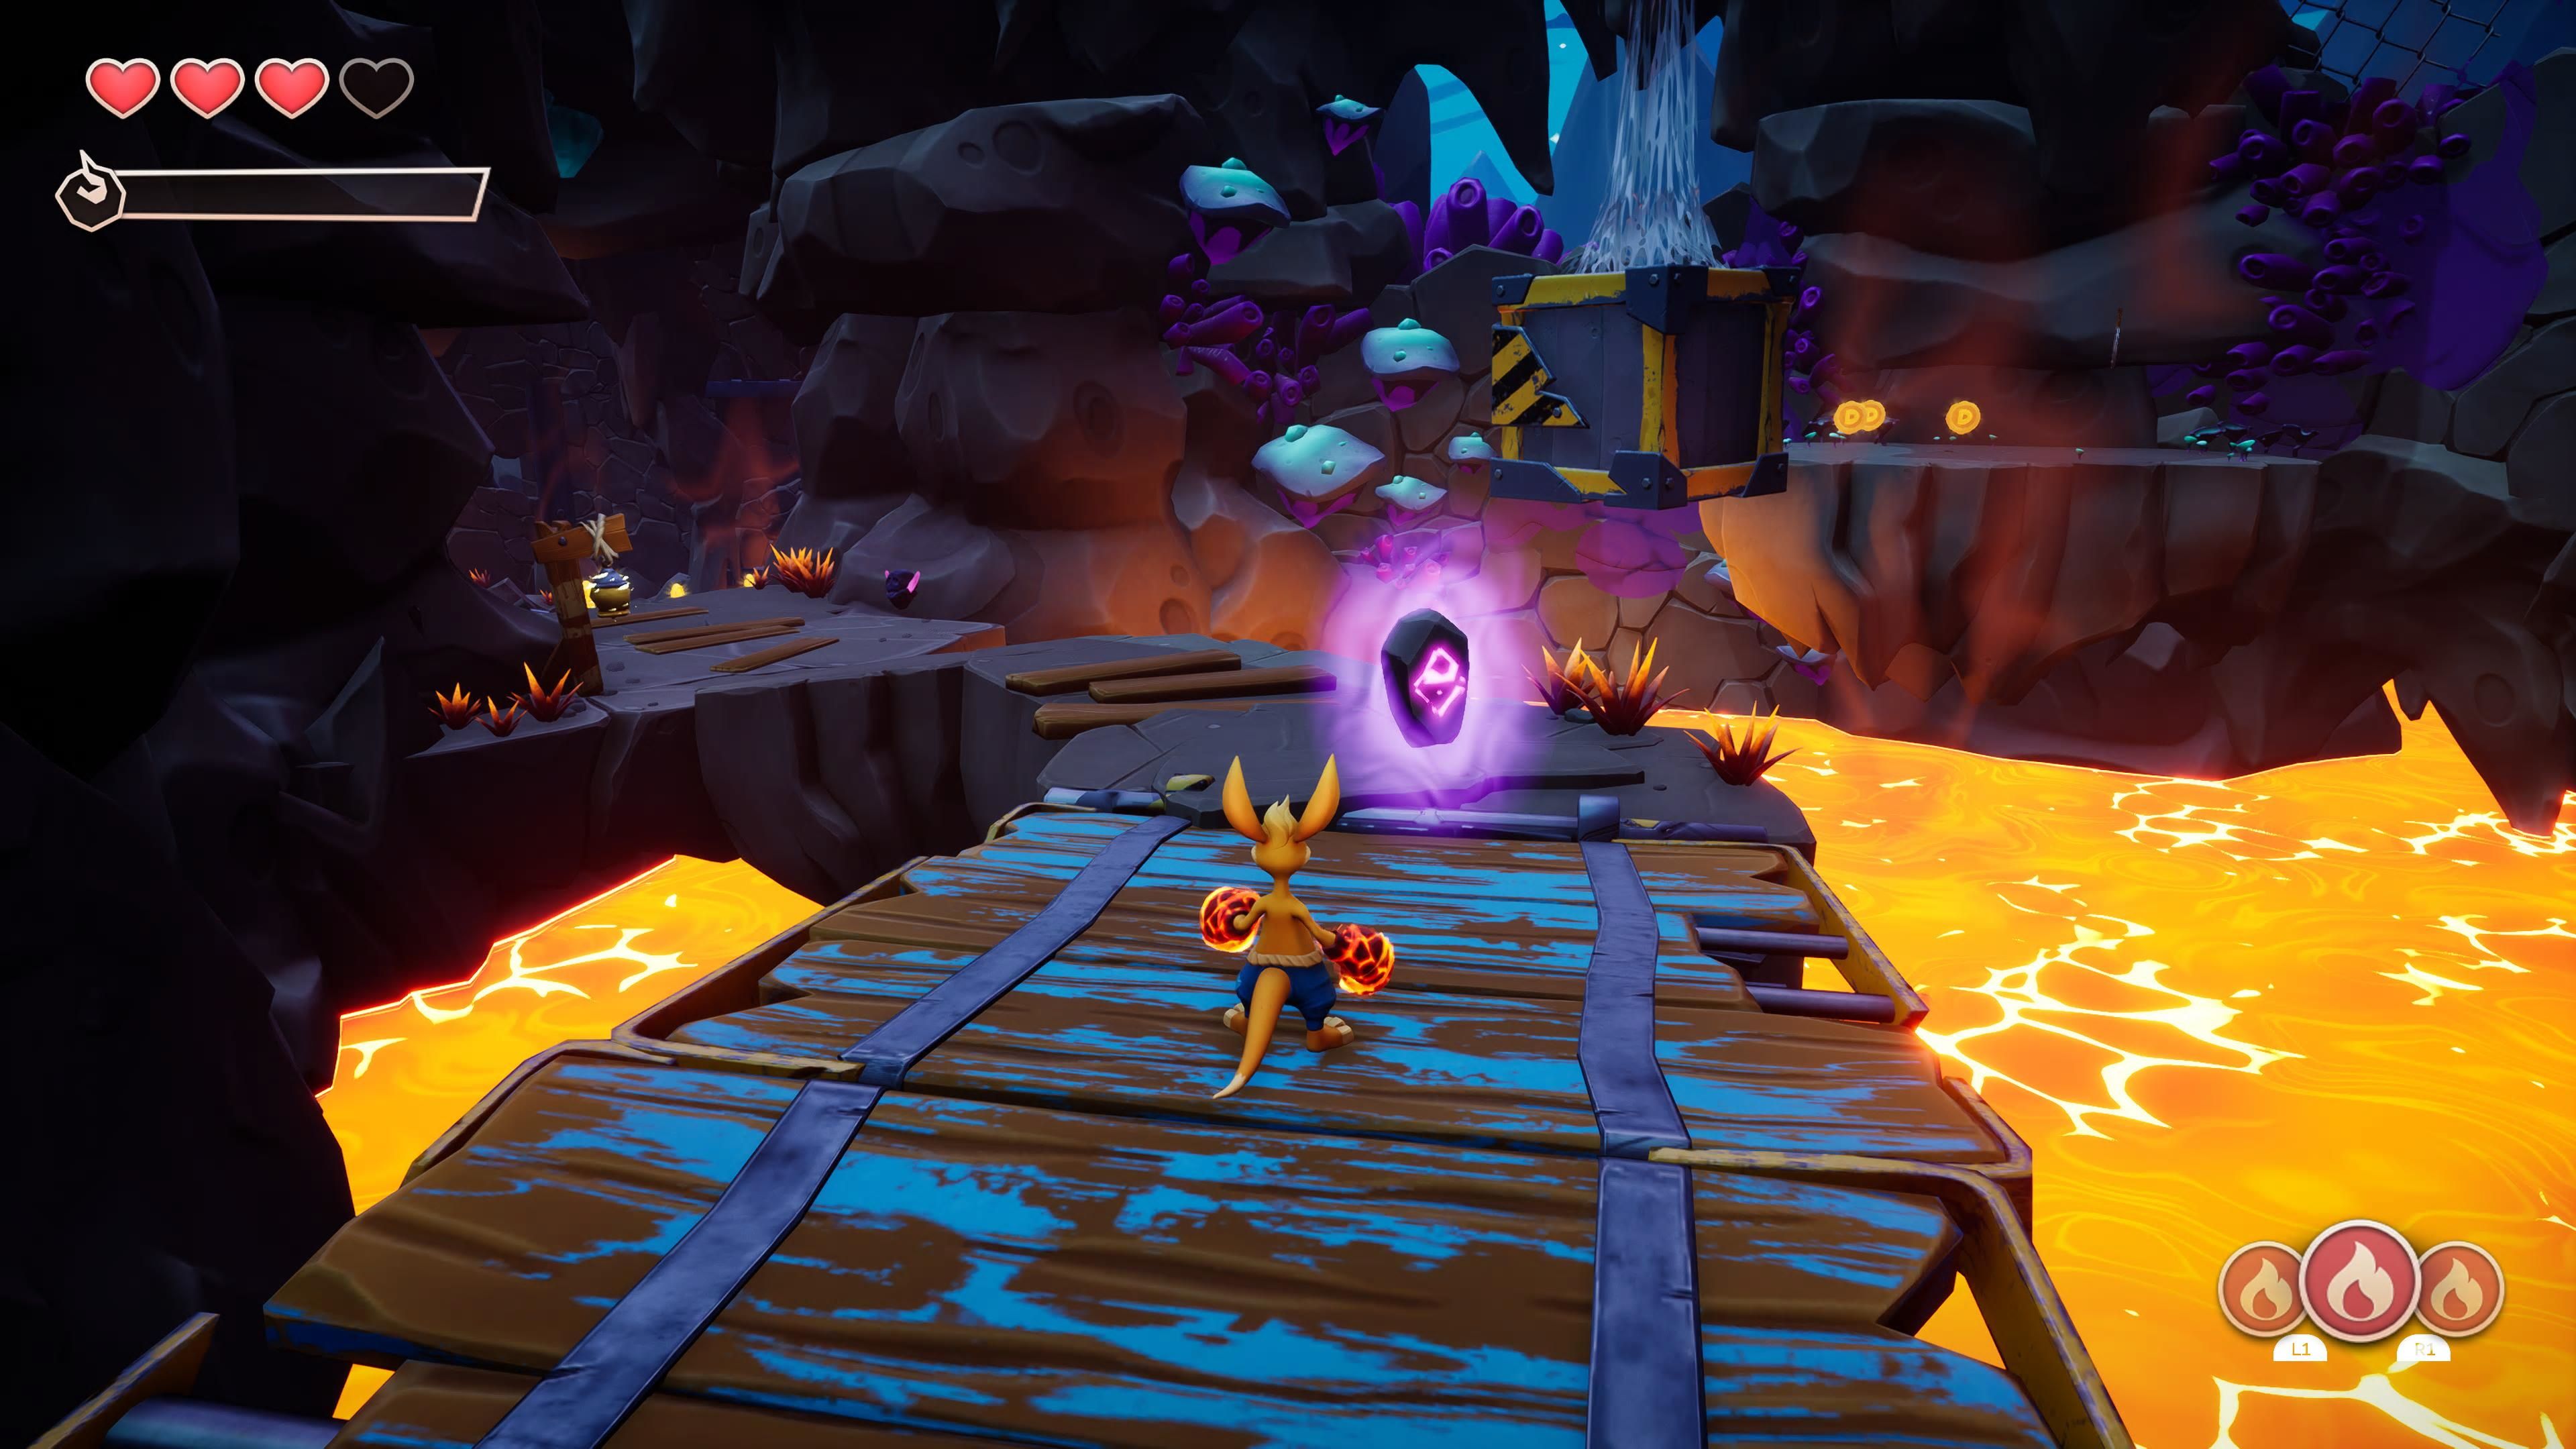
Rune 2 |
|
This rune is located close to the boiler you heat up using the boomerang. |
|
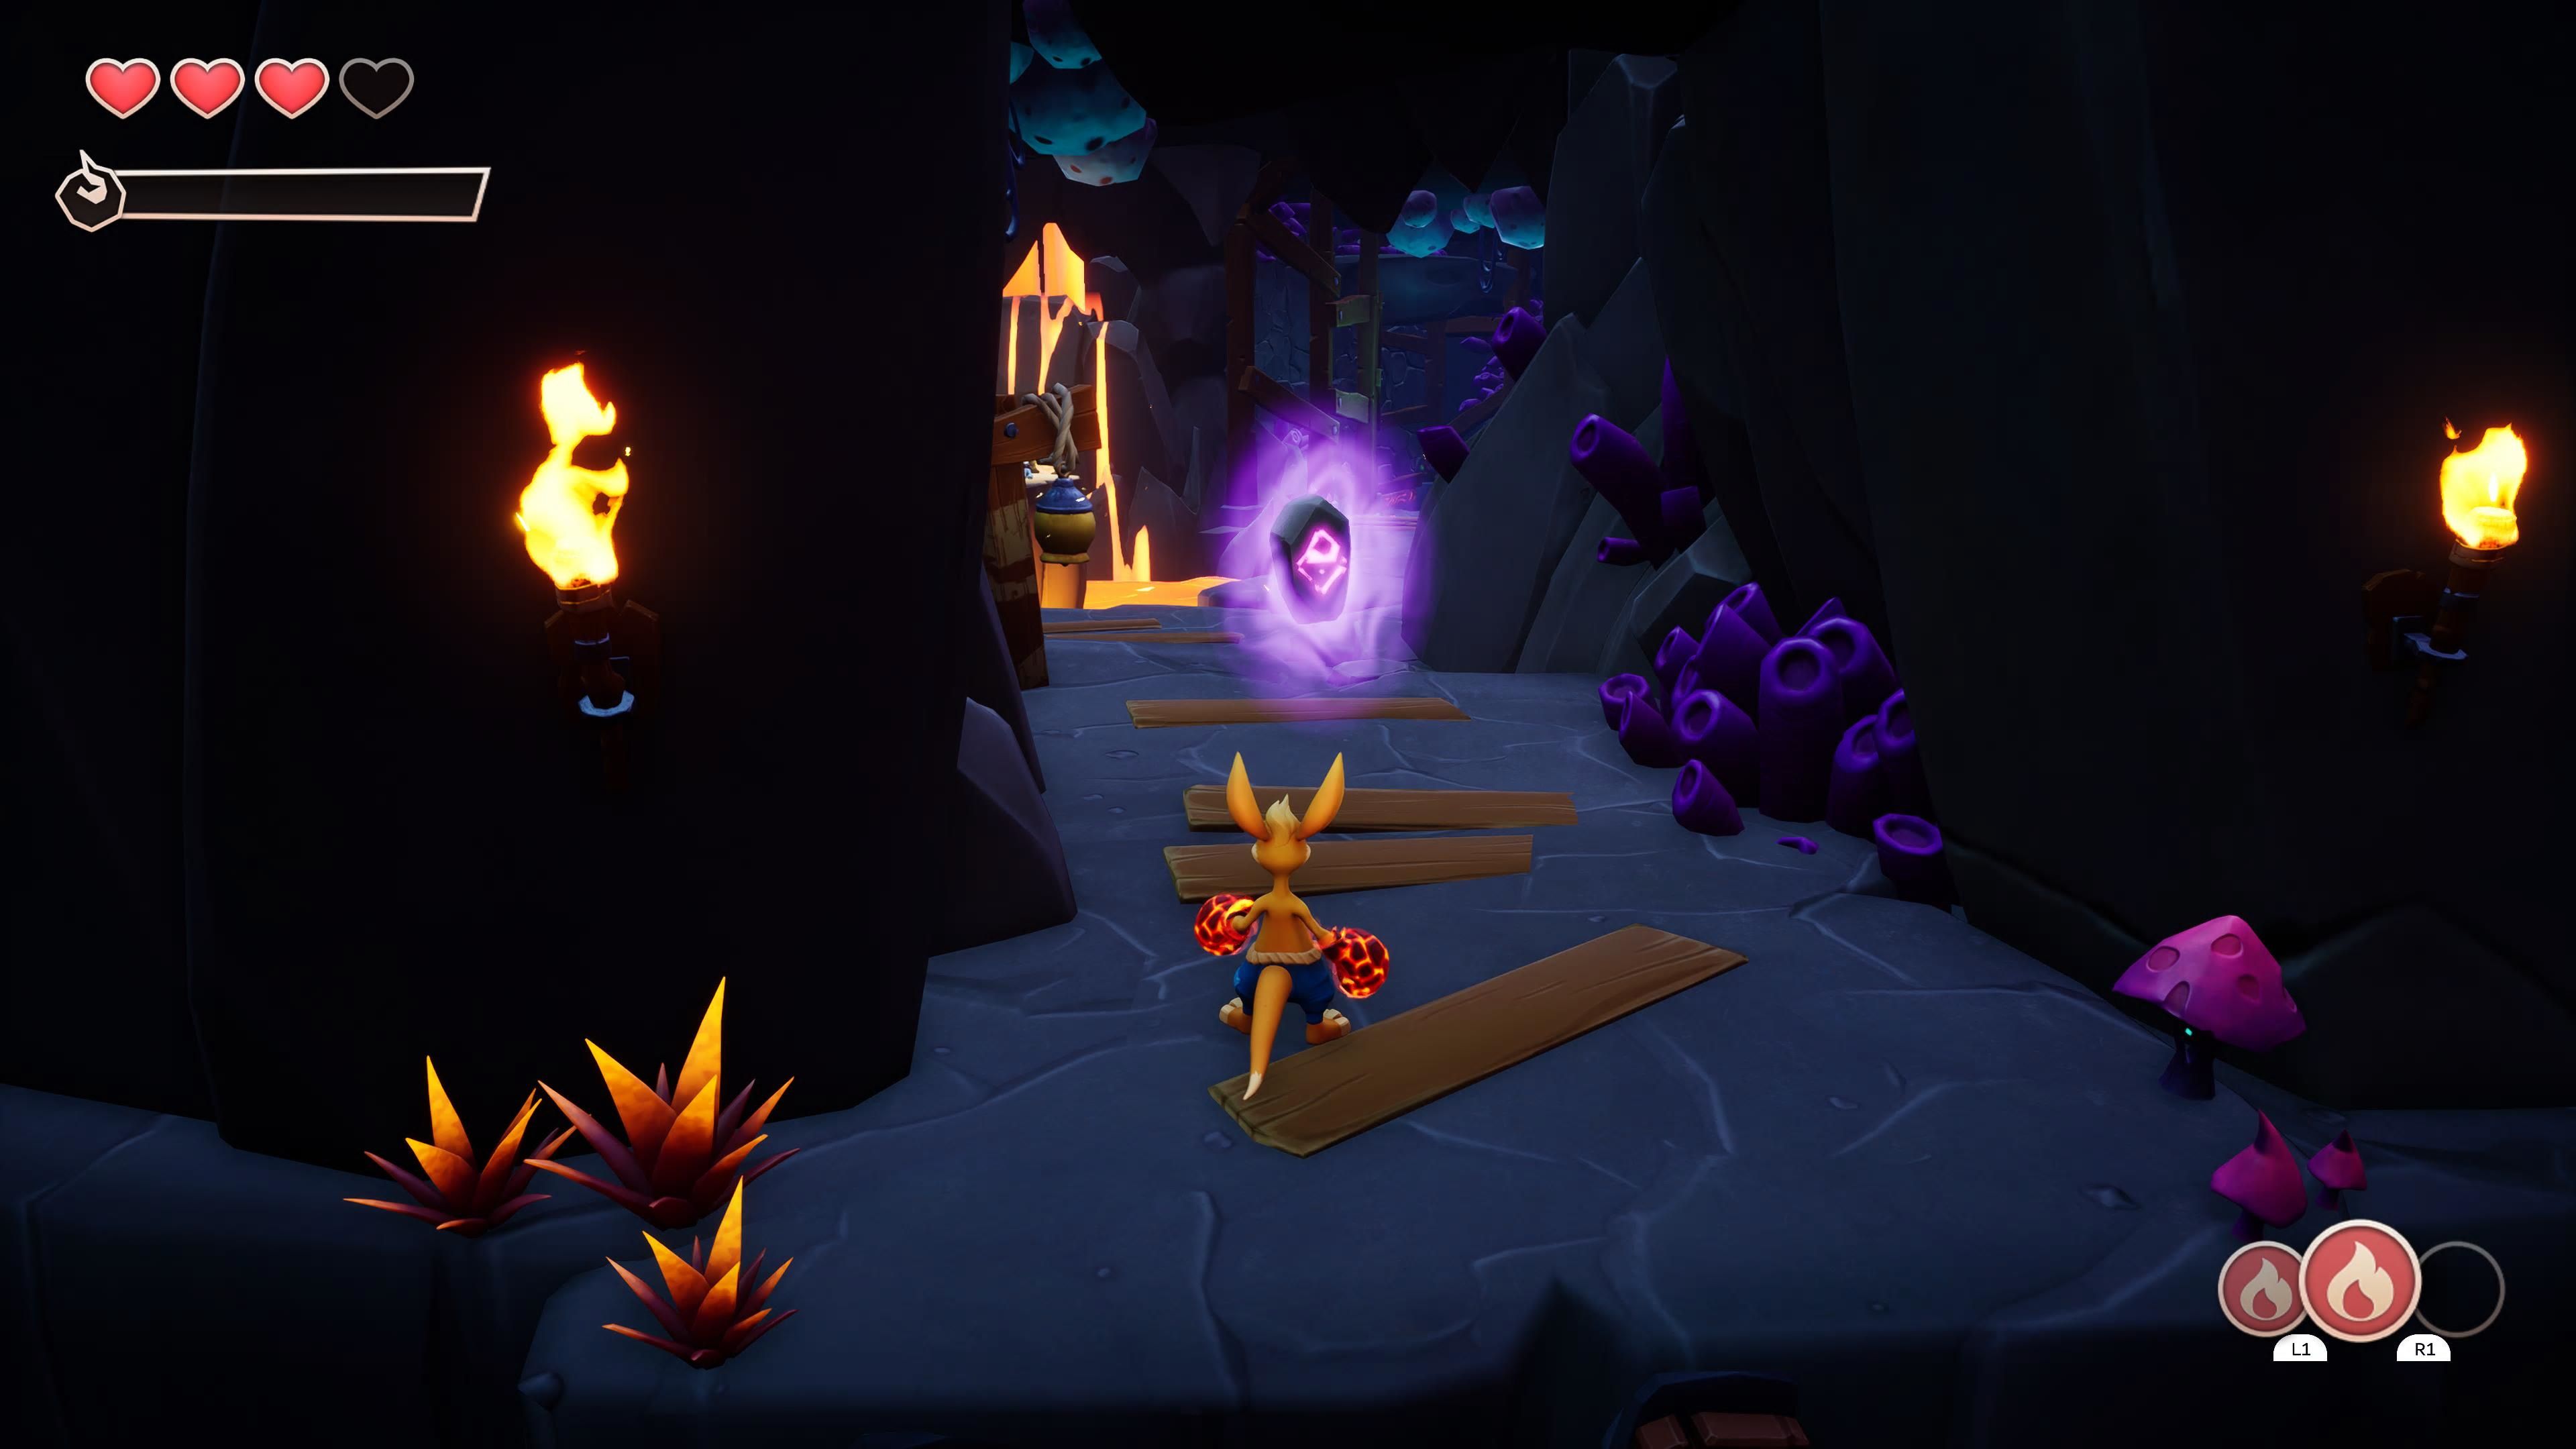
Rune 3 |
|
This rune is on the other side of the room with all the lasers. |
|
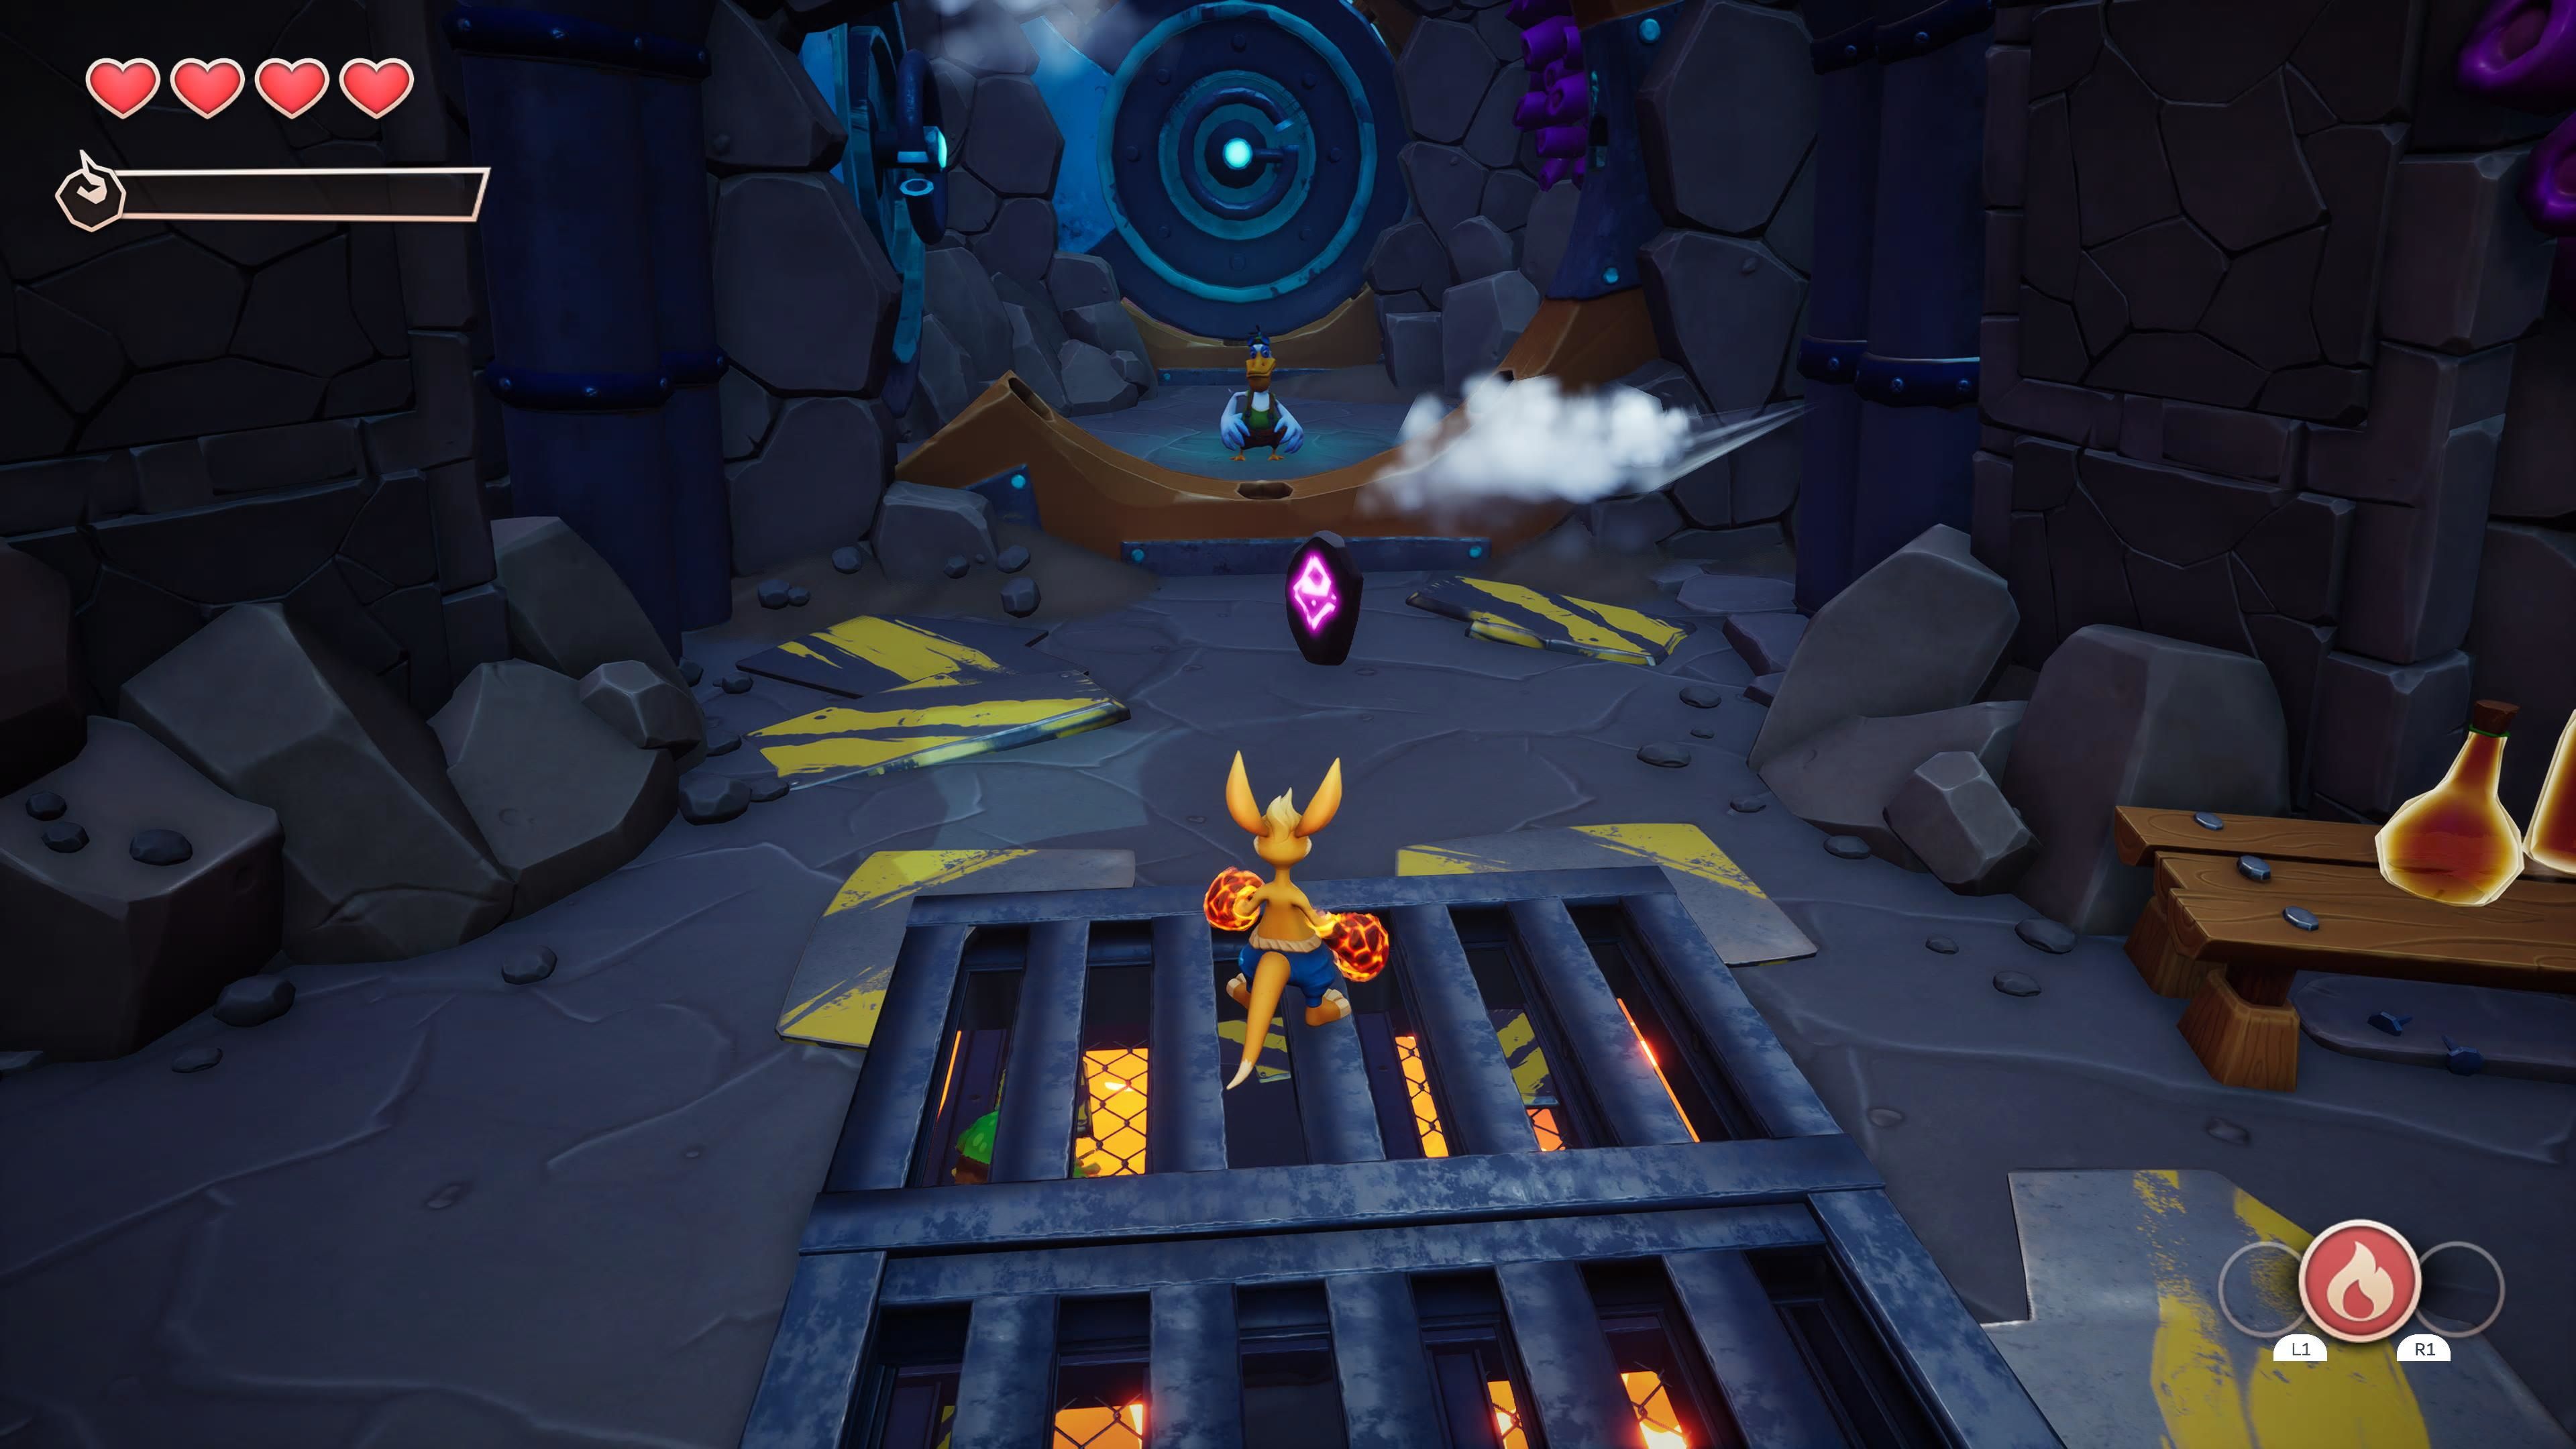
Rune 4 |
|
This rune will appear in front of Gadget once you complete the laser puzzle. |
Where To Find The Crystals
|
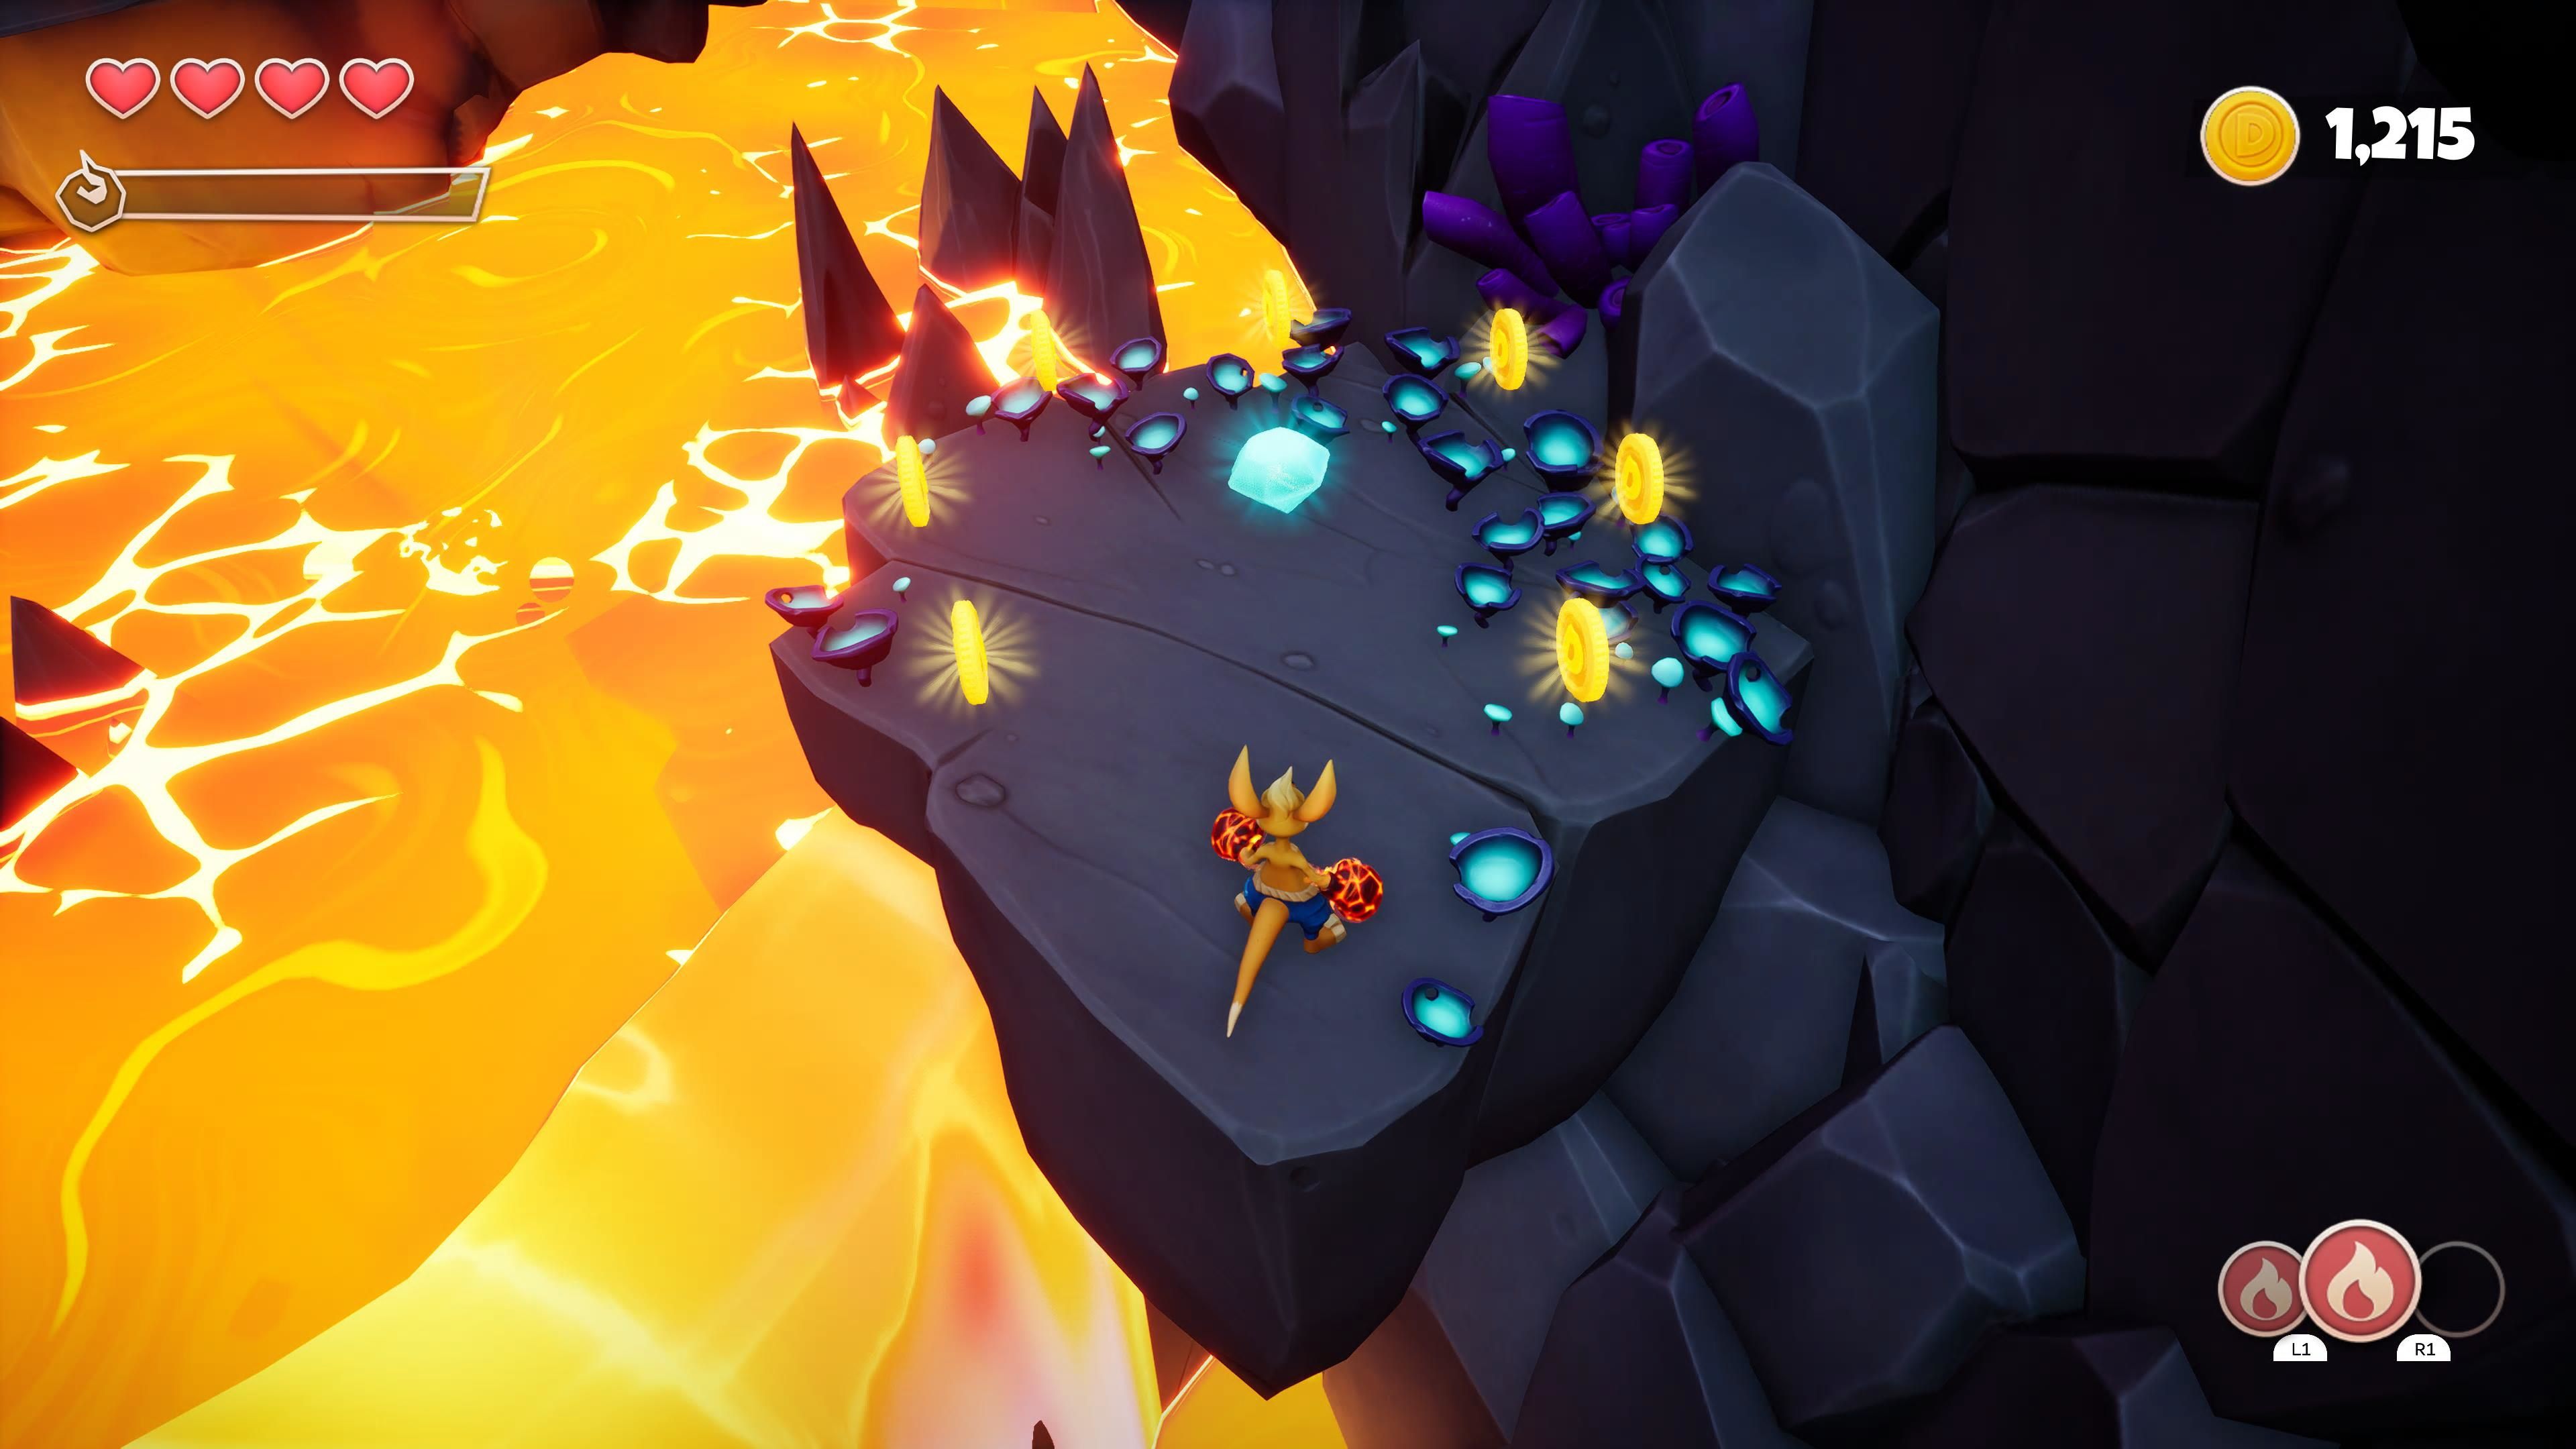
Crystal 1 |
|
On an island beside the platform moving up and down near the challenge well. |
|---|---|---|
|
Crystal 2 |
|
The crystal is located on the platform to the right of where you use the boomerang to heat up the boiler. |
|
Crystal 3 |
|
While platforming on the dark-world platforms above the lasers, this crystal will be on your right. |
|
Crystal 4 |
|
After you fall down the trapdoor, the room you find yourself in will have some crates. Destroy them and you will find this crystal. |
|
Crystal 5 |
|
In the final room of this stage, with the laser puzzle, you will find this crystal hidden behind some crates. |
Where To Find The Scrolls
|
The Only Scroll |
|
This scroll is hidden in a hole in the wall behind the frogster throwing spears at you. |
|---|

