Quick Links
Walt's Dojo is, for all intents and purposes, Kao The Kangaroo's tutorial level. So, for the most part, this makeshift obstacle course is pretty straightforward. Heck, you will even have signposts guiding you to a few of the secrets. There are no real puzzles, and Walt's Dojo also doesn't provide any permanent health upgrades. But if you underestimate this beginner's stage, you may find yourself at the end of this tutorial missing key items.
Despite this being an introductory segment, there are absolutely a number of collectibles that are rather fiendishly hidden (often just out of sight). If you aren't being careful, it is easy to walk right past them. This guide will help lead you through the entire stage, collecting every single collectible along the way.
Step-By-Step Collectible Guide
|
Crystals |
3 |
|---|---|
|
Scrolls |
1 |
|
Runes |
0 |
|
Treasure Chests |
2 |
|
Extra Lives |
1 |
|
Heart Pieces |
0 |
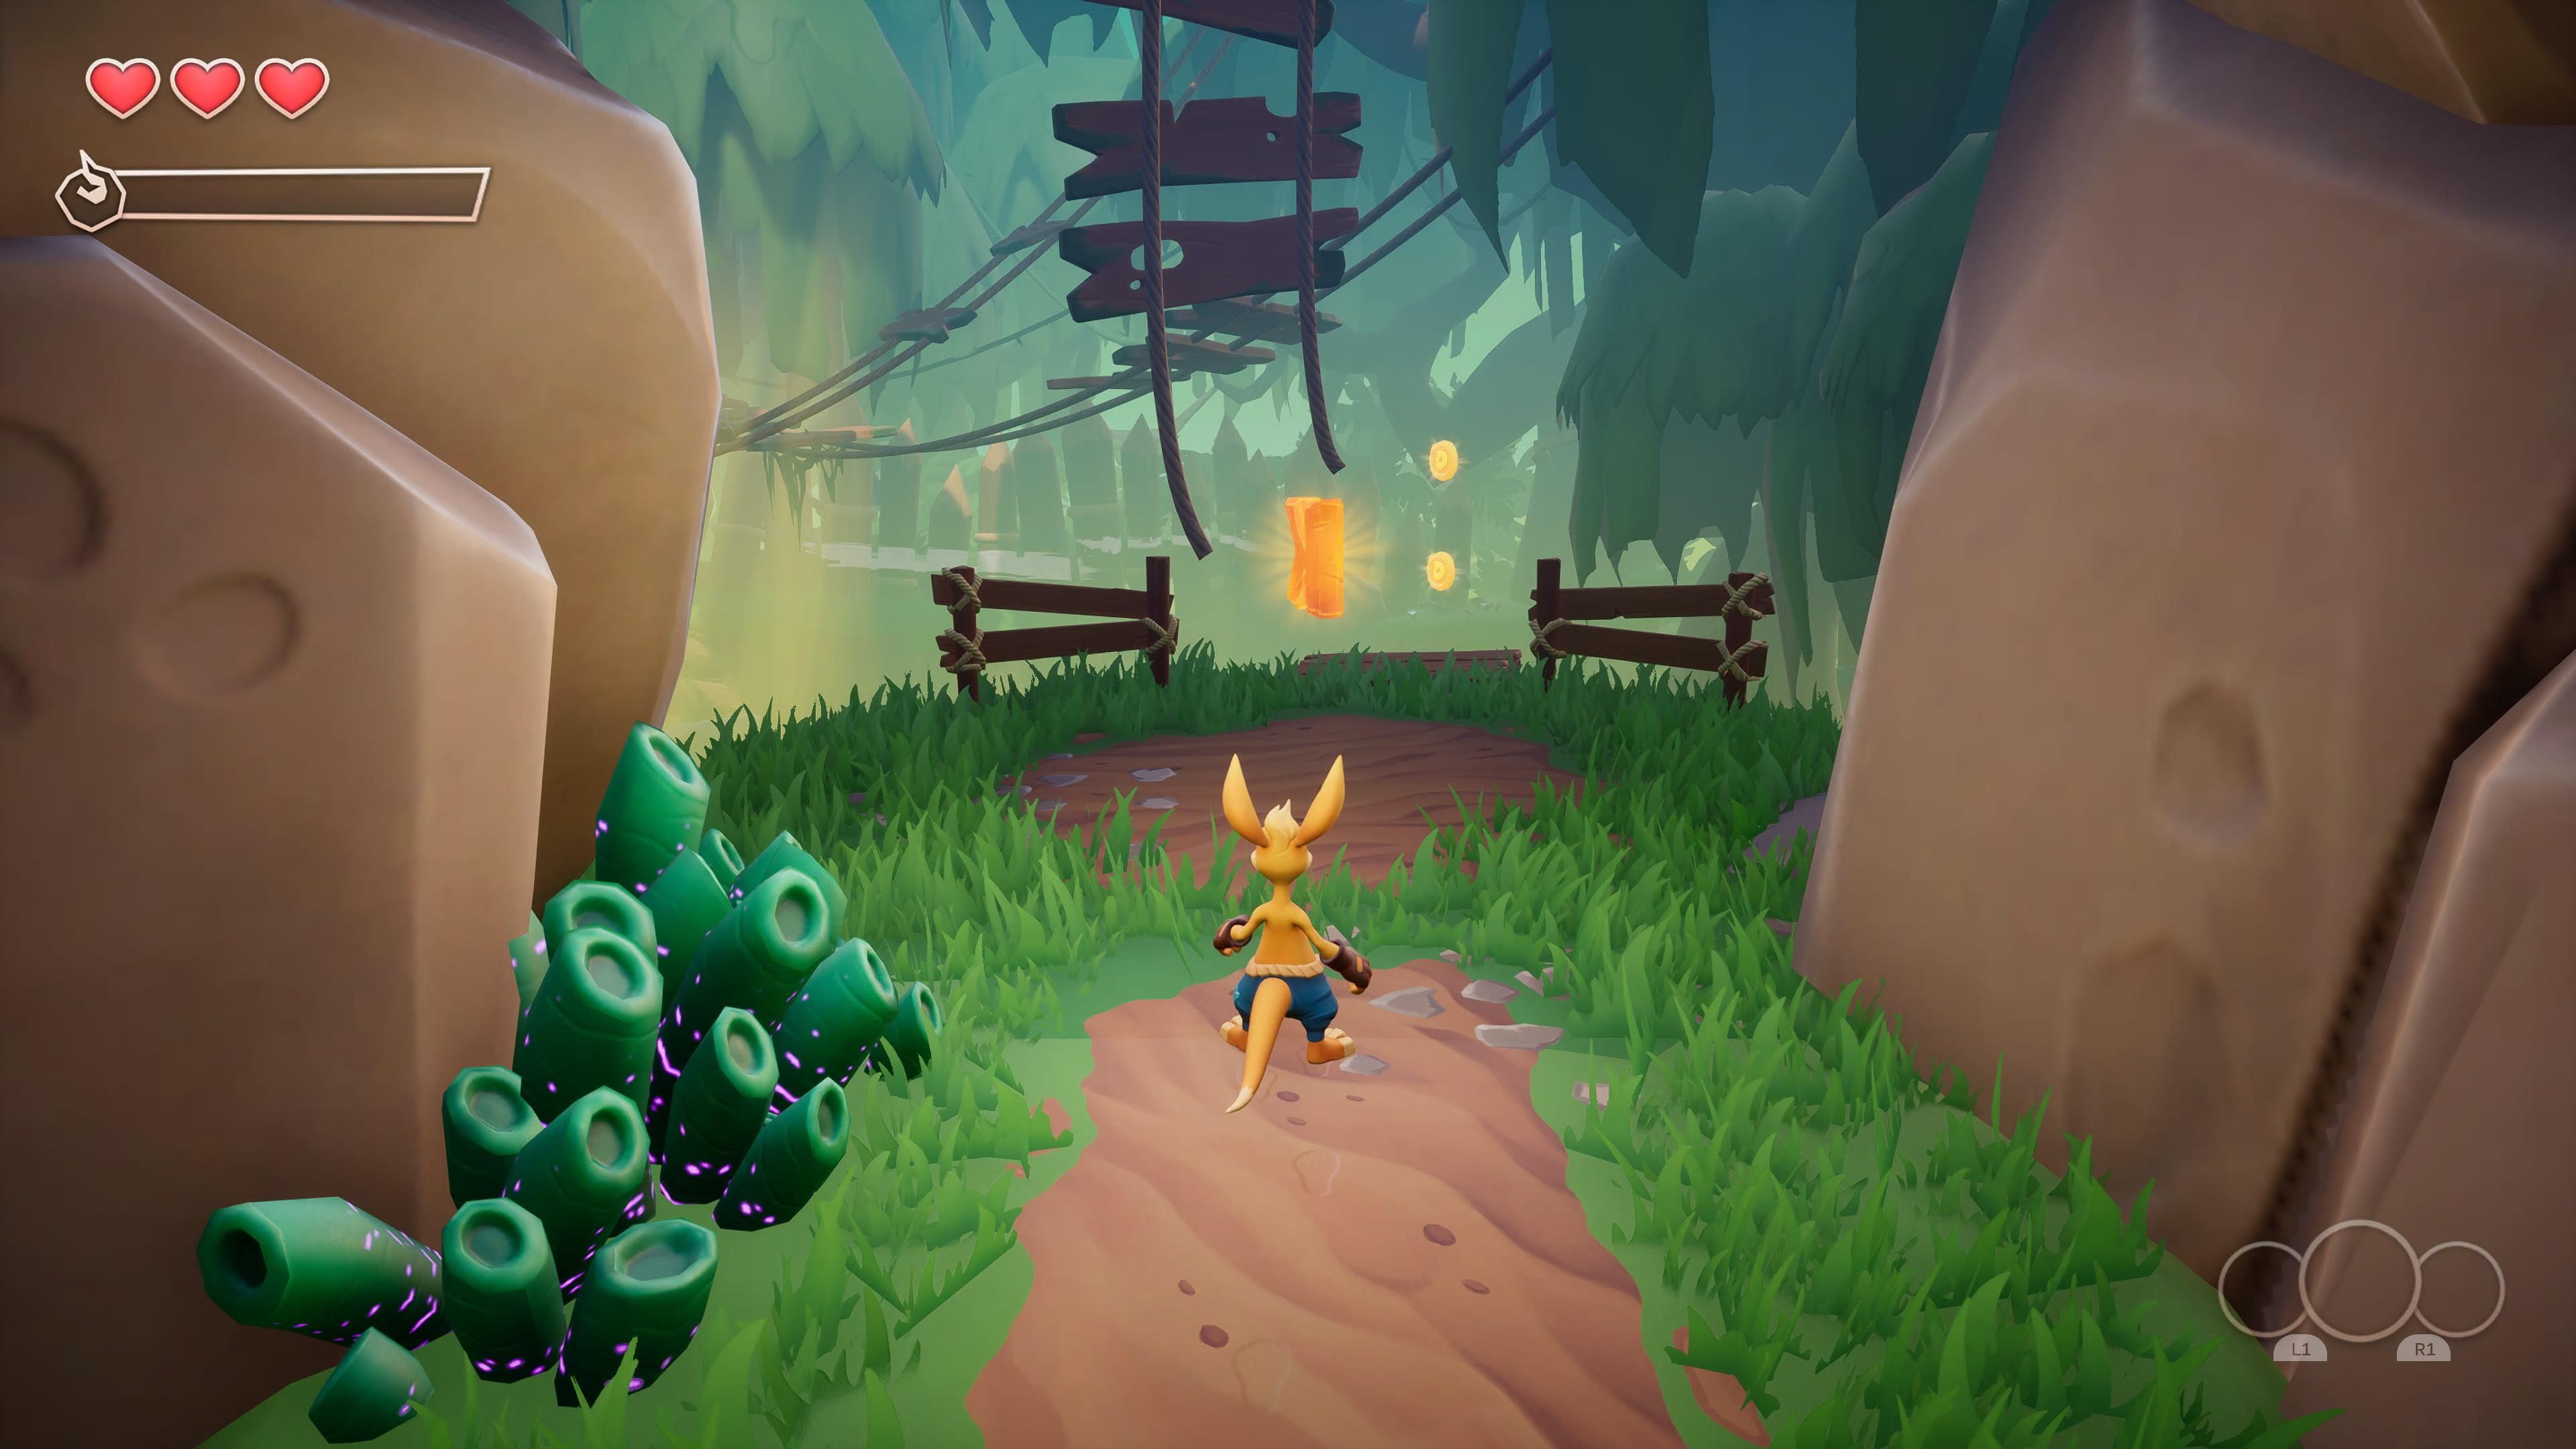
Start by following your sister. You will cross a broken bridge and then come across a fork in the path. Take the path to the right. This path will hook around, taking you to your first treasure chest, and leading you to the letter K. Once you have punched open the treasure chest and grabbed the K, hop back down to the main path again.
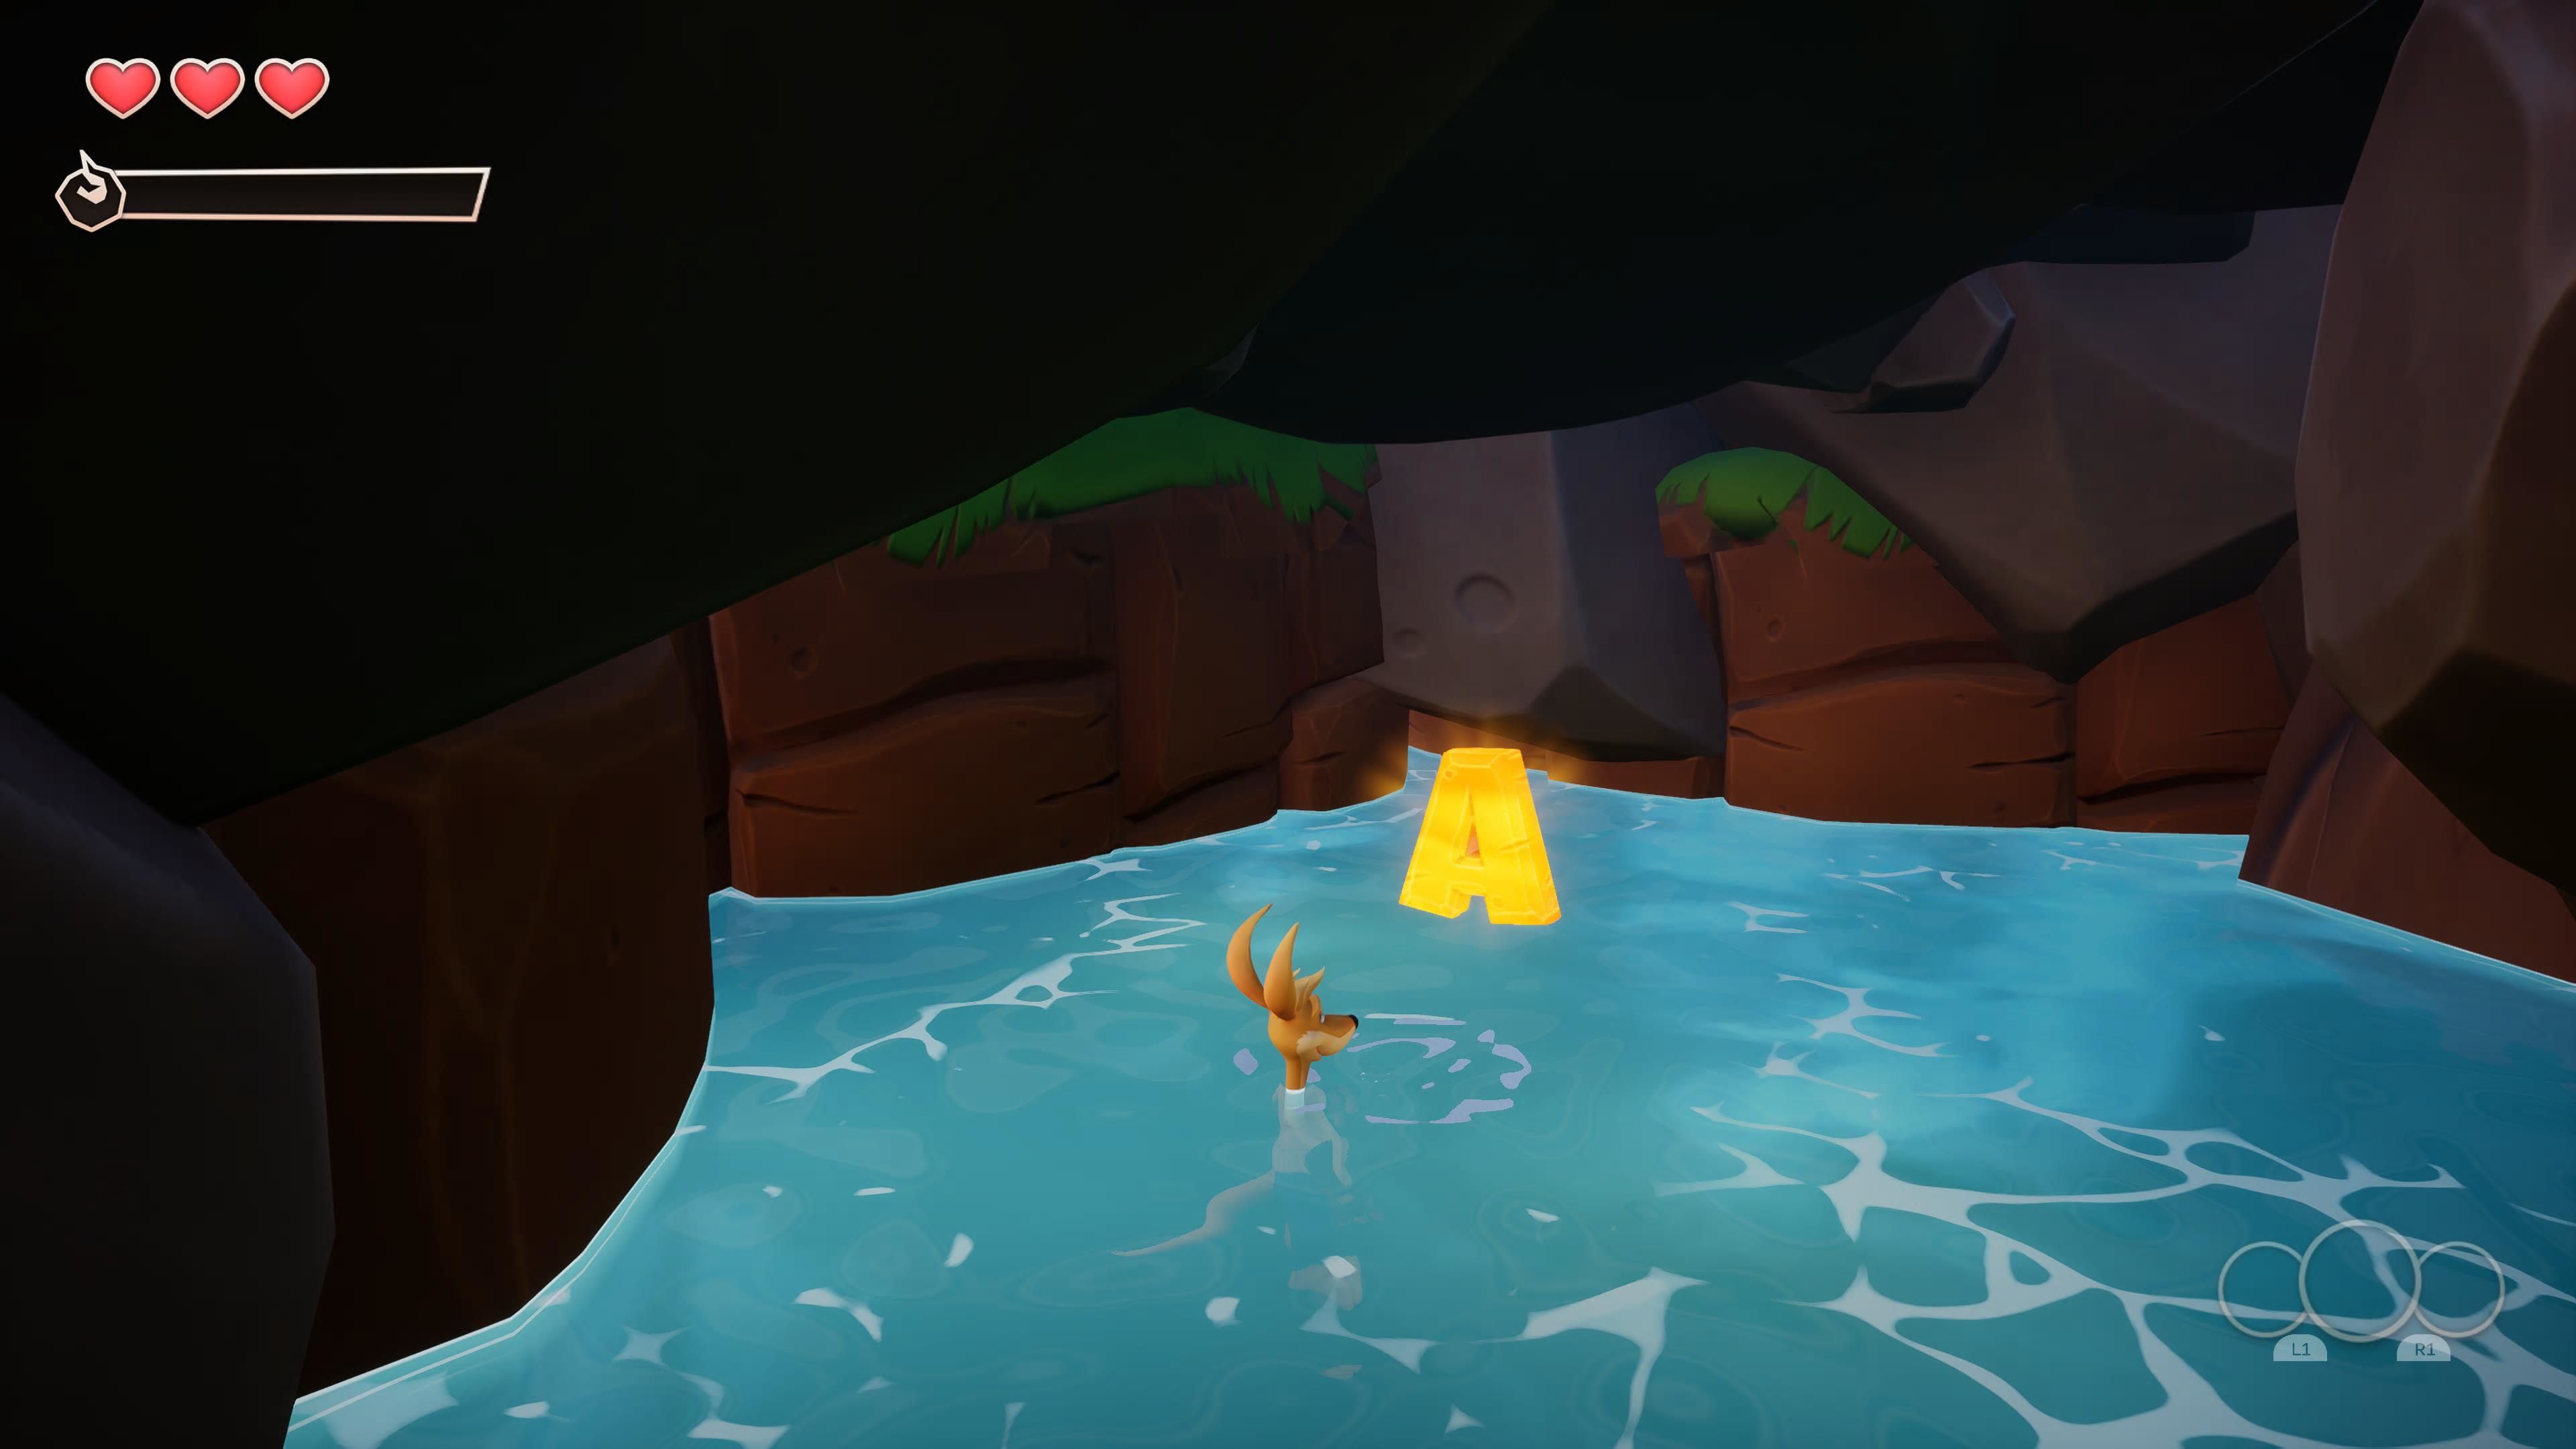
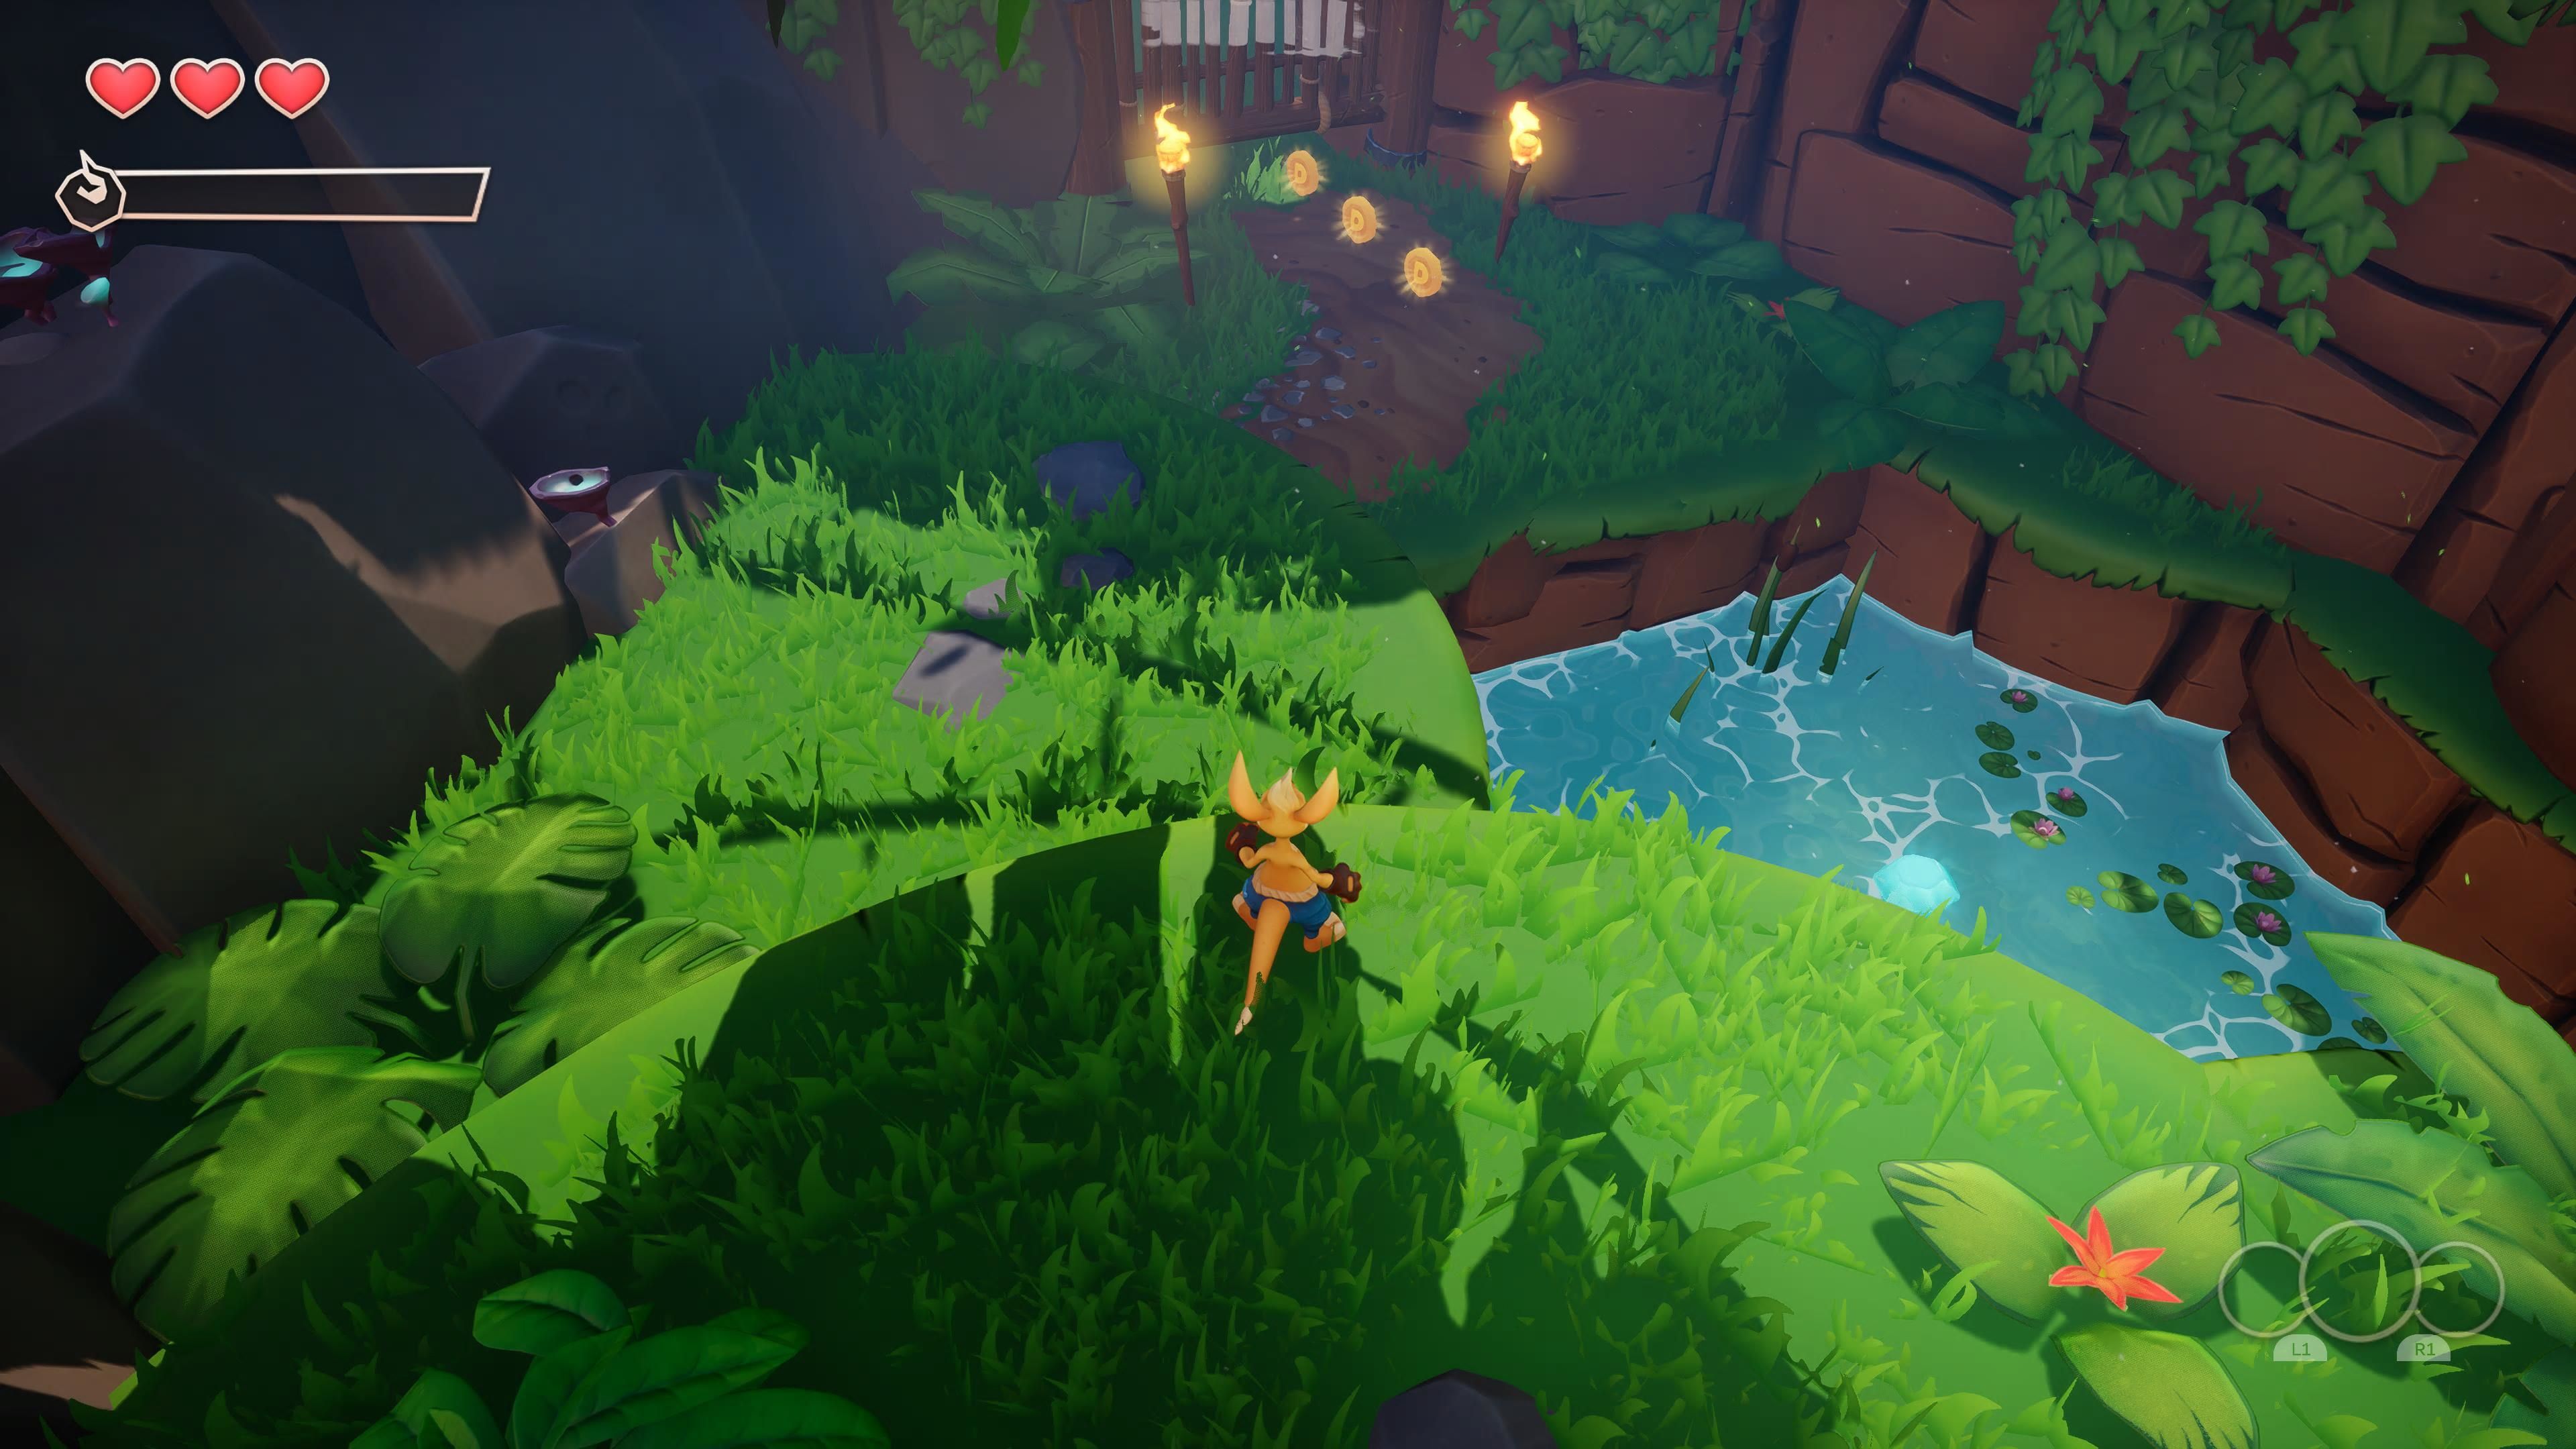
Follow the main path until you encounter a fence: you will roll under the fence. To your right, sitting in the pond, there is a crystal (1/3) hovering above the water. Continue along the path, and you will reach a point where you can receive an extra life. To the left, there is a waterfall. Roll under the waterfall, and you will claim the "A".
The next part of the stage divides the level in two. This means that you will not be able to backtrack after you progress beyond this point. Make sure you grab both of the letters and the crystal , or you will have to repeat the stage later to acquire them.
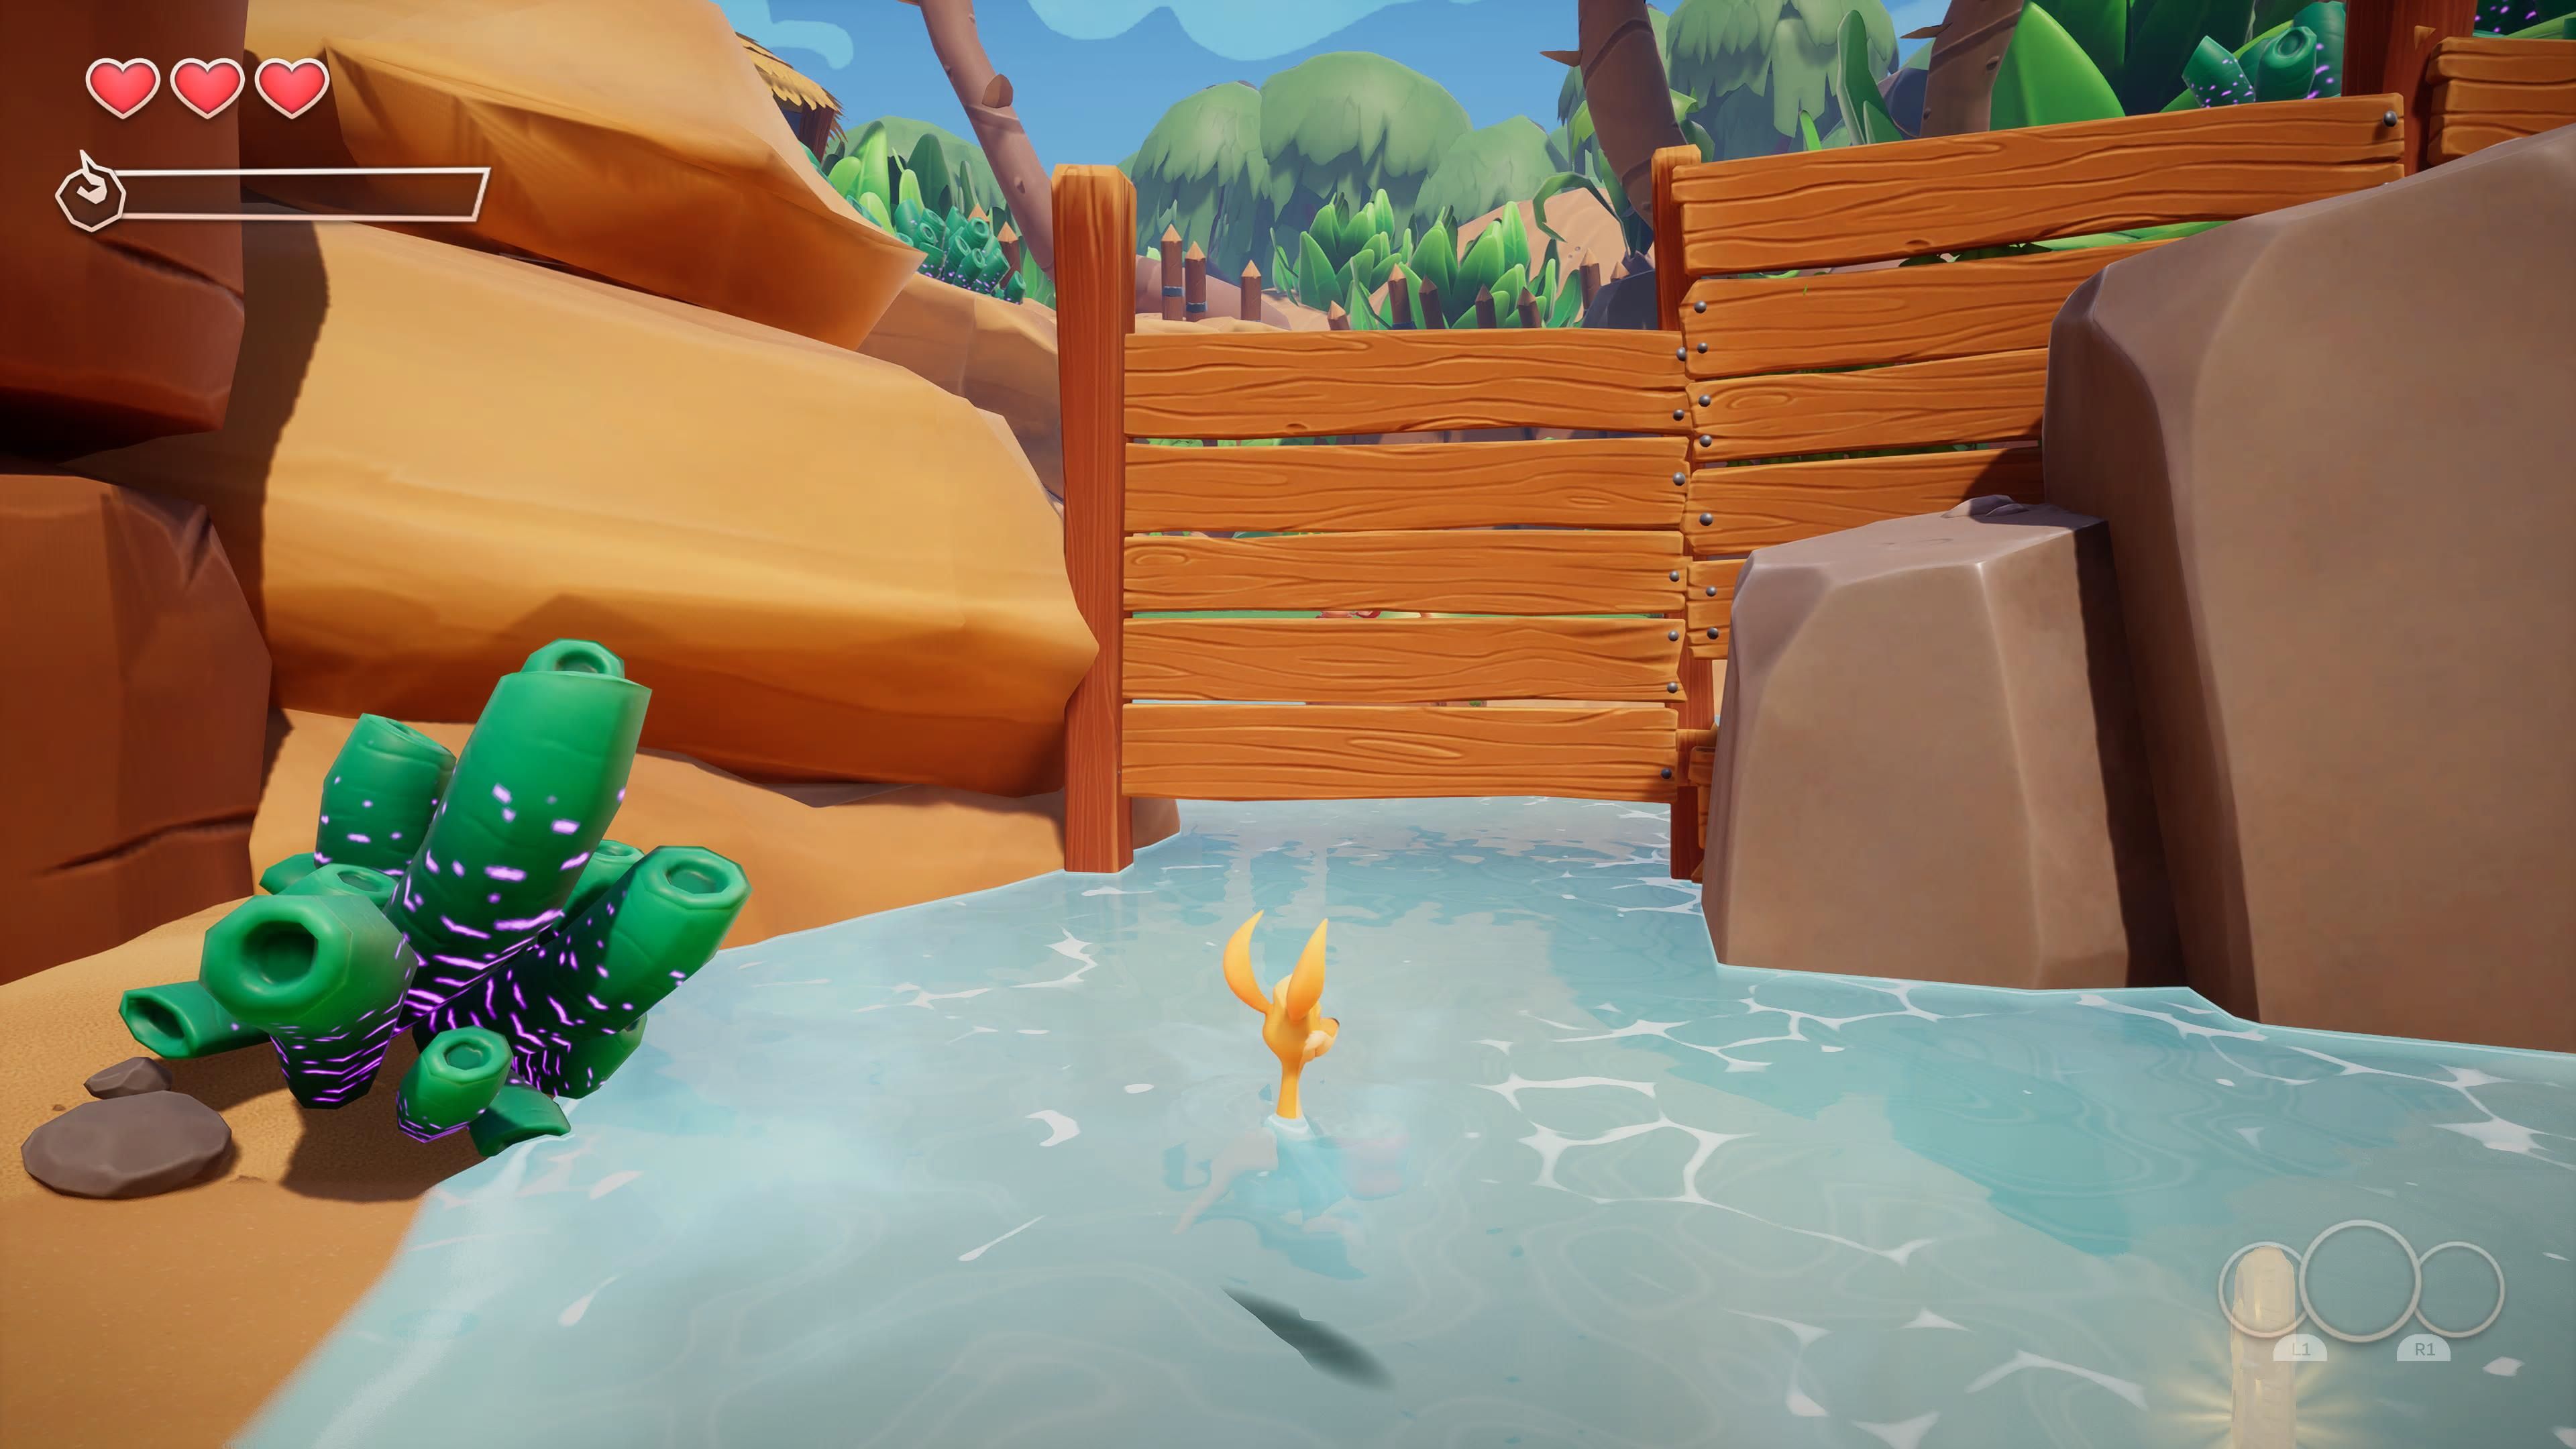
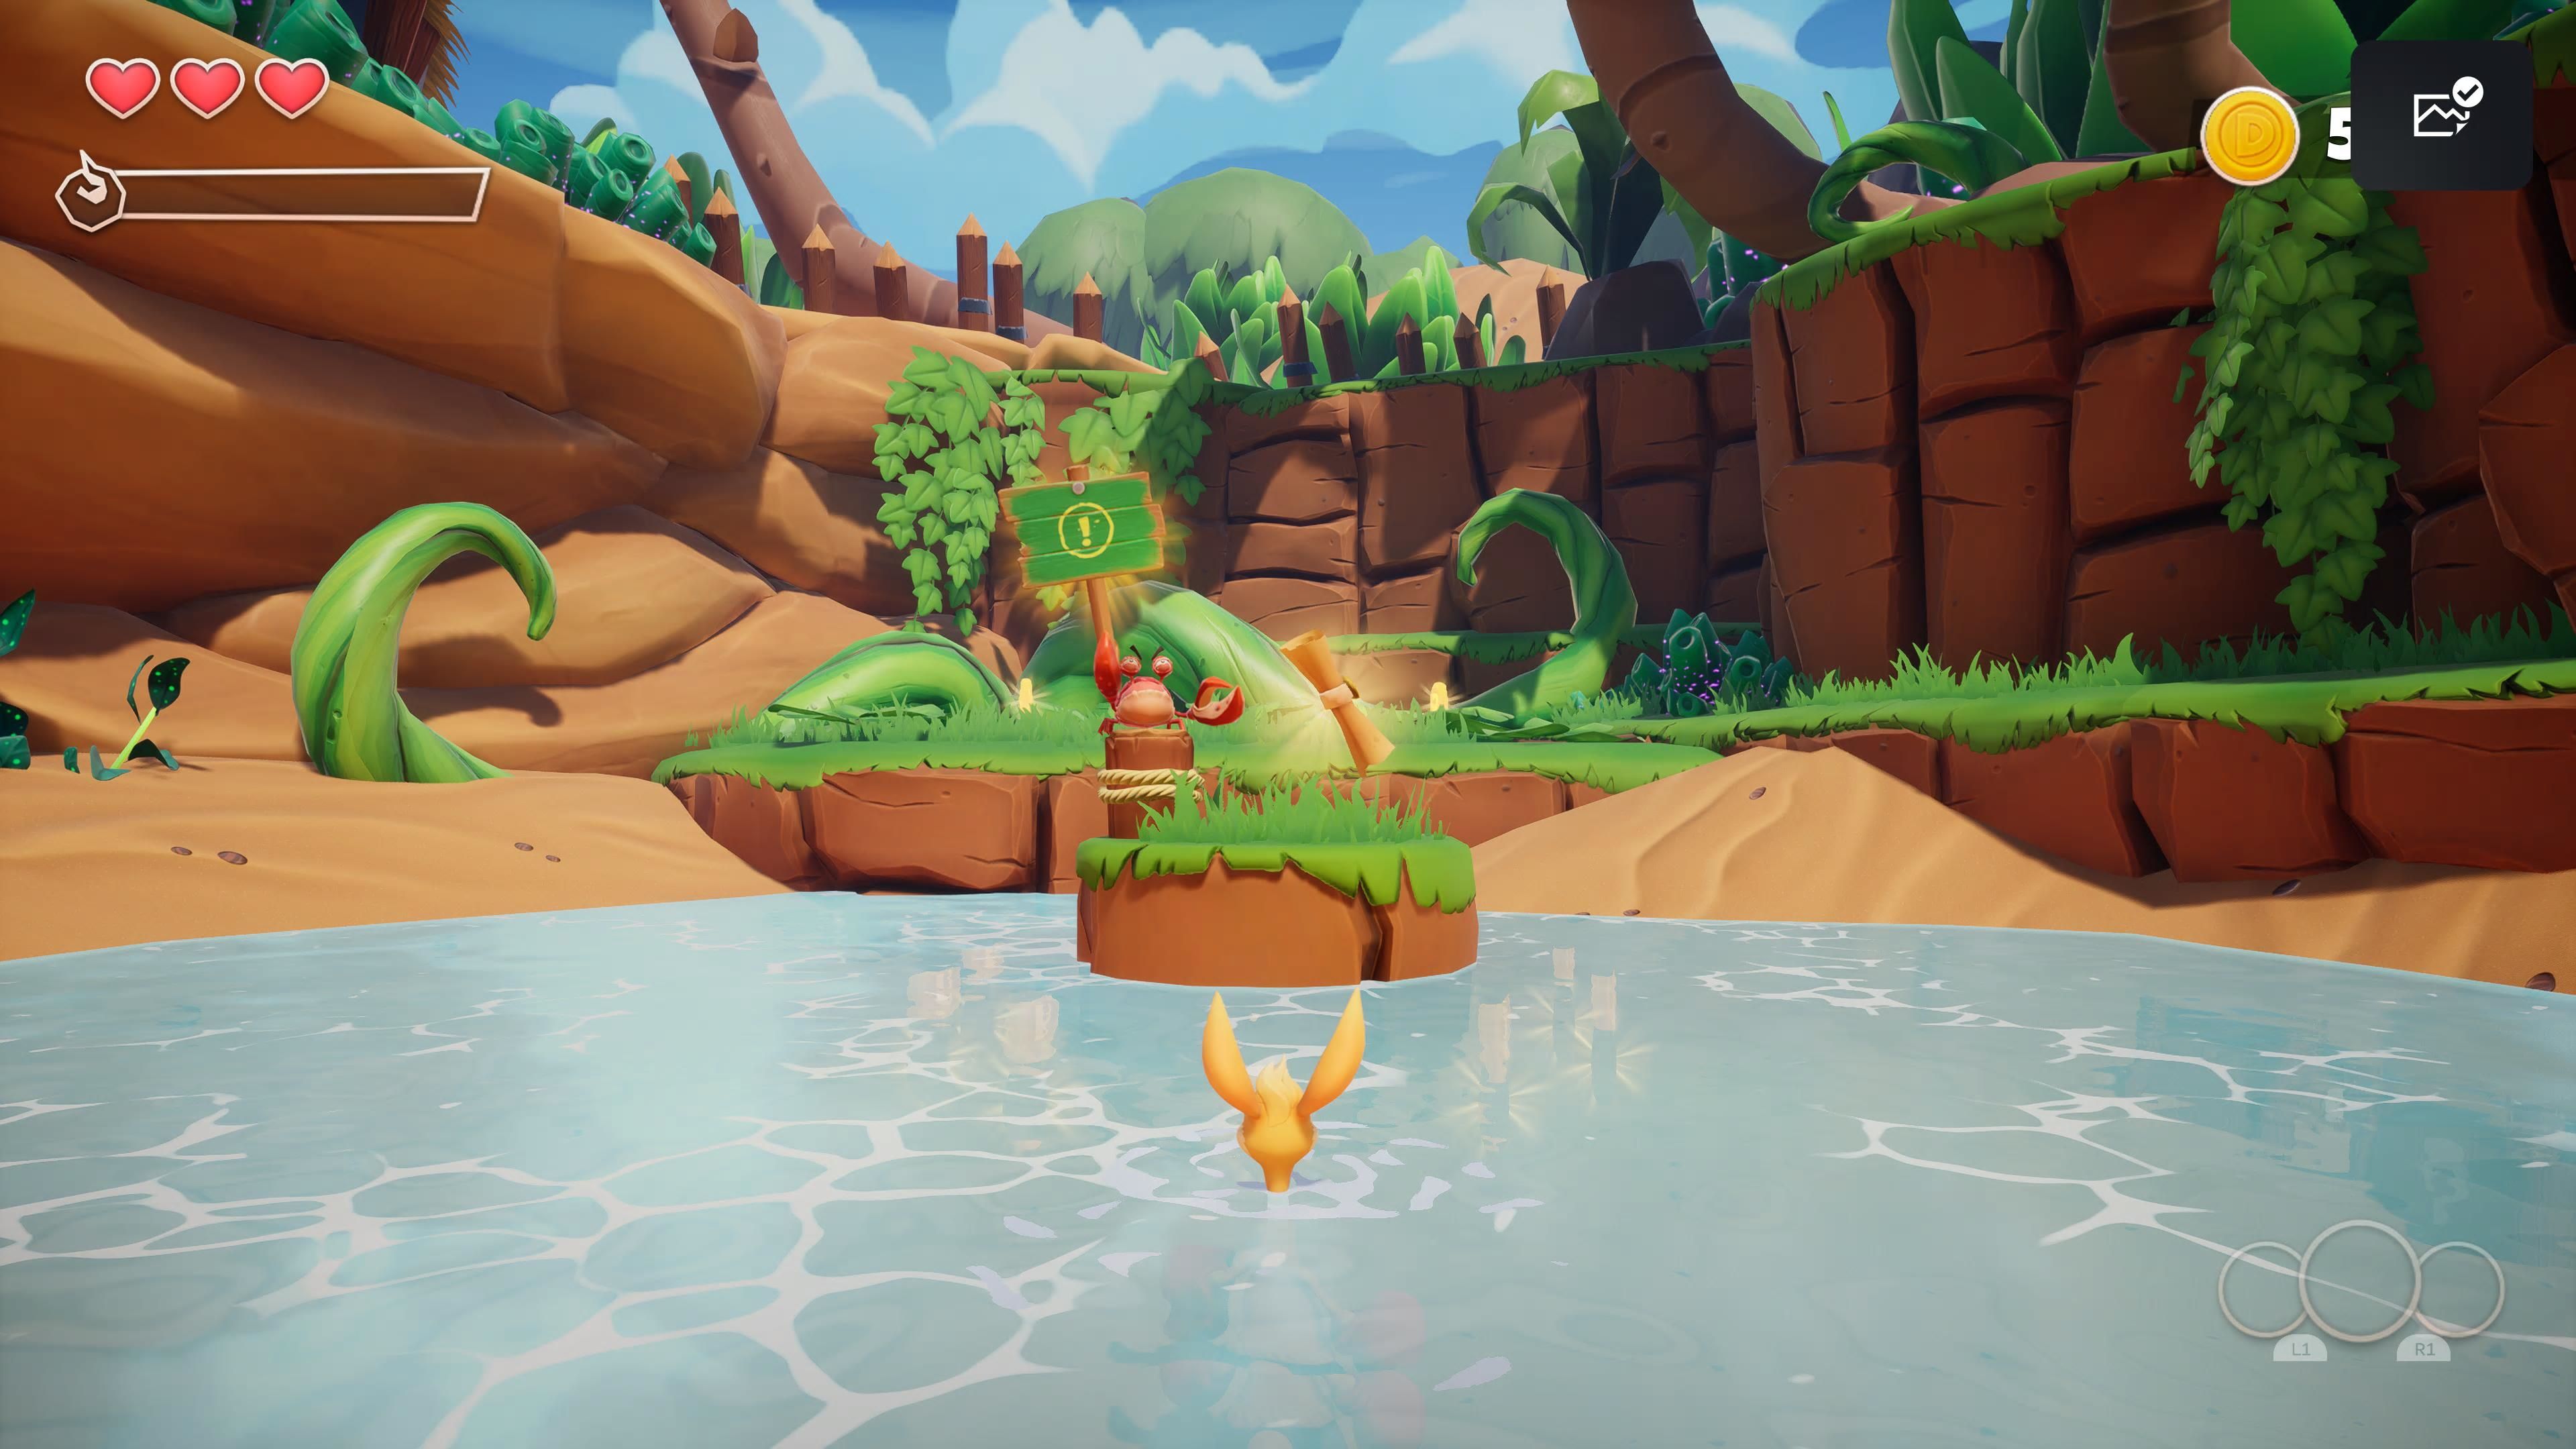
Once you have dropped down into the area where Walt has bopped all the frogsters, punch the giant button and move forward into the next section. You will now be on the beach. There is another gate that has a gap underneath it on the right side of the stage (in the shallow water). Roll under it, and you will claim the only scroll on this level (1/1).
Punch the button on the beach; this will raise a platform. From here, hop up and jump from platform to platform. Keep along the main path. After you roll under another fence, you will find an area where a giant gate will impede your progress.
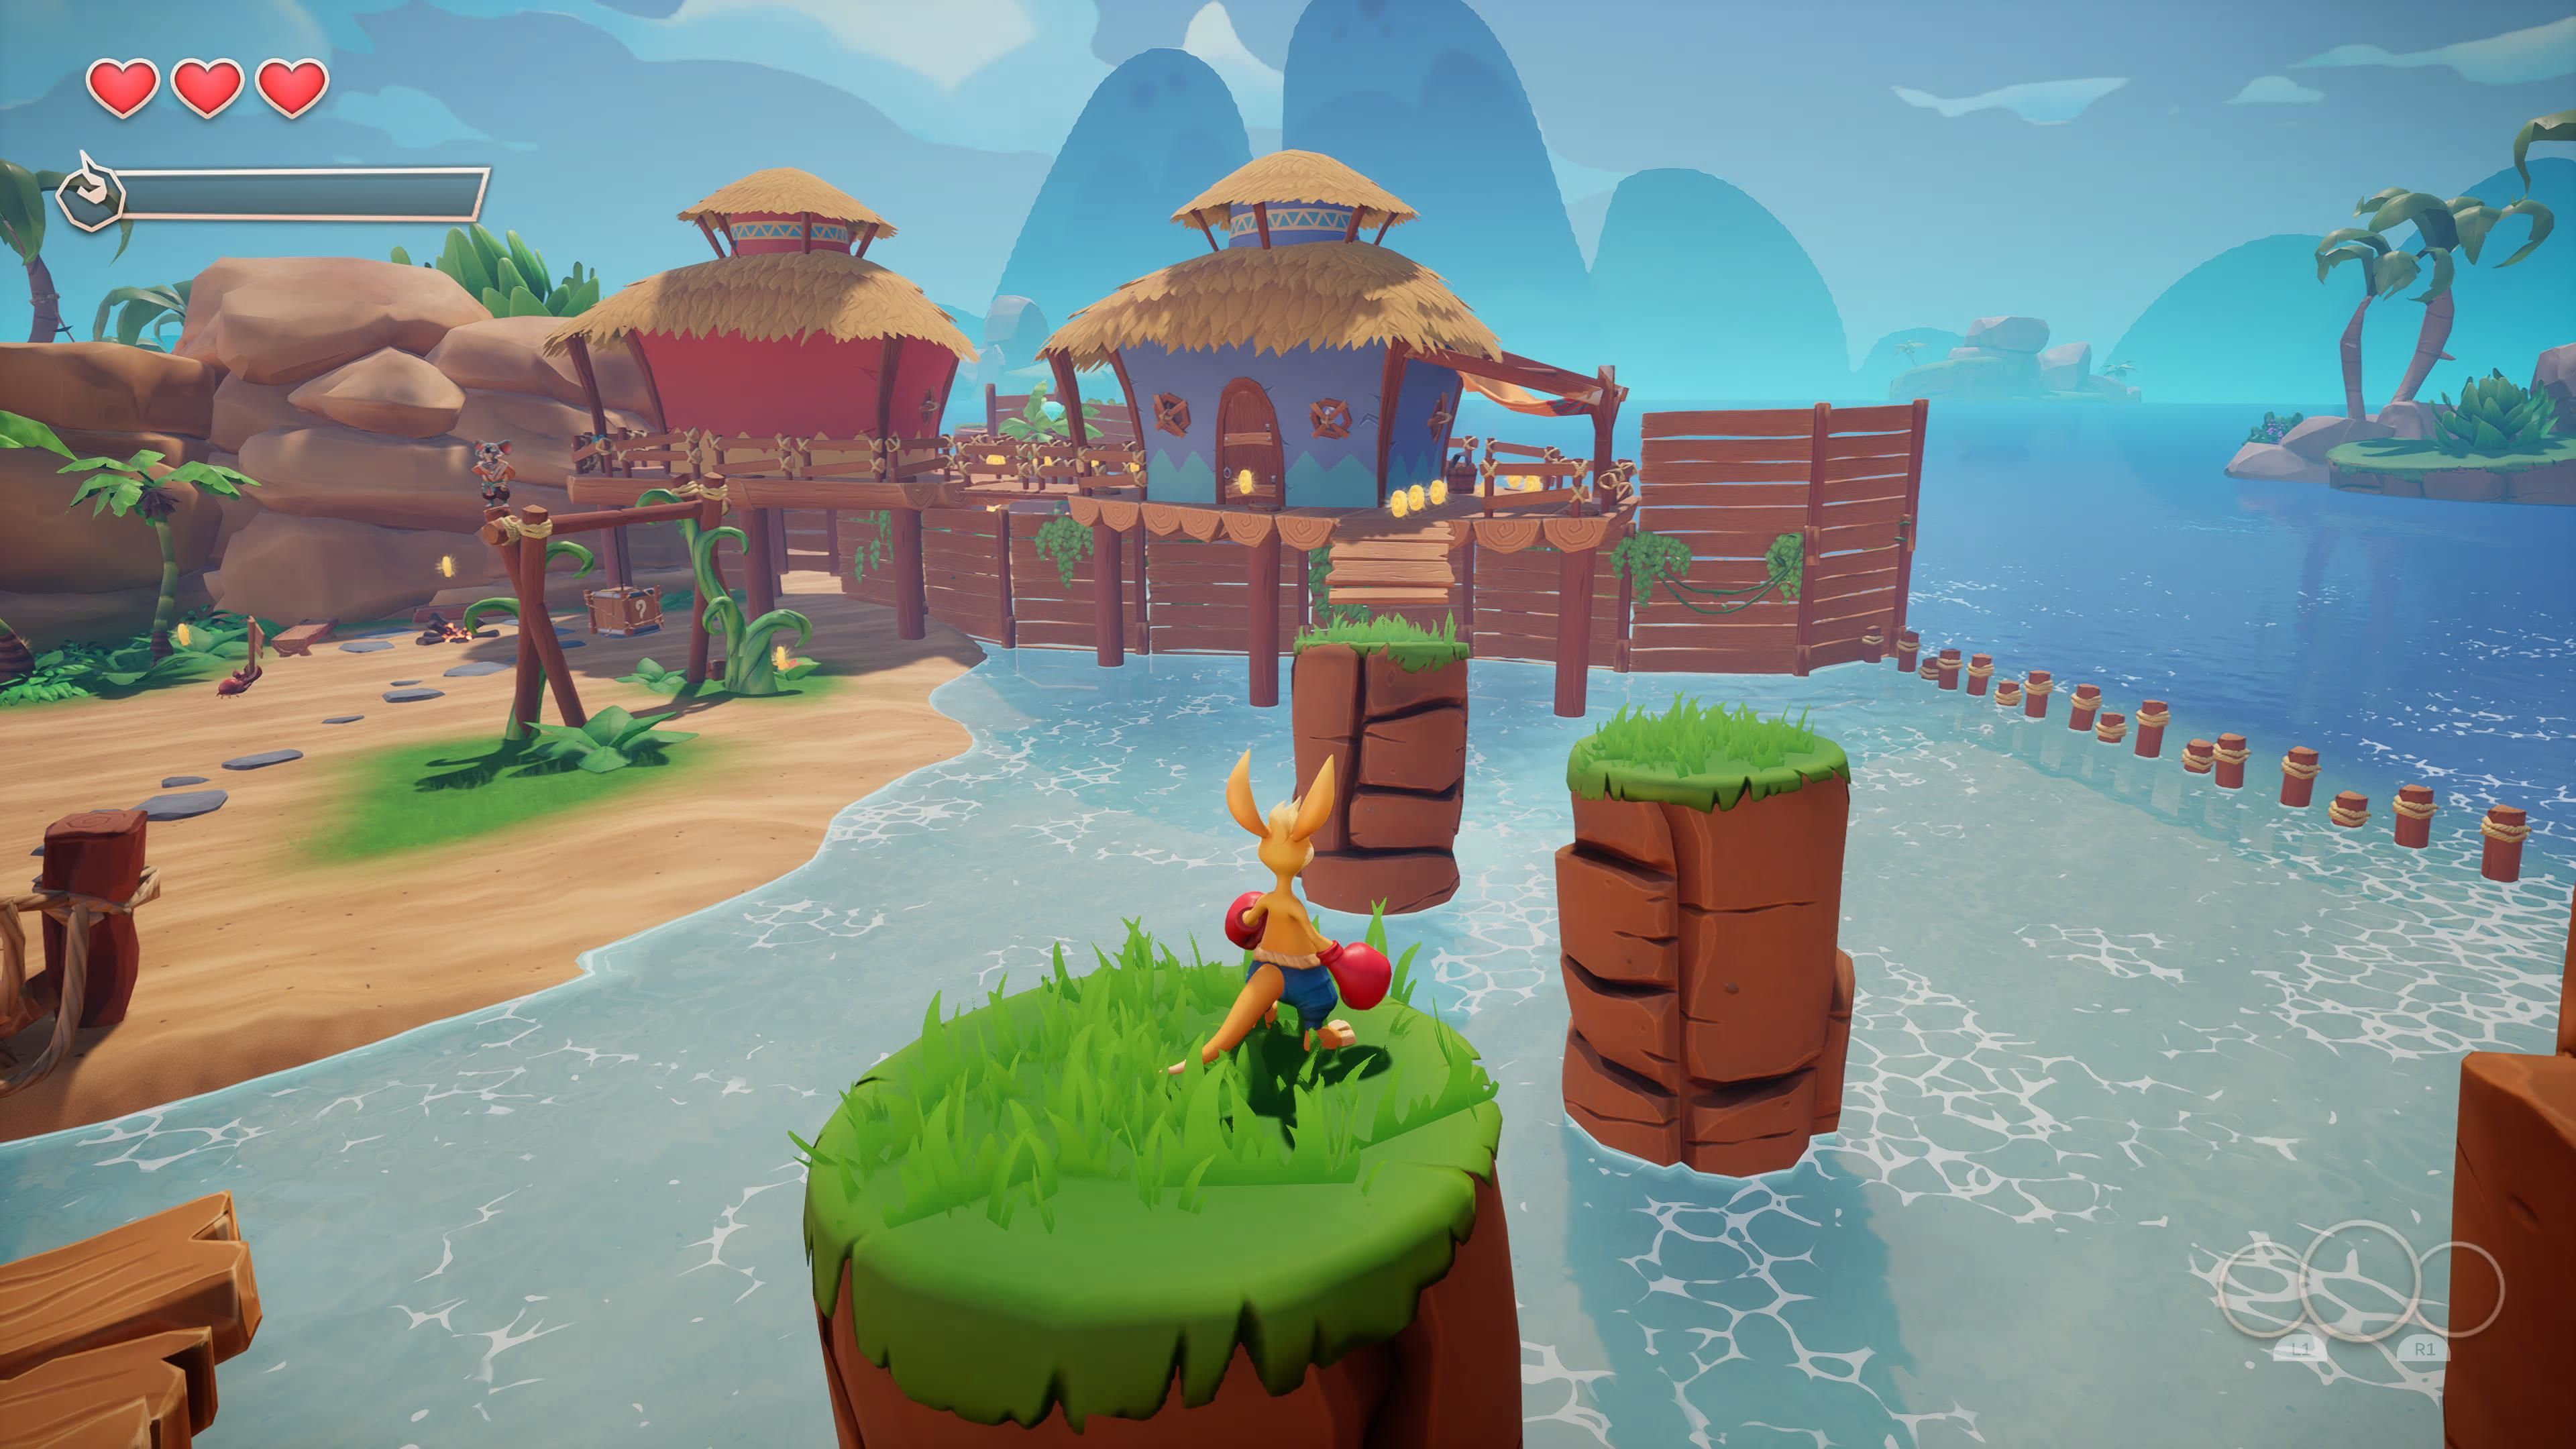
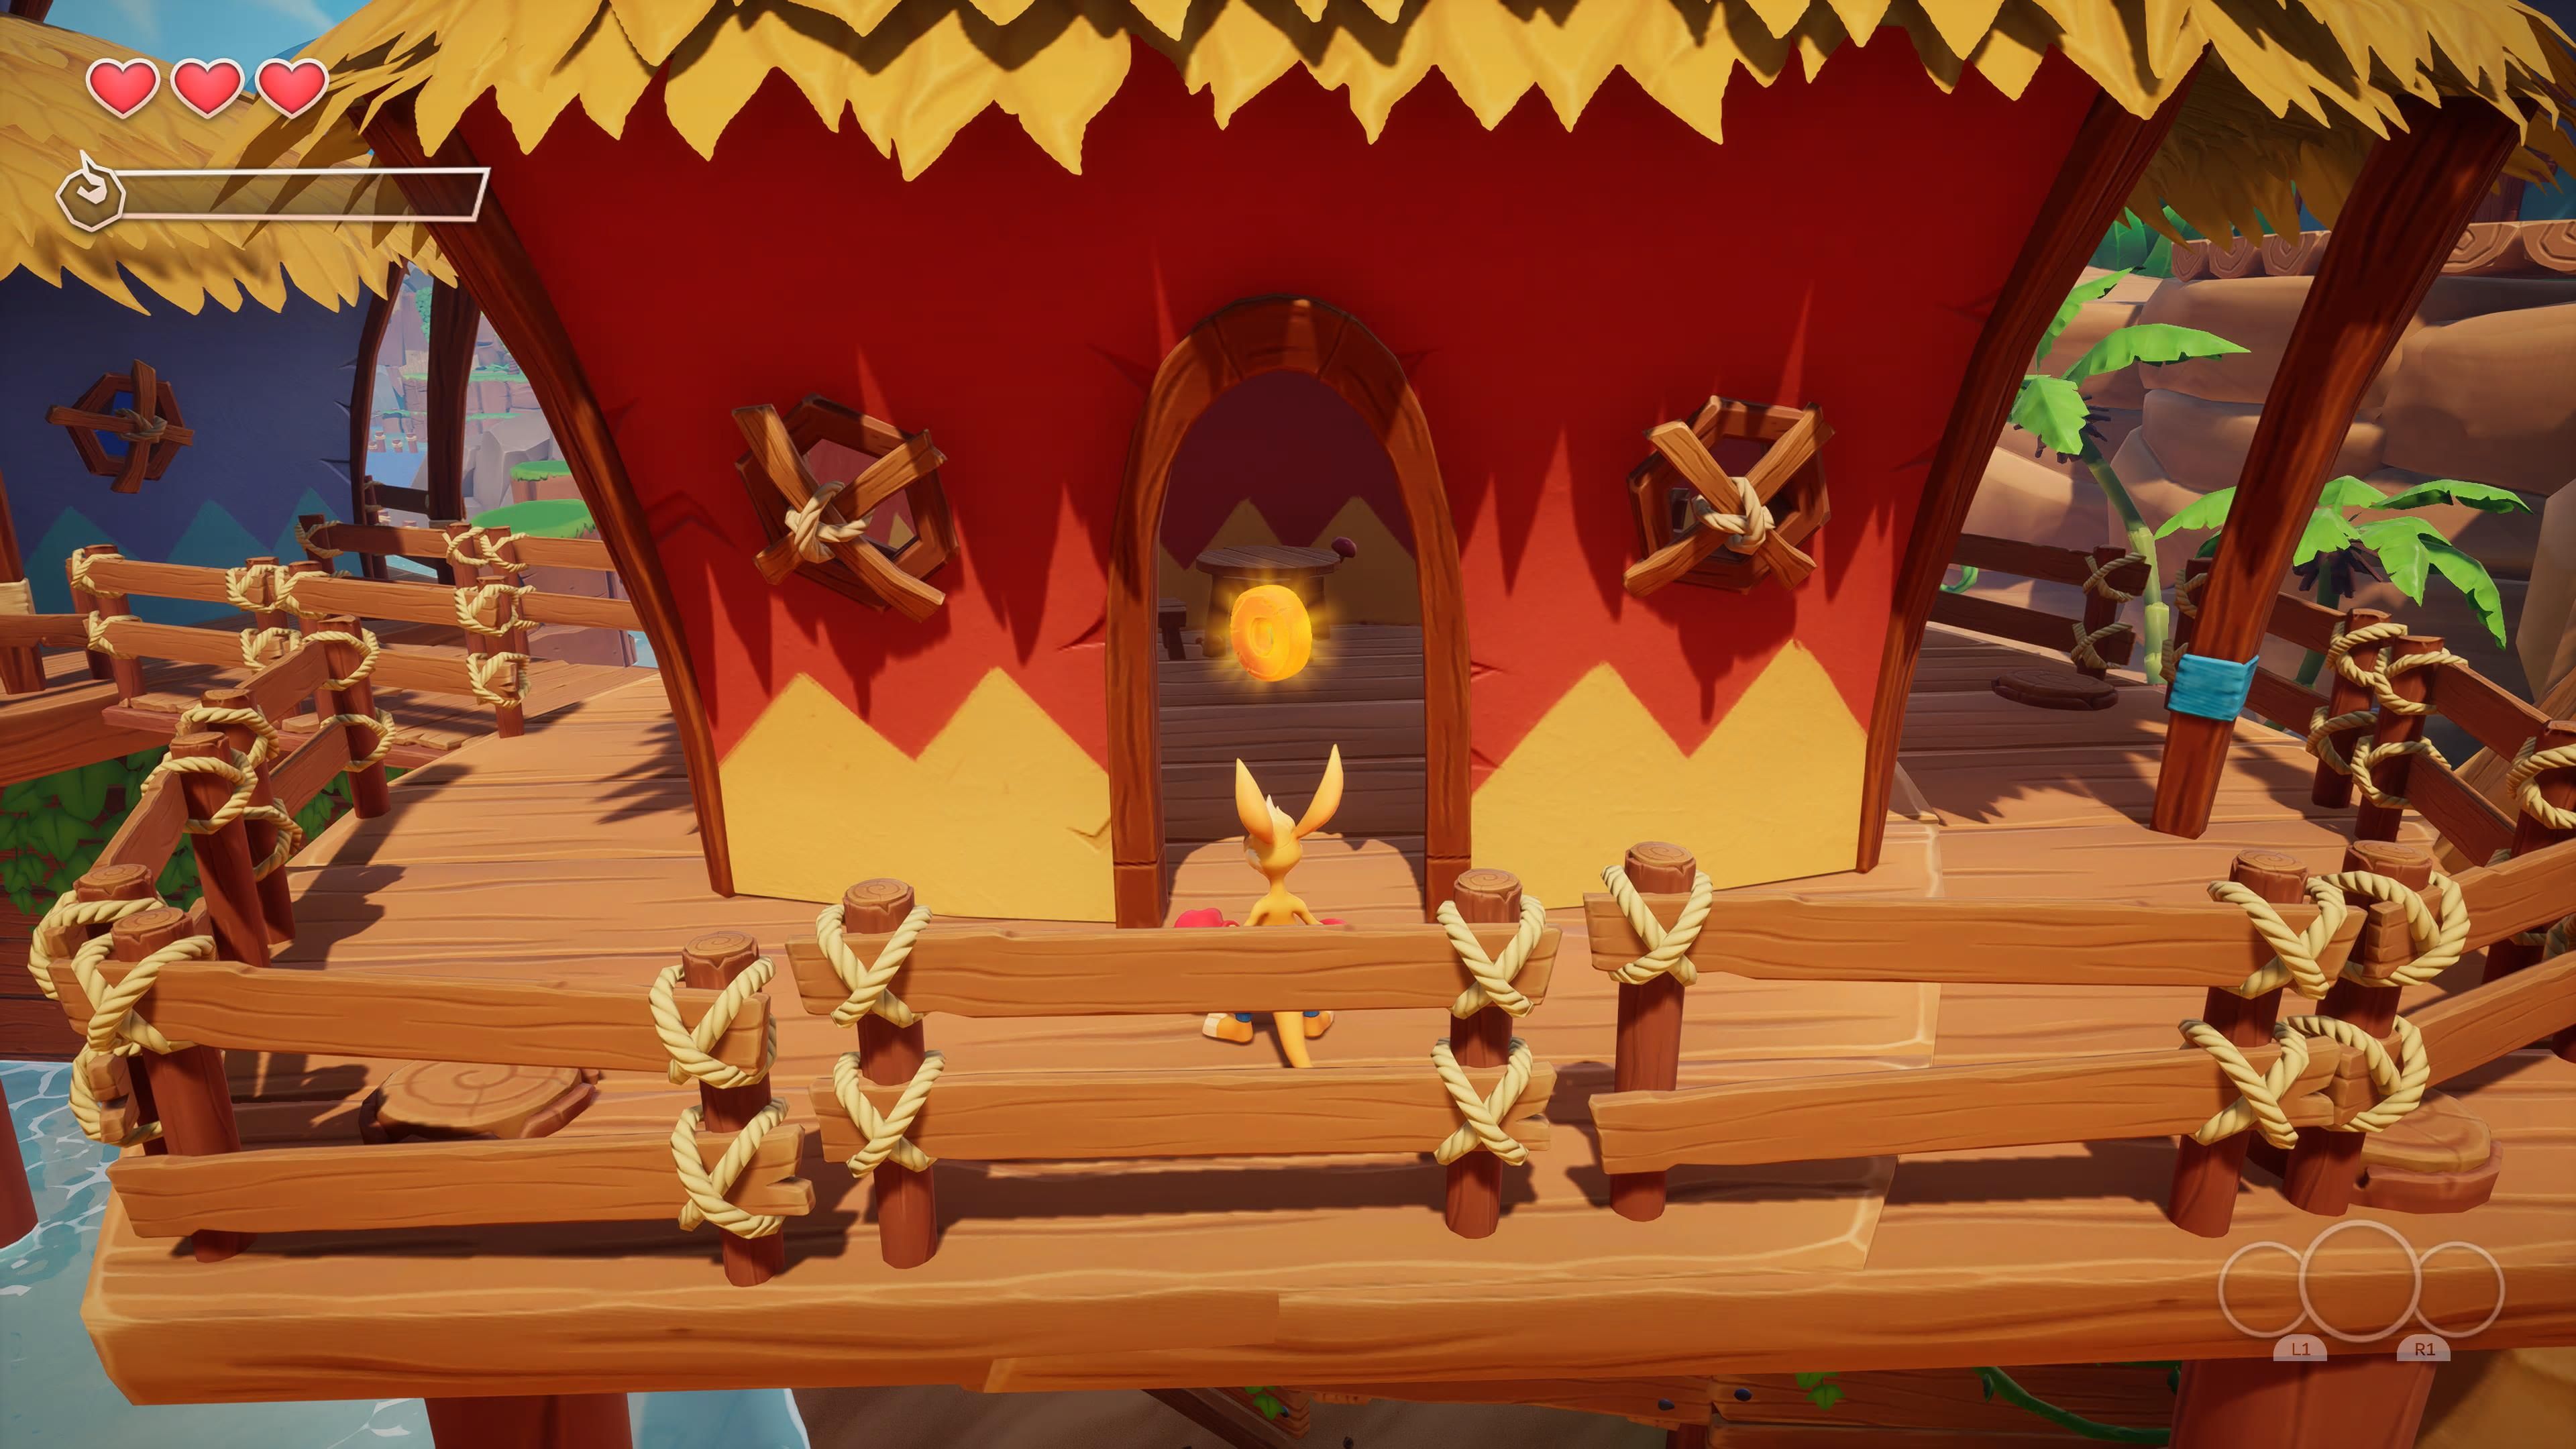
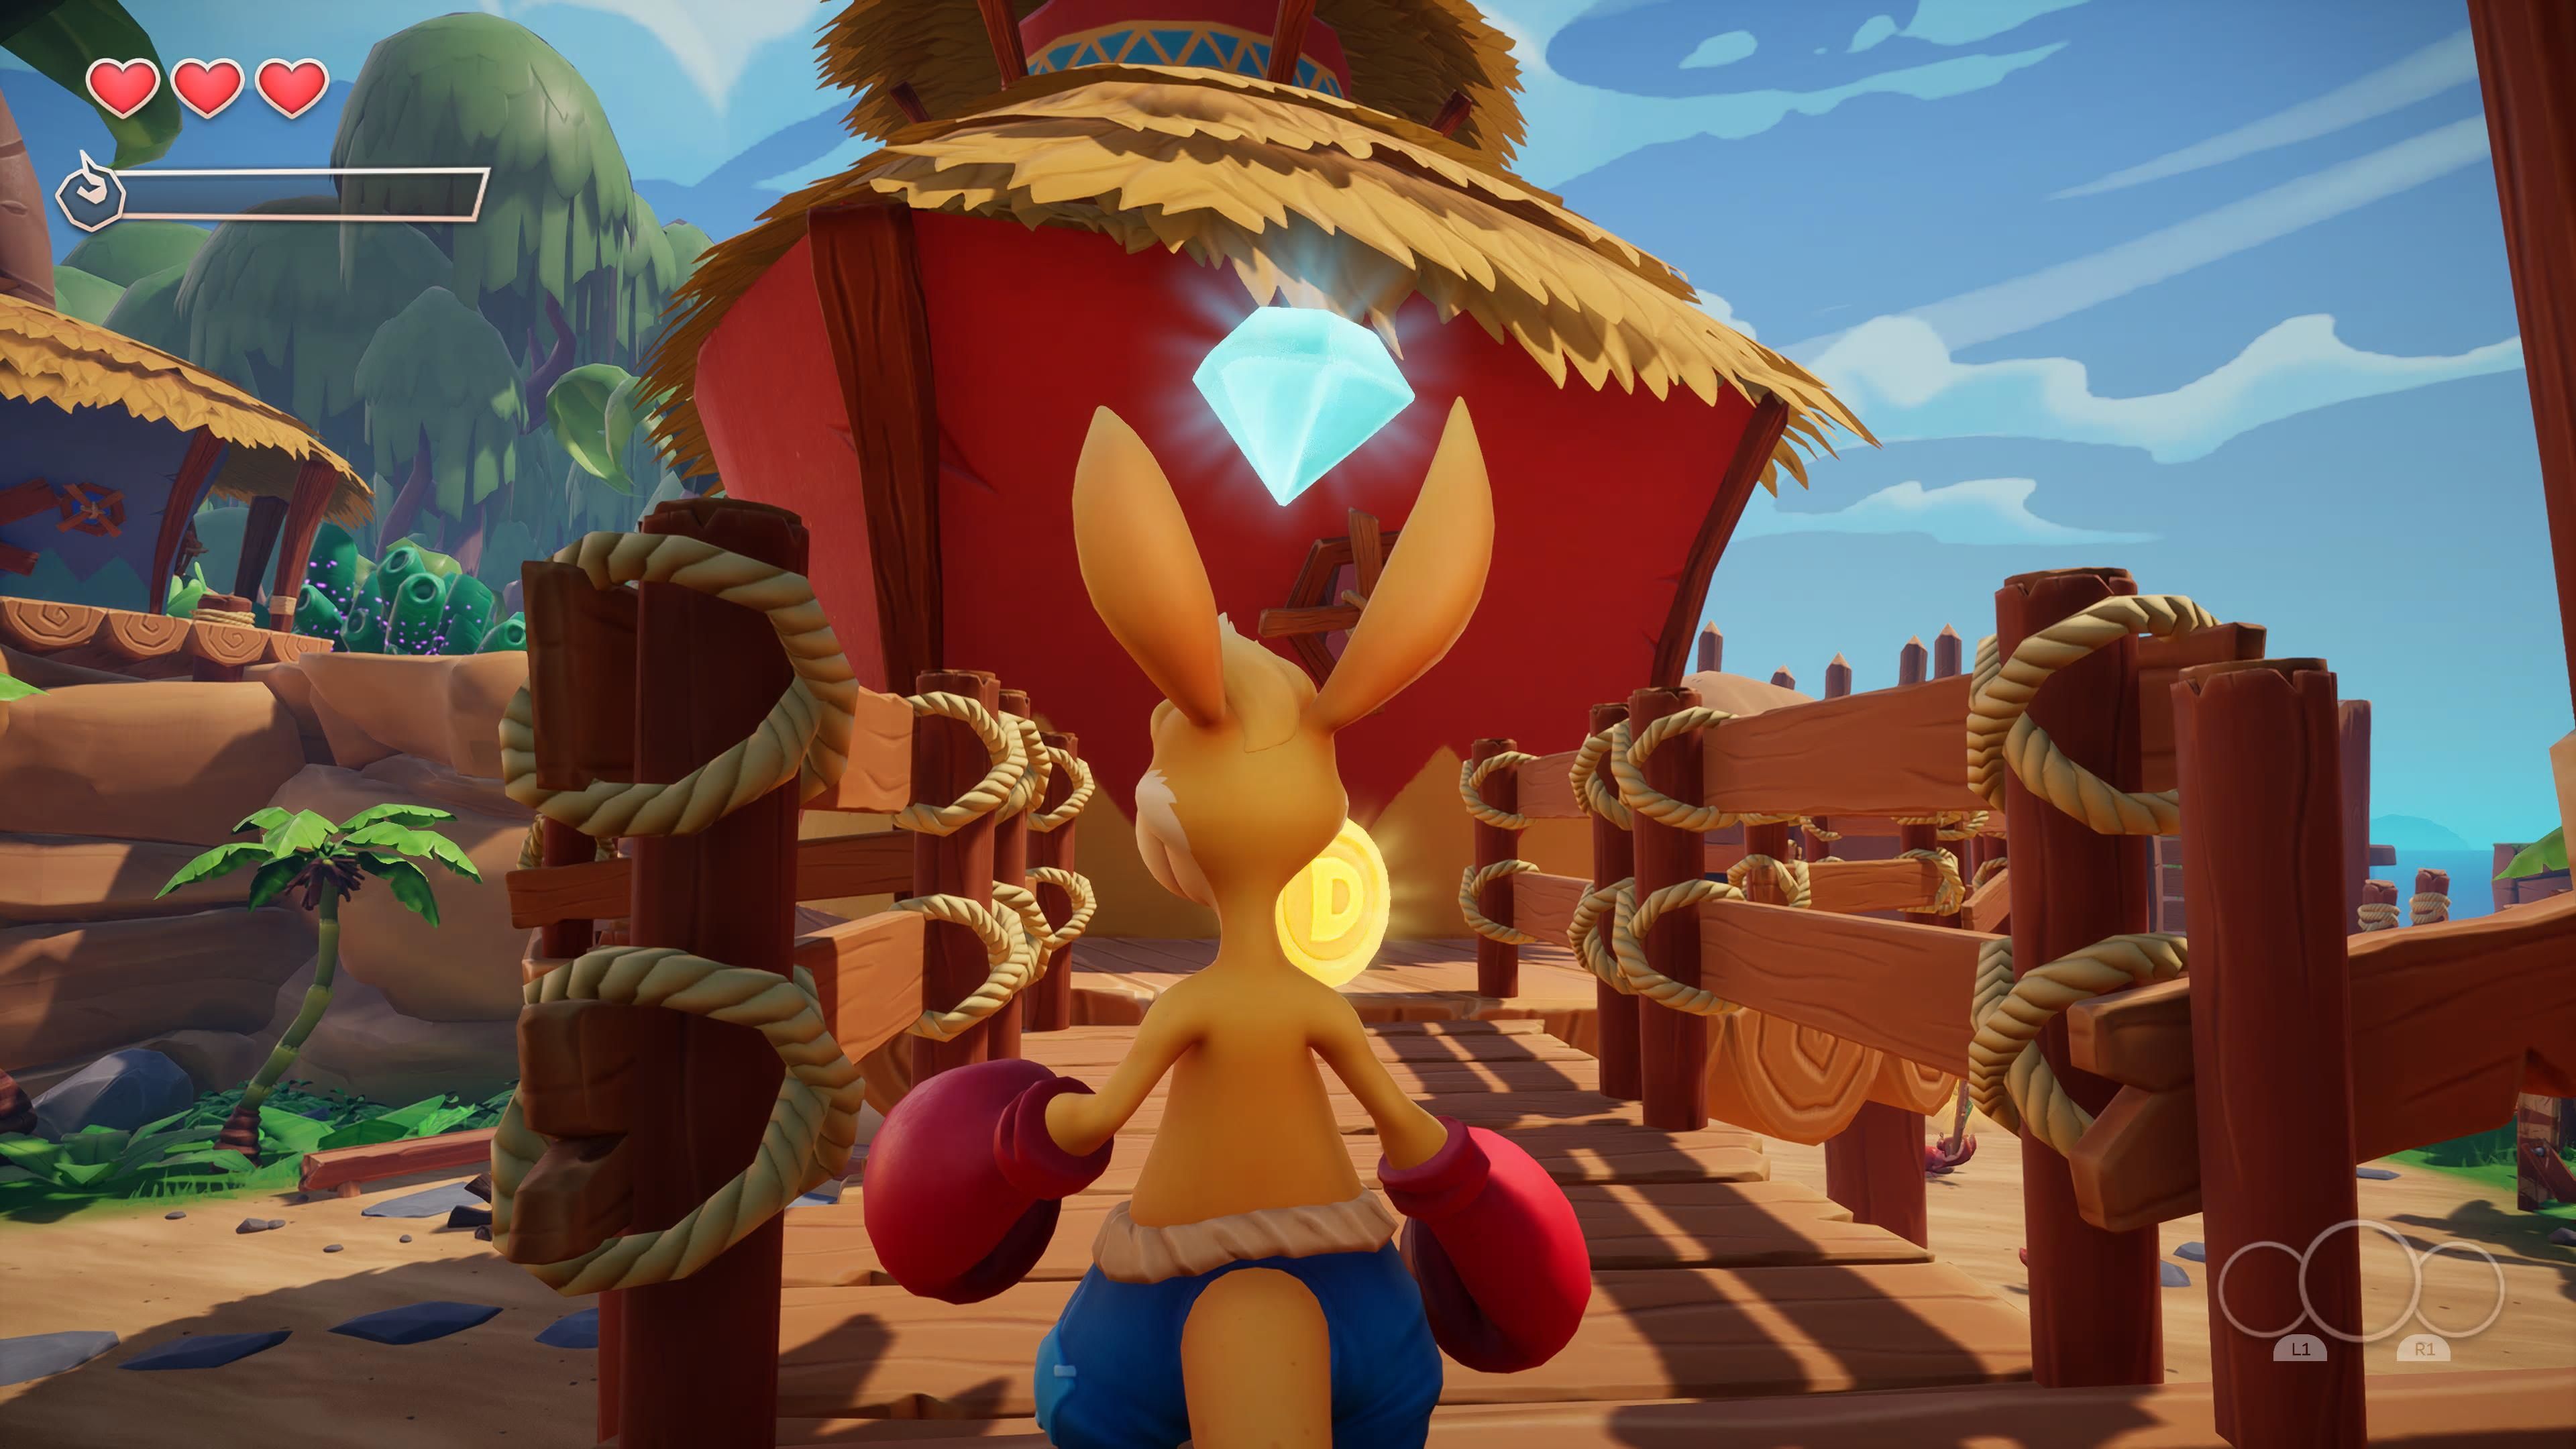
You can open the gate by hitting the button to the left of it (if you are facing the gate). However, don't go through the gate right away, instead turn 180 degrees around, and you will see a pair of houses on the other side of the beach. Hop from platform to platform in order to get to those houses. Here you will find another crystal (2/3) on the bridge between the houses and inside one of the homes, you will find the letter O (just punch the door down to get in).
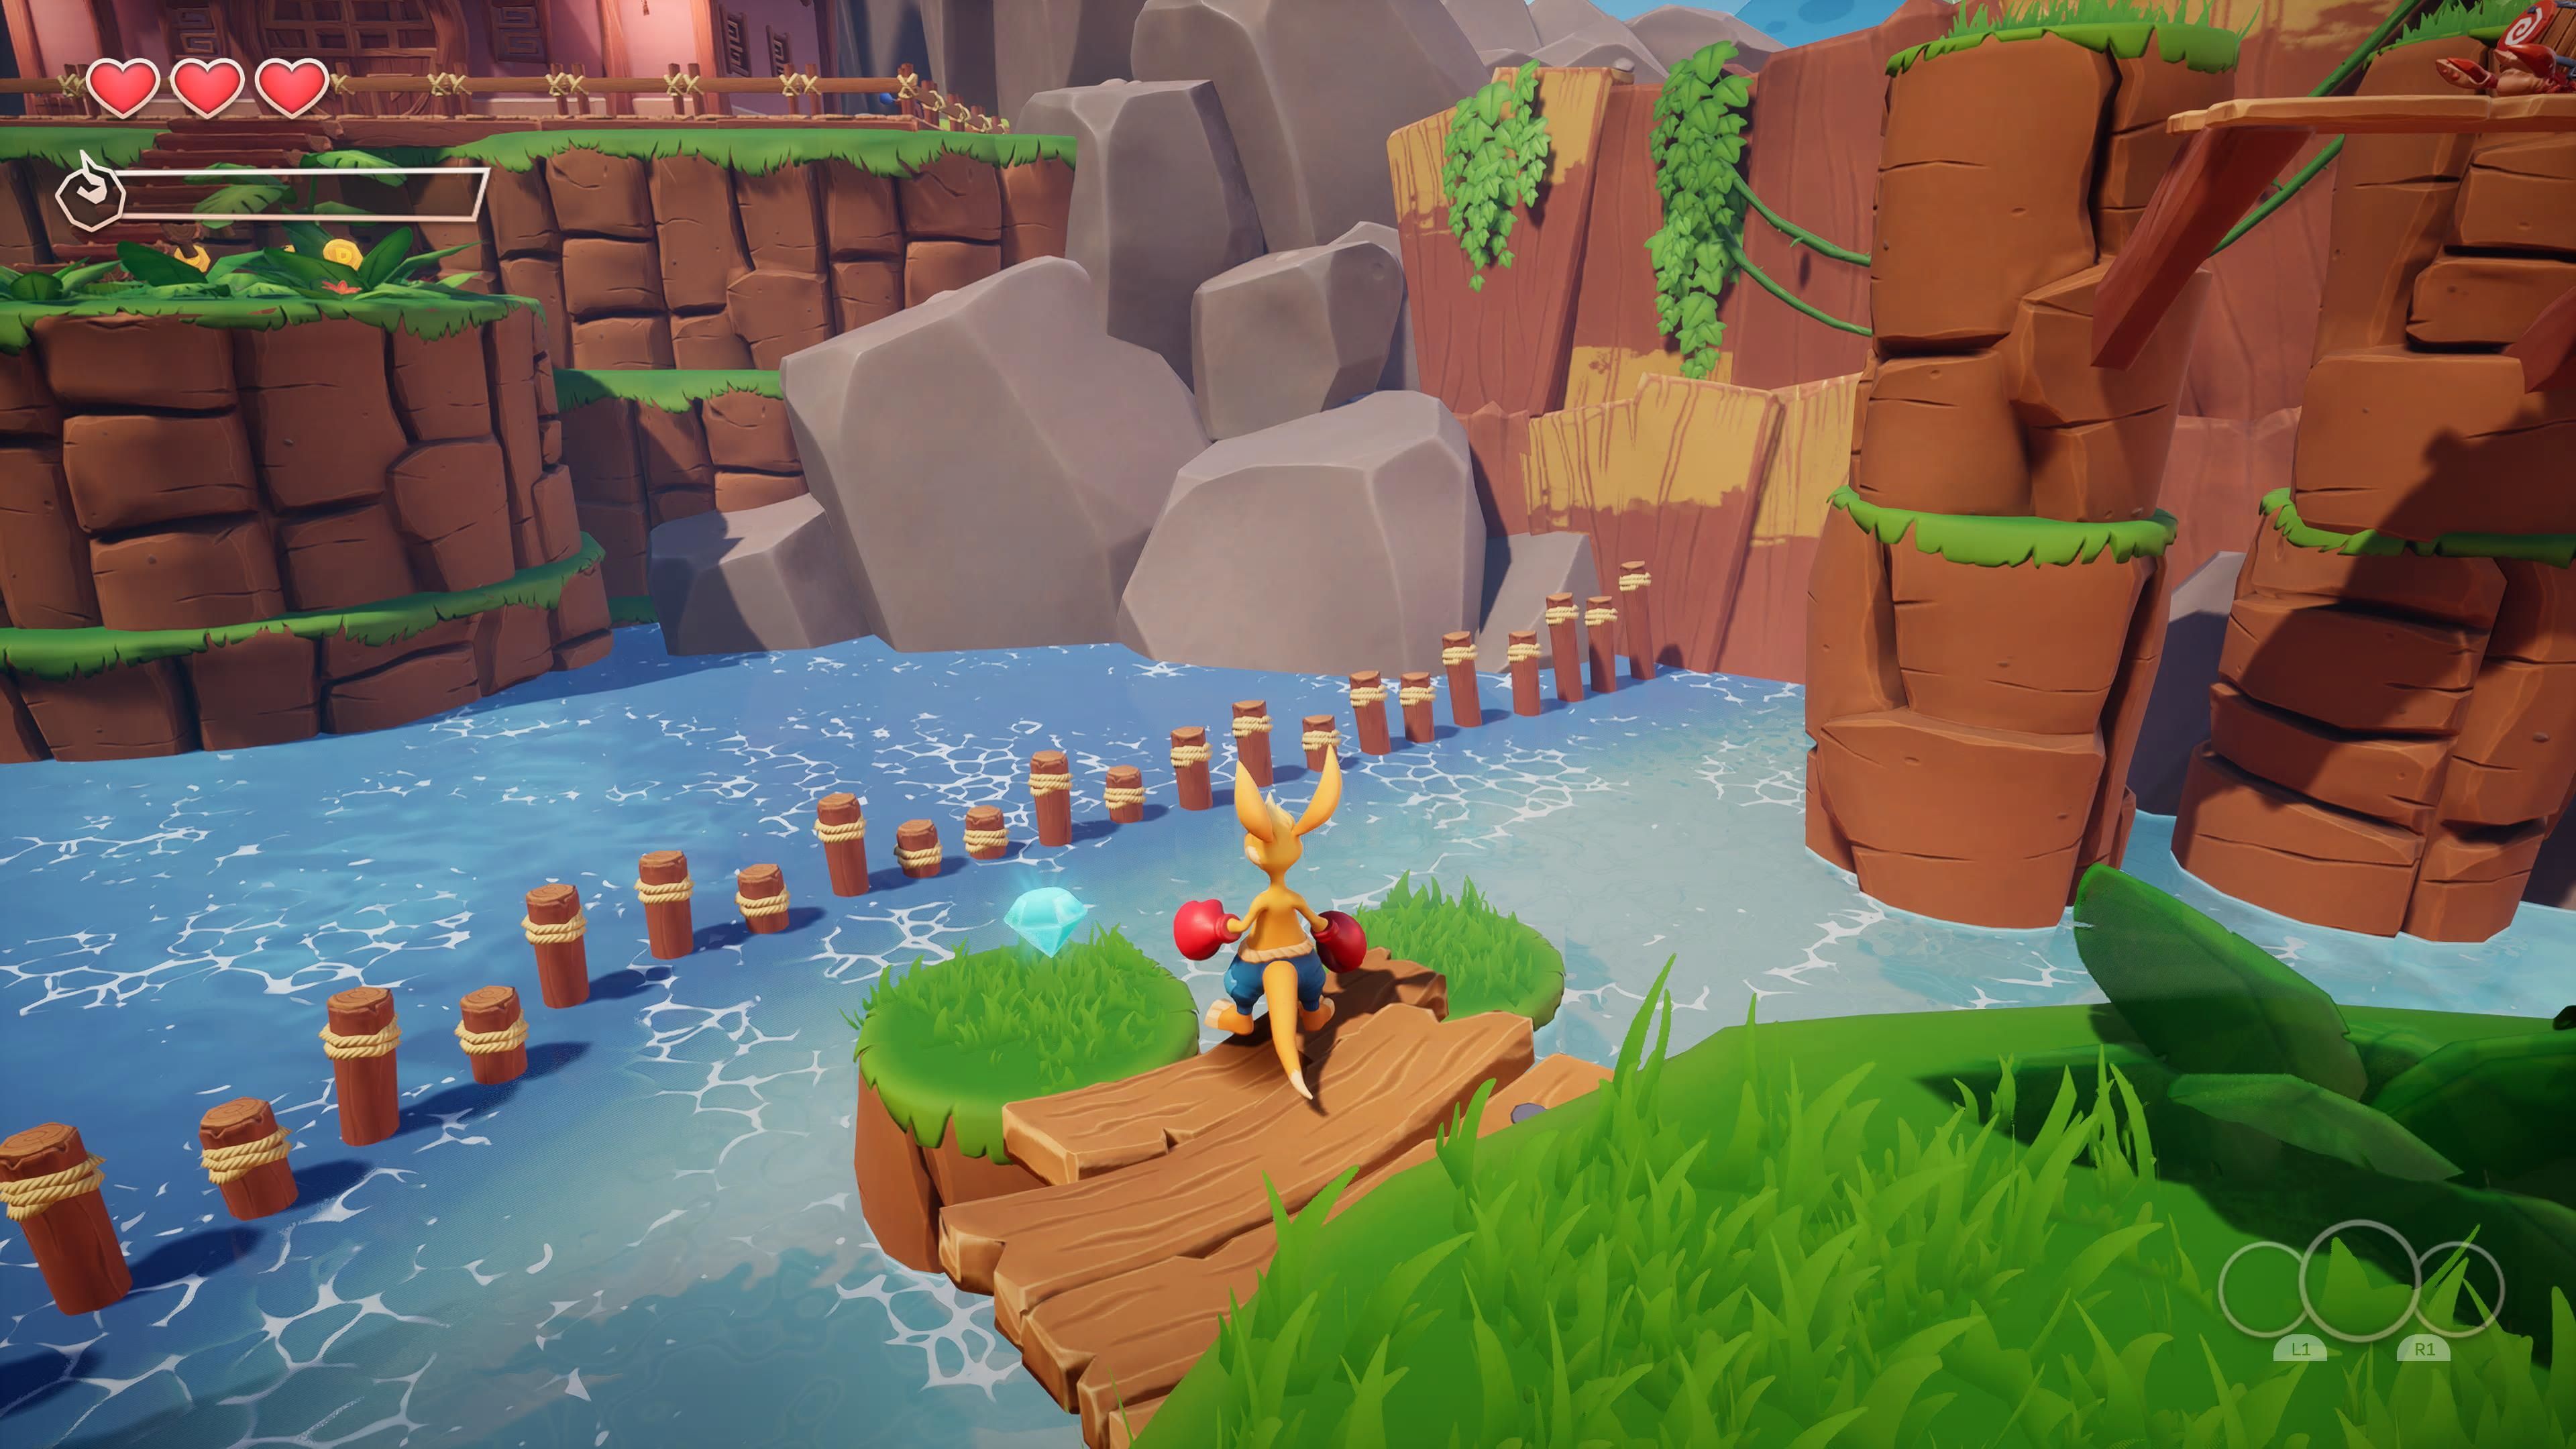
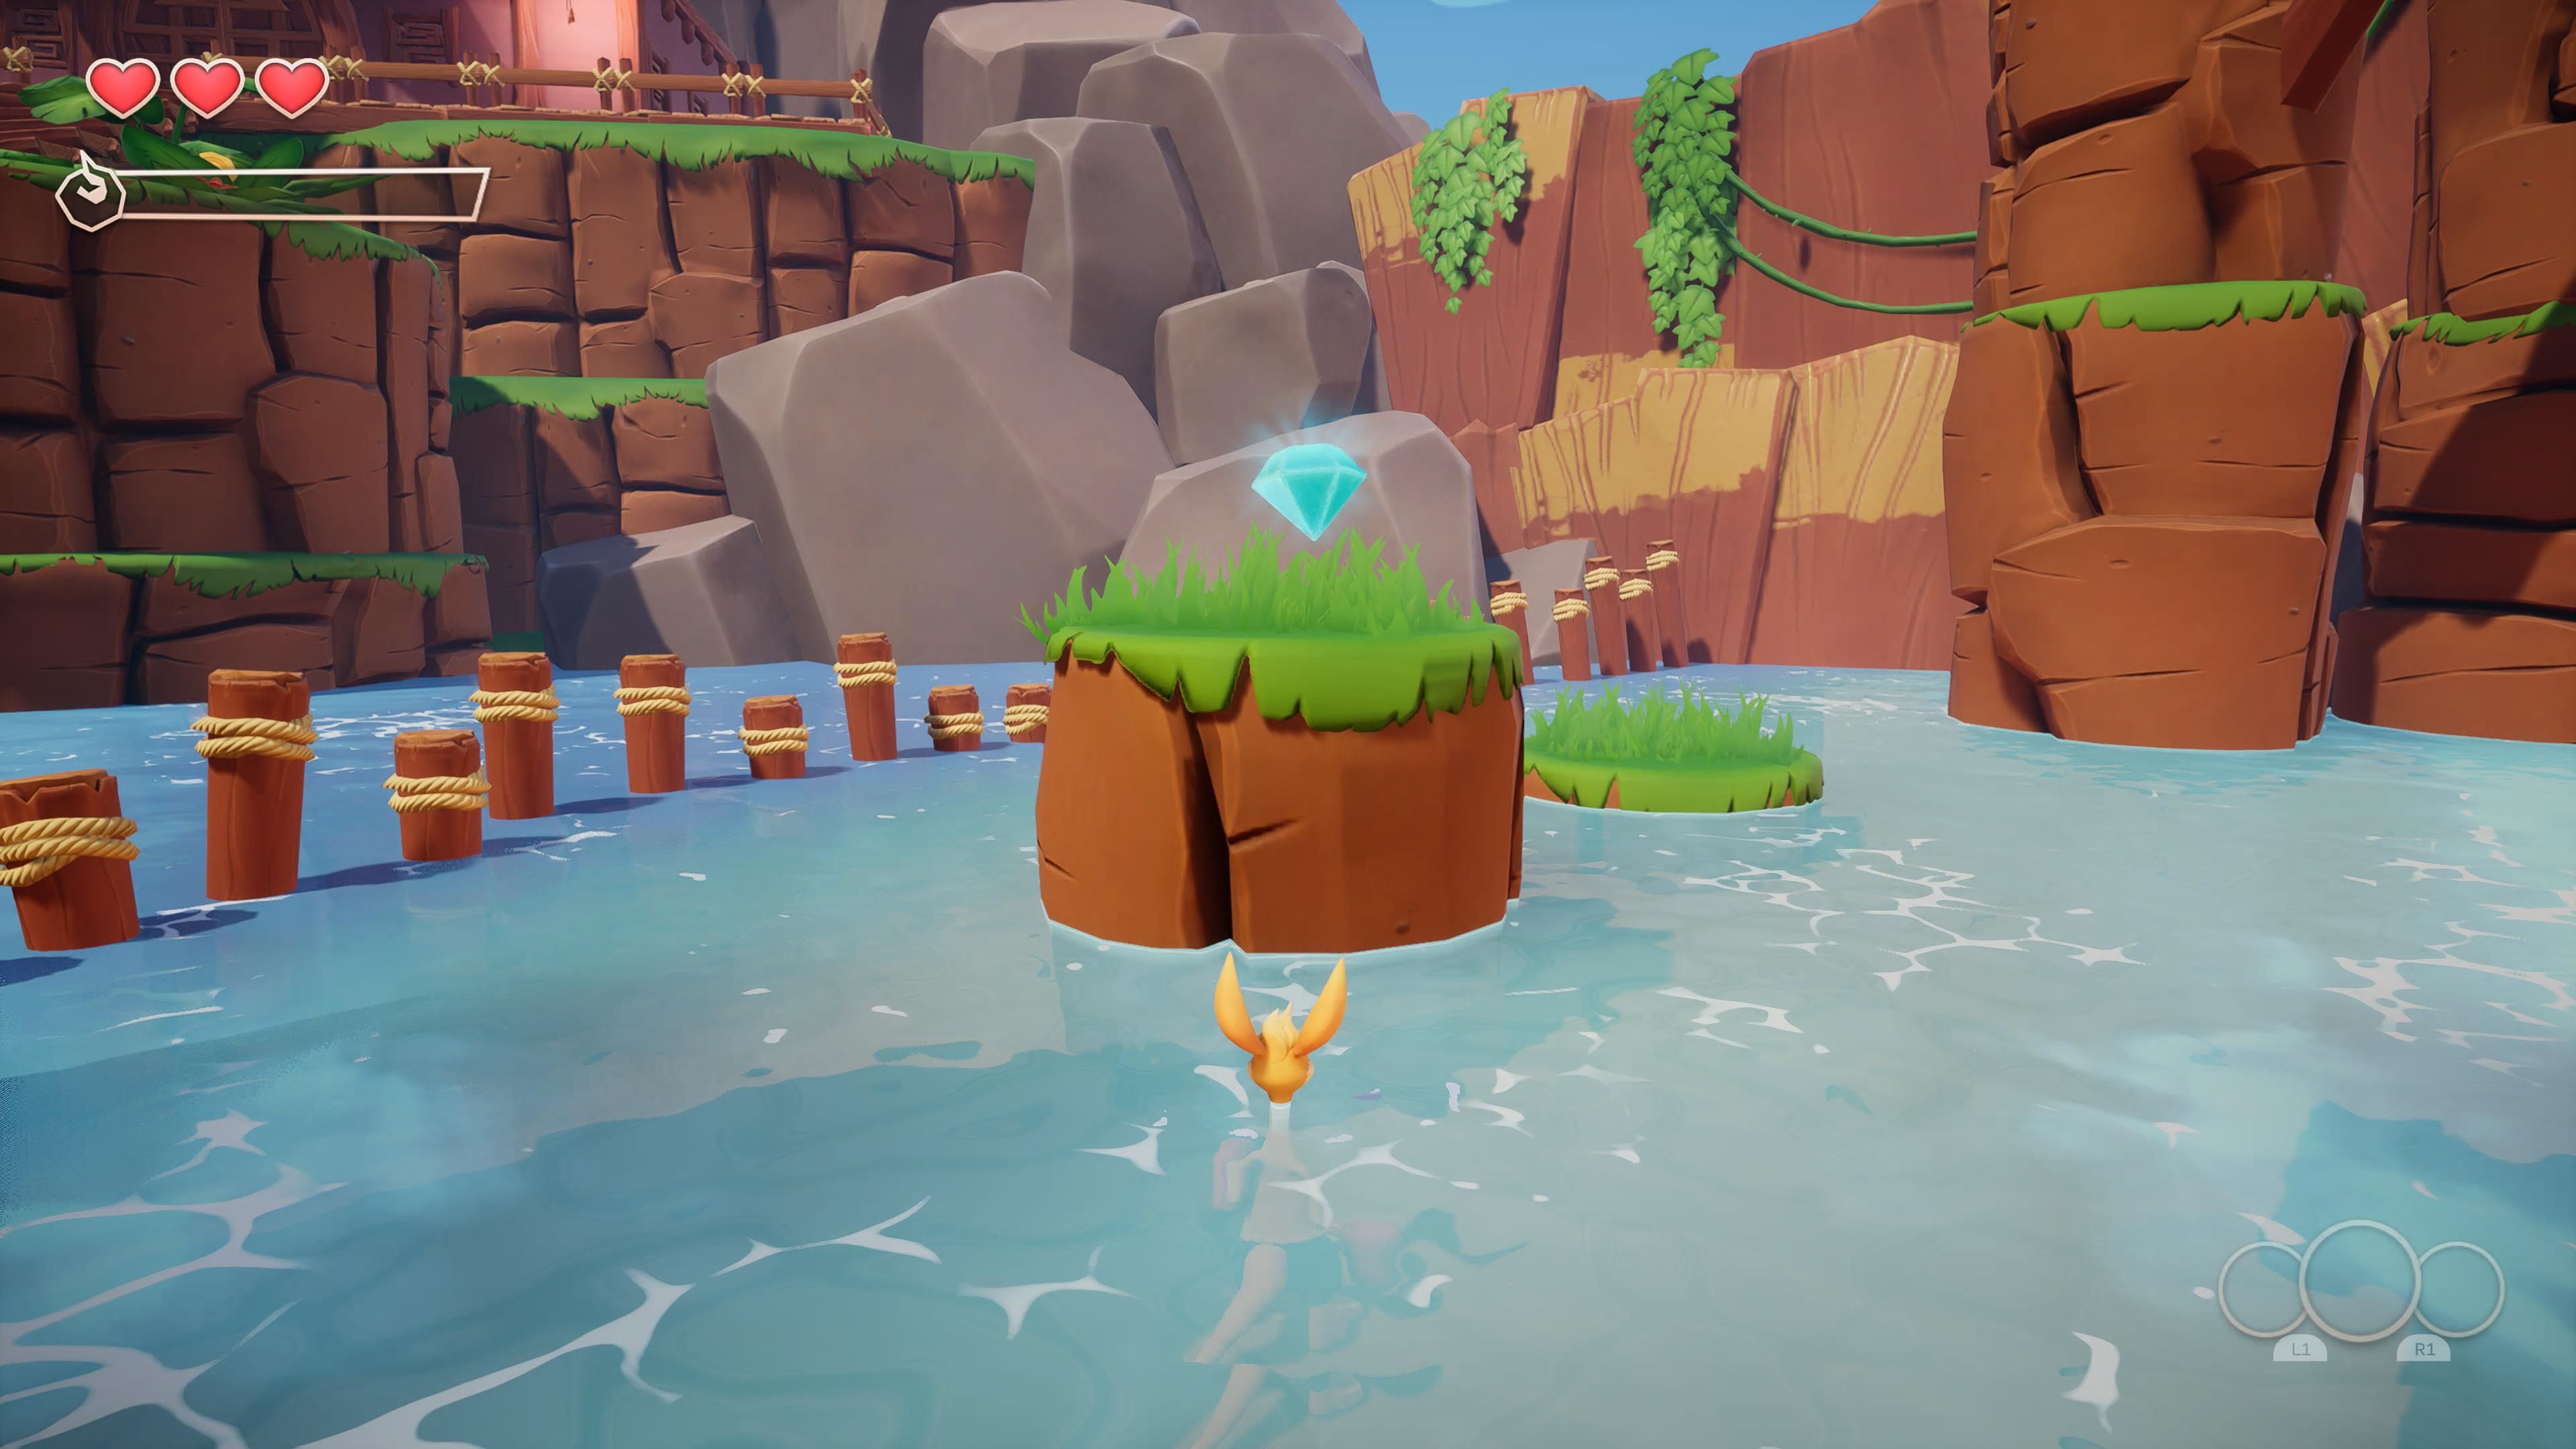
Now, head back to the gate and enter into the next area. Move through the stage until you reach a section that has stones that you need to throw at crabs. To the left of where you enter there is a treasure chest. Below the rock pile, in front of the crab with a target on its back, the final crystal (3/3) is sitting on a small mass of land floating in the water. If you don't look down, you will miss it. After you get the crystal, throw a rock at the crab and a nearby bridge will drop, allowing you to complete the stage.
Where To Find The KAO Letters
|
K |
|
Take the right path when you hit the fork in the road at the beginning of the level. |
|---|---|---|
|
A |
|
This letter is hidden in the cave behind the waterfall next to where you find an extra life. |
|
O |
|
You will find the letter O in the red house, on top of the wall, just past the beach segment of the level. |
Where To Find The Crystals
|
Crystal 1 |
|
You can find this crystal hovering above the pond in the area directly after the fork in the road. |
|---|---|---|
|
Crystal 2 |
|
This crystal is found on the bridge that connects the two houses in the section just past the beach area. |
|
Crystal 3 |
|
This crystal is found on a little island floating in the final section of the stage (where you throw rocks at crabs). |
Where To Find The Scrolls
|
The Only Scroll |
|
When you arrive at the beach segment of the level, hug the leftmost wall. Follow it until you encounter a wooden gate with a gap at the bottom of it: roll under the gate to acquire the scroll. |
|---|

