Quick Links
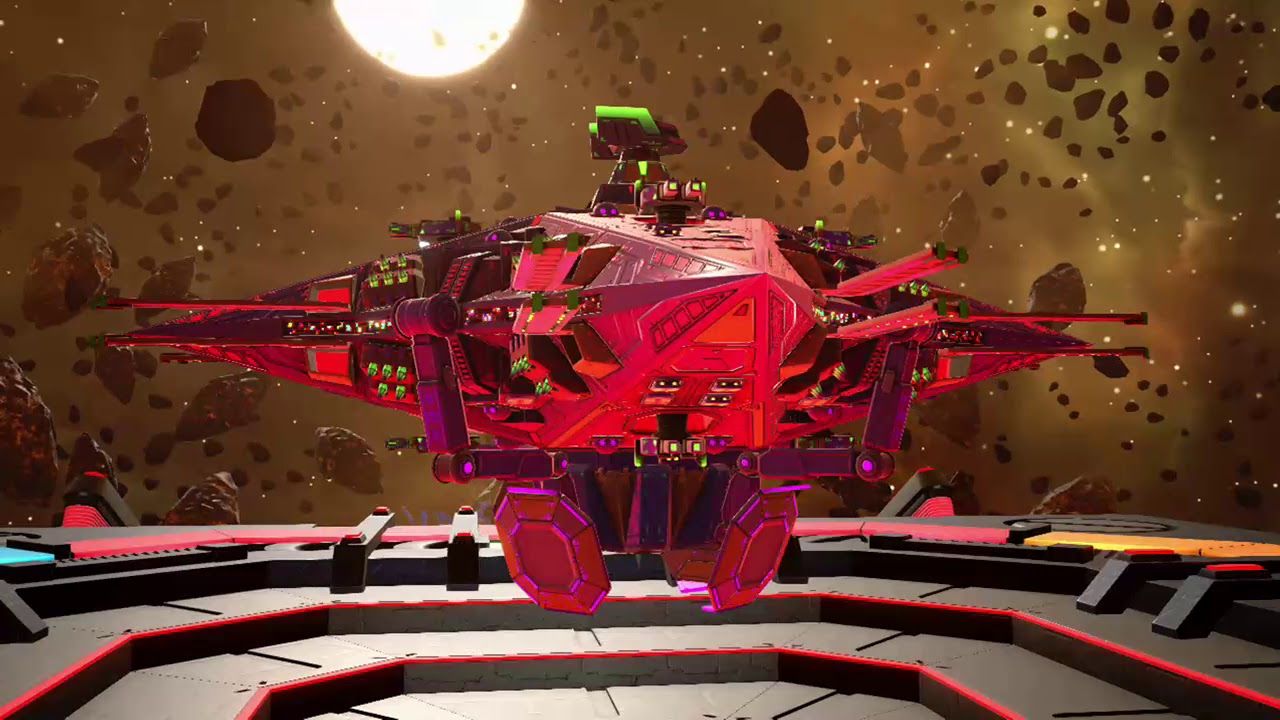
The Kingdom Hearts series is no stranger to tough optional battles that test a player's mettle to the brink. From Sephiroth to Yozora, and everyone in-between, these secret fights are something else. But even among giants, Kingdom Hearts 3's Omega Machina bout is exceptional.
No, truly — Omega Machina is exceptional in every sense of the word. That's because you don't duel this deadly machine on foot but aboard your Gummi Ship instead. It's the ultimate test of your Gummi-building skills, Square Enix's way of checking just how much time you've put into giving Sora's ride the makeover it so richly deserves.
Omega has wreaked havoc upon gamers galore. A solid strategy can mitigate a lot of that pain, setting your ship on a one-way trip to victory. Find out what it takes to make this malevolent mech fall.
How to Unlock Omega Machina
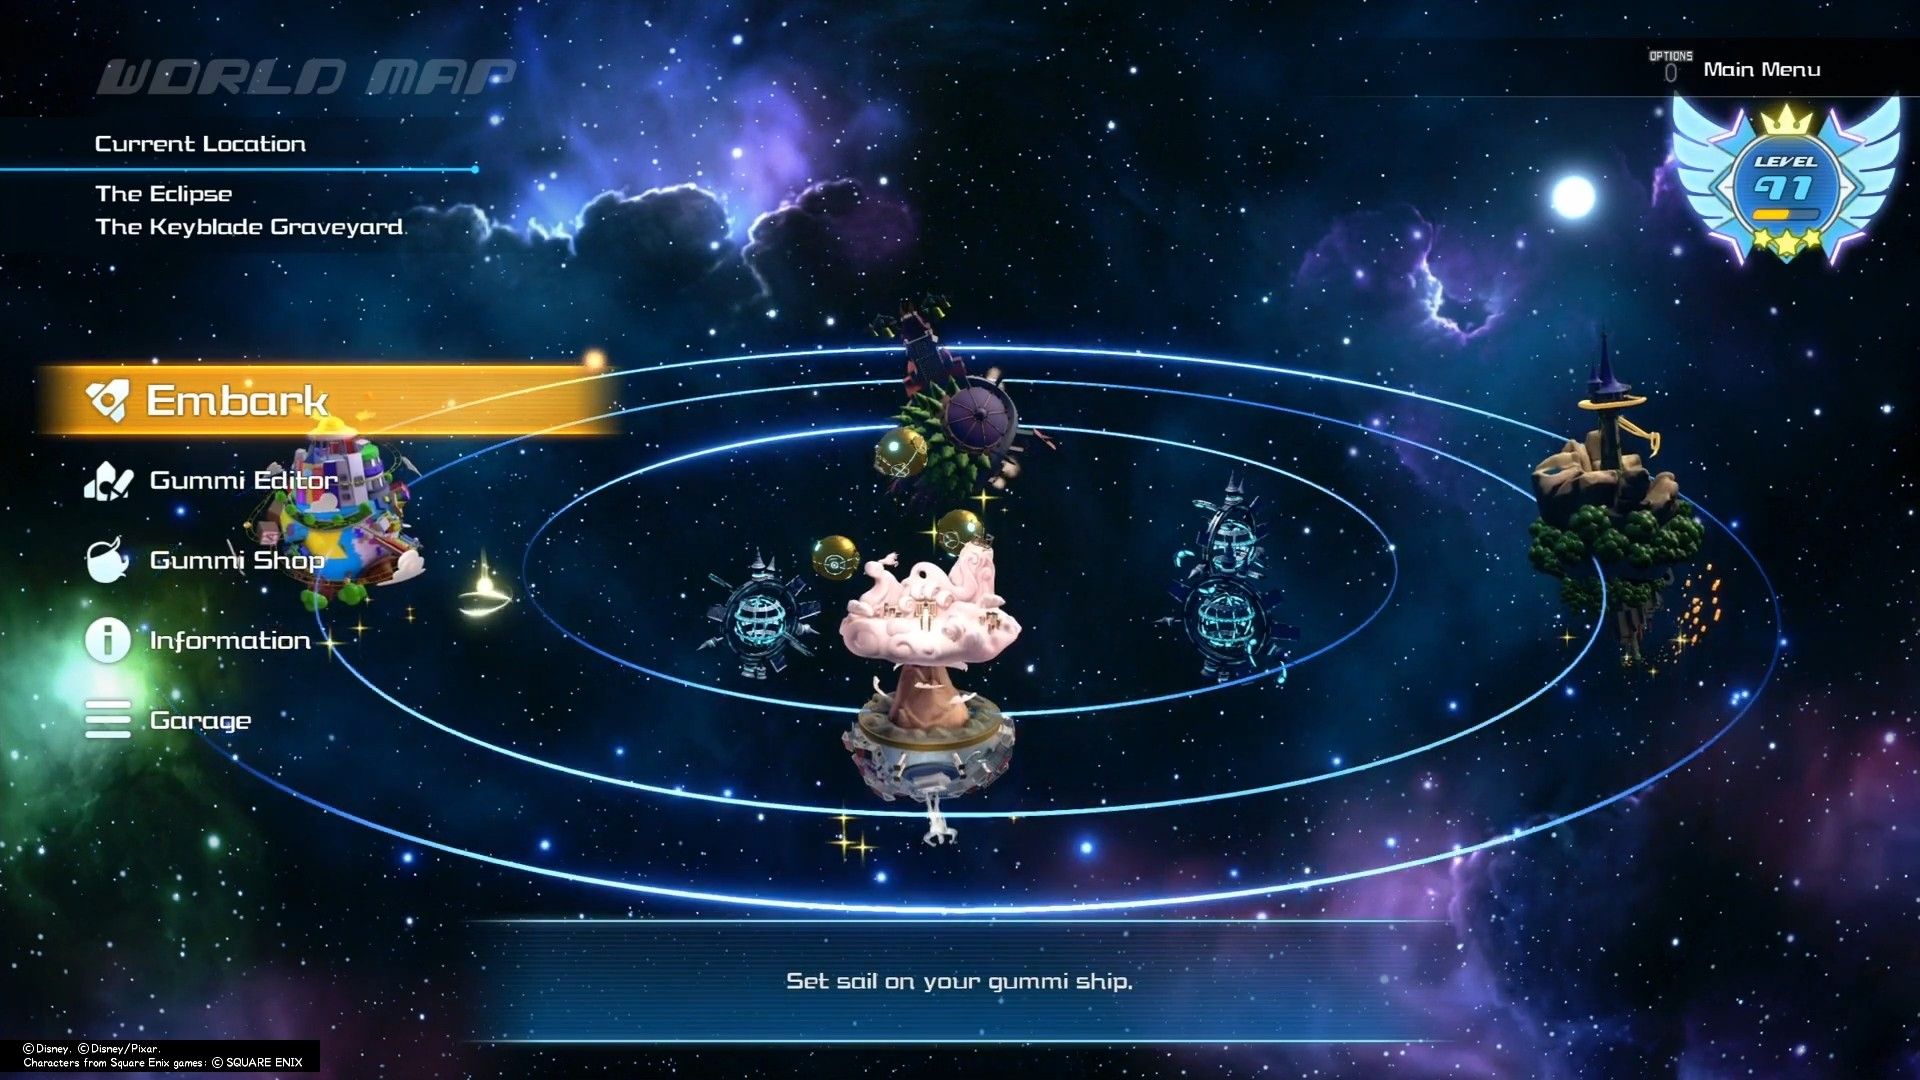
You won't be able to access this fight until certain important conditions are met. First and foremost, progress the story until you've reached the Keyblade Graveyard. As befits an ultimate optional boss like Omega Machina, the Keyblade Graveyard is an endgame destination where many of KH3's various narrative threads come together.
Starting from the zone's embarkment point, circle around that colossal structure in front of you, defeating a story boss called Colossus Pyramid along the way. While Colossus Pyramid lacks any immediately noteworthy weaknesses, it's fairly easy to dodge each of its attacks in succession. Its lumbering size is its downfall. Even on higher difficulty settings, you shouldn't have much trouble — and if you do, treat it as a sign that some leveling-up is in your near future.
Destroying the Four Mini-Bosses
Defeating Colossus Pyramid causes four mini-bosses to spawn, three of which arrive at a precise cardinal direction from the structure. In other words, you'll find a mini-boss to the structure's precise south, east, and west. The last of the bunch is actually beneath the facility.
The southern mini-boss is Supreme Warrior, and as its name suggests, it hits hard with physical strikes. Players who spam attack buttons relentlessly will soon find some of those attacks countered brutally. Destroying Grand Warrior is a thing of patience more than sheer skill. Wait for it to leave itself wide open, let it do so a few times so that you can recognize its rhythm, and then unleash your Gummi's power in spurts accordingly.
To the west is Countdown 11, a fight that's chock full of fights. Loads of enemies will fill the screen at various points in the bout, so time your special attacks to wipe out as many as possible. Quick Break 11 to the east isn't terribly dissimilar, for the record.
Lastly, Scarlet Shark beneath the structure is deadliest when initiating its (highly telegraphed) tackles. Get away from the fiend whenever that kicks up because it's going to cost you more than just a paint job if it lands. Traditional battle strategies work wonders otherwise.
Preparing for Omega Machina
It might go without saying, but there are multiple ways to prep your ship for Omega. Different builds will have varying degrees of success; our recommendation is simply one of the most solidified methods. With this setup, you will instill some fear in the big giant robot.
Embarking from the Pirates of the Caribbean world, snap a picture of the Endymion Constellation. The game will notify you of your successful photography session, at which point you can set a course with your newfound Endymion Ship. No crafting sweat and tears are necessary here — just good times.
Fly into the storm near the Pirates of the Caribbean world to trigger an encounter with another optional boss, Schwarzgeist. As is the case with most Gummi Ship encounters, including Supreme Warrior's as we've written above, Schwarzgeist is mostly a matter of not losing your cool. Patience is a virtue here. Opportunities to strike will present themselves in due time.
So, what was the point in all of this? Besting Schwarzgeist grants access to the Golden Highwind, otherwise known as the best Gummi Ship in all of Kingdom Hearts 3. What better way to put that claim to the test than against Omega Machina itself?
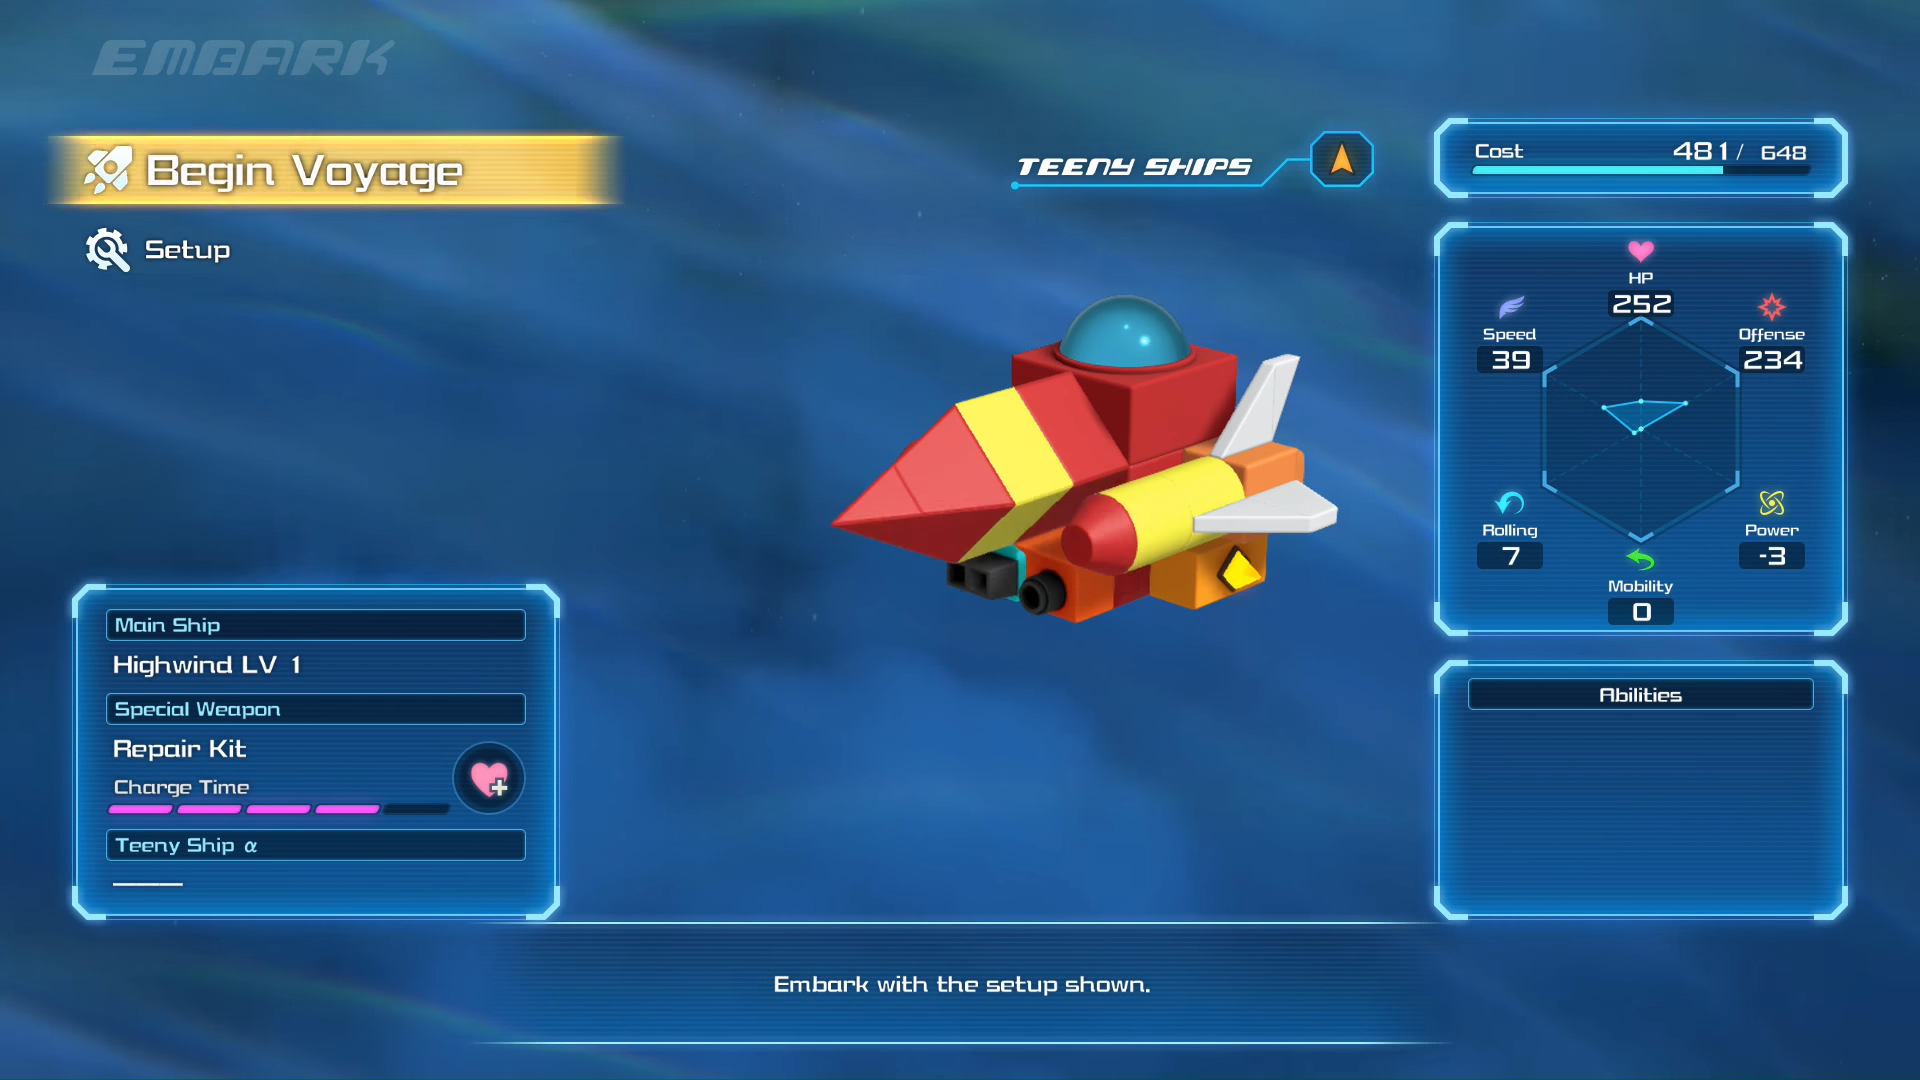
As for your Teeny Ship, there's more wiggle room here, but you can't go wrong with T-Highwind Peak.
How to Beat Omega Machina
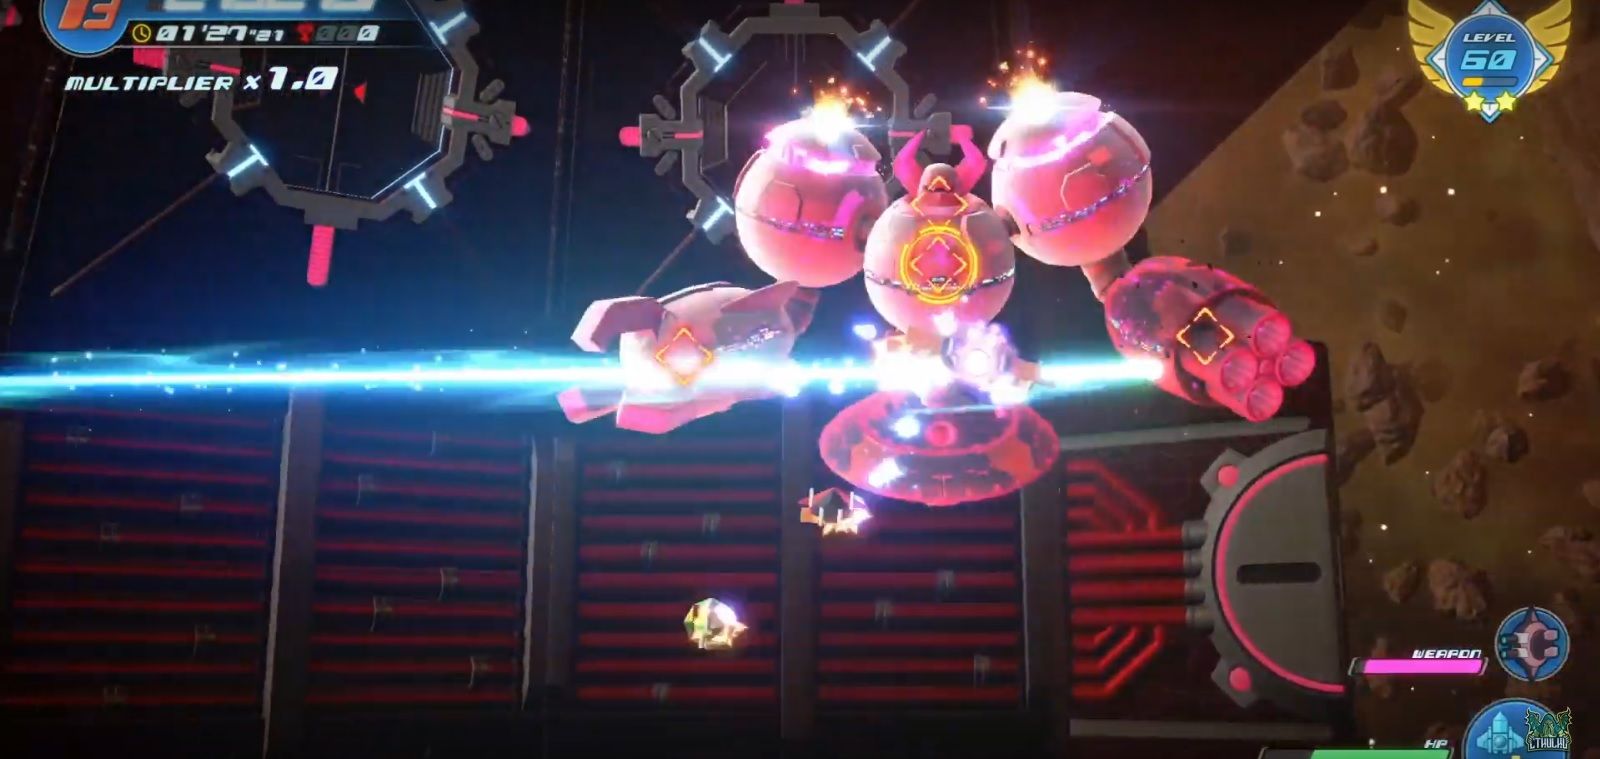
When the fighting begins, focus your efforts on eliminating Omega Machina's turrets and cannons. This will limit its (still considerable) damage output temporarily, taking some of the pressure off of you in the process.
As a rule, your primary attacks will be lightning-based for the entire fight. The best of these is Thundaga/G, but Thundara/G works fine in conjunction.
It's generally safer toward the bottom of the screen than up top, as more of Omega's weaponry will be deployed in bursts up there. This phase can last a while, and though it's a sensible suggestion even at the best of times, absolutely keep your health over 25 percent at all times because Omega Machina's hardest-hitting attacks will one-shot you at that point even with the Golden Highwind.
One of the telltale signs you've entered the second phase is that Omega Machina begins to fire a bright yellow laser. Watch out for this thing at all costs, even if it means getting struck by something else. It's one of those video game Death Star moments, and those are never good. Eliminate the several components on the enemy's front side to carry forward into the third phase.
A pair of homing missiles will be giving Sora's squad the chase all throughout this phase, lending an even more blatant feeling of "bullet hell shooters" than Gummi battles already possess. Heal up as needed, paying closer attention to the blue beams that will light up much of the screen. For the most part, moving either perfectly clockwise or counter-clockwise (depending on the beams' trajectory) is all it will take to avoid most of the damage.
There is, technically, a fourth form. It's easily identifiable because Omega resorts to a single move: a grid-based laser volley. At this point, you'll want to switch things up, sticking to the top of the screen rather than the bottom.
Hold firm with your lightning magic — if you've made it this far, Omega will go down for good in about a minute or less, awarding you the valuable Orichalcum+ necessary for constructing Sora's strongest Keyblade, Ultima Weapon.

