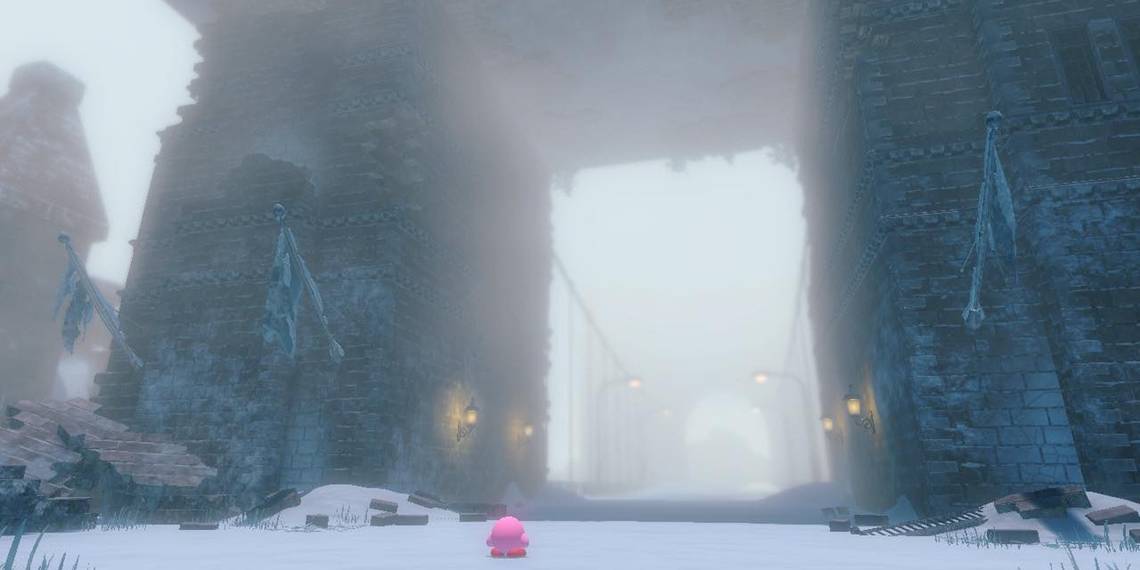
In Kirby and the Forgotten Land, our little pink friend is a bad boy and runs with a tough crowd. That's why there are wanted posters for his pal Elfilin all over The Battle Of Blizzard Bridge level in the Winter Horns region.
And if you want to roleplay as bad boy Kirby, you've got to help Elfilin subvert justice and take down those posters. There are four in total, and each one is hidden shortly after one of the mini-bosses you fight on the bridge. Once you find one, simply hit it with whatever ability you have equipped to knock it down.
The First Poster

After the first mini-boss fight against Wild Edge on the bridge, you will come to an underpass with food on the right, a monkey throwing hammers ahead, and a doorway to the left. Head through the doorway to enter a multi-tiered area where you should see a traffic cone suspended from the ceiling with vines and a sword-wielding enemy ahead. Don't worry about either for now. Instead, jump down to the lowest level, where there is an Elfilin wanted poster on the left side of the screen. Hit it to remove it.
The Second Poster

After the fight against Fleurina (the spinning bird who is the second mini-boss you'll face on the bridge), you'll reach a second underpass with food on the left and a doorway on the right. Head through the doorway to reach a room where the floor is covered in water, there is a sealed gate across the water, and there is a windmill floating on the water near you.
Use the gust powers you obtained from Fleurina (or absorb the enemy in the room) and rotate the windmill, which will open the gate across the water. Spin over there and hit the red switch, which will cause a platform to rise. Go mouthful mode on the now-elevated vending machine and break the metal gate on the left side of the room to reveal a new area. Rescuing the Waddle Dee from this area will cause some blocks to appear on the left side of the room, including one which is elevated above the rest. Float up to it and you will see a platform with a wanted poster. Float to it and hit it.
The Third Poster

After defeating Wild Bonkers (the third mini-boss) you'll arrive at the third underpass, which doesn't appear to have food or a doorway to offer you. But, there is a monkey throwing hammers and, if you didn't take this ability after defeating Wild Bonkers, you need to take it now. There is a nub that you can hit with your hammer on the right. Do so, and it will open a doorway. Head through the doorway to enter a chamber where you can see another monkey throwing hammers. Defeat it and hit the wanted poster in its nook.
The Fourth Poster
After defeating Twin Wild Frosty (the two walrus-looking mini-bosses that roll snowballs) the finish will be in sight. But don't rescue those Waddle Dees yet. Instead, with the ice copy ability absorbed, walk to the right and follow a bridge around a corner to find a flaming doorway. Use your ice to open it, and enter.

Inside, find a chamber with a pipe you can go mouthful mode on, a pool of water with a breakable wall on its right, and a room sealed off with a spinning enemy patrolling out front. Freeze the spinning enemy and bonk it down the path to trigger the switch, causing a platform to rise at the bottom of the pool. Now, absorb the pipe and hop across to break the wall, revealing a wanted poster. Hit it, and you've completed this optional objective.