Quick Links
Despite often being viewed as the simplest role in League of Legends, Supports are instrumental in enabling their team to achieve victory. Whether you enjoy keeping your friends alive in a teamfight, or finding the winning engage onto the enemy carry, Supports bring a myriad of options and playstyles to the table.
This guide will cover all the key features of the Support role, including the types of Champions available, how to play the laning phase, how to ward effectively, and how to best facilitate your teammates to shine at their brightest.
Support Champion Types
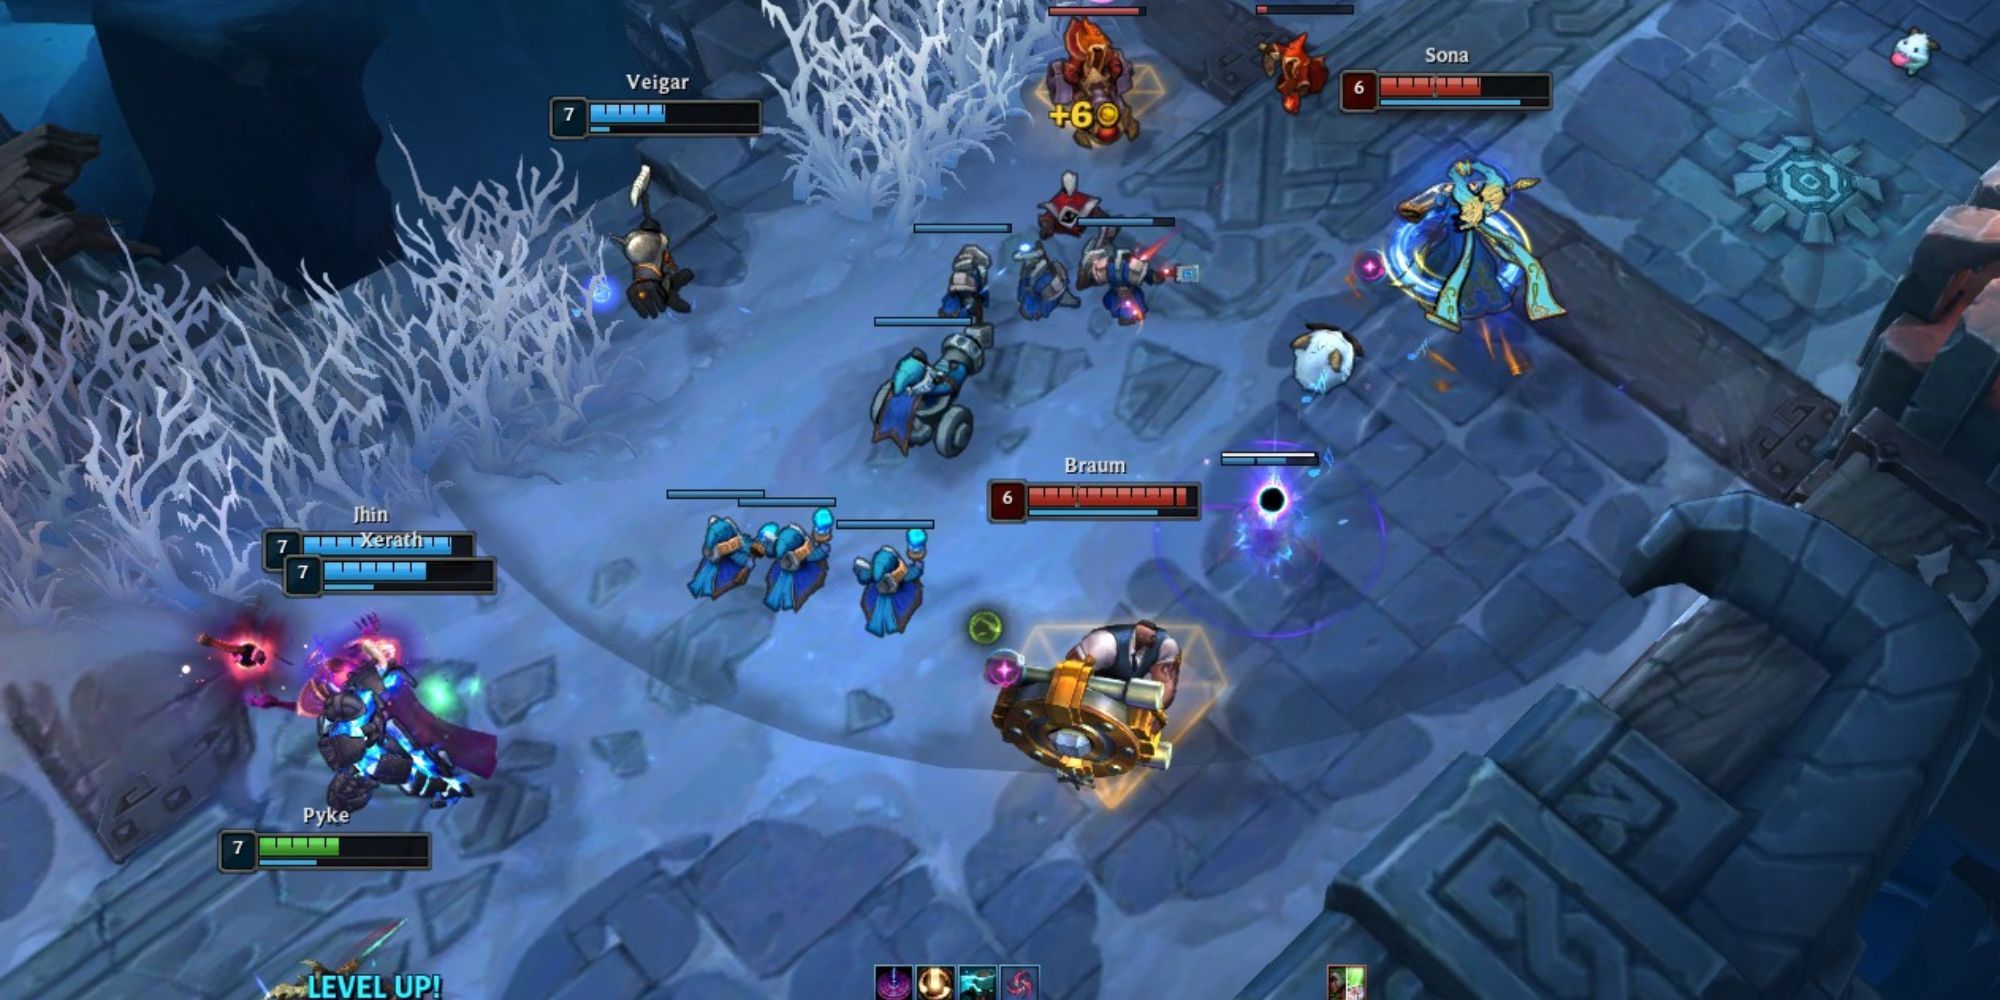
While not an exact science, Supports can generally be filtered into the following six categories. There is extensive overlap however, as a Champion like Swain would be classified under multiple terms, due to his high damage, high durability, poke, and pick potential.
|
Category |
Description |
Examples |
|---|---|---|
|
Tank |
Primarily used for engage/disengage, Tanks act as the frontline for the team, absorbing damage and protecting their teammates. |
Alistar, Braum, Leona, Maokai, Tahm Kench |
|
Enchanter |
Classic spell casters, Enchanters are often found healing, shielding, and buffing the team. They are often squishy, and cannot take much punishment before dying. |
Janna, Soraka, Taric, Sona, Yuumi |
|
Poke |
These Champions often excel in the laning phase and before teamfights. Throwing out high damage long-range abilities, they help to whittle down enemies from afar. |
Karma, Seraphine, Vel'Koz, Xerath, Zyra |
|
Damage |
High risk, high reward Champions, Damage Supports are capable of huge amounts of burst, deleting enemies before they have a chance to fight back. However, due to the low gold a Support typically earns, they can struggle to be effective when behind. |
Brand, Lux, Swain, Veigar, Vex |
|
Utility |
Utility Supports are versatile picks, aiding their teammates via a unique ultimate such as Zilean's Chronoshift, or passively, like Ornn's Master Craftsman. |
Bard, Ornn, Zilean |
|
Pick |
Typically, a Pick Support will possess a long-range hook ability, allowing them to isolate a member of the opposing team. A safer form of engage than simply flying into the enemies, you should always be vigilant when these Champions are on the opposite side of the Rift. |
Blitzcrank, Morgana, Nautilus, Pyke, Thresh |
Regardless of your preferred playstyle, there will be a Support that suits you. Less mechanical Champions such as Yuumi or Sona are great starting choices, as they do not require the same level of accuracy such as Supports like Thresh or Xerath, and you will often find that playing a 'weaker' Champion well, will be of much greater use to the team than a meta pick played badly.
When you have settled on which Supports suit the way you like to play, practicing one or two champions over and over instead of flitting around between picks is the best way of achieving mastery. Supports will not typically receive as many bans as other roles, meaning you can more often than not secure your main in Champion Select.
Playing The Lane
With all Supports, your first thought, both in Champion Select and when the game starts, is how to play the laning phase. Two versus two matchups can be extremely volatile, and your mistakes can result in double the number of deaths of other lanes. There are many more variables to consider, and as a Support you are expected to be the driving force in the lane, for the first few levels at least.
Understanding the Support matchup is crucial to a strong lane, as your ADC will primarily be focused on farming their items and gaining exp. Facilitating kills is all well and good, but nobody will appreciate overly aggressive attempts to dominate when in a losing position. Likewise, sitting back at your tower and having zero impact on the lane is not going to win you any favours either.
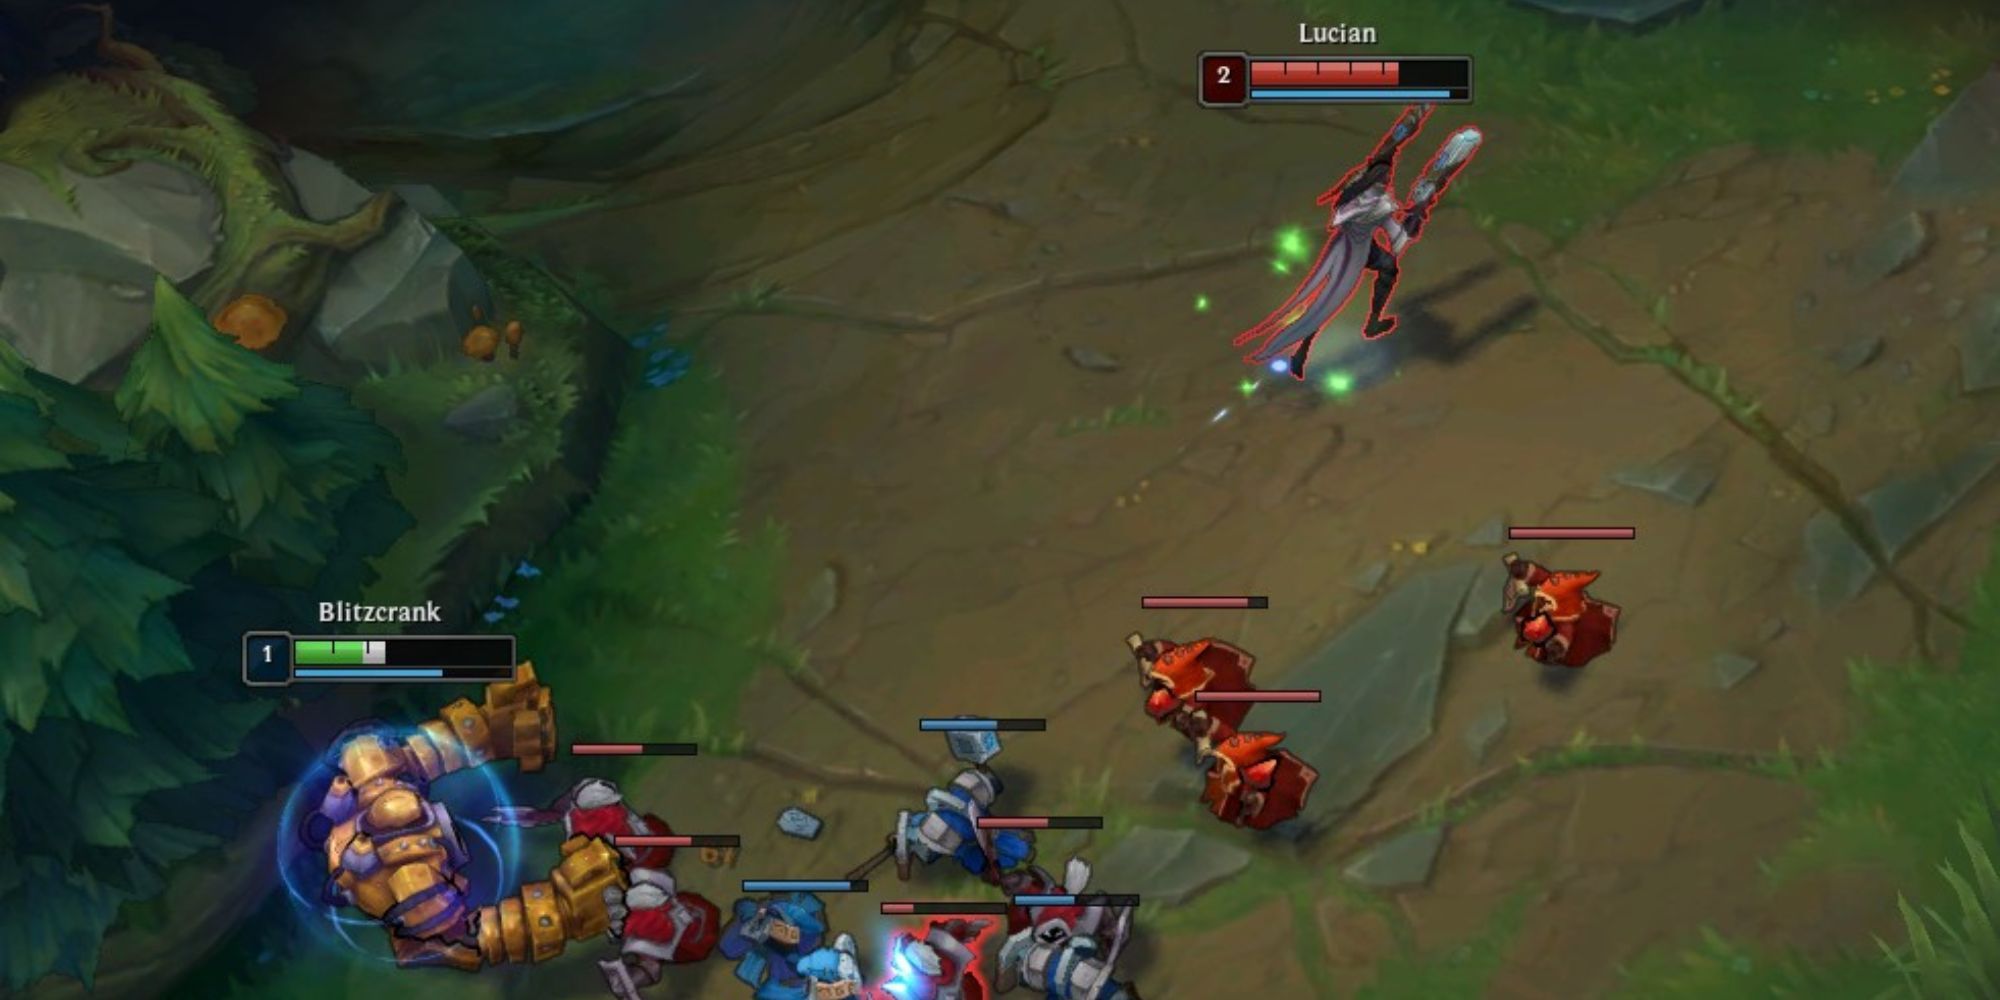
At level one, you will go with your carry into your bottom side Jungle. From there you will either assist with invading, or take up a defensive position in order to watch for one.
Helping your Jungler kill his Blue/Red Buff is a typical start, and after dealing some damage to the mob, you and your carry will travel to your lane, just as the first wave of minions collide. You will normally reach lane at a similar time as the enemy bot, and from there the action begins.
During the first few levels, your main priorities are:
|
Action |
Description |
|---|---|
|
Trading |
The act of dealing and taking damage from the enemy Champions. |
|
Wave Manipulation |
Either damaging the enemy minions in order to push your own wave, or keeping the enemy minions alive and outside your tower range, thereby freezing the enemy minion wave. |
|
Warding |
Placing Stealth Wards and Control Wards, primarily within bushes, in order to give/remove enemy vision. |
While simple in premise, these three actions form the basis of how your laning phase will go. Trading overly aggressively can lead to being engaged on, or running out of mana. Pushing your lane too hard can result in the enemy Jungler ganking you. Poor warding can result in enemy Dragons and roams that could otherwise have been avoided.
Trading
When going for a trade, consider this: Are you going to deal more damage to the enemy than they will to you?
This question is the essence of a good trade. Being able to lower your enemies' health while keeping yours high is the basic principle of a good trade, as it gives you lane control, allowing you to dictate the lane dynamic. The threat of dying is a very large one, and enemies are going to play a lot more defensively if you can help your ADC push them back and keep them low.
Poke Supports such as Vel'koz excel at this particular aspect of laning, as Plasma Fission's range is large enough to safely harass nearly all enemy matchups. Conversely, Champions like Leona or Alistar really struggle with safe trading, as their many melee abilities require them to walk up or to engage directly onto the opposing players, leaving them vulnerable both when running in and away.
If you play a Support that starts with Spellthief's Edge as its Support item, you will want to try and harass frequently. It will allow you to earn gold for damaging an enemy Champion, and provides a great source of income.
Some key principles to remember when it comes to Trading are these:
- Ranged vs Melee. If you are playing a ranged Champion and you are against a melee, you will often hold the advantage in trades. Be aware that they will need to get close to you to deal damage, so keep your range and safely poke them down. Auto attacks are a great source of ranged harass and also allow you to save mana for any potential skirmishes.
- What is the lane state? If you are ten kills down to the enemy bot, it's most likely not in your best interests to be going for a trade. Check both your own bot lanes items but also the enemies. Certain items such as Oblivion Orb can heavily punish Supports that rely on healing, so remain vigilant for any swings in power before going for a trade.
- What is your lane objective? If you are playing a defensive lane, relying on farming and sitting back, going for trades way out in front is normally a bad decision. Sometimes it is fine to not be attacking the enemies, if it means your lane is going to stay alive. In certain matchups, survival is your top priority.
Wave Manipulation
The most complex part of understanding the laning phase, minion control can often be overlooked in favour of more flashy and enjoyable fighting. However, it is a skill that can provide the turning point in many matchups, and you can often win lane being down in KDA, but up in overall gold, due to superior farming and minion control.
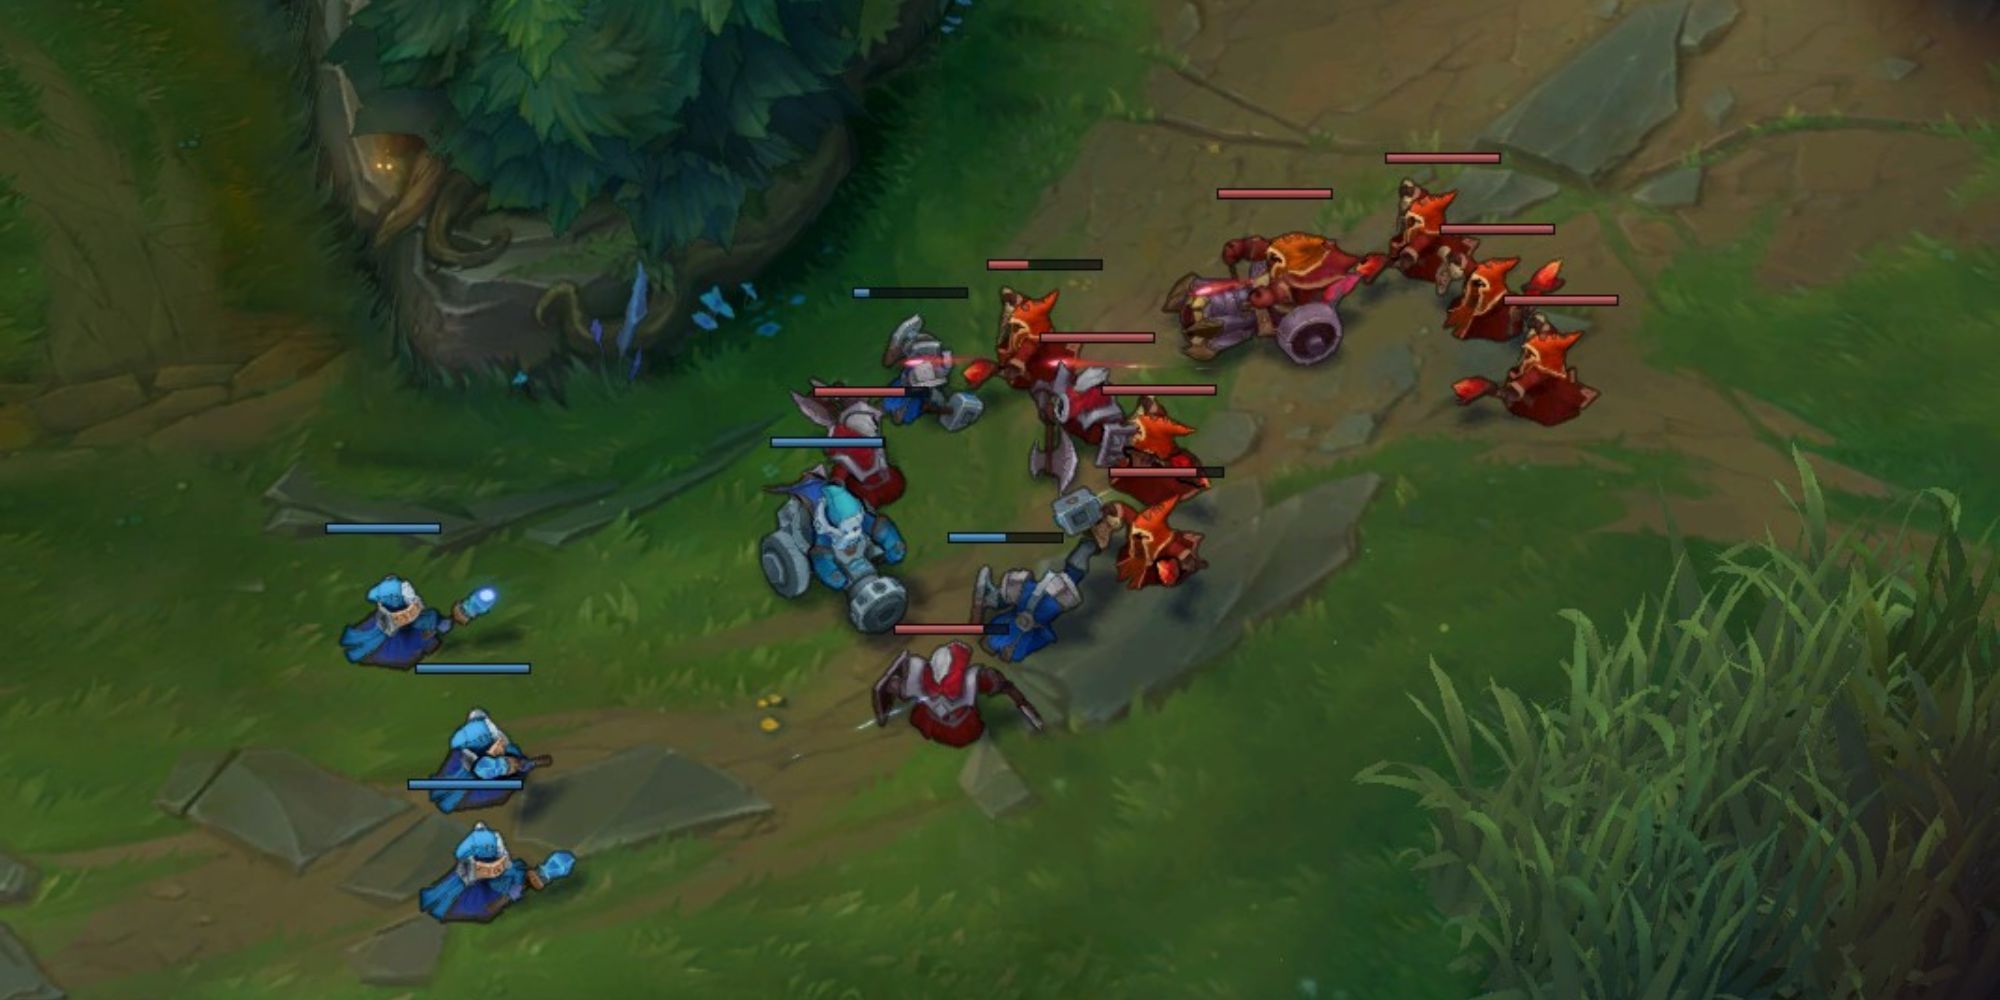
To push the wave, simply damage the enemy minions. This will make them die faster, allowing your minions to advance. Be careful when pushing, as it can allow the enemy lane to set up a freeze. A common strategy is to push the wave as soon as you come into lane, in order to reach level two before the enemies.
To freeze, simply allow the minions to hit you before they get to your tower, this will slow down their travel, and prevent them from being damaged. It will allow them to build up in front of your side of the lane, a strong position, and will give your ADC a good opportunity to acquire large amounts of farm. Be careful when freezing however, as it can give the enemy lane the initiative in skirmishing, due to the large number of friendly minions at their disposal.
When the enemy minions are pushed into your tower, you will often need to help your ADC last hit them. A melee minion can take three tower shots before dying, whereas a ranged minion can only take two. Cannon minions provide a lot of gold and are worth taking some damage to acquire. If you play a Support that buys either Steel Shoulderguards or Relic Shield as their first item, you can have up to three charges of minion execute, under 50 percent health for melee Supports, and 30 percent for ranged. Killing a minion in this way will provide gold for both you and your closest ally.
Things to remember when it comes to Wave Manipulation:
- You want your carry to be getting Gold and Exp. Minions provide Both. Kills are not the only way to obtain a lead, if your carry has higher farm than the enemy carry, then the lane is usually going well.
- Should you be pushing or freezing? Pushing is best exercised either before a recall, before rotating to another lane or objective, when attempting to reach levelling two before the enemy bot lane, or when it is not safe for you to remain pushed up in the lane. Freezing is for when you can safely farm without being harassed down. It is no use freezing a wave and being poked out while trying to farm it.
- It is often fine to not touch the minions. Many lanes will remain in the middle, with carries simply last hitting. This can be totally fine, so don't panic and begin pushing out of nowhere. If there is no reason to push, then simply don't push, and focus instead on your other priorities.
Warding
While warding throughout the game is covered in the section below, warding in lane is slightly different, as the area is greatly reduced, thereby allow you to provide much greater coverage.
Popular warding positions are:
|
Ward Position |
Tips |
|---|---|
|
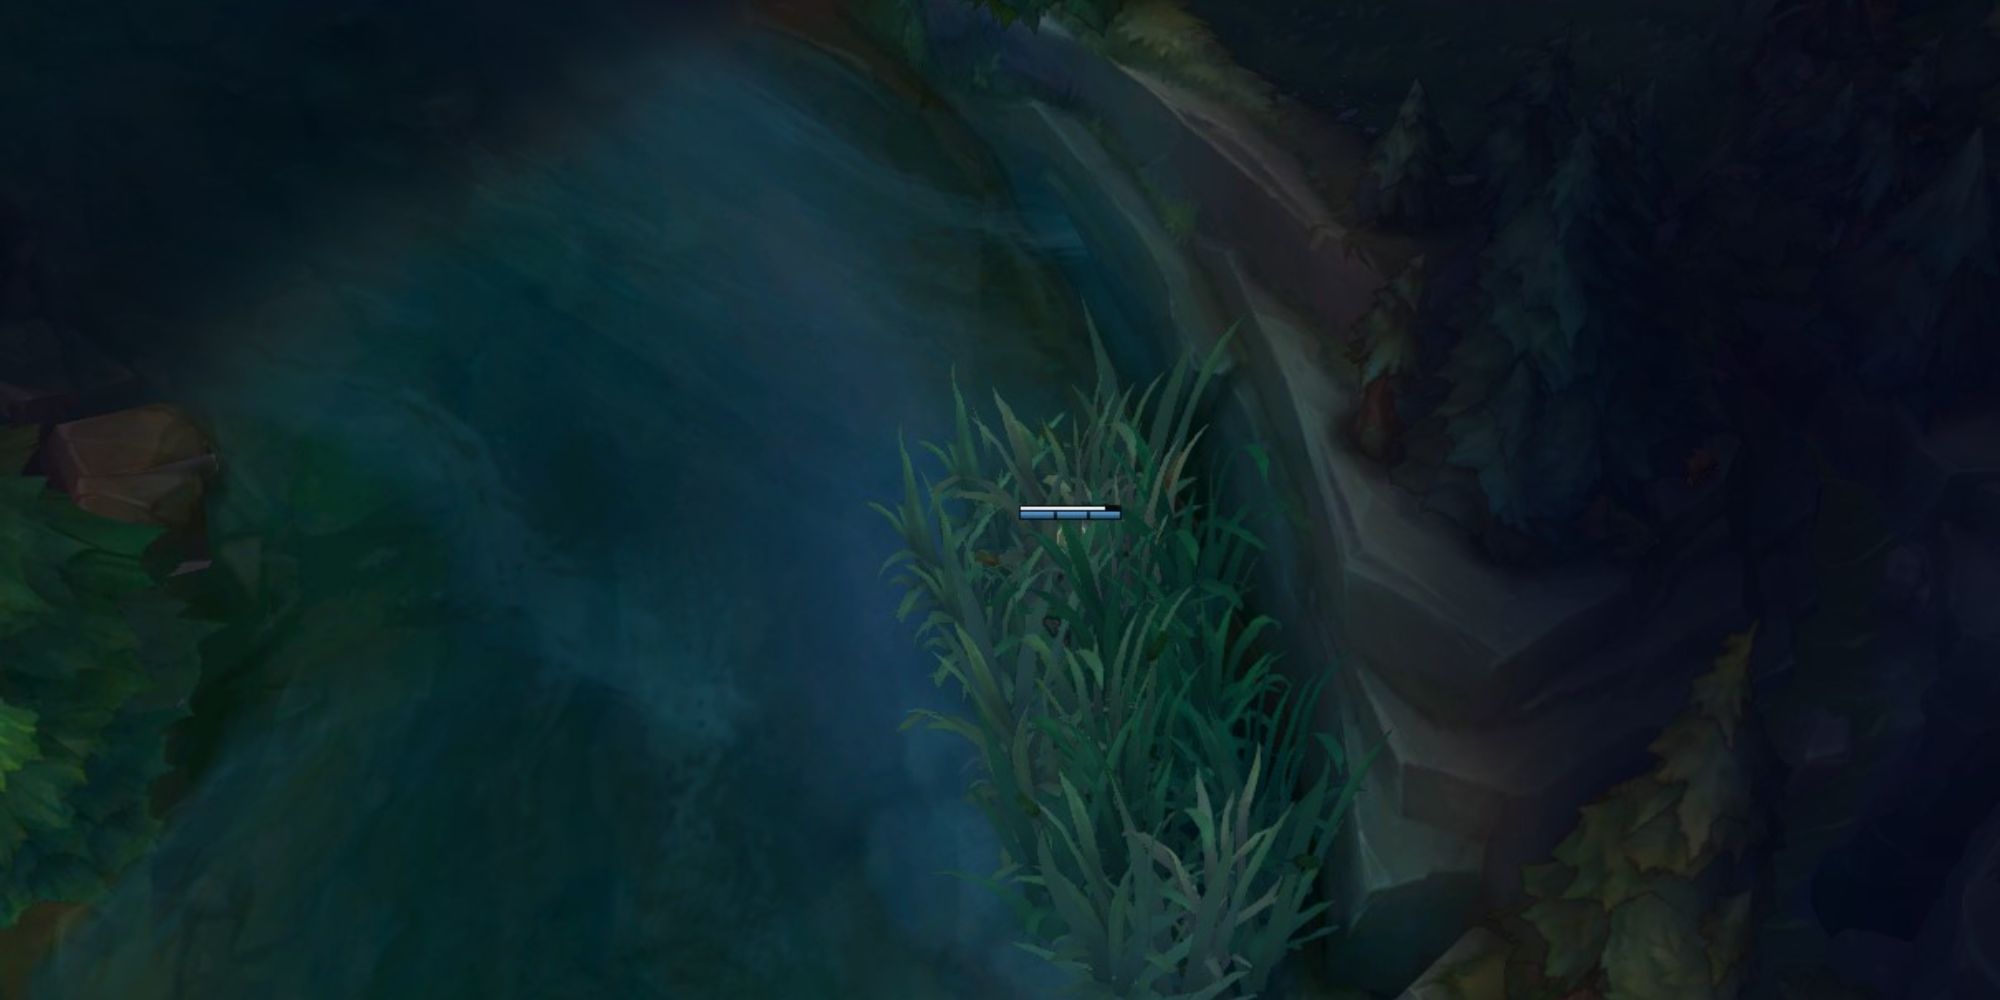
Bot Side Tri Bush |
When playing Blue, this allows you to see Junglers/Roamers approaching from within your own Jungle. A very popular place for a defensive Control Ward. When playing Red, this ward also allows you to see most incoming enemies, but this time from the enemy Jungle. This will normally be a highly contested spot, and you should always expect there to be a Blue Side Control Ward in here after the opposing lane's first recall. |
|
Bot Side River Bush |
Similar to Bot Side Tri Bush, but instead covering the end of the River, this ward can help both sides spot an incoming Jungler, although it is very close to the lane and can often not provide enough time to retreat. |
|
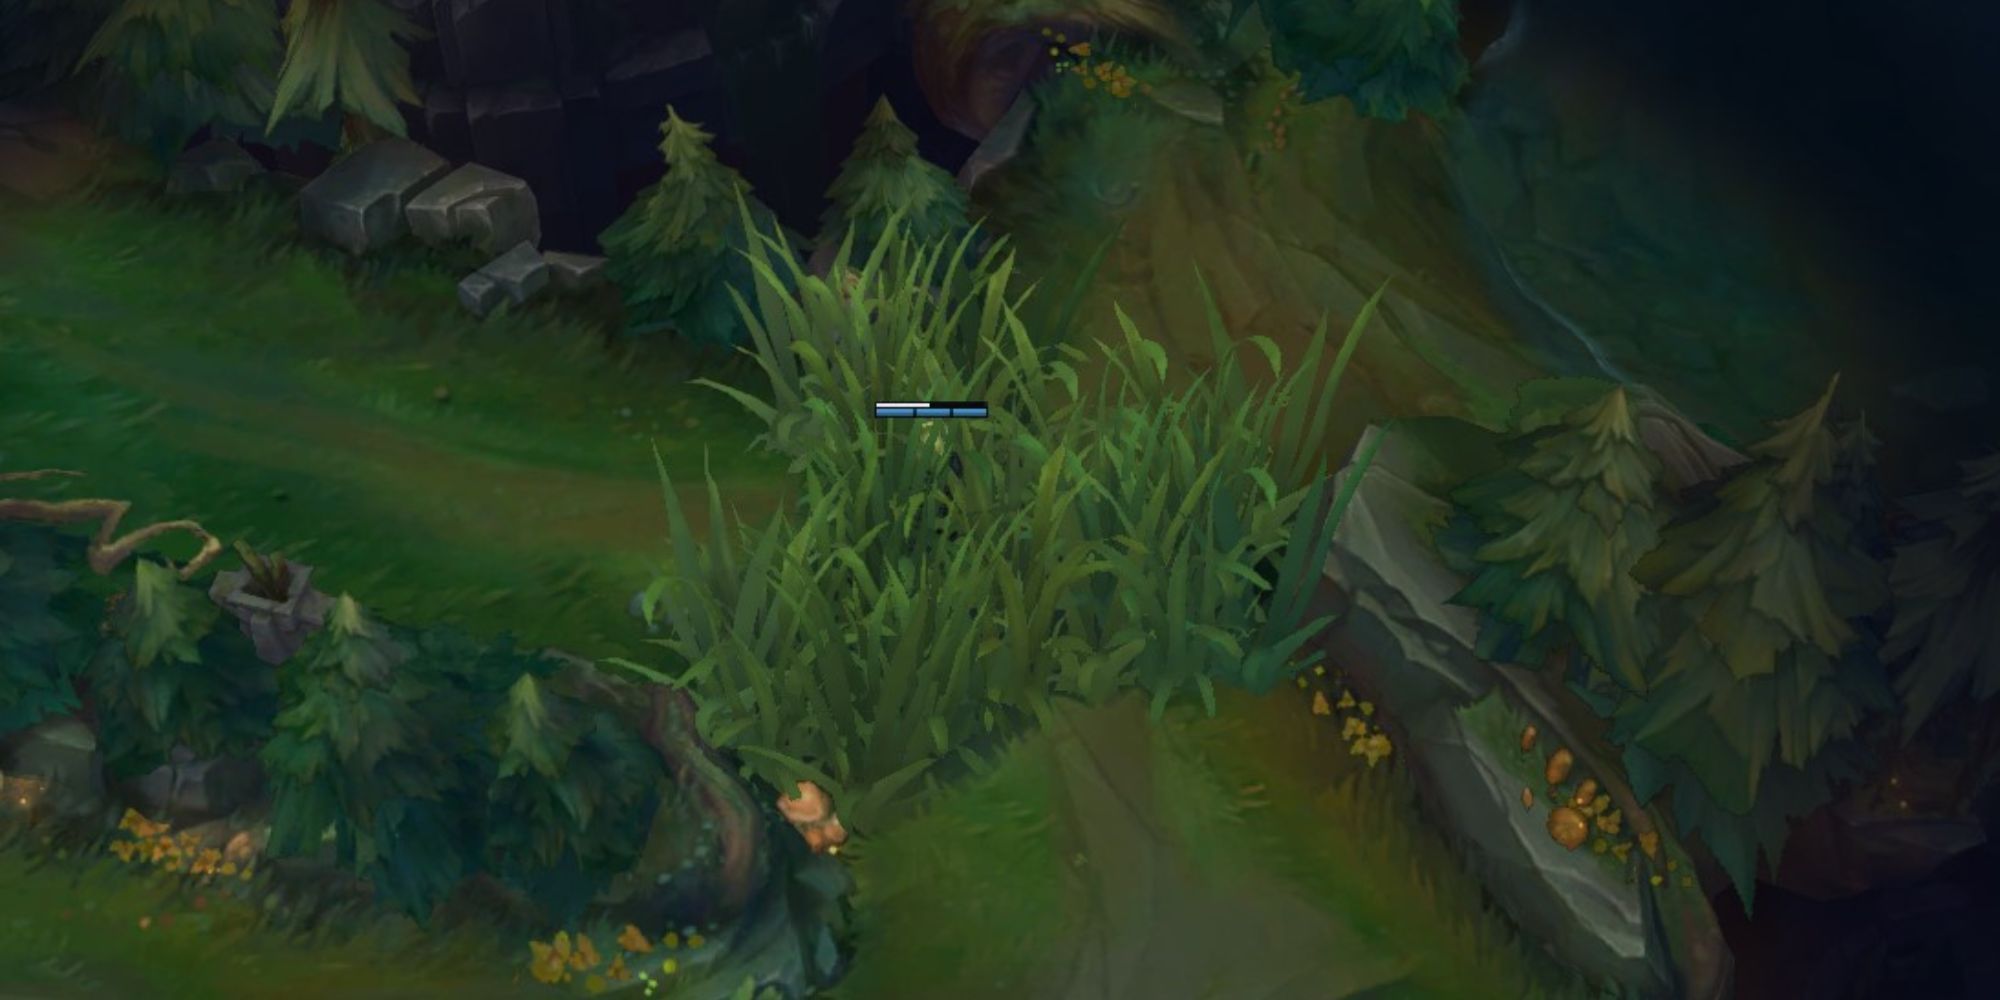
Bot Side Lane Bush (Any) |
These 3 bushes are the core to keeping good vision in a lane, as you will often want to watch the enemy Support at all times. Depending on how pushed the lane alters which bush you will want to keep warded. A Control Ward in one of these bushes when pushed up can provide a gank opportunity for a Jungler if they come through the lane, so if you see an enemy Control Ward in here, either try to clear or be aware that a gank may be incoming. |
The purpose of warding is to give you and your team vision where otherwise you would not have any. Please remember that is NEVER worth dying to place or clear a ward. Keeping a relevant ward in a lane bush and setting up a Control Ward either in Tri or River is often all you will need to do.
Lastly, a ward is only useful if you respond to it. Keep checking your mini map for the Jungler's presence. If they are seen top side, you know that you can be more confident in going for your own aggressive play. Conversely, if they were last seen heading bot side, make sure your vision is up, and try not to overextend.
Controlling Vision
Coming out of the laning phase, your vision responsibilities now extend to the entire map. While this may sound alarming, remember it is not just your job! Your team and especially your Jungler should be helping out with Stealth and Control Wards of their own.
Usually by the end of the laning phase you will have acquired your upgraded Support item, allowing you to place up to three Stealth Wards at a time. You should also have switched to Oracle Lens, allowing you to sweep for enemy Stealth Wards. Placing wards now becomes an even higher priority than it was before. You will likely have stopped trading, and it is fine to leave your carry alone to farm for periods of time, while you go and secure vision.
Throughout the remainder of the game, two areas have become the highest priority for placing vision:
- Dragon Pit
- Baron Pit
These two monsters are the key neutral objectives that most skirmishes and teamfights will be fought over.
Dragon Pit
As a Support you will not interact very much with the Rift Herald, and the earliest large objective you will contest will normally be the Dragon. A large and powerful neutral monster, whoever lands the killing blow will secure a strong buff for their team.
Placing a Control Ward just inside the pit will allow you to cover the entire area, limiting enemy vision and giving your team control. Try to set up Stealth Wards in some surrounding bushes, as enemies may want to hide in there before contesting you on the objective.
Baron Pit
The same can be applied for the Baron pit, although normally this monster will be attempted later in the game, due to his high strength. For both pits, wards can be placed from the other side of the wall, meaning you can fairly safely ward over in order to check if the enemy team have begun the objective, or are approaching for a steal.
Keep watch over the spawn timers for both of these:
- Dragon first spawns at five minutes into the game, and every five minutes after being killed for the rest of the game. The Elder Dragon has a six-minute spawn timer instead.
- Baron Nashor will spawn at twenty minutes into the game, and has a seven-minute spawn timer.
You will want to set up before at least one minute before each objective spawns, as whichever team controls the vision immediately has the advantage.
Outside neutral objective fighting, keep up a steady stream of wards. Best placed in bushes across the map, try to focus on areas of conflict, usually centered around the mid lane or Blue/Red Buff. Use your Oracle Lens when you can, and clear out any enemy wards you discover. Bear in mind that your Support item can only hold four wards at a time, so if you find yourself running out, simply recall, and they will automatically replenish.
Supporting A Teamfight
When it comes to skirmishing and teamfighting, your responsibilities will depend on what type of Support of you are playing. Enchanters will often do best when playing far back, where they can protect the back line carries. Tanks however, will typically want to be on top of the enemy team, using crowd control and soaking damage.
In all instances, it is important to remember one principle when it comes to teamfighting:
- In terms of gold, Supports are normally the least valuable member of the team.
What this really means is if you are not playing a Damage Support, your death is going to mean less than the other members of your team. Therefore, if a situation arises where you need to sacrifice yourself in order to keep a teammate alive, it is often the best play to do so. Other roles simply provide much more damage/durability thanks to their increased gold values relative to yours.
This means you can be unafraid when it comes to making big plays. Landing a great engage but dying in the process can often lead to a winning situation. Do not needlessly throw your life away, but be aware that your survival simply means less than your more farmed teammates.
When playing a Damage Support, this mentality should change, as you have now become a great source of damage output for your team. Staying alive and blasting the enemies is a high priority, and your playstyle becomes almost carry-like.
There will be many variables that affect exactly how to play a teamfight, but an understanding of your place in the team structure can lead to better decision-making.
The Support Economy
To build upon your understanding of gold values, the economy of a Support is unique within League of Legends. Supports have the lowest priority on farm, and are not expected to last hit minions or take jungle camps if there is another team member who could take the gold instead.
Other roles require the purchase of more expensive items, and from a team point of view, it is best to give your carries the largest amount of gold possible. Supports have to get by on whatever gold they can, whether that be from Champion Kills/Assists, or by farming their Support Item in the early game.
In lane, you will want to heavily exploit whatever item you started with, whether it is by executing minions or harassing the enemy Champions. After your item is fully upgraded, your income source is greatly depleted, and you will have to settle for whatever you can take.
Lastly, hitting minions if no other player is close is perfectly acceptable, because although you are the lowest gold priority, it is still better the gold is not wasted.
Clearing wards can provide an underrated source of income:
- 10 Gold per Totem Ward slain (from Stealth Ward Trinket)
- 30 Gold per Stealth Ward slain (from upgraded Support Item)
- 30 Gold per Control Ward slain (from Shop)
- 15 Gold per Farsight Ward slain (from Farsight Alteration Trinket)
Be sure to use your Oracle Lens regularly, as any gold is valuable when you are gaining so little.
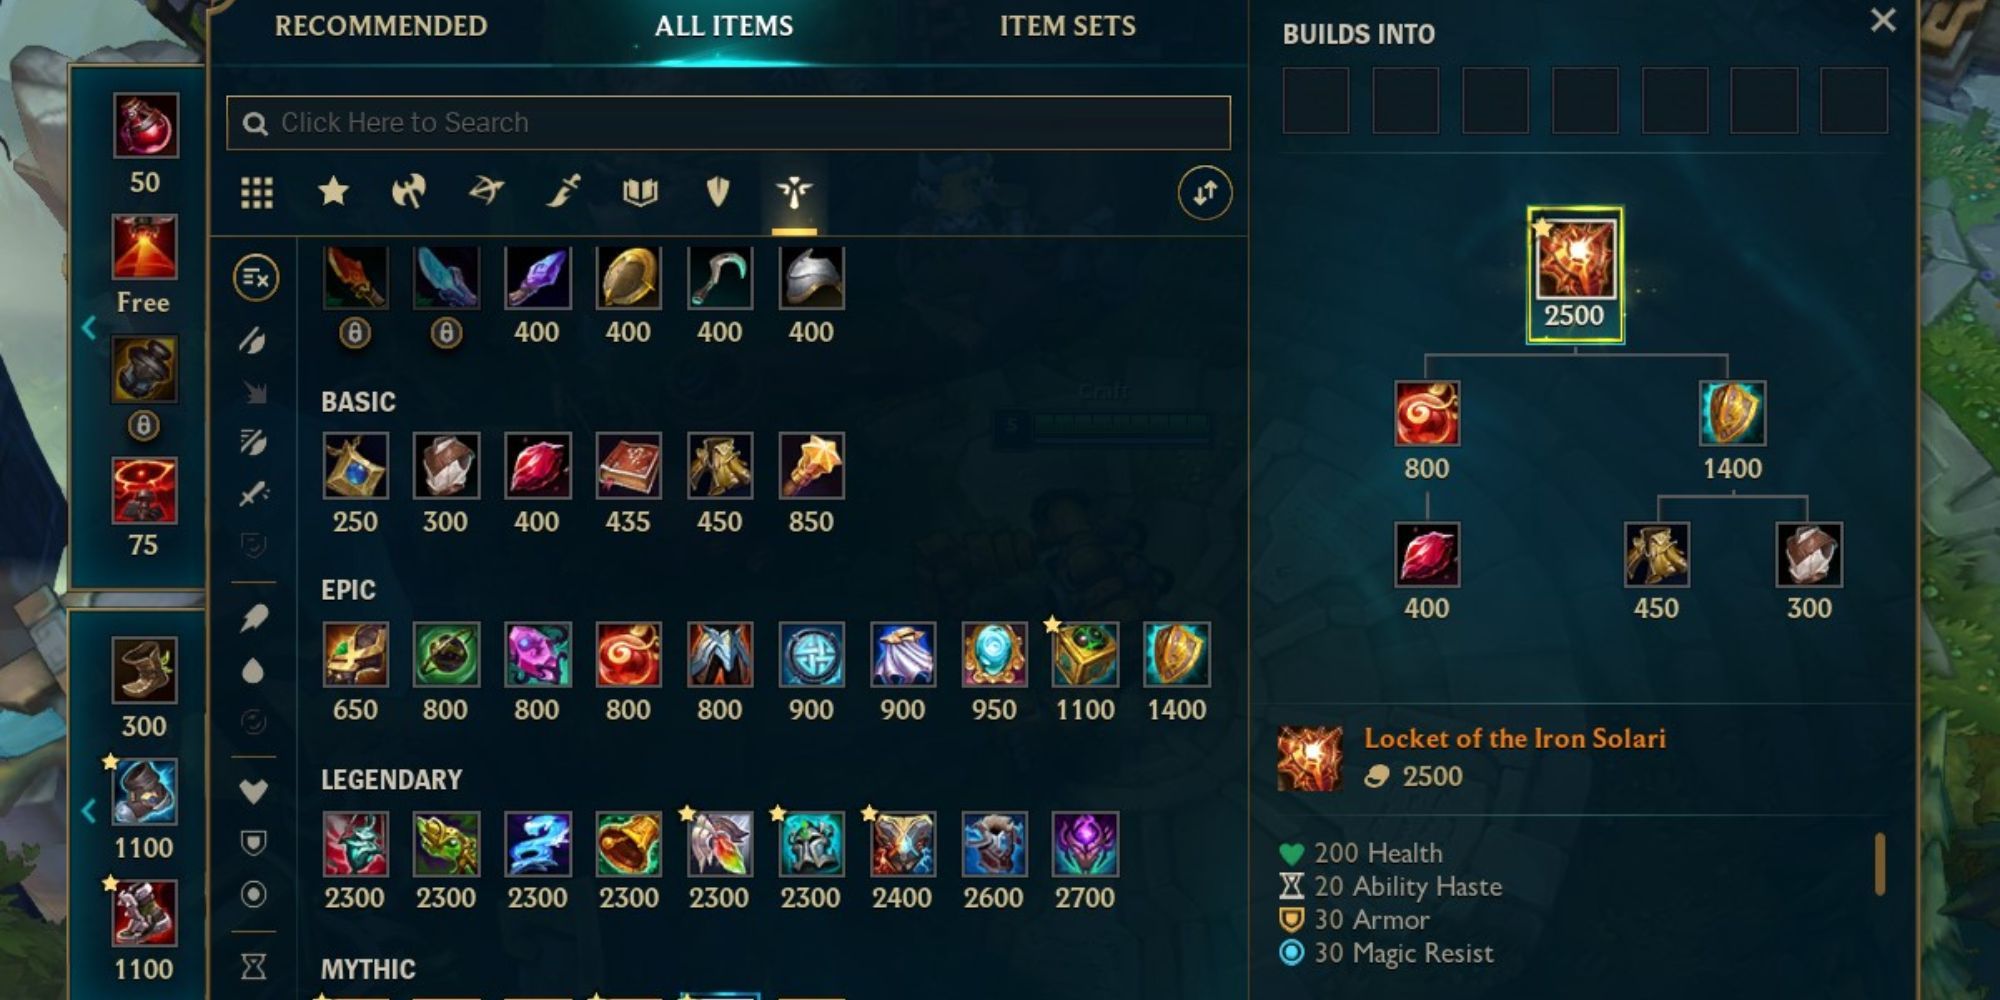
When it comes to building Items, Supports will generally prioritise either items that increase their own durability or their healing/shielding output. Special items that buff/protect teammates are also in the Support wheelhouse, as combinations such as Knight's Vow and Zeke's Convergence are very powerful. Mikael's Blessing is a strong situational item that can cleanse an ally of being crowd controlled, and can save their life in a pinch.

-3.jpg)
-5.jpg)
