One of The Legend of Zelda's hallmarks is its intricate and challenging dungeons that Link must travel to throughout his adventure. These dungeons are really the centerpiece of each game and often the most memorable sections of level design across all of Nintendo's properties. Most gamers can walk you through Ocarina of Time's Water Temple with their eyes closed.
Breath of the Wild takes some huge leaps by evolving almost every convention of the series in major ways. The traditional dungeons from Zeldas passed have been scaled back to include only the four Divine Beasts (and one DLC Beast) that you discover throughout the game. In their place, the 120 shrines scattered throughout Hyrule serve as mini-dungeons and offer a variety of puzzle, combat, and platforming challenges that scratch the traditional dungeon itch.
Finding these shrines can sometimes be as difficult as completing the challenge within, and one shrine, in particular, has been notoriously difficult both the locate, and to figure out the puzzle inside. In this guide, we will be covering the Keo Ruug shrine, where to find it, how to get there, and how to beat the Keo Ruug puzzle.
Where is the Keo Ruug Shrine?
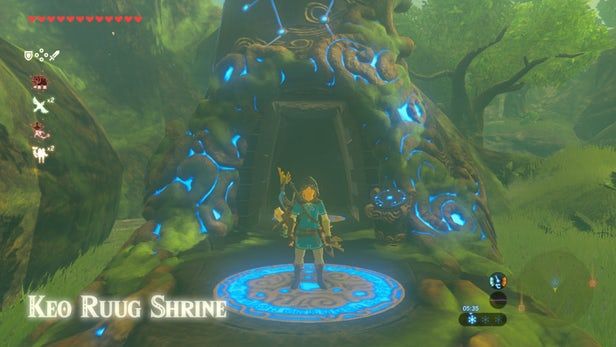
Located deep in the Korok forest at the center of Woodland Region, the Keo Ruug shrine can be found at the foot of the Great Deku Tree. If you've played other Legend of Zelda games, especially Ocarina of Time, you know that getting to the Great Deku tree is always a challenge in-and-of-itself.
The Woodland Region, also known as the Great Hyrule Forest, is located in the center-north section of the map, just beyond Hyrule Castle across a thin strip of land that connects east and west Hyrule. The forest is an island surrounded by water, and to get to the Korok forest at the center, you'll need to first navigate through the Lost Woods.
The Lost Woods is located north of Kakiriko village through the Lanayru Wetlands. The entrance is on the main road that leads Northwest from this area, follow it past the Woodland Stables and Woodland Tower and you'll walk right into the Lost Woods.
How To Pass Through The Lost Woods
The path through the Lost Woods is as simple as following the wind. Unfortunately, this is a lot easier said than done: If you wander too far off of the correct path, you will be enveloped by fog and transported back to the beginning of the maze. We recommend you do this challenge on foot, so as not to accidentally ride too far off course.
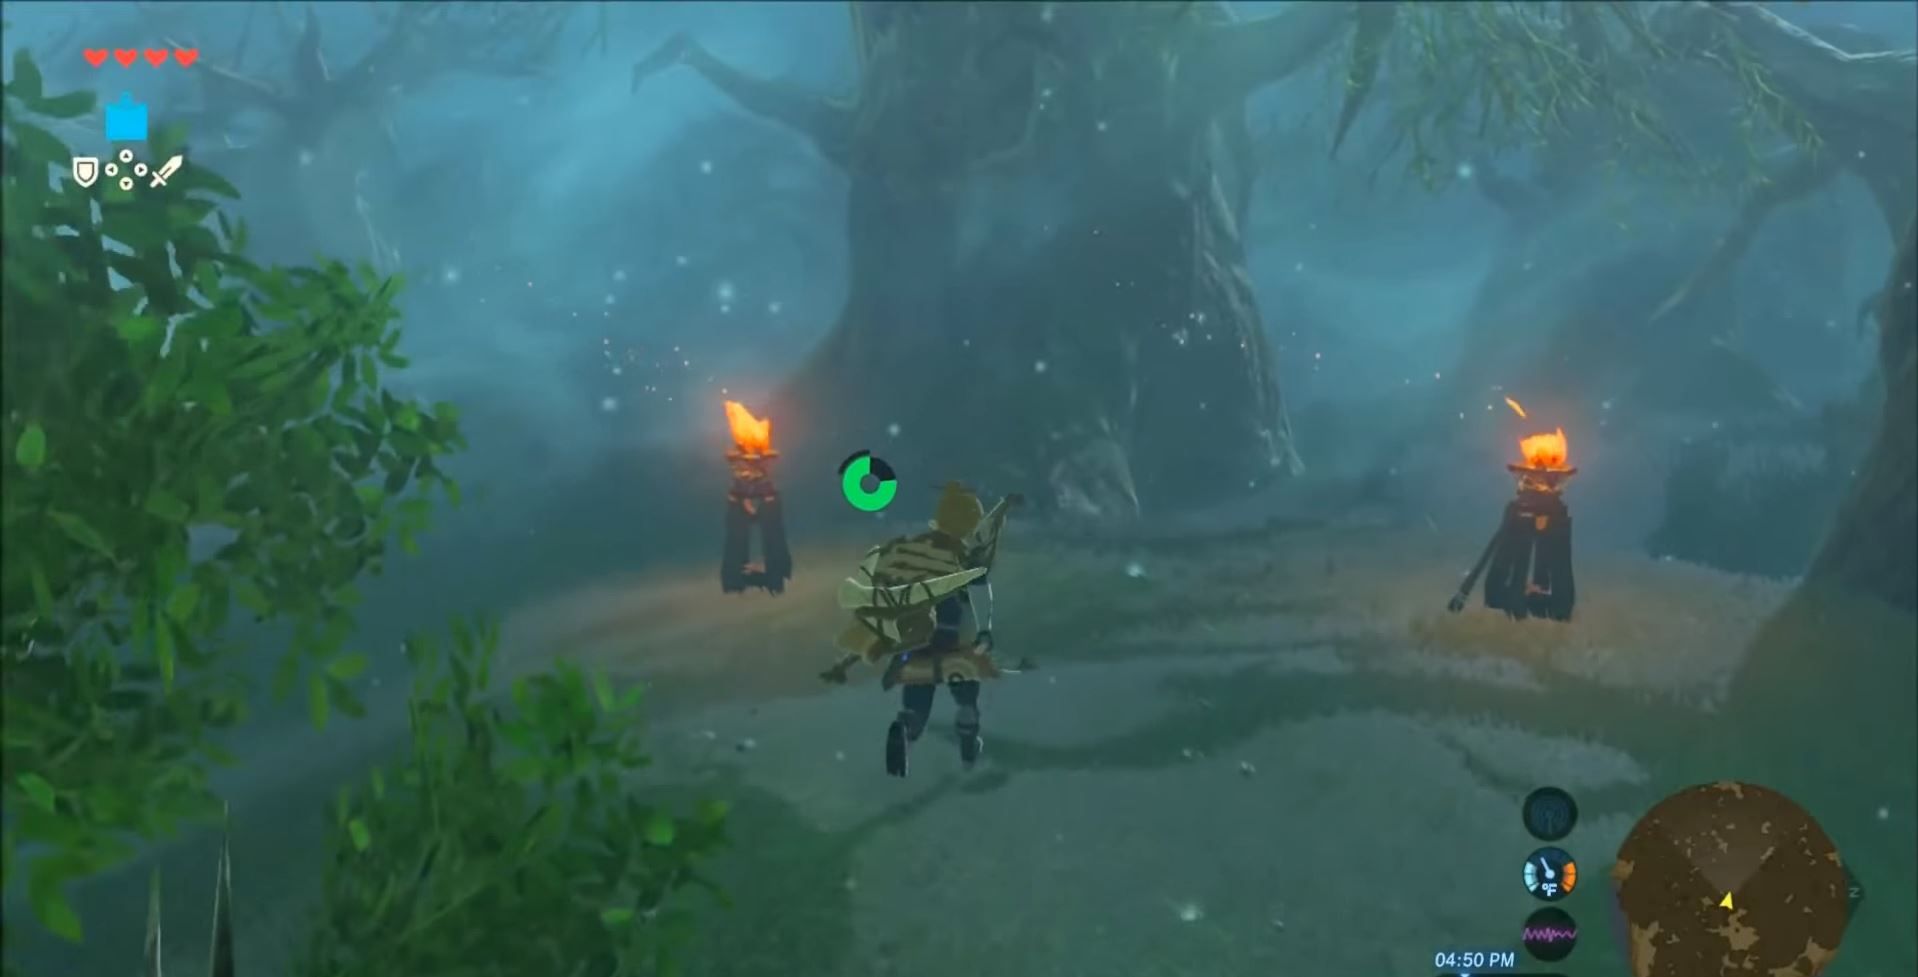
Though it looks like you can just follow the flames, this will eventually get you very mixed up, as you will find multiple flames leading down incorrect paths. Instead, watch each flame and take notice of the direction the embers are moving. This is the direction the wind is blowing and you must follow it in order to get through the forest.
If you're having trouble seeing the way: the correct path is straight ahead from the first torch to the second, then straight again to the third. After that, turn left and head west towards the fourth, and straight ahead to the fifth, which is even farther west. Then, turn left again, so that you're now facing south, and you'll find torch number six.
Now, look to your right, or west, and you'll see two torches in the distance. Light your own personal torch or flammable weapon from one of these torches to continue on. After that, follow the embers that blow off of your torch, and you'll find your way out the Lost Woods and into the Korok Forest in no time. The Keo Ruug shrine can be found to the west, right next to the Great Deku Tree. Once you locate it, you can head inside and prepare for another challenging puzzle.
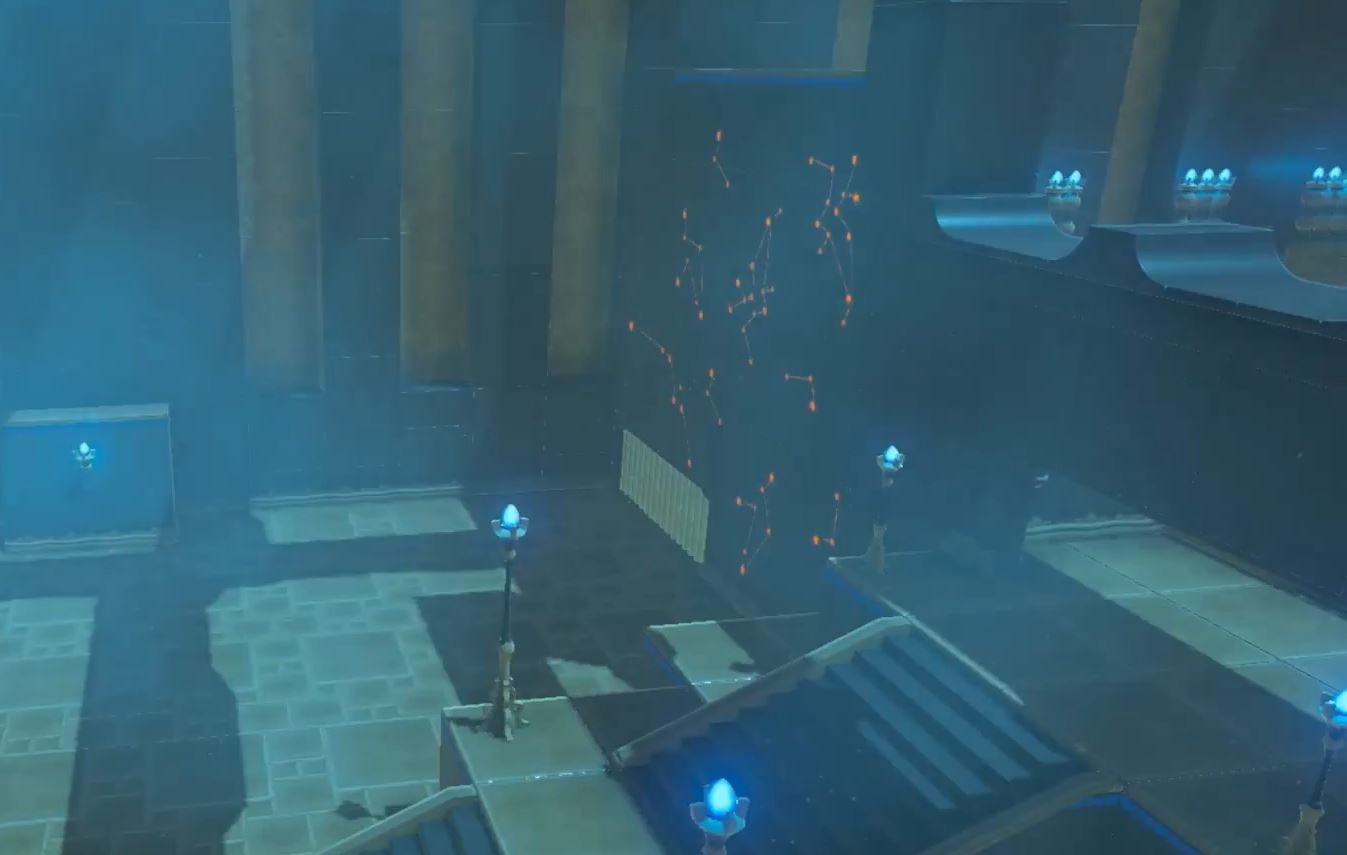
How To Clear The Keo Ruug Shrine - Fateful Stars
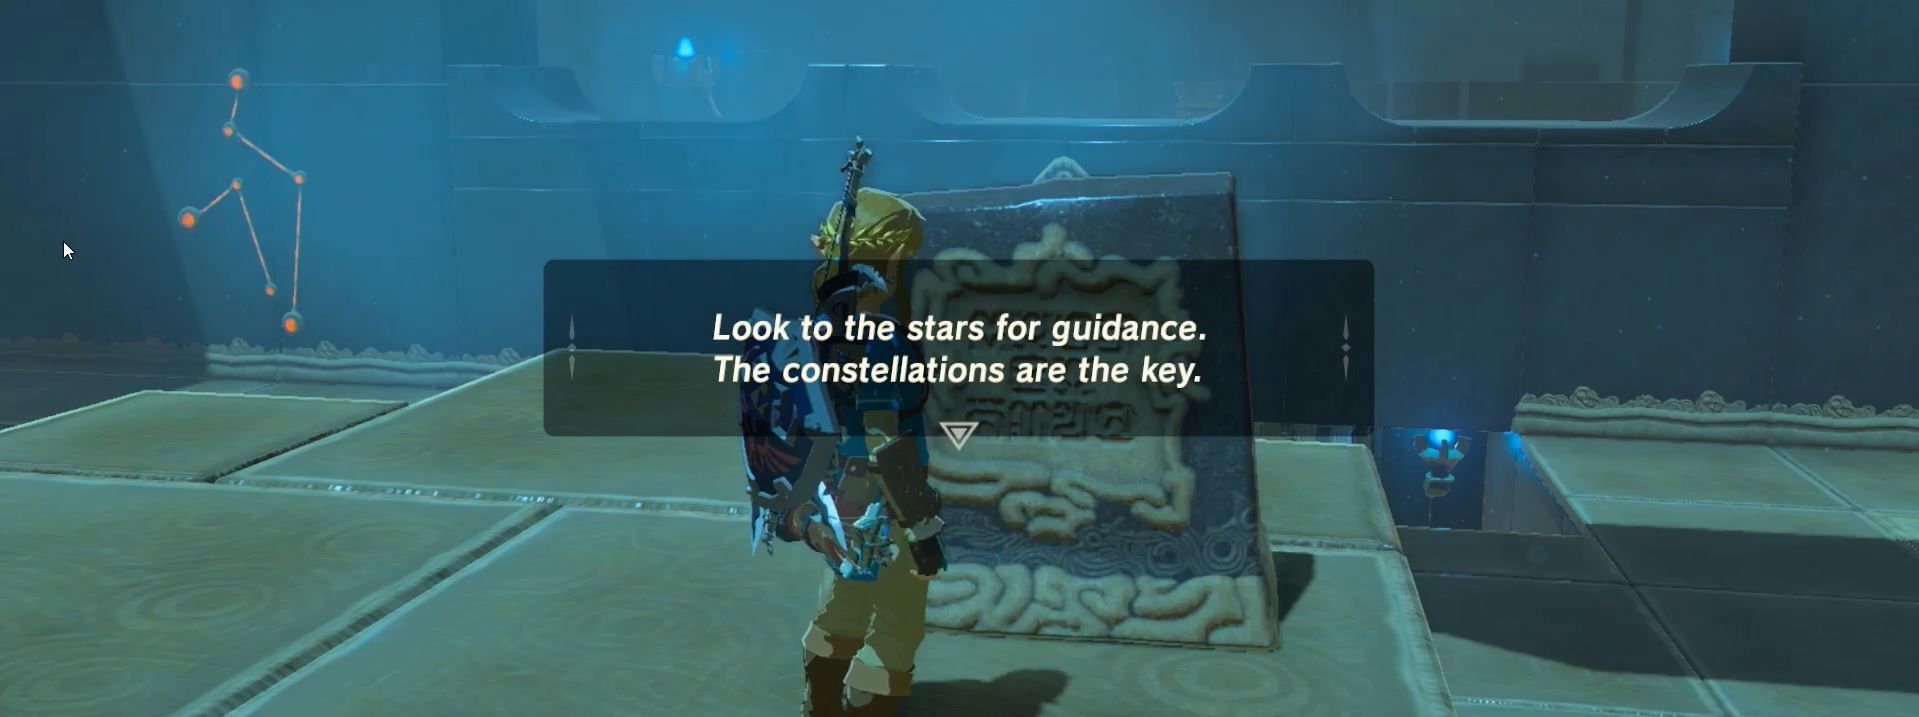
Once inside, you'll notice four rows of holes on either side of the center platform that are meant for spheres to be inserted into. At the top of the platform, you'll find an important clue: an inscription reads "Look to the stars for guidance. The constellations are the key." Beyond this inscription, all along the far wall are constellations. There is also a constellation at the end of each column of holes.
Each row of holes also has a number of torches that represent it, which are located on the left wall. The row closest to the entrance is row five, as it has five torches, the next one is row four, and so on. In order to open the gate, you need to place a sphere in one of the 5 holes in each column that corresponds to the number of times that column's constellation appears on the back wall.
So, for the first column, the simple L-shaped constellation appears on the back wall five times. Grab a sphere and drop in the corner hole closest to the entrance along the left wall. The next column has a constellation that appears three times, so its sphere goes in the middle hole in the column to the left of the center platform. For the next column, grab a sphere and drop it in the hole closest to the constellation itself, as it only appears once, and finally, the fourth sphere goes in the #2 hole along the right wall.
How To Access The Chest
With the spheres in the correct spots, the gate will open and give you access to the monk, thus completing the shrine. If you look back towards the gate before exiting, you will see a second group of constellations. Going back in and reordering the spheres to 4-2-2-1 will open the game and present an optional chest containing a Knight's Claymore.

