Quick Links
Breath Of The Wild gave us a whole new Hyrule to explore, and some of the more memorable spots return in The Legend Of Zelda: Tears Of The Kingdom. As long as you're able to make the journey, almost every area is accessible after completing the introduction and tutorial. An area that has earned a reputation for its challenge is Eventide Island.
This small seemingly unimportant island is not only a hassle to reach, but a dangerous situation awaits those who manage to make it there. Here's everything you need to know about Eventide Island in Tears of the Kingdom.
How To Get To Eventide Island
Eventide Island is in the southeast corner of the Hyrule map. The nearest vantage point that you can Fast Travel to is the Rabella Wetlands Skyview Tower (see this guide). As you'll soon realize, the island is quite far from shore and Link would have trouble swimming there even with full and boosted stamina.
A safe but long way to get there is to go down to the shores facing the island, construct a boat out of logs, and then use a Korok Frond-Sail combo to sail across, or attach a Zonai Fan or Rocket and then speed over (restoring your Battery with Zonai Charges as needed). However, there is another method if you're in the early game and want to get there with less construction time.
First, head to the Rabella Wetlands Skyview Tower. When you launch yourself up, glide to the nearby Sky Kingdom islands, using the Zonai Springs in place to get extra air, and make it to the island with the movable stone launcher.
Go past the launcher to a grass area where you'll find an assembled combination of a stone slab, Zonai Springs, and a Zonai Stake. Take it to the far right corner of the area (facing towards Eventide) and drop it straight down to Hyrule below. Jump and dive immediately after it to prevent it from despawning.

You should end up on the road leading to a cliff point facing Eventide Island. Grab the contraption with the Hand power and follow the path to the cliff. It is relatively safe, but steer clear of the enemy camp along the road. When you make it to the end, you'll see a Backpack Korok. Move them and insert the Zonai Stake where the Korok was, making sure that the Zonai Spring Pad is facing towards the island.
Pull out a Zonai Glider and place it with its tail touching the Pad. Attach the Korok to the front part of the Glider (if you wish) then get on and stand on the feet icons. Use a ranged object to activate the Springs and send the Glider soaring toward Eventide.
Move around the Glider to maintain balance as it soars toward the island. Use the Korok smoke signal as a way-point and the Glider will last all the way there.
Sesami And The Monster Forts

Once you arrive, follow the coast to the left of the Korok campsite and you'll find a Hyrule Campsite. There you'll meet Sesami, a stranded soldier who is threatened by the monster presence on the island.
He'll point out three separate Monster Forts that have been established and express a desire to get rid of them. This will trigger a Side Quest that involves you taking out all the monsters on Eventide Island.

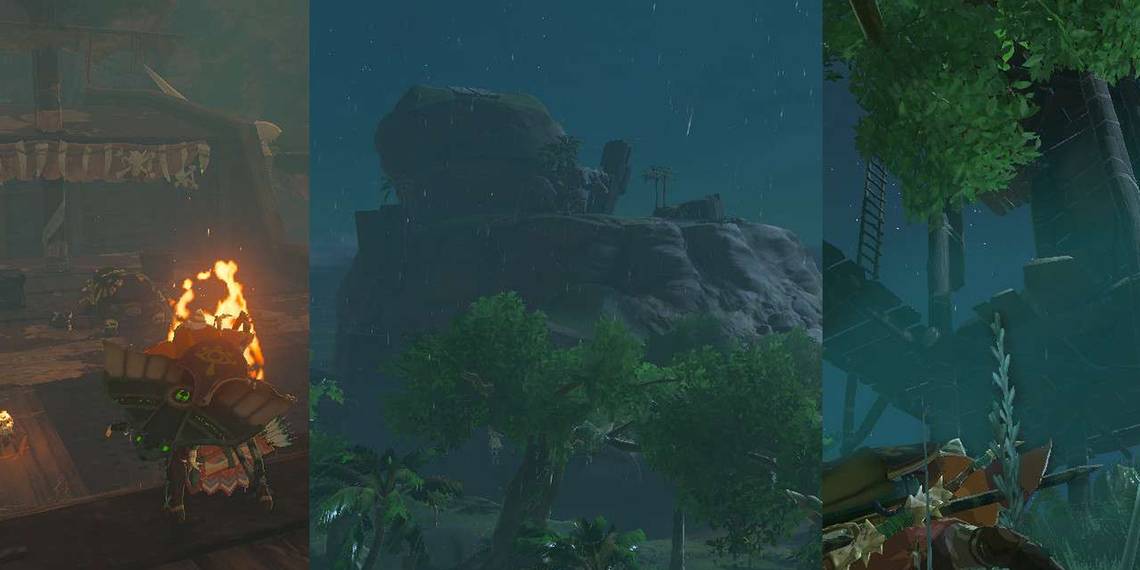
The first fort is pretty close to Sesami's location. It's indicated by a collection of tall wooden structures consisting of wooden columns, platforms, and ladders. The only monsters here are Blue Bokoblins, with only one per platform.
If you're wearing the Bokoblin Hood (received from Koltin and Kilton), they won't attack unless you attack first. By climbing to the highest point, you can start picking them off as you make your way down, gliding from platform to platform.

The second fort, is along the coast of the island, past the Korok Camp and up an incline to a wooden fort. Wearing the Bokoblin Hood will prevent the one guard out front from sending a spiked ball at you.
You can take it out quietly before approaching the fort. From the entrance, you'll see more Blue Bokoblins as well as a Moblin. Use a Muddle Bud on the Moblin to make it attack the others, who will, in turn, wear it down with Fire Arrows. After the Moblin is dealt with, climb up to the platform to take down the archers.

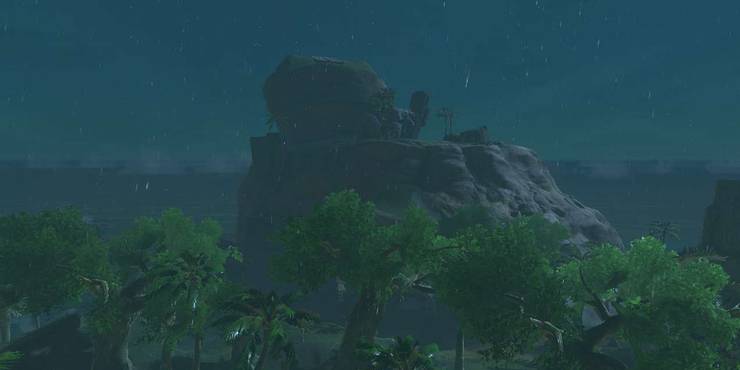
The final fort is up the only mountain on the island. Look around the sides to find a lookout platform and determine the fort's location. The group here consists of more Blue Bokoblins and one Lizalfos. Despite this, they are quite dangerous with the Bokoblins wielding AoE Spark Arrows, a Stone Club, and a Stone Spear. The Lizalfos is a particular threat as it's armed with a Lightning Spear.
Use a Muddle Bud on the Lizalfos to make it attack the melee Bokoblins, so you can focus on the lookout Bokoblins and the Spark Arrow Bokoblin. Bomb Arrows are pretty effective here and make sure you use the various rocky structures for vantage points.
The Pirate Ship And Shrine Cave

With all the forts cleared, return to Sesami to continue the quest. He'll mention a Pirate Ship that sailed behind the island and then disappeared. Return to the area where the third fort was, go to an edge near the rock wall, jump, and glide.
Follow the wall around to find the entrance to a cave where the Pirate Ship has docked. The ship has several Blue Bokoblins as well as a Boss Bokoblin. There are also Bokoblins posted on the platforms surrounding the ship.
Climb up to one of them and use a Muddle Bud on the boss to make the crew fight each other. Use this opportunity to clear out the Bokoblins not on the ship which can be taken out individually. If you have strong knock-back weapons, you can attempt to hit them into the water for an instant kill. Keep using Muddle Buds on the boss and then take out any Bokoblins that are out of his reach.

When it's just you and the boss, keep your distance and take advantage of the platforms on the ship's masts. Hit the boss with Ice, Spark, and Bomb Arrows to reduce its mobility and deal heavy damage.
After the boss is defeated, the way to the Marari-In Shrine will be open. It's in the back of the cave, through an opening surrounded by spikes. Use the nearby wood panels to create a bridge from the back of the ship to the Shrine's location. Open the door and enter it for your reward.