It's hard to talk about some of the best games of all time without mentioning the gargantuan achievement that is The Legend Of Zelda: Breath Of The Wild. The game took over the world by storm when it was released in 2017, and has continued to serve as the benchmark for what open-world design can achieve if executed to a T.
There are various villages in the world of The Legend Of Zelda, with each of them posing their own challenges when it comes to entering them. Out of all of these villages, one can argue that Rito Village is perhaps the easiest to reach. However, the open-ended nature of Breath Of The Wild can still make it somewhat confusing to reach this village regardless. So, in a bid to streamline one's experience with Breath Of The Wild, here's a step-by-step guide on how to reach Rito Village and tackle Van Medoh.
10 Equip Yourself For A Long And Arduous Journey

Rito Village might not be all that hard to access once you reach... but it's the journey itself that can prove to be quite harrowing — especially if you're not prepared.
So, make sure that you have serviceable weapons, armor that can protect you against Guardian attacks (we'll explain why later), along with a good bow and a crap ton of arrows to keep your range.
9 Unlock The Central Tower To Make Your Trek Easier

Breath Of The Wild might be very open-ended, but for the purpose of this guide, we assume that you're starting from the Central Plateau.
The first thing you need to do is unlock the Central Tower. Not only will this make your trek to Rito Village easier, but it's also convenient for a whole host of other reasons.
8 Be Prepared To Deal With Or Run From Guardians

However, unlocking the Central Tower is no mean feat. The area around Hyrule Castle is full to the brim with patrolling Guardians, so you need to be on your toes if you want to make through this alive.
If you have decent equipment, then don't shy away from giving these Guardians a whooping. However, if that's not the case, then legging it is always an option.
7 Head North-West From The Central Tower To Carok Bridge

After unlocking the Central Tower, make your way towards Carok Bridge using the path on your west.
Do keep in mind that there will be some Guardian Sentries along the way, so either deal with them or run away — whatever floats your boat.
6 Make Your Way Towards Ridgeland Tower

After crossing Carok Bridge, you should be seeing a tower in the distance.
This is your next destination — Ridgeland Tower. Make your way towards it while taking care of any Bokoblins or any other enemies that come in your way.
5 Use Long-Range Combat To Take Out The Electric Wizzrobes

Climbing Ridgeland Tower won't be a walk in the park — the area is guarded by several Lizalfos and Wizzrobes. While the former can still be ignored, the latter need to be tended to.
Getting shocked while climbing the tower won't be pleasant for Link, so make sure that you take care of these Wizzrobes beforehand.
4 Mark The Tabantha Bridge Stable And Head Towards There

After you climb Ridgeland Tower, make sure you scout for the Tabantha Bridge Stable and mark it on your map.
The stable should be quite easy to find since it's right next to... well, the Tabantha Bridge!
3 Take A Horse If You Want And Head Towards Tabantha Tower

While horse-riding might be somewhat against the entire deep exploration aspect of Breath Of The Wild, one can't deny the fact that a horse would definitely make traversal incredibly convenient.
So, if you don't wish to make the entire trek towards the village on foot, board a horse from the stable and make your way towards Tabantha Tower, which should be visible right after you cross the bridge and venture into unfamiliar territory.
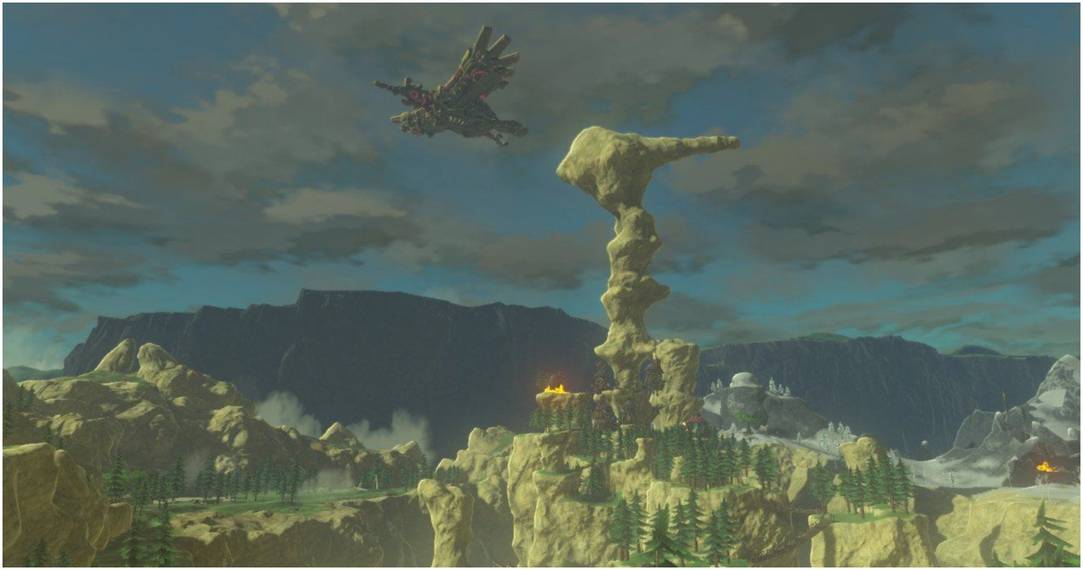
2 Navigate The Malice And Unlock The Tower

Now, Tabantha Tower is a tricky mistress to climb. Revali's Gale might make it easier to conquer this structure... but, given the fact that you're heading towards Rito Village, to begin with, it's fairly obvious that you don't have that power yet. So, you'll have to tackle this tower the old-fashioned way. Upon reaching the base of this tower, you'll see a bunch of malice all over the place, along with two pillars. The larger of the two is covered with malice, so you'll need to climb the smaller one.
While you might not be able to jump off and glide towards the tower from this pillar, don't fret. If you look at the bigger pillar, you'll see a glowing eyeball that's the source of the malice around the pillar. Hit it with an arrow and the malice will disappear, causing the pillar to fall towards the tower and giving you a safe passage of entry. All you need to do is go up this leaning pillar and climb your way towards the top.
1 Mark Rito Village And Make Your Way Towards There

After you've climbed the tower, you'll easily see Rito Village on your map. Just mark it on your map, and take the straightforward route to reach this place.
The beauty of Breath Of The Wild's open-world design is that we've just mentioned one of the hundred — if not thousand — possible ways you can access Rito Village. The place you start from, the route you take, the tools you use — there's no wrong answer when it comes to making this journey, which is part of the many reasons why this game is an absolute masterpiece.