Quick Links
The City world in LEGO Bricktales might not have the ancient temples of the Jungle or Desert, or the swashbuckling adventure of the Medieval or Caribbean worlds, but there's still plenty of excitement as you fend of an invasion of robots from another dimension! Along the way you'll repair machinery, learn a powerful new skill, and build some of the most complex constructions the game has to offer.
In terms of difficulty, the City is around the same level as the Desert. Many of the challenges are more creative in nature, but the engineering puzzles are real doozies. Read on to find out how to complete them.
Several puzzles in LEGO Bricktales can be solved in multiple ways. You may find builds that are different from the ones in this guide but work just as well.
How To Climb The Rainbow Wall

Early in your City adventure you'll find a wall made of multicolored bricks. You can take it apart and rebuild it to create paths to key areas and collectibles!

The first step is completely disassemble the wall. Once all the pieces are outside the work area, you can start fresh.

The two key things to remember for this challenge are that every brick needs to connect back to the red area, and that you can only climb one brick upward at a time.
The purple pieces are best for creating a base. Remember to leave a hole in the middle so that you can use a light-blue piece to step up from ground level (see below).

Don't worry if some pieces stick out but don't go anywhere - as long as you can get to the top of both sides, it doesn't matter how the wall looks.
How To Build The Fire Escape

The fire escape is one of the hardest puzzles in the City, so it's good that you can get it out of the way early. Even a single piece out of place can render the whole build unworkable, so be very careful with your positioning as you build!

Start by placing a pair of long plates in each of the four anchor points on the wall. These will create the platforms to which each set of stairs will connect.

Now it's time to build a support structure. Place one of the large pieces with cross-braces entirely on the right-hand side of the build area, touching the corner of the floor plate.
Next, attach the support to the bottom platform from below with a pair of two-by-four plates.

Stack more support rails on top of the first, alternating between small and large ones. With two small supports and a large, you'll reach the height of the third platform.
Attach the supports to the platform using one two-by-four and one square. The extra attachment points will help keep the structure together.

Place the first set of stairs between the ground level and the first platform, and put a thin plate underneath the bottom step to provide more support.
There is enough room in the build area for the stairs to fit exactly, but their placement has to be precise. Make sure that each set of stairs has four pegs of width underneath it with no overlap.

Add the second and third staircases, alternating between the inside and outside of the structure.
The stairs won't line up exactly, so connect them to the platforms with plates where necessary.

Using flat plates, cover the seam between the main plates on the first and second platform. This will hold them together under the weight of the test robots.

Start building the support structure for the left side of the fire escape. To connect the ground level to the second platform, use the exact same structure that you used to connect the first and third; two small supports, a large support, and plates to connect the platform.

Place two square plates on the third platform so that they just barely hang off the left side. This will connect the platform's component plates.
Attach the stairs to the platform with a smooth plate.
If you want, you can add some smooth plates to the right edge to make the platform even.

Place the last set of stairs, leading to the top platform. Attach it using a square plate.

Build a support between the second and fourth platforms, using the same small-large-small sequence. As always, use plates to attach it to the platform from below.
Place a two-by-four plate on the exposed seam between the main pieces of the platform to help it hold together.

Add thin plates to the top of the support structure so that it's flush with the platform.

Cover the left side of the top platform with plates to strengthen its connection to the support.
At this point, the fire escape should work. If parts still break when you run your simulation, add plates under the offending platform to reinforce it.
How To Build The Car

The car only needs the bare essentials in order to function - once you've gotten it running, you can modify it however you like!

Start by attaching all of your two-by-four plates perpendicular to the underside of the base plate. There should be a row of pegs sticking out on each side.

Add the wheels to the front and rear of the car. They're shaped such that they can attach to both the base plate and the orange plates beneath.

Place the headlights at the front of the car.

Attach the steering wheel behind the headlights, then place the driver's seat directly behind that.
Use thin plates to build up the sides next to the driver so that they are flush with the axles.

Place the engine on the rear of the car. At this point, it will work. You can keep building with the parts you have, or finish the challenge then go into Sandbox Mode to create the souped-up plastic ride of your dreams!
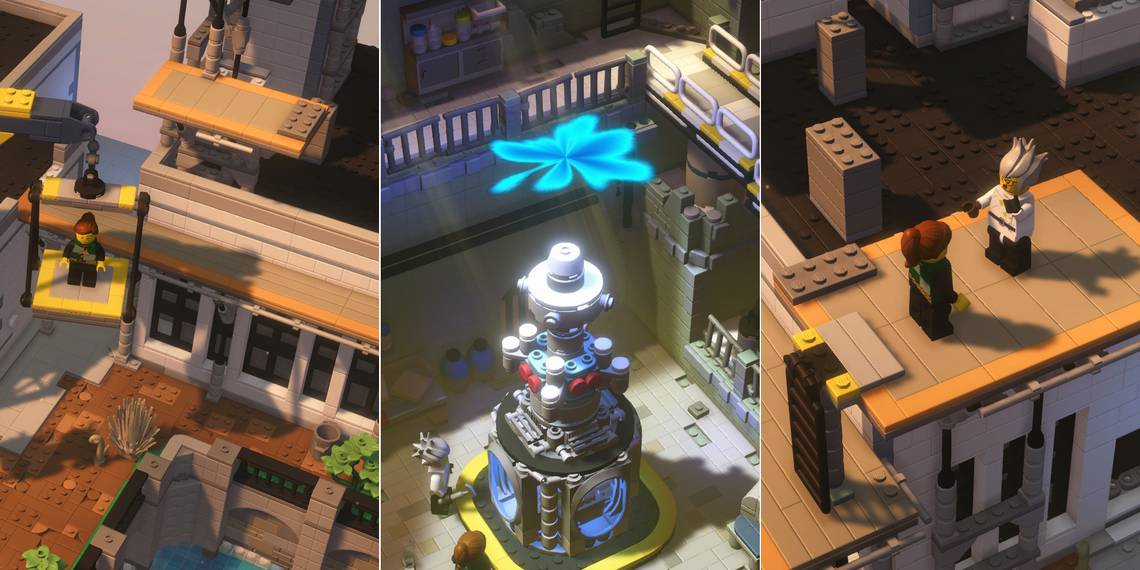
How To Fix The Power Plant

Once you've built a transformer by copying the reference model exactly, the real building challenge at the power plant begins. You need to reconstruct the switch units and control panel to deliver electricity to the city.

When the challenge starts, fill the indentation in the base plate with pieces so that the whole thing is one height.

Continue stacking thin plates until the assembly is tall enough that the control panel can be attached without touching the ground. Three plates' worth of height should be enough.
The control panel can go wherever you like, but should be out of the way if possible - for this build, we put it on the right.

Stack small bricks under the switch silhouette on either the right or left side. Use the taller ones at first, but if you need to use a thin piece to get the height just right that's fine.
When the stack is aligned so that the switch can be placed on top of it in the correct position, do so.

Build a similar structure directly between the two remaining silhouettes. Once it's two bricks and two plates tall, place a splitter on top.

Attach an inverted wedge to each end of the splitter. Both should be high enough to reach the silhouette, but you can use plates to adjust the height if needed.
Place the remaining switches to complete the project!
How To Build The Camera Drone

Once the power is back on, Rita needs you to build a drone to get an aerial view of the city. This is like the gyrocopter in the Jungle, but since the drone has several asymmetrical components it can be trickier to get the right balance.

To begin, place a two-peg plate on top of the anchor piece so that it sticks out to the right. Hang the camera from the right side of the plate.
Next, use two of the curved white pieces to cover the underside of the camera attachment and the anchor piece as shown above.

Cover the tops of the white pieces with single-peg plates so that the top of the assembly is all the same height.

Use a two-by-three plate to extend the assembly toward the rear, and place one of the propellers at the back.

Stack a pair of two-peg plates directly above the anchor point and camera.
From there, build another propeller plate just like the last one, only this time extending toward the front of the drone.

Place the battery and the antenna on the pegs jutting out to the left and right of the vehicle.

Cover the top of the drone with smooth white pieces. This not only gives it a cool futuristic look, but also helps keep the center of gravity where you want it. Run your simulation and watch the drone fly!
How To Build The City Bridge

You've built bridges that can handle foot traffic - can you build one capable of supporting a tractor trailer?

First, build up the central pillar by stacking three thick rectangular bricks on the anchor point.
At the top of the stack, place four tall half-arches on each side to create the basic support.

Fill the gap in the pillar with a pair of long bricks. The top of the pillar will now be a uniform height, and the long bricks will jut out slightly over each side.

Attach two of the smaller half-arches underneath the parts that stick out. This will make the central pillar resemble a plus sign when viewed from above.

Place the road sections so that they connect the two ends of the bridge.

Use a long brick at each corner to connect the bridge to the main road. As long as each brick is half on the bridge and half on the road, they should hold the structure together as the truck crosses.
How To Build The Crane

The construction site's crane is a lesson in LEGO physics. You need to balance the weight on each side to keep the whole thing from breaking.

To begin, place a splitter on top of the pillar, with an inverted wedge on each side to extend the structure in both directions.

Extend the crane arm out using long bricks, and attach the payload at the location of the silhouette. Try to create as many connection points as possible along the way - you'll need them later!
If the payload is outlined in red like in the image above, that means it's not attached to the main structure. This can usually be fixed by sliding a plate in above it to secure a connection.

Use a long brick to extend the counterweight in the opposite direction, and hang bricks from underneath.
Connect the two halves of the structure with a single brick above the splitter.

Start running simulations to see where the crane's weak points are located. Wherever it breaks, add pieces to strengthen it.
Eventually, the crane will break at the splitter. That's your cue to start adding to the counterweight.

Once there is roughly equal mass on both sides of the crane (remember, the payload weighs much more than an ordinary brick) it will be able to get through a simulation without breaking.
How To Build The Rooftop Bridges

To reach the final challenge in the City, you need to build a series of bridges to reach critical points on the rooftops.

Since the purple flag is the highest and therefore the hardest to reach, start by building toward it. Place pillars on the anchor directly beneath it, building evenly until you've used all the cylindrical pieces.

Use the tall inverted wedges to raise the pillar further, with a shorter inverted wedge on top to support the eventual connection to the platform.
Place a set of stairs on the other side of the tall wedges, with a six-by-four plate extending toward the center of the build area underneath.

Build a similar set of wedges on the second ground anchor, with a stair on top aiming to connect with the two assemblies.

Create a bridge of plates connecting the center with your existing builds and the blue flag.
The blue flag is slightly lower than your pillars, so you'll need to build downward by attaching each plate below the one before it.

Place a set of stairs at the green flag's anchor, and build up plates to connect it to the main assembly and the red flag. If any part breaks during simulation, a plate underneath the break point should fix it.
How To Build The Speaker System

To lure the boss robot into your trap, you'll need to broadcast samba music across the city with an epic speaker system! It makes a lot more sense in context.

Place a pillar at each of the four corners of the baseplate. Attach a short horizontal pipe to the top of each pillar, with two facing the front and two facing the rear.

Hang an anchor (the light-blue-and-gray pieces) under each pipe.

Hang a speaker from each anchor, then build up two levels of H-shaped pipes. Be sure to make the upper level perpendicular to the lower one, so that the structure holds itself together.

Place a pipe on each of three corners, this time extending to the left and right of the main scaffold. It doesn't matter which side has two and which has one.

On the side with two pipes, hang your remaining anchors and attach a speaker to each.

Place one of the smooth T-shaped pieces on the far end of the remaining pipe. Place another on the near end, with a stud underneath it so that the two T-shaped pieces are the same height.

Attach the last two speakers to each side of the T-shaped pieces. The system is up and running at this point, but you can add more pipes and antennas for effect if you like.