Quick Links
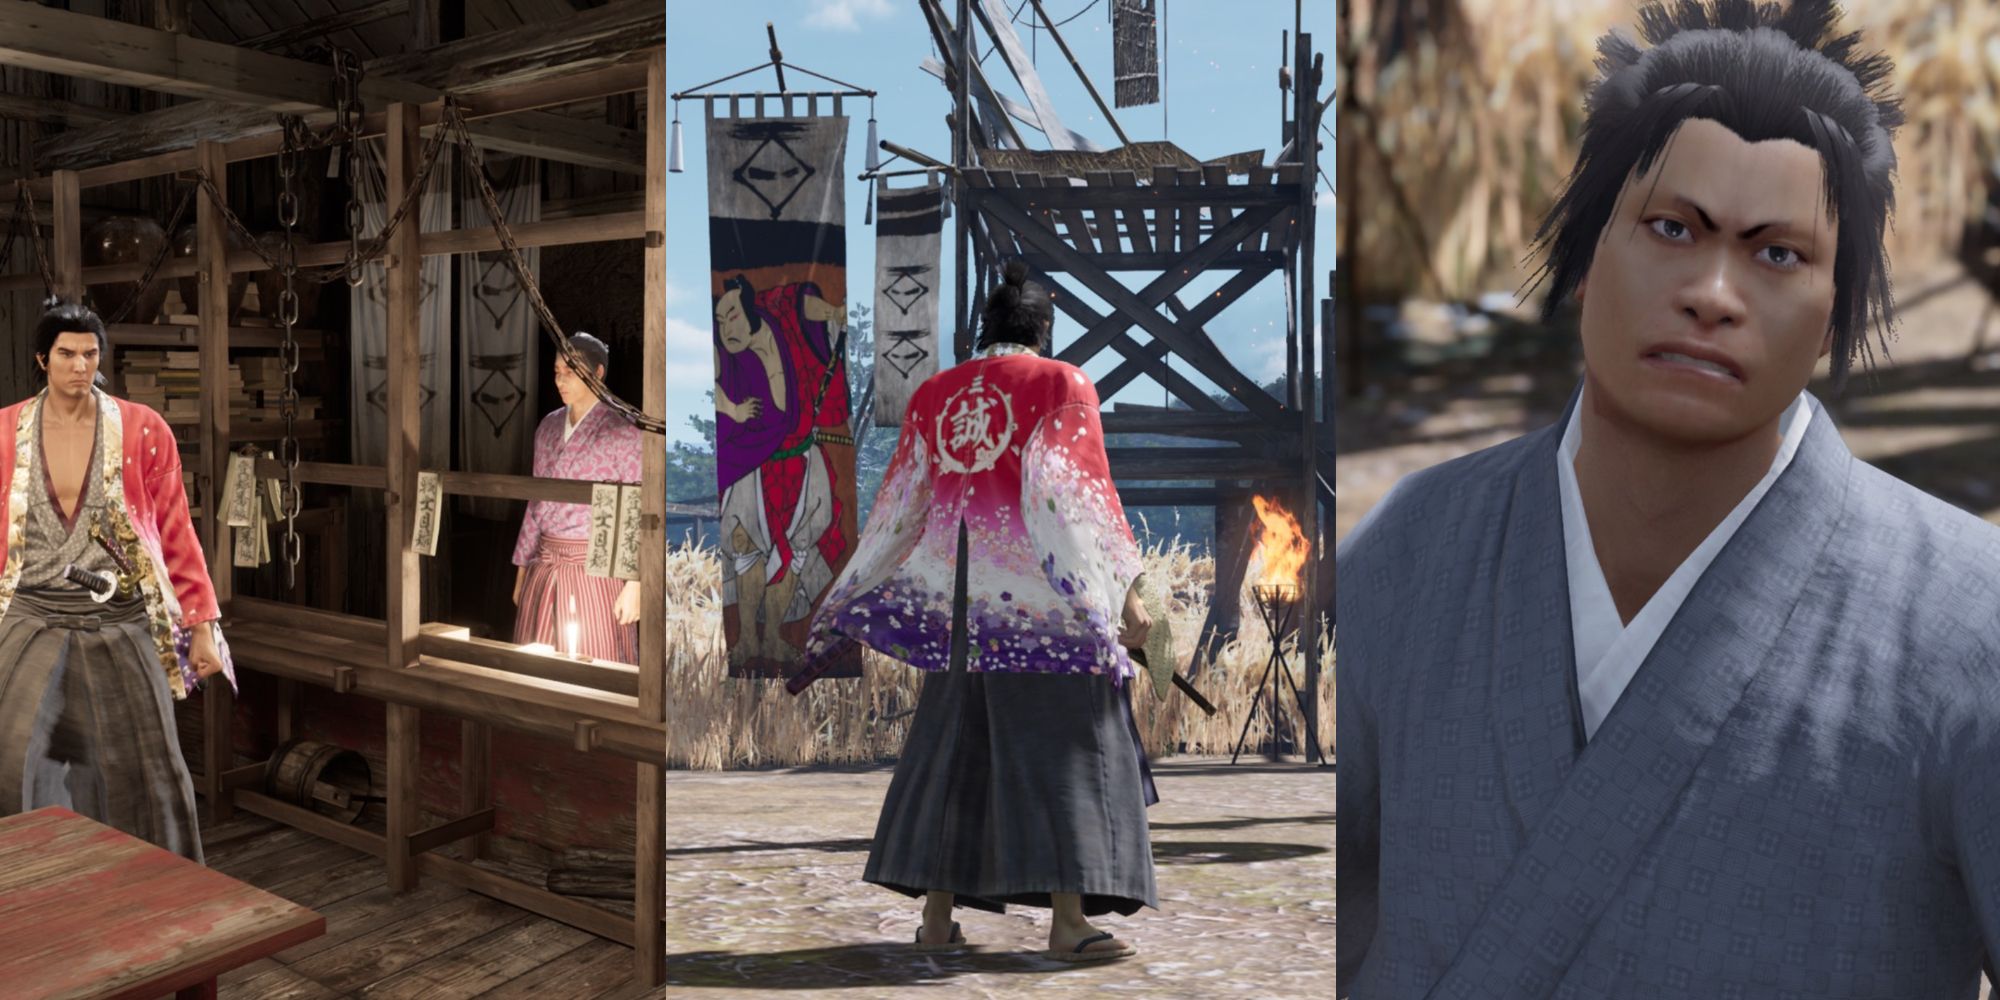
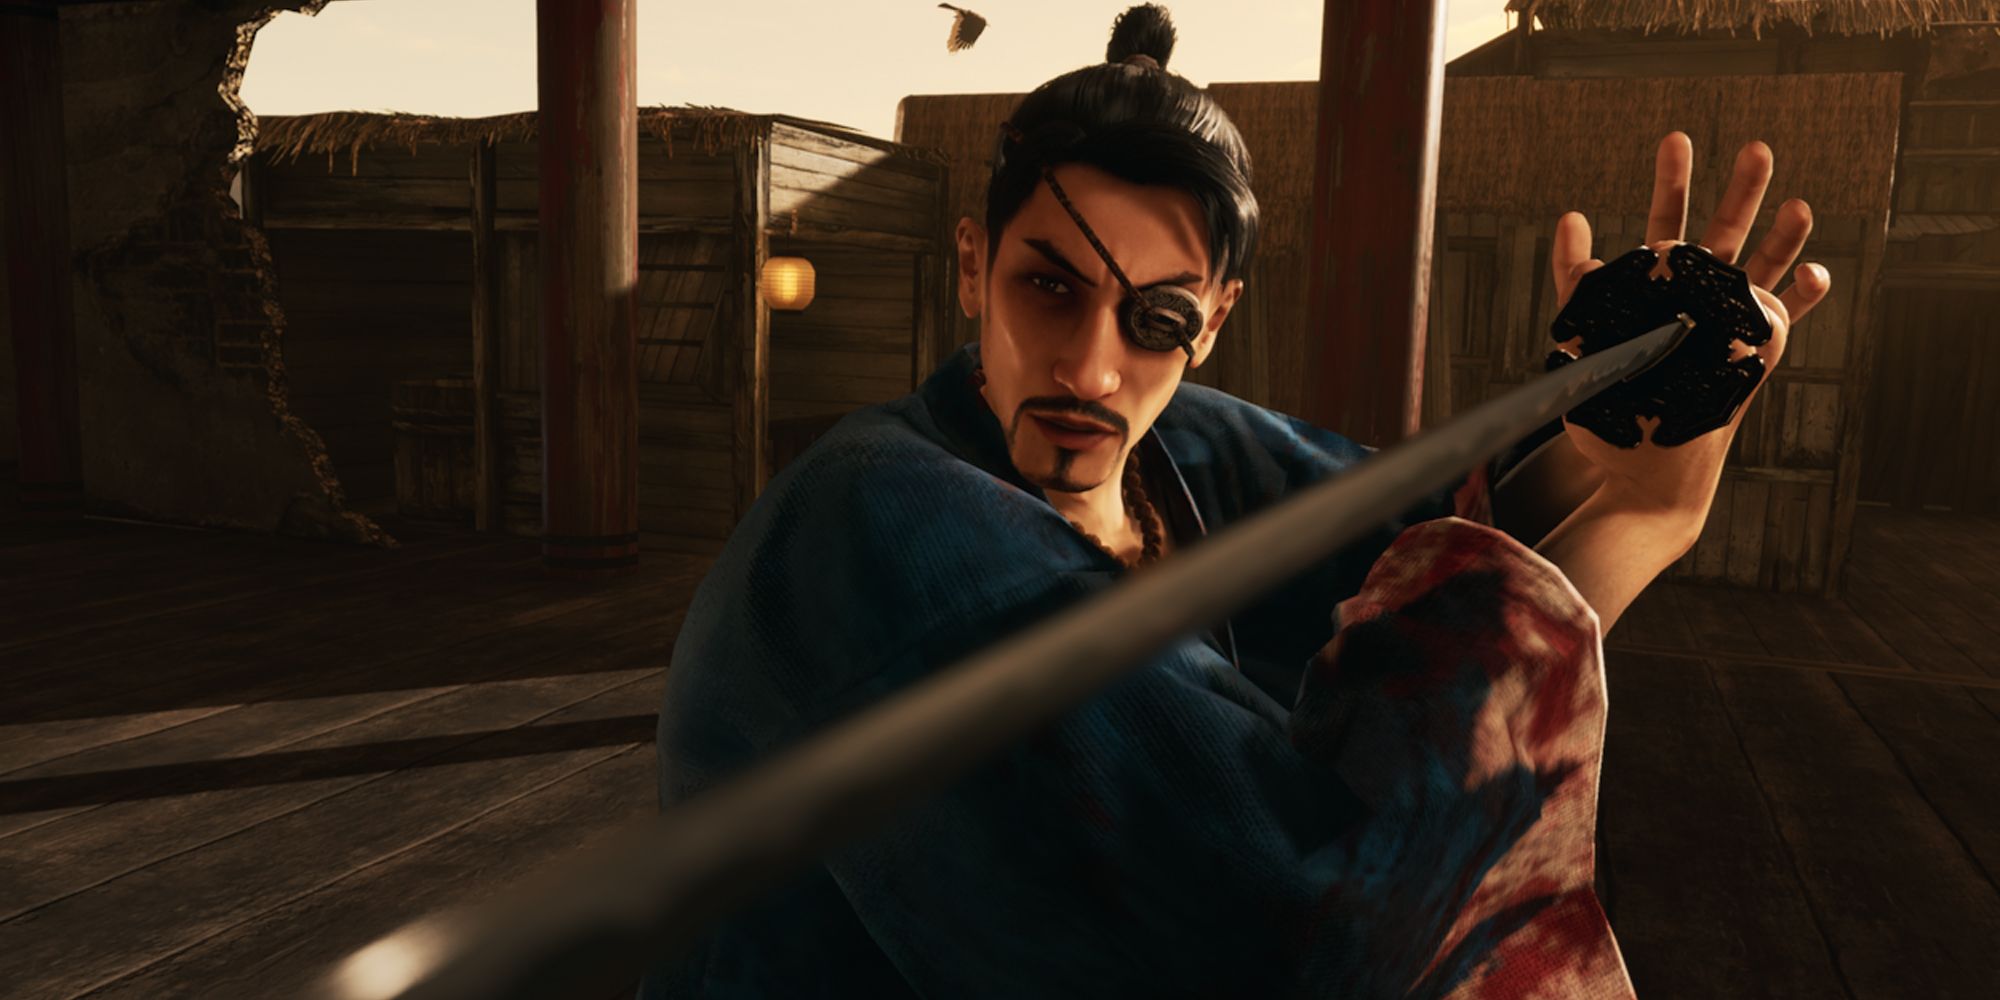
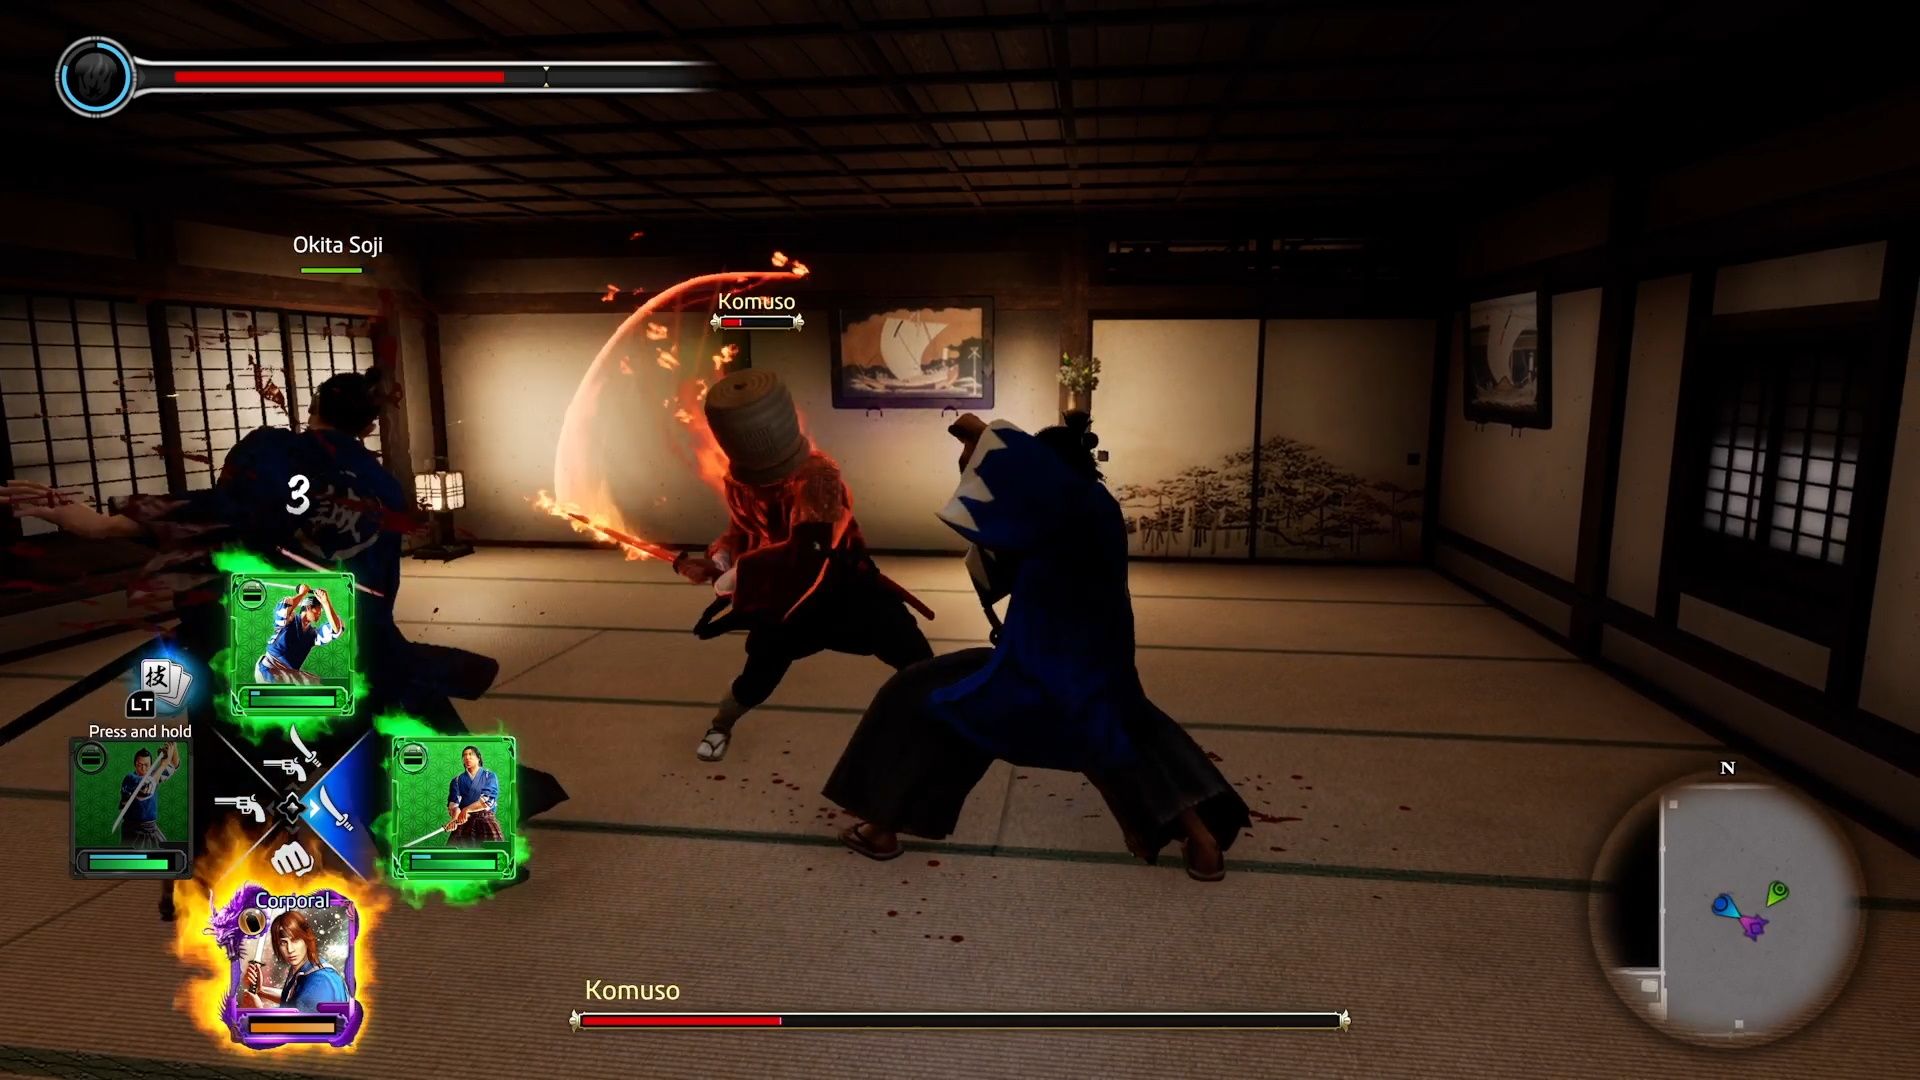
Like A Dragon: Ishin reprises one of these series' most recognizable features via Mukurogai's dangerous brawling club: The Arena. This underground fight club presents the chance for Ryoma to hone his skills against the best fighters in all of Japan.
As you progress through your journey, the Arena will expand its available competitions and add more fearsome foes for you to battle. Participating in the Arena early on is possible, but you'll only receive a taste of the true challenge that awaits. Despite the time it takes to access its most rewarding events, the Arena will be an excellent stop on your postgame tour through the city.
What Are The Rules And Rewards For Arena
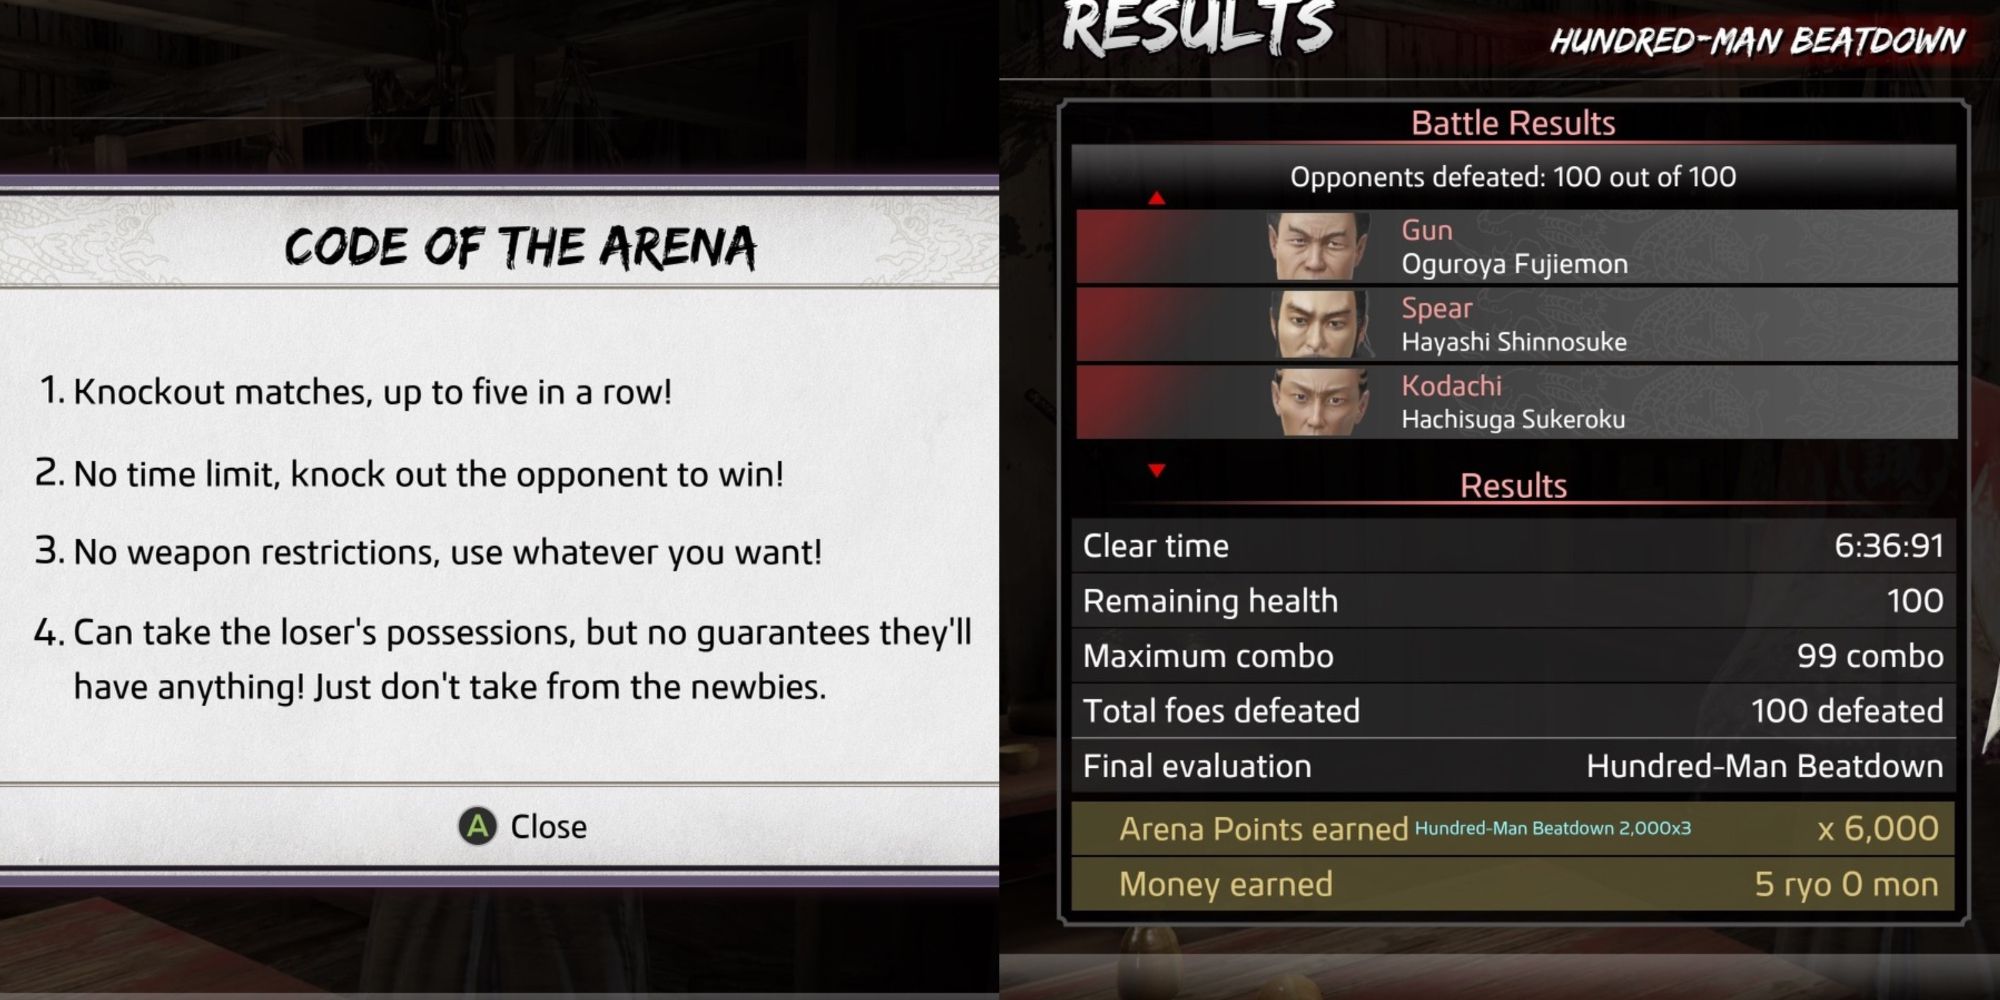
Upon your first visit to the Arena, you'll be able to speak with the clerk and browse the available competitions and rules.
There are two major types of battles in the Arena:
- Knockout Matches
- One-Hundred Man Beatdown
The Knockout Matches will pit Ryoma against five fighters in a row, tasking you with defeating each one without being defeated.
The One-Hundred Man Beatdown will line up a set of 100 fighters to try to defeat Ryoma. The fighters will enter in groups of about ten, and a special challenger will emerge about once every 20 knockouts.
Competition names refer to the theme for the foes you will face; you do not have to use a specific weapon or style in any of the Arena battles.
Most of these rules speak for themselves, except for the one rule they don't have listed: restrictions on healing.
You will not be able to use healing items of any sort during any Arena match, nor will you have a break between opponents to heal.
Using items is not the only way to heal in Ishin. Certain weapon types allow you to regenerate health with each hit but are difficult to acquire.
Despite the inherent difficulty you will face in these battles, the rewards are worth it and offer you an incentive for each fight, even if you are defeated before completing an entire set of five fights.
In addition to the individual rewards, you will receive an extra bonus at the end of a tournament the longer your win streak is against fighters within that competition.
Each fighter has a chance to drop one of their two possible rewards, but they are not guaranteed.
How To Unlock Banquet Of Might
The Banquet of Might is the premier tournament in the Arena and will take quite a great deal of time to unlock.
According to the poster, you can access this tournament once you've fought the strongest men in Kyo.
In order to unlock the tournament, you must complete the Wanted Men missions and then master each combat style by exhausting the lessons of each major trainer:
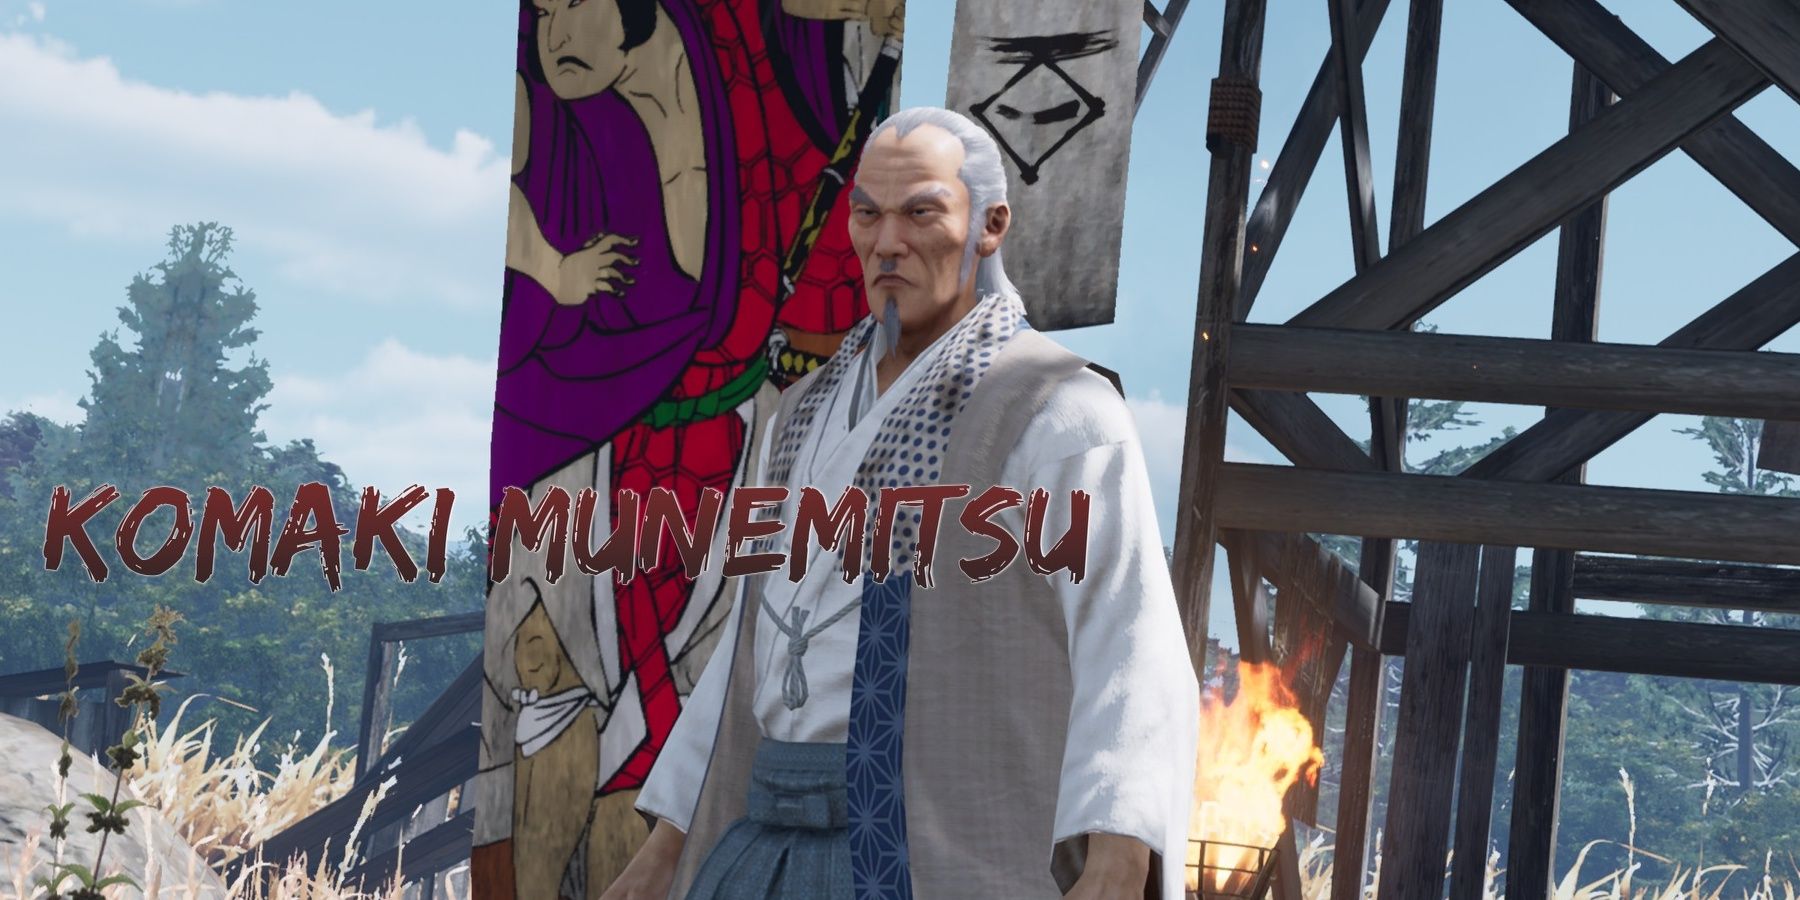
- Komaki Munemitsu – Brawler
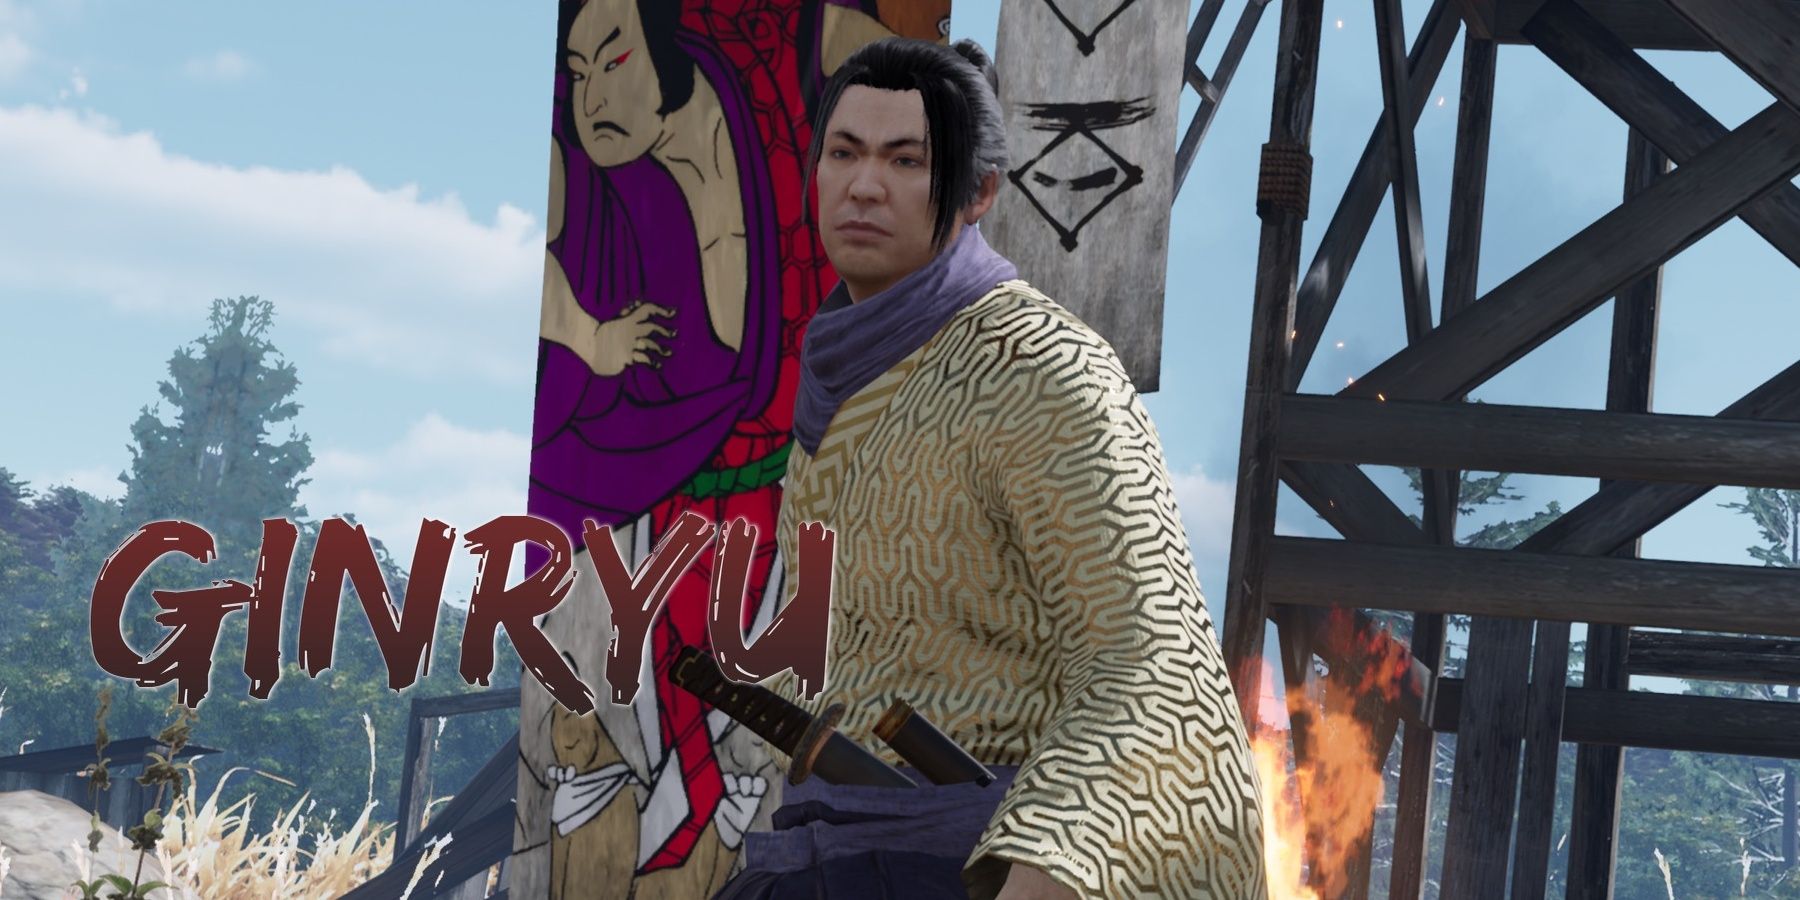
- Ginryu – Wild Dancer / Swordsman
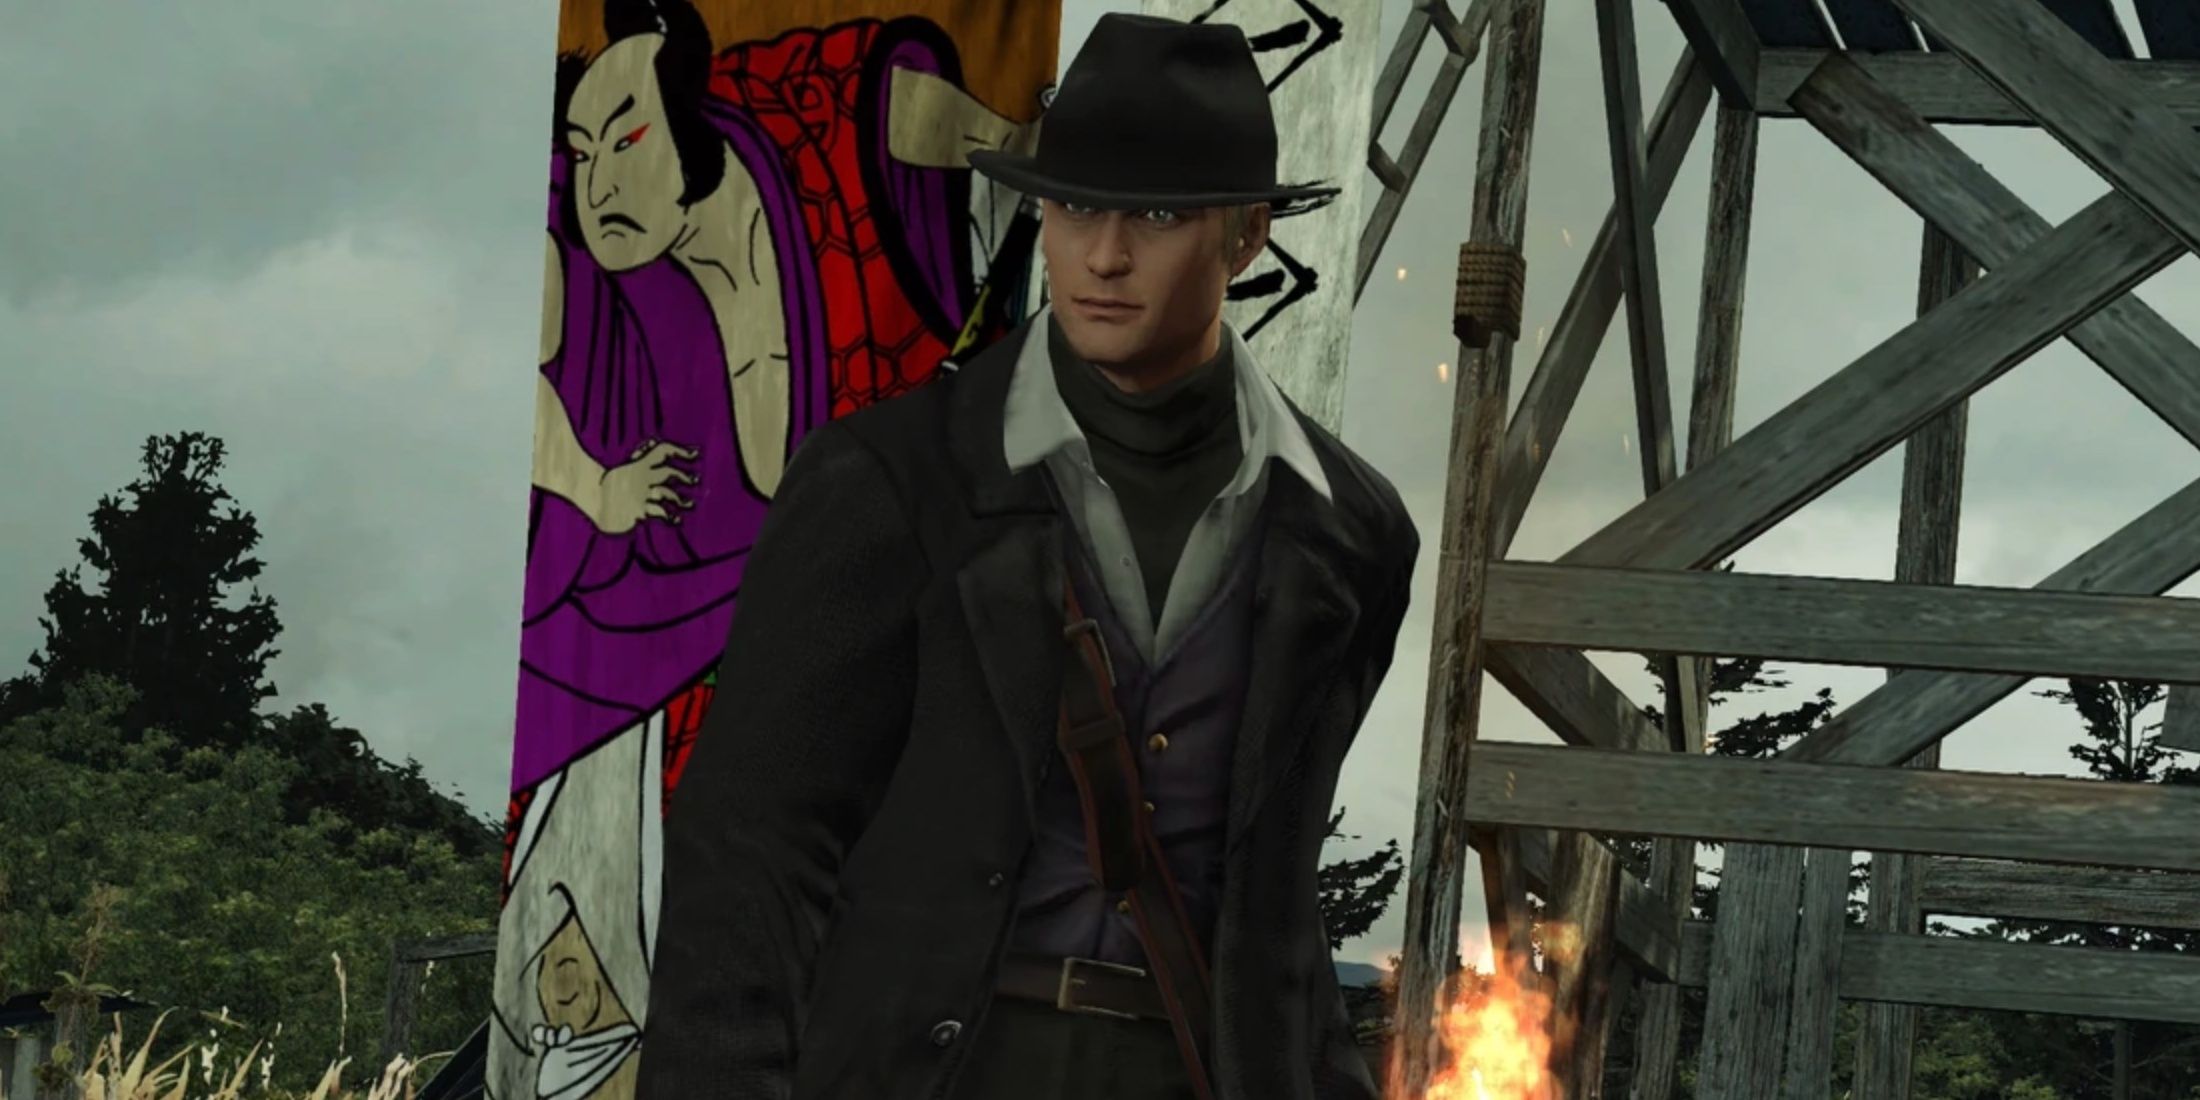
- William Bradley – Gunman
- Professor Shinbei – Cannons
- Professor Juubei – Scarecrow Château
The Wanted Men missions can be located around the corner from the Arena. This location is called Tachibanagumi HQ and will be covered with wanted posters.
Speak with the woman at Tachibanagumi HQ and begin fulfilling her requests.
Keep in mind that you must leave Mukurogai to refresh these mission requests after you complete each batch.
How To Choose A Style
Since you've unlocked the Banquet Of Might, you've had time to try out all four combat styles, each with its own distinct strengths and weaknesses.
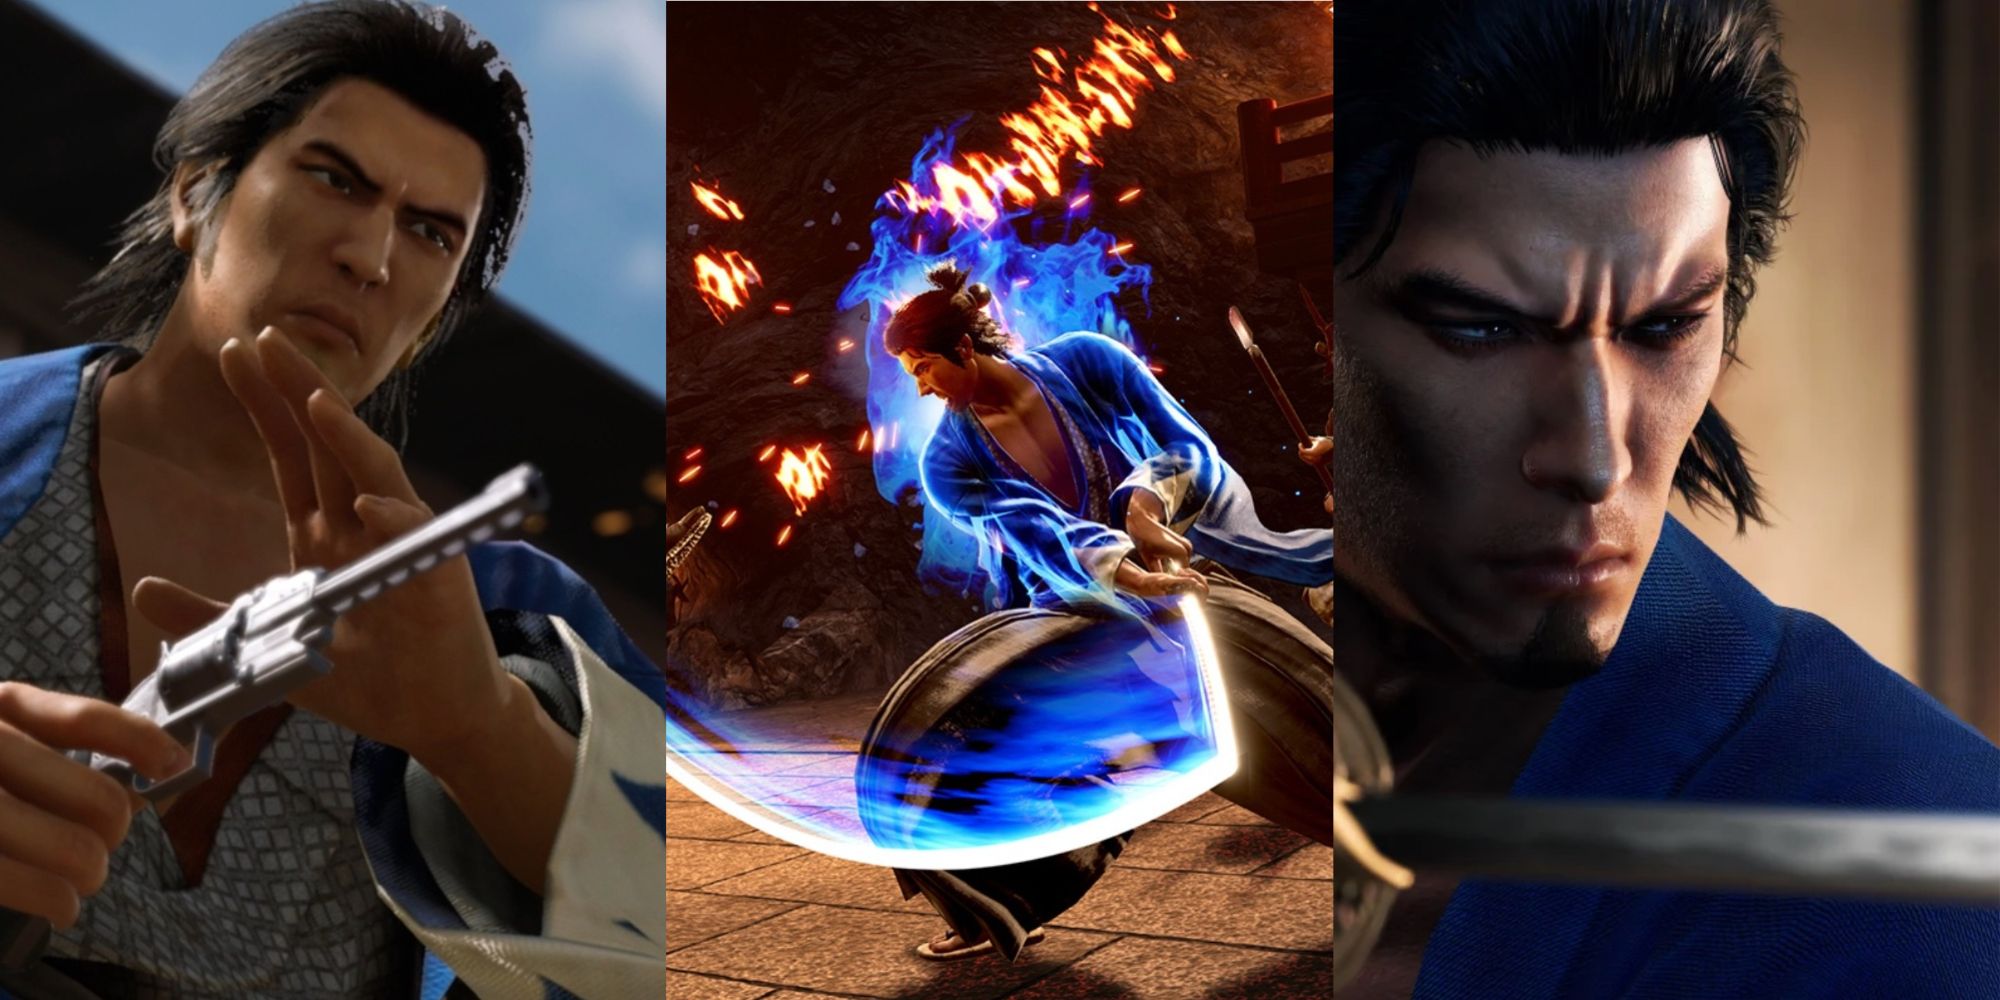
While you should choose the style that you feel offers the highest survivability, two styles stick out due to their excellent balance between offense and defense: Gunman and Wild Dancer.
Each style possesses a number of powerful combat skills you'll make fantastic use of, especially dodging maneuvers like the Texas Two-Step.
The Banquet Of Might rewards fighters who are hard to hit, as your opponents all deal a large amount of damage if you are caught in a combo attack.
Here are some key factors to consider when weighing your choice of style.
Gunman
|
Pros |
Cons |
|---|---|
|
+ Damage from a distance |
- Must be stationary to sustain fire |
|
+ High burst potential |
- Requires careful spacing |
|
+ Access to various elemental bullets |
- Guns prefer more seals |
Wild Dancer
|
Pros |
Cons |
|---|---|
|
+ High mobility |
- No defense |
|
+ Easy to attack and then dodge |
- Requires constant movement and combos |
|
+ High staggering potential |
- High risk/high reward |
Swordsman
|
Pros |
Cons |
|---|---|
|
+ Fantastic damage per swing |
- Slow, clunky attack style |
|
+ Good defensive pivot |
- Hard to chain combos |
|
+ Great Heat Moves |
- Requires dodging and blocking |
Brawler
|
Pros |
Cons |
|---|---|
|
+ High Mobility |
- Low overall damage |
|
+ Solid defensive moves |
- Requires perfect timing |
|
+ Good at counter-attacks |
- Easy to miss your punches |
While you can make any style work if you are well-versed in how to fight with it, it's recommended to go with the Wild Dancer Style if you prefer melee or the Gunman if you prefer range.
Despite its lack of defensive moves, the Wild Dancer style allows you to avoid foes who try to combo their attacks and makes it easy to get behind your attacker to punish them with your own combo.
Similarly, the Gunman will allow you to make excellent use of range as you create space and dodge your foe's attacks.
Always prioritize avoiding damage over dealing damage, as you must conserve health if you hope to triumph.
Which Weapons To Use In The Arena
The Arena is an incredible challenge no matter where you are in the game, so it is highly recommended that you first craft some of the best weapons in the game as you prepare for the challenge.
Since Arena battles don't afford the time to heal, there are two major recommendations to bring with you to mitigate this:
- The Muramasa katana
- The Cuckoo pistol
These weapons both share the ability to restore HP to you every time one of your attacks hits.
Murmasa has two perks that each restore eight percent HP per hit, while Cuckoo has one of the same perks.
The Last Of The Dragons and Blossoming Bud swords also have the ability to restore HP on hit. Any sword or gun with this effect can be used as a replacement.
Alternatively, you can opt for all-out offensive setups if you are confident in your abilities to avoid damage, but these are risky and open the door to failed runs.
For consistency, stick to HP-healing weapons for your attempts.
Bosses, Weapons, And Loot Drops From The Arena
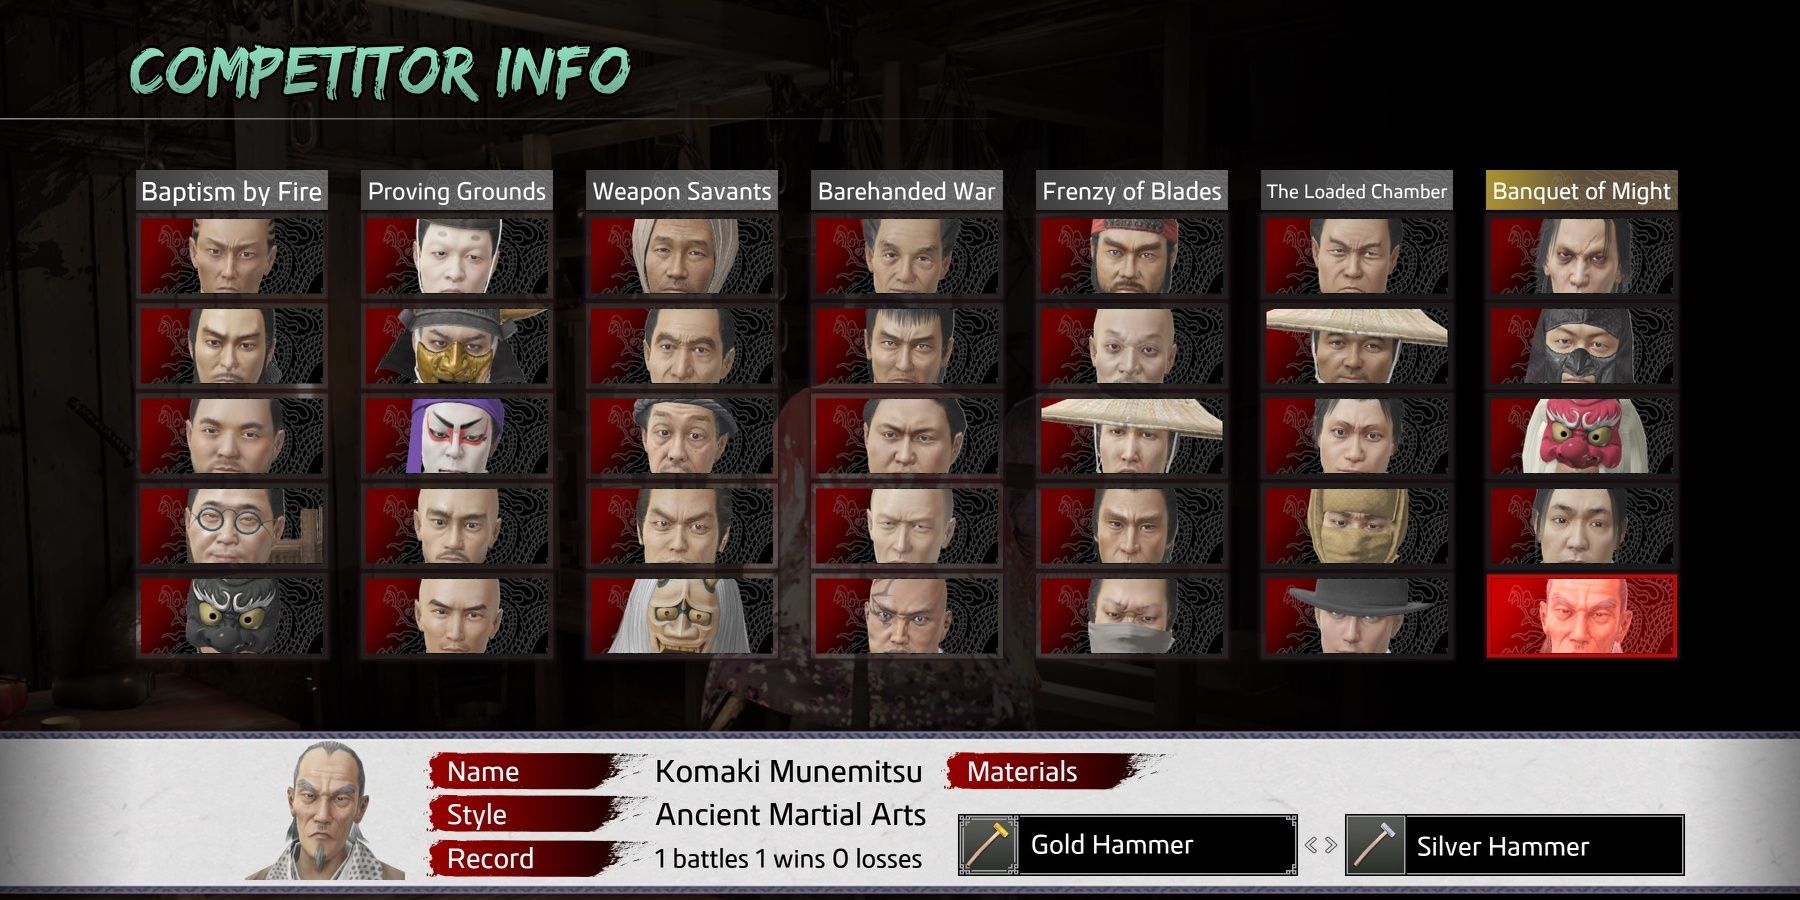
Each tournament has a set of fighters that you face in a random order each time. Their possible rewards and weapons are all listed so that you can prepare for the fights ahead.
Baptism By Fire
|
Fighter |
Weapon |
Potential Drop |
|---|---|---|
|
Hachisuga Sukeroku |
Kodachi |
Bronze Hammer / Iron Hammer |
|
Hayashi Shinnosuke |
Spear |
Bronze Hammer / Iron Hammer |
|
Inomatsu Masanosuke |
Katana |
Ceramic Sake Bottle / Quality Hide |
|
Sakanoue Nishikitaro |
Mace |
Cracked Cutting Board / Quality Hide |
|
Sojo Tengu |
Spear |
Ceramic Sake Bottle / Cracked Cutting Board |
Proving Grounds
|
Fighter |
Weapon |
Potential Drop |
|---|---|---|
|
Hara Yoritomo |
Katana |
Precious Steel / Metal Sheet |
|
Tokawa Kaizo |
Barehanded |
Worn-Out Cogwheel / New Screw |
|
Hozoin Tanenaru |
Spear |
Rusty Spring / Worn-Out Cogwheel |
|
Kaiku |
Mace |
Exquisite Cogwheel / New Screw |
|
Morimura Kenkichi |
Katana |
Silver Scrap / Metal Sheet |
Weapon Savants
|
Fighter |
Weapon |
Potential Drop |
|---|---|---|
|
Tabatake Keeijiro |
Garden Hoe |
Driftwood / Dead Branch |
|
Omiya Toryo |
Sledgehammer |
Driftwood / Solid Wood |
|
Fujita Seijiro |
Jitte |
Sturdy Lumber / Solid Wood |
|
Tatsuwashi Taigen |
Spear |
Driftwood / Soft Lumber |
|
Kijin Genzo |
Mace |
Sturdy Lumber / Dead Branch |
Barehanded War
|
Fighter |
Weapon |
Potential Drop |
|---|---|---|
|
Takanenohana |
Barehanded |
Vermillion Fabric / Bronze Hammer |
|
Kamata Harukaze |
Barehanded |
Wild Silk / Bronze Hammer |
|
Yawarabatake Nansaburo |
Barehanded |
Beast's Tail / Beautiful Pelt |
|
Komiya Saburota |
Barehanded |
Fine Horse's Mane / Beast Tail |
|
Shiden |
Barehanded |
Fine Silk Fabric / Vermillion Fabric |
Frenzy Of Blades
|
Fighter |
Weapon |
Potential Drop |
|---|---|---|
|
Tatano Takeru |
Katana |
Platinum Fillings / Gold Chunk |
|
Tosenbo |
Odachi |
Silver Hammer / Gold Chunk |
|
Goyo Kogoro |
Katana |
Platinum Fillings / Gold Nugget |
|
Sakurada Nobukuni |
Katana |
Silver Hammer / Platinum Fillings |
|
Nitta Isao |
Katana |
Silver Hammer / Gold Nugget |
The Loaded Chamber
|
Fighter |
Weapon |
Potential Drop |
|---|---|---|
|
Oguroya Fujiemon |
Pistol |
Mechanical Parts / Exquisite Cogwheel |
|
Futaosa Hanao |
Pistol |
Small Wind-Up Device / Exquisite Cogwheel |
|
Ota Yohei |
Pistol |
Mechanical Parts / Rusty Spring |
|
Yellow Ninja |
Pistol |
Small Wind-Up Device / Rusty Spring |
|
William Bradley |
Pistol |
Broken Compass / Small Wind-Up Device |
Banquet Of Might
|
Fighter |
Weapon |
Potential Drop |
|---|---|---|
|
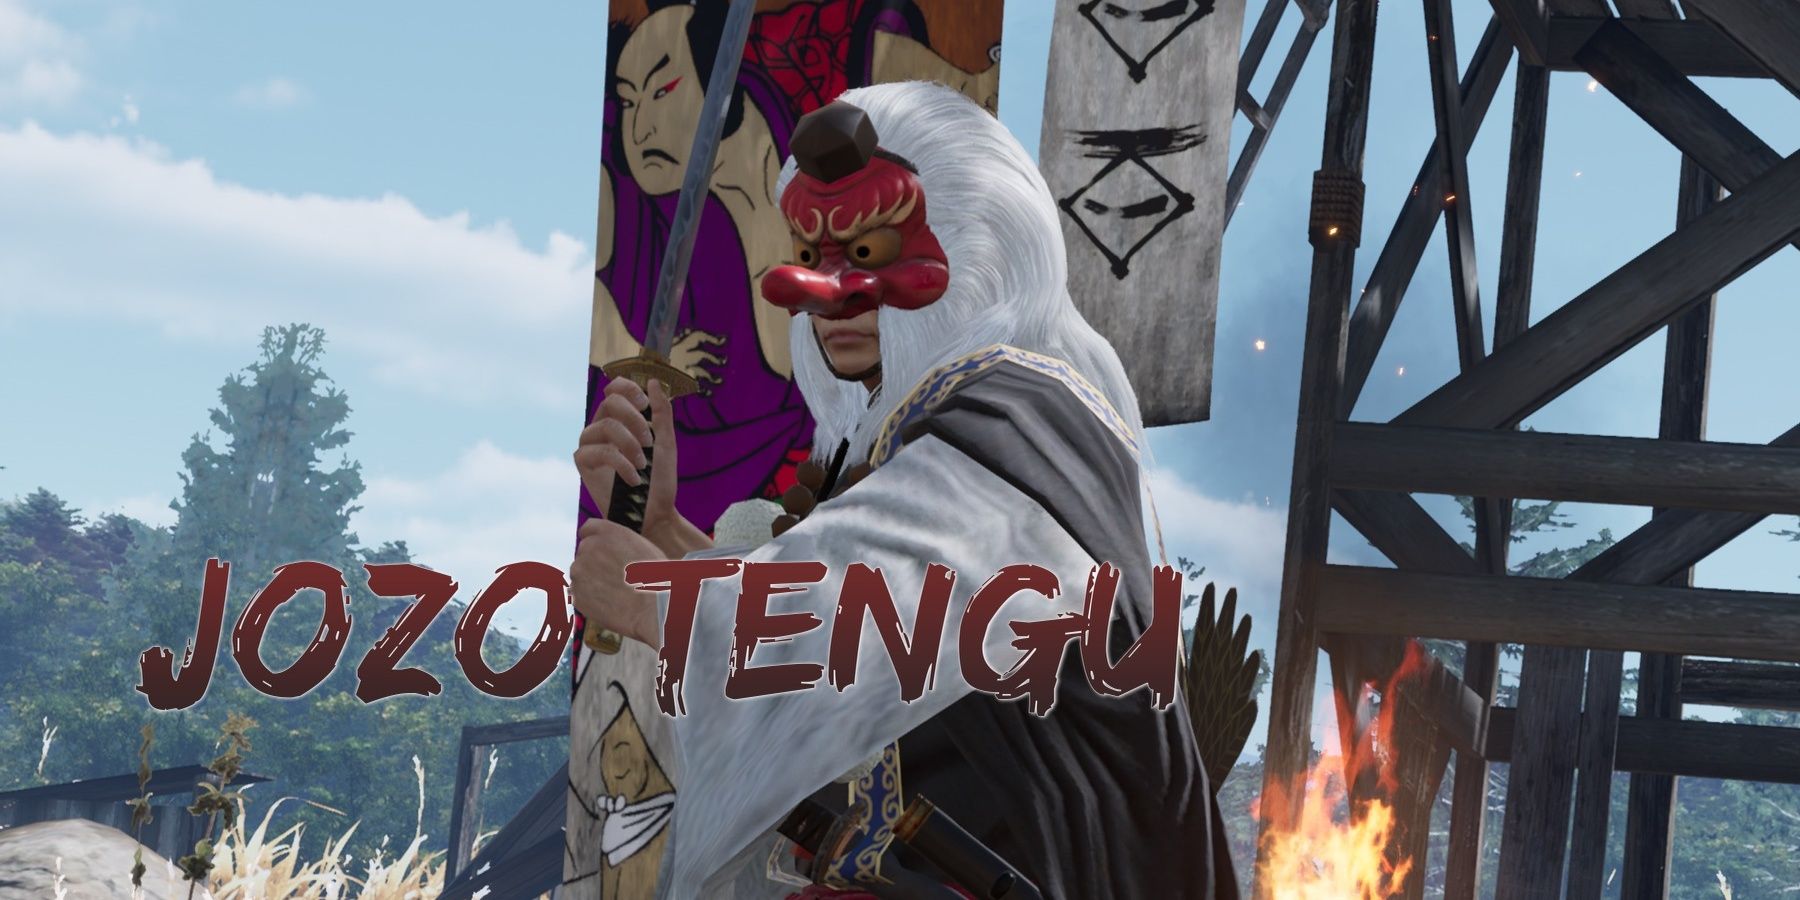
Jozo Tengu |
Katana |
Sacred Wood / Thousand-Year Tree Branch |
|
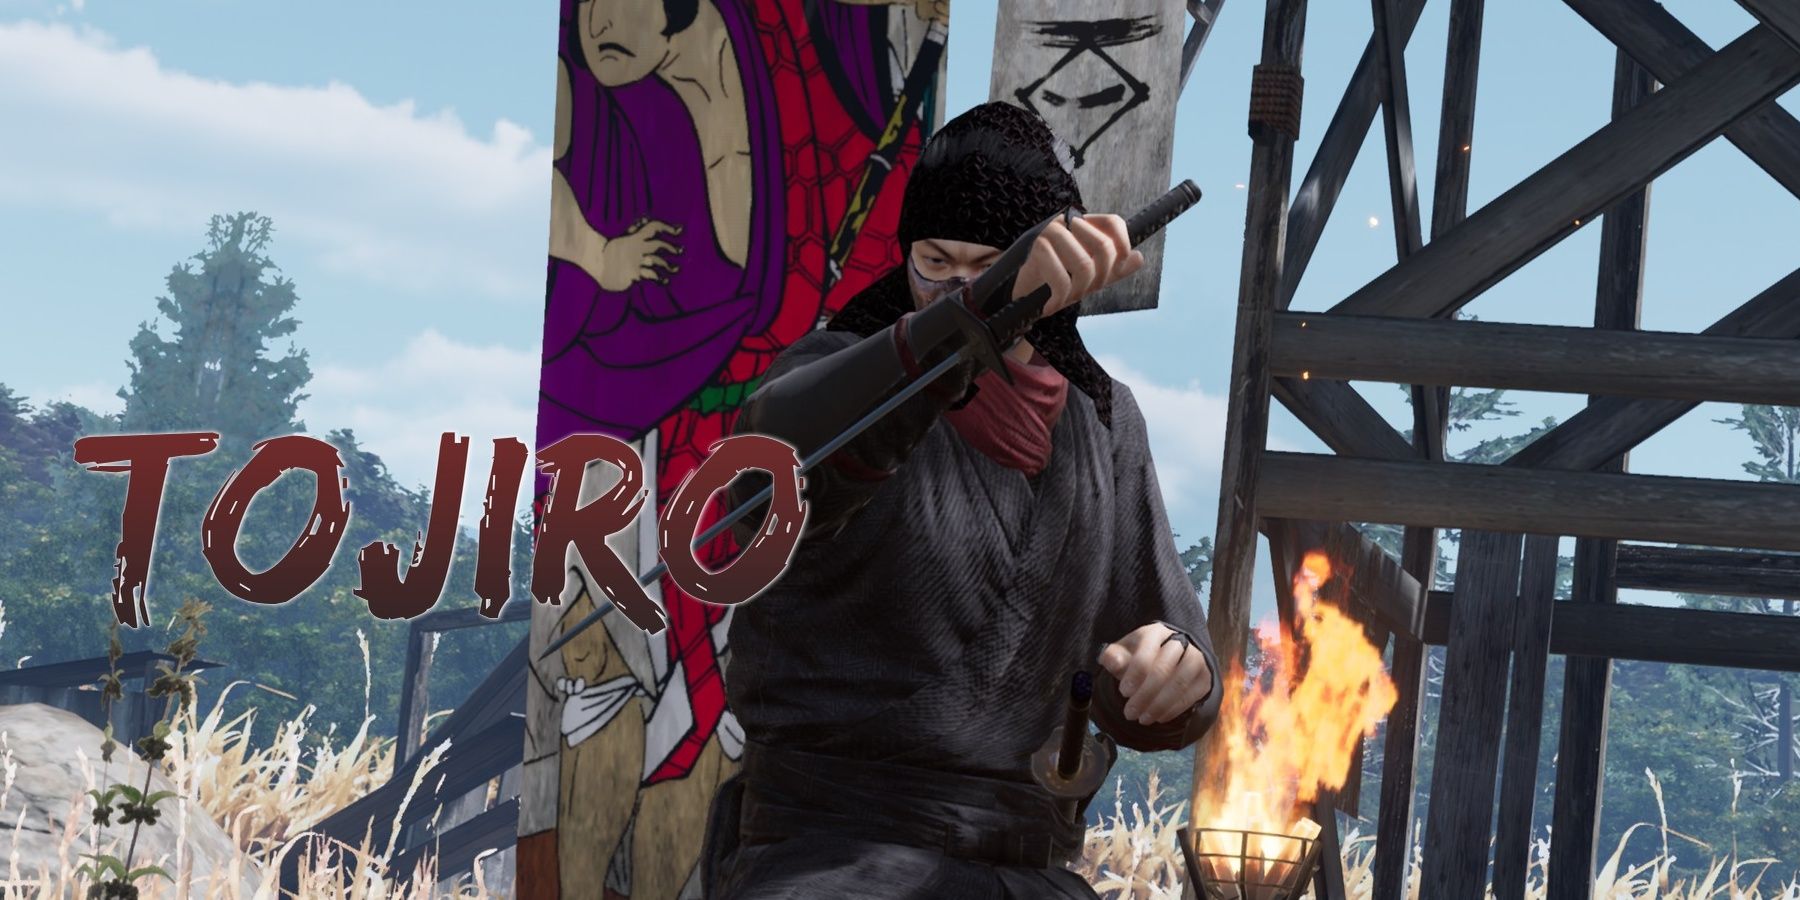
Tojiro |
Short Sword |
Fine Silk Fabric / Vermillion Fabric |
|
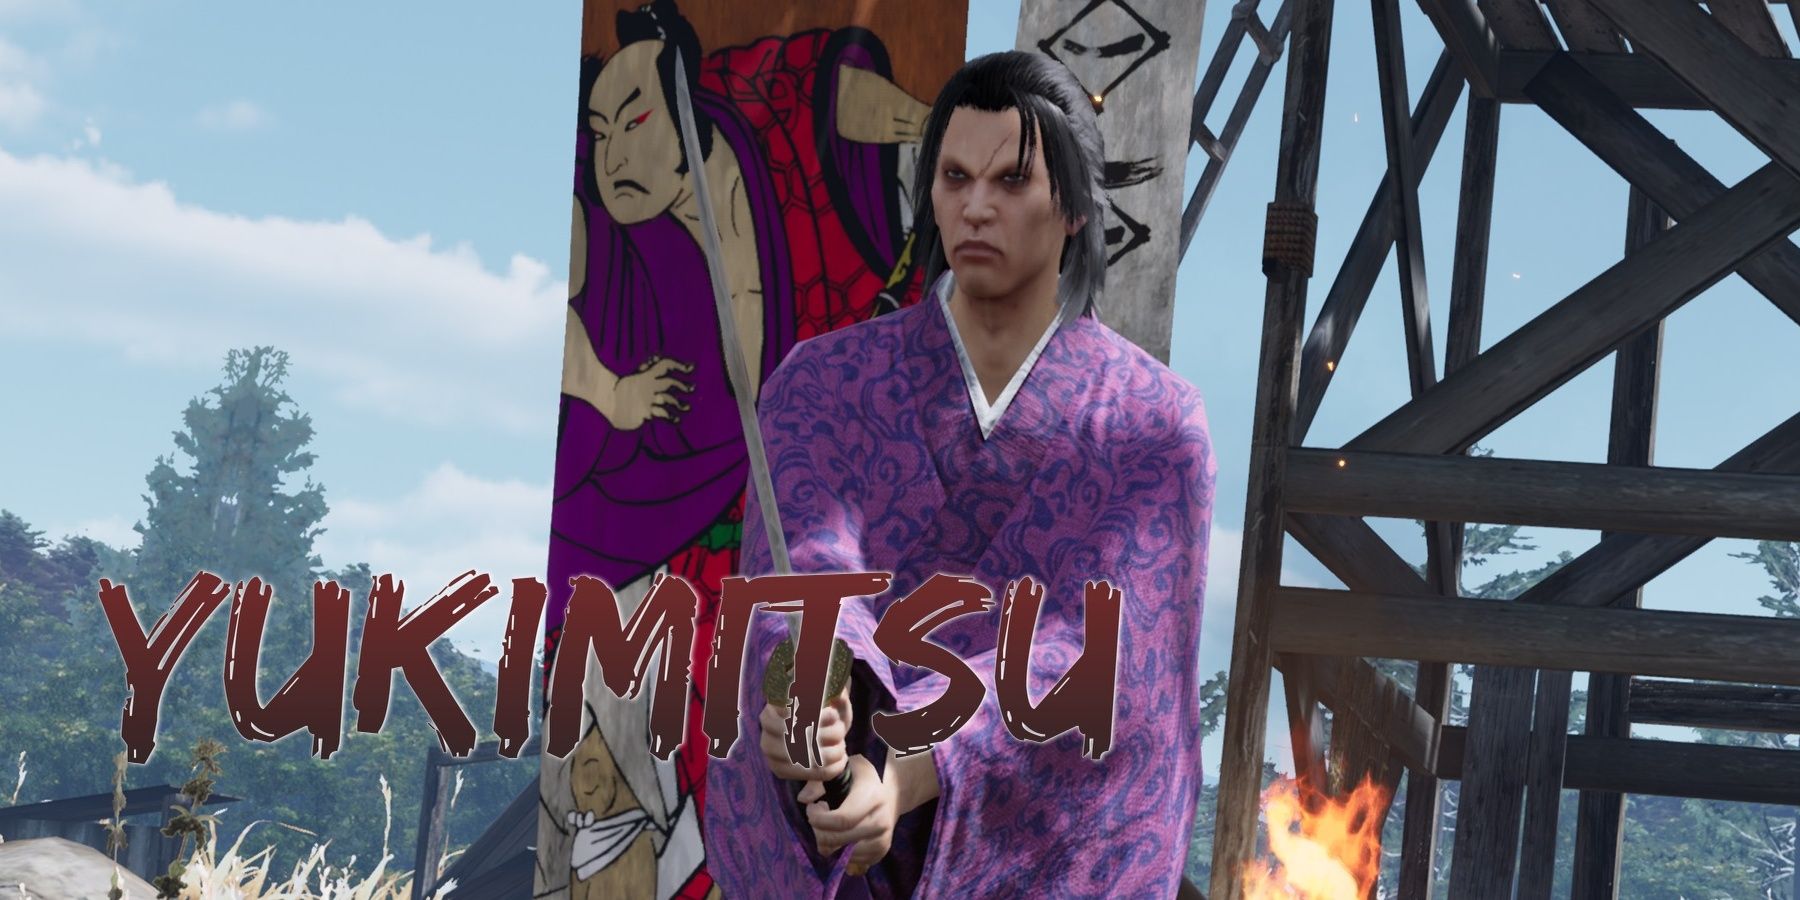
Yukimitsu |
Katana |
Gold Chunk / Gold Nugget |
|
Ginryu |
Katana |
Platinum Chunk / Platinum Fillings |
|
Komaki Munemitsu |
Barehanded |
Gold Hammer / Silver Hammer |
The Banquet Of Might competitors offer some of the most challenging fights in the game. Avoid being caught in combos, especially by Komaki Munemitsu.
While you should be able to progress through each tournament without much issue, your final challenge will not be a walk in the park.
The Banquet of Might is made up of rematches against some of the most formidable foes and superb weapon masters you have encountered thus far.
How To Beat The Banquet Of Might
In order to tackle these fights, you will need to carefully study your opponent's patterns and exploit their weaknesses. These are the best strategies for each boss fight.
Jozo Tengu
Jozo is the easiest of the five men you fight in the Banquet as his style is predictable and slow.
He will attack with a well-telegraphed sword slash in front of him or with a combination of slashes. Simply dodge to the side or behind and unleash your attacks.
Tojiro
Much like Jozo, Tojiro is not likely to last very long in your fight. While this ninja is capable of some surprising counter-attack kicks, he is exceptionally easy to stagger and can be cheesed.
You will notice that Tojiro likes to create space by simply turning his back and running away.
If you push Tojiro into a corner while he tries to do this, he can get stuck running into an invisible wall, allowing you to begin an unending combo of attacks on his back.
Alternatively, you can continue to slash at him as he runs away, and he occasionally forgets to turn around, allowing you to win as he runs endlessly.
Yukimitsu
Yukimitsu has a similar style to Jozo but is much faster and has more HP.
Yukimitsu will walk toward you slowly and then suddenly slash at you with one or two quick movements.
His attacks are difficult to predict with their small windups, so keep moving and stay behind or to his side when he attacks.
Ginryu
Ginryu is the best swordsman in the group and shares Yukimitsu's unpredictability. He can attack with a sudden forward dash that can easily knock you down.
He likes to chain combinations together, so don't stop moving until he misses; keep dodging until the next attack, then counter.
Komaki Munemitsu
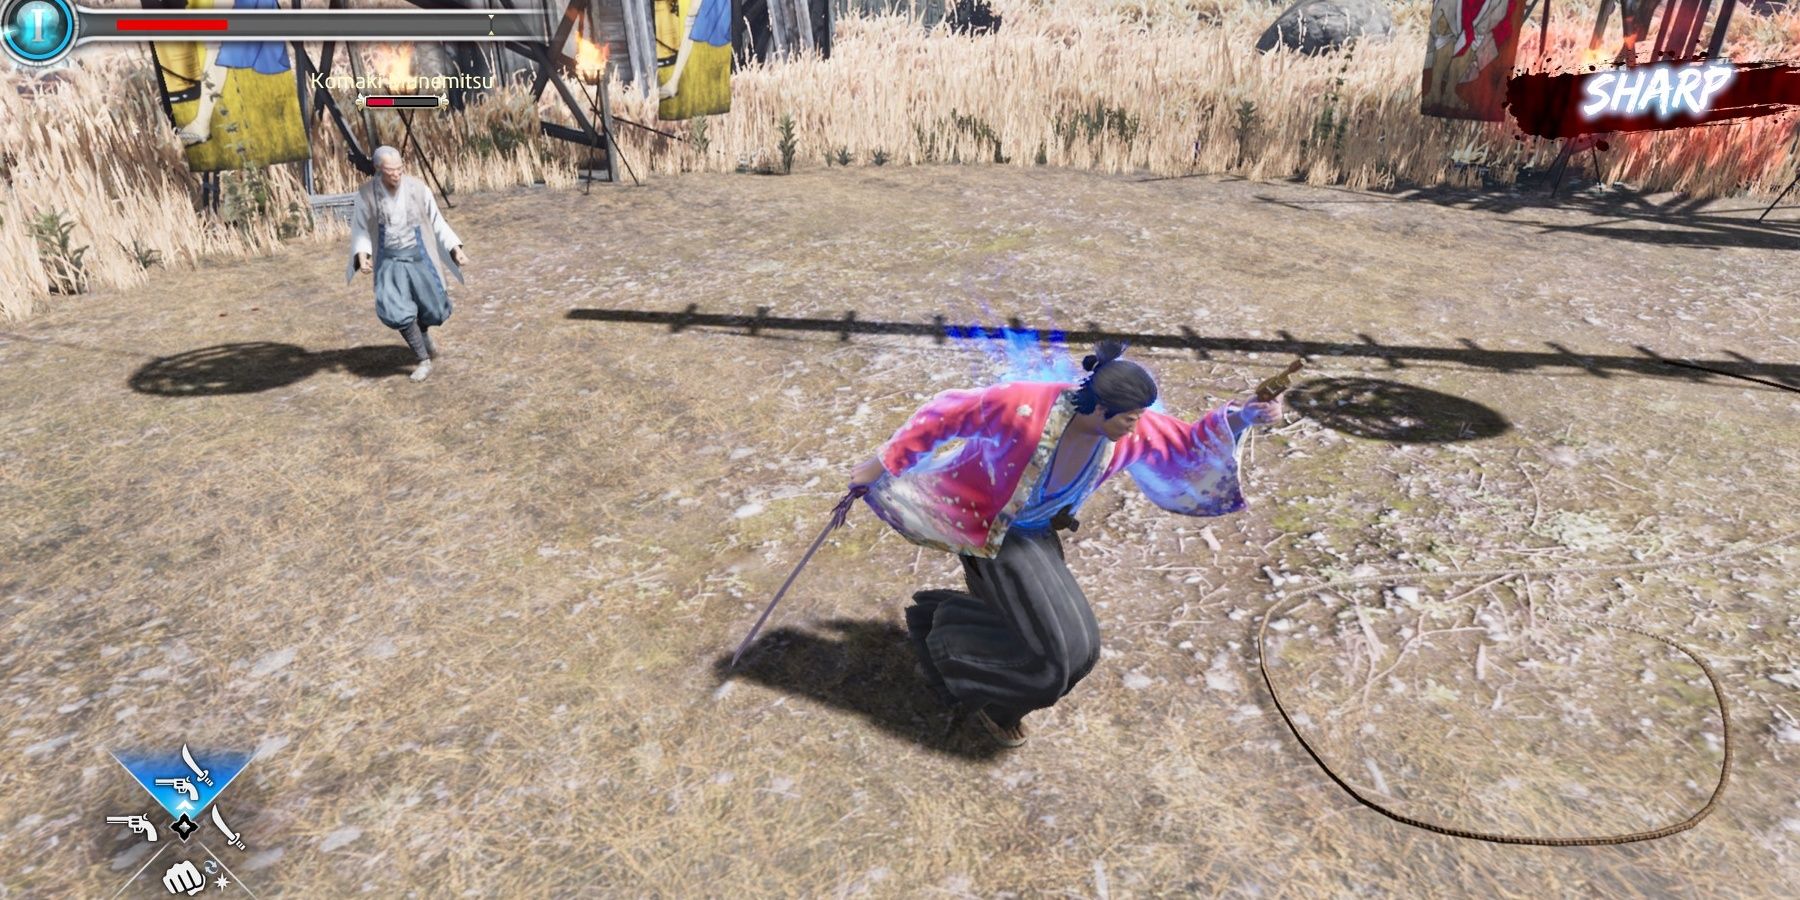
Komaki is easily the strongest man in the Arena and perhaps one of the most difficult fights in all of Ishin.
The key here is maintaining space so that you can get Komaki to attack right as you're dodging to ensure you avoid his tracking punches. Essentially the idea is:
- Run until he chases
- Stop or turn toward him to bait an attack
- Dodge past him as he attacks
- Counter-attack
If you are using melee, allow Komaki to finish his combos before going for your counter. He can sometimes add an extra punch when it seems he is done with his three-punch combo.
Avoid getting knocked down or caught by Komaki's fists, as he can easily remove chunks of your HP bar in an instant.
Keep your distance and never go for more than five sword slashes at once, or he will block you and counter-attack with a devastating combination.

