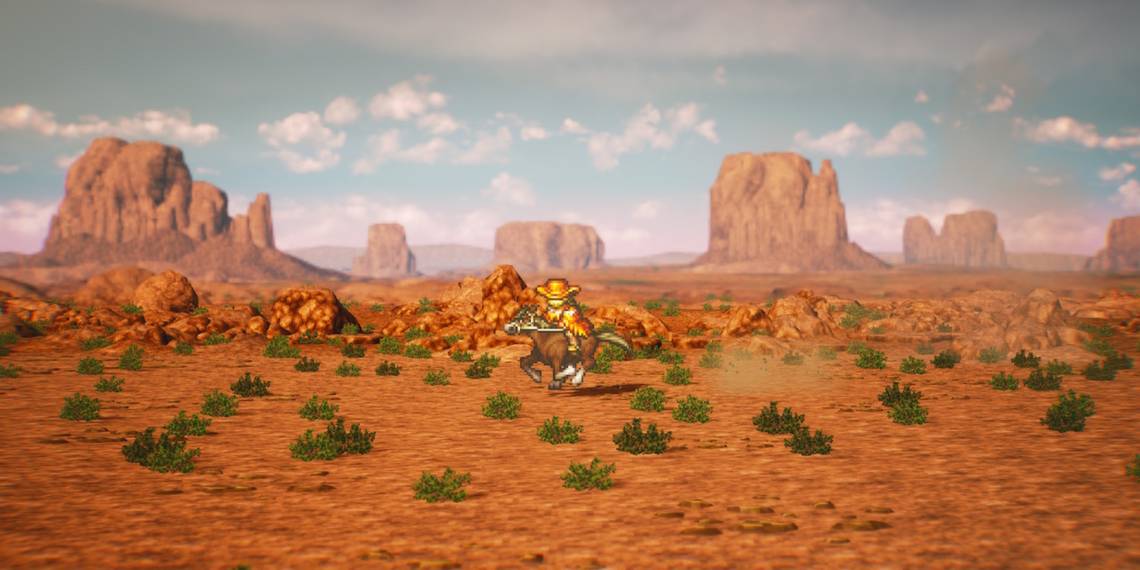
The Wild West chapter in Live A Live tasks the Sundown Kid with fending off an attack by a gang of outlaws. After several scenes of exposition and a couple of one-on-one gunfights, the scenario's main challenge takes place; you have eight minutes to scrounge up all the items you can and delegate the townsfolk to setting traps before the Crazy Bunch arrives.
Using every item in town can lead to a waste of resources, and knowing which townsfolk are the most reliable ensures that all traps are ready before the outlaws show up. Here's how to eliminate the Crazy Bunch and force their leader to face you alone.
All Item Locations

Every building has at least one item in it that you can use to defend the town. Starting at the saloon and moving clockwise around town, the buildings are:
Saloon
|
Item |
Location(s) |
Use |
|---|---|---|
|
Herbal Liniment |
|
Heal HP to the user during battle. |
|
Slingshot |
|
Can be used by Billy to set a trap. |
|
Barkeep's Beloved Poster |
|
Can be used by anyone to set a trap. |
|
Annie's Diary |
|
No practical use; give it to Annie, and she'll slap you. |
|
Strip Of Jerky |
|
Heal HP and buff the user during battle. |
|
Oil |
|
Combine with an empty bottle to make Bottled Fire. |
|
Miracle Tonic |
|
Heal and cure status effects for nearby allies. |
Post Office
|
Item |
Location(s) |
Use |
|---|---|---|
|
Herbal Liniment |
|
Heal HP to the user during battle. |
|
Strip of Jerky |
|
Heal HP and buff the user during battle. |
|
Empty Bottle |
|
Combine with oil to make Bottled Fire. |
Sheriff's Office
|
Item |
Location(s) |
Use |
|---|---|---|
|
Strip of Jerky |
|
Heal HP and buff the user during battle. |
|
Peacemaker |
|
+4 Attack equipped in the right hand. +2 Speed equipped in the left hand. |
|
Dynamite |
|
Can be used by anyone to set a trap, or thrown during combat to deal damage. |
|
Buntline Special |
|
+4 Speed when equipped in either hand. |
Miner's Lodge
|
Item |
Location(s) |
Use |
|---|---|---|
|
Empty Bottle |
|
Combine with oil to make Bottled Fire. |
Larder
|
Item |
Location(s) |
Use |
|---|---|---|
|
Shovel |
|
Can be used by anyone to set a trap. |
Diner
|
Item |
Location(s) |
Use |
|---|---|---|
|
Oil |
|
Combine with an empty bottle to make Bottled Fire. |
|
Frying Pan |
|
Can be used by Annie to set a trap, or equipped to Sundown for a defense boost. |
|
Carrot |
|
Can be used by anyone to set a trap. |
Wayne's Boarding House
The Boarding House is huge and contains only a single, well-hidden item. Upon entering the building, go through the door on the bottom left. Note the barrels under the stairs. Behind them is a door that you can't see; open it to find a room with a chest in the upper-left corner. Open it to obtain the Bundle Of Rope, then move on to the next building; the rest of the Boarding House is designed to waste your time.
Stables
|
Item |
Location(s) |
Use |
|---|---|---|
|
Carrot |
|
Can be used by anyone to set a trap, |
|
Horse Shit |
|
Can be used by anyone to set a trap. |
|
Empty Bottle |
|
Combine with oil to make Bottled Fire. |
Storehouse
|
Item |
Location(s) |
Use |
|---|---|---|
|
Coal Tar |
|
Can be used by anyone to set a trap. |
|
Carrot |
|
Can be used by anyone to set a trap, |
Sheriff's House
|
Item |
Location(s) |
Use |
|---|---|---|
|
Oil |
|
Combine with an empty bottle to make Bottled Fire. |
Brewery
|
Item |
Location(s) |
Use |
|---|---|---|
|
Miracle Tonic |
|
Heal and cure status effects for nearby allies. |
All Traps

Giving an item to a townsperson will send them to set the related trap. Each townsperson takes a different amount of time to set a trap, and if a trap isn't finished by the time the eighth bell rights it won't have any effect.
Annie, the Barkeep, the Sheriff, and Dallas can all set traps in under two minutes, potentially letting them get two done given enough time.
Billy takes the longest, needing three and a half minutes to complete any job given to him, but is the only townsperson who can set a trap with the Slingshot.
Delos, the middle mariachi player, can take as little as one second to set a trap or as long as four minutes, and there is no way to tell where on that spectrum he will fall.
While it is possible to set the same trap twice by giving identical items to townspeople, only the first copy of a trap has any effect. Since extra copies of a trap are effectively wasted, it's important to only give away one item of each type and keep the rest for yourself to use in combat. The possible traps are:
|
Item |
Effects |
|---|---|
|
Barkeep's Beloved Poster |
|
|
Bottled Fire |
|
|
Bundle of Rope |
|
|
Carrot |
|
|
Coal Tar |
|
|
Dynamite |
|
|
Frying Pan |
|
|
Horse Shit |
|
|
Shovel |
|
|
Slingshot |
|
Recommended Strategy

When Mad Dog suggests that you save the game, do so immediately. That way you can load if you make a mistake or the fight with Dio goes badly. The timer begins as soon as he stops talking, so once you've saved get started right away. Grab everything in the saloon, then work your way around town getting everything you can. Even with a little backtracking and stopping to craft Bottle Fire when you have the ingredients, you should still be able to return to the saloon before the fourth bell.
Speak to the Sheriff to begin assigning tasks to the townsfolk. Give Billy his Slingshot back right away, since he needs a long time to set it up. Dynamite, Rope, and Bottled Fire should be given to Dallas, the Barkeep, and the Sheriff to ensure that these powerful traps are set with plenty of time to spare. If you decide to keep the Frying Pan instead of giving it to Annie, give her the trap you would have given to Dallas.
Hand out the remaining traps however you see fit, but avoid giving anything to Delos since his randomized time can potentially cause him to fail setting up his trap. If you're not ready by the sixth bell, give the Coal Tar to Annie or the Sheriff, whichever of the two becomes available first, to buy more time.
If you successfully deployed one of every trap, including the Frying Pan, then the outlaws will be eliminated as they enter the town, and you'll only have to fight their leader, O. Dio. If you decided to keep the Frying Pan, but otherwise deployed every trap, the boss will be joined by a single henchman who is easily defeated.
Each trap that isn't deployed in time means another henchman will be present during the boss fight; use any Bottled Fire or Dynamite that you still have to thin their numbers, and get rid of all the small fry before going after O. Dio. The boss's Gatling gun deals plenty of damage on its own without having to worry about other attacks as well.