Facilities are one of the most important aspects of Makai Kingdom: Reclaimed and Rebound. We’d go so far as to say they’re as important as your units, and your units are Lord Zetta’s lifeblood. And Lord Zetta is the main character.
But facilities are more than just a way to house your units. We’ll cover everything they offer, so you can decide which ones work best for your particular strategy. But first, we’ll help you make sense of the convoluted mechanics involved in actually crafting facilities because you’ll be stuck with your starter pack if you don’t make some sterling wishes with Zetta.
How to Build New Facilities

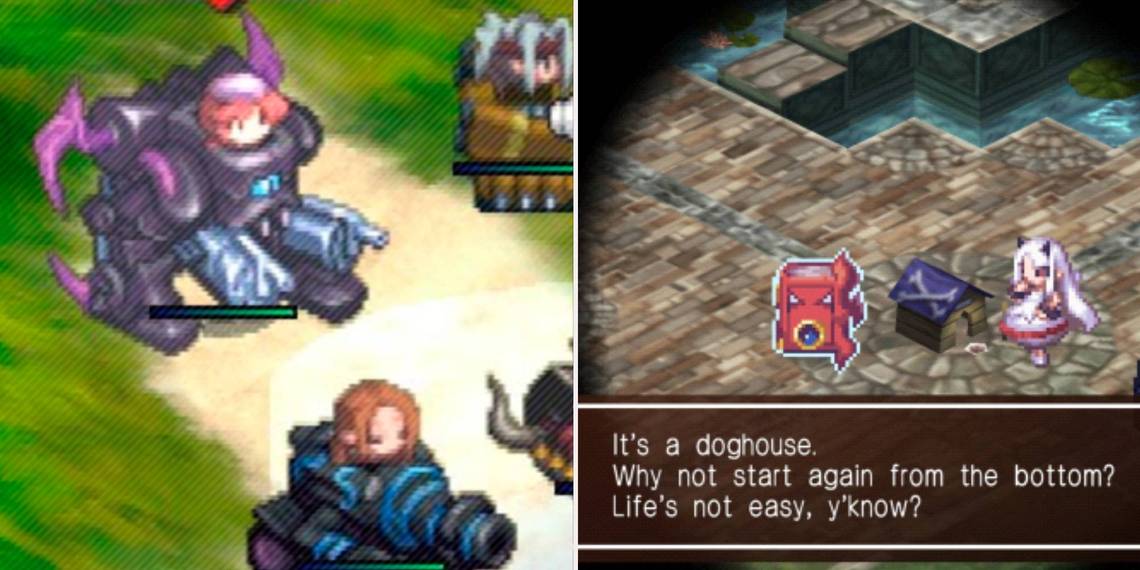
Right, then. Unless you’re positively enamored with that doghouse, you’ll be wanting some more facilities ASAP. Somewhat surprisingly, level is not an issue. You can start pumping these out at level 1, but that’s probably not something that will happen often. Mana, after all, is the key ingredient. And mana doesn’t exactly grow on trees.
But collect it, you must, and the costs for new facilities predictably rise as their overall usefulness increases. Grind away to your heart’s content, and if your heart’s evil enough that you don’t care about receiving Makai Kingdom’s good ending, create new units only to slice and dice them up nice and deadly to boost your army’s mana levels exponentially.
Here’s the tricky part. There are five conditions that must be fulfilled in order to build a new facility. For whatever reason, Lord Zetta isn’t especially forthcoming with this information; you’ll receive an error message telling you that you lack the requirements to meet a certain condition, but not all five at once. Many players have been left scratching their heads five times in a row, then, until at last they’ve sorted the whole shebang. Let’s make things easier and list them all ahead of time, shall we?
- The character you have chosen must not be equipped with anything. No weapon, no armor, no accessories. This is the game’s way of ensuring you don’t inadvertently lose some spiffy piece in the process.
- Nor can the character presently be held within another facility. In cheeky Nippon Ichi fashion, this one’s likely to say, “if you pluck them out of here, they’ll just hit their head on the roof.” Or maybe we’re reading too much into it.
- They can’t be your leader. Since the game wouldn’t know who you want to swap leadership with, you’re avoiding a right mess. Instead, chat with Zetta and make the wish that lets you change your leader beforehand if necessary.
- Each time a new facility is made, it tries to take the place of one of the quartet of facilities visible at your main hub. If you’ve already hit the maximum of four, your attempt will result in failure. Stash one of the preexisting buildings. Or just toss it out of bounds, if you’re feeling frisky about it.
- Lastly, the character can’t be waltzing around in the hub carrying anything on their person. This is for the best since you can carry other characters and all. We wouldn’t want to sacrifice two of them, now, would we?
This leads us to the next point. Make no mistake, you’re killing the character. They’ll be available for resurrection instantly with everything they’ve already learned. You can go ahead and re-equip them then, try out a new class, whatever floats your boat. But there’s a rather gruesome little scene beforehand that might make you feel like a jerk.
Worth it.
Every Facility in Makai Kingdom

Welcome to the meat of our guide. Now that you know how to make these things, it’s time to bask in the glory of what they can do for you. Just a quick note beforehand: you can throw facilities. This is kind of a game-changer. It means you can extend the range of a building’s stat boosts indefinitely; all it takes is enough turns to get them wherever you’d like them to be. In normal fights, this won’t be necessary. During tougher fare like Event Dungeons? Fantastic stuff.
|
Name |
Capacity |
Effect |
Creation Classes |
Notes |
|---|---|---|---|---|
|
Doghouse |
Five |
Ten percent boost to stats. |
N/A (cannot be recreated) |
It is what it is. Nothing to write home about, and there's another facility — that can actually be created! — that does the same job without looking so depressing. |
|
Name |
Capacity |
Effect |
Creation Classes |
Notes |
|---|---|---|---|---|
|
Outpost |
Six |
Ten percent boost to stats. |
All |
Well, it houses one extra unit than the doghouse, so that's nice. A ten percent boost to every stat is situationally acceptable, but there are generally more specialized selections that are just plain better. |
|
Name |
Capacity |
Effect |
Creation Classes |
Notes |
|---|---|---|---|---|
|
Tribal Outpost |
Eight |
30 percent boost to Defense. |
Anyone |
A much better choice for early-game musings. Everyone can benefit from some added Defense, especially when so many classes have paltry HP at this point. |
|
Name |
Capacity |
Effect |
Creation Classes |
Notes |
|---|---|---|---|---|
|
Warehouse |
12 |
None |
Anyone |
Might seem utterly useless at first glance, but there are occasions in which the warehouse is a fine pick. If you want to lug around a variety of character types, tossing this building over and over again until you're within striking range of a boss unit, you could do far worse. |
|
Name |
Capacity |
Effect |
Creation Classes |
Notes |
|---|---|---|---|---|
|
Tribal Outpost |
Eight |
30 percent boost to Defense. |
Anyone |
A much better choice for early-game musings. Everyone can benefit from some added Defense, especially when so many classes have paltry HP at this point. |
|
Name |
Capacity |
Effect |
Creation Classes |
Notes |
|---|---|---|---|---|
|
Shop |
SIx |
50 percent boost to HEL (money). |
Merchants |
If you're hunting for a coin, this is a great way to help rectify the situation. If you aren't, this is as useless as it sounds. |
|
Name |
Capacity |
Effect |
Creation Classes |
Notes |
|---|---|---|---|---|
|
Hospital |
Six |
Ten percent HP regeneration per turn. |
Healers and Medics |
Best used for support units in harder maps. |
|
Name |
Capacity |
Effect |
Creation Classes |
Notes |
|---|---|---|---|---|
|
Command Center |
Eight |
40 percent boost to Defense. |
Warriors and Swordmasters |
As the upgraded version of the Tribal Hut, the Command Center is its replacement. No sense using the older one once you have the mana prerequisites to meet the job here. |
|
Name |
Capacity |
Effect |
Creation Classes |
Notes |
|---|---|---|---|---|
|
Tribal Outpost |
Eight |
30 percent boost to Defense. |
Anyone |
A much better choice for early-game musings. Everyone can benefit from some added Defense, especially when so many classes have paltry HP at this point. |
|
Name |
Capacity |
Effect |
Creation Classes |
Notes |
|---|---|---|---|---|
|
Station |
Eight |
20 percent boost to Attack. |
Anyone |
The starter kit of sorts for aiding in Attack power. Certainly worth using for your heavy melee hitters. |
|
Name |
Capacity |
Effect |
Creation Classes |
Notes |
|---|---|---|---|---|
|
Fortress |
Eight |
30 percent boost to Attack. |
Warriors, Swordmasters |
The Station's first upgrade. Switch immediately upon acquisition. |
|
Name |
Capacity |
Effect |
Creation Classes |
Notes |
|---|---|---|---|---|
|
Castle |
Eight |
40 percent boost to Attack |
Swordmasters |
Now we're talking. 40 percent is fairly serious and can make a tremendous difference in Event Dungeons and anything else that threatens to stand in your way. |
|
Name |
Capacity |
Effect |
Creation Classes |
Notes |
|---|---|---|---|---|
|
Super Fortress |
Eight |
50 percent boost to Defense. |
Warriors, Swordmasters |
It's the ultimate Command Center designed to assist supporters in sticking around for the long haul. |
|
Name |
Capacity |
Effect |
Creation Classes |
Notes |
|---|---|---|---|---|
|
School |
Eight |
50 percent boost to Experience Points. |
Anyone |
Absolutely fantastic. A must-have on replay maps and generally anyplace you aren't remotely afraid of getting into a scrap. Leveling to absurdly high numbers is part of the Disgaea universe's charm, including Makai Kingdom. |
|
Name |
Capacity |
Effect |
Creation Classes |
Notes |
|---|---|---|---|---|
|
Factory |
Six |
10 percent HP regeneration per turn for vehicles. |
Mechanic |
There's no better place to hold your vehicles. If you're using them often, the factory's almost as important as the school. |
|
Name |
Capacity |
Effect |
Creation Classes |
Notes |
|---|---|---|---|---|
|
Laboratory |
Six |
20 percent boost to Tech. |
Professors |
Situational. Worth it if your party is heavily reliant on TEC. |
|
Name |
Capacity |
Effect |
Creation Classes |
Notes |
|---|---|---|---|---|
|
Lighthouse |
Six |
30 percent boost to MOVE. |
Archers |
Probably the best pick for any classes that don't hit especially hard but make up for it with swiftness. Cat Kids are a prime example, as well as Thieves. |
|
Name |
Capacity |
Effect |
Creation Classes |
Notes |
|---|---|---|---|---|
|
Graveyard |
Six |
10 percent boost to raw damage per turn. |
Thieves |
Arguably more straight-to-the-point than Attack-boosting facilities. The real kicker here, however, is that if you manage to drop a graveyard on your enemies, they're inflicted with a whopper's worth of status effects: Paralyze, Poison, and Dazed. |
|
Name |
Capacity |
Effect |
Creation Classes |
Notes |
|---|---|---|---|---|
|
Library |
Six |
50 percent boost to Weapon Mastery. |
Mages of varying sorts |
The library stands alongside the school and is invaluable on easier maps and during stage replays. This is a huge gain in weapon mastery and will forge a stronger army for you. |