Thanks to its excellent sound design, gorgeous card art, and intuitive, fast-paced gameplay, Marvel Snap is a game you can easily sink your teeth into. Whether you're sitting down for a full gaming session, or looking to slip a quick match into a busy schedule, the game provides fast-paced action while improving your card game skills.
Joining the fray as part of the Into The Quantum Realm season, the dastardly evildoer MODOK is a force to be reckoned with. MODOK's ability is simple: his On Reveal ability discards your entire hand. By combining the five-energy hovering villain with cards that capitalize on MODOK's discard-heavy play style, you'll be defeating your opponents left and right in a fashion the evil mastermind himself would approve of.
10 Agent 13

With MODOK in your deck, you're going to be doing a lot of discarding, but you'll also want to make sure you're still playing cards to Locations. Coming in at a cost of only one-energy, Agent 13 provides you with the means to strengthen your hold on a Location without disrupting your discard strategy. Her On Reveal ability adds a random card to your hand, which means playing her won't disrupt MODOK's goal to discard as many cards as possible.
Since Agent 13 is a one-energy card, she can be played during the sixth round, along with MODOK. You're going to want her On Reveal ability to activate before MODOK's, so be absolutely sure that you play Agent 13 before you play him.
9 Wolverine

Wolverine gets the most value when he is discarded or destroyed, making him a perfect henchman for MODOK's plans. By holding Wolverine in your hand when you play MODOK, you'll be deploying a four-power card to a random Location. As it's random, don't want to rely entirely upon him. That being said, he still makes for a powerful asset in any discard-focused deck.
If you want to get a little bit more value out of him, consider filling the Locations you don't want Wolverine to go to before you play MODOK. If you fill out two of the three Locations, for example, Wolverine is guaranteed to regenerate at the only Location available to him.
8 Colleen Wing

With a whopping four-power, Colleen Wing is an above-average two-cost card. Her ability is icing on the cake for a discard-centric deck. When Colleen Wing is played and her On Reveal ability is activated, she discards the lowest-cost card in your hand. This synergizes excellently with cards that provide benefits when discarded, and you'll be running a lot of cards with these sorts of abilities.
Furthermore, because Colleen Wing's ability specifically targets the lowest-cost card in your hand, you're unlikely to end up losing cards you want to keep until later, such as MODOK himself. All in all, an ability that might be a bane in other decks is instead a boon for a deck centered around MODOK.
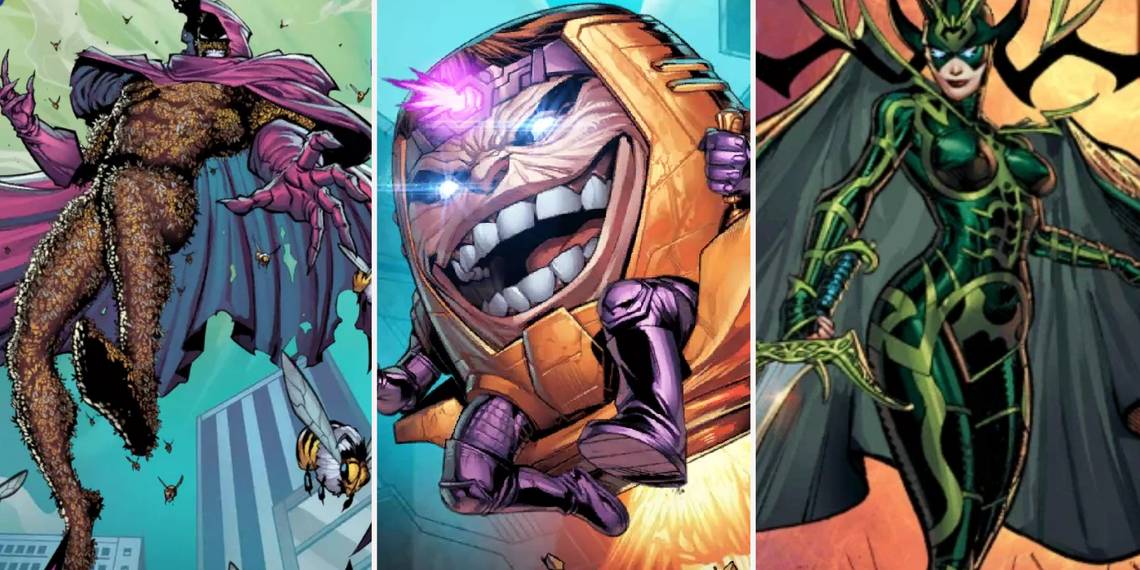
7 Hela

It's difficult to talk about a discard-deck without mentioning Hela, and with good reason. Hela's On Reveal ability plays all cards you have discarded to random Locations. While Hela's base power is below average for a six-energy card, her ability can fill out your Locations, suddenly turning the tide against opponents who don't pay attention to your cunning tactics.
Since Hela will be played near the end of the game, you can mitigate the random aspect of her ability by filling out Locations strategically prior to the final round. Be mindful: MODOK can discard Hela, so you might be in trouble if she ends up in your hand prior to playing MODOK.
6 Invisible Woman

Invisible Woman's ability has nothing to do with discarding, but that doesn't mean she lacks value in your deck. Invisible Woman's Ongoing ability prevents cards at her Location from being revealed until the game ends. You can play Invisible Woman to a Location, and later send MODOK to the same Location. This strategy has multiple benefits: you'll be denying your opponent information on your cards, MODOK won't be played until the end of the game, and you can get MODOK out on the field earlier prior to the sixth round, while retaining maximum value.
If you're also running Hela in your deck, you can create some triple-synergy by playing Invisible Woman, MODOK, and Hela, in that order. MODOK will trigger before Hela at the end of the game, which means you'll be getting maximum value out of Hela's ability.
5 Swarm

Swarm is absolutely made for a discard-deck, and MODOK is surely happy about that. Whenever Swarm is discarded, his ability adds two zero-cost Swarm cards to your hand, which retain the three-power value. You'll want to be making use of Swarm early into the game by playing cards with abilities that discard other cards. Swarm combos particularly well with Colleen Wing, as Swarm's low cost makes him incredibly likely to be targeted by her ability.
Once you activate Swarm's ability, you can either deploy his clones to Locations, or save them for the endgame. When saved for later, Swarm's extras make useful cannon-fodder for MODOK's ability.
4 Apocalypse

Apocalypse quite enjoys being discarded. So much so, in fact, that his ability places him back into your hand with a bonus four power, for a total of 12-power. Keep Apocalypse in your hand when MODOK's ability activates, and you'll end up with Apocalypse back in your hand once-more, sitting nice and ready to be deployed on round six for devastating results.
Given his potential high power, Apocalypse can stand his ground against other strong six-cost cards. Even if you don't decide to employ any other cards that synergize well with Apocalypse, he deserves consideration for a spot in your deck.
3 Dracula

For most of the game, Dracula is liable to sit at a Location with zero-power. Don't fret: at the end of the game, his ability activates, discarding a card from your hand, and inheriting its power. While this can be helpful with a plethora of cards, Dracula finds his calling when he is combo'd with MODOK and Apocalypse. If you play your cards right (pun intended) and make sure that Apocalypse is the only card in your hand that remains once MODOK's ability activates, Dracula will take Apocalypse's power.
But wait, there's more! Apocalypse's ability will activate again, meaning Apocalypse will now be sitting at a minimum of an immense 16-power. Dracula will inherit this power, leading to an ultra-strong card that will prove soul-crushing for your opponent.
2 Strong Guy

Strong Guy is a card that rewards thinking ahead. Whenever your hand is empty, Strong Guy's Ongoing ability will trigger, granting him a bonus six-power, for a total of ten-power. You want this effect to be active as the game is wrapping up, so you'll want to ensure that your hand is entirely empty at the end of the game. Play Strong Guy as early into the game as you can (turn four or earlier, depending on Location effects).
That being said, consider your entire deck before you get into a game with Strong Guy. Since you'll be aiming for an empty-hand at the end of the game, cards like Apocalypse and Swarm might damage a deck containing Strong Guy.
1 Morbius

Morbius's Ongoing ability is exceptionally potent, and makes him a likely pick for your MODOK deck. Once Morbius is out on the field, he'll gain a bonus two-power for every card you discard during the game. This includes cards you discard prior to playing Morbius.
Despite coming into play at zero-power by default, it only takes two discards to make him more potent than your average two-cost card. Since you'll inevitably make use of multiple discard-focused cards throughout the game, you're looking at a two-cost card with an ever-increasing cost-to-power ratio.