It's finally time to step into the shoes of almost all of Marvel's Avengers in The Light that Failed. You'll be swapping around to get a taste of how Earth's mightiest warriors play, which can be a little jarring. This guide will help you fully embody these larger than life characters.
As an introduction to most of the main heroes you'll be playing as in Marvel's Avengers, The Light that Failed moves fast and throws a lot at you. Not only will you be swapping characters throughout the mission, and need to come to grips with how each hero plays, but also learn the game's main mechanics. There's even a multi-phase boss battle waiting for you at the end, so get ready for one wild ride as the game's story really kicks off.
The Light that Failed Walkthrough
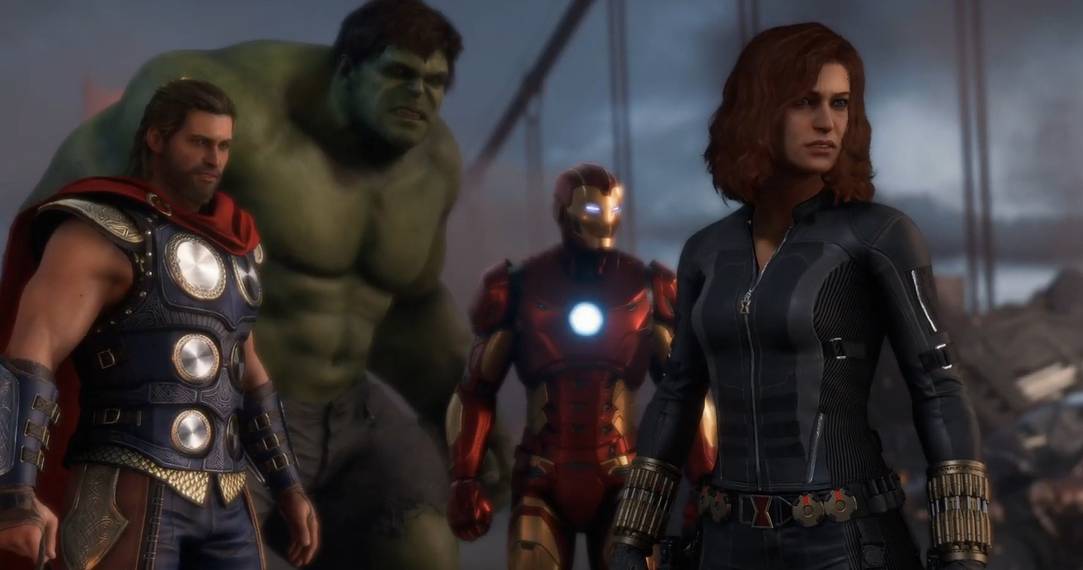
After a quick cutscene setting the scene on the Golden Gate Bridge, you will leave Kamala behind and join Thor and Iron Man as they fly over to engage this new threat.
Thor

Your first taste of playing a true Avenger is none other than the God of thunder himself. You will get some easy grunts to practice your hammer strikes on before learning how to break your way through obstacles to move forward. Fight off some more grunts, learning a few new tricks with your magic hammer, and do the simple QTE to rescue a civilian trapped under some wreckage.
Keep fighting forwards and you will encounter shielded enemies. They take a little more might to break through, but just hold your strong attack to smash through to open them up to normal attacks and finish off Thor's section. Or throw your hammer at them.
Iron Man

You will be swept up into a flying section as Iron Man chasing down some flying enemies. Move and shoot down the enemies, remembering that you can dodge while in this mode to avoid any shots they take at you.
Once you land you'll have to contend with more enemies backed up by turrets, followed by much more dangerous tanks. Use your Heroic Ability to cut through all the bigger threats, and remember to take advantage of your ability to hover to avoid danger. This section is over quick, switching you to your next hero through another cutscene.
Hulk

Once you hit the scene as the Hulk, things really speed up. Smash your way through the basic enemies and tear through the initial tank to start platforming your way across the bridge to take out more grunts and vehicles. You'll learn the ground pound move on the way, but be careful not to use it too early in a jump or you'll just end up shooting down a hole and restarting. You can also hold the light attack button to pick people up and you can aim and throw using the triggers to yeet people from the bridge.
The platforming is straightforward. Just launch yourself forward when you come to red sections on the ground and aim for areas you can wall jump off of, indicated by white marks. Keep an eye out for orange zones as you're running that indicate an incoming explosive and get to the end where you can take out a few more tanks.
Captain America

Way back on the Chimera Cap has just a few waves of enemies to fight off on the bridge. Take advantage of his finishing move to kill off the mobs quickly, and use his Heroic as often as it becomes available. A few shield reapers will be the biggest threat but evade towards them to vault over them to hit them in the back.
Black Widow

Once Cap's section is done, and the other heroes are a bit tied up holding the bridge together, you'll take control of Black Widow battling it out against Taskmaster. You'll start out softening him up with a few QTEs until you're dumped on a high beam. Taskmaster will charge you, so dodge and shoot him as he flies past to do some damage. You only have a limited window to hit him before he turns around and blocks your shots.
After a couple of rounds he'll start diving at you twice before you get a chance to counter with some shots, so pay attention to the red glow so you know to roll out of his way. Eventually, you'll bring him down to the street level and break his jetpack.
The rest of the fight is a one-on-one brawl. Aside from watching for the glowing circles indicating he's about to attack, Taskmaster will also adapt to your attacks if you don't vary them up. Mix up your lights and heavies, dodging his attacks when they come out, but always applying pressure.

The second phase will start when he throws out a bunch of bombs and you learn your last move of the mission, which is a grapple counter. Use this to close the gap between you and Taskmaster with a flashy grapple move. This move is also perfect for when you're caught in the orange AOE of his bombs and need to get to safety fast. Otherwise, the fight is just like the previous phase. Keep ready to dodge, don't fall into the pattern of using the same combo too much.
Taskmaster will eventually start to dodge everything you throw at him no matter what. Thankfully this is when you gain access to Black Widow's Veil of Shadows Heroic Ability, turning her invisible and able to land the last few attacks necessary to trigger a finishing move that will lead to the final cutscene of the mission.