Quick Links
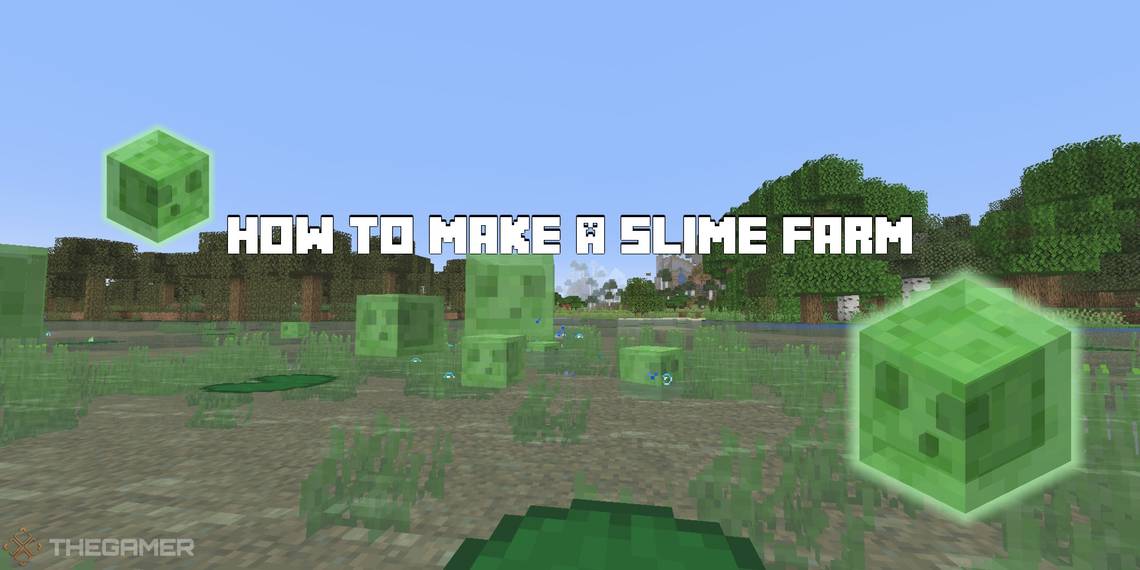
New mobs are often added to Minecraft, creating a rich world with plenty of inhabitants. The fifth mob added to the game were slimes. These green blobs bounce around the world and multiply into smaller slimes when slain. They drop slime balls which are used for several things including making sticky pistons.
Slimes can be difficult to find, since they only spawn in specific areas, so this guide is going to go over how to find a slime chunk and make a slime farm.
Slimes will naturally attack an iron golem, which is a key function of this slime farm. Using an iron golem, you will lure slimes to an area where they will die and drop their slimeballs. The farm is simple to make, however, you will need to clear out a large underground area. This is tedious, but it will be worth it in the long run. First, let's look at the materials needed to build this farm.
Updated December 3rd, 2021 by Russ Boswell: Minecraft has just entered its latest update with Caves and Cliffs Part 2, giving players an entirely new playground to explore with expansive cave systems and new items to collect. Now, more than ever, players will want to get their hands on Slimeballs to create Sticky Pistons and Leads. The easiest way to amass these Slimeballs is to make a Minecraft Slime Farm. To better illustrate this process, as well as why it's necessary for players to build a Minecraft Slime Farm, the following list has been updated to include even more information.
Why Should Players Build A Minecraft Slime Farm?

Upon first inspection, slimes don't seem particularly useful and might strike some as "just another mob." But, in reality, slimes provide one of the most important resources in the game for builders and adventurers alike. When slain, a slime will drop a slimeball. This orbicular item is used in a handful of recipes, one of which is paramount to animal management, particularly horses.
Here's a look at everything that players can make with slimeballs:
Lead
Leads are used to lasso animals and leash them around. Players can also use leads to affix an animal to a post or other object so they can't run away. To make a lead, players will need to combine:
- 4 x String
- 1 x Slimeball
Slime Block
Slime Blocks aren't just aesthetically pleasing, they also serve two unique purposes. For one, they're capable of bouncing players and mobs (proportionate to how high up the entity was before falling onto the block). They're also able to push and pull adjacent blocks when combined with a piston. Players can make a Slime Block with:
- 9 x Slimeball
Sticky Piston
Sticky Pistons operate just like regular pistons but with the added benefit of blocks being "pullable" as well as "pushable." A normal Piston will push a block into place and then retract, whereas a Sticky Piston can freely push and pull the block with it. To make a Sticky Piston players need to piece together:
- 1 x Piston
- 1 x Slimeball
Magma Cream
Lastly, players can create a Magma Cream using a Slimeball. Magma Creams are used to brew Fire Resistance potions and can also be used to create Magma Blocks. To make a Magma Cream, players need:
- 1 x Blaze Powder
- 1 x Slimeball
Materials Needed To Build A Slime Farm

To build a slime farm, you will need the following materials.
- 256 Slabs
- 6 Jack-o-lanterns
- 5 Fences
- 4 Iron blocks
- 31 Campfires
- 31 Hoppers
- 9 Chests
- Torches (at least 1 stack)
- Building Blocks
This build will take a lot of iron. In total, you will need 155 iron bars for all of the hoppers. Additionally, each iron block is crafted with 9 bars, for a total of 36 iron bars. Before building this, make sure that you have enough iron! Through world exploration, you should be able to gather enough iron. Check out our guide on how to build a super smelter, for a quick way to smelt all of your raw iron in bars.
You will also need building blocks. Fortunately, you will need to remove a lot of stone underground, so you can just recycle these blocks. The block will mainly be used to level the ground and smooth out any surface.
How To Find A Slime Chunk

The first step to making a slime farm is to find a slime chunk. The world of Minecraft is split into chunks, each being a 16x16 square that extends vertically throughout the entire map. Out of all the chunks, about one in ten will be a slime chunk.
These are special chunks that slimes are able to spawn on. It's hard to tell where nearby slime chunks are, but this site allows you to find slime chunks based on your seed. To find your seed, type '/seed' into the game and it will appear in the bottom left corner.
To make a slime farm, you will need to locate one of these slime chunks. By pressing F3 + G, you will enable chunk borders. This is a yellow grid that indicates where each chunk is. After seeing slime chunks in your seed, find the nearest one and head there.
Clearing Out The Slime Chunk

Slimes will spawn in a slime chunk under Y=40. This is your vertical position in the world. To find out where you are, press F3. The middle coordinate will show your vertical position.
To clear an area for your slime farm, you will want to remove every block in the chunk below Y=40. Above, you can see the slime chunk border, as well as the cleared-out area.
This will take a long time. You can mine with a pickaxe, or use TNT to help clear the area. Additionally, a beacon will help you mine faster.
Spawn Proofing The Surrounding Area

The final step of preparing is to spawn-proof the area around the slime chunk. Slimes are shy, and won't spawn if there are other mobs around. To combat this, go through tunnels and caves around the slime chunk and place torches. Kill any mobs that you encounter, and make sure there are no spawners nearby.
To prevent a spawner from spawning in mobs, place torches on each side. The spawner may be useful in the future, so try not to destroy it.
Once the surrounding area has been lit up, head back to your cleared-out slime chunk.
Steps To Make Slime Spawn Platform

Let's begin making the slime farm. First, level off the floor and place torches to light up the area. You do not want other mobs to spawn here.

Place slabs around the base of the chunk, 2.5 blocks from the bottom. Above, you can see two blocks placed for measurement. You should attach the slabs to the top of the third block.
For this farm, we build up the walls that border the slime chunk. this will help you quickly see the chunk, as well as keeping and stray slimes contained.

You should now have a layer of slabs. Slimes can spawn in any light level, so you will need to light up the area. This can easily be done by placing jack-o-lanterns in the floor. They provide enough light, and slimes are able to spawn on top.
For this farm, we placed five jack-o-lanterns in the slab platform. The exact location doesn't really matter, just make sure that the area is sufficiently lit.

On one of the four walls around the platform, dig out a 3x3 area going two blocks deep. Since each wall is 16 blocks across, there is no middle. Try to make this as close to the center as possible.

Place five fences in front of the area. This will be where the iron golem will stand.
To spawn in the iron golem, place four iron blocks in the shape of a T. Placing a jack-o-lantern on the top, middle block will transform the build into an iron golem. He's not dangerous to you (unless you hit him) but the fence will keep him in place.

In the area around the iron golem enclosed, remove slabs in a 9x4 area. The fence should be in the center, with two blocks removed on each side, and three blocks extending forward.
The slabs should be 2.5 blocks off the floor now. Above, you can see the 9x4 area cleared, with additional blocks placed to highlight where the slabs should cover.

Place a campfire on top of each block, for a total of 31 campfires. After placing the blocks, it will be a bit difficult to see. Once the campfires are placed though, it's time to work on the collection area for the slimes.
Steps To Make Slime Collection Area

Head underneath the slabs. You should see your campfires on the ground.
Dig out an area under the campfires two blocks tall. The campfires should look like they are hovering. Clear out the area around the campfires as well, making the ground level. You will want enough room for the campfires, as well as chests and a place to walk around.

Facing the wall where the iron golem is, place nine building blocks in front of the nine campfires nearest to you. On top of each block, place a chest. It's okay if they form double chests. For uniformity, you can place nine single chests sideways so they don't connect.
Overall, you should have one chest on top of a block in front of each campfire, with the two spaces underneath each fire remaining empty.

We're almost done! Head to the backside of the chests, underneath the campfires. Here, you will attach hoppers to the back of each chest in a line. Above, you can see a hopper leading directly to a chest, with other hoppers attached. To do this, hold shift and place a hopper on the back of the chest. Place the next hopper on the previous one, and continue this pattern until the row has been filled with hoppers.
Keep placing hoppers in each row, until there is a hopper underneath every campfire. The hoppers will catch slimeballs that drop from slimes and drop them in each chest. To collect the slimeballs, you just need to go to each chest.
That's all there is to it! Now, you should have a one-floor slime farm. Next, we are going to look at how to make this farm more efficient.
Tips For Slime Farm Efficiency

This farm will produce a decent amount of slimeballs, but you can produce even more by expanding the farm. To expand this farm, you will just need to make more 'floors'. Let's quickly go over the steps to making additional floors.
- Place another slab flooring 3.5 blocks from the previous floor. Essentially, you will leave three blocks and then attach the slabs at the top half of the fourth block.
- Place additional jack-o-lanterns for lighting.
- Clear out an area to place another iron golem, directly above the first one.
- Clear out the 9x4 area in front of the golem.
Creating more floors does not require you to create more collection areas. Slimes will see the golem and go towards it. Once close enough, they will fall in the hole and land at the bottom where the campfires are. You can add a few extra floors, or have the farm stretch from bedrock to Y=40, the choice is yours.
Remember, slimes only spawn if you are farther than 24 blocks away. Unfortunately, they will also despawn if you are more than 32 blocks away. With this farm, it's best to create a small area within this range to AFK in. To maximize your use of time, try AFK fishing while waiting for slimes to spawn. Once slimes start spawning, it's only a matter of time before the slimeballs start filling the chests.