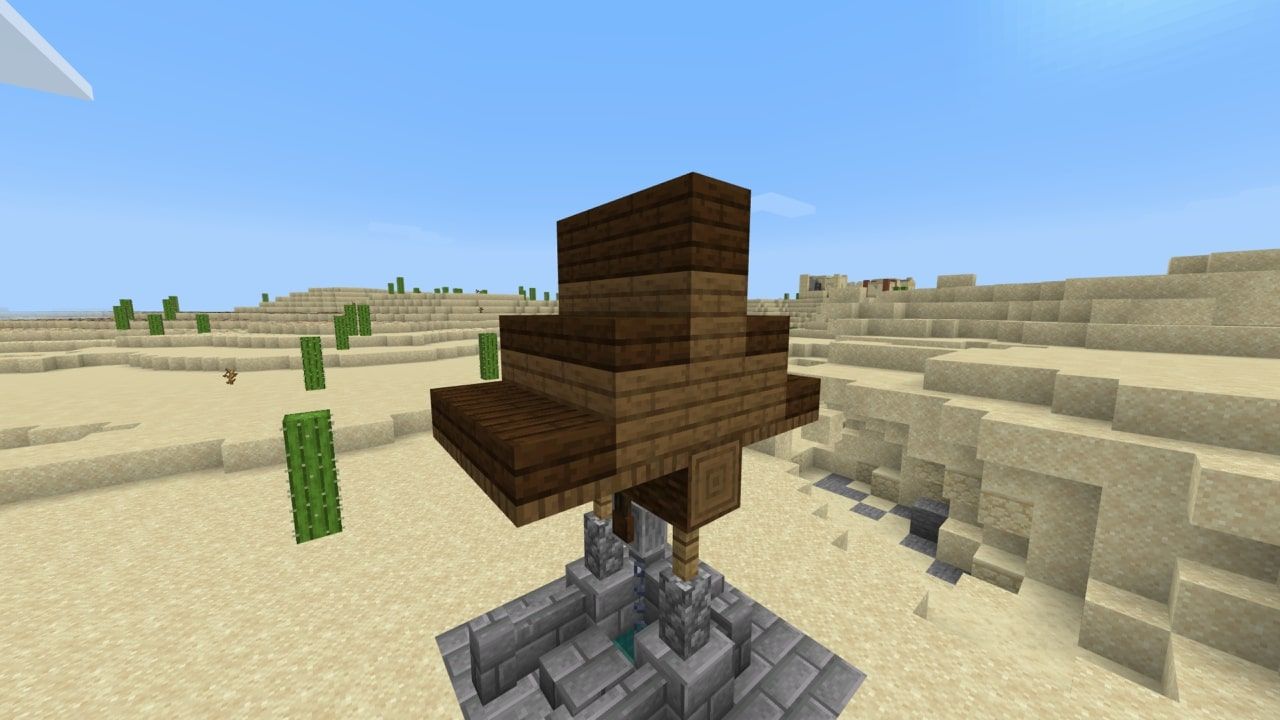
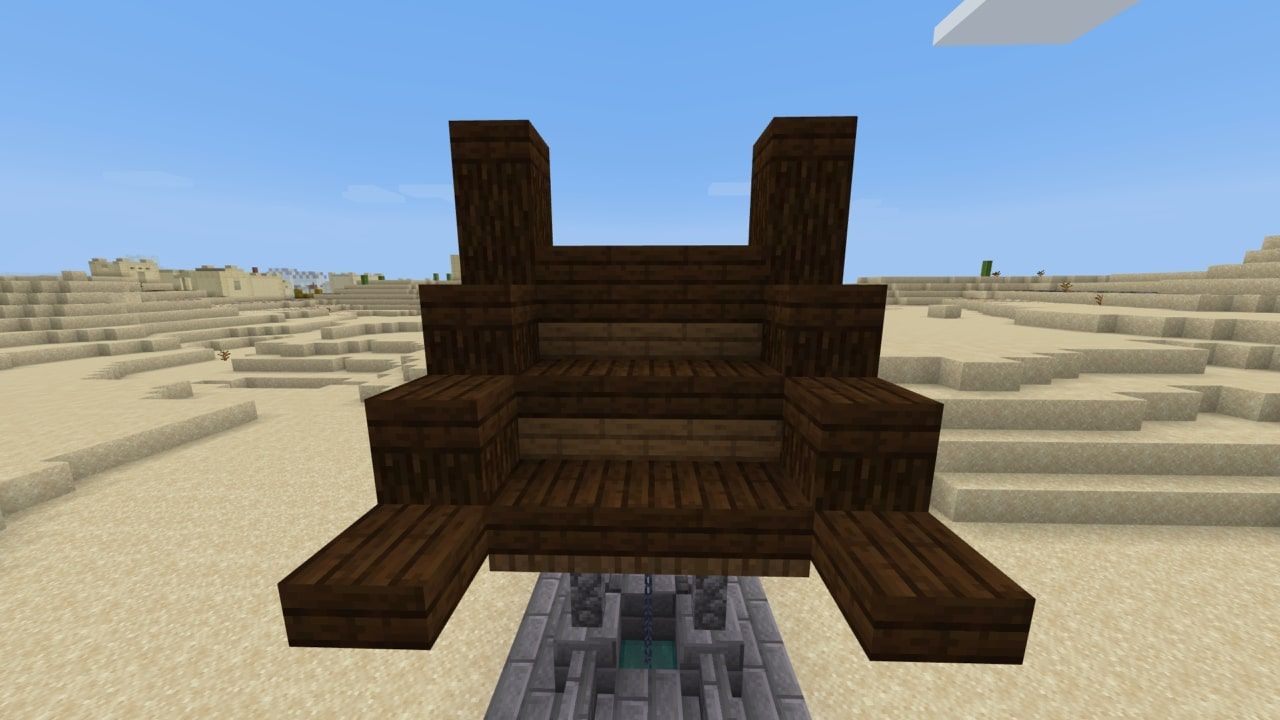
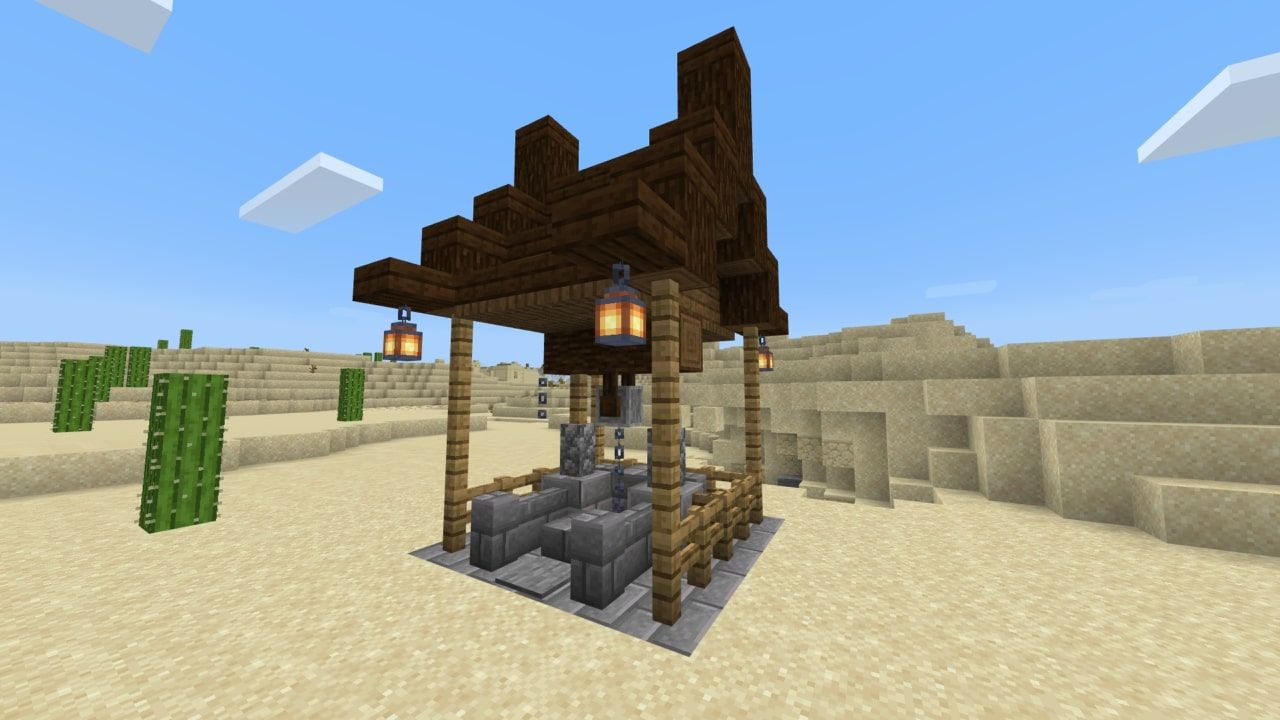
When learning Minecraft, many players will inevitably learn how to create infinite water sources. By simply filling a 2x2 hole with water source blocks, players can scoop water out of it infinitely, without needing to run to the nearest ocean every time. This is one of the easiest, and also one of the most useful tricks to know in the game, but unfortunately, a 2x2 pool of water doesn't exactly look amazing.
Fortunately, this is Minecraft, so you can turn your infinite water pool into something amazing: a fully functioning well, with a bucket-and-pully system that will bring infinite amounts of water up to you at your demand. This works using a simple redstone circuit and some clever optical tricks. It also looks really nice and is the perfect centerpiece for any courtyard, village, etc.
Materials Needed To Craft A Minecraft Well
- One sticky piston
- One piece of redstone dust
- One redstone repeater
- One redstone comparator
- Three droppers
- One hopper
- One disposable item of any kind
- One cauldron
- One stone pressure plate
- 23 stone bricks
- One stone brick slab
- Six stone brick walls
- Two cobblestone walls
- 30 wooden fences
- One lever
- Three chains
- One grindstone
- 15 spruce logs
- 12 spruce trapdoors
- 12 spruce wood planks
- 26 dark oak slabs
- Three dark oak planks
- Four lanterns
How To Create A Well In Minecraft
This well works by having a piston push a water-filled cauldron upward when you walk up to the slab, then lowering the cauldron back down when you leave. When the cauldron is retracted, it will be covered with water from an infinite water source, which will refill the cauldron. You can then take water from the cauldron infinitely.
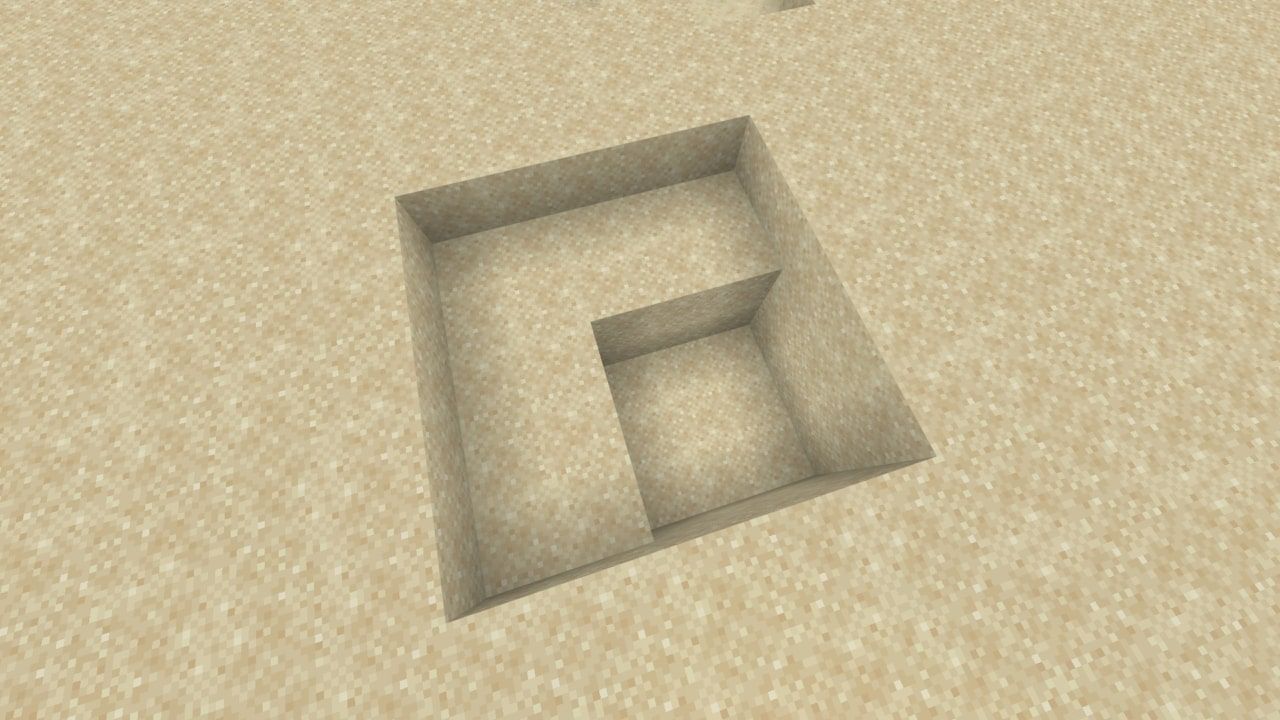
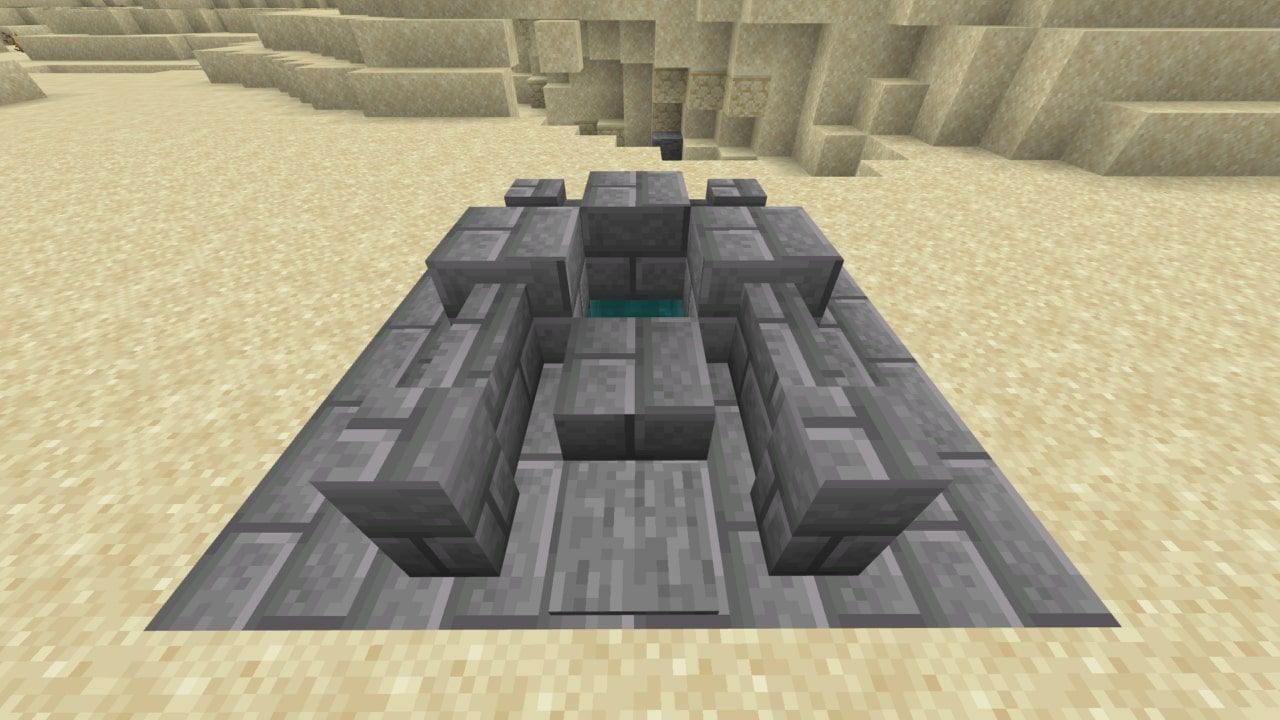
To start, dig a 5x5 hole one block deep, with a 3x3 hole that is two blocks deep, in the corner of the 5x5 hole, as pictured below. The nearest side of the hole in the image will be the front of the well, so keep that in mind when you are choosing how to orient the pit.
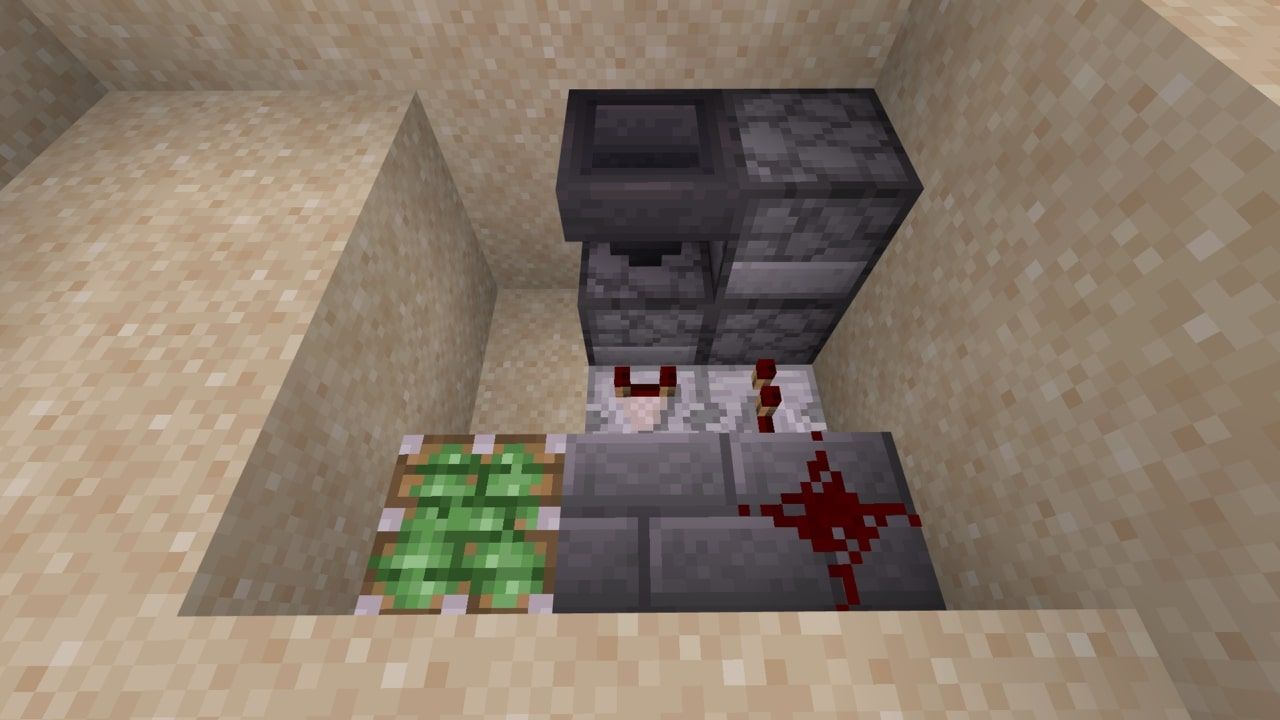
Facing the right side of the well, you're going to want to build the following redstone contraption. Place an upward-facing sticky piston in the center of the 5x5 hole, with two opaque blocks of any sort to the right of it (you can use the sand you dug up). Place a piece of redstone dust on the far block, a repeater coming out of that same block and a comparator going into the other one. Place a dropper next to the repeater, facing up, then place a dropper on top of that dropper, facing left. Next to the comparator, place a dropper that faces right, then a hopper on top of that dropper that leads downward into it. Place an item (can be any item) into the uppermost dropper.
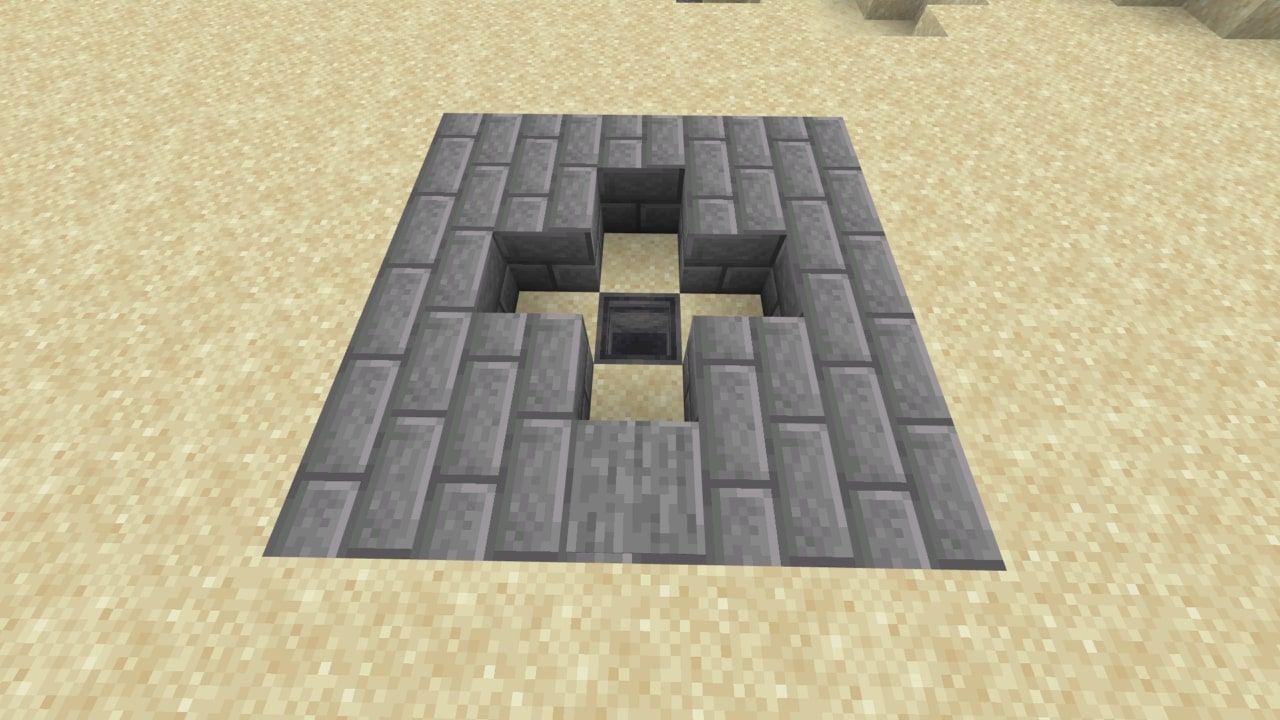
Place a cauldron on top of the sticky piston, then fill in all of the empty spots in the 3x3 hole with the sand you dug up (or dirt, depending on the biome). It is imperative that the air blocks are filled in for the redstone to work correctly. Fill in the 5x5 hole with stone bricks, leaving a cross open in the middle, as pictured below. Place a stone pressure plate on top of the block that is directly above the redstone dust.
Place four water sources into the four outer blocks of the cross. This will create an infinite water source in the center that will feed into the cauldron. With that, the mechanics of the well are actually complete. Stepping onto the pressure plate once will raise the cauldron, which you can take water out of. Stepping on it a second time will lower it and refill the cauldron.
Now is time for the aesthetics. Place a stone brick slab above the water source nearest to the pressure plate, then stone bricks on top of the other sources. Fill in the corners with stone brick walls and then place two final walls to either side of the pressure plate.
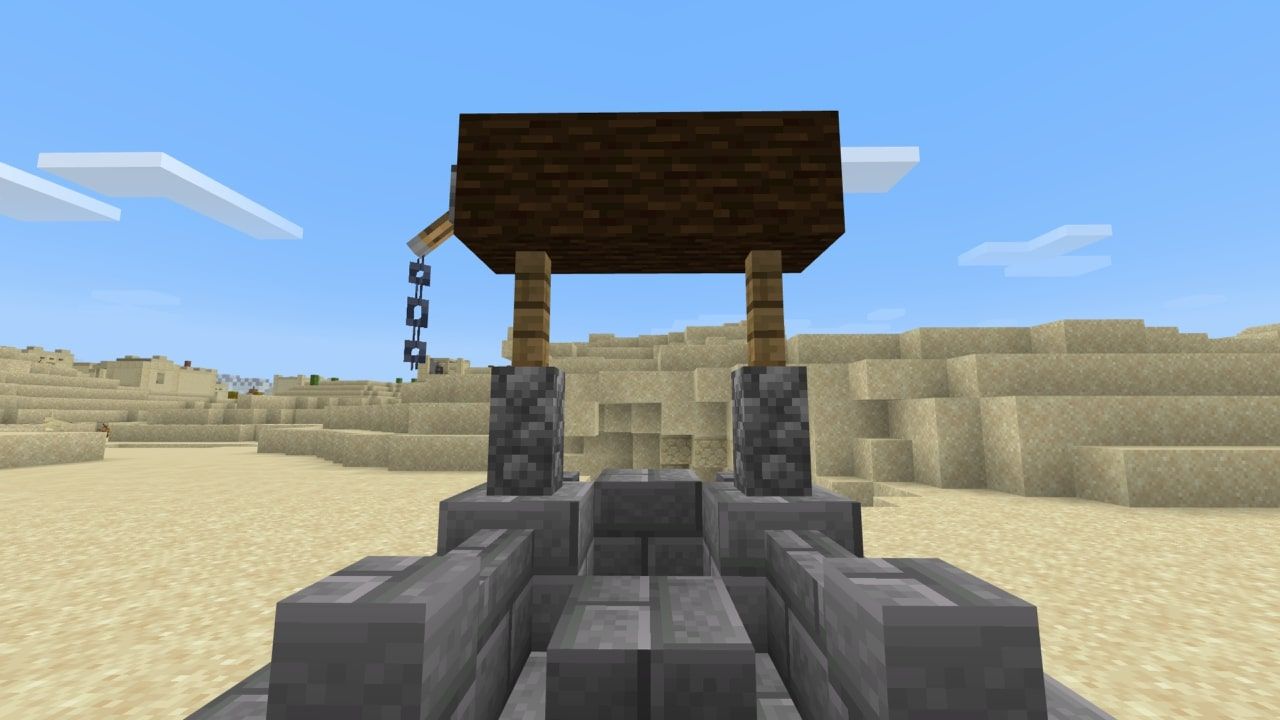
Place two cobblestone walls on the left and right raised bricks, with two wooden fences on top of those. Lay three horizontal spruce logs across the two fences and place a lever on one side. Flick the lever so that it is pointing downward and place a chain beneath it, creating the effect of it hanging from a hook.
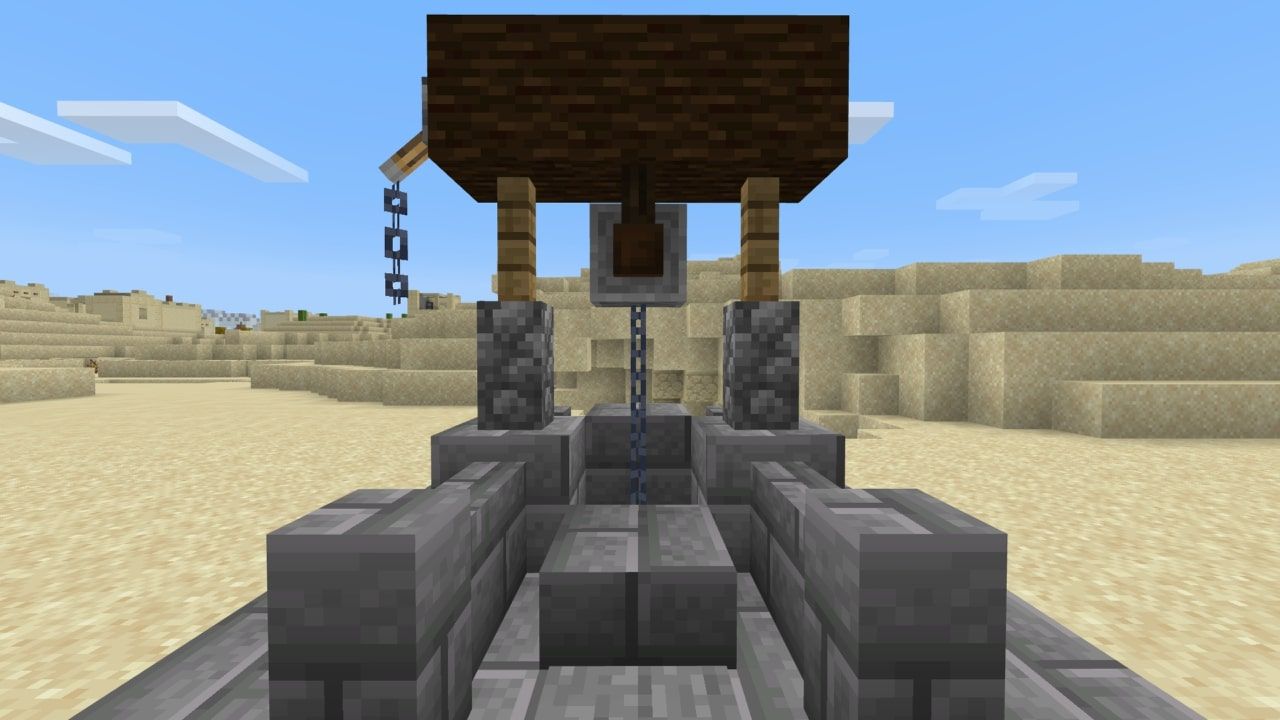
Place a grindstone under the center log and two chains directly beneath it. The grindstone looks very similar to a pulley, and - with some assistance from the piston - will "pull up" the bucket of water when you walk up to the slab. When the cauldron is in its lowered state, there will be an empty block between the cauldron and the chain, though this break in the chain is out of sight due to the slab, hence the illusion is still preserved.
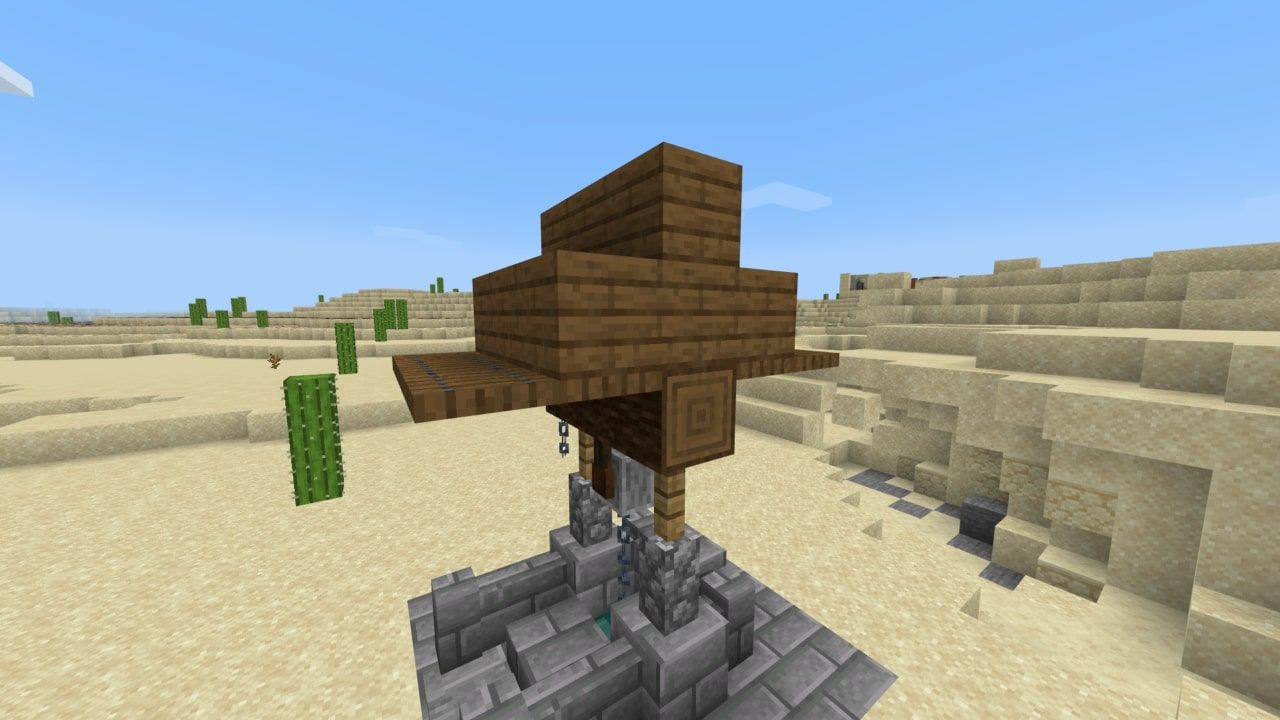
To begin the roof, place 12 spruce wood trapdoors, protruding out from the wooden logs to the front and back of the well, as seen below. Lay down a line of spruce wood planks on top of each of the two inner rows of trapdoors, and lay two layers of wooden planks on top of the log beam.
Place some dark oak slabs on top of the outermost trapdoors, as well as on top of the two lower rows of spruce planks. On top of the uppermost spruce planks, place full blocks of dark oak as pictured below.
Attach some upward-facing spruce logs to the left and right of each row of spruce slabs, with two vertically-stacked spruce logs to the sides of the full-block spruce planks on top. Place a spruce slab on top of each log and some extra spruce slabs next to the lower logs. Do this on both sides of the roof.
Finally, place wooden fences around the outside of the 5x5 stone brick platform, with the fences extending upwards at the corners, to the low spruce logs. Dangling from each of the four low spruce slabs, suspend some lanterns to make the well stand out at night.
With that, your well is complete. Of course, you are free to alter the aesthetics in any way you please, so long as you don't alter the redstone wiring, so definitely experiment with more color schemes and designs to set your well apart from the rest.

