Wool's a pretty important material in Minecraft — whether you're in need of a specific color or you've totally depleted your stores, running out is a nuisance. But this automatic farm is simple to build and will help you collect wool in every color to prevent any shortages.
The farm itself uses a few basic mechanics. Sheep are in an enclosed area next to a dispenser that will automatically shear them when their wool has grown in.
Sheep only grow their wool back if they eat grass, so the farm sits on top of a grassy area, allowing the sheep to eat. Once the grass is gone, the farm will shear them automatically. The grass will eventually regrow and the process will repeat itself. Let's go over how to make this work.
Materials Needed

The materials needed to create this wool farm are pretty simple. Below, you will see everything needed to create a farm that can hold 3 sheep. Later, we will go over adding more sheep.
- 3 Dispensers
- 3 Observers
- 3 Hoppers
- 3 Chests
- 3 Rails
- 3 Hopper Minecarts
- 3 Building blocks
- 10 Glass blocks
- 3 Redstone dust
- 27 Shears
- 3 Sheep
- Dye (optional)
You may notice how many shears are required to build this. It is a lot, however, they will last a long time. One pair of shears will take 2 iron bars. In total, you will need 54 iron bars to create your shears. Unfortunately, shears do not stack so be sure to have a chest around to store them while you are building.
Once you have the material, check out the steps below on how to construct your own wool farm.
Steps To Make A Wool Farm

First, you will need to place 3 dispensers, as shown above. Each dispenser will eventually have one sheep standing in front of it.

Under each dispenser, place an observer. To do this, dig out the dirt block and place the observer underneath. It's a bit tricky to place observers.
To help with placement, stand behind the dispensers. Crouch and place the observer on the far wall of dirt. The observer should be facing the same way as the dispensers above. This is important because when the sheep eat the grass, the observer will see this and trigger the dispenser to shear the sheep.
Cover the ground back up with dirt, and then place 3 redstone dusts behind each dispenser.

Dig a hole underneath the farm so you are one block below the dispensers. You should be able to see the bottom of the observers.
Beneath each observer, place a chest. Attach hoppers to the backside of the chests. To prevent opening the chests when placing the hoppers, hold shift and attach the hopper to the backside.

On top of each hopper, place a rail. Then, place a hopper minecart on each rail. This may seem redundant, but it will help with the collection of the wool.
This is all there is to the collection system! Head back up to the top of the farm. You can add a nice stairway to the bottom, but this is optional.

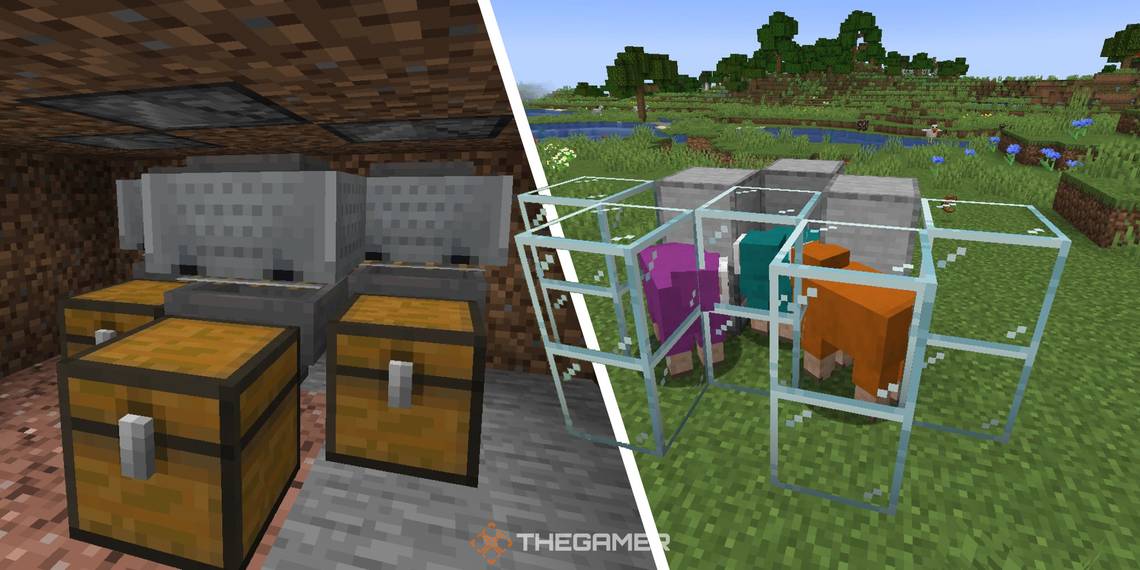
Once you are back to the top of the farm, add one building block to the top of each dispenser. Using your glass blocks, frame in the area around the dispensers. Above, you can see the glass surrounding the area in front of the dispensers.

Lastly, you will need to place 3 sheep in the spaces. This may be difficult, so let's go over some ways to quickly guide sheep into your farm.
- Sheep will follow you if you have wheat, but if you're too far, they may get distracted and stop following you. To ensure that a sheep will follow you, use a lead. Leads can be crafted with string and slimeballs, looted from chests in woodland mansions, or dropped from wandering traders.
- Attach a lead to a sheep and guide them to the farm. To help the sheep climb through the top, place a few temporary blocks to act as steps. If you pass directly over an opening, the sheep will follow and fall into the hole.
- Be sure to cover the space above the sheep once they are placed. This can be temporary, but you don't want to accidentally lead a sheep into a space where one is already standing.
- Once you have 3 sheep in the farm, stock each dispenser with 9 shears. This is the final step, and now you are done!
The sheep should start eating the grass soon. You can dye your sheep by interacting with them while holding the dye. This will automatically turn them the color of the dye. If you aren't happy with a color, you can re-dye a sheep as often as you want!
Tips For Efficiency

As mentioned earlier, this farm can be expanded. To do so, all you need to do is continue this pattern. Place observers, dispensers, building blocks, and glass in the same way you did for the original farm. For the collection area, you just need to add more hopper and chest gathering points.
With your wool farm expanded, you can create a rainbow of colors. Above, you can see the farm expanded to hold 9 different sheep colors. Additionally, you can spruce up the farm by adding a roof and path. Make sure that grass is able to spread to the blocks underneath the sheep.
Wool should begin to gather in the chests below now. This farm is pretty simple and makes a great addition to any base. If you are planning a build that uses a lot of carpet, then this is an important farm to have.