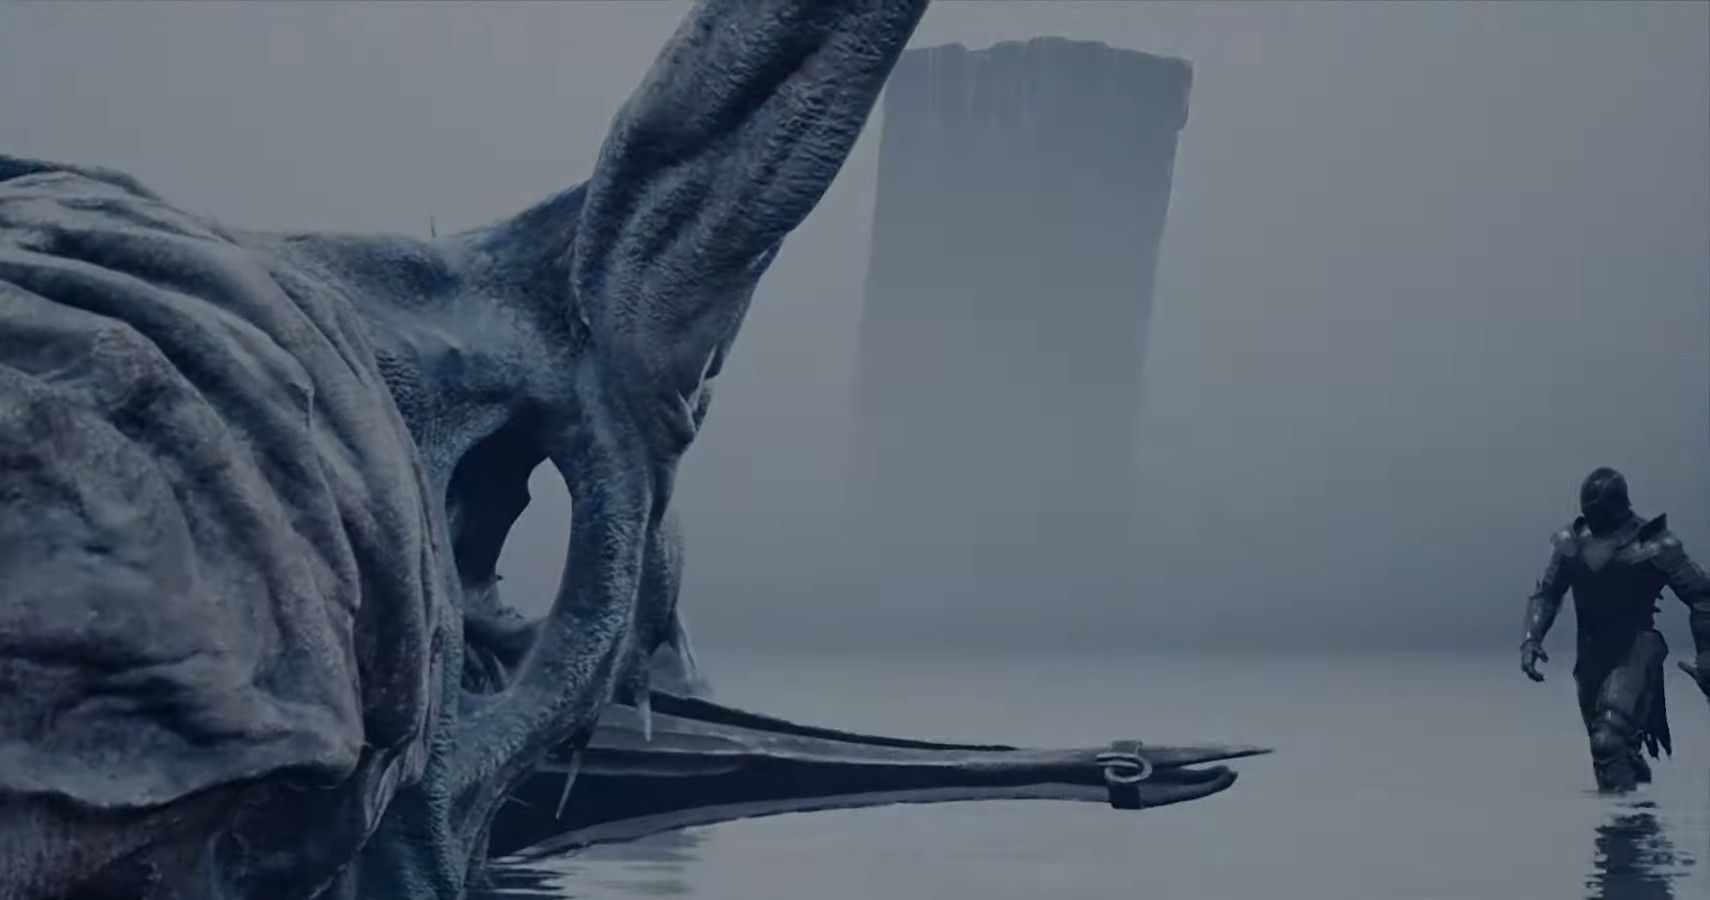
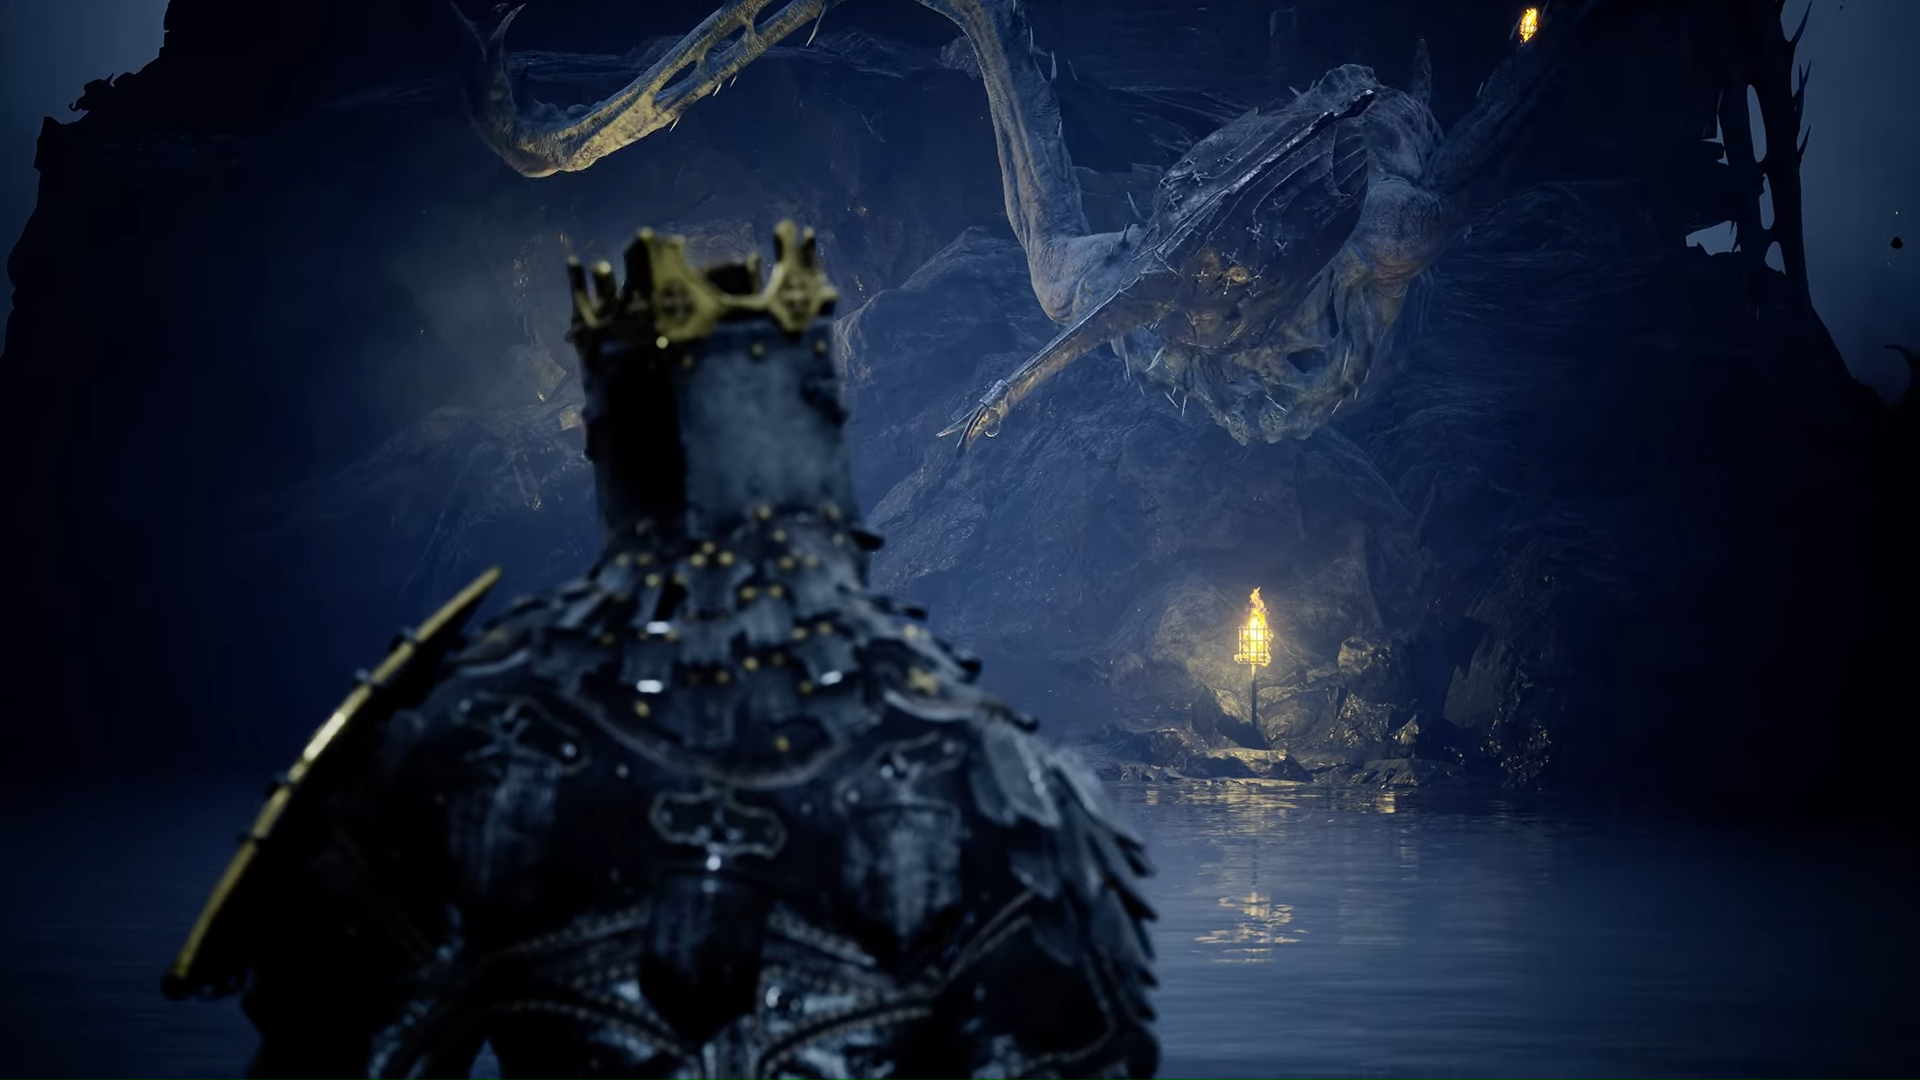
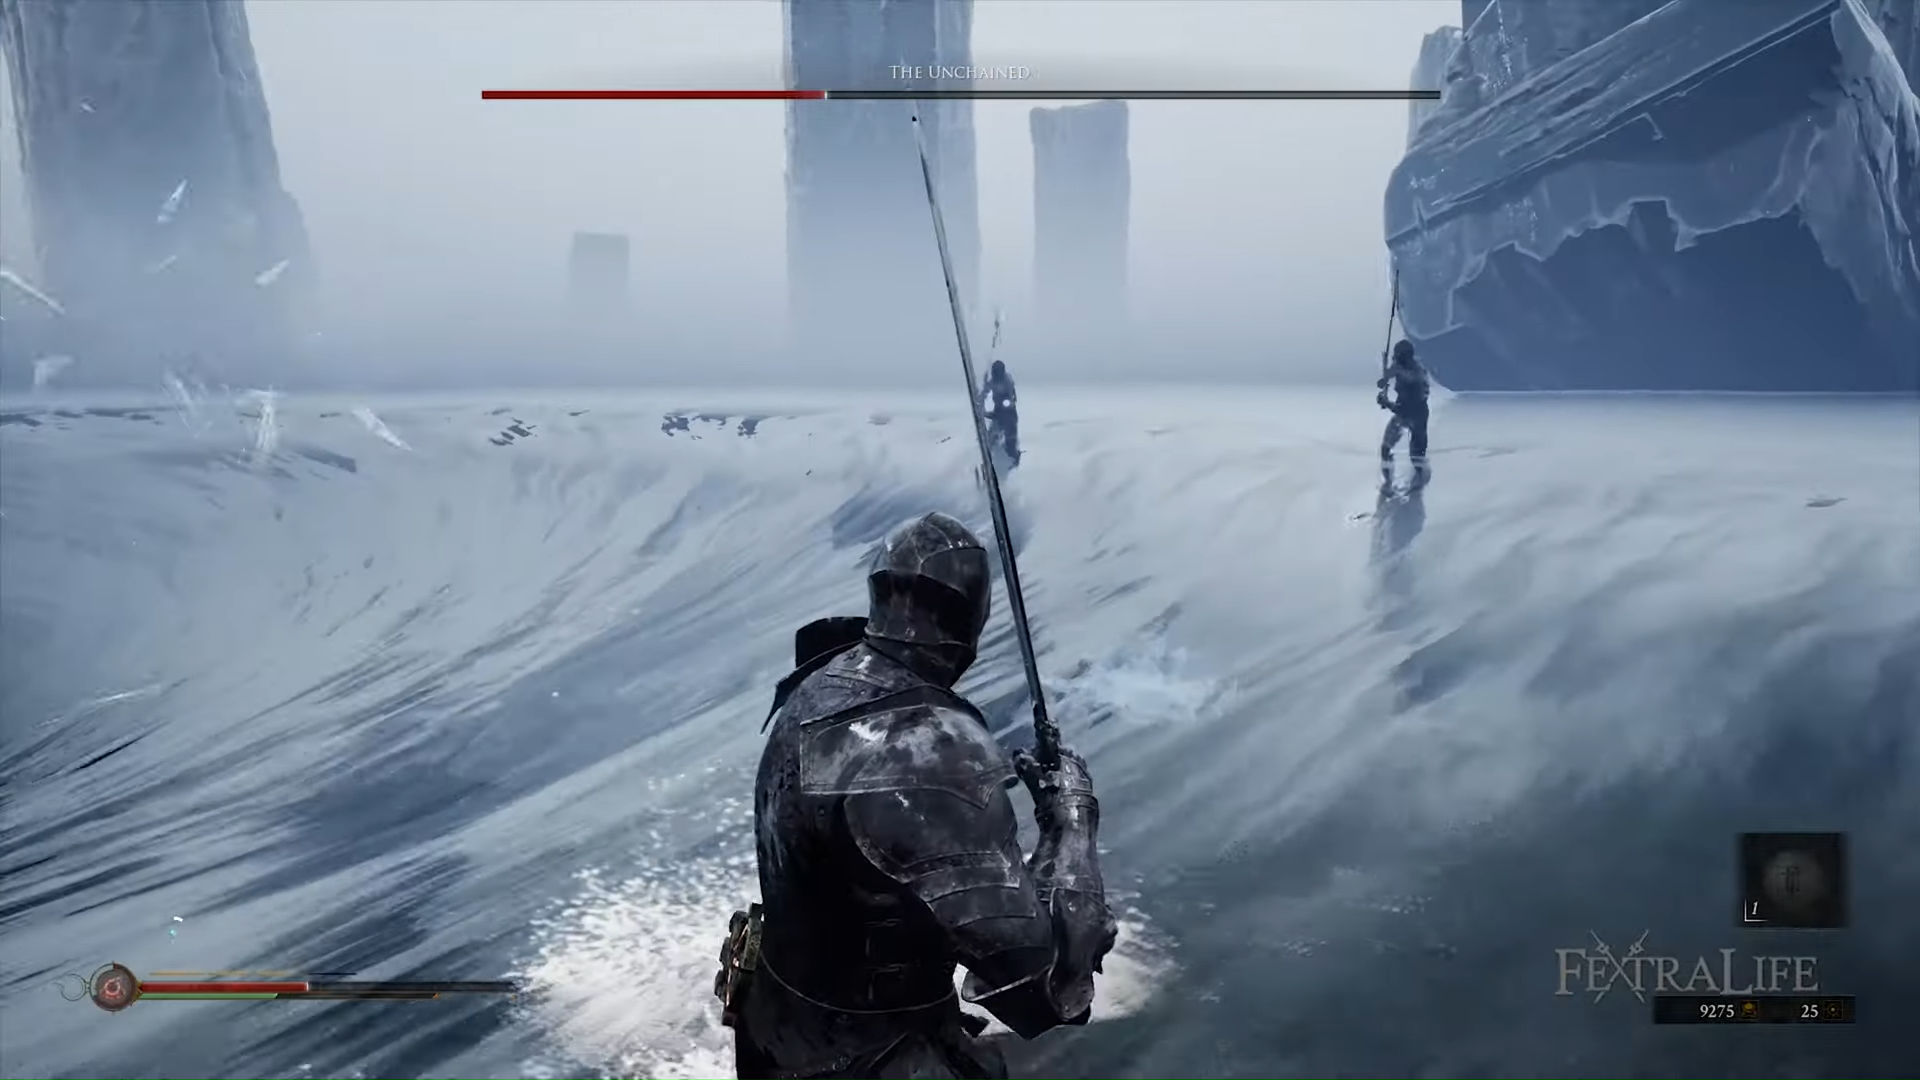
After collecting the three Sacred Glands and returning them all to the Old Prisoner, the final boss of Mortal Shell, The Unchained, will be your ultimate challenge. This boss is in a league of its own, but not unbeatable if you learn a few key tips.
You've crushed Crucix, the Twice Born, toppled Tarsus, the First Martyr, and incinerated Imrod, the Unrepentant. All that's left standing between you and completing Mortal Shell is the The Unchained.
This aggressive boss will attack you like he has a personal grudge. It is relentless. It can feel unfair. It will take a smart strategy executed well to make it through this final test.
How To Beat The Unchained In Mortal Shell
Before you begin the fight, you should prepare yourself for what's coming. Hopefully you've collected all the shells and weapons in the game, and have one or two maxed out. If not, do yourself a favor and do that first. The best shells for this encounter are either the Harros or Solomon Shells. You can use whichever of those two you feel more comfortable with, or have upgraded, but you are going to want four or more bars of resolve for this fight.
As for weapons, the weapon abilities are going to play a major factor here. The Hallowed Sword and Hammer and Chisel weapon abilities are by far the most useful in this battle. Again, make your choice based on what you have upgraded and like more.
The Unchained Strategy
Unlike the other bosses, The Unchained only has one phase. Don't get too excited, though, because he's still going to be bringing out new moves all through the battle to keep you on your toes.
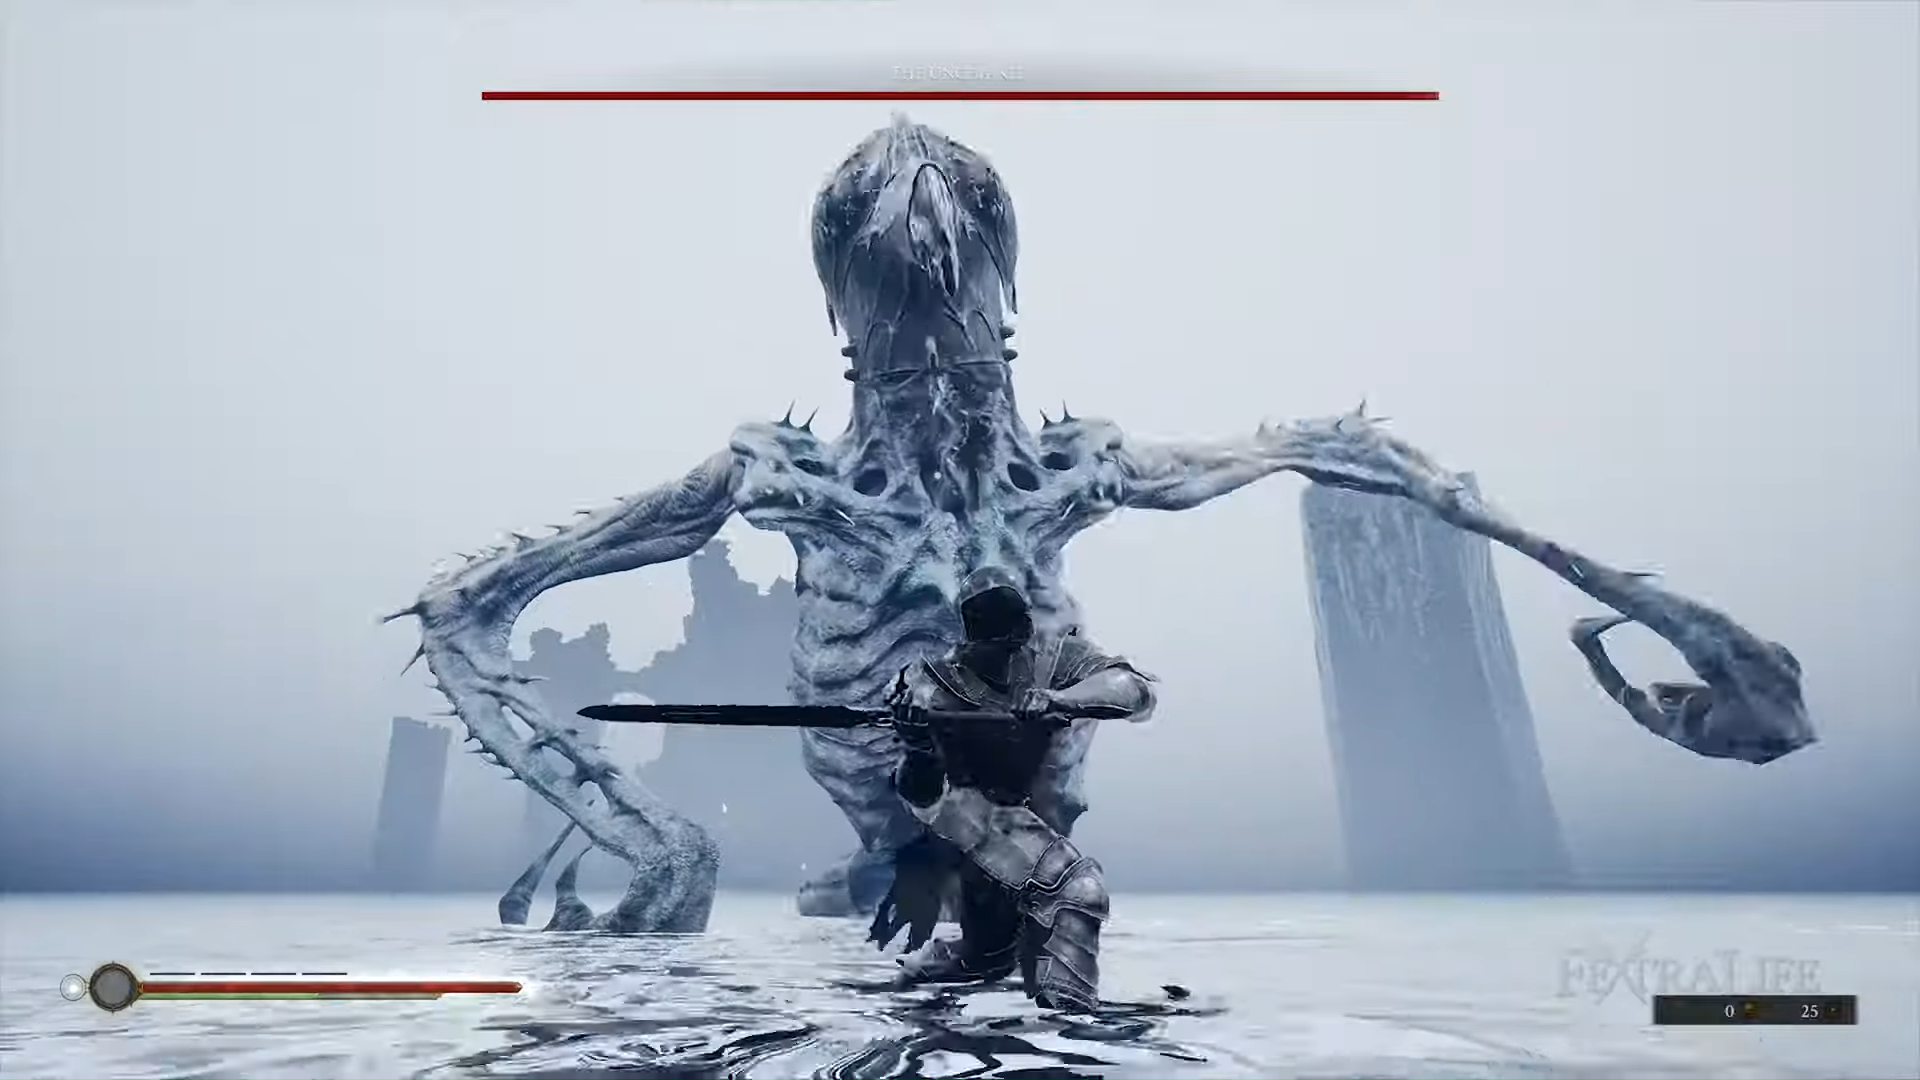
The fight will always open with The Unchained doing a rush attack and swiping at you with his long arms. Resist the urge to retreat and instead either harden through the attack or dash in towards him where you'll be safe enough to get a combo in on his head, maybe more if he staggers. If he doesn't stagger right away, get ready for him to retaliate with another arm or tail swipe. Harden through it and get a couple more hits in.
You'll know you get the stagger when The Unchained drops his head down, but be warned that you can still actually get hit by the animation of it falling to the ground. Stand back or to the side until it's down and then lay into him for more damage. When he recovers he will reset himself back and then rush again just like how the fight began.
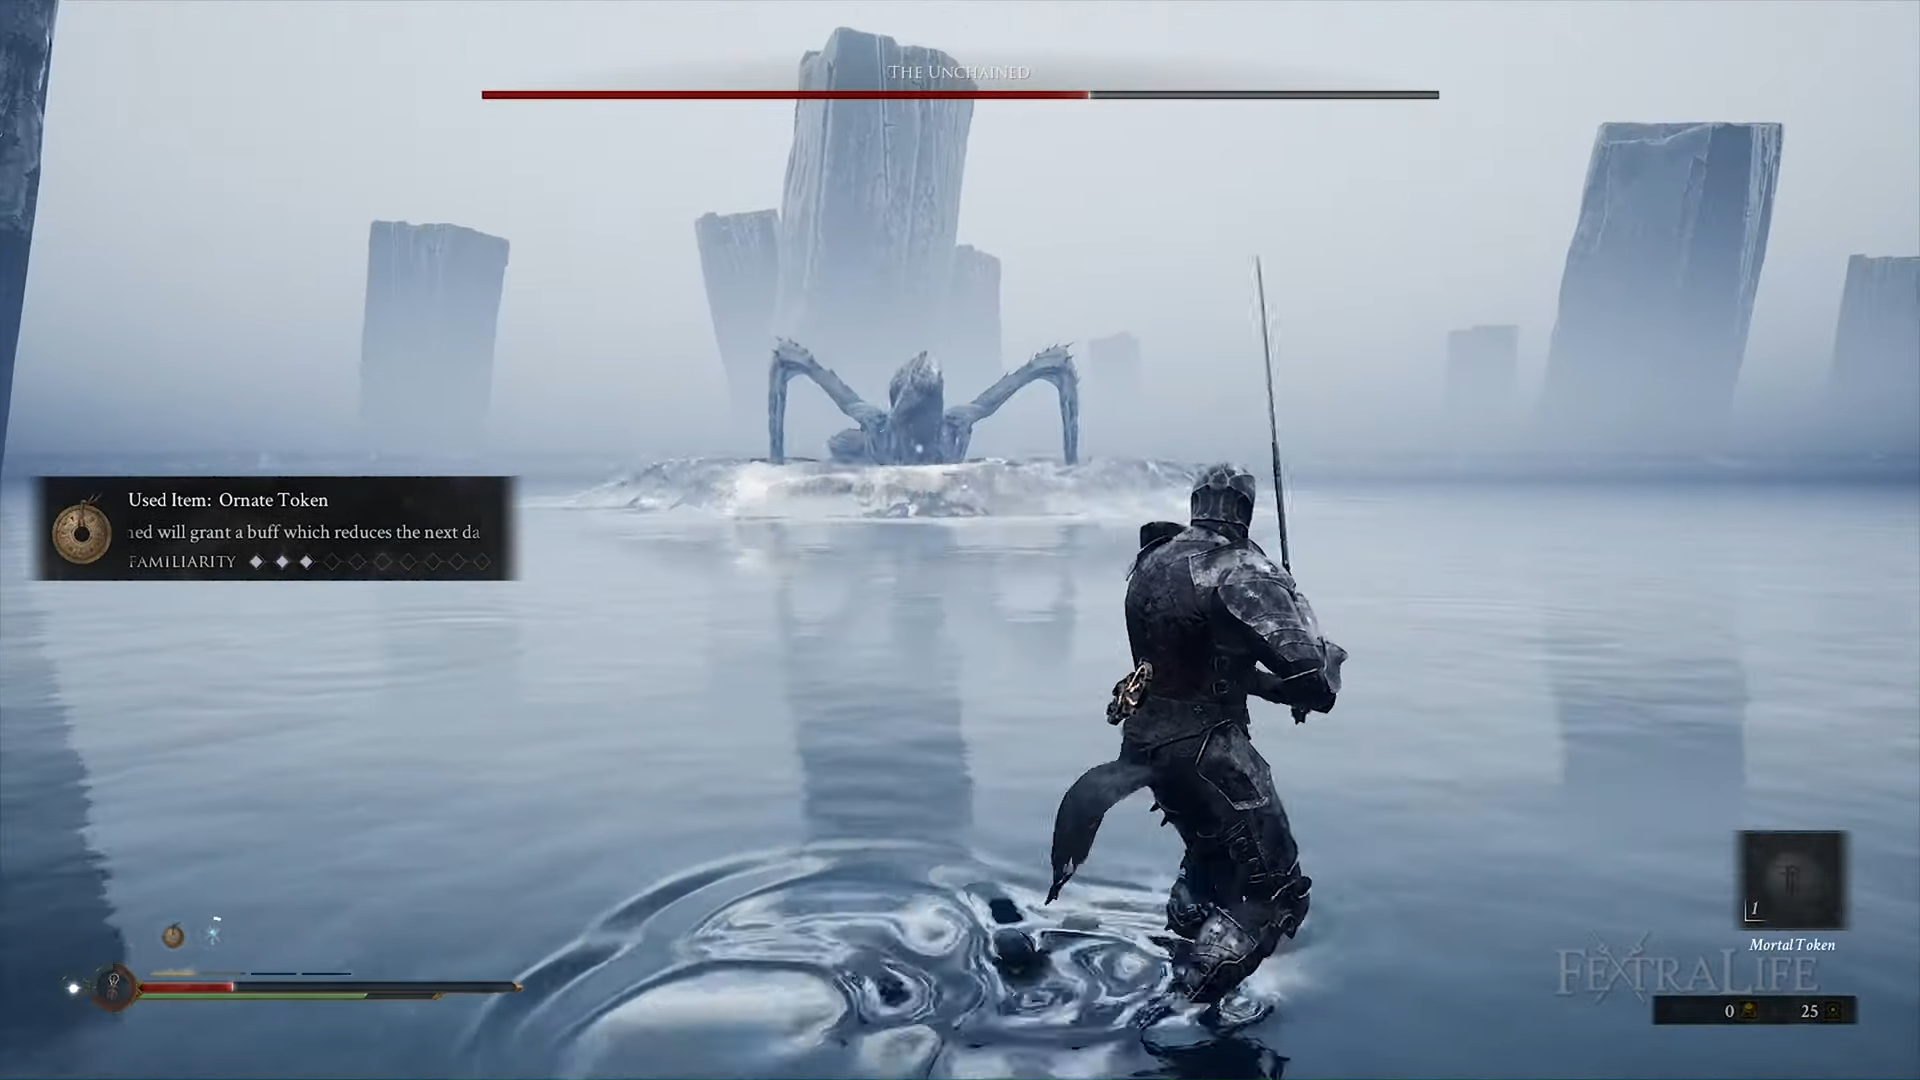
This part of the phase won't change much from this formula, so keep dealing damage and stocking up on resolve until you bring him down to around 2/3 of his total HP. At this point The Unchained will start adding in a water attack to his leaps, sending waves at you. You can't harden to block it, and it will knock you down if you take the hit, so the only option is to do a roll directly through it, but be ready for the follow up dash attack he's almost guaranteed to do.
If you're close enough, and brave enough, you can interrupt this little combo by rolling through the wave and immediately using your weapon ability to cancel out his attack, plus staggering him for more free hits.
Around the halfway mark of this fight, The Unchained will bring out his next move and call in adds. These dark little creatures can be killed in a single hit, but are there to swarm and distract you. When they start to show up, try and get as far away from The Unchained as you can to deal with the mobs first. Because they go down in just one hit, your harden ability can help you take out a group of them in one go.
Your opportunities to get clean hits in will be smaller, but keep taking shots where you can. This is also where The Unchained's final moves are brought out.
First is a whirlpool attack where The Unchained will sink under the surface and create a massive whirlpool, plus summon more of those minions for good measure. Everything will be sucked towards the center, and if you get pulled in it will mean instant death, but any of the creatures that get sucked down will restore some of The Unchained's HP. It isn't worth risking the entire attempt to stop him from healing a little, but do your best to take out as many as possible before they reach the center.
There's also a dive attack where The Unchained dips down for a moment before leaping out of the water to dive bomb you. Wait for him to pop up and harden through his attack to stay in close to counter with a few hits, but dodge away once you seem him start to flail around.
Another attack that works better for you than him is his kind of beak strike. You'll see him telegraph this attack by sticking his arms down to the side and pulling his head back. Dodge to the side and lay into his head while it's stuck.
This fight will test you right up until the end, but the The Unchained itself isn't too difficult to counter if you can quickly deal with the minions he summons in and not get caught off guard by any waves that can leave you vulnerable. Use your resolve wisely, don't take unnecessary risks, and you'll conquer Mortal Shell.

