You don't need to be a scholar to fully maximize the Solomon Shell in Mortal Shell. By following a few simple tricks you can use this shell to trample the game's bosses.
Solomon, the Scholar is one of the more interesting of the four shells you can swap between in your time with Mortal Shell. After Harros, this is likely the next shell you'll pick up, and his stats will probably pull you to try him out right away. While his stats are good, save for a little deficiency in stamina, they don't give away just how powerful this shell can get. If you like utilizing the more flashy moves and dealing out more parries than regular strikes, this build will feel right at home.
Solomon's Best Build In Mortal Shell
Best Abilities

Solomon comes with the second highest durability stat in the game behind Eredrim, but takes the top spot for resolve. The combination of those two make him perfect for dishing out tons of parries and weapon abilities, while being able to tank a couple hits to make up for his low stamina. Parrying becomes Solomon's best asset once you unlock a few skills which, combined with your glands, turns a defensive mechanic into your best offense.
Because resolve is going to be your main focus for dealing and avoiding damage as Solomon, investing in Accretion of Inheritance first is a wise move. This ability restores a little resolve when you take a hit while hardened. This passive will always be useful, and only costs 1,100 Tar and six Glimpses so grab it as soon as you can to get the ball rolling.
With that out of the way, things start to get fun when you grab Accretion of Ascent. What this does is give a chance for you to regain all of your resolve, which is five bars, every time you kill an enemy with an empowered riposte. While it isn't guaranteed, restoring all your resolve so quickly can bring back all your parries and weapon ability options in an instant. Because its so good, it is on the pricey side, though. Save up 3,000 Tar and 20 Glimpses for this one.
Did I say Solomon had five bars of resolve? Yeah, well that can actually turn into six bars once you pick up the Accretion of Resolve. You will lose this extra bar when holding a gland, but in exchange you get an extra 25 max HP. Considering how little of your time you actually spend holding a gland, this is essentially just a free bar of resolve. Well, not exactly free since it costs 2,500 Tar and 15 Glimpses to unlock.
Best Weapon

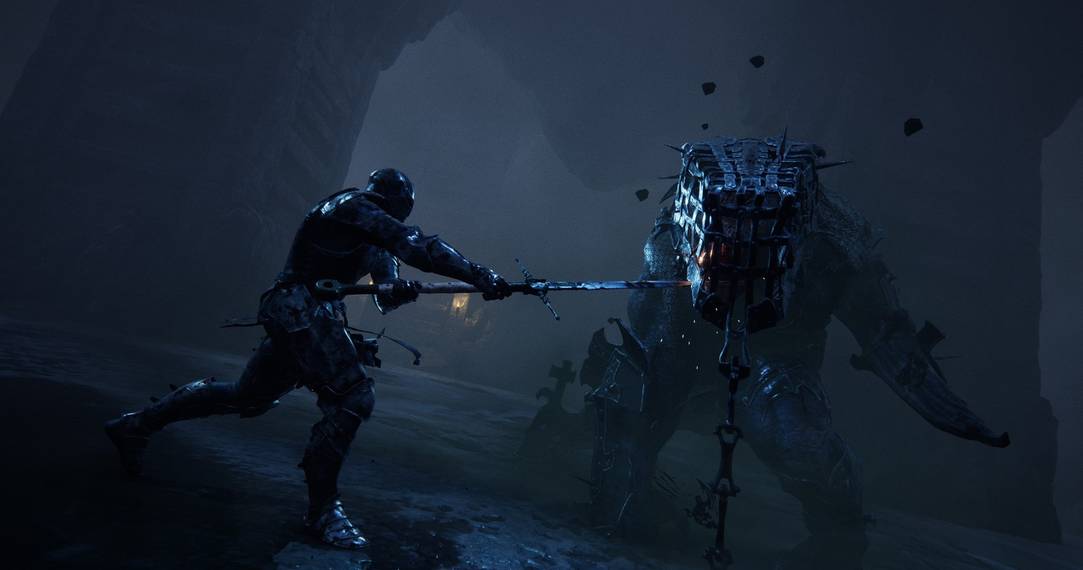
Your weapon choices really come down to the Hallowed Sword and Hammer and Chisel because of Solomon's low stamina. But, between the two, the Hallowed Sword is the better choice. It may use a bit more stamina than the Hammer and Chisel, but it has two major positives going for it. One is that it has pretty good resolve gain on hit, synergizing with basically everything else in Solomon's kit, but also way better weapon abilities. Both the Molten Spike and Mechanical Spike abilities can devastate enemies, and can usually stagger bosses, while only costing two resolve each. That means you can unleash three of these back to back if you wanted, which will feel like cheating against even the tankiest boss.
This shell has a little something for everyone, but can scale up as you progress and learn the mechanics of the game better. He's got enough durability for newer players who might take some extra hits, but rewards high level players who can parry and hit their weapon abilities consistently. With this build, Solomon is the perfect teacher for everything Mortal Shell has to learn.