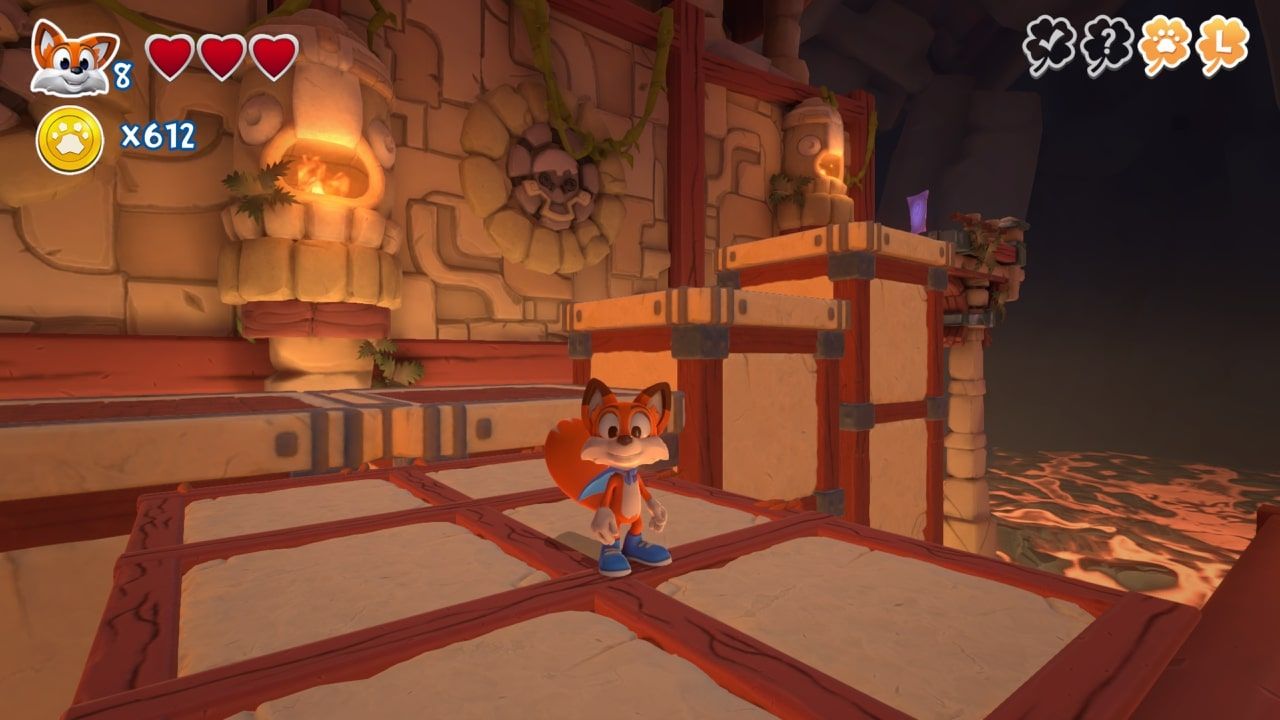
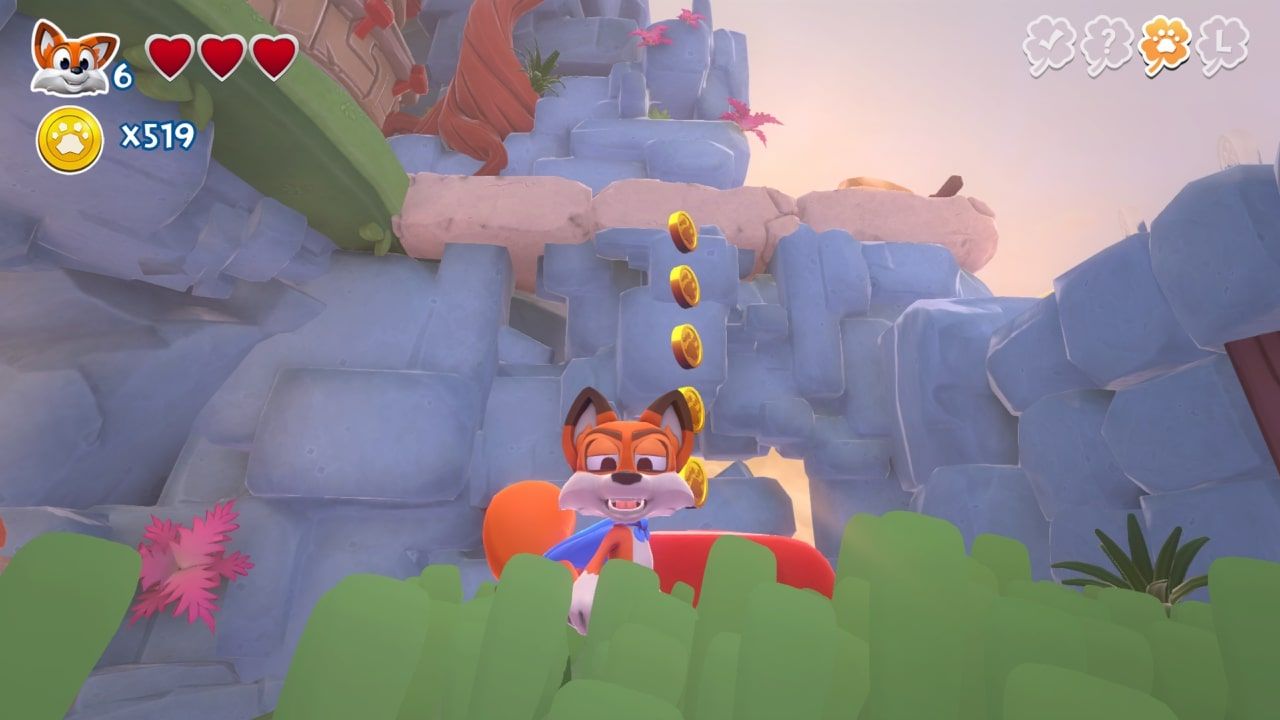
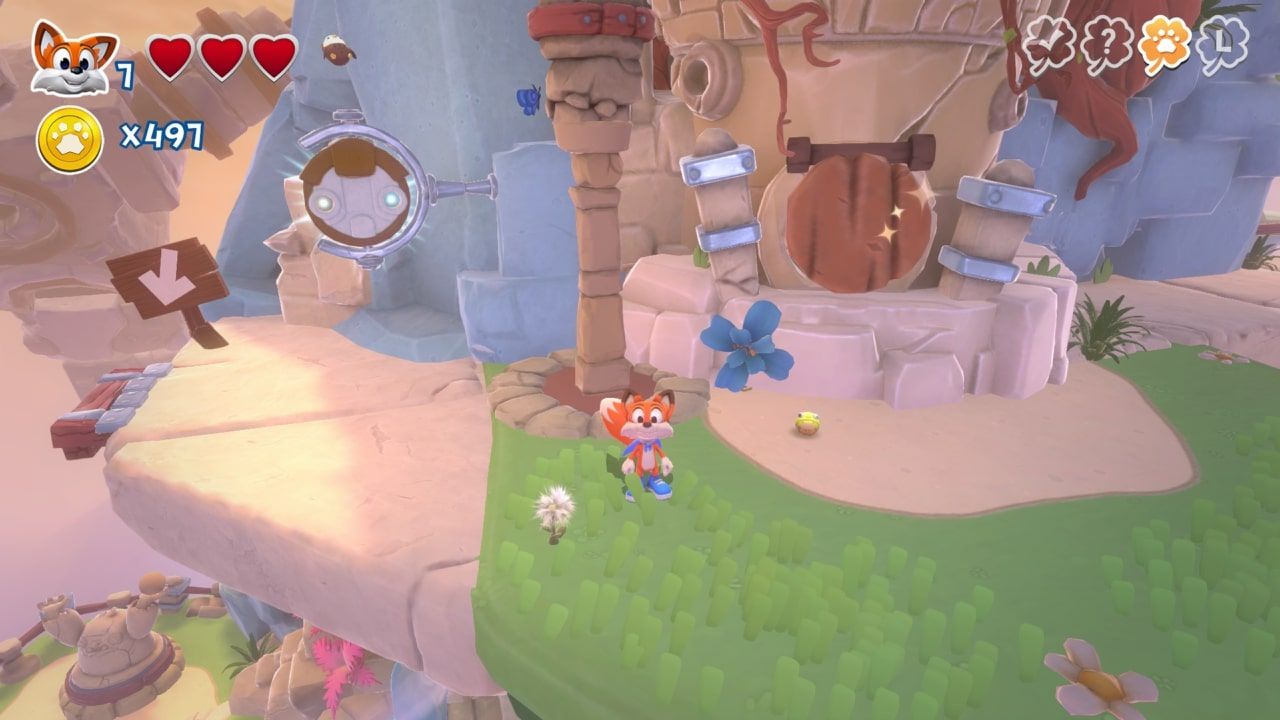
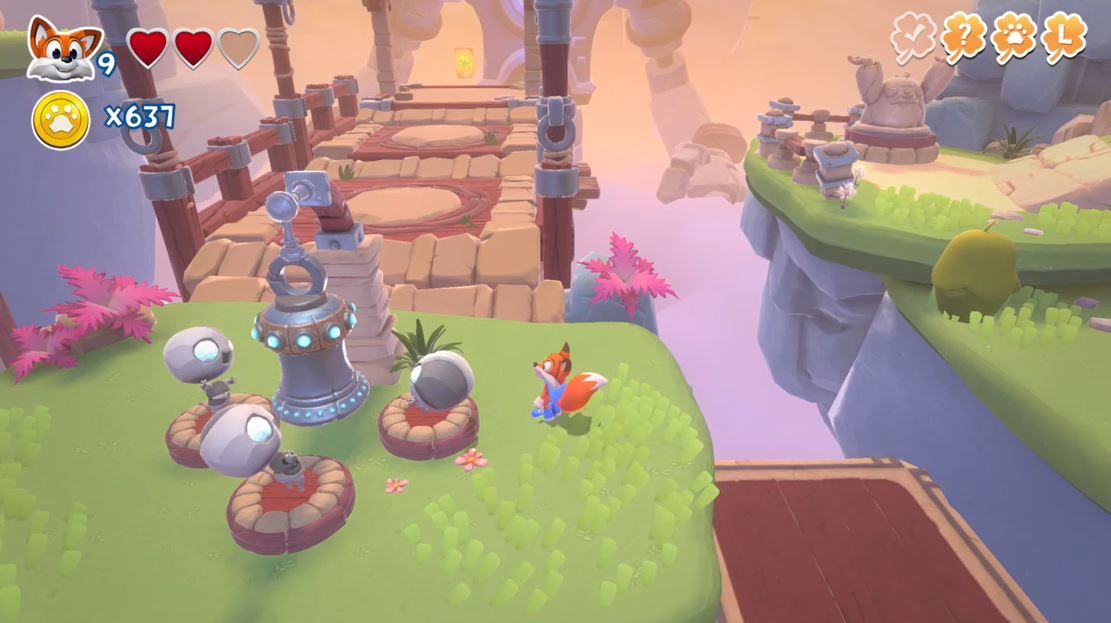
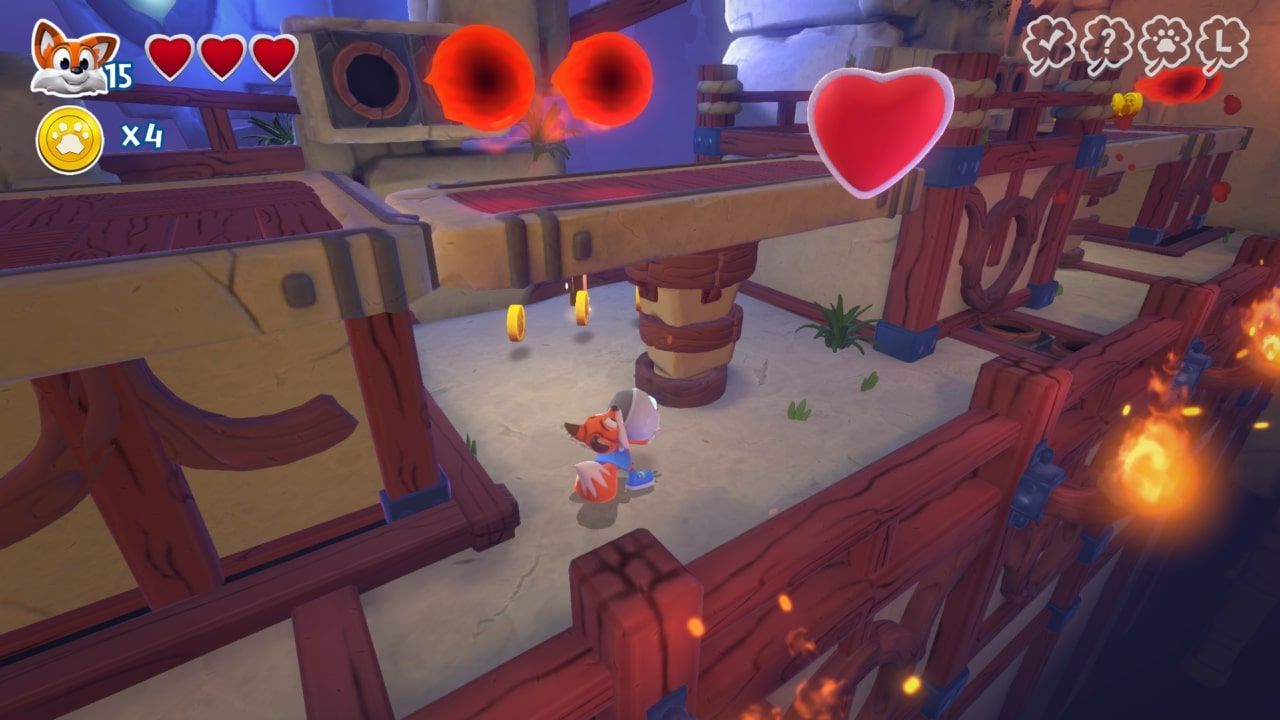
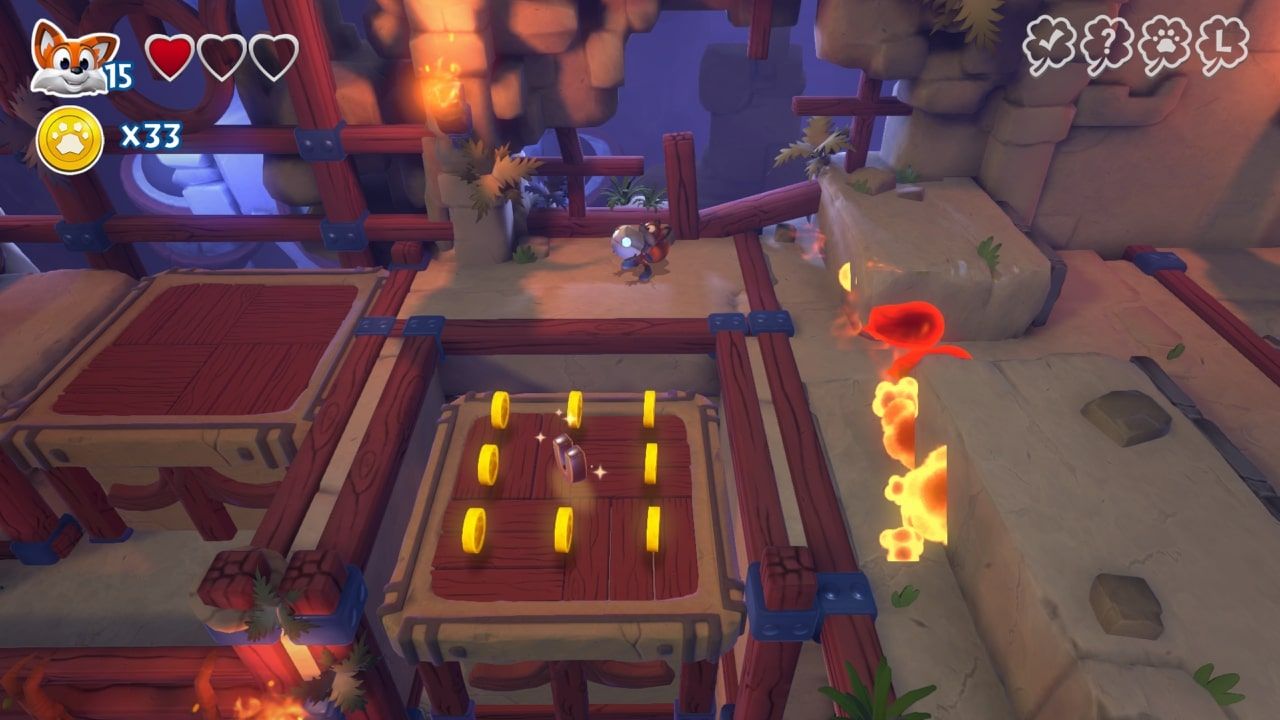
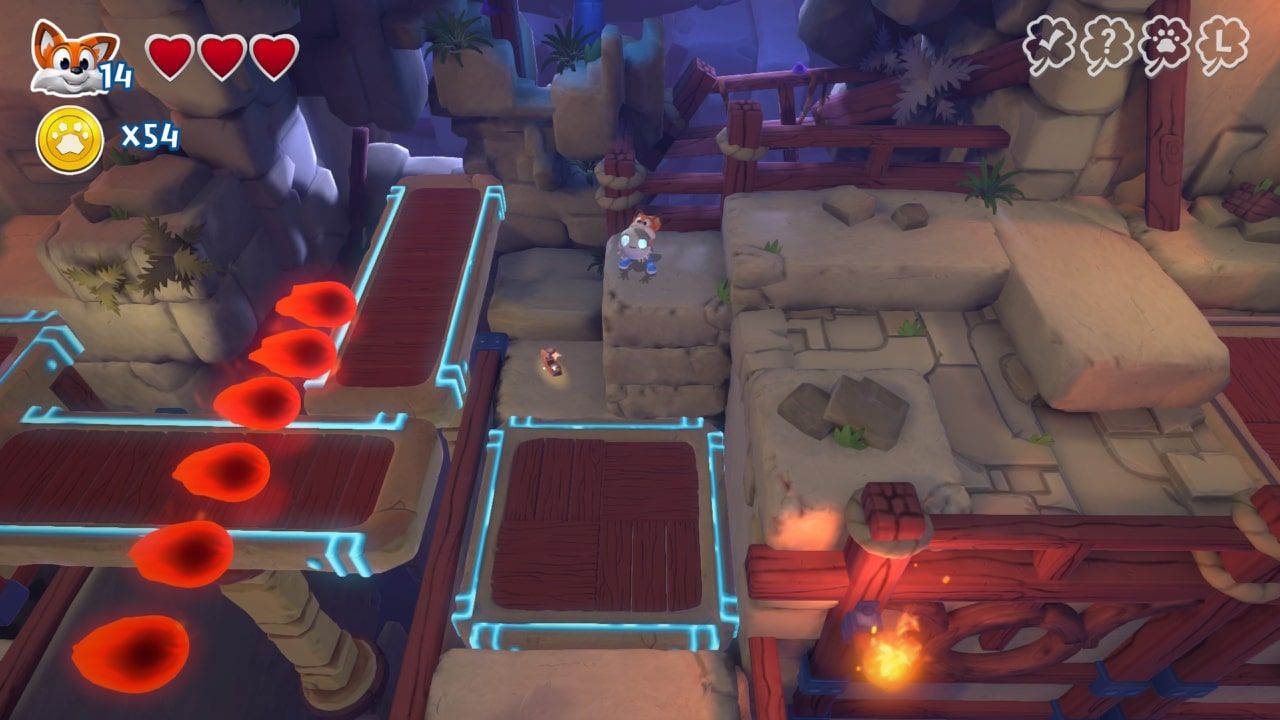
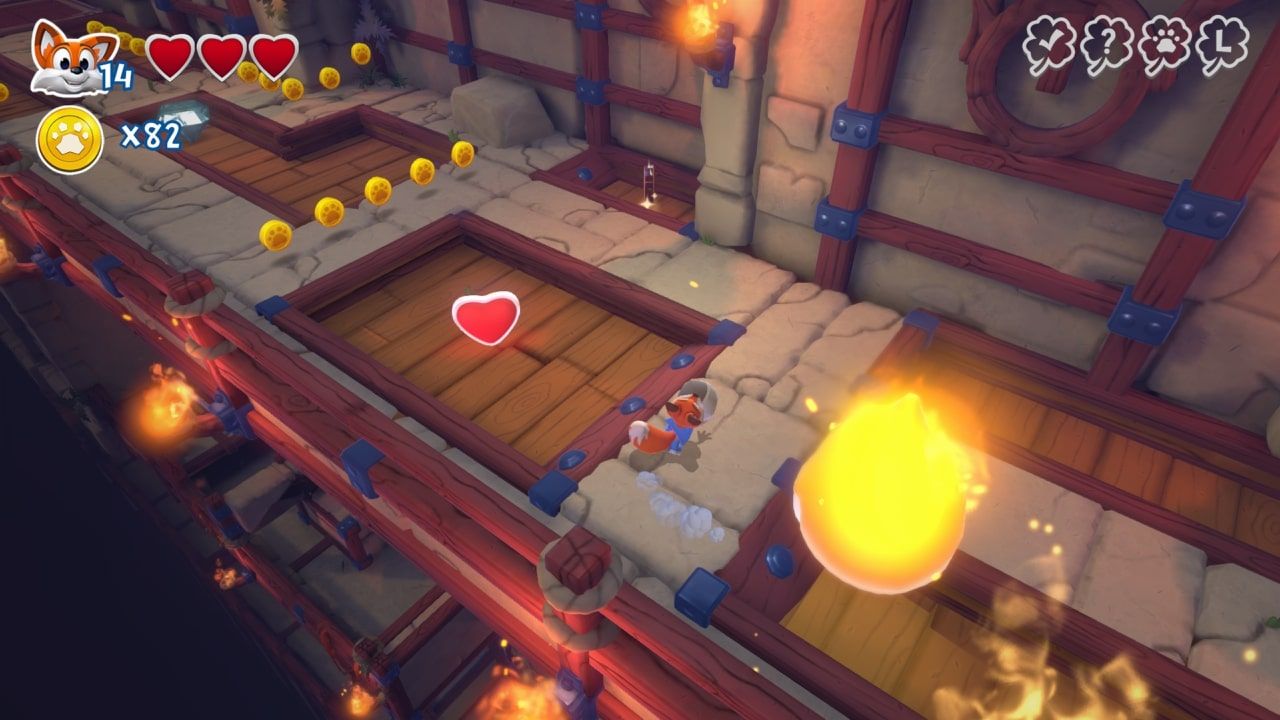
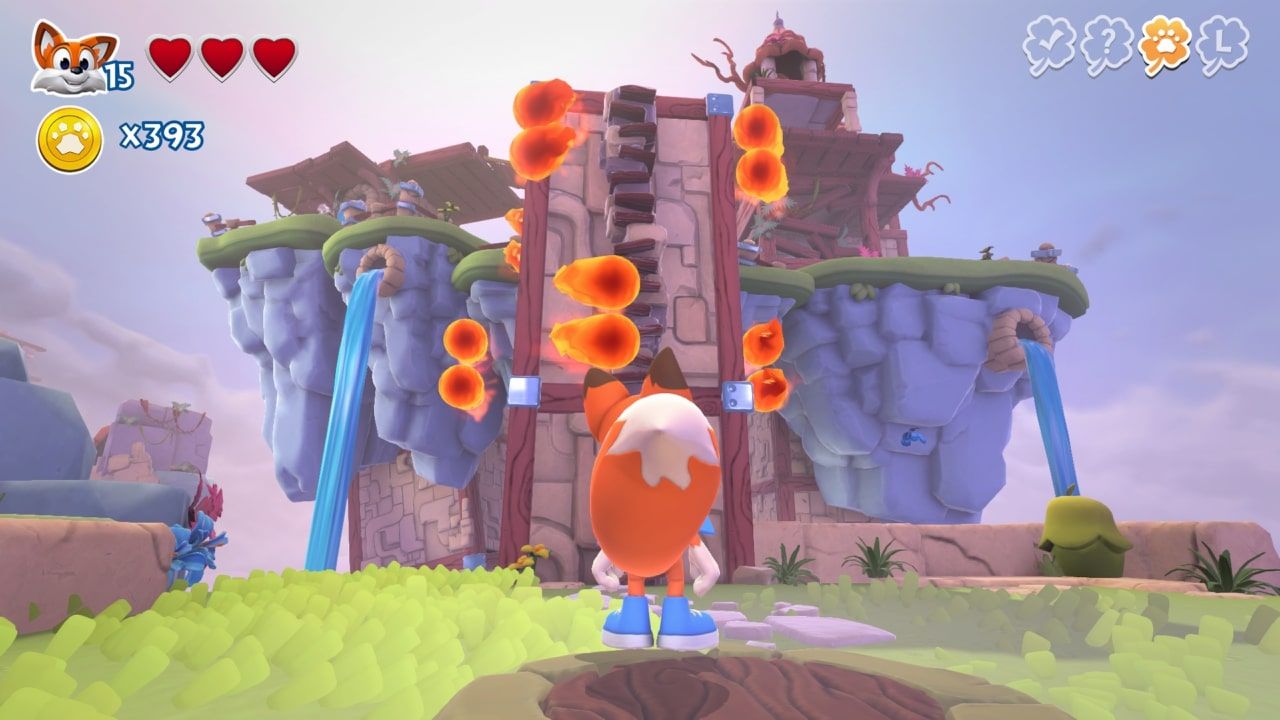
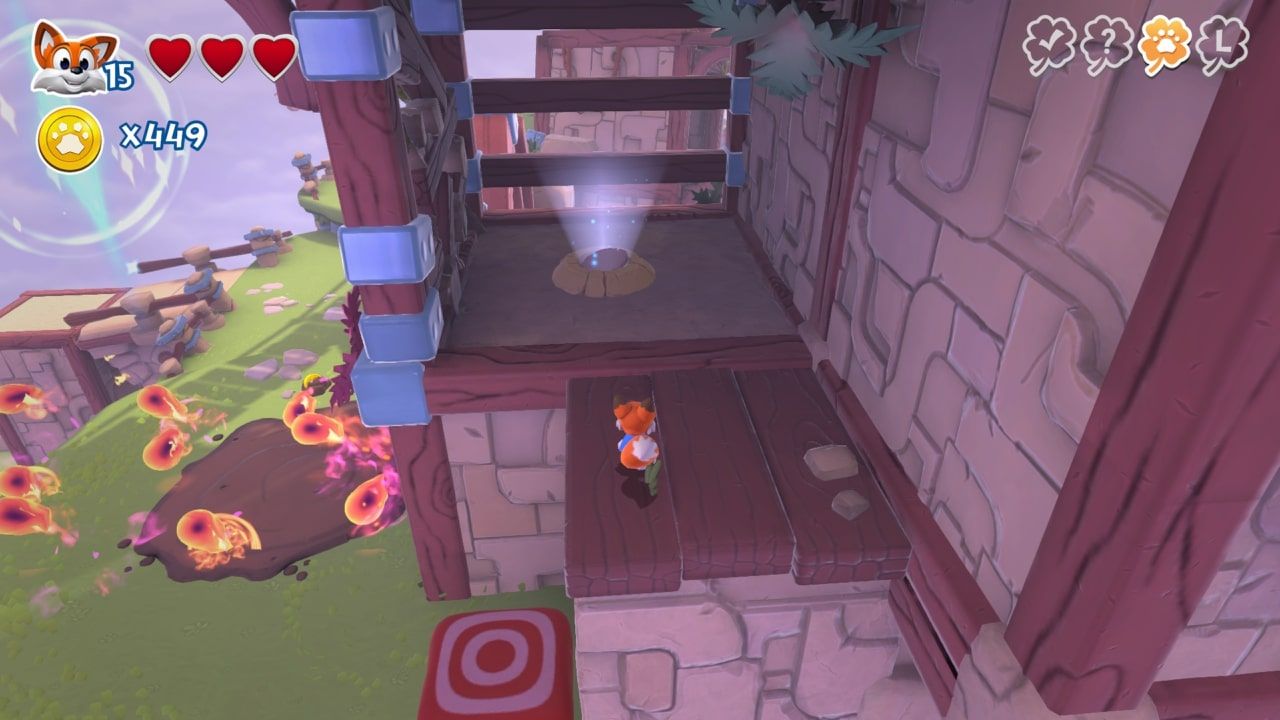
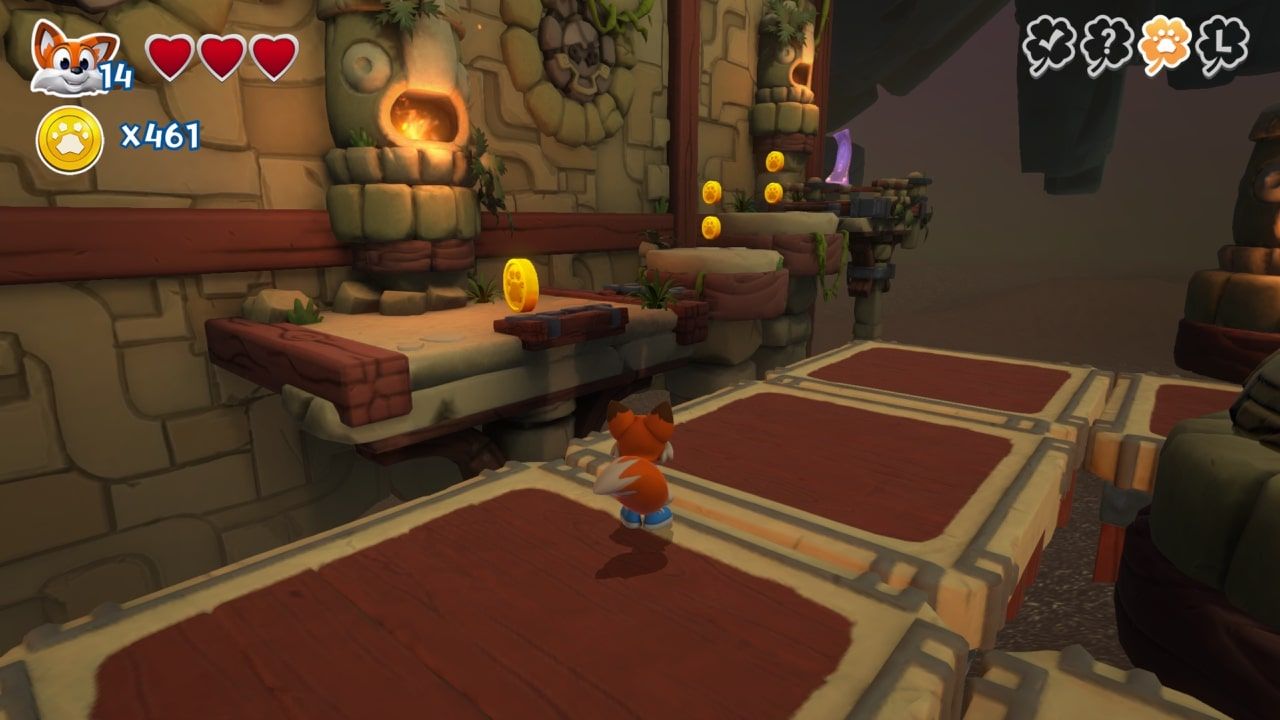
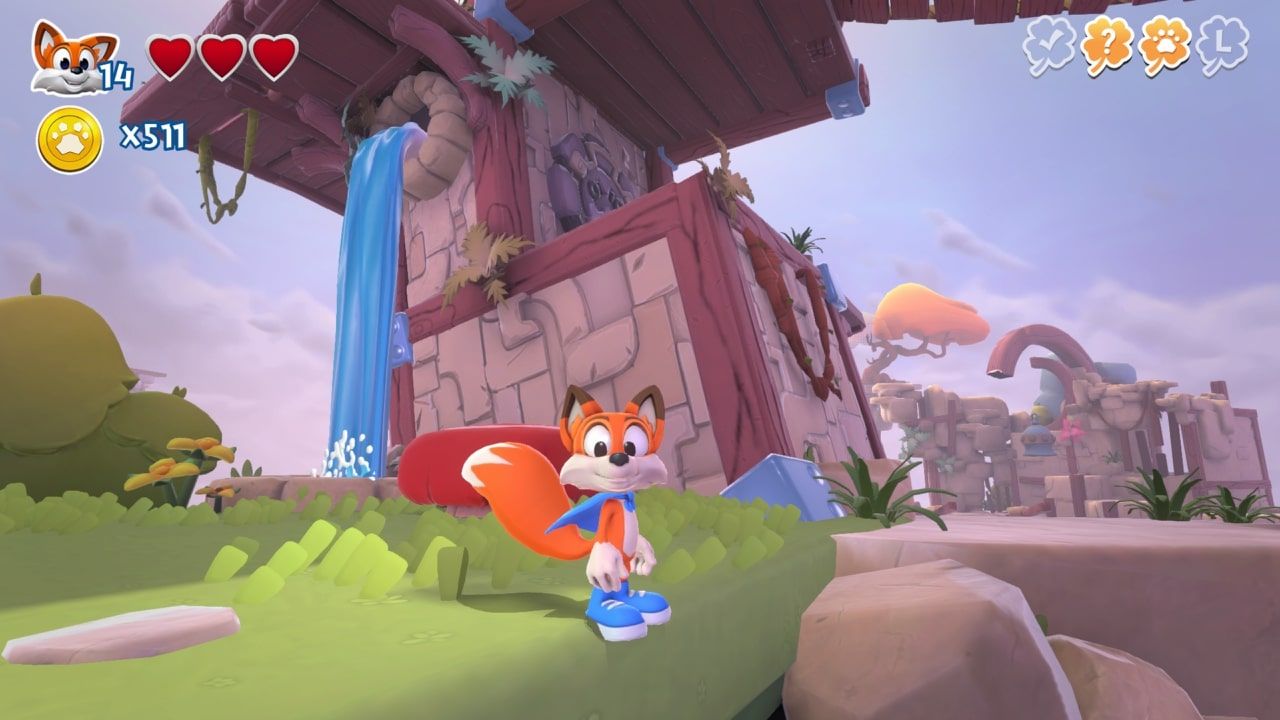
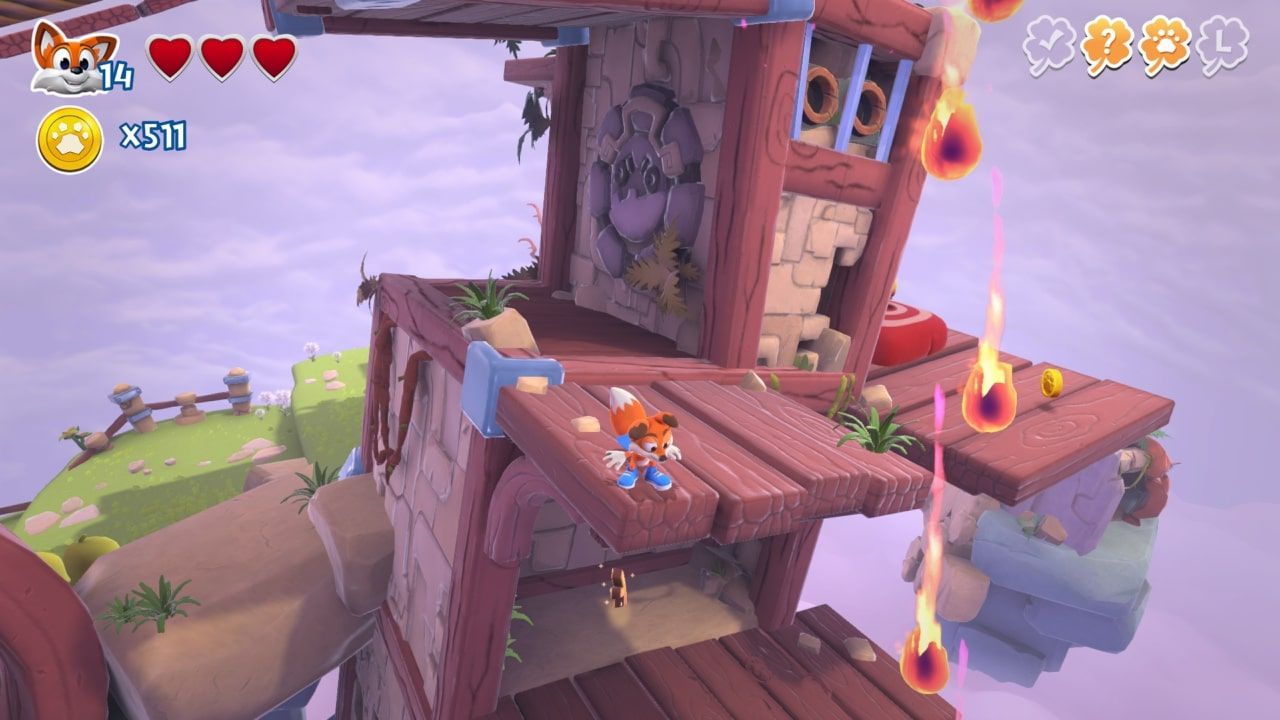
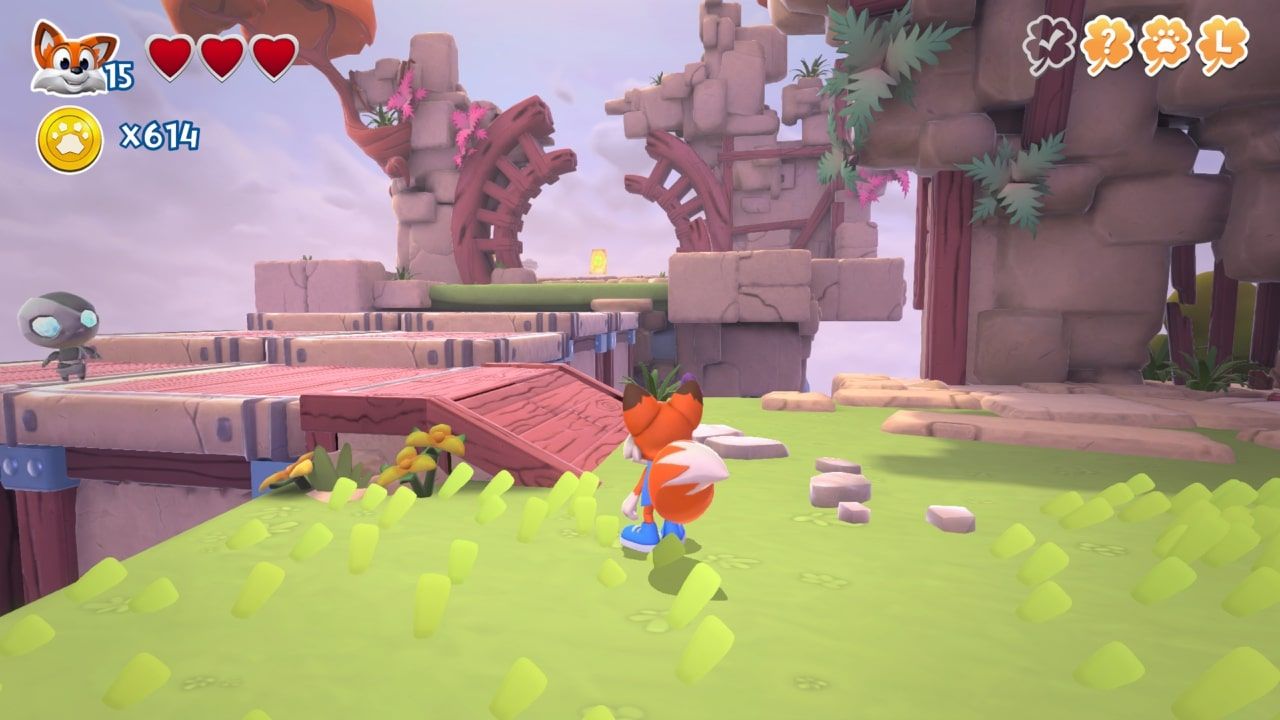
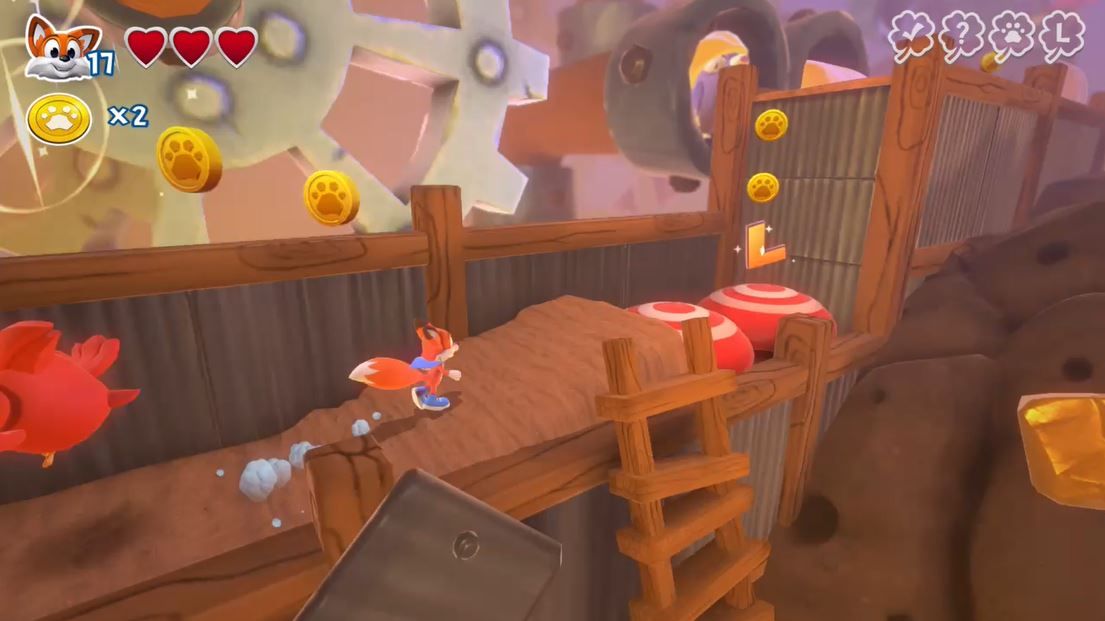
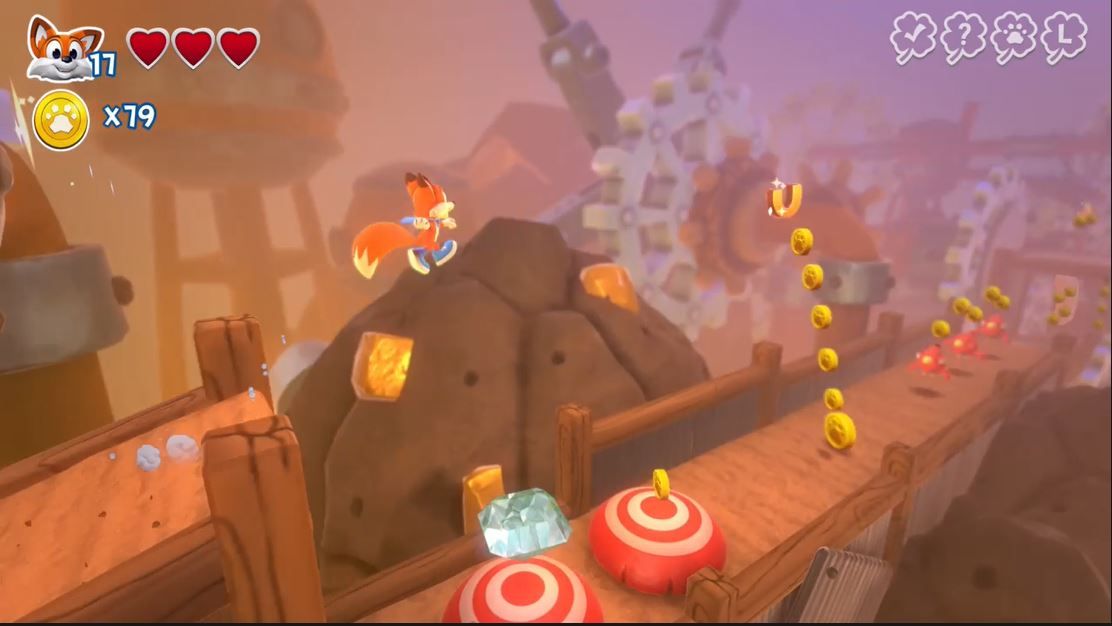
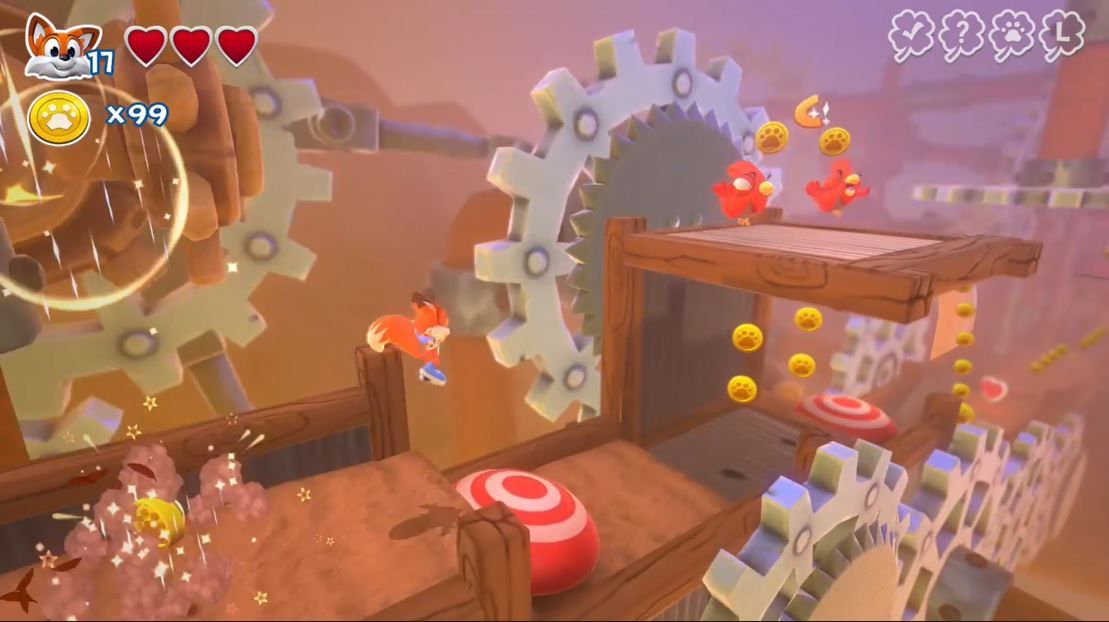
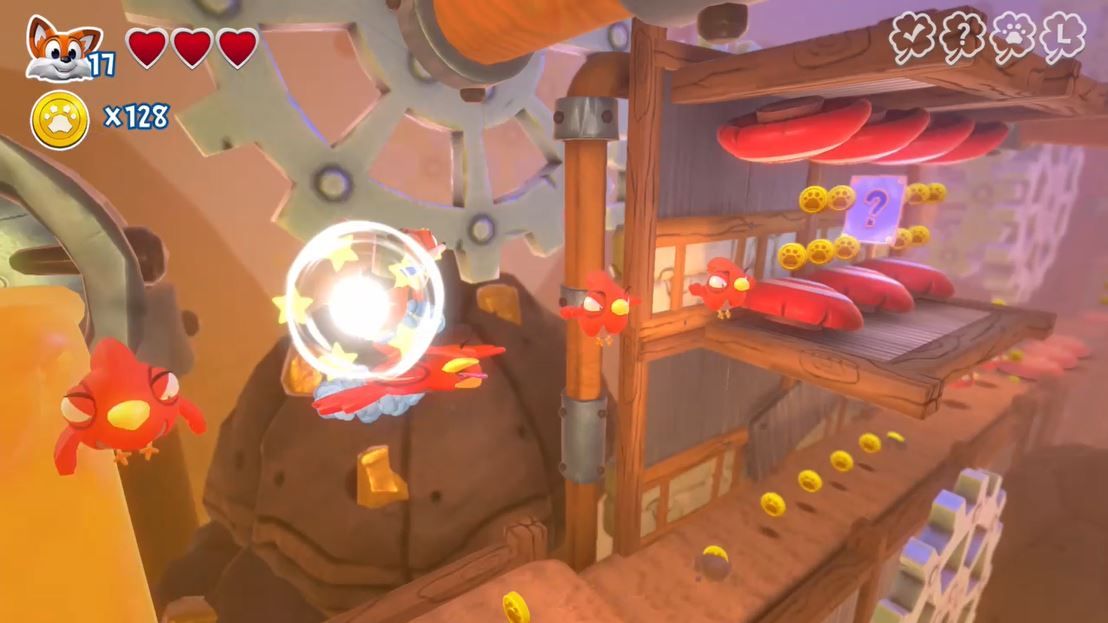
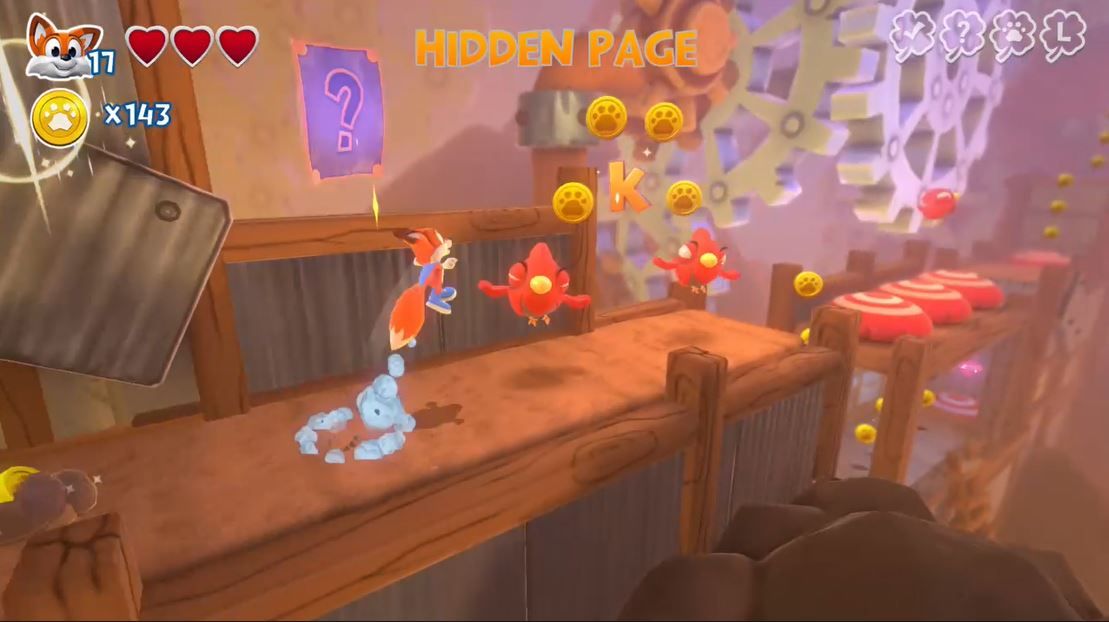
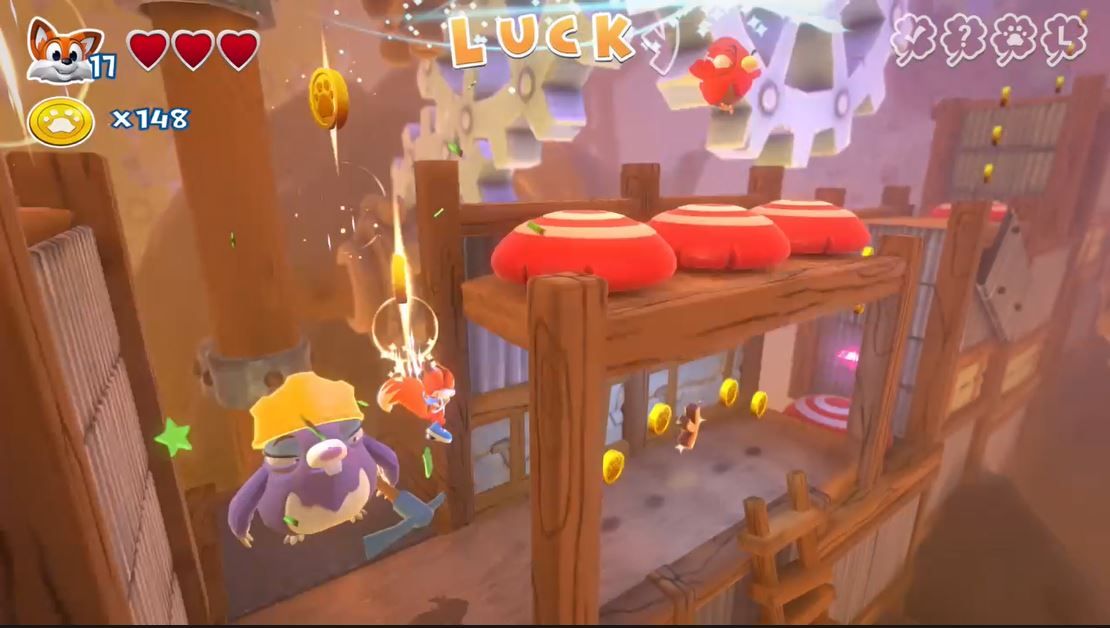
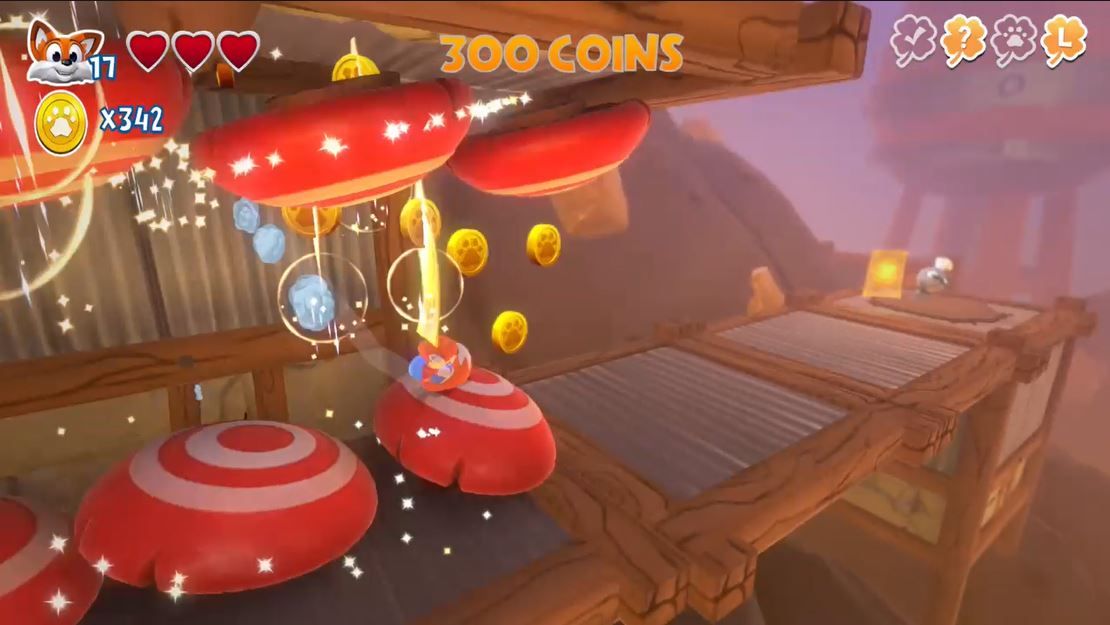
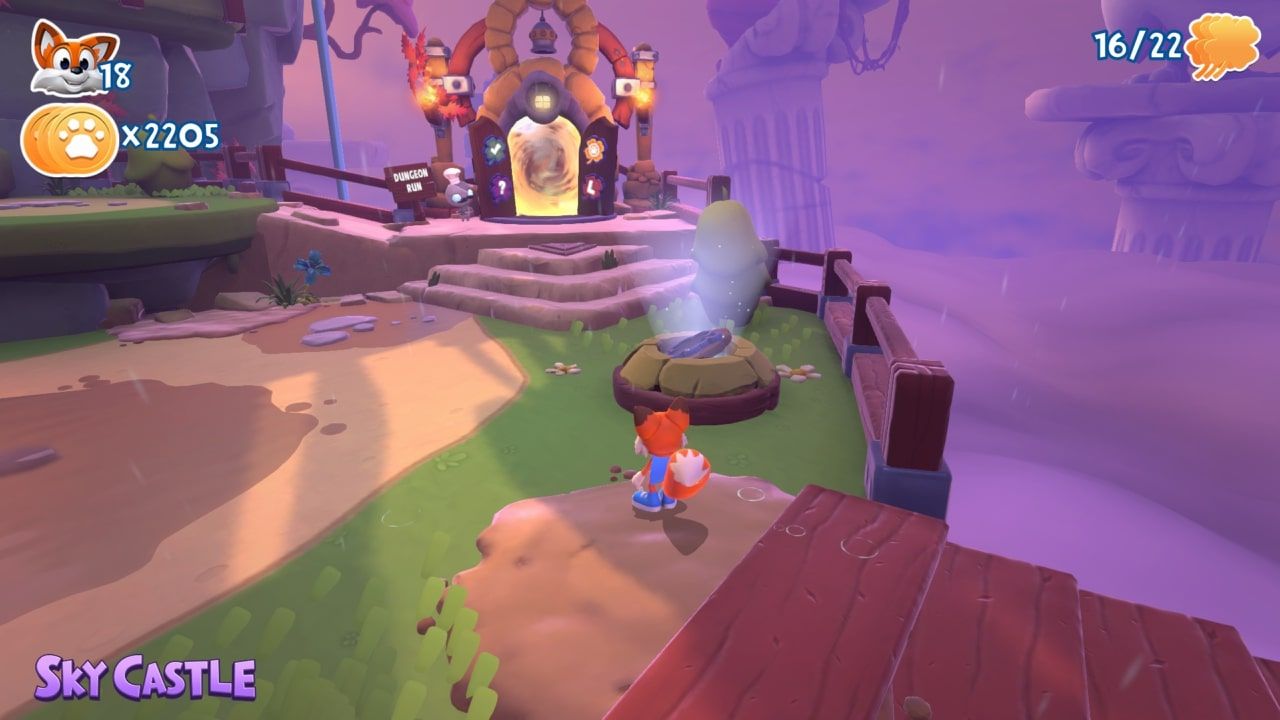
New Super Lucky's Tale follows a very simple 3D platformer collectathon formula. The game features six worlds, each with three to five levels. Each level has four clovers required to attain 100% completion of the game. The four clovers are earned by finding the L-U-C-K-Y collectibles, finding the Hidden Page, gathering 300 coins and completing the level. Hub worlds also have a small number of clovers available that you earn by completing minigames or puzzles.
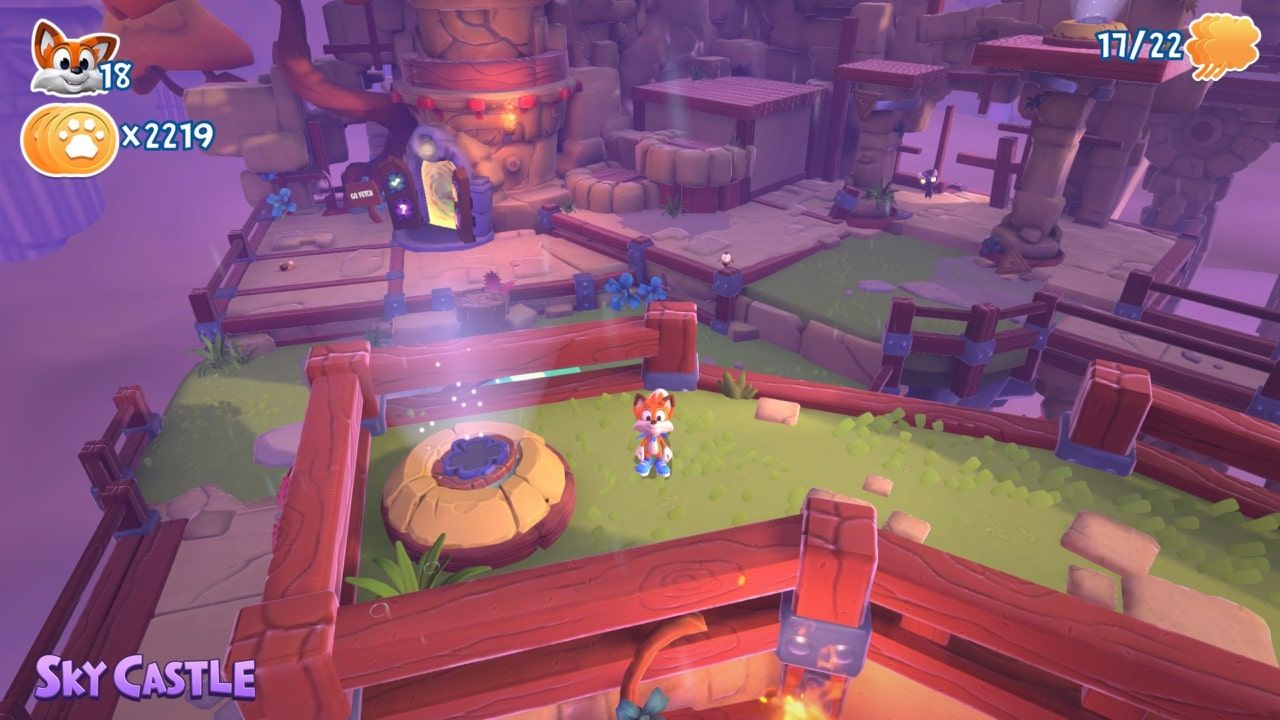
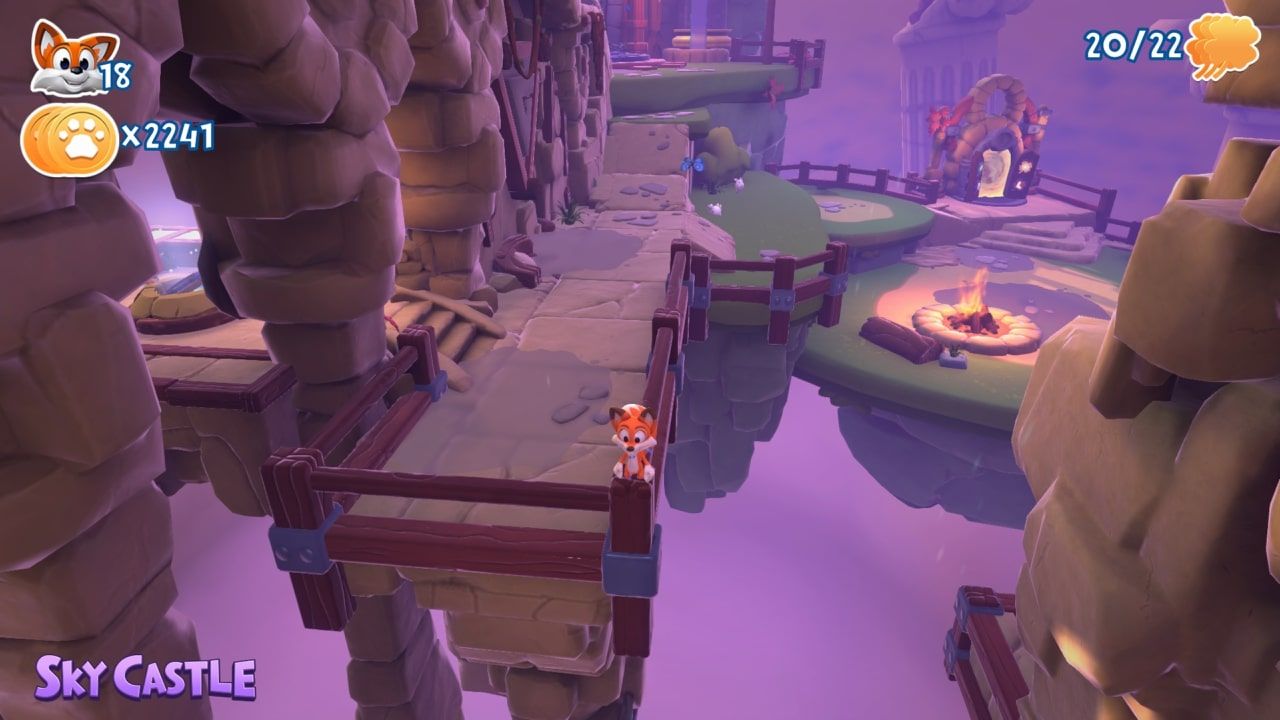
This guide will detail where to find the L-U-C-K-Y and Hidden Page collectibles, how to beat each level and the minigame/puzzle solutions in the hub worlds. The guide will not cover the 300 coins per level, as most levels have well over double that amount and will be unlocked naturally without much attention required. Kill enemies, break every destructible you see and pick up all the coins and gems you see around you. You will get 300 coins on every level. The collectibles in this game aren't too annoying, so you shouldn't encounter too many issues if you follow along. With that, onto the guide for the first world, Sky Castle.
Heavy Heads L-U-C-K-Y and Hidden Pages
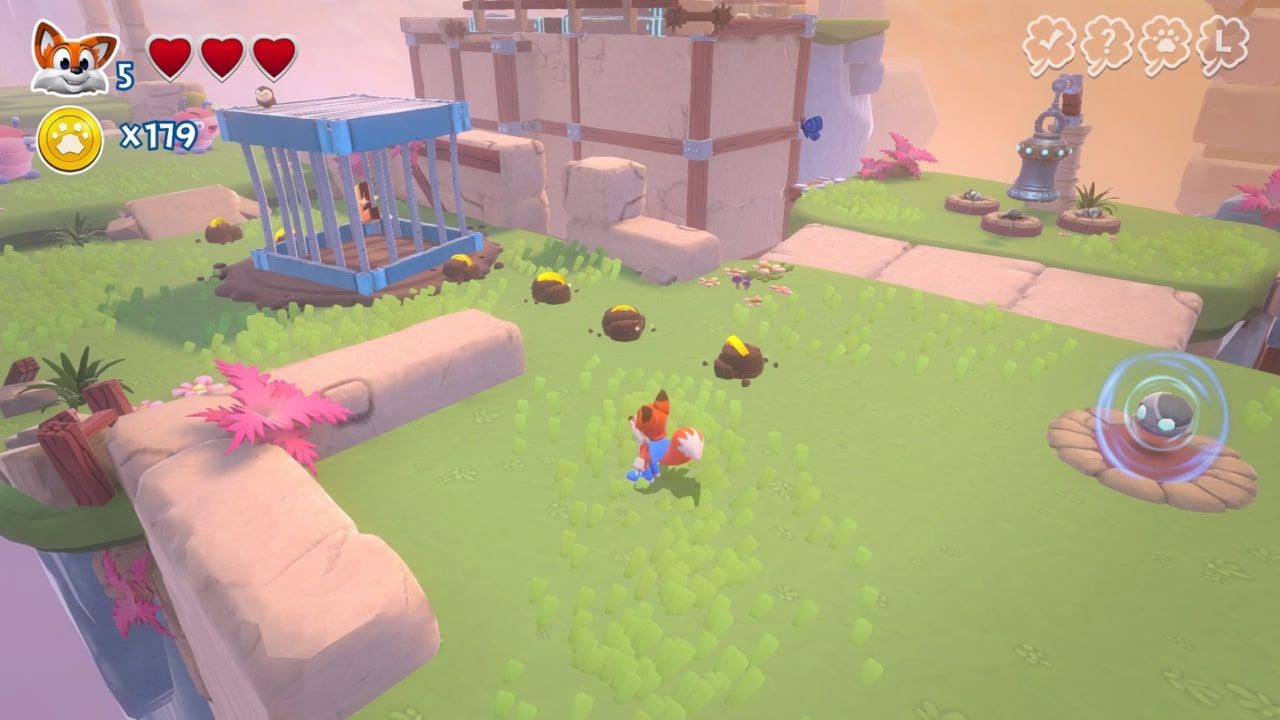
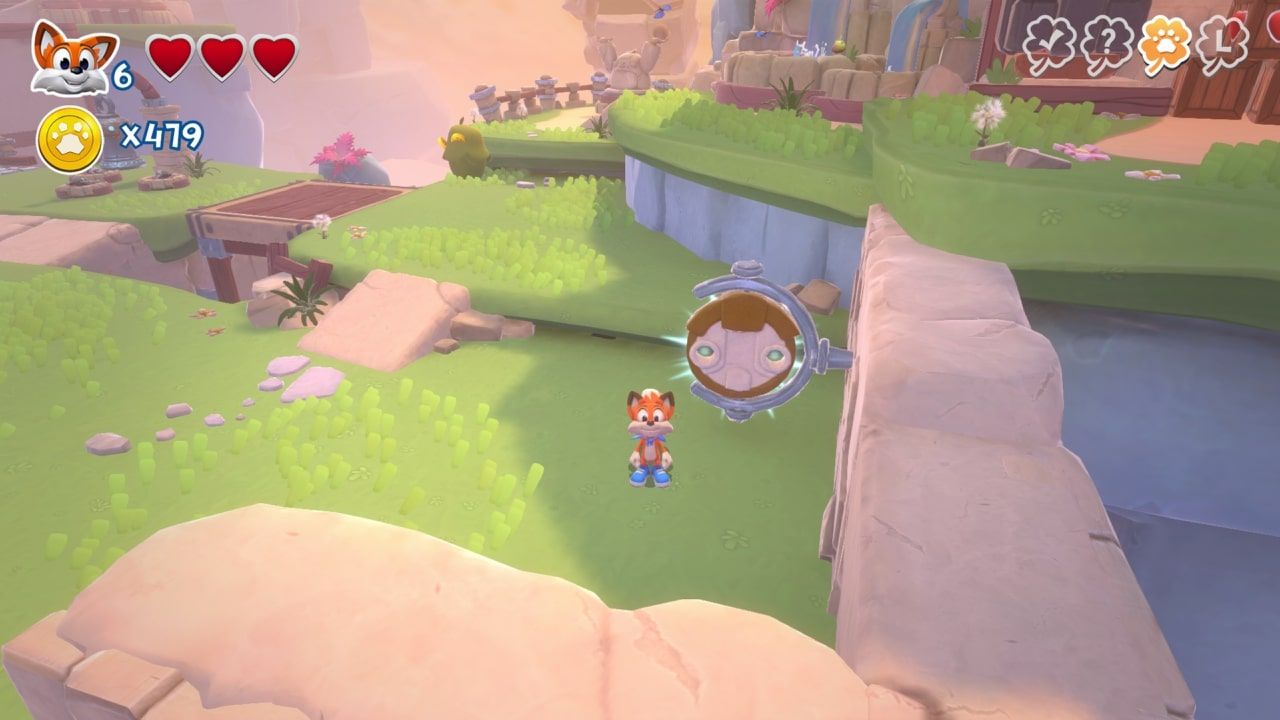
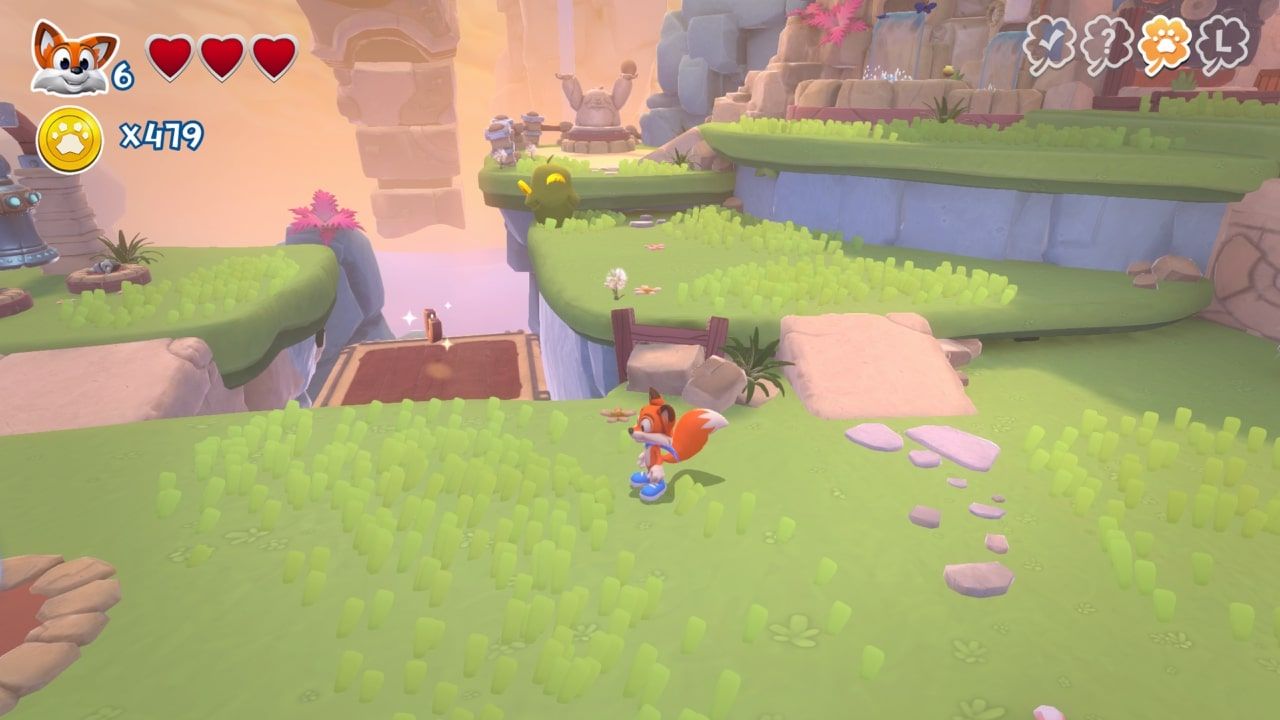
After completing the tutorial area and passing the bridge past the gate, you will have some short dialogue. Immediately afterward, pick up the small rock head in front of you and walk it over to the bell nearby. Place the head on a pedestal, then take a left and follow the line of coins underneath the cage by burrowing to find the "L":
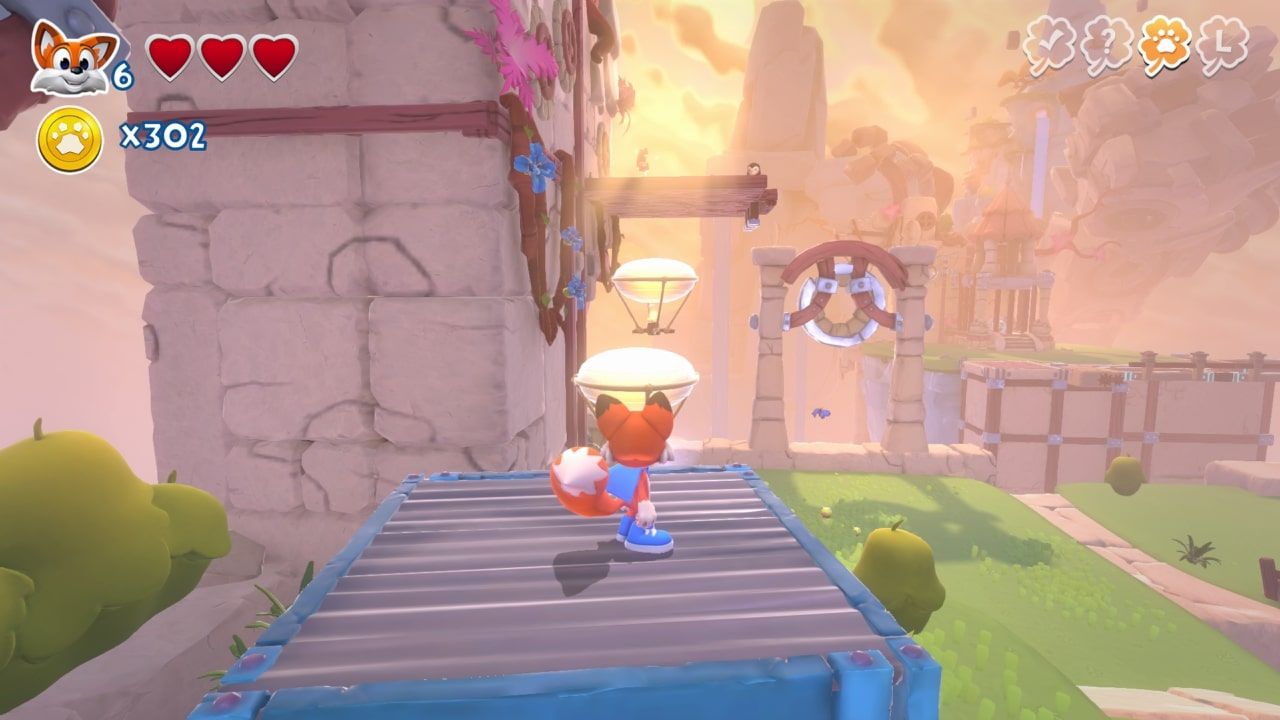
Continue forward, and you should see a large coin-filled cage on the upper-left corner of the area. Next to it is a bounce pad, which you can use to hop up on the cage, across the two balloons to collect the "C":
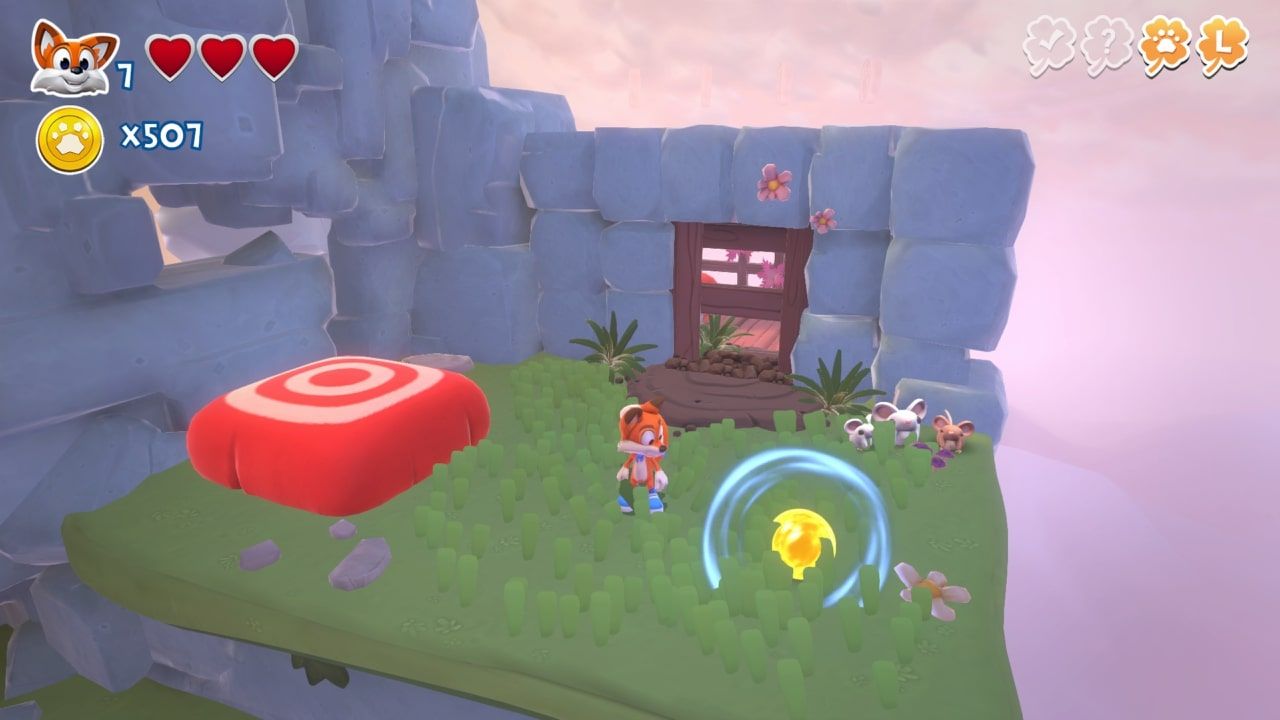
Directly beneath you is a foxhole, which you can enter to reach a secret area. After entering it and finishing the coin-collection minigame, you will appear on a higher floating island. Hop on the bounce pad directly in front of you to grab the "K":
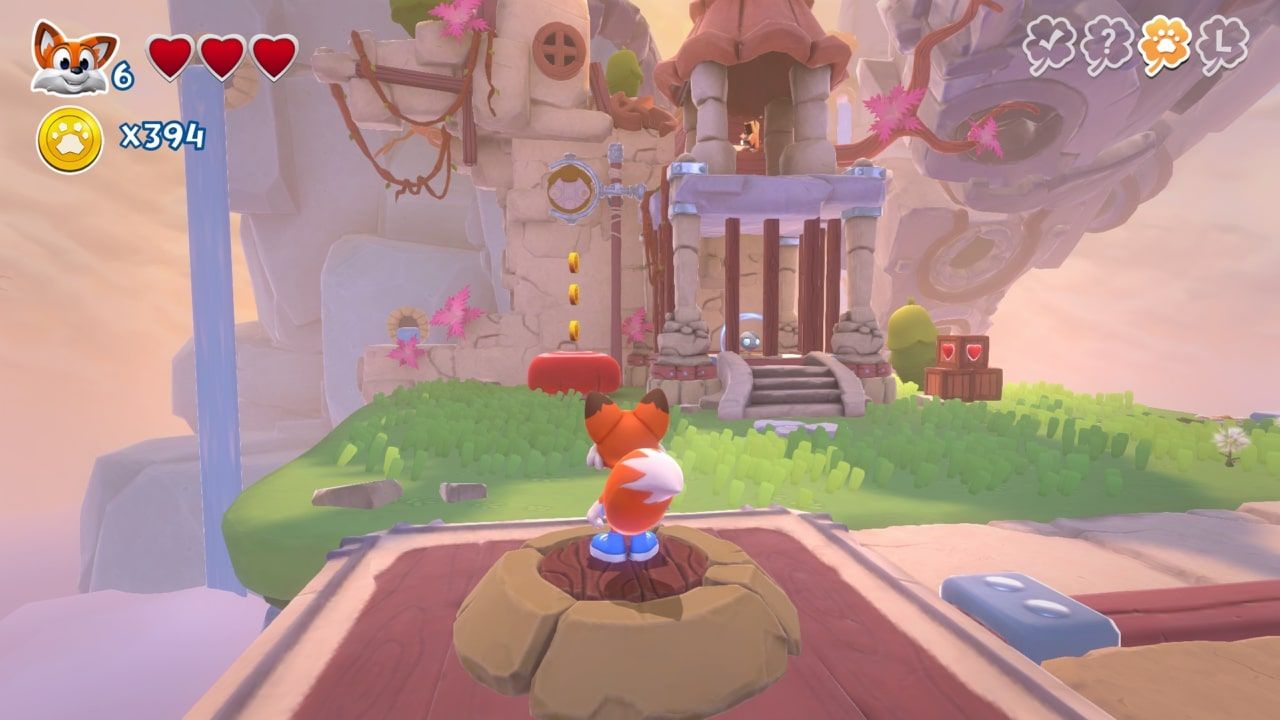
Take the bounce pad again and hit the gong to lower a ramp down to the main island, as well as to reveal a rock head. Grab the rock head and head down the ramp. Place it in one of the pedestals around the bell. Continue straight towards the pink creatures. To the right of them will be some boxes surrounding a gong. Tailswipe this gong to lower a platform, revealing the "U":
Continue up the right side until you reach another bounce pad. To the right are some boxes, which you can destroy to reveal a small yellow orb:
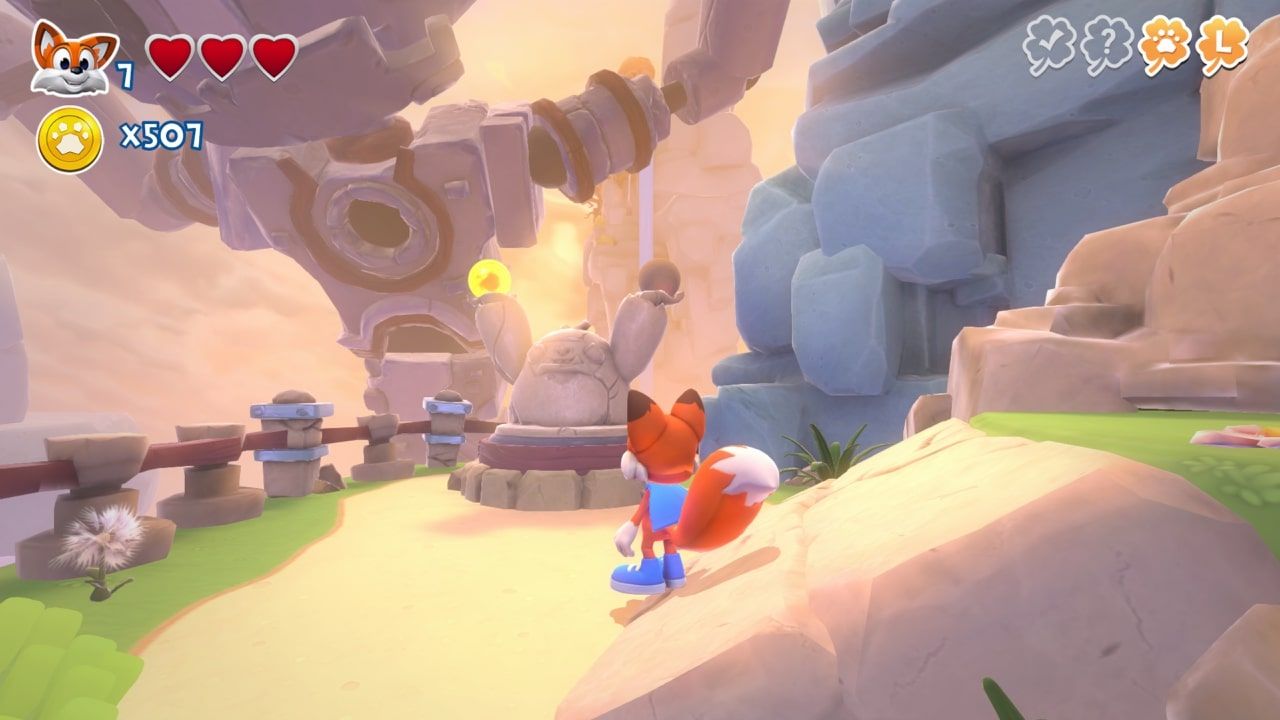
Carry this orb down and to the right and place it on the statue to reveal a foxhole under a pink gem:
Enter this foxhole to reach another secret area. In here, you'll have to complete a simple minigame by defeating some giant monster flowers. Stand near them to make them smash their face on the ground, then jump on the white X on their back to kill them. After destroying all of the flowers, a bridge will form and you can climb to grab the Hidden Page:
Head back to where you found the yellow orb and take the bounce pad up to the top of the tower. Head left and punch the hatch to open it and automatically attain the "Y":
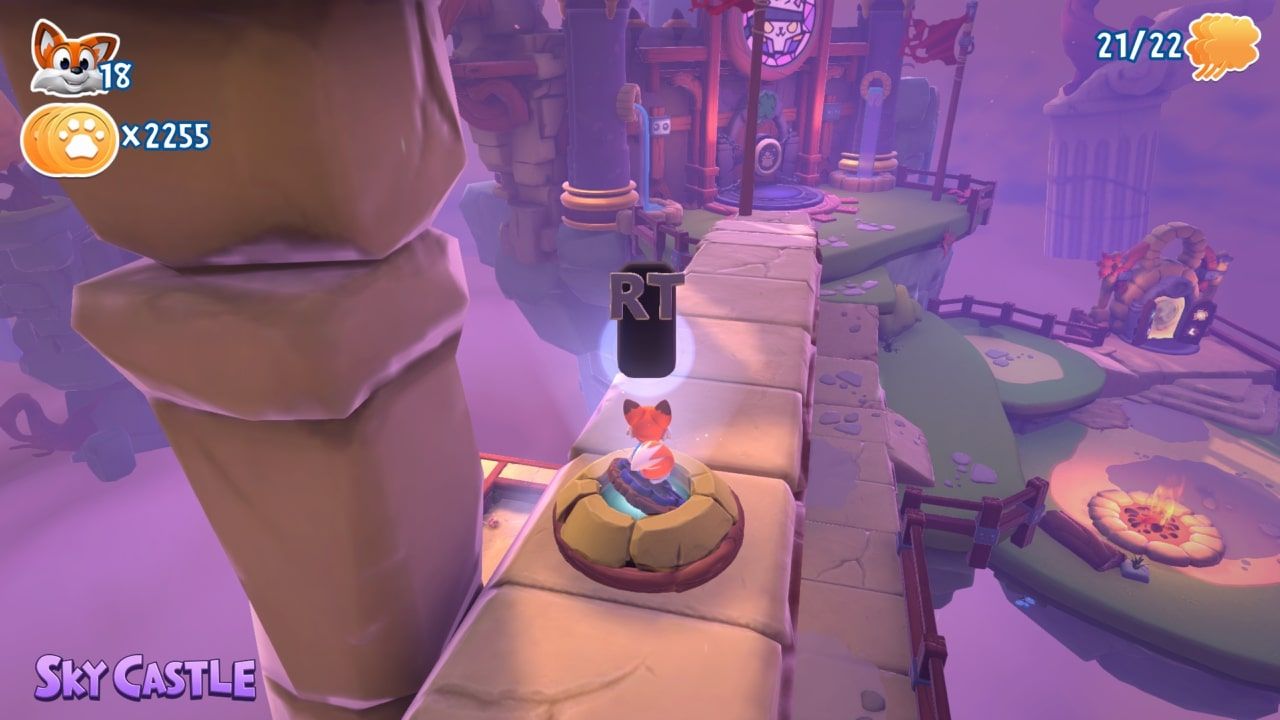
Hit the gong on the left to lower the final rock head of the level. Bring him to the bell to reveal a bridge which will lead to the level completion page:
Aqueducts L-U-C-K-Y and Hidden Pages
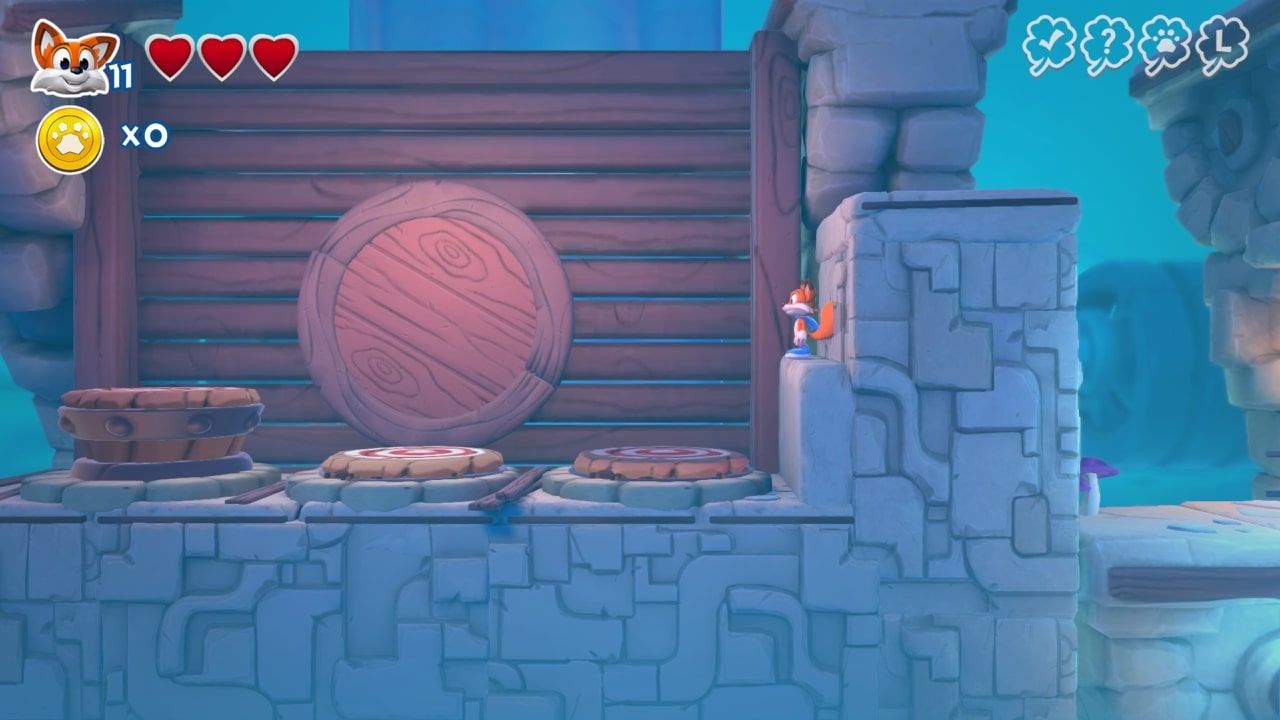
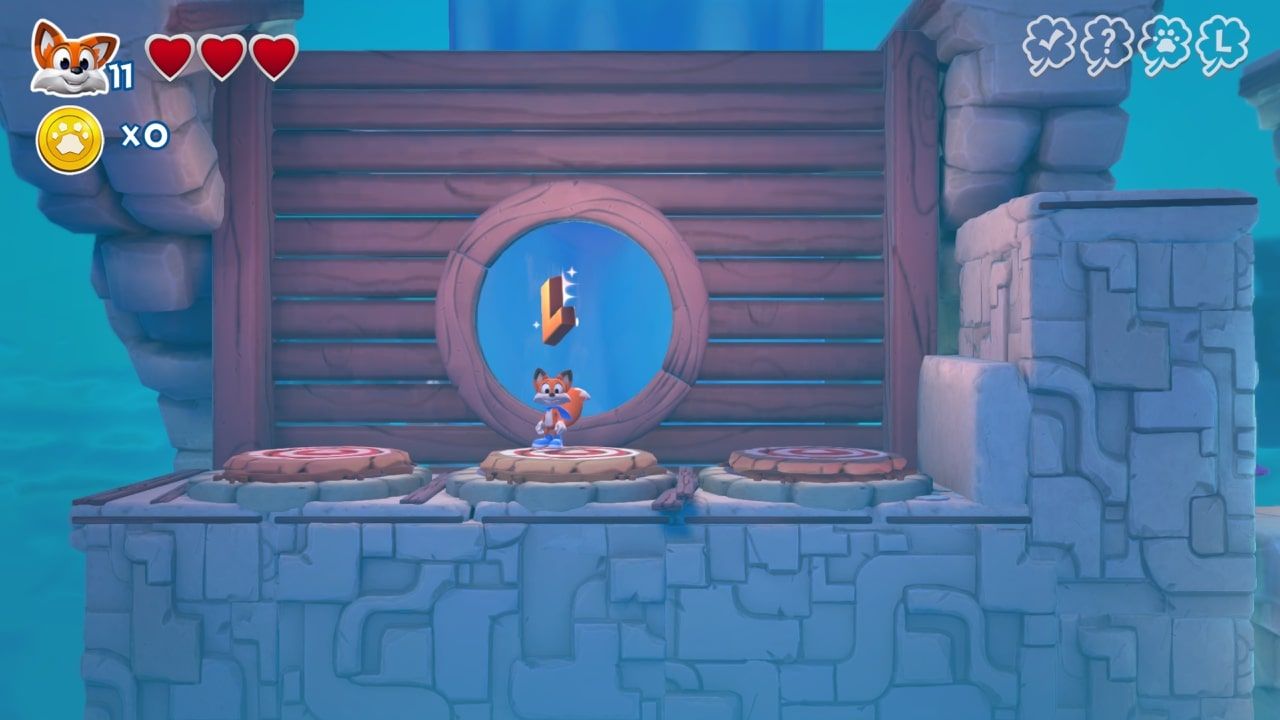
Head left from your spawn and double jump up the wall. Ground-pound the left most switch, then the right-most, then the middle switch to reveal the "L":
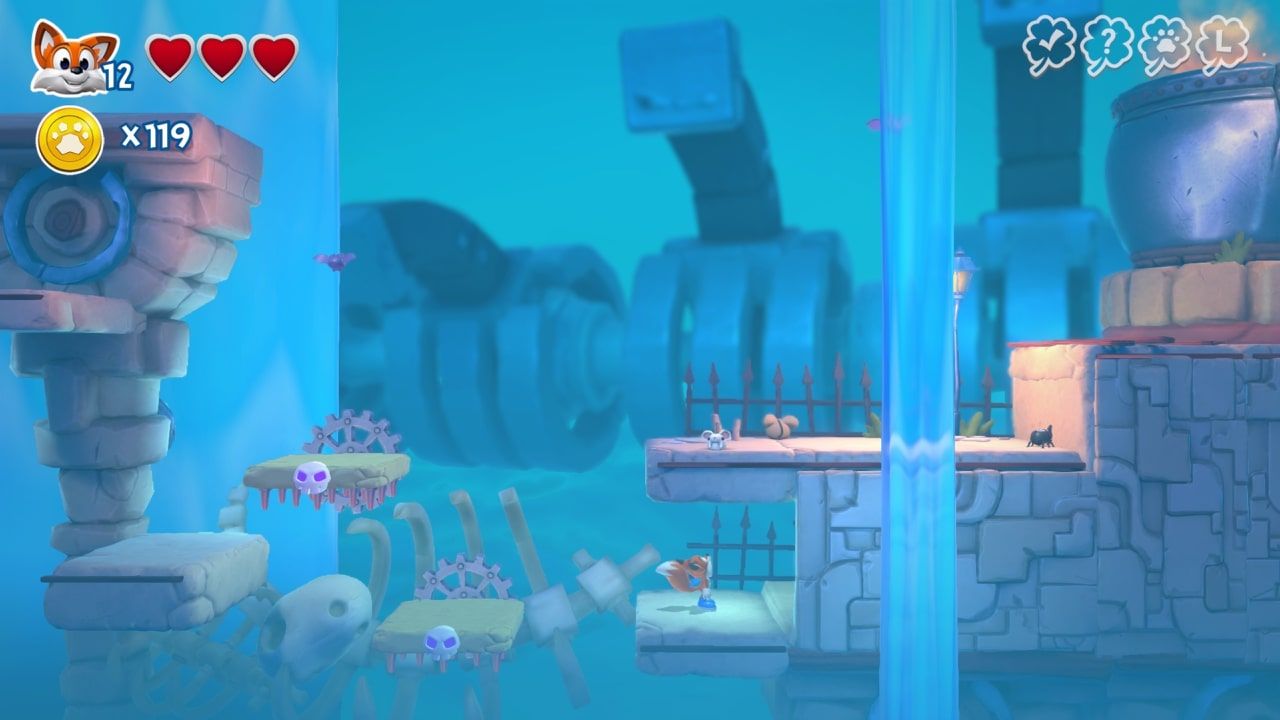
Continue right until you reach the point pictured below. Go to the lower platform and walk right, behind the wall to find the "U":
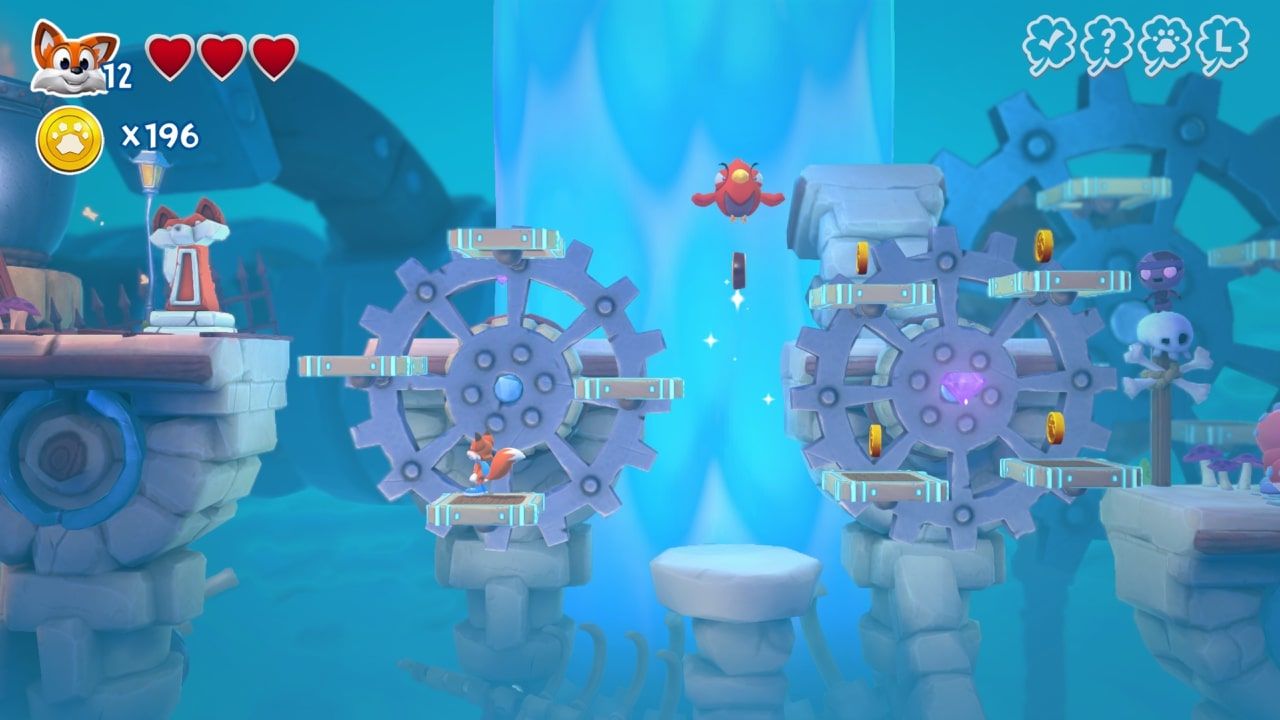
Almost immediately afterward, a bit to the right, you will see the "C" being held by a red bird, hovering between two rotating gears. Stomp on the bird's head to collect the letter:
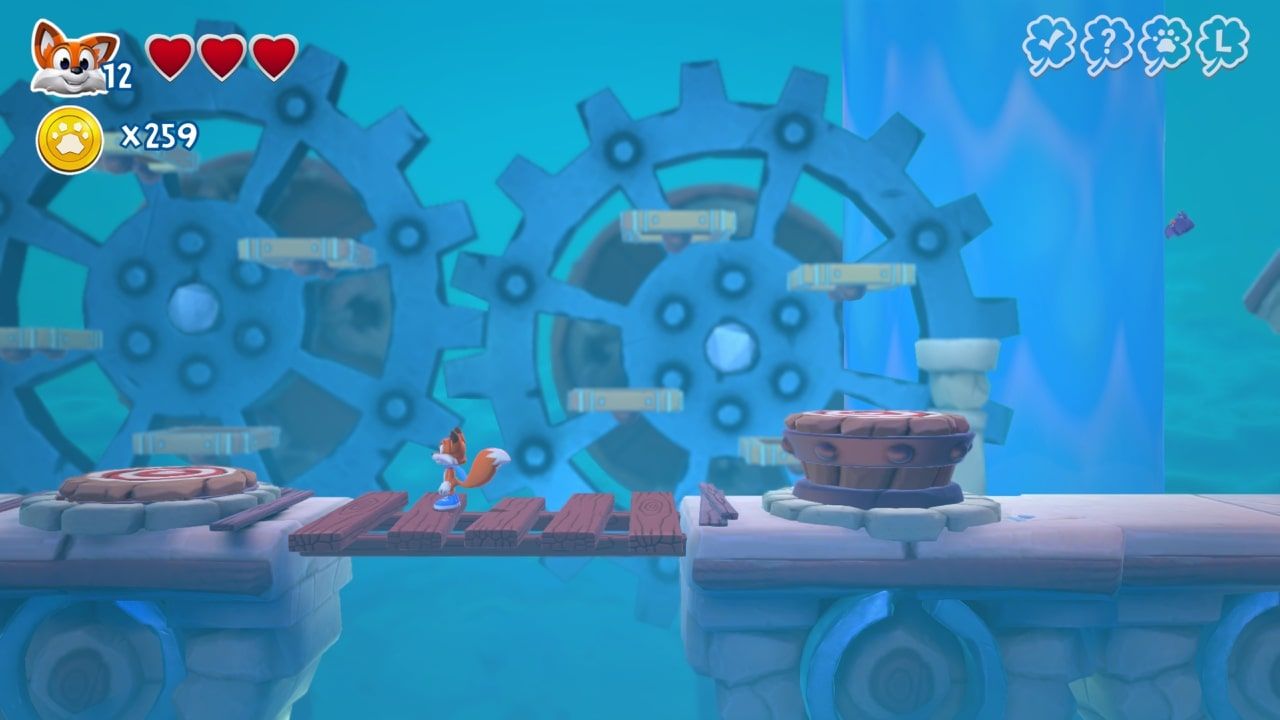
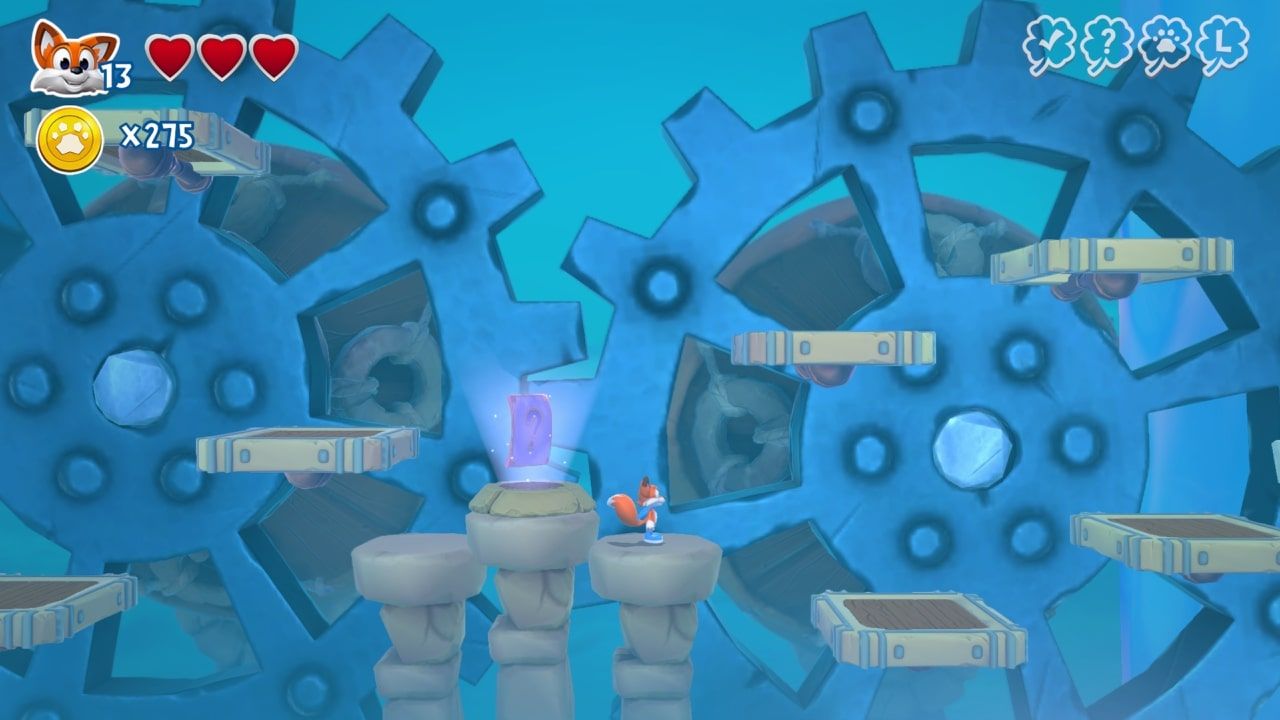
Continue right until you see two switches with a bridge between them. Stomp the right one, then the left and enter the foxhole to get transported to the background. Complete the coin-collecting minigame to spawn this level's Hidden Page on the center platform:
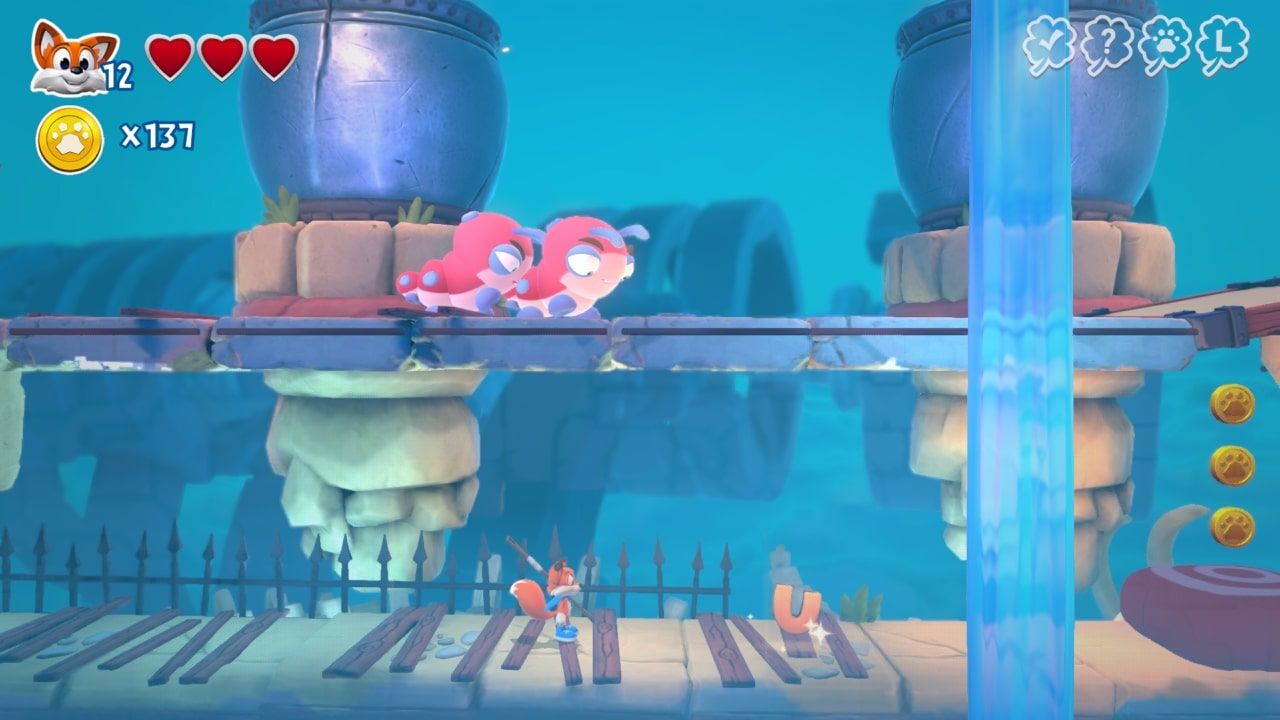
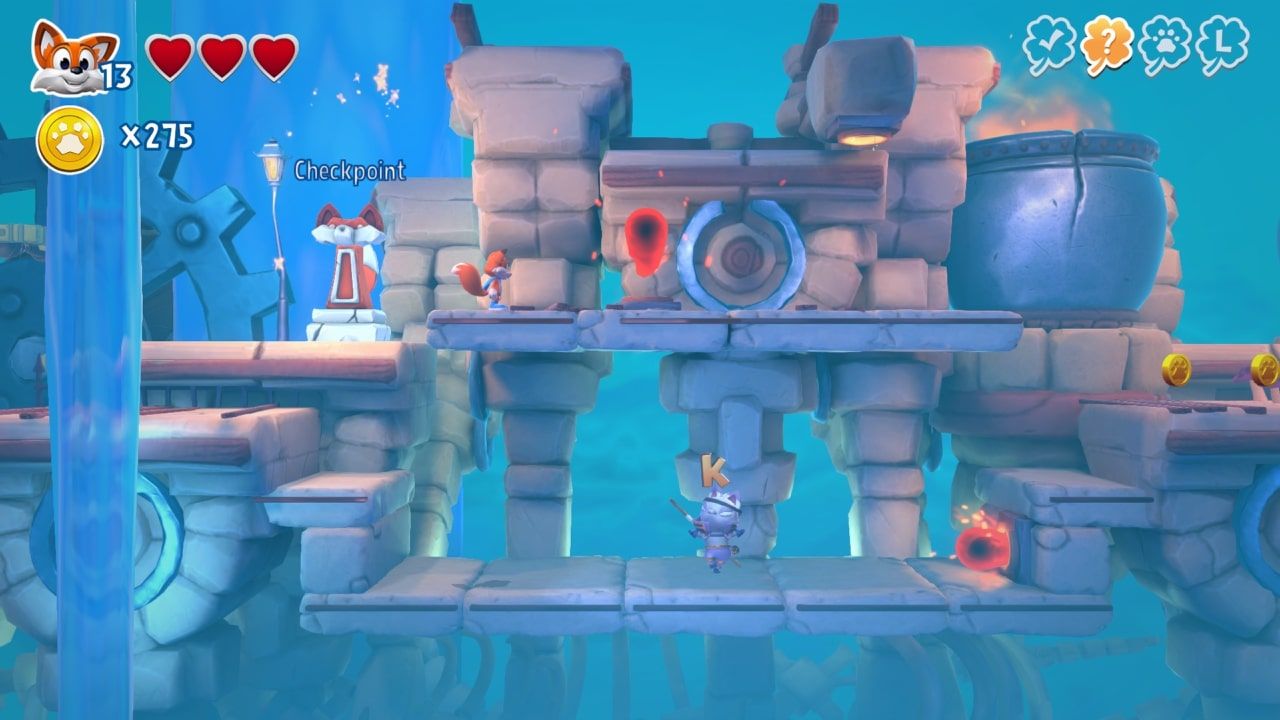
Return to the main area through the foxhole under the Hidden Page and continue right. After reaching the next checkpoint, you'll see Mr. Mittens holding the "K" underneath you. Chase him around for a bit until he forfeits the letter:
Further right, once you reach your next checkpoint, you should see a foxhole to your lower right. Slalom your way down to it and enter it to reach the background yet again. Head right over the spinning platforms to collect the "Y". Watch out for the bees who shoot missiles:
Head back left and enter through the foxhole to reach the foreground again. Continue right on your merry way to the end of the level. Punch the cage to free the rock guy and the level completion page will appear in front of you:
Go Fetch L-U-C-K-Y and Hidden Pages
To start, grab Giovanni and head right, following the coins. Doing so will lead you directly to the "L":
Continue following the coin path and after reaching the first checkpoint, head right and up the small elevator to find a pit filled with coins and the "U":
Further right in this area, after crossing some rotating platforms, you will see the "C" down beneath you. Drop down to grab it then ride the elevator to get back up:
After reaching the second checkpoint, you will begin to be chased by 'Lil Sparky. Run left, trying to avoid him, and you should see the "K" around a corner after a short while:
After you're done carrying Giovanni and have taken the launch pad topside, climb the ladder of the building directly in front of you. Up top, head right and use the bounce pad to find a foxhole in the tower. Enter it to be transported to a secret area. In here, you must collect the 24 coins surrounding the bee to spawn the Hidden Page:
Once you appear back in the main world, take a left and head up to the bounce pad. Take it up and you will land on the tower. Directly beneath you will be the "Y", so carefully drop down and collect it:
Climb back up that same tower to the top and head across the bridge. Hit the switch on the other side of the bridge to open access to the next area of the map. Cross the platforms and the level completion page can be seen on the far side, so collect it when you're ready:
Dungeon Run L-U-C-K-Y and Hidden Pages
This level is an auto-scroller, meaning the game moves you on its own, so it's very possible to miss a collectible entirely. If you do, you can either let yourself die and restart, or just replay the level afterward for cleanup.
The "L" will appear almost immediately. Jump over the first bounce pad to grab it:
The "U" will be shortly after. You'll want to jump from the top platform and land on the second bounce pad to grab the letter:
Again, very shortly after, you will see the "C" on an upper platform between two birds. Make sure to hit the bounce pad to get up there, then bounce off the first bird:
Up ahead, you should see four birds in a line. You will have to hit a bounce pad to get up to these birds, then hop across the three of them to reach the Hidden Page:
Immediately after, you will see the "K" between two birds directly in front of you. Simply hurdle the first bird and you will grab it:
Again, immediately after grabbing the last letter, you're going to want to drop down underneath the bounce pads to find the "Y" hidden:
You will arrive at the end of the level shortly thereafter and get the level completion page:
Hub World L-U-C-K-Y and Hidden Pages
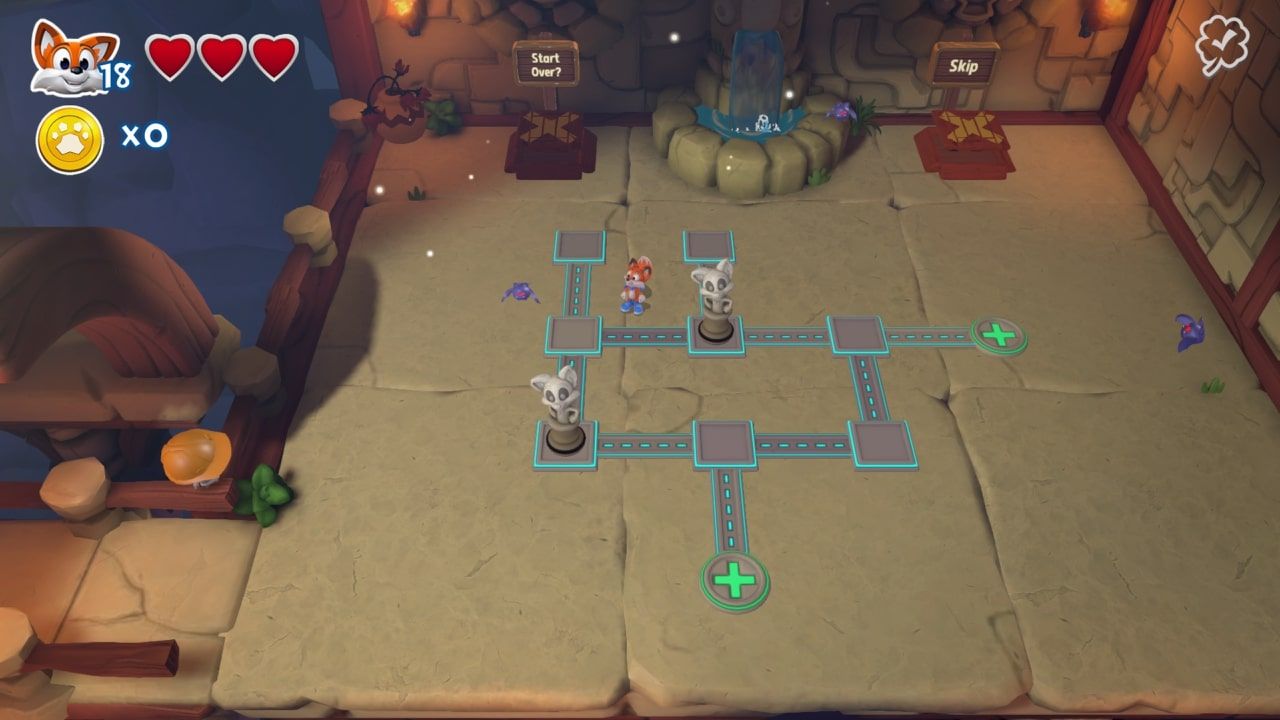
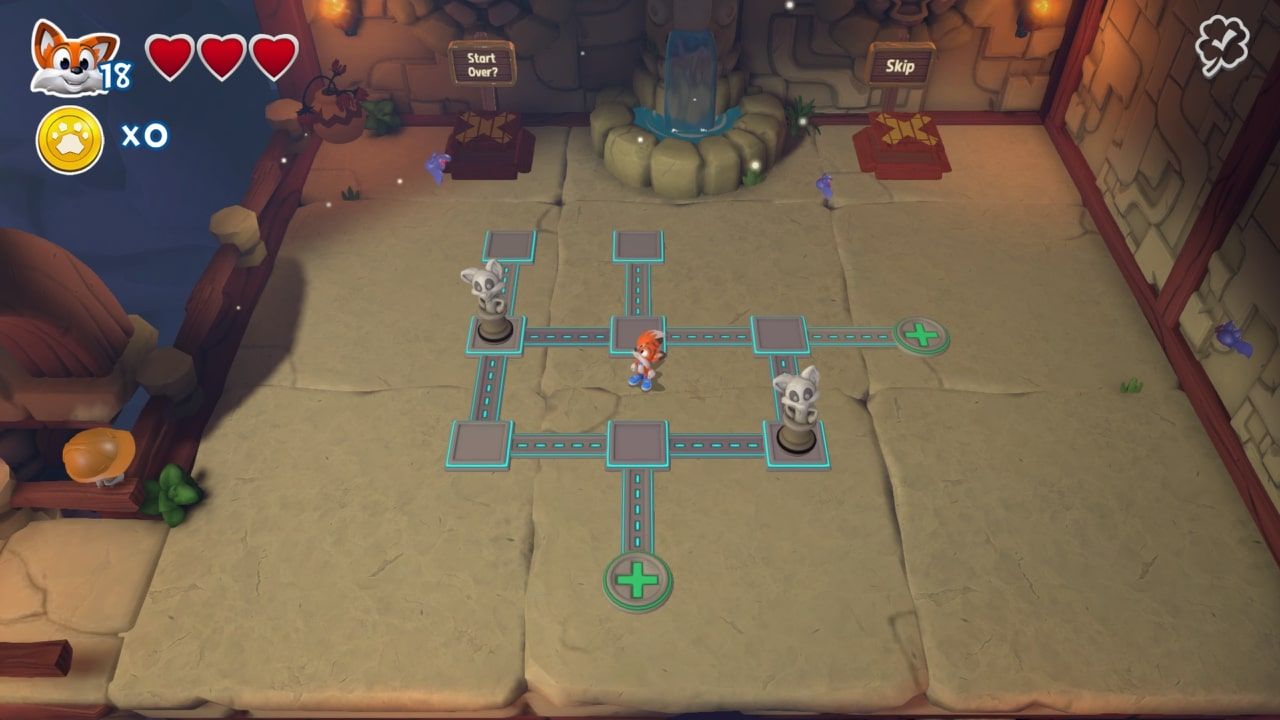
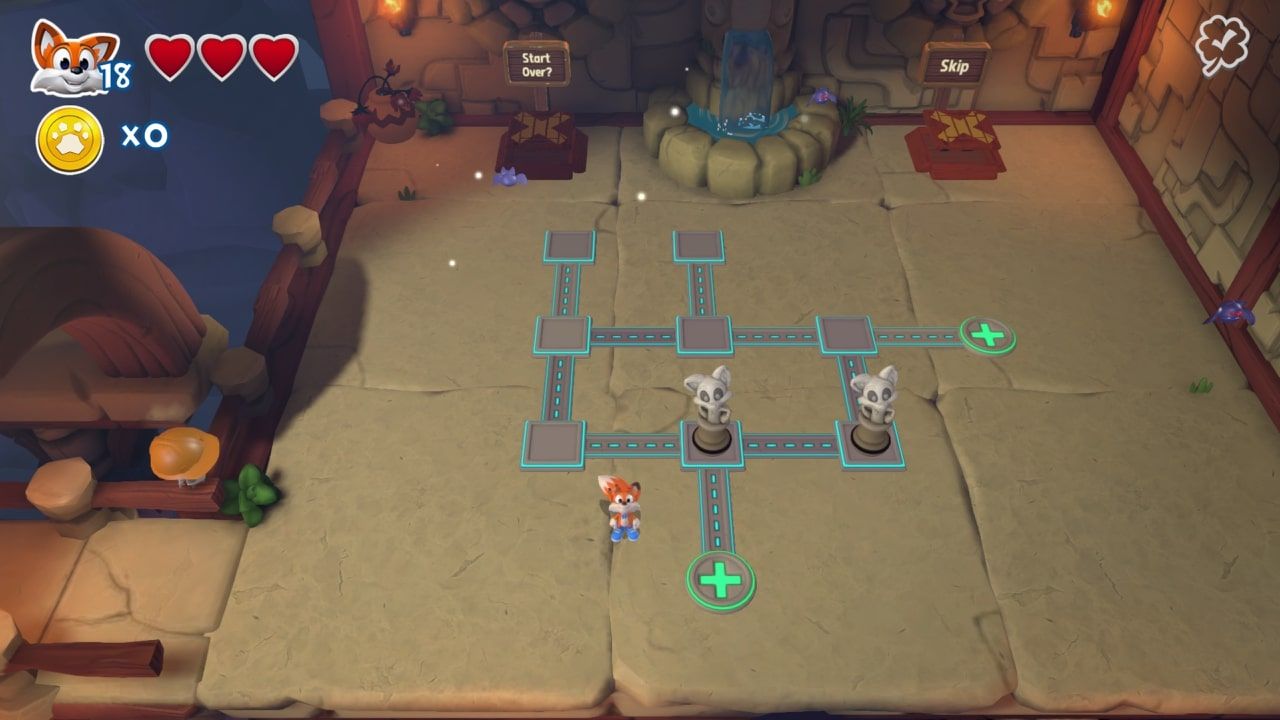
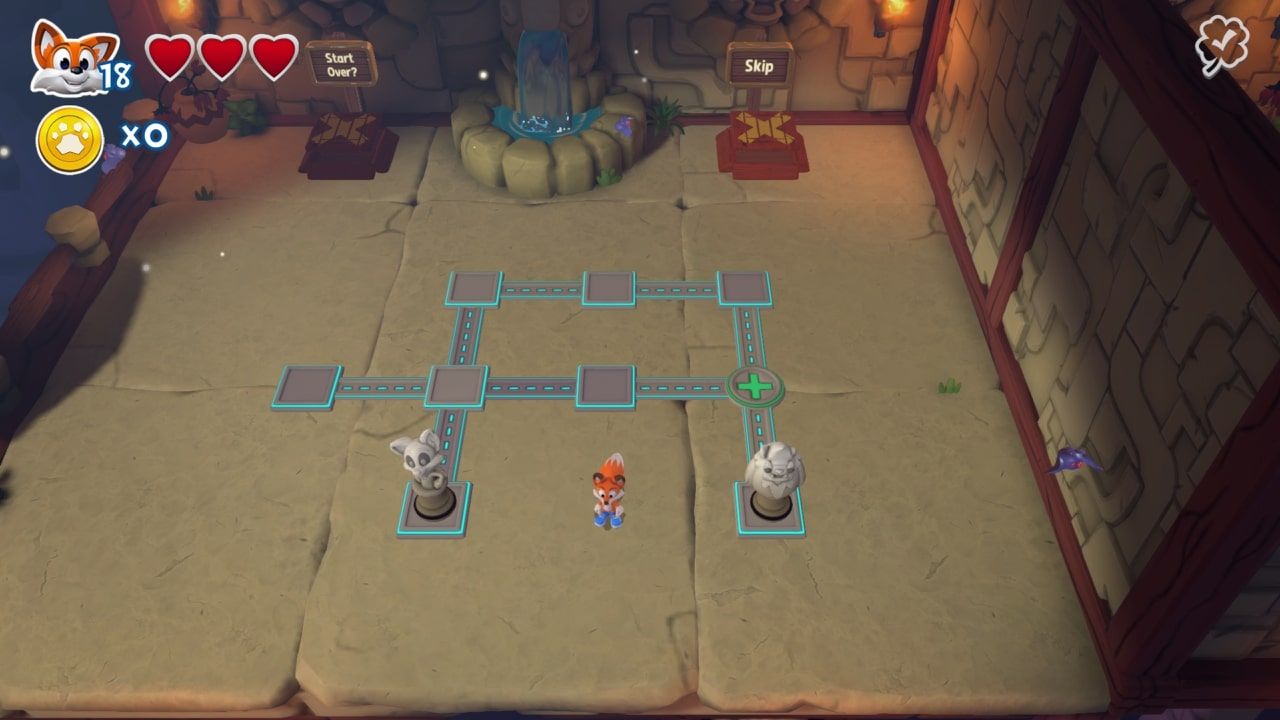
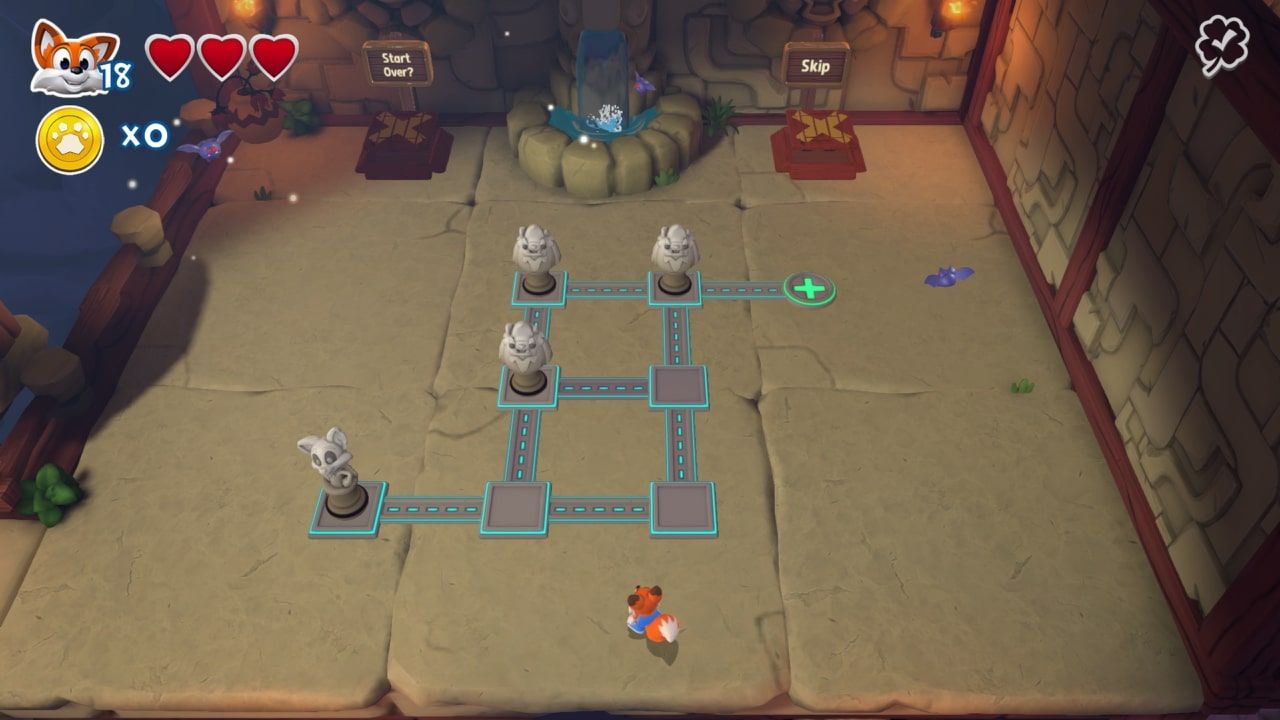
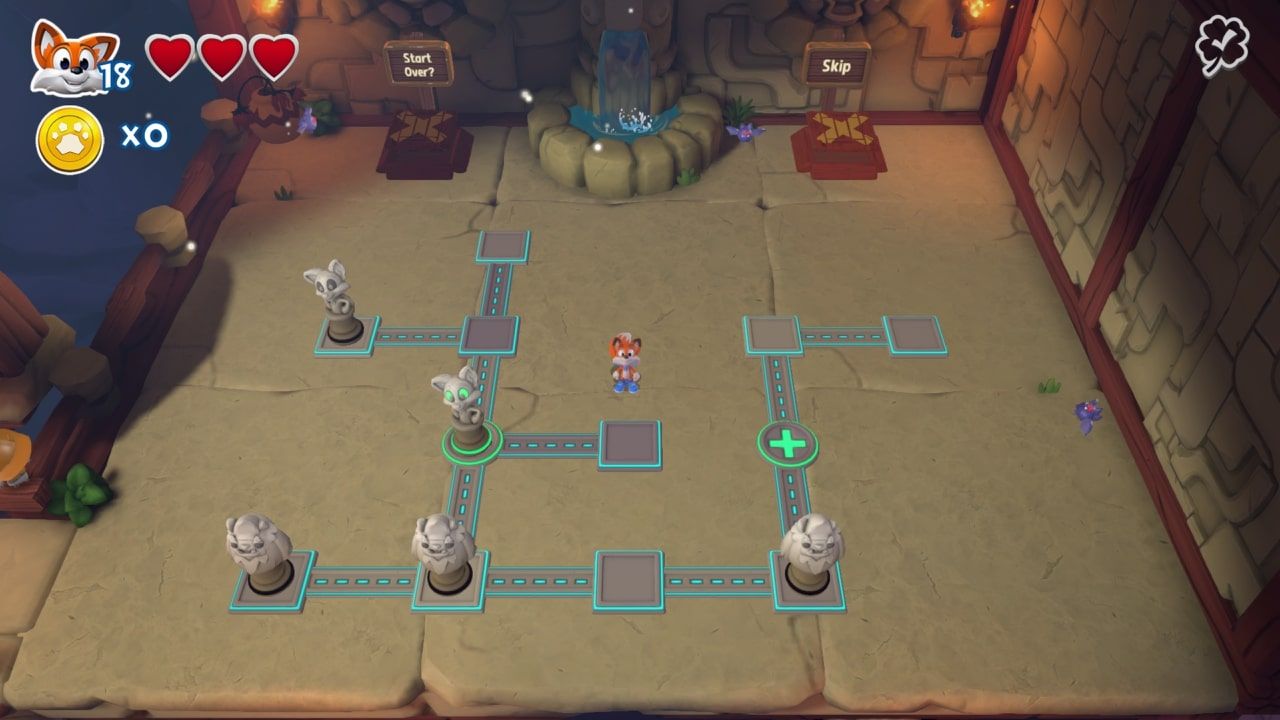
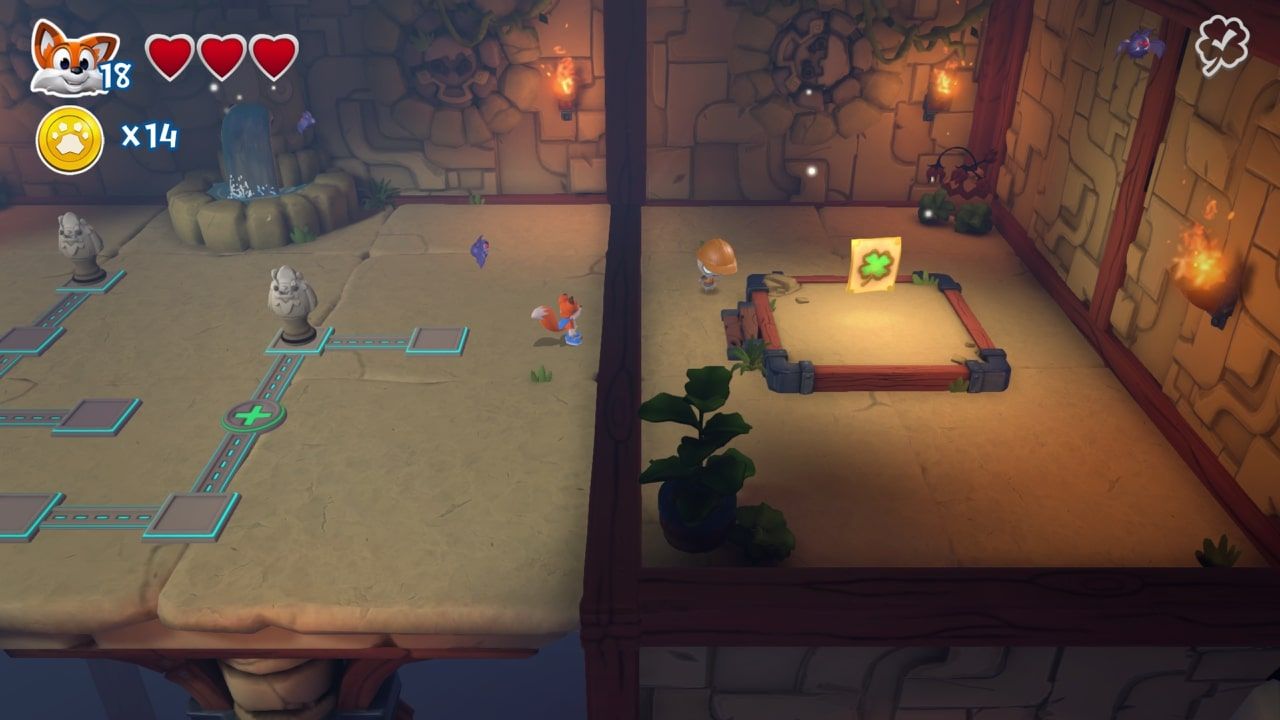
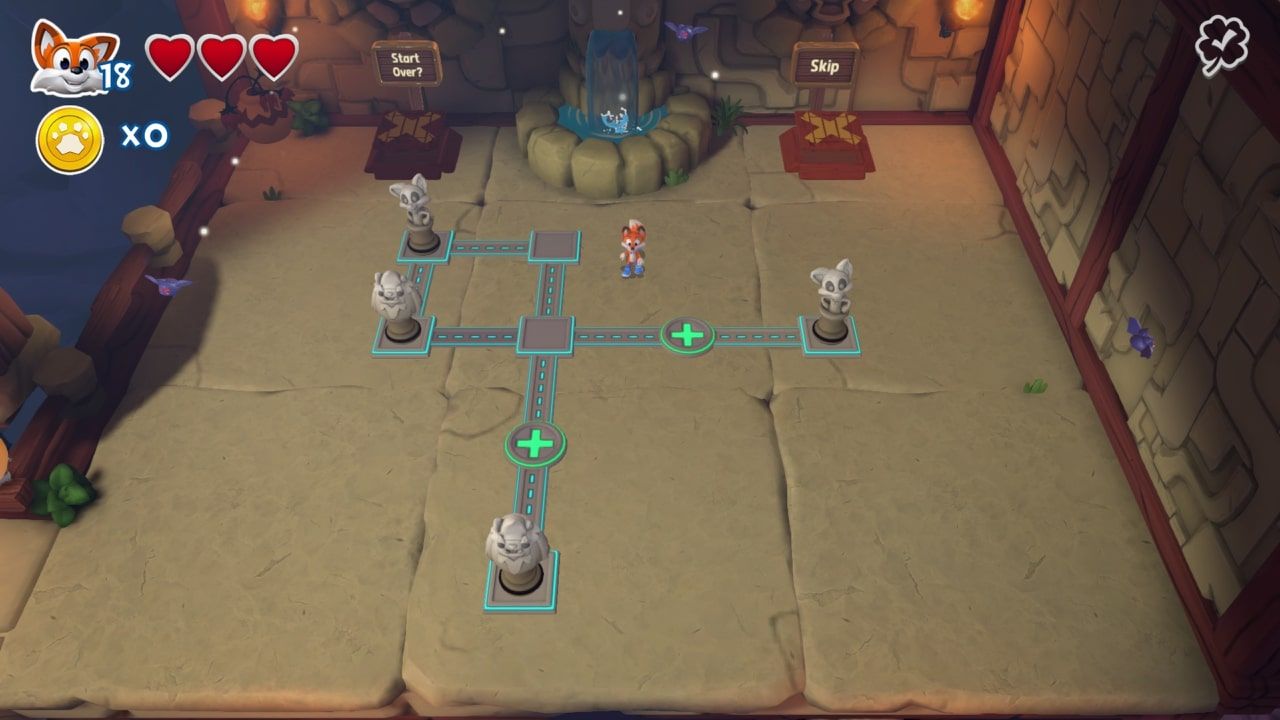
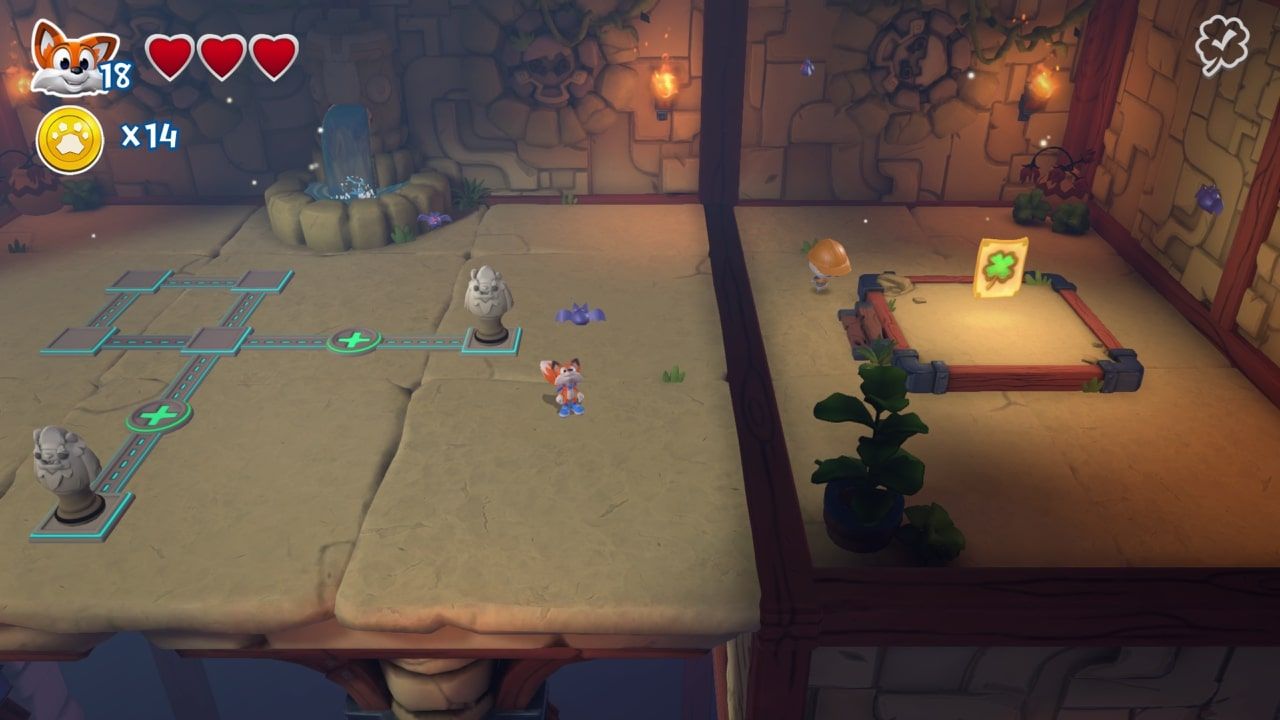
Enter the foxhole right next to the Dungeon Room entrance to reach a secret area with a puzzle. To solve it, you must push the two statues onto the two green buttons:
To start, push both statues downward:
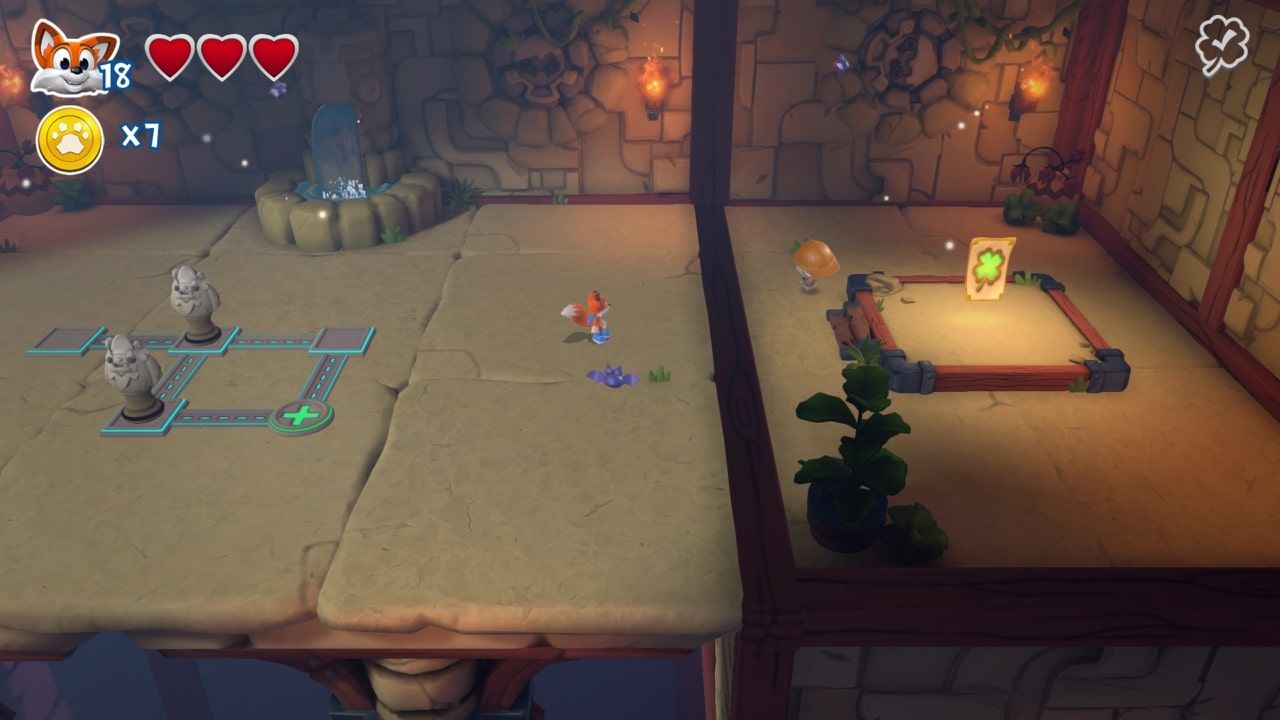
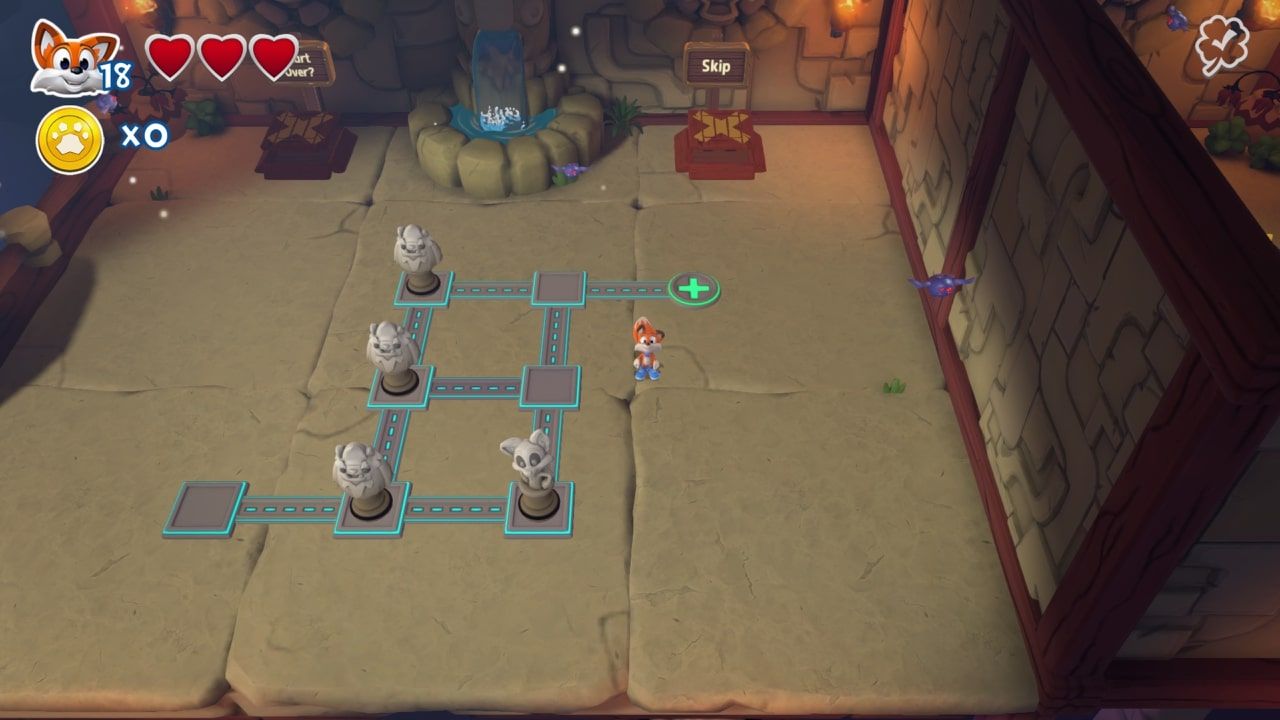
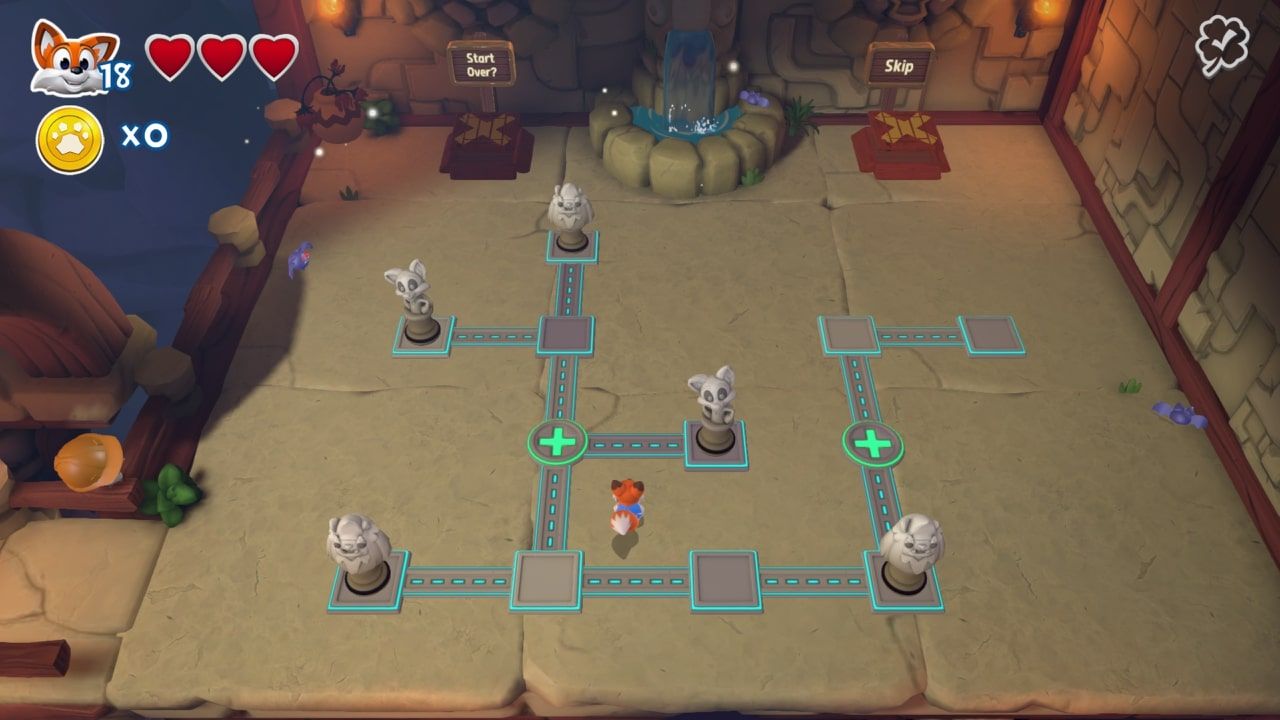
Push the lower statue to the right, and the upper statue to the left:
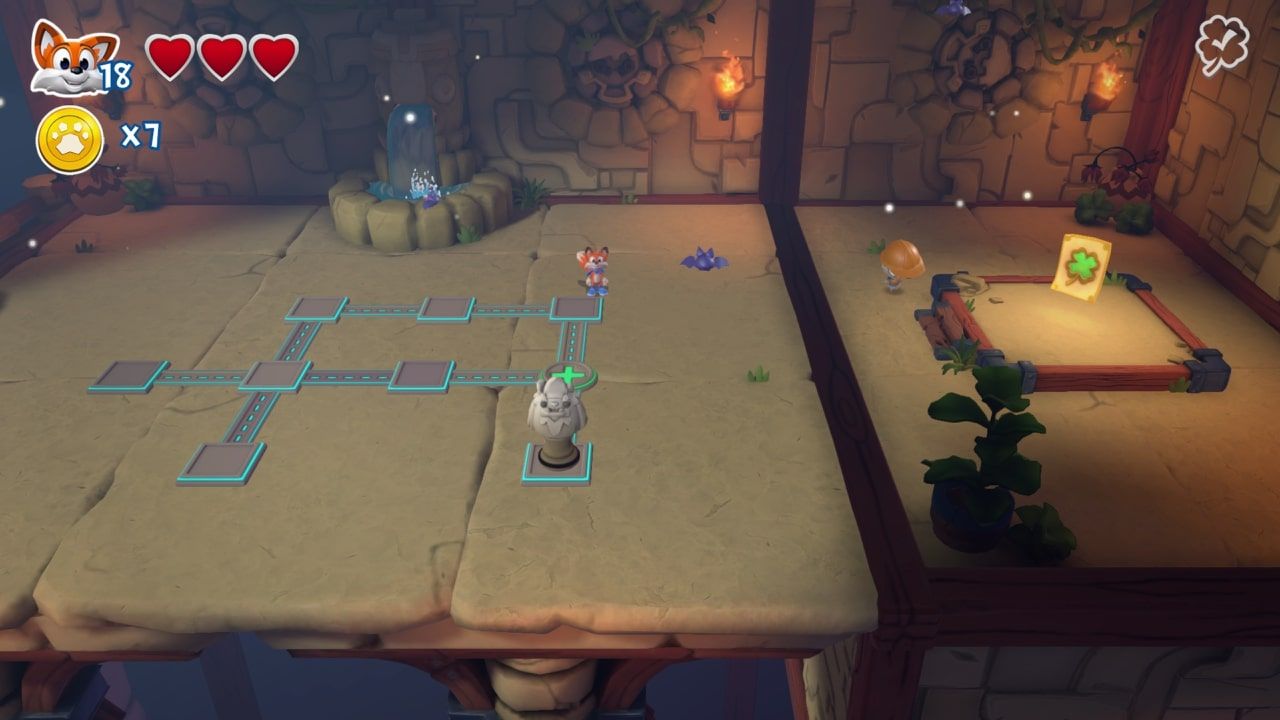
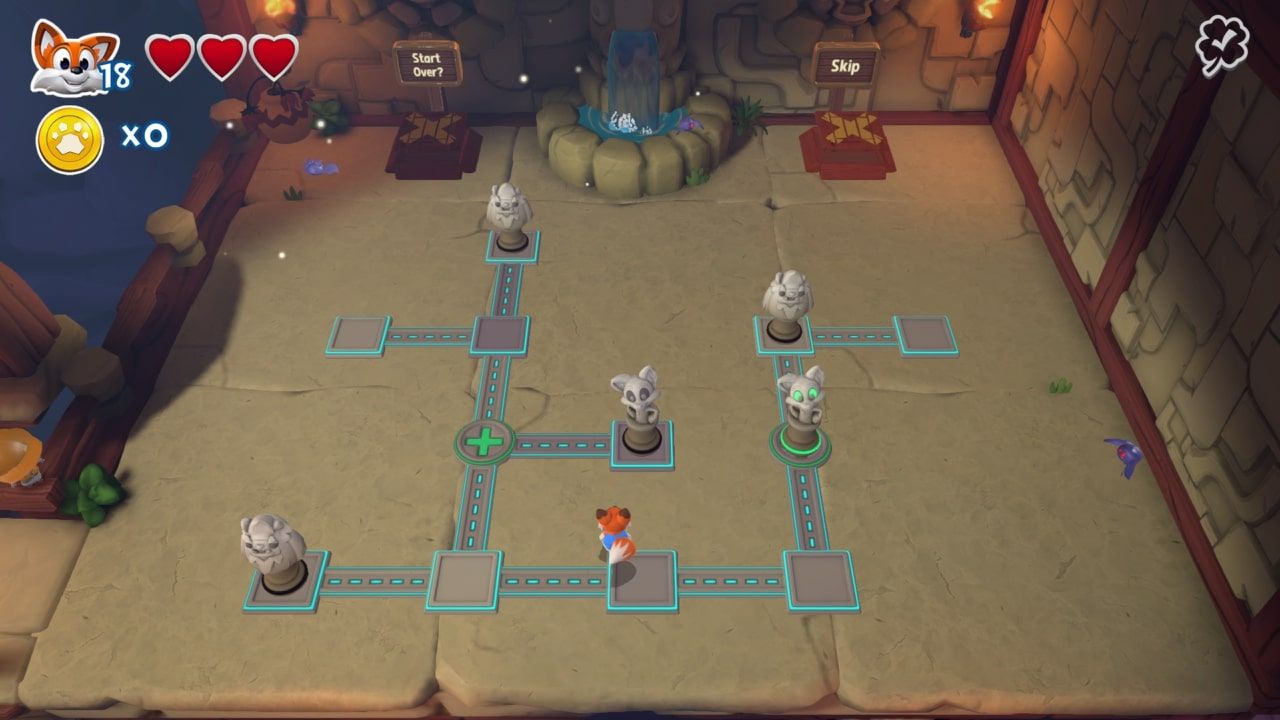
Push the upper statue down and to the right:
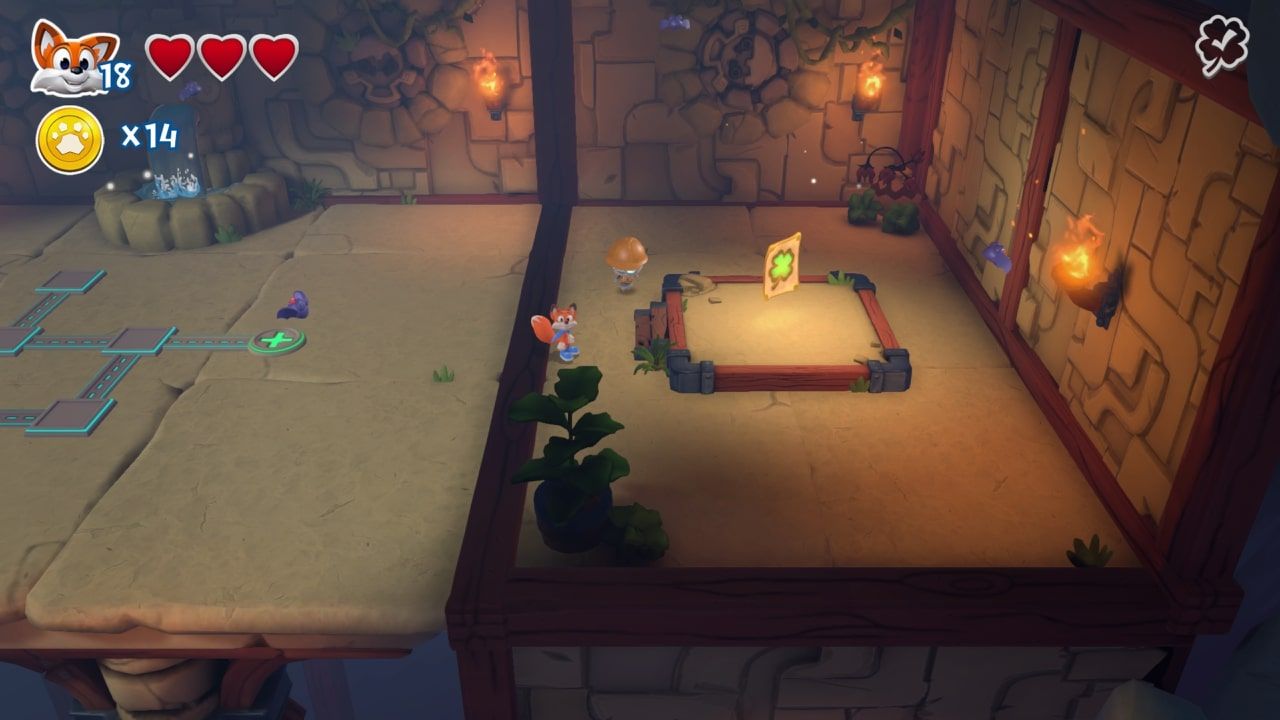
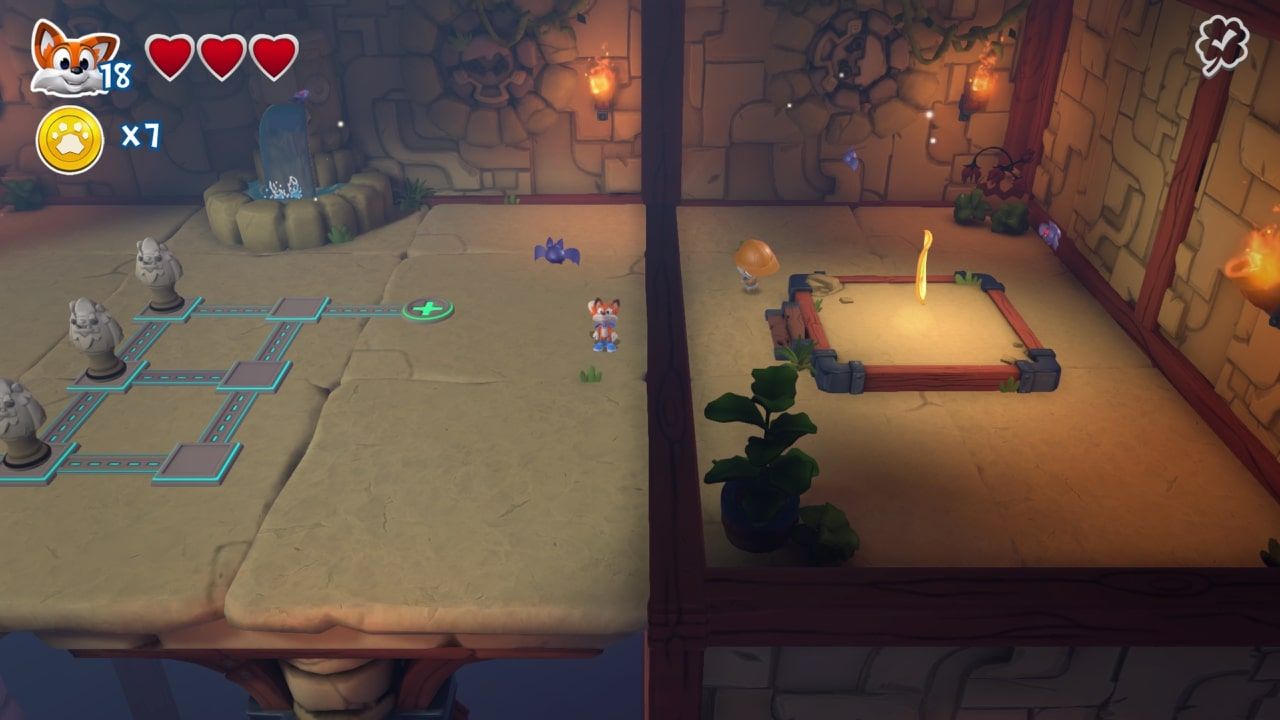
Push the left statue down onto the green button, then push the right statue up and to the right onto the other green button. This will lower the right wall, revealing the first of six pages in the hub world:
Head over to the Go Fetch entrance and hop up onto the nearby building that has two foxholes. To start, enter the foxhole pictured below:
This is another sliding puzzle with the same goal. Push the upper right statue down onto the green button, then push the upper left Lucky state to the right:
Push the left statue up, then the lower statue right, then the right statue down to solve the puzzle and reveal the page:
Once you're back in the hub world, enter the other foxhole on the building that you are on:
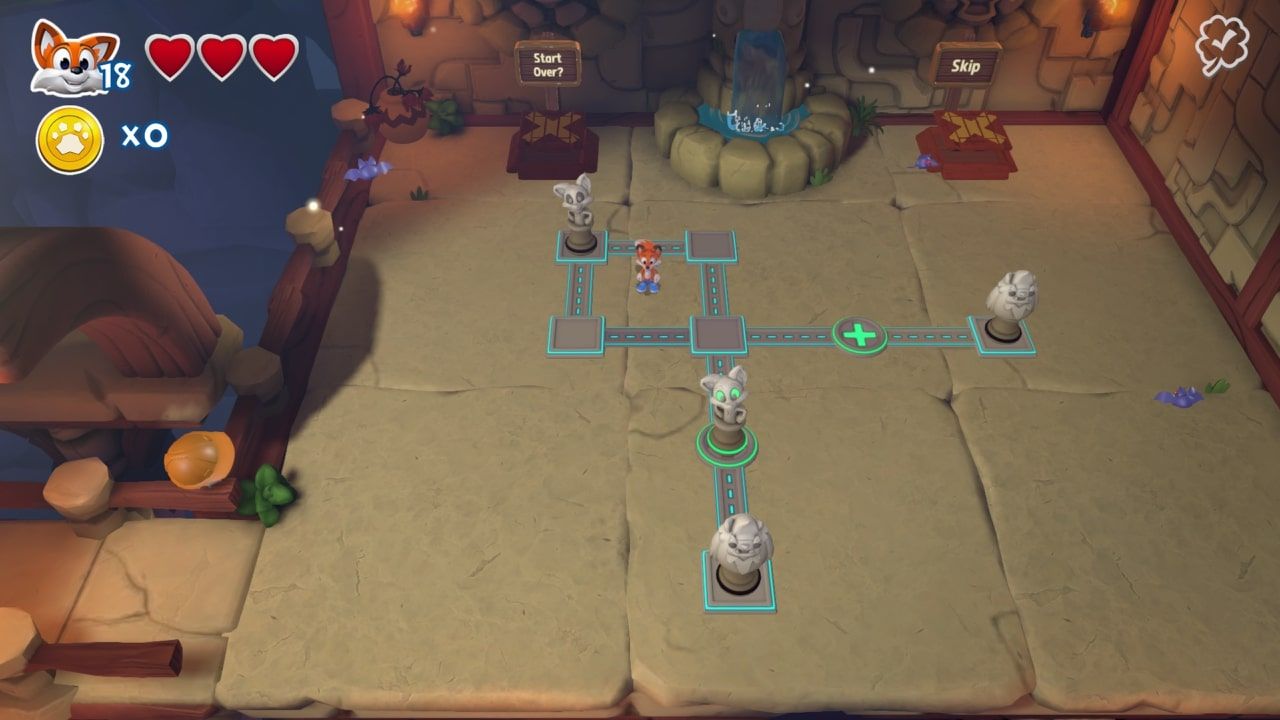
You will reach another sliding puzzle. Push the upper statue all the way to the right and then down:
Push the right statue up, then right, then down to solve the puzzle and reveal the page:
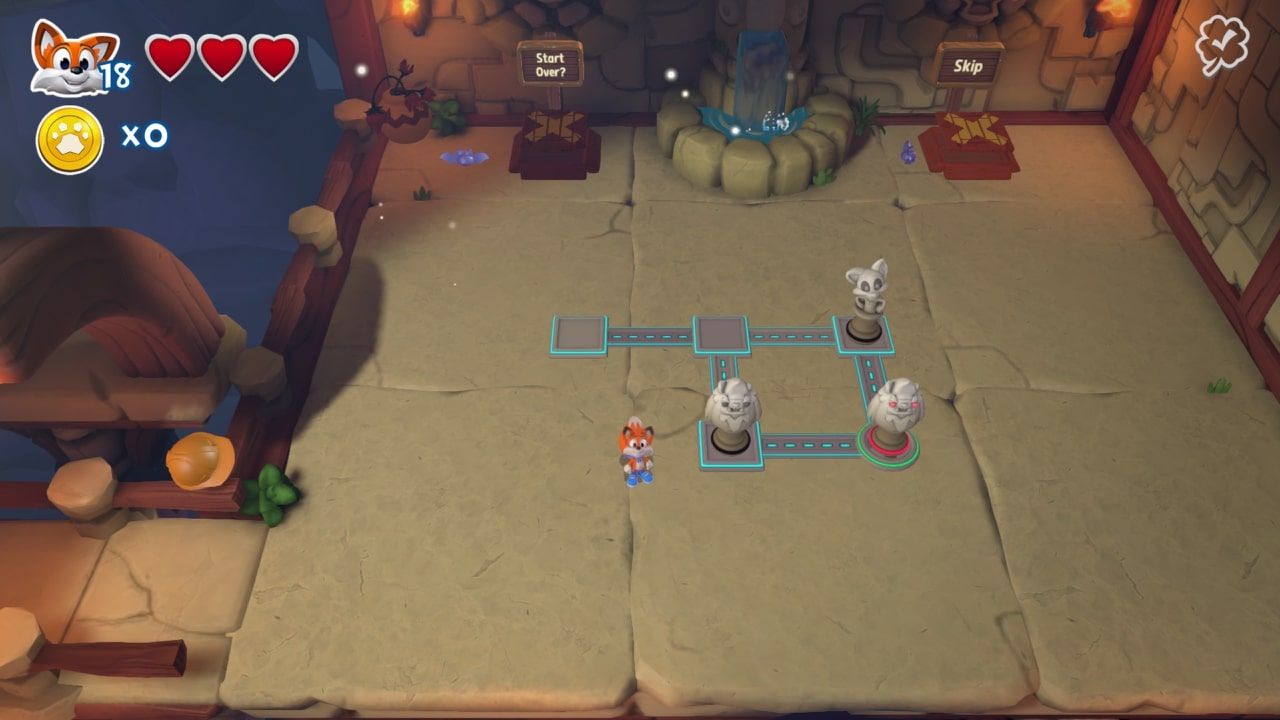
Back in the hub world, to the right of the Go Fetch entrance are some platforms leading up to a foxhole, which will lead to yet another sliding puzzle:
To solve it, push the upper statue to the left and the lower right statue upward:
Push the lower left Lucky statue to the right, then push both of the left statues down, then the upper statue left:
Push the Lucky statue up and to the right to solve the puzzle and reveal the page:
Once you're back in the hub world, head up towards the Dungeon Run entrance and continue upwards a bit. Take a left at the stone path to reach another foxhole:
Push the lower left statue to the left, then the two statues above the green button downward:
Push the lower Lucky statue right, then push the lower middle statue up:
Push the right statue up, then push the leftmost Lucky statue right, down, right then up onto the green button:
Push the other Lucky statue onto the other green button to reveal the page:
Back in the hub world, head down the stone path, up to the higher area, then left and down the upper stone path to the last foxhole:
Push the bottom right statue to the right, then the upper right statue down:
Push the rightmost statue to the left and down onto the green button, then push the left lower statue to the right:
Push the upper statue down and to the right to solve the puzzle and reveal the final page of Sky Castle:
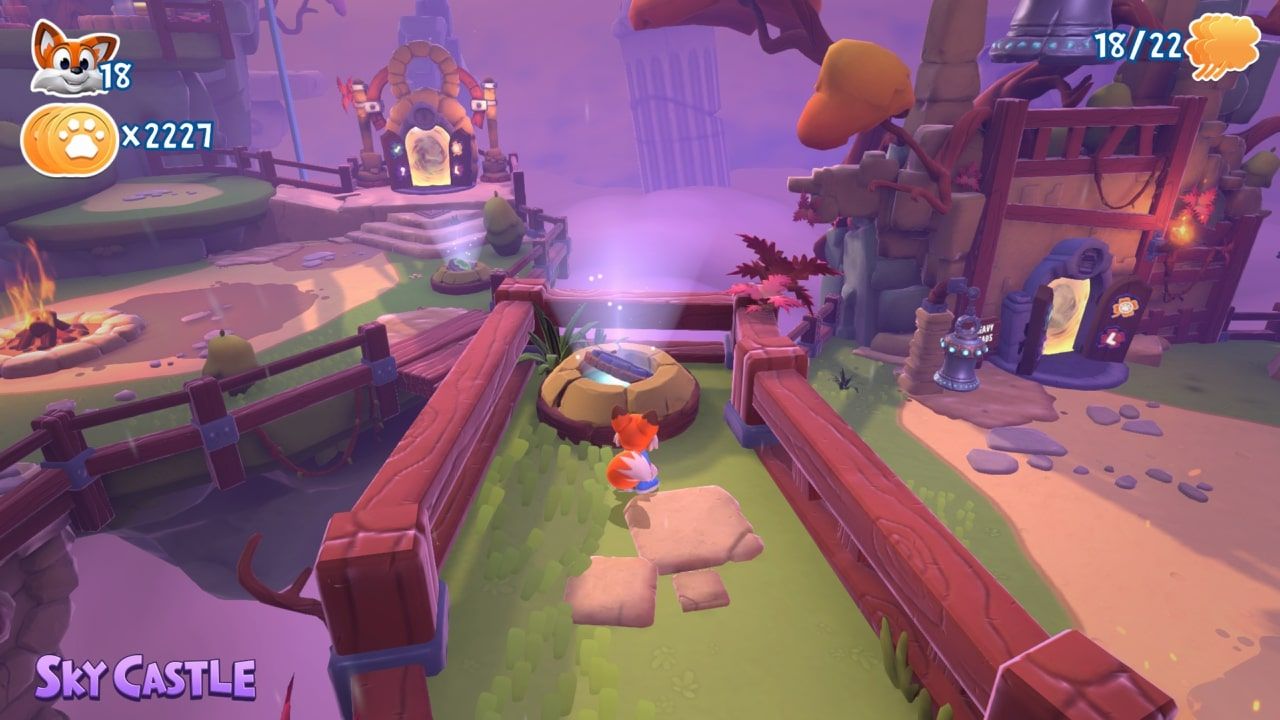
With that, you're done with this world. You can now take the exit door through to the next region of the game, Veggie Village.

