The Nintendo Switch turned two years old this month, and for many, that's a chance to look back and celebrate the console's many successes. It keeps breaking sales records, leading many to believe that it will one day match the insane numbers achieved by the Wii. It put Nintendo back into the industry spotlight, which led to an unexpectedly close relationship with Microsoft. It even brought indie support back to Nintendo, something that many thought the Wii U destroyed. So, what can't the Switch do?
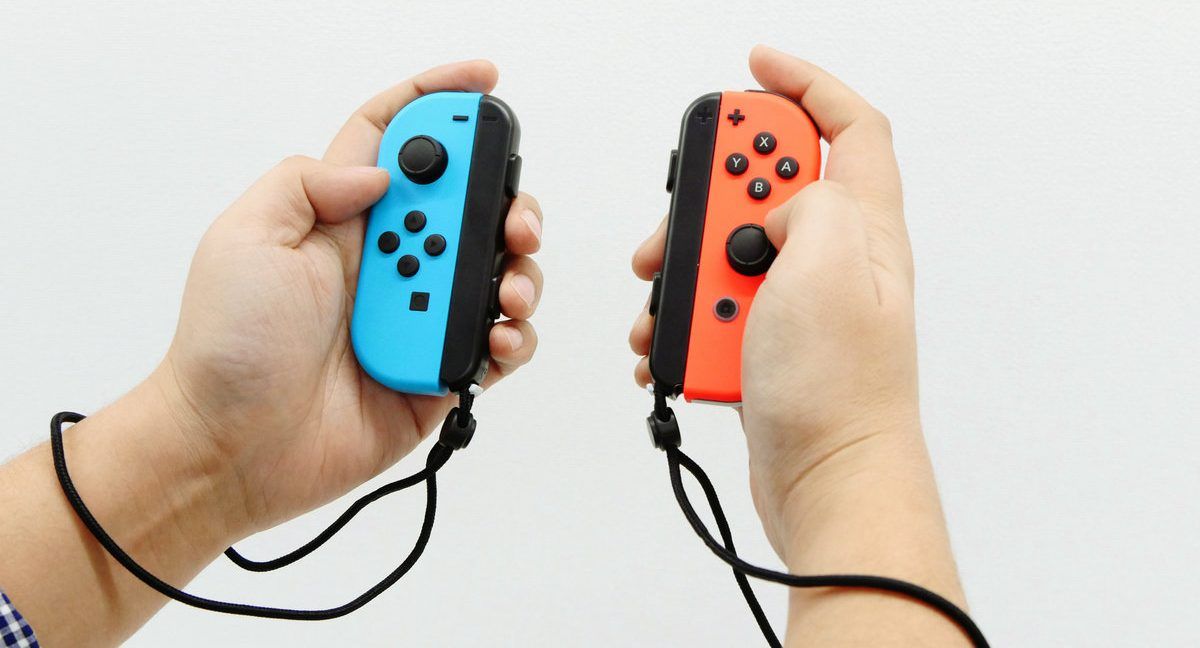
Have a functional controller, apparently. While the Joy-Con is a revolutionary little device, it still seems to need some additional time in R&D. There were many reports after the Switch launched about one controller out of a Joy-Con pair randomly disconnecting from the Switch. Others claimed that one Joy-Con would lose charge faster than the other. Nintendo was quick to address many Joy-Con issues with patches and warranty support, but one problem still lingers: Joy-Con drift.
"Joy-Con drift" is a name given by fans to an annoying problem that seems to be cropping up more often the older the Switch gets. Basically, the control stick seems to develop a mind of its own, causing game characters to move even when the player's finger is nowhere near the stick. This can be devastating for any game that requires precise movements, which is pretty much all of them. Sadly, new Joy-Cons don't come cheap.
However, there is some good news. You can fix drifting Joy-Con sticks yourself. We're going to show you the three best ways.
RELATED: It Has Been Two Years Since The Nintendo Switch Was Released – Where Is Shin Megami Tensei V?
The Easy (And Most Hopeful) Solution
Most times, Joy-Con drift is caused by a problem with the physical joystick, but you might get lucky and it might be a simple software issue. This can be fixed in the Switch's Options menu.
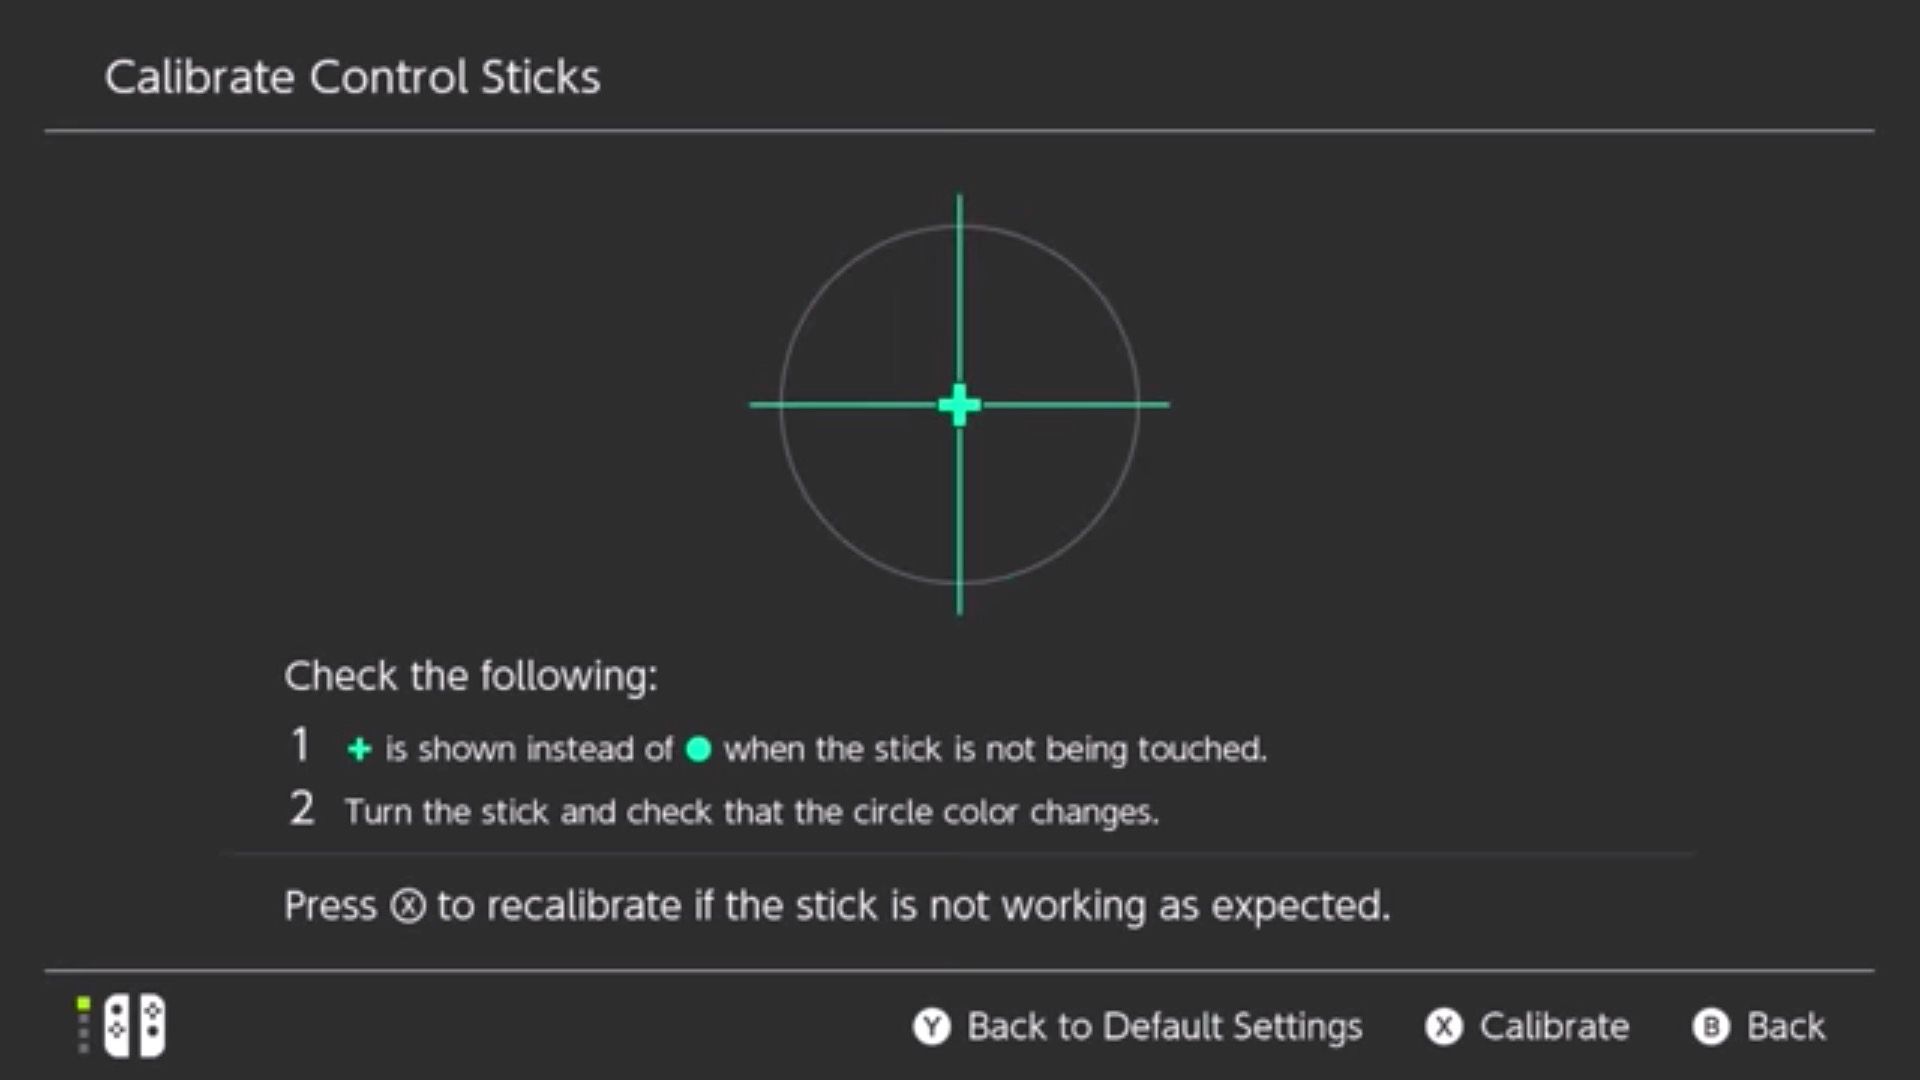
Go to the "Controllers and Sensors" tab, then to "Calibrate Control Sticks." From there, follow the onscreen instructions to recalibrate the Joy-Con with the damaged control stick.
You'll actually be able to see how responsive your stick is thanks to an onscreen graphic. The marker should stay in the center of the target when you're not touching the stick, as pictured above. If you see the marker drifting away from center, you've got a hardware issue.
Take Your Controller Apart (Not As Scary As It Sounds)
Before you consider this solution, it should be noted that Nintendo does offer a year manufacturer's warranty on the Nintendo Switch. This naturally extends to the Joy-Cons. If the malfunctioning Joy-Cons were extras that you purchased by themselves, you will still have a three-month warranty. Should your hardware fall under that period, contact Nintendo to have its specialists fix your Joy-Con. Unfortunately, many of the people looking at this guide probably started experiencing Joy-Con drift well after their warranty expired. That's where this DIY fix comes in.
The first thing you'll need is a replacement Joy-Con control stick. Follow this link for a nice $12.99 piece from Amazon, complete with the tiny screwdrivers you'll need to take apart your Joy-Con.
That's right, you'll be taking apart your Joy-Con and replacing the malfunctioning stick with a new one. It's honestly an easy procedure, and one you can do in less than an hour thanks to Spawn Wave's video, which you can watch above.
You should follow his instructions step-by-step, ensuring that you have a clear, well-lit surface to work on. The basic idea is that you take the back off of the controller, unplug the old stick, and attach the new one in its place. Again, though, make sure you follow Spawn Wave's video to achieve the best results.
RELATED: Nintendo Asks Mobile Partners To Tone Down Microtransactions To Keep Players From Spending Too Much
The Old-Fashioned Nintendo Solution
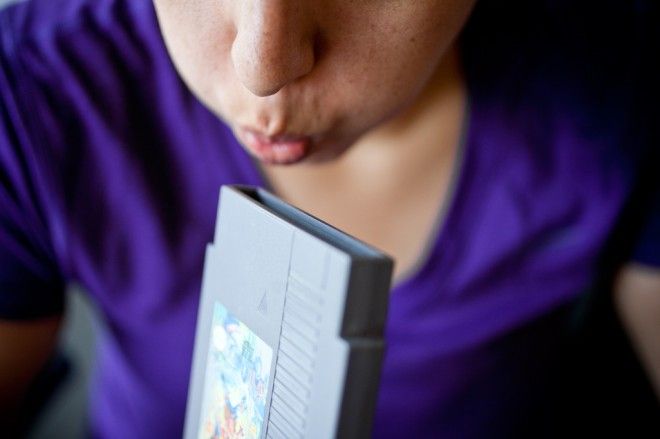
In the olden days, people used to blow on their NES cartridge when they wouldn't work. The thought was that clearing the dust out would make the cartridge more readable, or so it seemed. Later, we'd learn that it doesn't actually work, and could even be harmful to the hardware. However, it really felt like a magical solution at the time.
There's actually a similar fix for drifting Joy-Con sticks, albeit one that's more sanitary than accidentally spitting into your property. It's called electrical contact cleaner. Stores like Best Buy should carry electrical contact cleaner, but you can also just order it from Amazon since we live in the 21st century. The cans look a lot like the compressed air used to clean keyboards, but you need something that creates foam. Make sure it says "electrical contact cleaner" on the label.
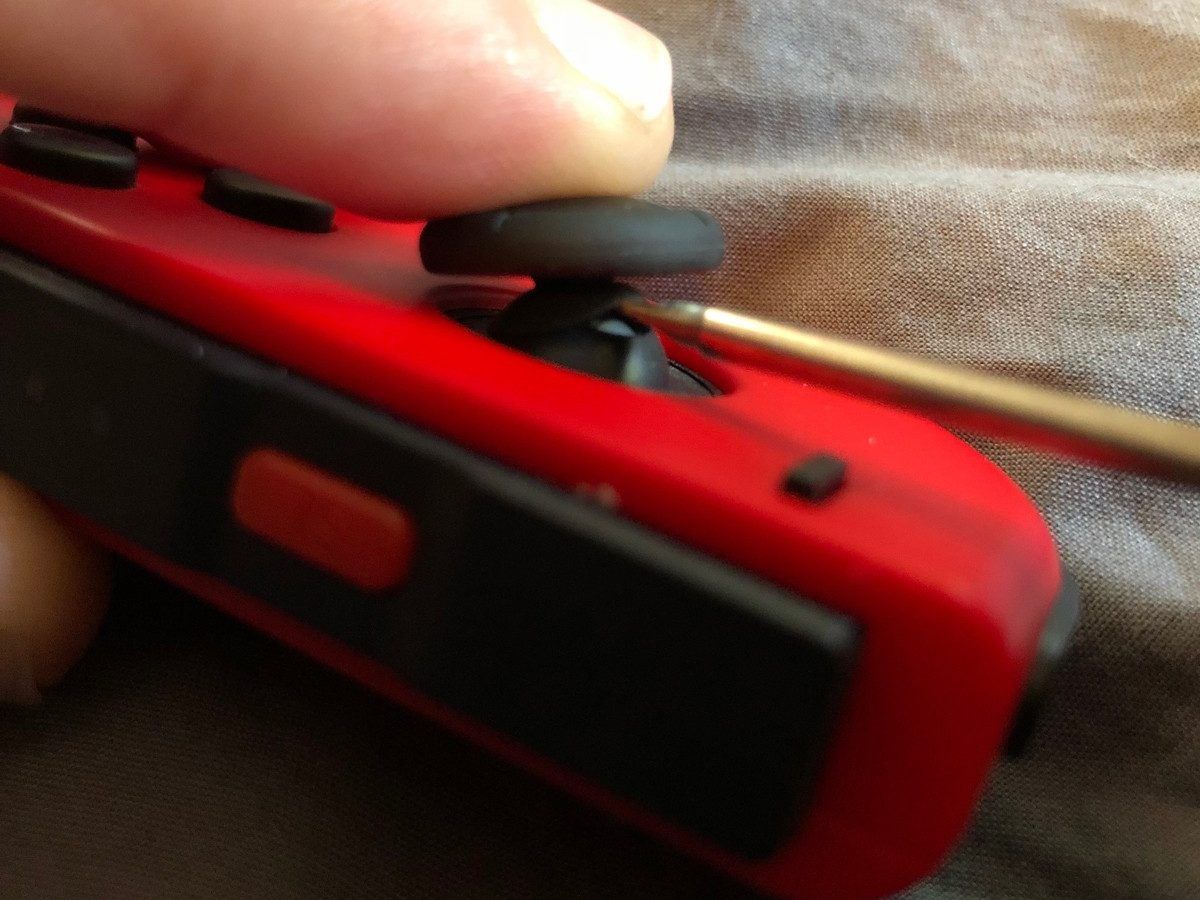
The goal is to clean the area of your Joy-Con that lies directly under the stick. Using the can's "straw," you should be able to lift the area at the base of the control stick. It will look like this:
Once you can reach this inner area, spray away. Try to hit it from multiple angles. If done correctly, the foam should get inside the control stick and clean it of any dirt and grime that prevented it from functioning accurately. In a way, it's a more refined version of blowing on your Nintendo product to fix it.
Unfortunately, many Switch users in forums claim that this method is temporary. It seems that taking your controller apart is the best and most cost-effective option, as it only costs about $13 for the replacement part and tools. Still, it's understandably intimidating.
Whatever method you choose, we here at TheGamer hope that it works, and that we can meet you in Elite Smash sooner rather than later.
READ NEXT: Pokémon Cards Give A Glimpse Of New Detective Pikachu Critters, Including Ditto and Arcanine


