Just like the first game, Nioh 2 looks like it will be giving players plenty of reasons to thrust themselves back into the deadly world of samurai and oni with consistent updates and DLC. The latest major addition, Darkness In The Capital, has just recently released, and with it comes plenty of new environments, bosses, and missions to undertake. One of your first priorities when exploring these new locations is finding the little Kodama spirits hidden within the level to gain access to their blessings, plus unlock a trophy or achievement for your trouble. Each stage has a different amount to find, and these little guys are quite hard to spot. Here's where you can find them all in The Blighted Gate.
The Blighted Gate Kodama Locations
There are nine total Kodama to find in The Blighted Gate. Finding them all, just like in the base game, will increase the effectiveness of their blessings. The order they will be listed in is based on getting them all in a single run through the level. It is recommended that you not only make it through the entire level before trying to get all the Kodama, but also take out most of the enemies too.
First Kodama Location

From the beginning of the stage, head into the gate and jump into the ravine. Follow it to the right through a cave. After going up the slope at the end, make a U-turn to the left and go up the stairs into the building, taking the first door on your right. Take another right, and you should see the first Kodama standing in the hallway past this room.
Second Kodama Location
Turn around from the first Kodama and head into the double doors on your right. Take a right at the upcoming fork, and follow the right wall until you can exit the building. Cross the small street into the building on the opposite side, immediately taking the door back outside on the right-hand side, and running across the courtyard. You'll need to pass through the flames on the left here, so give yourself a buff if you can to reduce damage.
Once you make it through the fire, head into the building on the left and go into the first room on the right. The Kodama will be standing next to a set of drawers.
Third Kodama Location

Backtrack out and across the fire again, this time taking the path up the pile of rubble all the way down to the ladder. Climb down into the trench and head to the right. The Kodama will be at the very end.
Fourth Kodama Location
Climb out of the trench and head left, stopping to take a right just before the gate dead ahead and into the ruined building to the right. The Kodama is just through the doorway to the right when you enter.
Fifth Kodama Location

Head directly across the path from the last building and up the rocky slope to the left where the shrine is. Continue down and to the right through the little village, following the path as it loops around to the left. Keep an eye on the left side for an alleyway you need to take. Go between the buildings and look on your right for the Kodama just around the corner.
Sixth Kodama Location
Back out of the alley and keep following the path you were on. You'll go down and up a small ditch, and come to a ladder on the far left. Take it down and hug the left wall of the cave until you encounter a Nurikabe. Use any blue gesture to remove it and head inside to find the Kodama a short distance in on the right.
Seventh Kodama Location

Drop off the ledge at the end of the path and take the ladder on your left up to the surface. Run straight ahead, veering left to go through the burning building and run through the flames. Follow the wooden plants outside and around the corner to collect this next Kodama.
Eighth Kodama Location
Turn back and go back outside, across the courtyard, and into the building with the shrine. Feel free to take a right here and use the hot spring if you like, otherwise head up the stairs behind the shrine. Once on the top floor, go out onto the balcony and follow it all the way around. The Kodama is standing in the middle of the path on the opposite side you come out on.
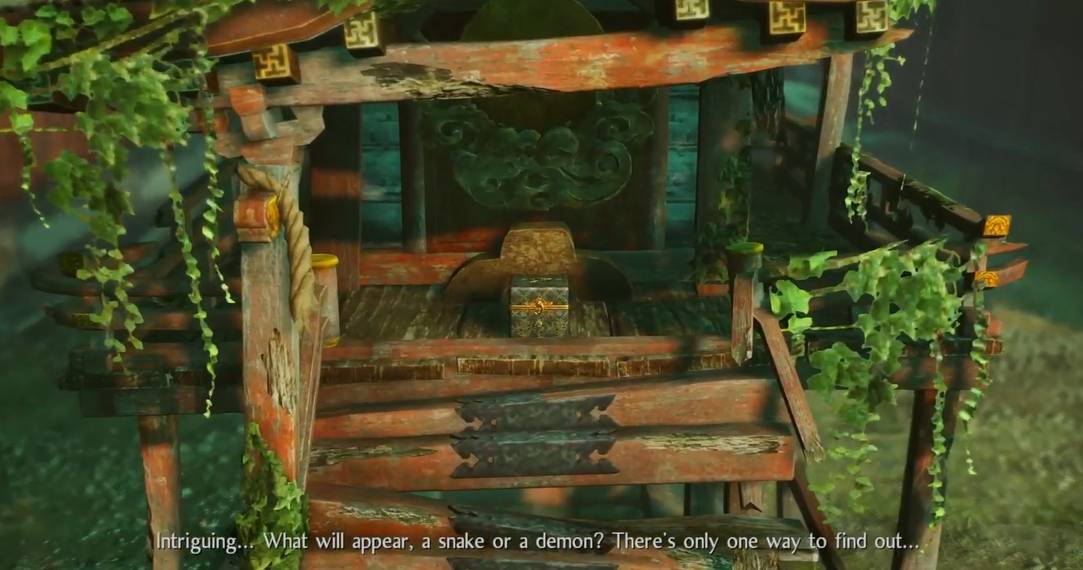
Ninth Kodama Location

Run all the way back inside and down to the shrine, this time taking a left through the open double doors. Take a right as soon as you exit and drop down off the ledge. The last Kodama will be standing near some piles of rubble just before the burning wall. Guiding it back to the shrine will award you the Kodama Pathfinder trophy or achievement.