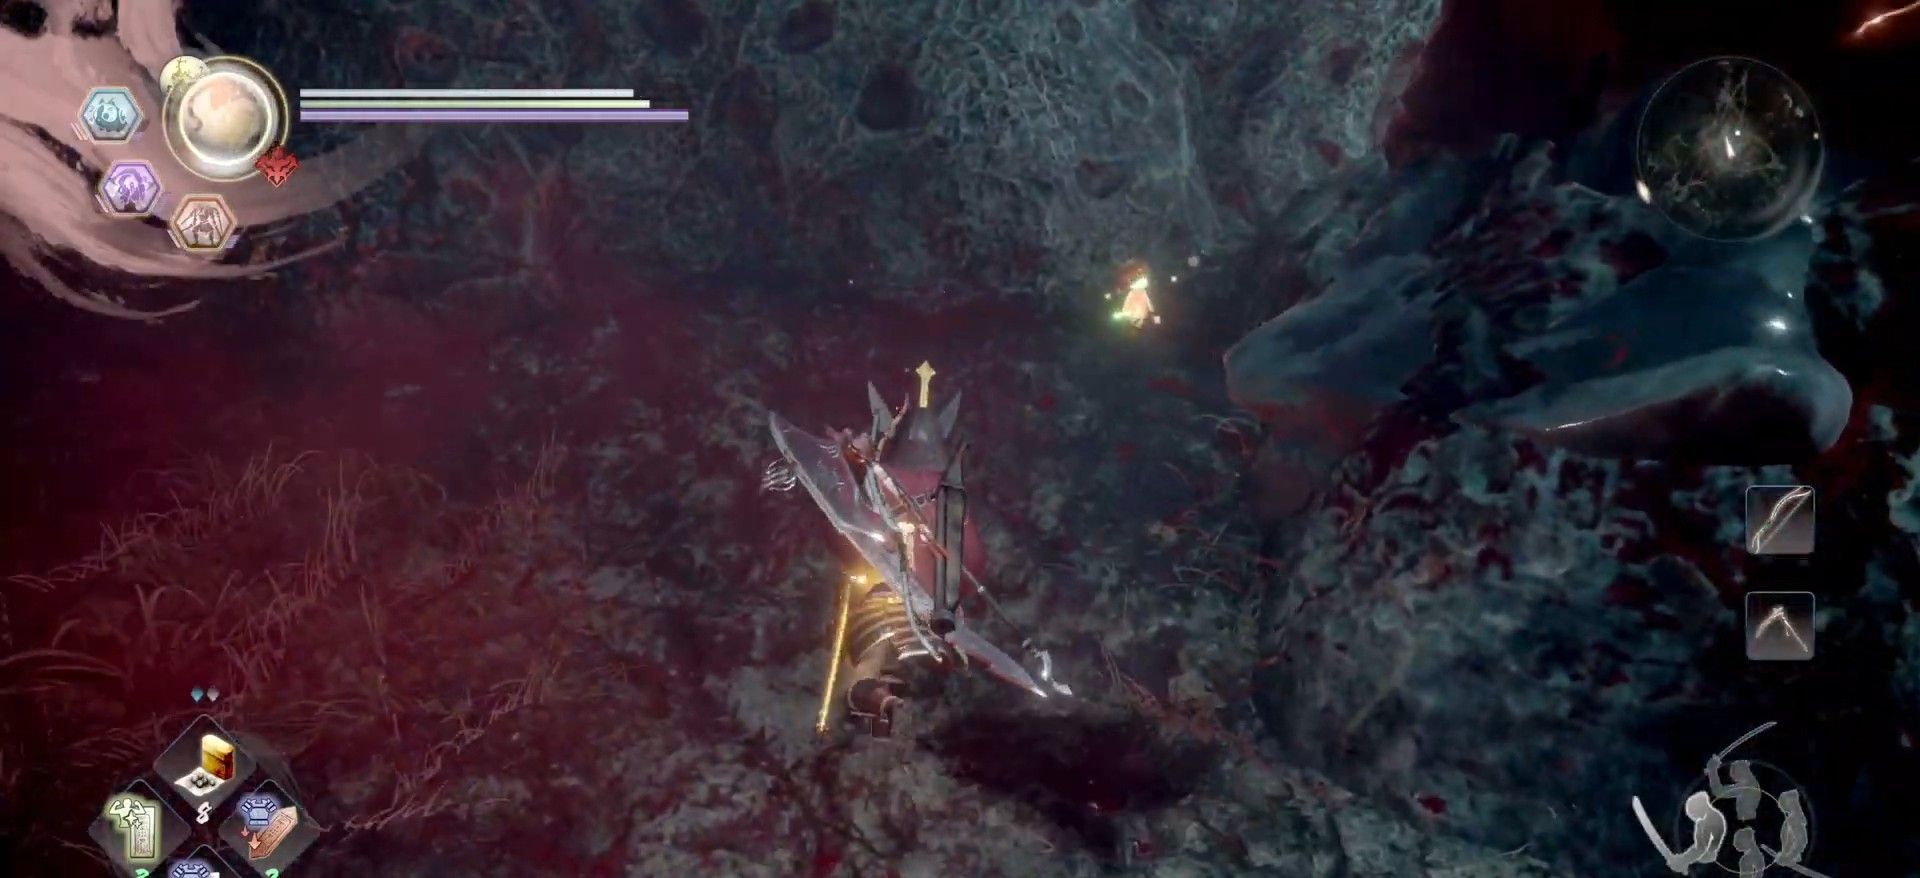
In a game like Nioh 2, the stakes can occasionally seem to be stacked against you in unfair ways. Enemies can come out of what seems like nowhere, bosses can crush your life bar in a few quick blows, and hidden traps can ruin your day. Your little Kodama spirit friends help to even the odds, but you need to track them down first. The Palace of the Damned isn't named such for being easy, so you'll want as much help as possible. Here are the locations of all the Kodama in this level to give you a helpful edge.
All Palace Of The Damned Kodama Locations
Unlike in The Blighted Gate level, there are only eight Kodama to find and escort back to the shrines in The Palace of the Damned as opposed to nine. We've listed them in a specific order so you can come across them as you naturally progress through the level in one continuous run. We will also make a detour to show you the location of the hot spring, so let's get to it.
First Kodama Location
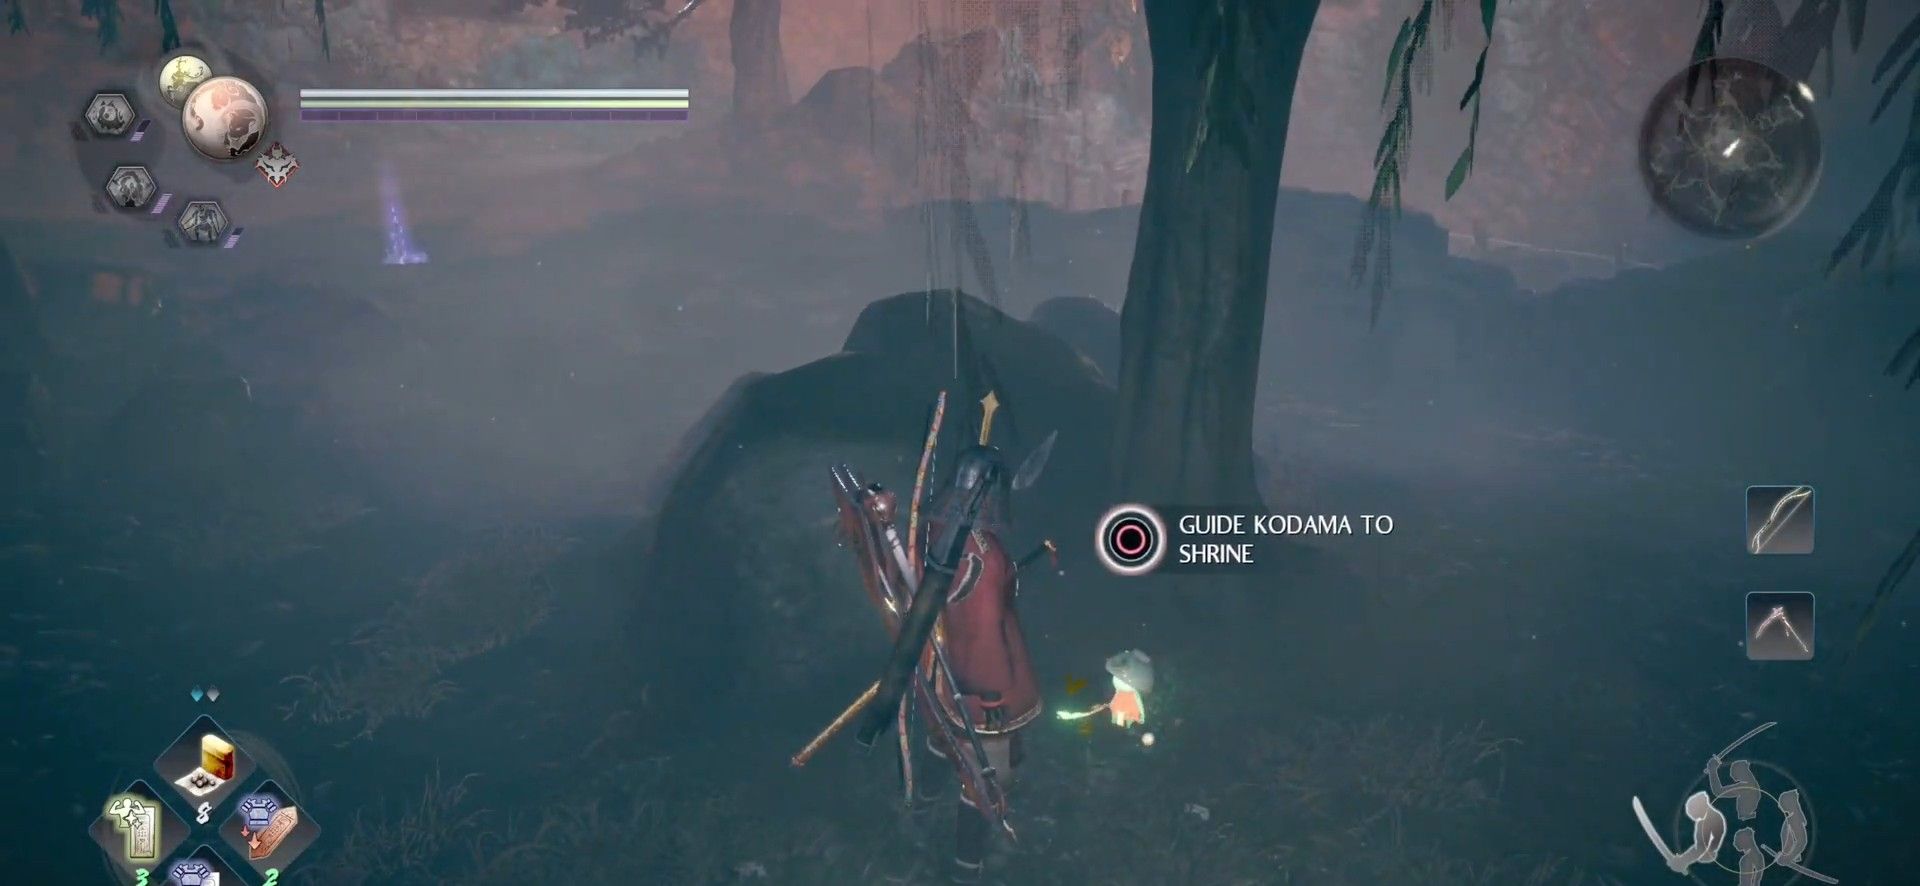
From the start of the level, take a right instead of a left toward a dead end. Walk around to the other side of the pile of rocks and tree to find the first Kodama waiting for you.
Second Kodama Location
Now head to the left and up the path, past the NPCs and the shrine. Go over the bridge and through the gate, hugging the right walls of the courtyard. Go around the stairs and look behind the tree and rocks near the corner of the courtyard. The Kodama is tucked away back here.
Third Kodama Location
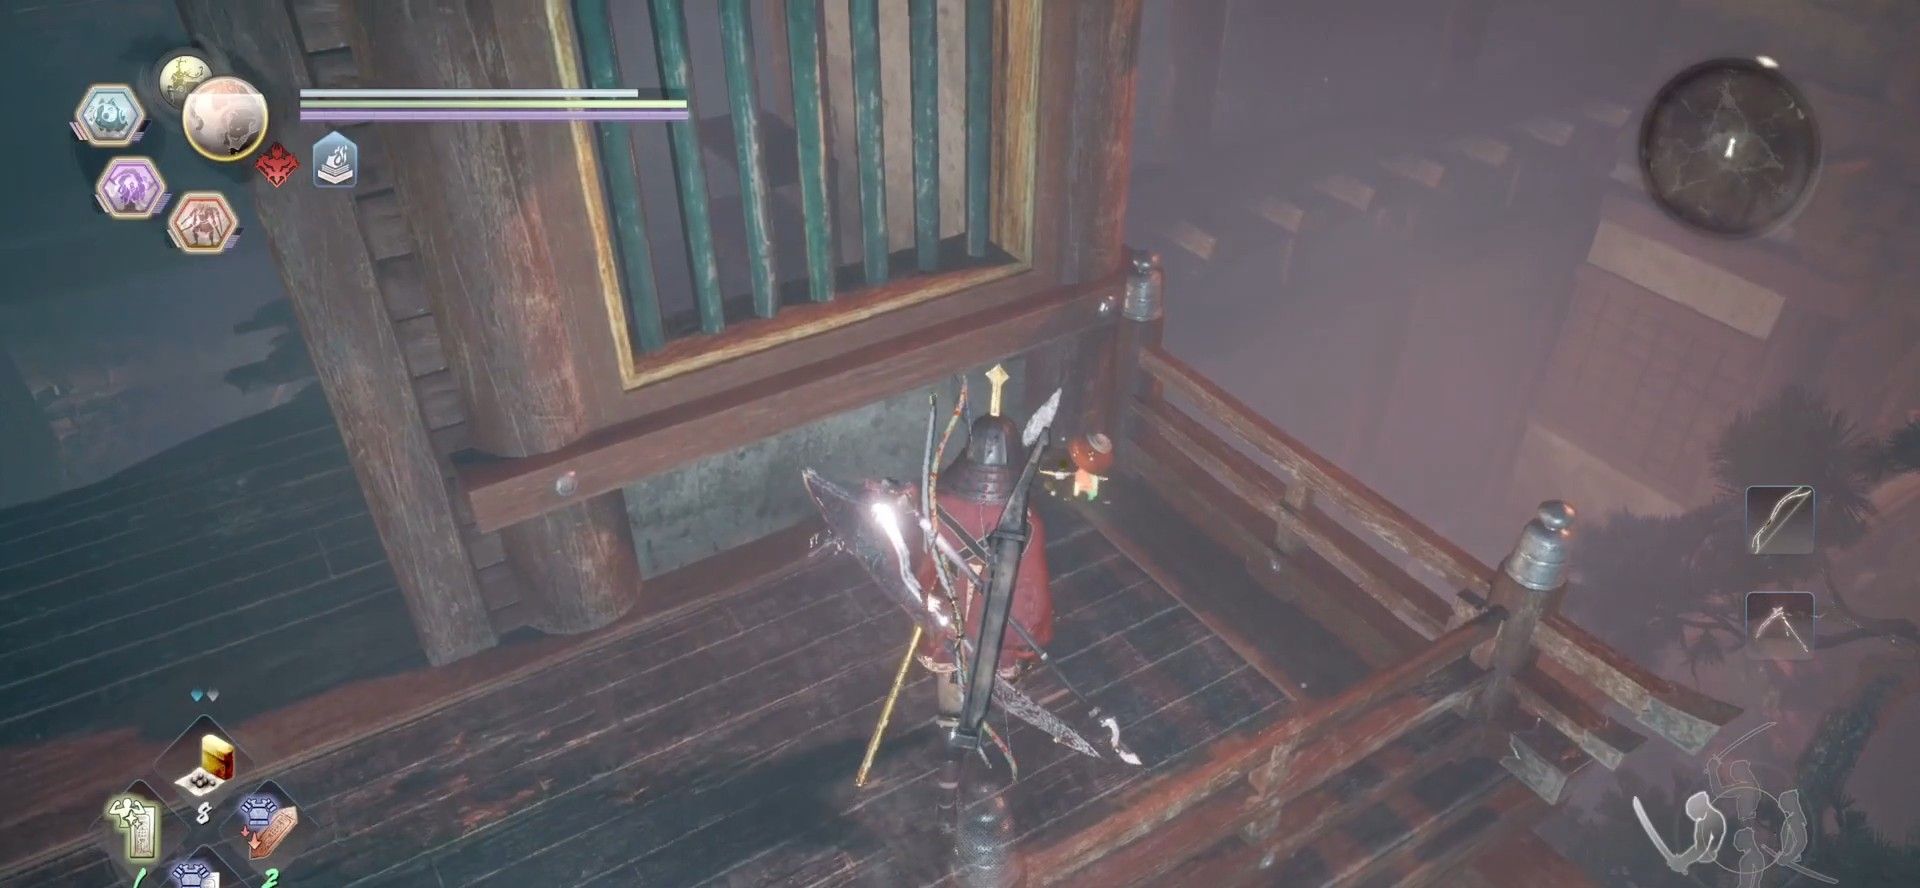
Keep going counter clockwise around the courtyard and out through the path full of yellow crystals. Follow the road all the way down past the fire to the left and up into the building. Take the first left you come to and climb the ladder in the following room. Make your way down the hall, being careful of the hole in the floor, and head out the door leading to the balcony on your right to pick up the Kodama standing in the corner.
Fourth Kodama Location
Go back inside and drop down the hole in the floor you avoided before. Exit through the door directly ahead and cross the courtyard through the opposing building to the other side. Run up the path to the left and take a right when you come to a T in the path. You'll go up and to the right, then back down a series of slopes before reaching a building on the right. Ignore it and keep traveling along the dirt path on the left up to a mostly destroyed building. Just inside on the right, next to some yellow crystals, is your next Kodama.
Fifth Kodama Location
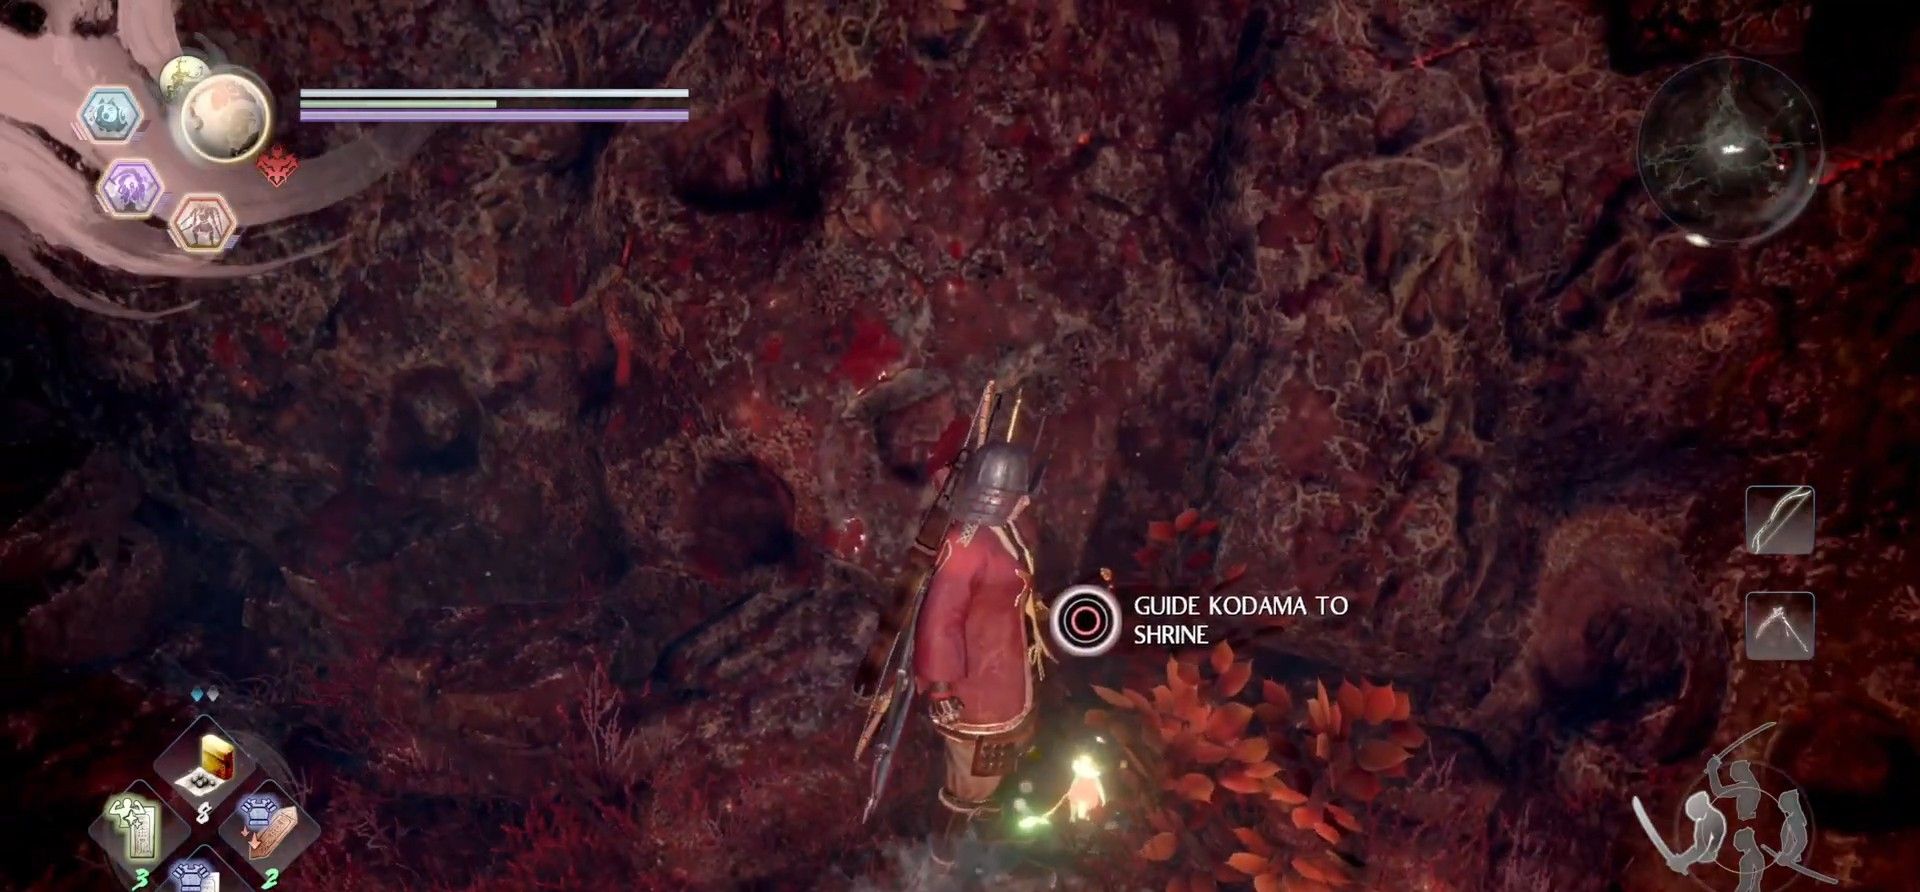
Open the doors on the opposite side of this room and run through into the caves ahead. It is a straight path to the next shrine, where you will want to make a left. Take your next right when the cave splits, go down and go right down the path with the pool of blood. Hidden on the other side in the red plants is the fifth Kodama.
Sixth Kodama Location
Turn back and go through the red gate. Head up the rocky path, turning right at the next blood pool, and up to the next building on the right. Run straight through to the giant crystal outcropping and head to the doors to the right. Take the staircase leading down, but turn around and check the floor beside them for an easily missed Kodama.
Seventh Kodama Location
Go back up the stairs, into the little courtyard with the outcropping, and into the next doorway to your right. Enter the cave and take the first left when the path splits. Follow the path up, sticking to the left when it splits again, until you enter the cavern with the red lantern. Go past the lantern and around the big rocky mass to pick up this Kodama.
The hot springs are also just ahead, continuing back on the previous path up. As soon as you reach the top, hug the right wall to find a Nurikabe you can gesture at to dispel. It will reveal a path with some loot and the hot spring at the very back of the cave.
Eighth Kodama Location
Backing out of the hot spring cave, keep following the path along, turning right to go up the stairs into the building ahead. Head straight through the entryway, up the next set of stairs, and out the back to the next shrine. Go through the second giant ring and take a sharp right. The last Kodama is hidden between two rocks covered in papers. Pick him up and you'll have rescued the last one in the mission.

