Scattered throughout Okami HD, stray beads are a collectible item that grant access to the most important component to a New Game+ playthrough: the String of Beads artifact. This item grants the player infinite ink, and makes subsequent playthroughs of the game a breeze.
However, collecting all of Okami's stray beads is easier said than done: they're hidden all over Nippon, some are unobtainable without completing certain actions in the game, and more than a few are hard to spot or attached to difficult mini-games. Some of these beads are notoriously difficult to obtain – these are the most common beads players tend to miss.
10 Sei'An Aristocratic Quarter – Bead #53
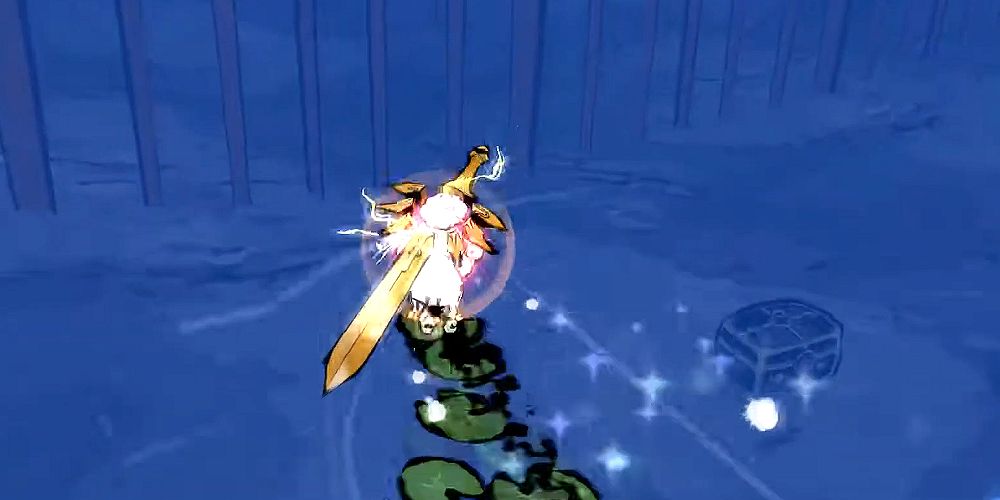
This wet bead is found in the aristocratic quarters of Sei'an City. Deep in the bed of the Gojo Bridge’s lake, a treasure chest lies in wait. Because of both the draw distance of the lake and the dark blue water tinting all objects in the bed, it can be extremely difficult to find the bead-containing treasure chest in the north-eastern portion of the lake.
The chest won’t show up in your field of vision until you're fairly close. Equip the water tablet and just keep your eyes open as you run across the surface of the water
9 Sasa Sanctuary – Stray Bead #31
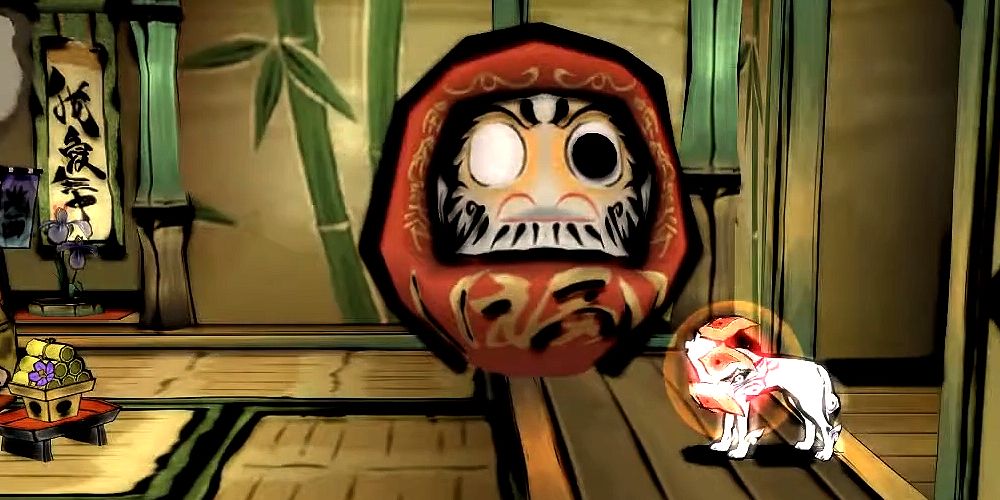
You can be forgiven for missing bead #31, as the "hint" for figuring out this puzzle is subtle to the point of invisibility for anyone not familiar with a Daruma doll.
These objects, somewhere between a toy and a good luck charm, are well-known in Japanese culture. When you have a Daruma Doll, you're supposed to use it in conjunction with a goal – fill in one eye once you've selected a goal, and fill in the other once you've accomplished it.
Okami players already have a goal – in this sense, one eye is already filled in. Place a single dot with your celestial brush on the other eye, and a stray bead will appear – and your goal will be accomplished.
8 Gale Shrine – Stray Bead #33
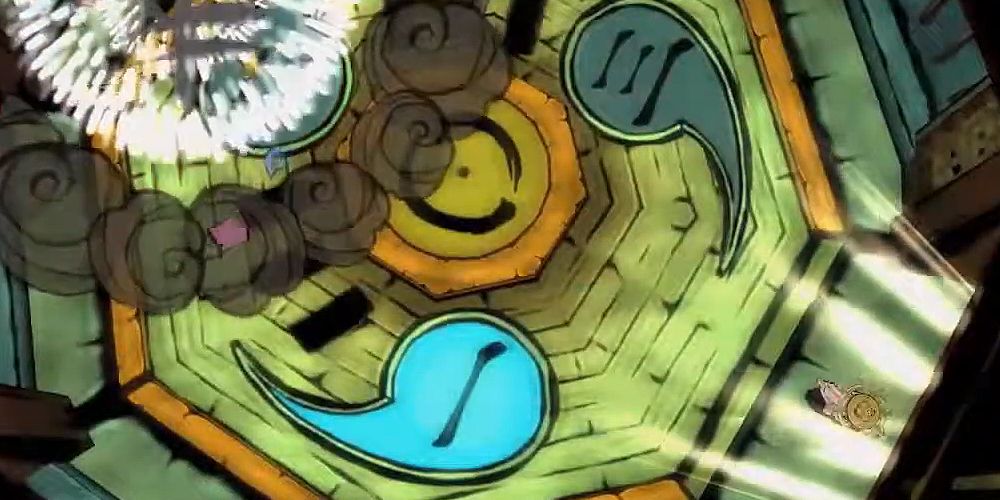
To progress in the Gale Shrine, players must use cherry bombs on the clearly-labeled bomb pad to move the elevator up and down. This is fairly obvious thanks to in-game visual design, but what might not be so obvious is that there's a platform underneath the elevator.
Enter the elevator shaft just enough to see the cherry bomb button, then place a bomb on it with your celestial brush. When the elevator goes up, run underneath it, and you'll find your stray bead just a dig away.
7 Camille and Camellia – Stray Bead #50
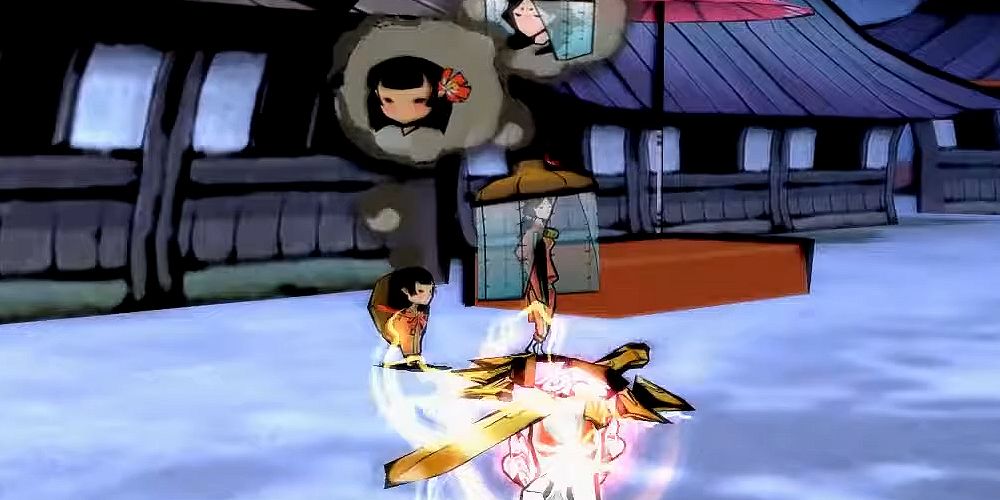
Bead #50 involves the traveling sisters Camille and Camellia. The bead they carry is easy to miss both because of the sheer number of steps you have to take to get it, and because you have to repeatedly track them down across Nippon.
These sisters first appear after you cut the fruit from the Konohana Tree, but you can only get to them if you walk around the Tori gate, not through it. After you listen to their dialogue, headbutt Camille after she says "If someone would just hit me..." This divine headbutt inspires the sisters to move near Sei'an City's Kimono Shop.
Once again, you'll need to give Camille some divine inspiration, this time in the form of tree growth. Finally, you'll need to draw a tree and make it rain in order to convince Camille that you exist.
6 Urashima's Treasure – Bead #66
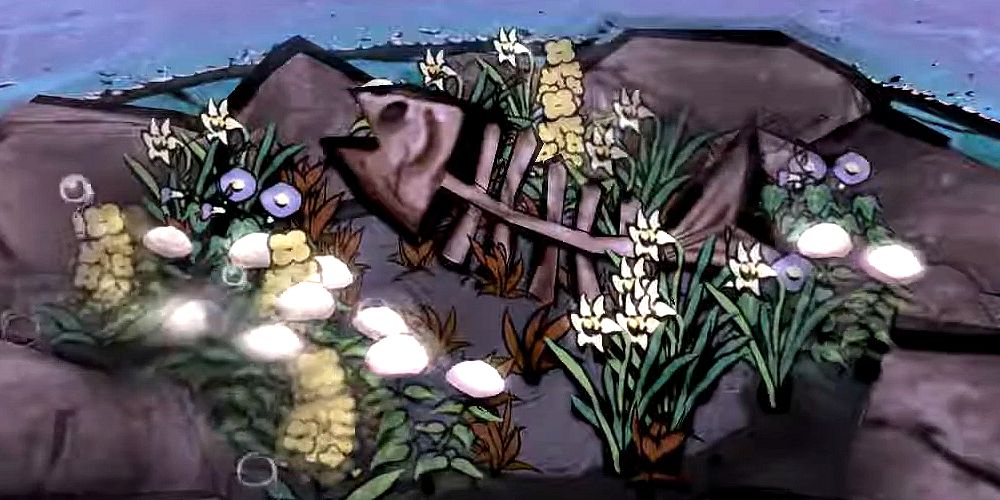
After completing the "Into The Water Dragon" main quest, you'll be taken back to the Water Palace. There's a set of rocks with fish bones where the Water Dragon used to be – use Ammy's restoration ability on this patch and a treasure chest will appear. What's in the chest? Another treasure chest! Or a "Treasure Box," more specifically.
Deliver the treasure box to Urashima at North Ryoshima Coast to prove that he was telling the truth and remove his ageless curse.
5 Taka Pass's Glowing Pond – Bead #21
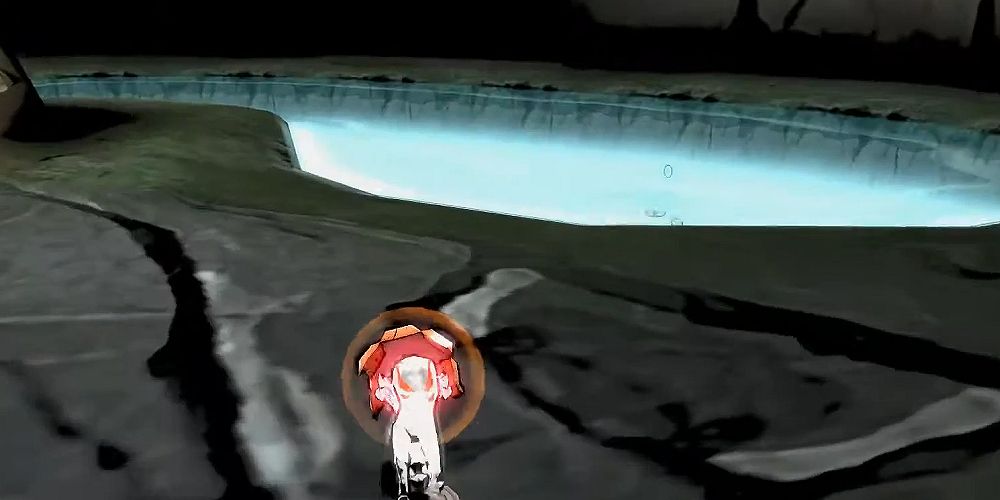
When you fight Waka in Taka Pass, you may have noticed a glowing pond in cave along the way. The glow of this pond is deliberately designed to mislead you – because if it wasn't glowing, you'd see the treasure chest hiding under the water.
All you can really do is use your celestial brush to slash around the pond until you hit the treasure chest. The lid will fly off above the water, and a bead will drift to the top.
4 Kamui's Devil Gate – Bead #79
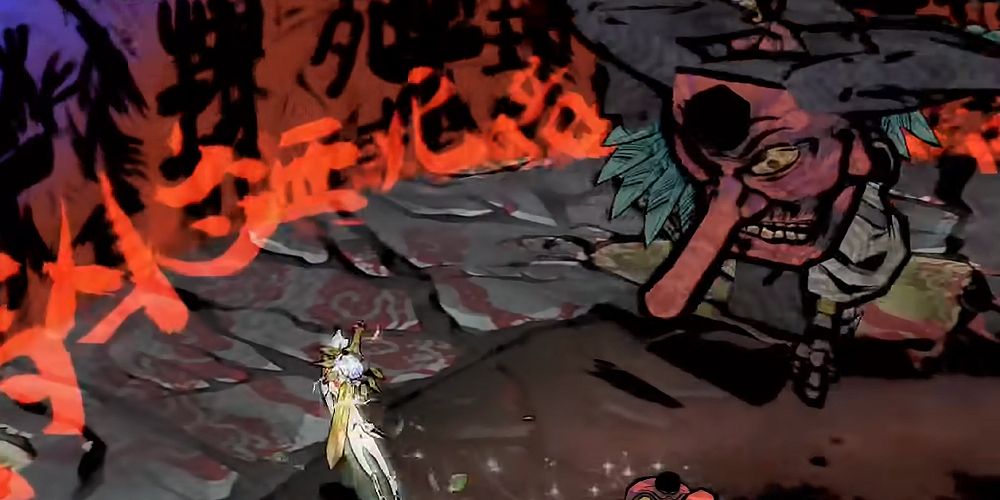
Bead #79 is a Devil Gate Trial in snowy Kamui, and like all Devil Gate Trials, it's a long test of endurance and skill. Two Devil Gates give you stray beads in Okami, but the Kamui gate – located in a tunnel off of the path to Wep'keer – is by far the most arduous.
You'll likely need to set aside at least a good hour-and-a-half to complete it, and if you're not comfortable with Okami's combat (or your own ability to mitigate damage) you might want to come stocked with a healthy amount of bones. Like all Devil Gate Trials, you can't leave the cave between each of the 10 rounds of battles without losing your progress. Whatever your item management plan is, make sure you've got it sorted out before you start the trial itself.
3 Yoshpet Dead End – Bead #89
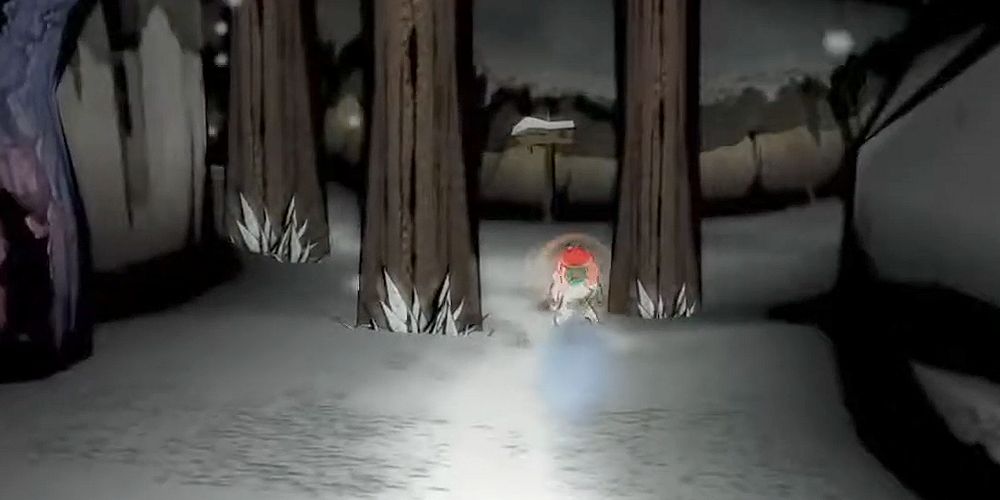
There are two beads located in an otherwise optional racing mini-game in the snowy, cursed woods of Yoshpet. While each of them is frustrating (and on this list!) for different reasons, bead #89 is of particular annoyance because of how unintuitive it is.
When you come across the fork in the path of the third section, you must go the opposite way to the marked signage. At the end of the path, you'll find a treasure chest with the bead. You'll almost certainly lose the race by going after this bead, but, as you'll see in a moment for bead #90, losing to Kai is something you'll get used to quickly.
2 Kai's Race In Yoshpet – Bead #90
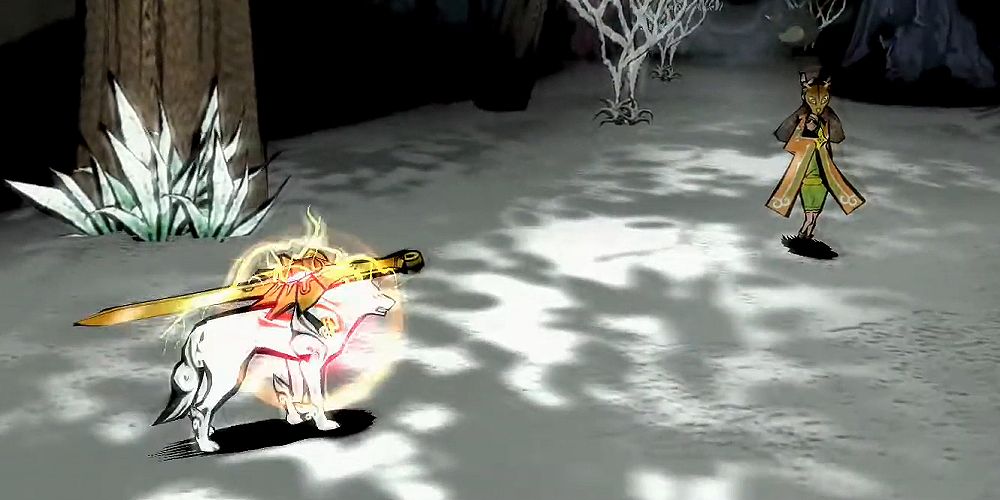
Bead #90 is a race against the clock – and, more specifically, against Kai of the Oina Tribe. After you've defeated Lechku and Nechku, you can find Kai at the woods entrance and challenge her to a race. Winning scores the stray bead, and you can challenge Kai as many times as you need to like – and you'll need at least a few.
Kai runs a flawless race, and never interacts with the many monsters or obstacles you'll have to. You only have two advantages – Ammy's faster run speed and the ability to take shortcuts that Kai cannot. Use your first few runs (and any subsequent failed runs where Kai obtains too large of a lead) to learn the map layouts and practice. There's no real secret to this other than map awareness and patience.
1 Blockhead Grande – Bead #78
In 1956, American Psychologist George Armitage Miller observed that the average separate pieces of information that can be held in adult short term memory is seven. So for Blockhead Grande to expect you to remember the location and order of eight randomized dots seems, at best, cruel.
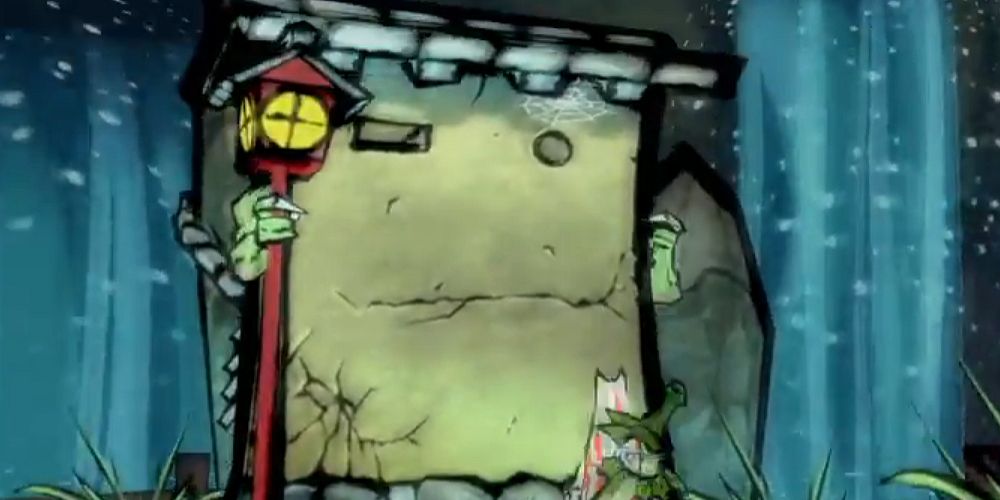
Located in a divine spring under a hard-dig spot in snowy Kamui, Blockhead Grande is, for most players, impossible. Without cheating, at least – using a cell phone camera or taking screenshots will reduce this chore to trivia, but do remember that the stroke order of the dots is as important as where they are located. And if you can do this task without cheating, congratulations – you are in an exclusive club.

