Orcs Must Die 3 is an indie action-shooter, tower defense game, where you’re tasked with keeping hordes of Orcs and other monsters at bay with an array of magical weapons and devious traps across four campaigns that will put you in some interesting locales against a variety of enemies. Plus, there are other game modes like Endless and Scramble which add additional variety.
There’s a lot to learn in the game and mistakes can cost you a few skulls in your final grade, if not outright forcing you to restart the level. However, with these few tips to get you started, you’ll be mowing down monsters and getting five-Skull grades in no time.
7 Play With A Friend

Like with most things in life, the more, the merrier. Though Orcs Must Die 3 is a fun game to solo, it’s definitely worth it to buddy up. With a friend by your side, you can pull off strategies that would be difficult or even impossible to do alone, and you’re able to bring double the variety of traps and weapons between the both of you.
The game is also much easier as a twosome, even with the increased amount of enemies the game throws at you to scale up the difficulty. Since the number of paths doesn’t increase to account for the second player, there is a net gain for the players since you have more people to cover every path. Plus, y'know, playing with friends is fun.
6 Don’t Be Afraid To Refund

Aside from laying down traps and mowing down hordes of enemies, OMD3 is about experimentation. In that spirit, you can freely upgrade your traps, trinkets, and weapons as you like and at no loss, refund the skulls you used, either all at once or on certain items and try different configurations.
Since the stages have unique layouts and varying enemy types, there isn’t really a perfect loadout, so you may even want to refund your skulls and reinvest them on a per-level basis. Just keep in mind that you can’t refund skulls spent on skins or unlocking new weapons.
5 Go Back With New Gear

Because of how progression works in this game, you’re not likely to get a perfect score on every level on your first try, but you’ll still earn new skulls as you go through the campaign.
As you amass skulls, unlock weapons, traps, and upgrades, you’ll want to go back to levels that you don’t have 5-skull grades on and use your newfound gear to perfect the levels, most of which are made plenty easier with your new power-ups.
4 Prepare Properly Before Starting A Level

Each level is unique, with different entry points and routes that enemies can take to your rift, as well as different enemies that you’ll be facing down. You can look at what kind of enemies you’ll be facing at the level select and prepare your gear accordingly.
When you’re actually in the level, make sure you have the right equipment for it since when you place a trap, you lock your gear in place. Be sure to scout the level before you start as well.
While the minimap does a good job of showing you the paths the horde will take, it does a bad job showing verticality. It’s better to explore a new level, so you have a better idea where to put your traps and which way the enemy is coming from.
3 Create Chokepoints (Barricades Rule)

You’ll notice pretty quickly that enemies take separate routes to get to your Rift, making it a juggling act that can result in you losing Rift Points pretty quickly when you finally drop the ball. You might also notice trapping each route they can take is economically taxing, if not impossible to do.
The best way to deal with all the directions enemies can come from is to collapse them into fewer paths, which is why Barricades are probably the best trap in the game. Though they do no direct damage, you can use them to redirect the hordes into a few paths– preferably just one if you can do it. You can then fill those few paths with traps at a much more economical price point.
Just be careful you don’t block off all routes to the Rift completely. Enemies will take a circuitous route if it’s the only one available, but if you leave no route to the Rift at all, they’ll just destroy your Barricades instead.
2 Check Your Enemies

You can see what kind of enemies are coming your way at the level select, which is very useful in helping determine what kind of gear you should bring into a given level. While you won’t know each enemy’s capabilities by heart, you’ll want to watch out for a few traits that you’ll need to be prepared for.
Winged enemies, for one, are Flyers and will take more direct, alternate routes to your Rift, also negating most ground-based traps in the process. You’ll also want to watch out for fire-based enemies, because some of your best traps are fire-based, which they’ll be immune to, so you’ll have to change up your game. If there are enemies that are bigger than standard Orcs, expect them to hit hard, be slower and have a ton of HP. And if they’re Kobolds with bombs strapped to their back, they’re Sappers – the bane of your existence.
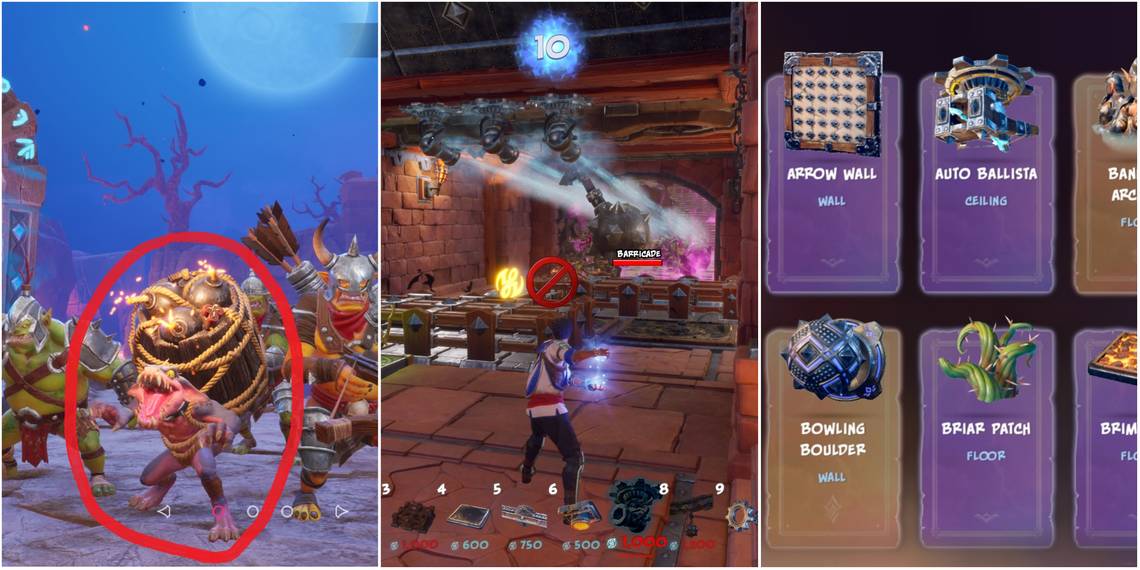
1 Be Prepared For Sappers

Unfortunately, even the most well-oiled death traps and killboxes are undone by Kobold Sappers, who run as fast as Kobolds and target the best pathing tool in the game, the Barricades, blowing themselves up to damage and destroy them.
There’s little you can do about them trap-wise, since they tend to run faster than most traps can spring, with the exception of Tar Traps, which don’t do damage, and Brimstone, which runs out of charges quickly. The best you can do is to keep an ear out for the telltale sound their deployment makes and keep an eye on your minimap for yellow dots, which you should hunt down and destroy before they near your defenses.
Yellow dots in general symbolize enemies that target your Barricades, like Dynamite Archers and Firelings– which spawn from Fire Elementals which spawn from Fire Lords. But of these, the Sapper is by far the worst.