With your crew missing, it's just you versus a whole town of Ferals. Bonds is one of Outriders' most memorable quests, mostly due to the final boss and the loot at the end. This is one of the only quests that grants a guaranteed legendary at the end. If you've needed a gear upgrade, this quest will surely deliver.
Since you don't have access to crafting, you'll need to rely on gear drops if you're struggling. Be sure that you've allocated your skill points and that you're using the best gear possible, as you'll be fighting a rather tough boss at the end of this quest. It's time to get your crew back.
Quest Synopsis
- Search the village for your crew
- Rescue your crew
- Defeat Yagak
Search The Village For Your Crew

You'll spawn at an overlook with a great view of the upcoming town. Before you descend into the bowels of the village, make sure you're character is geared and has their ammo stocked up.

Your first gunfight with the locals will consist of Bulwarks, reskinned Breachers with the ability to encase themselves in an energy shield. When this occurs, you'll just need to damage the shield to break it.

Near the front of the village's main gate will be a Brute Warlord. This is similar to the Warlord you fought in the last quest, except it can create artillery fire if you fight at long range. When you start seeing multiple AoE indicators on the ground, that's the Warlord firing a barrage. Rush to the back of the arena to deal with him. Warlords are effectively reskinned Captains, so strategies you've used to fight those enemies will work here.

Clear the area, then open the village gate to continue.
Hidden Chest

At the left-hand part of the village entrance, to the left of the village gate.

Past the gate will be yet another group of Ferals, this time consisting of fodder enemies. Carve through them with your guns and abilities.
You'll eventually push up a small hill towards another part of the village. You'll be attacked by multiple AoE projectiles from a Warlord at the end of the arena. Snipers and other fodder enemies litter the zone as well. If you're a Technomancer or use long-range weapons, you'll want to run towards a rooftop as soon as possible.

Eliminate the snipers first. Most will be hunkered down on the top floor of each building. From there, eliminate the Brute Warlord, using the remaining enemies as health packs.

When you've killed everyone, head to the wagon at the end of the road to continue. Place a flag down right after you move the wagon.
Hidden Chest

You'll find this chest at the far-right of the compound, hiding behind a few buildings.
Rescue Your Crew

Stock up on ammo at the nearby ammo crate. When you're ready, run to the gate on your right. You'll be ambushed by a Destroyer (Ironclad) and multiple Bulwarks. The Destroyer can be made much weaker with a single melee attack, stripping all of its armor.

The courtyard will consist of dozens of enemies, one of which being a Warlord. Standing in the open will get you killed, so you'll either need to play aggressively or use cover. Kitting enemies to the fast travel flag is also a viable strategy here. Killing the Warlord should be your top priority.

Kill all of the enemies in the area, then push the wagon aside at the end of the area to proceed. Plant a flag down before proceeding.
Hidden Chest

Right as you enter the courtyard, turn left and run up the stairs to find a chest.
Destroyer Duo

Further ahead will be two Destroyer enemies. One is in the open, and the second resides in a building to your right. Try to kill the Destroyer that's out in the open first, using a melee to break its armor before ripping its Health bar apart with your guns and skills.
Every time a Destroyer dies, a set of Berserkers will spawn to accompany the second. These enemies can be used to activate your healing mechanic. Kill the Berserkers, eliminate the second Destroyer, then run towards the hilltop monastery to start a boss fight. Be sure your character is stocked up on ammo and has all of their passives allocated.
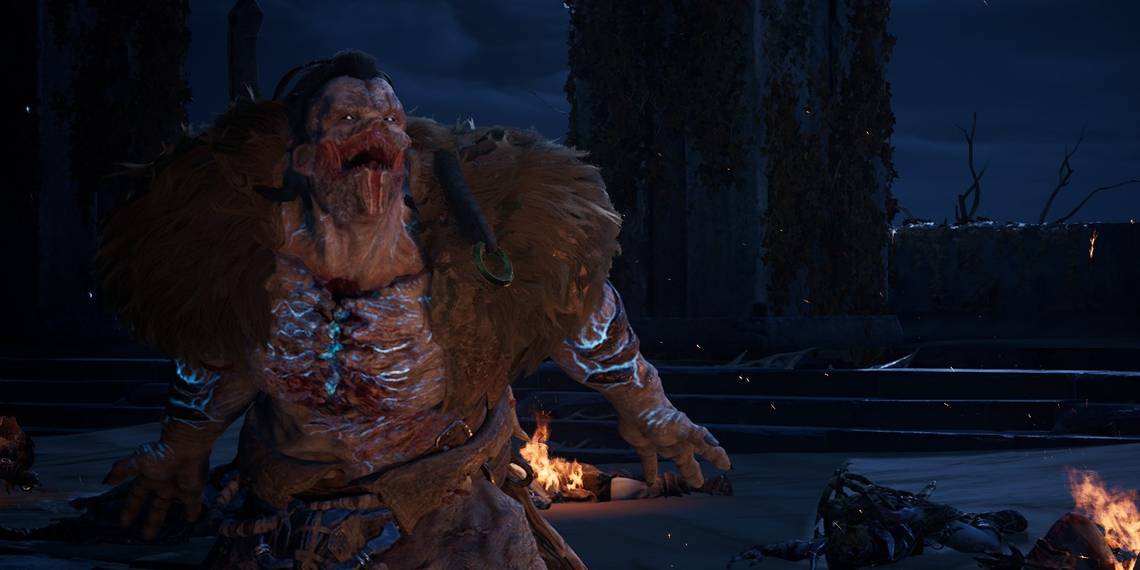
Defeat Yagak

Yagak isn't nearly as frustrating as Altered Bailey. This fight is all about managing space. Yagak is a melee fighter that wants to close the gap as much as possible.
Here's what Yagak is capable of:
- Displacement: After a short cast time, Yagak teleports to a new location.
- Energy Shield: Yagak encases himself in an energy dome when he loses a third of his health, summoning Berserkers to fight for him. You cannot damage Yagak while he's in this state.
- Leap Attack: With the weight of his sword, Yagak will leap a great distance towards you, typically following up with a flurry of strikes. If he starts to leap, dodge out of the way.
- Lightning Strikes: Yagak calls down multiple lightning strikes, covering a large area and dealing heavy Anomaly damage.

This fight is split into three phases, although each phase plays out the same. Your goal is to keep your distance from Yagak as much as possible, waiting until he leaps or uses Lightning Strikes before you attack.
If Yagak is giving you trouble, consider using the pillars at the edges of the arena as cover. Yagak will typically leap to the pillar you're near, giving you a moment to roll away and retaliate. Chip away at his health, kill the Berserkers to regain your health, then refocus your attention on Yagak.
For a more in-depth look at this fight and additional strategies, consult our Yagak boss guide.

Once Yagak is defeated, loot the chest directly in front of you before leaving. This chest grants a guaranteed legendary. Speak to Channa when you're ready to leave.