Quick Links
Out of every Expedition in Outriders, Eye of the Storm is arguably the hardest of the bunch. This mission is the ultimate test of a build's endgame viability, demanding either high damage output or crowd control effects just to complete it.
Your reward for beating this Expedition is the choice between one of three randomly-picked Legendaries, allowing you to somewhat target-farm for certain items your build needs. This Expedition is ultimately a gear check, but with the right strategies and mods, you should be able to beat this Expedition if your character has a good build and uses level 50 gear. Here is a complete guide to Outridres' Eye of the Storm Expedition.
Updated January 2nd, 2022, by Charles Burgar: With the removal of timers in the New Horizon update, Eye of the Storm has become much more rewarding to farm. If you can comfortably finish this mission, you'll be able to select from one of three Legendary rewards in addition to the loot explosion you've come to expect. We've updated this guide to account for the changes made in New Horizon and have added some skill and mod recommendations to make this mission easier.
Eye Of The Storm Enemies

- Challenge Tier Requirement: 15
- Drop Pod Resource Cost: 40,000
Most of the enemies in this mission are Beasts, although the final encounter consists of a Feral boss and a new Feral enemy type: Reavers. The boss is absurdly tanky, absorbing hundreds of rounds from most Firepower builds. At least one member of your team should be a DPS build. A crowd control build is also highly recommended to make the first encounter quicker.
Recommended Abilities And Mods

Devastator
Earthquake and Gravity Leap are your go-to sources of damage for a Devastator. For your third skill, consider Golem or Impale depending on if you're going solo or with a full group. You want to build for as much Resistance Piercing as possible while scaling your Armor as high as possible. The enemies in this Expedition hit like a truck. Be ready for that.
Pyromancer
Eruption is highly recommended to take care of the tankier enemies that spawn during this mission. For general add-clear, you'll want to run Thermal Bomb and Heatwave unless you have min-maxed items and are playing solo. In that case, you could get away with using Ash Blast and Overheat. Whatever you decide to run with, stay on the move and make liberal use of your melee ability to stun targets.
Technomancer
To no one's surprise, Blighted Rounds is going to be your best bet. This ability deals too much damage and heals you too efficiently to warrant running anything else. Use a Tactical Rifle to output the most amount of damage per second. For other abilities, Cold Snap will keep enemies in place while Fixing Wave can heal you in a pinch. Blighted Turret is a solid third skill as well.
Trickster
This mission is tough for Tricksters. Borrowed Time is a must unless you are comfortable avoiding damage and relying on crowd control from the likes of Time Rift. A DPS skill like Temporal Blade or Twisted Rounds is mandatory. Bullet builds fare better in this mission, so keep that in mind.
Mods
Emergency Stance and another defense armor mod (Mitigation from Death is a good pick) are highly recommended. Survivability is going to be your biggest issue for this fight. From there, look into using any ability mods that can interrupt targets. You'll want to have the ability to interrupt Yagak and his Reavers safely. Finally, DPS mods that don't rely so heavily on kills like Fortress are useful for this Expedition. Finally, it wouldn't hurt to put Snowsquall on your sidearm to give yourself another form of crowd control.
Capture The Obelisks

Eye of the Storm is a fairly short Expedition, but that doesn't make it easy. It turns out that Yagak is still alive, recuperating his strength by using the storm. To weaken him, you'll need to capture three Obelisks surrounding him. You can capture them in any order, and they don't lose capture progress if you step away or get swarmed near one. Capturing an obelisk also kills every living enemy, giving you a short breather to reload or recharge your abilities.
Beasts will swarm you from every section of the arena, spawning waves of Alpha Perforos and Strix. The Perforos can stunlock you with ease, shutting down any build that lacks Armor. Strix are an arguably larger threat, inflicting Toxic from far away. Kill the Strix first before dealing with any other enemy type. Should your build revolve around shotguns or other close-range attacks, use the Obelisks as cover from any Strix projectiles.
If you're playing this solo, crowd control is going to be your best option for staying alive. Whenever most of a given wave is defeated, a new wave will spawn to take its place. The breathing period between each wave of enemies is short, typically around five seconds. Freezing or Ashing enemies in place is a good way of giving yourself breathing room for capturing the obelisks. Unless you can one-shot CT15 enemies, crowd control is mandatory if you're a solo player.
|
Tip: Use the obelisks as cover from the Strix and other ranged enemies. |
Enemy Waves

Nearly every wave will spawn Perforos, Alpha Perforos, Maulers, and Strix. The Strix and Alphas are the most dangerous enemies of the bunch, so focus on taking them out first. Waves spawn whenever you clear the previous one or whenever an obelisk is starting to be captured. Because of this, you can actually stop enemies from spawning by leaving one Strix alive. It'll float away from you, giving you time to capture an obelisk. If you hop between obelisks or kill the Strix, it'll spawn another wave.
The obelisk closest to you will spawn a Brood Mother when you stand near it for a few seconds. Shoot at its heart to break it, disabling its ability to buff allies. Keep it at a distance to prevent getting stunlocked.
Going clockwise, the next obelisk will spawn two Crawlers alongside the standard fodder wave. This is arguably the hardest obelisk, as these Crawlers can inflict Freeze from a distance. Focus on killing them right as they spawn.
A Behemoth will spawn when you first start to capture the third and final obelisk. As long as you don't get hit by its charge or melee attack, it doesn't pose much of a threat. Stay behind it to safely damage it.
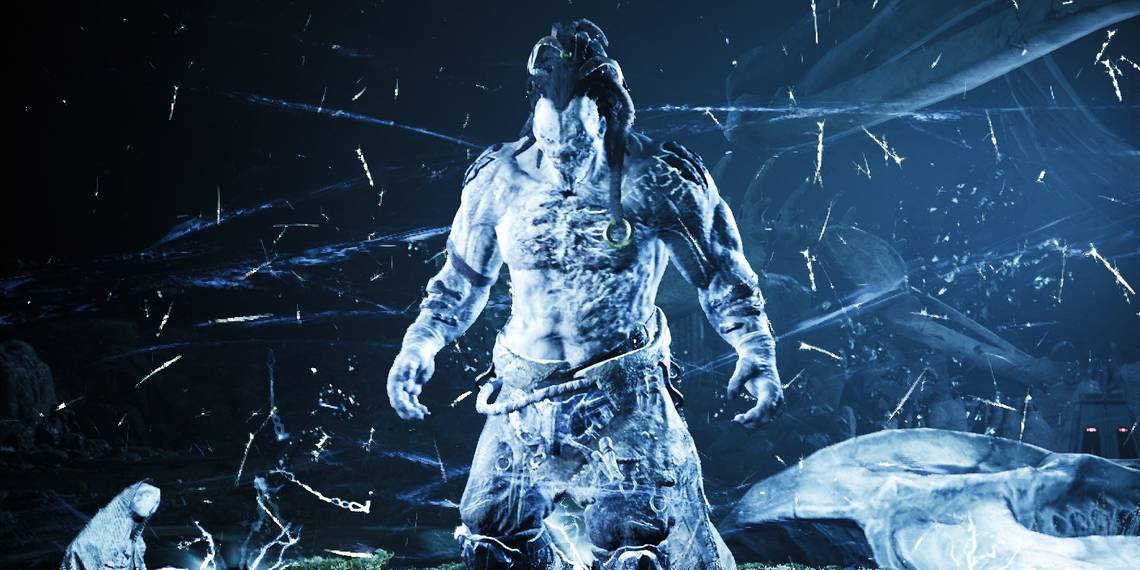
Defeat Yagak

Yagak hasn't learned any new tricks since the last time you fought him. He uses the second encounter moveset, summoning portals and casting abilities instead of using melee. The first part of this fight is fairly easy. Kite Yagak around the arena to prevent getting hit, then deal as much damage to him as possible. Whenever he summons a pair of Anomaly Rifts, take them out immediately. They're more dangerous than Yagak himself.
For every third of Yagak's health you remove, two Reavers will spawn at the center of the arena. Kill the Reavers immediately. Not enough emphasis can be placed on killing these Reavers. They have a similar moveset that Yagak used when you first fought him, weaving leaps and wide slashes that can two-shot most builds. Reavers are absurdly dangerous and should be dealt with as soon as possible. Use crowd control effects to build some distance. Don't become too reliant on them, however, as they count as Elites.
When Yagak reaches the last third of his health, waves of Ferals will begin to spawn alongside two Reavers. At this rate, unless you don't deal much damage, killing Yagak right now is the best approach. When Yagak dies, every enemy will despawn. If you can't kill Yagak, kill the Reavers first before damaging Yagak and the other Ferals. Defeat Yagak to finish the hardest Expedition in Outriders.