Sacrifice contains one of the most memorable tilesets in Outriders, featuring the architecture of August's people and some great skyboxes. More importantly, this area contains a hidden quest that grants a guaranteed legendary. Tons of hidden chests also dot this mysterious canyon for those in need of a gear upgrade.
Following Monroy's tracks, you managed to track down an ancient building from August's civilization in the form of the Grand Obelisk. You'll need to explore the canyon to figure out what happened to Monroy's troops and August's people. Get ready to fight a small army of Ferals and desert-themed Beasts.
Quest Synopsis
- Venture into the canyon and investigate the area
- Search for clues about what happened to the dead humans
- Reach the Grand Obelisk
- Defend the entrance to the Grand Obelisk
- Look through the remains of Monroy's camp
Venture Into The Canyon

A short jog away from camp will lead you to a group of Perforos. It appears they're eating human corpses, a sign that Monroy's people have been here already. Clear out the Perforos with your weapons and abilities. They shouldn't pose any threat to you.

Multiple waves of these enemies will spawn, most of which will rise from the ground under you. When Alpha Perforos start spawning, focus on killing them as soon as possible. Remember, if they decide to leap on you, use your melee attack to resist the stun.

After you cleared out the area, inspect the corpse near the right side of the arena.
Search For Clues

You'll need to delve deeper into the canyon to find evidence of Monroy's people. They're dotted throughout the level in obvious spots. Focus on killing any enemies in your path, then inspect the clue afterward to progress through this step.
The first clue can be found directly after the first arena. Continue forward towards the ruins to find a holographic flag. Stock up on ammo, then push forward when you're ready.
Hidden Chest #1

Right after you walk through the first circular gate, turn left and run towards the overlook to find a chest.
Hidden Chest #2

After the first circular gate, go right and follow the path. It'll lead you to a chest tucked away inside a ruin.
Hidden Chest #3

After the second circular gate, right after you place a flag down, head right and follow the path. It'll lead you through some ruins before finding the chest lying outside.
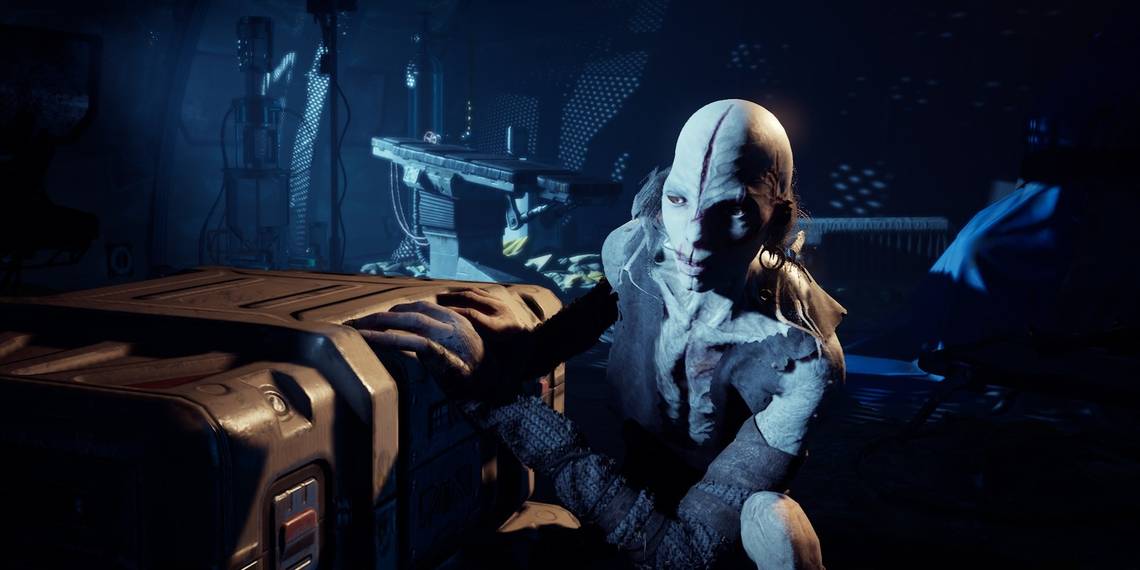
Feral Fight

You'll find a group of Ferals further into the canyon, most of which are Warriors. This first group is fairly easy to kill. Just make sure your abilities are off cooldown after you clear the first wave.

After you defeat the first group of enemies, a second wave of Ferals will appear—featuring two Warlords. One of these Warlords can freeze you, making this section extremely dangerous. Juggle your attention between the Warriors and Warlords to constantly heal. Once one Warlord is down, immediately focus your attention on the second.

Run into the tunnel the Warlords came from to find the first clue. A chest can also be found to the right of the first clue. Be sure to open the chest before continuing onward.
Further Clues

Backtrack slightly to the previous room. Interact with the switch to open the gate, revealing the path forward.
Run down the set of stairs to find another one of Monroy's troops beside yet another gate. Inspect the corpse to find the last clue.

Continue down the path to find another gate you can open and a hologram you can place a flag at. Restock on ammo, as you're about to fight a ton of enemies in the next few minutes.
Reach The Grand Obelisk

The Grand Obelisk is the giant structure at the end of the canyon. You should be right next to it at this point. Run towards the bridge and eliminate the Ferals guarding it.

A Feral near the Grand Obelisk gate is a Destroyer, dealing heavy damage with its minigun from a distance. Try to close the gap, then use a melee attack to strip its armor. Use your weapons and abilities to finish it off, then eliminate the rest of the enemies.
When you're ready, interact with the switch beside the Grand Obelisk to open the gate. However, you might want to backtrack to grab a few hidden chests first.
Hidden Chest #1

From the fast travel flag, run directly across the bridge to the other side of the canyon. Follow the path to your left to enter an ancient building. The chest will be resting beside a pillar.
Hidden Chest #2

After you grab the first flag, head outside and follow the path to your left. Run into the building beside the beast hunt side quest, then turn left to find the chest hiding in a corner.
Defend The Entrance

Double back to the entrance. A few Beasts will try to take you out. Fortunately, they're only Perforo variants. A few shots from your weapon or an ability cast will kill most of them.

Additional enemies will spawn from the bridge. Maulers and Perforos will spawn in pairs. The animation is slow enough to where you can spawn kill most of these enemies.

A Behemoth is the last enemy that will spawn, leaping from a hole at the far end of the bridge. This enemy can be tricky to fight on the bridge. Either lure it to the Grand Obelisk entrance or the side of the canyon opposite of the fast travel flag.
Try to stay behind the Behemoth, rolling out of the way whenever it attempts to charge. Do your best to punish the Behemoth's attacks with a copious amount of bullets and skills. Once the Behemoth is dead, run back to the Grand Obelisk.
Look Through The Remains Of Monroy's Camp

There is one journal entry you can find directly across from the entrance. Run around the circular pit and towards the tent to the right of the stone path. Interact with the journal entry to find out what happened to Monroy and his people. Travel back to camp when you're ready to leave.
Hidden Chest

Before you leave, swing around the tent directly across from the journal entry to find a hidden chest.