Quick Links
Outriders features 14 unique Expeditions that players can farm to earn legendaries and other endgame items. Completing them as quickly as possible is best if you're attempting to farm items quickly, although the New Horizon update removed Expedition timers altogether.
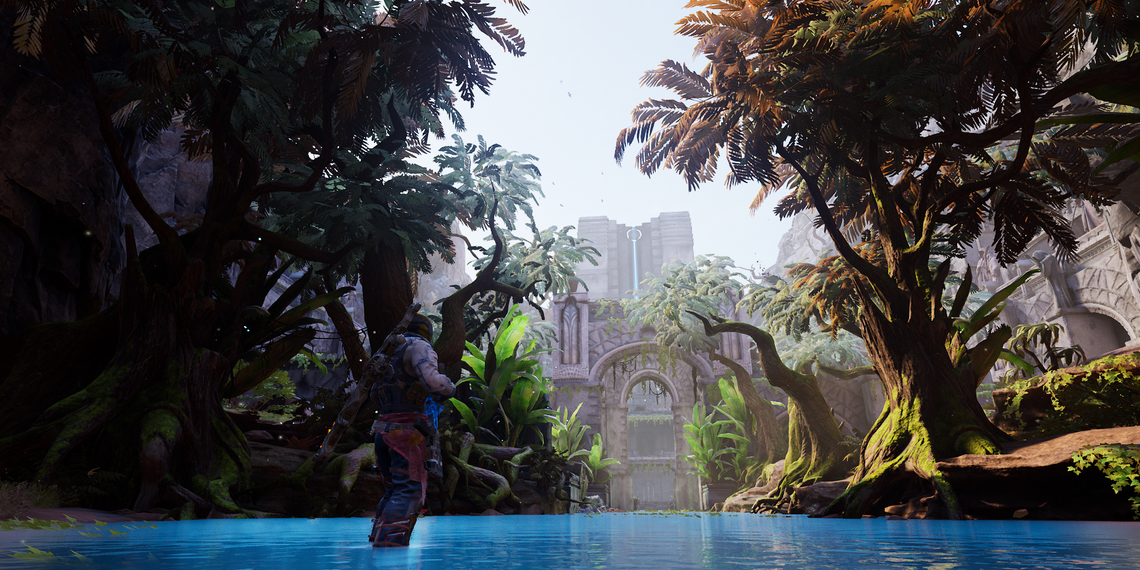
The Drought Palace is easily one of the worst Expeditions to farm in Outriders. This mission has a tough timer, includes a section with five minibosses, has an obelisk section, and costs Drop Pod Resources to even attempt. As tough as this mission is, The Drought Palace is a great mission to practice if you're preparing to tackle the Eye of the Storm or Challenge Tier 15 Expeditions. For those that want a challenge, here is what you can expect from Outriders' The Drought Palace Expedition.
Updated January 2nd, 2022, by Charles Burgar: Clearing Outriders' various Expeditions can be tough if you're new to the game or don't have a specific build in mind. To help with this, we've updated this guide to include mod and ability recommendations for each of Outriders' classes. We've also made some tweaks to the guide to no longer rely on the timer system that Expeditions used to rely on. With the New Horizon update, you no longer have to speedrun Expeditions to get the best loot.
The Drought Palace Enemies

- Challenge Tier Requirement: 4
- Drop Pod Resource Cost: 20
Most of the mission is against Ferals, although the final area is solely against Desert Beasts. This level is relatively large and has a short time limit, so a build that can stay mobile is highly recommended. Tricksters should seriously consider using Hunt the Prey, and Devastators should do the same with Gravity Leap. Be thorough when you're clearing packs of enemies, as you don't have much time to backtrack if you miss someone.
Recommended Skills And Mods

Devastator
Gravity Leap is highly recommended to help you traverse the map. This map is quite massive and somewhat difficult to navigate on foot, giving Gravity Leap an immense amount of added utility. Beyond that, Impale is a good idea to stay alive during the miniboss firefight that precedes the final arena.
Pyromancer
Ash Blast, Overheat, and Heatwave are your best options—especially for those who own an Acari set. Ash Blast will stun most targets, allowing you to dish out some immense damage with Overheat. Most enemies clump up in this mission, giving some added value to Heatwave. You could also use F.A.S.E.R. Beam, although the enemies in this mission output some serious damage. Be sure you have some damage resistance in your kit before attempting to beat this with F.A.S.E.R. Beam.
Technomancer
It shouldn't surprise any Technomancer player that Blighted Rounds work wonders here. Stay as aggressive as possible to activate your healing mechanic. Use a Tactical Rifle to output the most damage.
Trickster
Hunt the Prey is needed if you want to clear this mission quickly, as the elevated terrain and large arenas make traversal a royal pain. From there, you'll want a good DPS ability like Temporal Blade or Twisted Rounds. Your third ability should give CC or survivability, Time Rift and Borrowed Time being good options.
Mods
Damage mods are mandatory due to the sheer volume of minibosses in this mission. Anything that scales with Elites—such as Captain Hunter and Power Assimilation—will work wonders here. Finally, if your abilities don't offer any form of crowd control, bring Snowsquall on one of your weapons.
Opening Encounter

Most enemies will be stationed at the bridge overlooking the zone. To reach it, you'll need to make your way under the bridge and head right. Most of the enemies are laid out in such as way that you can clear the ground floor enemies at once before taking on the enemies on the bridge.
Atop the building will be multiple Elites, including the likes of Warlords and Destroyers. Crowd control abilities and melee attacks are invaluable here, allowing you to interrupt their abilities. AoE abilities work wonders here due to how cramped the bridge is. Clear all of the enemies out to reveal the exit at the other end of the bridge.
Second Encounter

Delving deeper into the ruins, you'll have to defeat multiple Elites and snipers that are across yet another bridge. This part can be tricky for builds that don't have movement skills. If you have a way to Ash or Freeze the enemies across from you, traversing the bridge should be much easier. If not, focus on killing as many enemies as possible before crossing. Beyond that, kill any Warlords you come across to prevent stunlock issues. Clear the zone to open a path to an obelisk.
Obelisk

You'll need to defend an obelisk for a few minutes as waves of Ferals attempt to stop you. Luckily, this obelisk is incredibly easy to defend. Enemies only spawn from one side of the obelisk, having to jump down a wall or run down a set of stairs to fight you. If you play a medium or long-range build, this should be a breeze. Beware of the Destroyers that spawn after a minute. Beyond that, this should only take a few minutes for most builds to clear.
Boss Squad

After a short cutscene and a breathtaking walk, you'll have to fight not one boss, not two, but five Elites simultaneously. This part is extremely difficult on Challenge Tier 15 for most builds.
Killing the Destroyer first is a good idea since he's the weakest of the bunch. Beyond that, you'll want to focus on killing one Warlord at a time. Each of them will inflict a deadly status effect on you, ranging from Freeze to Burn. If you can engage them from a distance, do so. Close-range builds will need to rely on the drip-feed of fodder enemies from the other end of the arena to stay alive. Use crowd control effects, your melee, and output as much damage as possible to get through this quickly.
Secure The Drop Pod

After descending some stairs, you'll face a Behemoth and a group of Beasts. Clearing the Beasts should be fairly easy if you've made it to this point. If you're struggling with the Behemoth, use your melee ability to become immune to an incoming stagger or to disrupt an enemy.
Enemies will spawn on both ends of the arena. Since this area is quite big, it's a good idea to either spawn kill the enemies or stick to the center. Killing all of the enemies will spawn the final boss and the last wave of Beasts.
Final Boss

A Brood Queen will spawn beside the pod when most of the enemies are slain. This acts as the Expedition's final boss. Focus on shooting its heart to break it, disabling its ability to buff allies.
Adds will spawn at both ends of the arena, similar to how it was when you entered. These enemies only consist of fodder Perforos and the Venomous variants. Use them as walking health packs, killing them whenever the Brood Queen damages you. Clear the room to finish the Expedition and receive your loot.