Quick Links
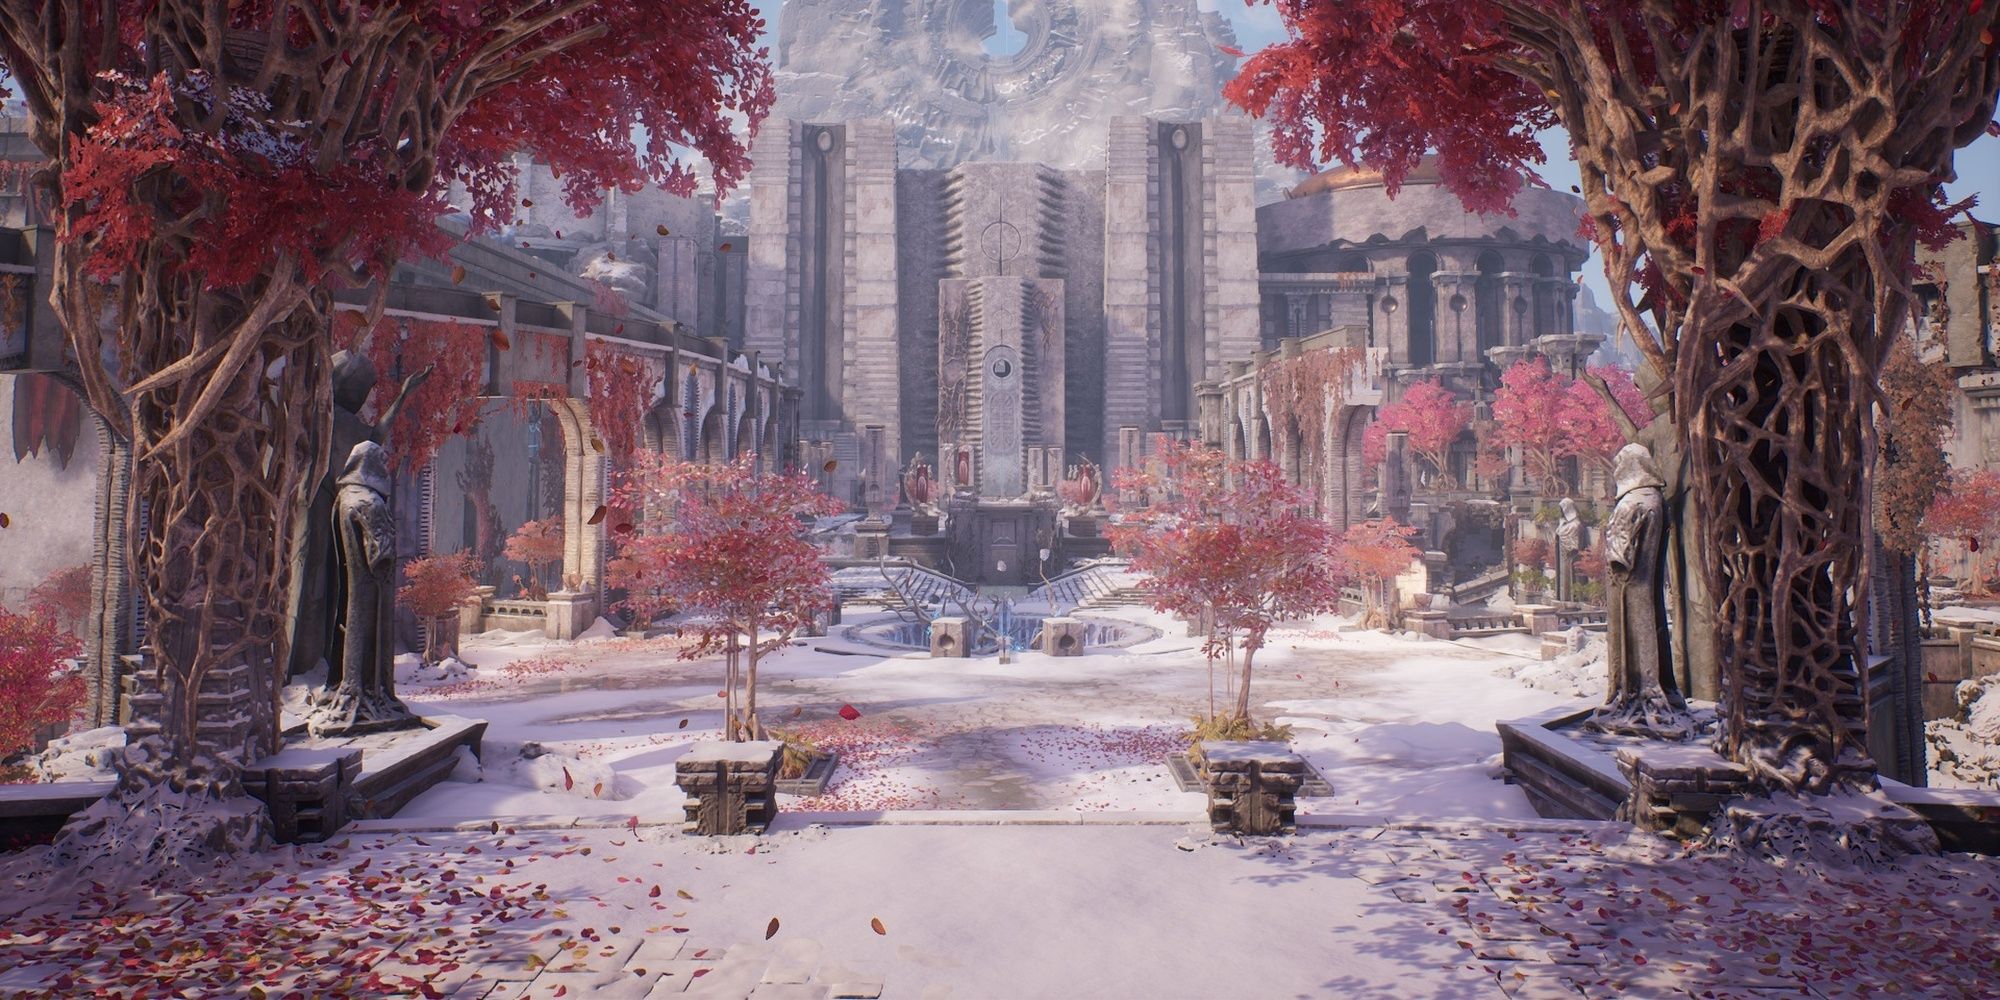
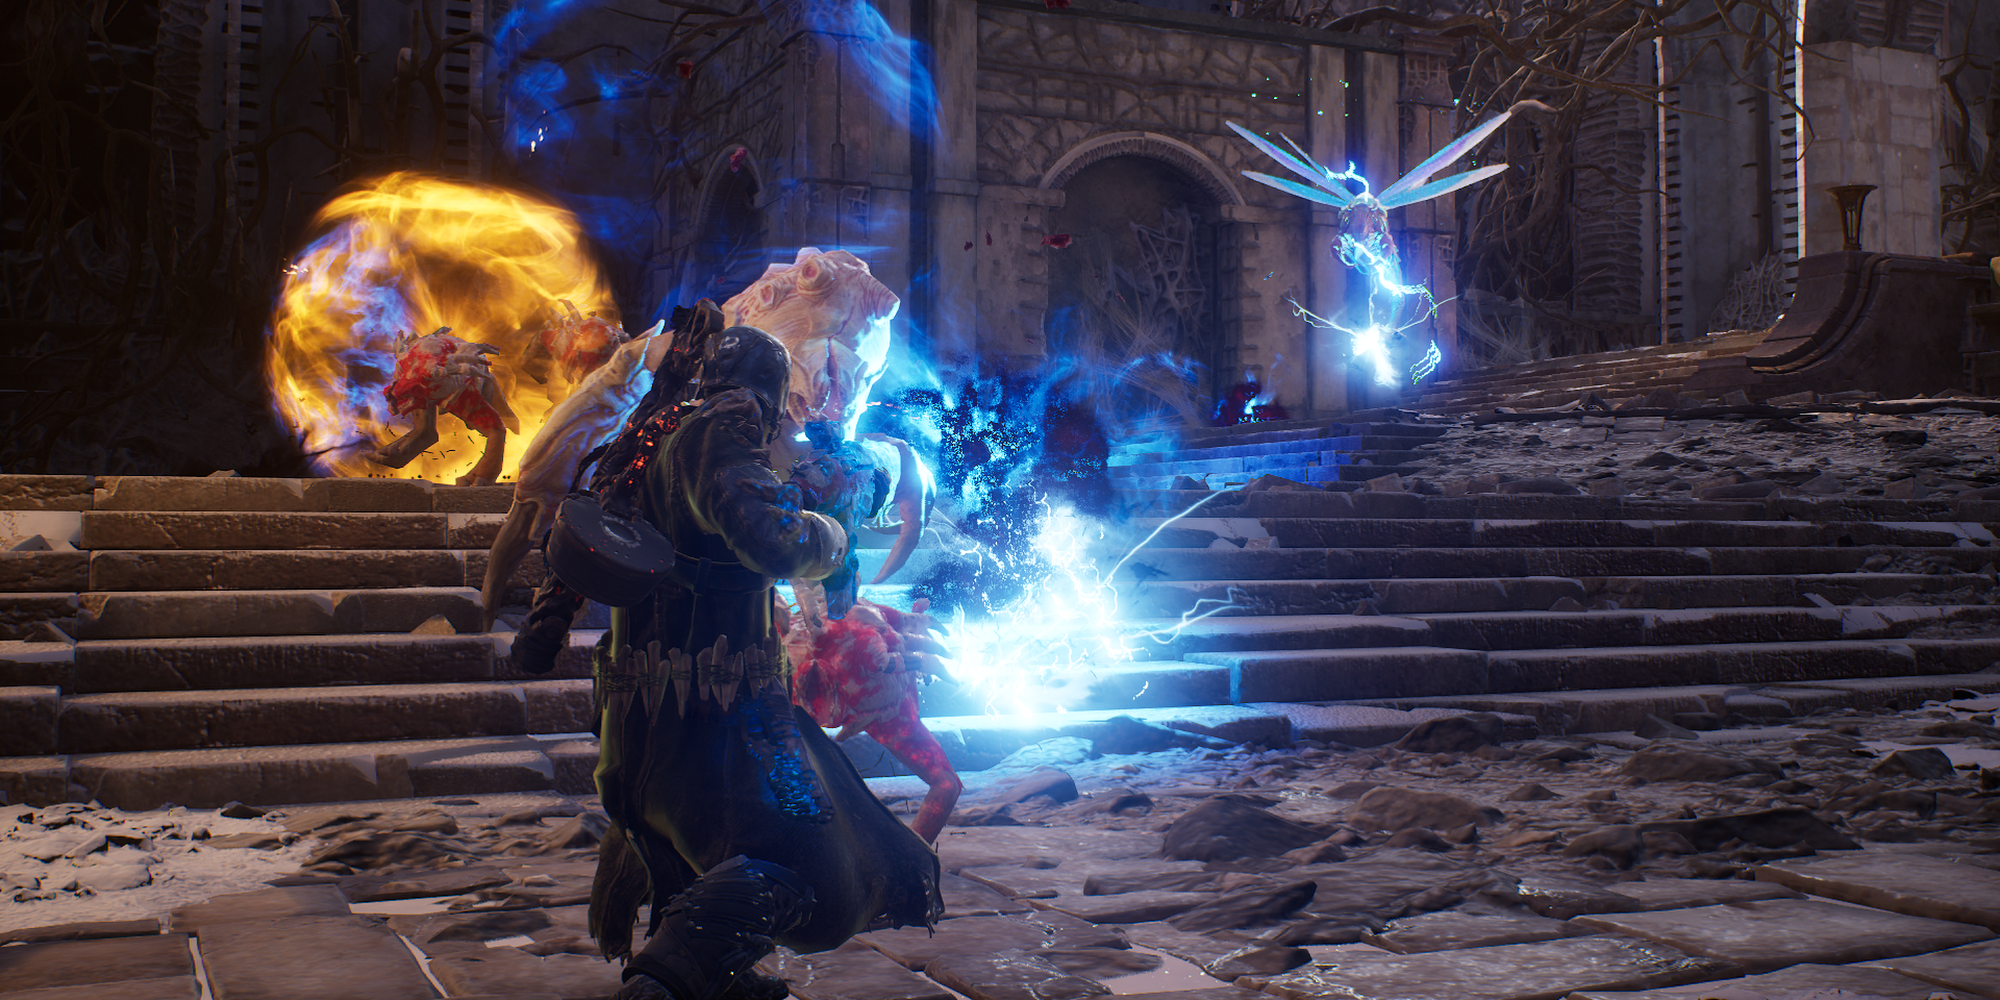
Outriders: Worldslayer came with an additional endgame activity that gives players the chance to target-farm certain armor pieces. Named Tarya Gratar, this endgame dungeon consists of challenging encounters and boss fights. Those who can best this dungeon will be rewarded with an excessive number of Legendary and Apocalypse gear.
But clearing this dungeon can be quite the task. Mechanic-heavy boss fights and hundreds of fodder enemies will push your build to the brink. If you're looking for an alternative to Expeditions or a great Legendary farm, Tarya Gratar is for you. This guide will cover what Tarya Gratar is, how to unlock it, and how to complete each of this dungeon's unique encounters.
What Is Tarya Gratar?
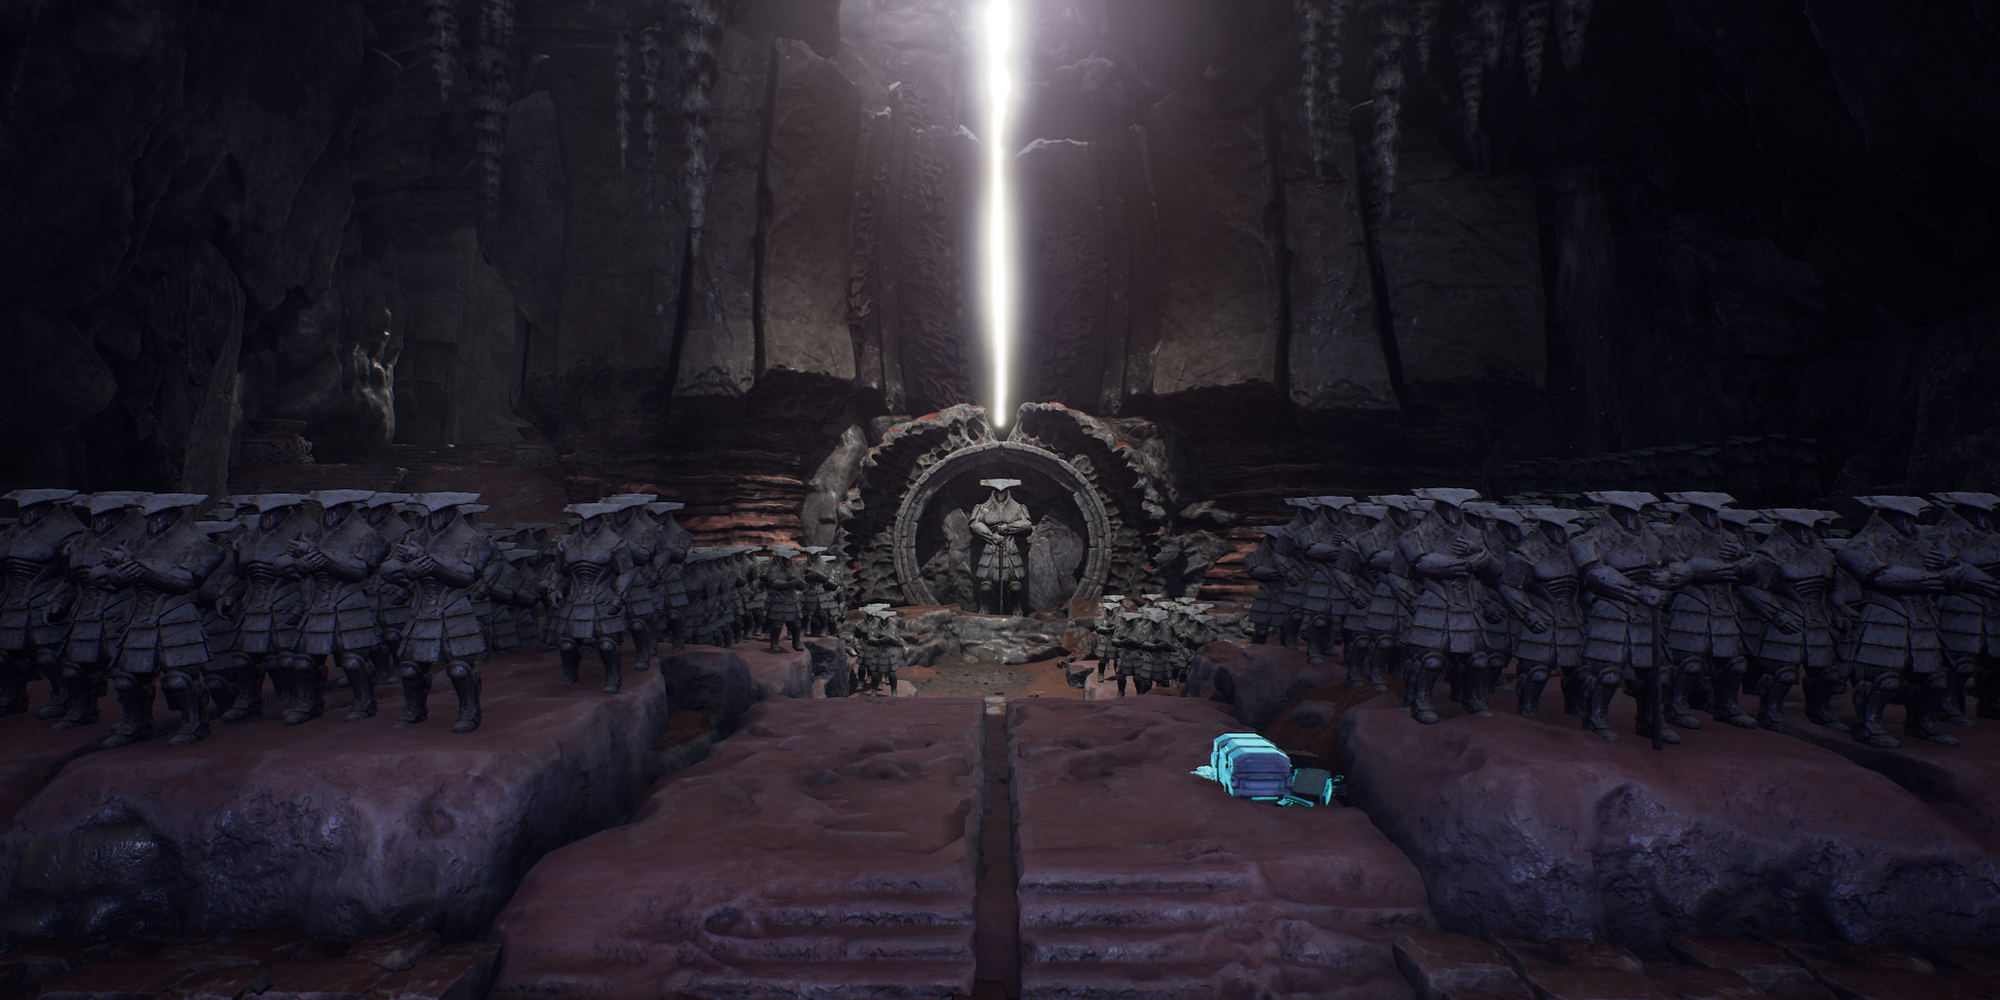
Tarya Gratar is an endgame dungeon that consists of various combat arenas, boss fights, and optional encounters. This activity acts as an alternative to running Expeditions, acting as one of the best sources of Legendary gear and Apocalypse variants in the game. Similar to Eye of the Storm, defeating the final boss of Tarya Gratar lets you select between one of three Legendary items as a reward—all of which have a third Apocalypse mod installed.
This dungeon consists of 19 different encounters, some of which are optional. Optional encounters take place in Troves, tough side areas that allow you to target-farm certain items like boots or helmets. Similar to Expeditions, Tarya Gratar is a static activity that has no randomized elements. Every run of this dungeon will be the same; Troves are not randomized, nor does this activity feature randomized modifiers. Should your team die at any point during your Tarya Gratar run, you'll need to restart the current encounter. Teams have three attempts before they must restart their run.
How To Unlock Tarya Gratar
You'll unlock Tarya Gratar upon beating the Worldslayer campaign. Finishing the campaign will unlock a new hub area that allows you to initiate a Tarya Gratar run at any time. Starting a Tarya Gratar run will lock in your current Apocalypse Tier, so be sure to set your difficulty before jumping in.
Navigating Tarya Gratar
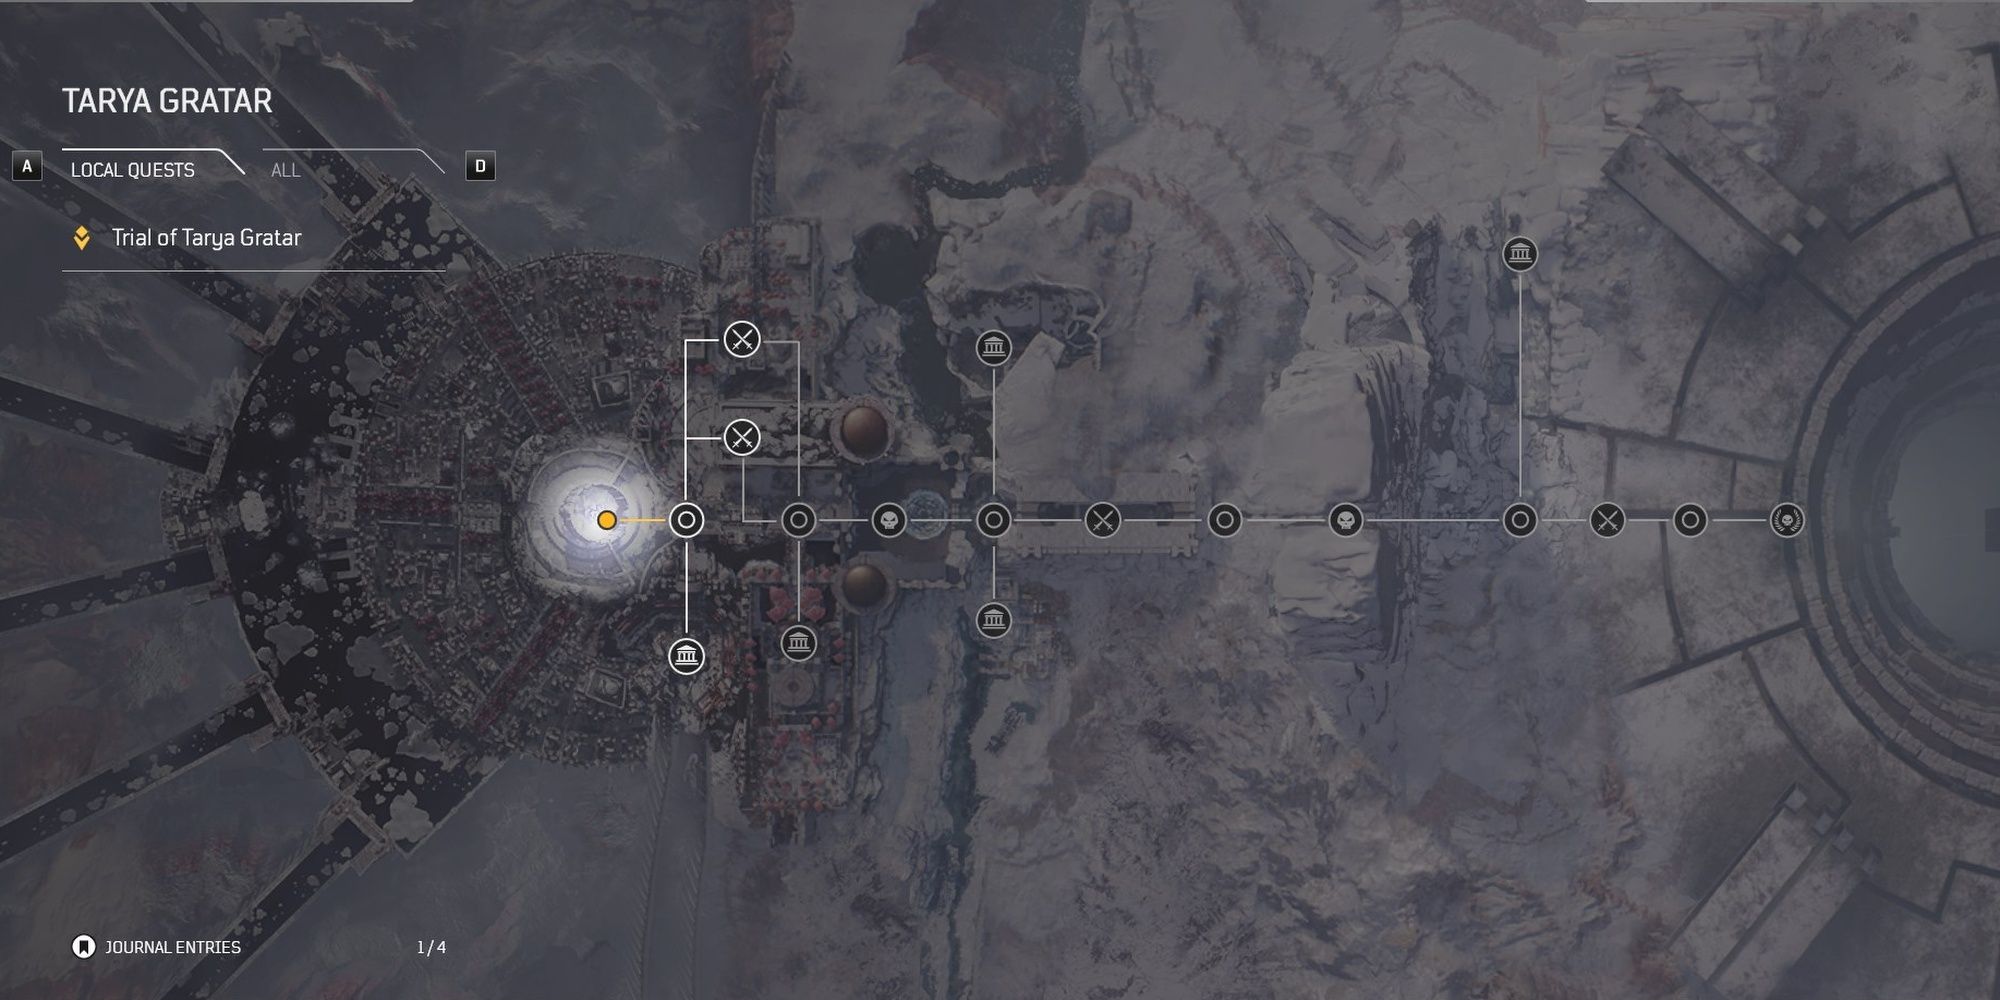
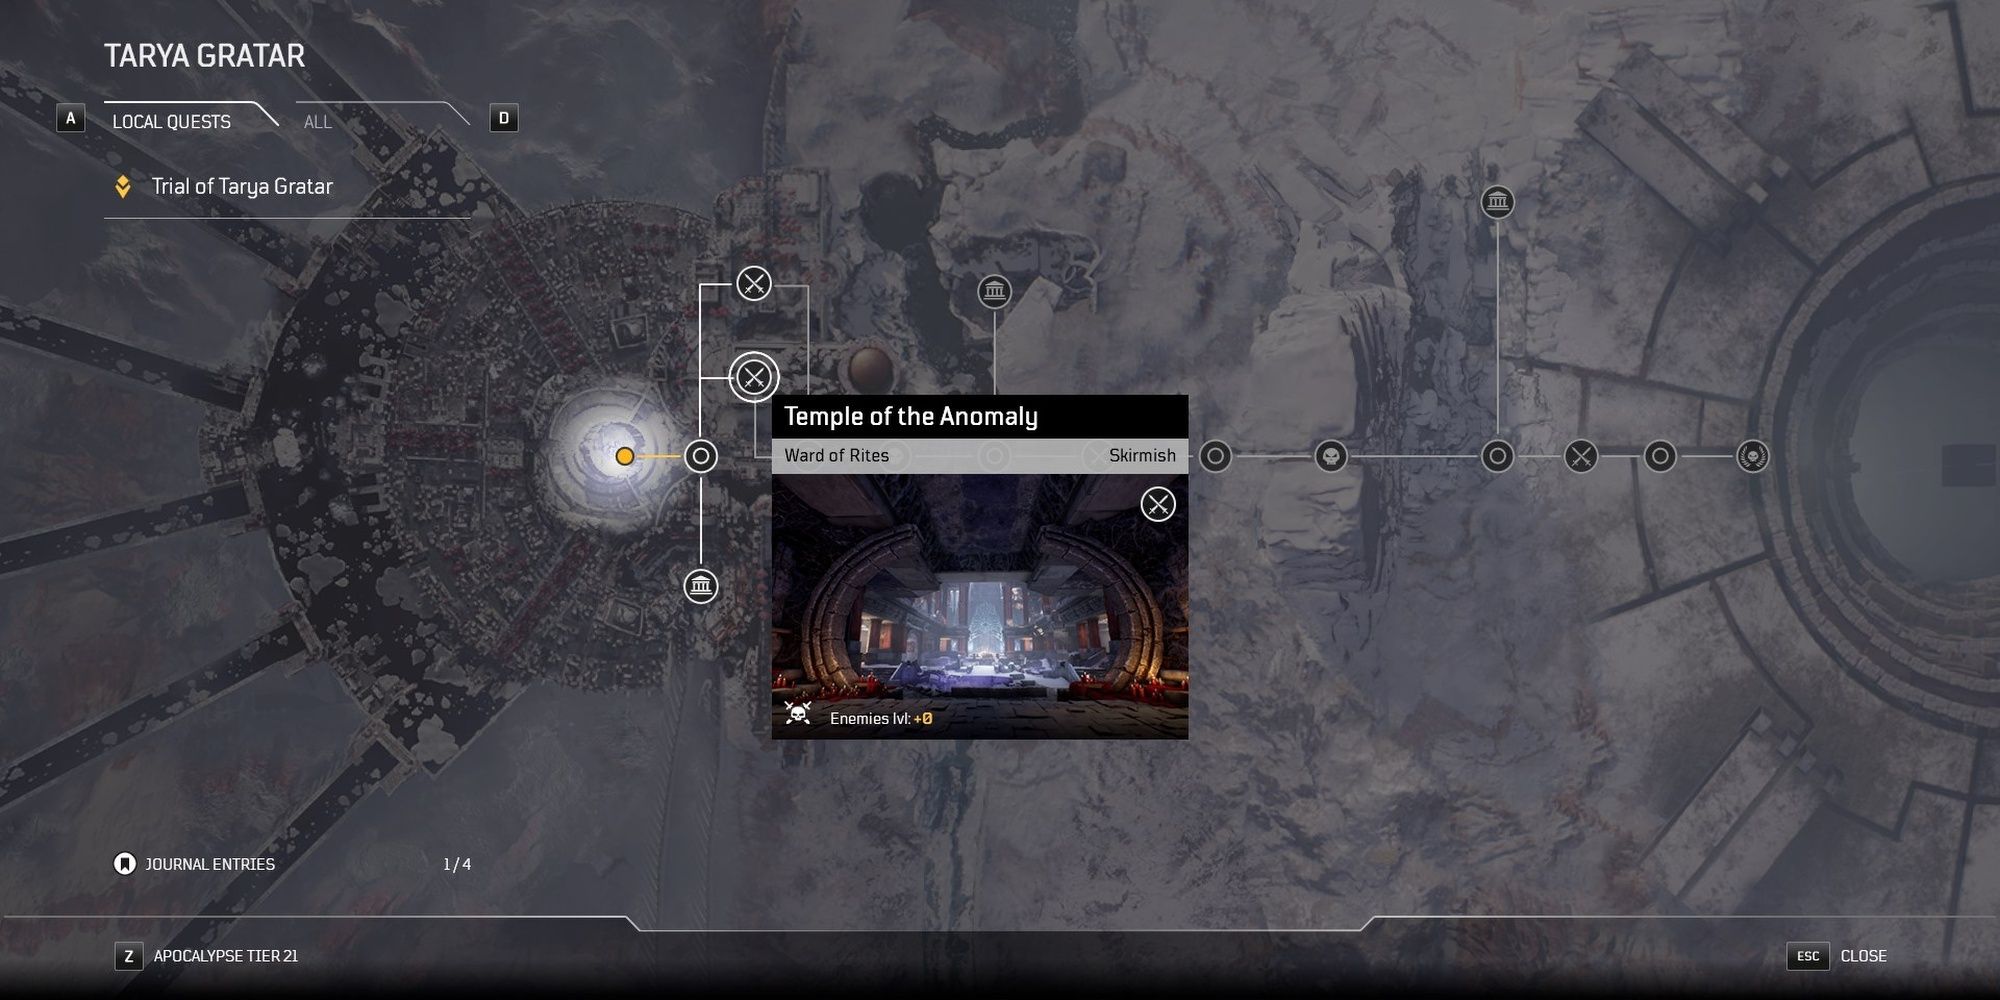
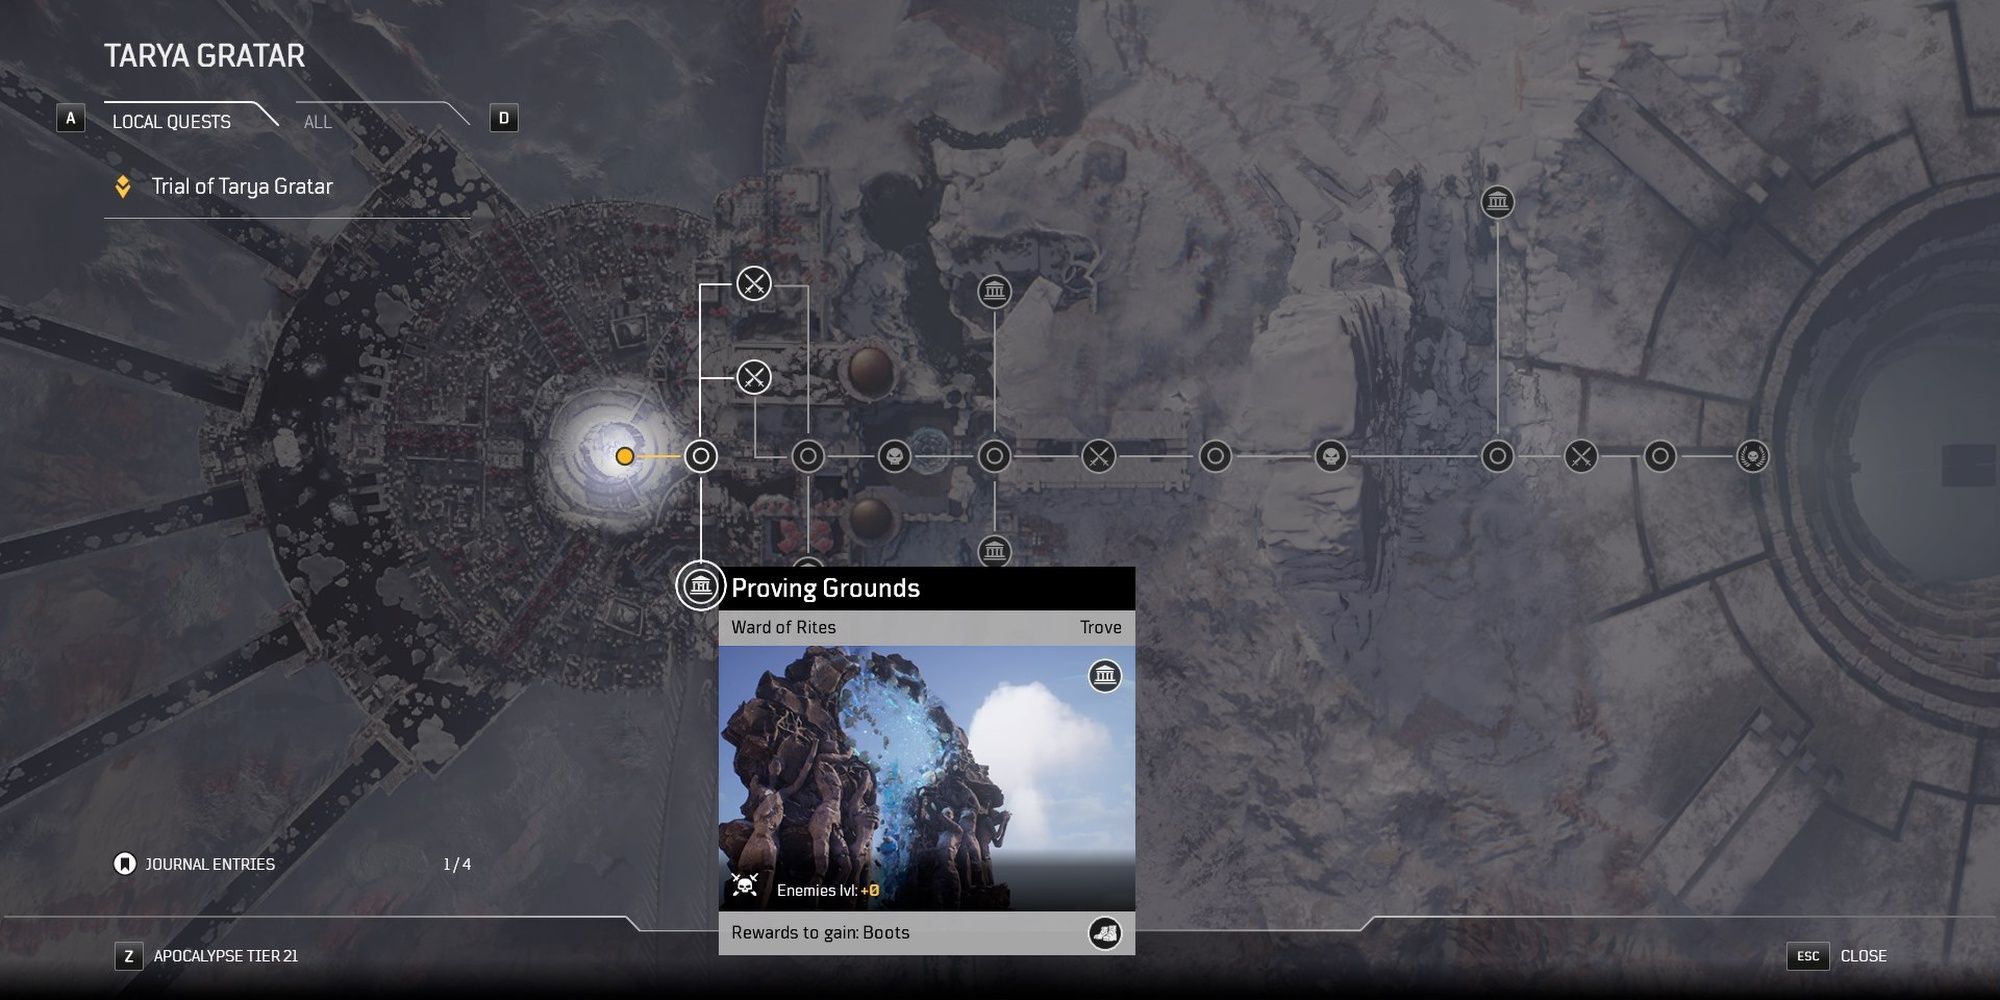
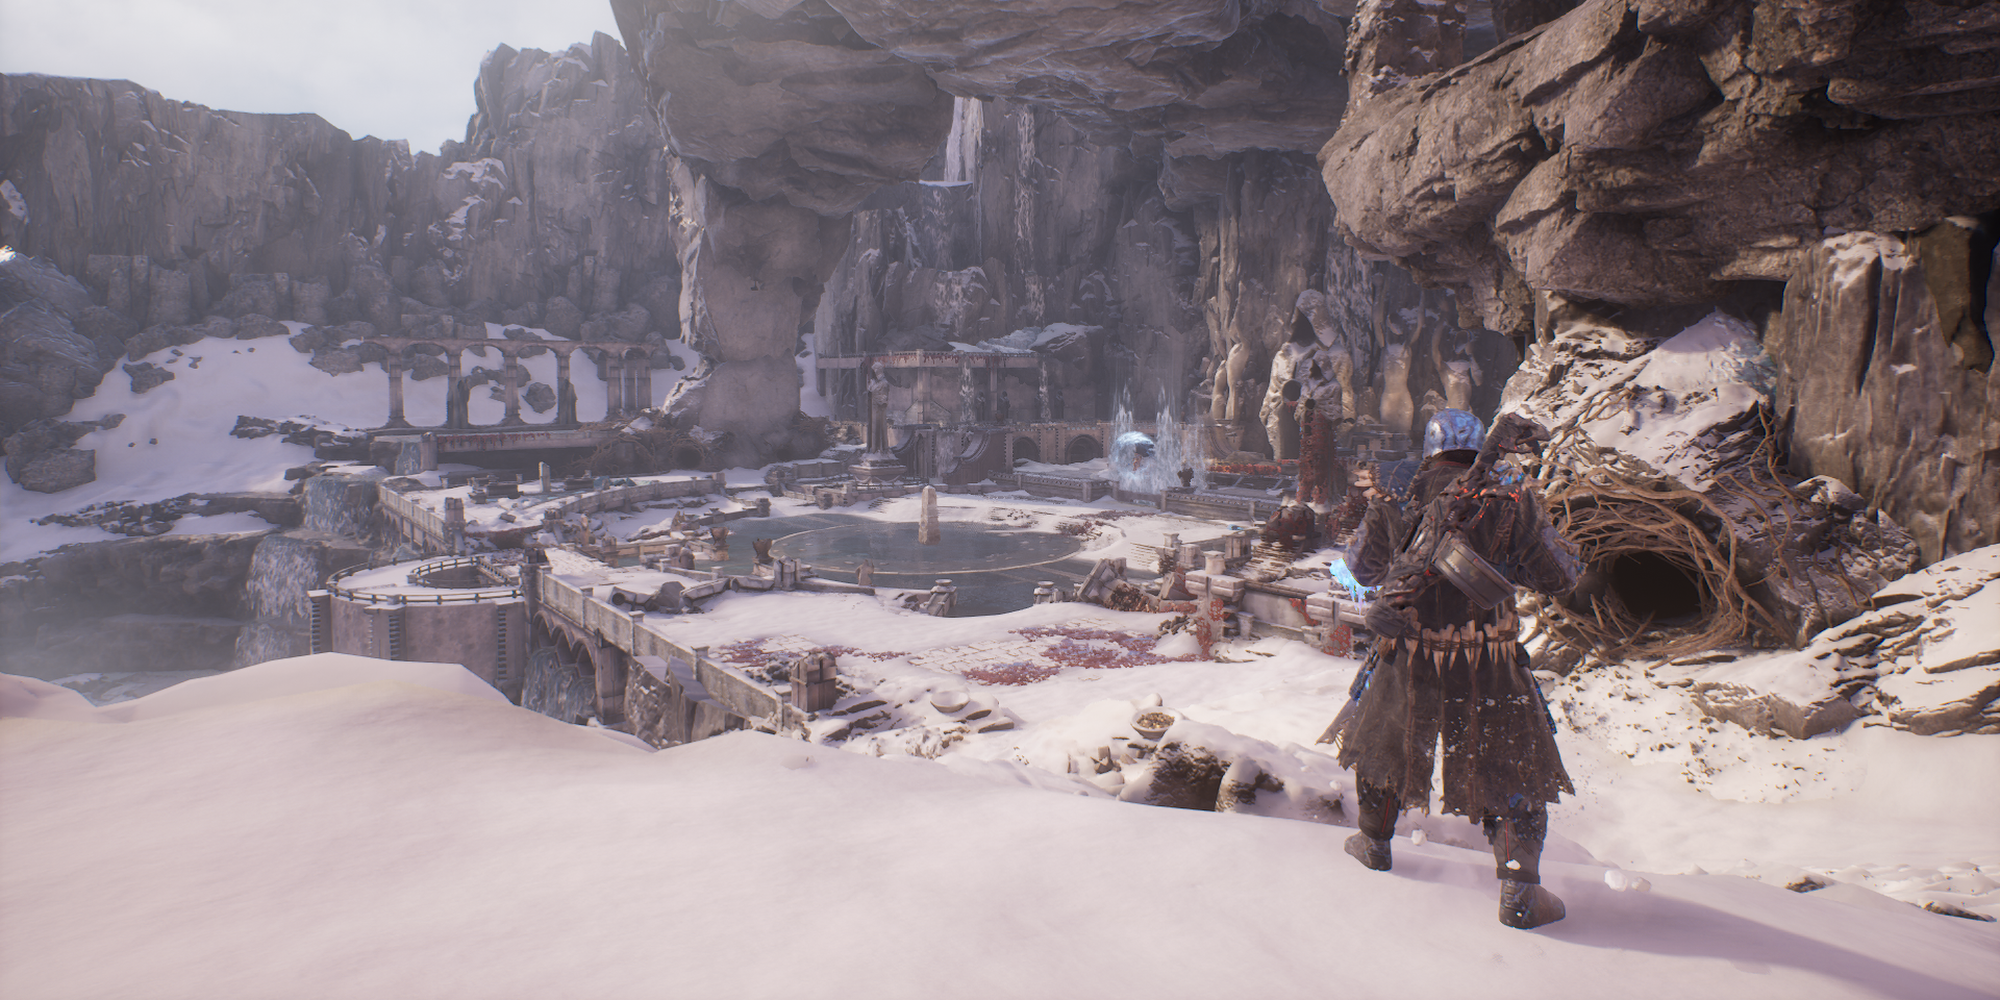
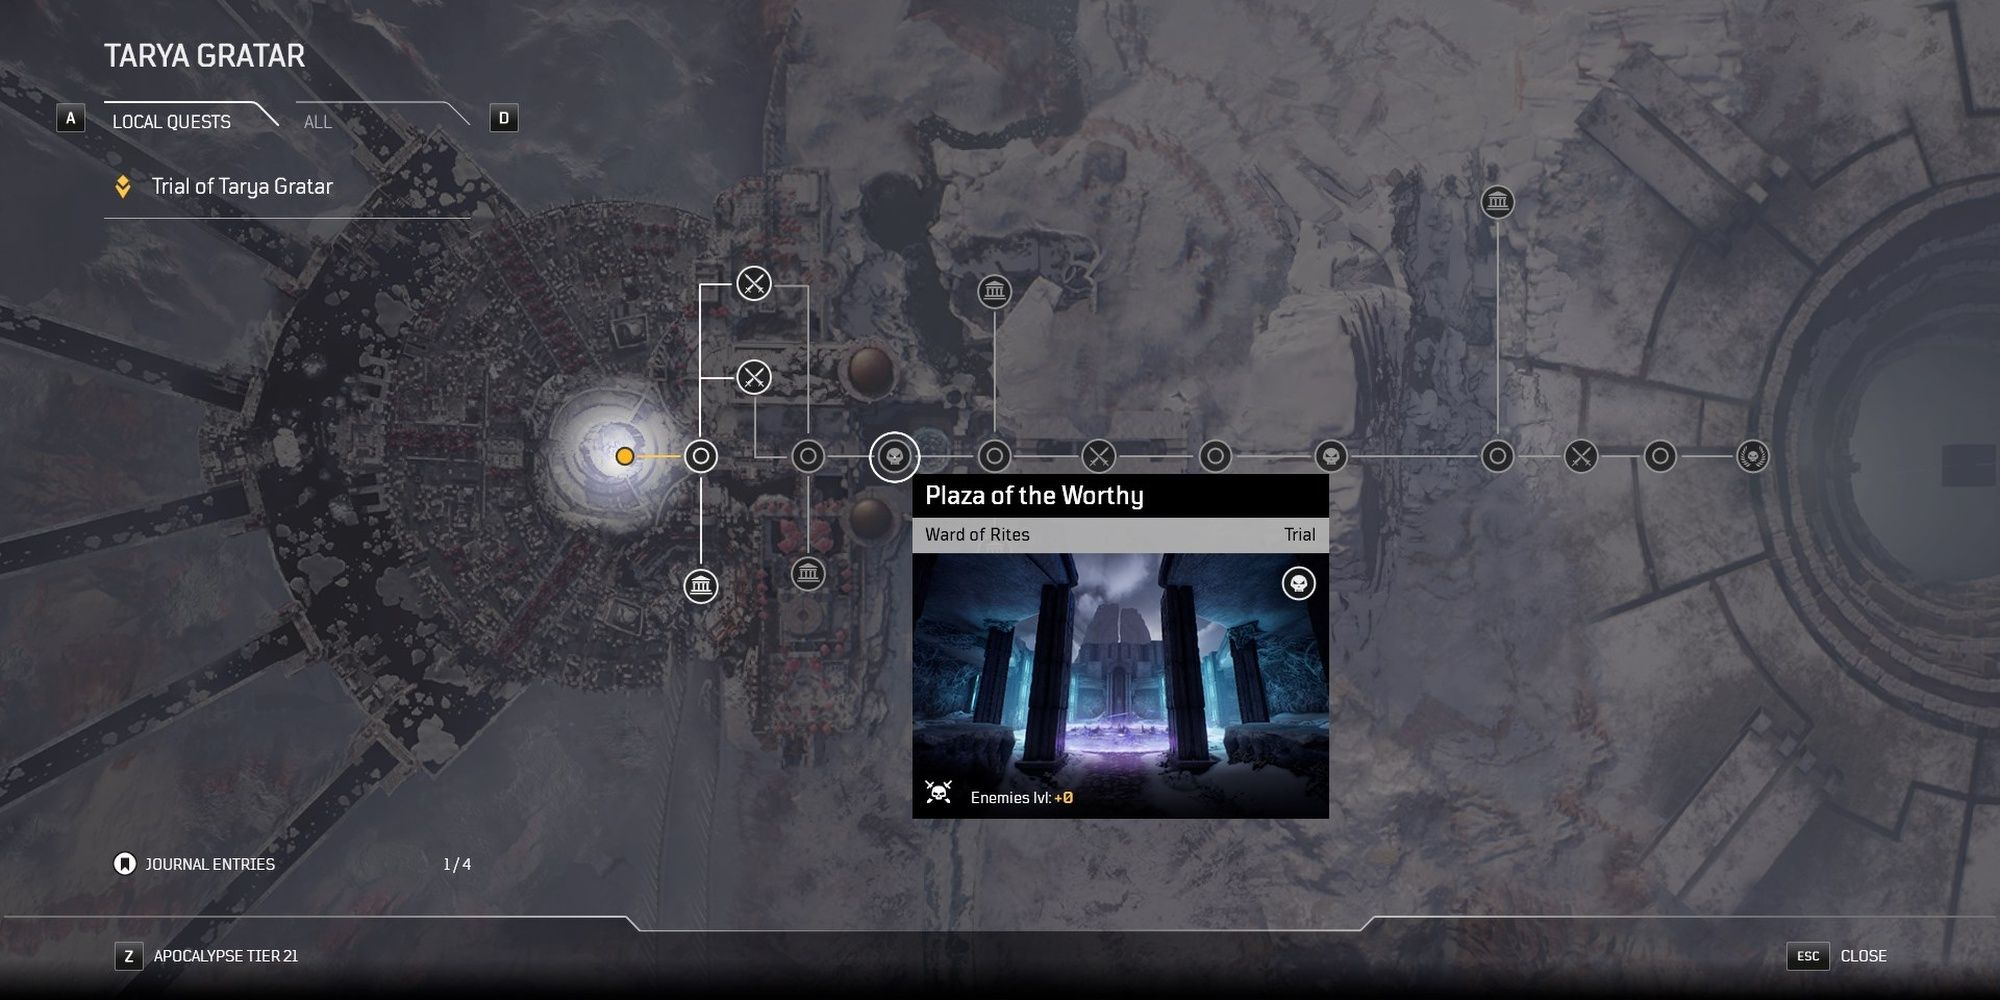
Opening your map will showcase the layout of Tarya Gratar. This menu will show which room you're currently in and how all arenas connect together. Rooms that lead to a dead-end will loop you back to the previous Crossroads when cleared, acting as optional zones. Zones that connect horizontally will progress through the dungeon as normal. All zones will eventually converge into a boss fight; you can't bypass them.
There are four types of encounters in Tarya Gratar:
- Crossroads – This zone connects other encounter types together. No enemies are present.
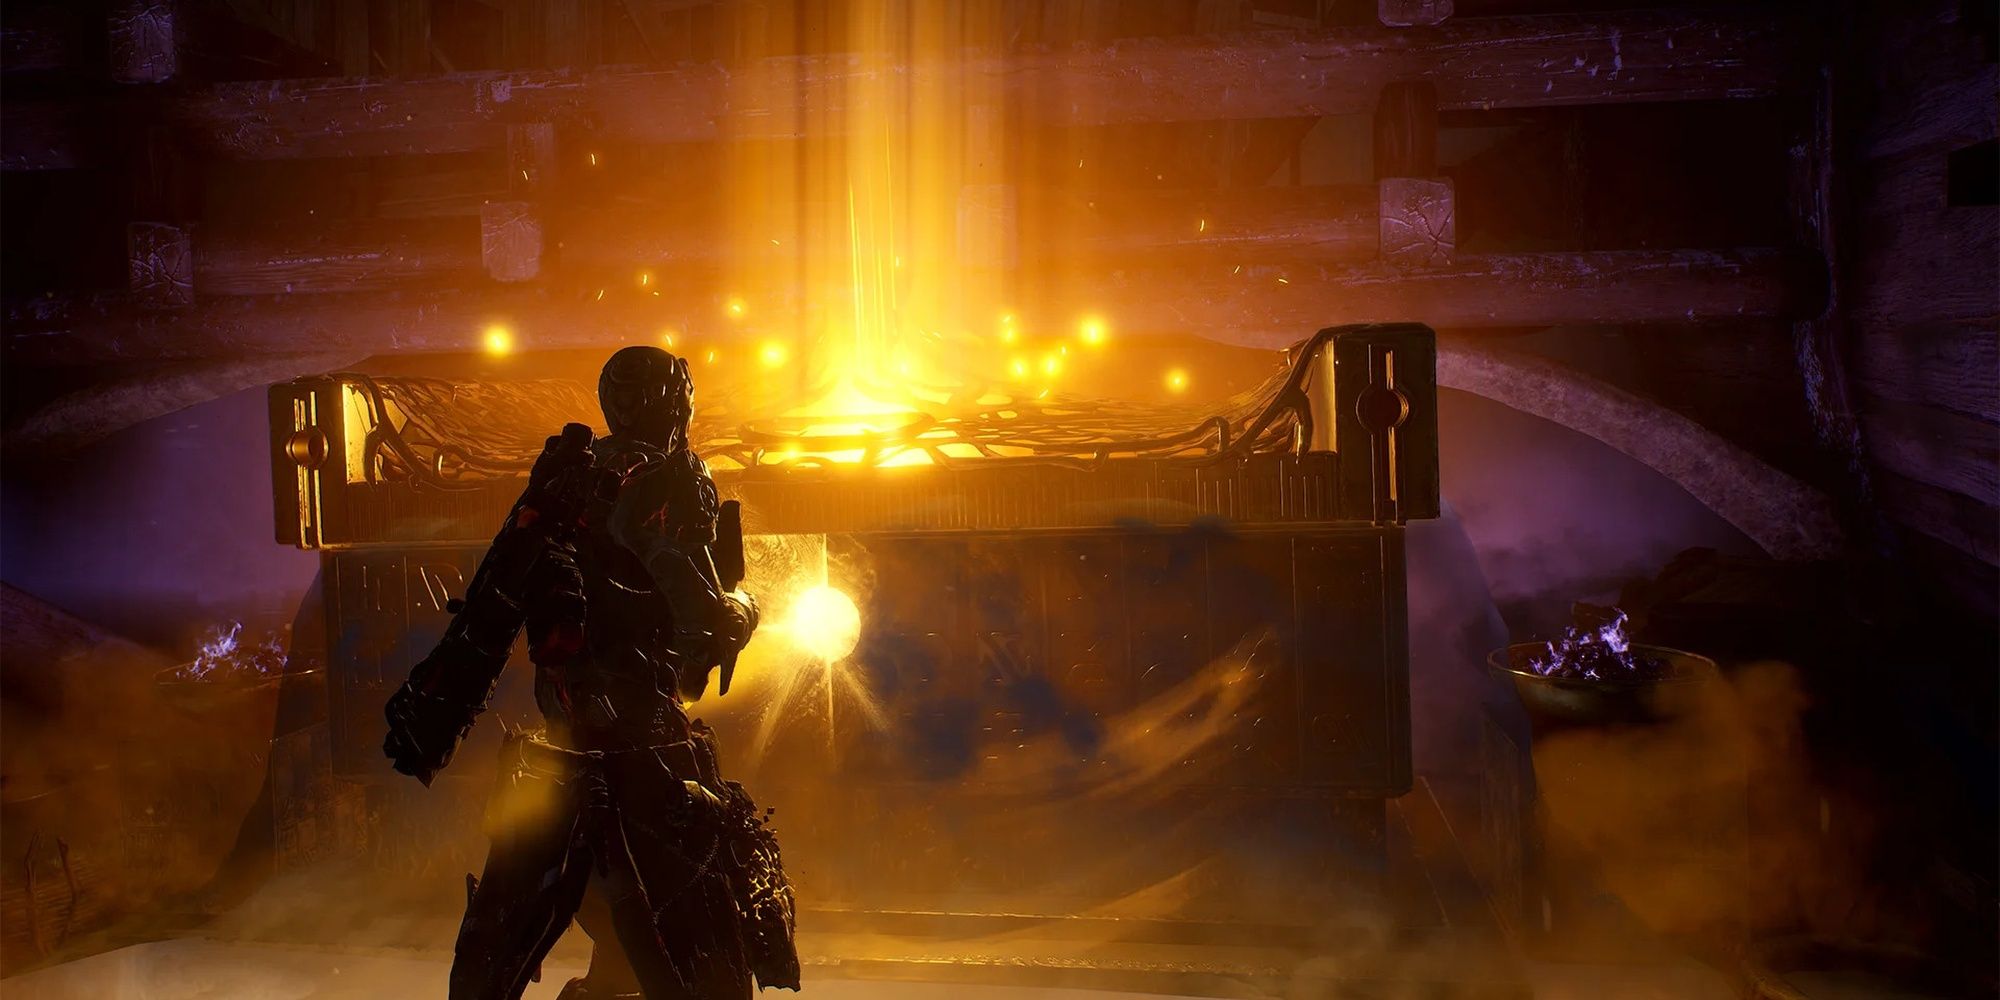
- Skirmish – A typical combat encounter. You'll fight against waves of enemies before opening a loot chest.
- Trove – An optional combat arena that's tougher than a Skirmish. Armor drops from the chest are focused into a specific slot.
- Trial – A boss fight. The final boss fight guarantees a piece of Legendary Apocalypse gear when cleared.
Starting A Run
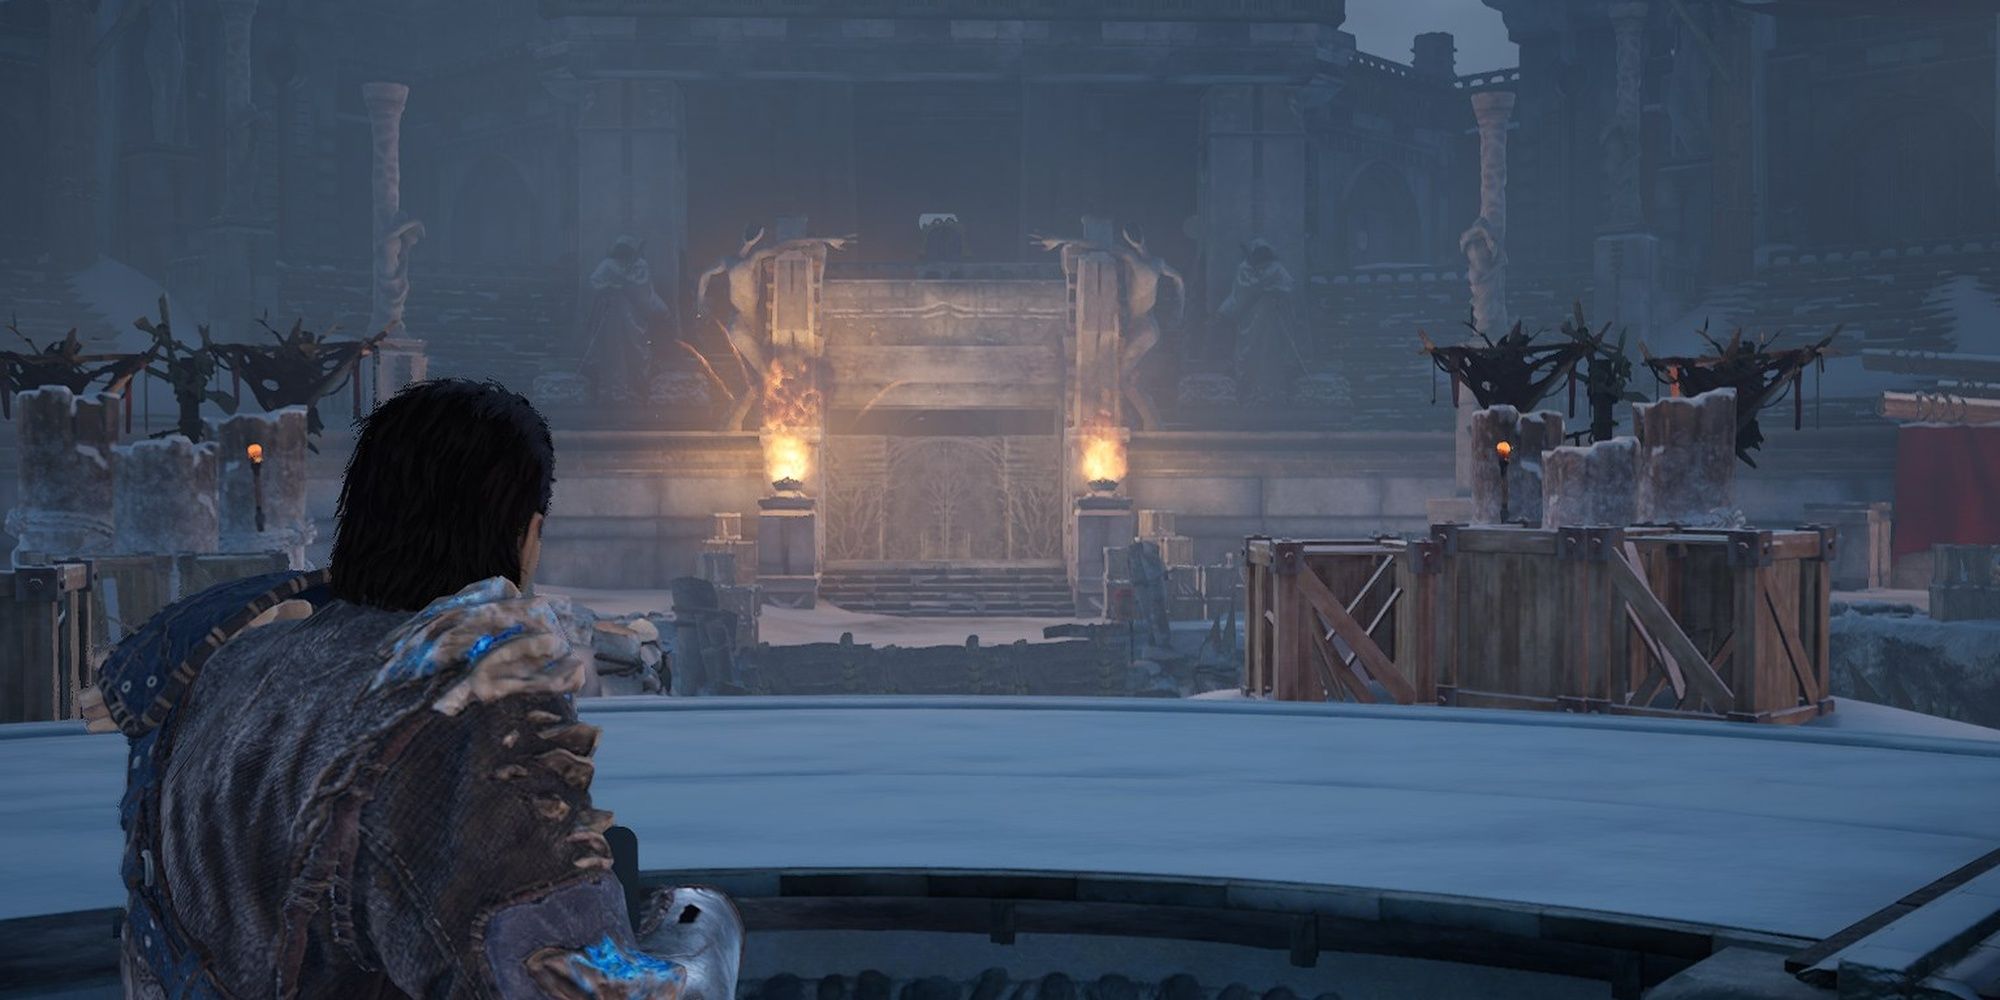
You'll start every run at the Warlord's Concourse, a Crossroads zone that contains no enemies. You can choose between one of four locations:
- The Mausoleum – A Skirmish that leads to a boss fight.
- Temple of the Anomaly – A Skirmish that leads to a boss fight.
- The Catacombs – An optional Trial
- This option only appears if you've beaten the final boss during your previous Tarya Gratar run.
- Proving Grounds – An optional Trove that biases boot drops.
By moving around the area, you can select which room you want to clear first. Optional areas—in this case, The Catacombs and Proving Grounds—will lead back to the Warlord's Concourse after they've been cleared. The Mausoleum and Temple of the Anomaly will push you deeper into the dungeon. Backtracking isn't possible if you clear a Skirmish, so keep that in mind during any Tarya Gratar run.
Skirmish Guides
Four Skirmish encounters are present in Tarya Gratar. The first two Skirmishes cannot be cleared on the same run, although the latter two are required to complete a full Tarya Gratar run.
The Mausoleum
|
Section |
Ward of Rites |
|
Enemy Level |
+0 |
|
Enemy Faction |
Beasts |
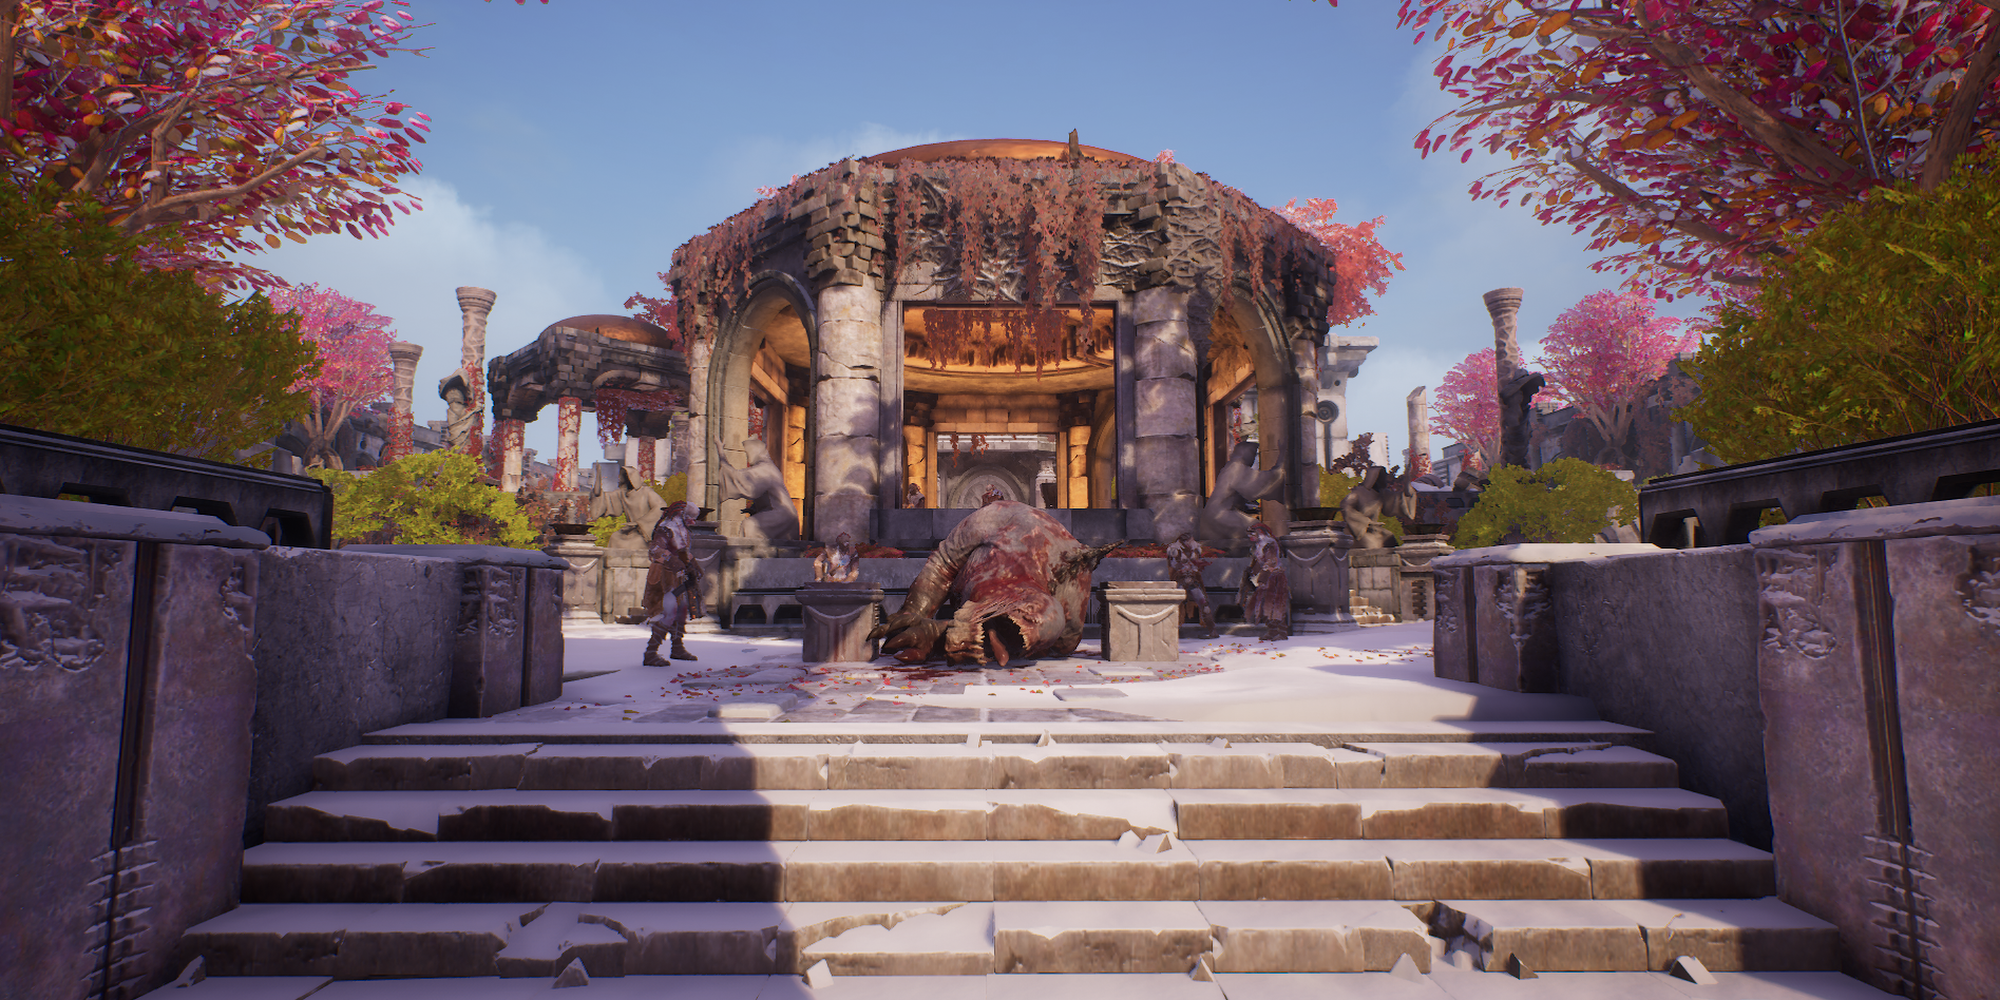
As one of the first Skirmish sections in Tarya Gratar, we find Mausoleum to be slightly harder than Temple of the Anomaly. This encounter takes place in a rather spacious arena against Beasts—including Alpha Perforos, Crawlers, and the new Shadowbeast enemy type. You'll be swarmed by Alphas and Shadowbeasts for most of this encounter, so be sure you have some form of crowd control or damage reduction at the ready.
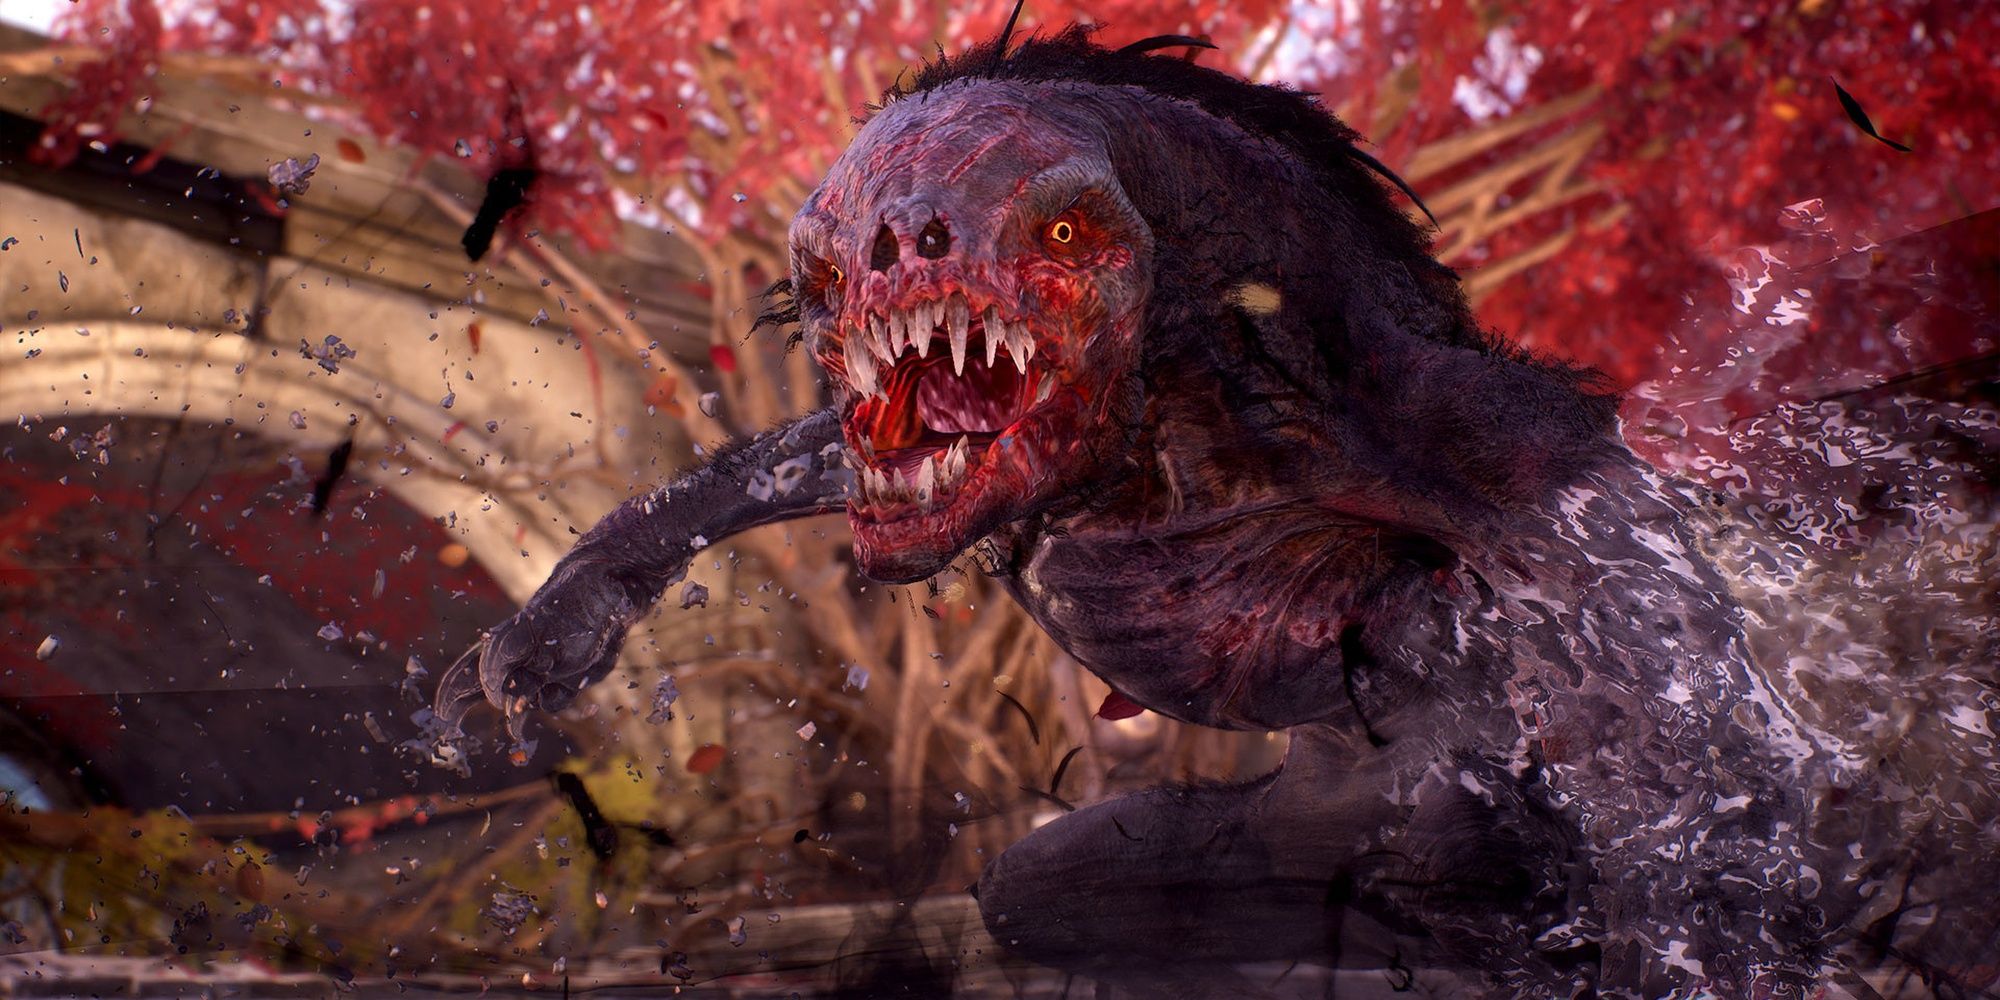
Shadowbeasts will give you the most trouble in this zone, as they have an ability that inflicts suppression, a debuff that disables active abilities and prevents you from using further skills for a few seconds. When this debuff occurs, immediately create some distance and play conservatively. Once your abilities are no longer suppressed, go on the offensive. Should they turn invisible, either damage them or wait for the effect to end. These enemies are susceptible to crowd control, so have at least one crowd control skill before entering this room.
Temple Of The Anomaly
|
Section |
Ward of Rites |
|
Enemy Level |
+0 |
|
Enemy Faction |
Ferals |
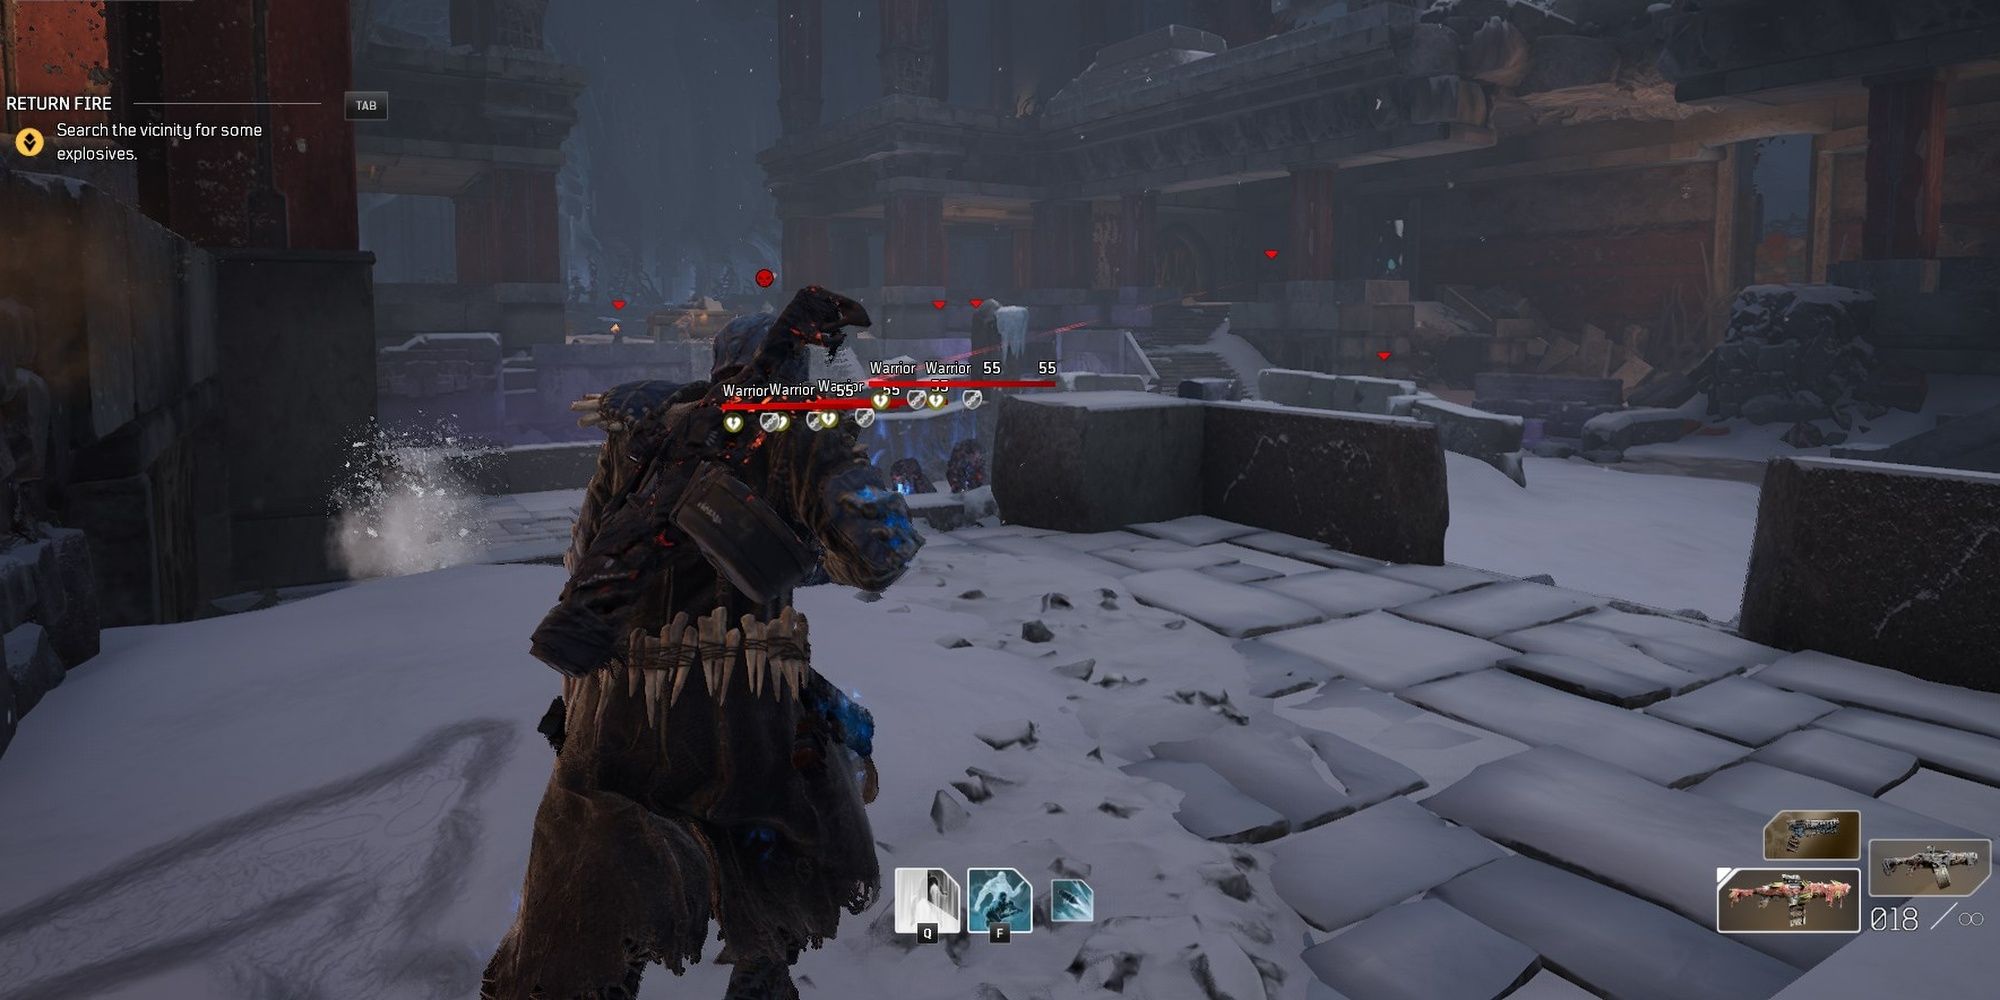
Temple of the Anomaly is the easier of the two starting Skirmish rooms. You'll be fighting Feral enemies, humanoids that use basic melee and ranged weapons. There are only three notable enemies here: Warlords, Destroyers, and two Beastlords that serve as this zone's boss duo.
Warlords will attempt to stunlock you with constant freeze procs and knockdowns, so you'll want to eliminate them as fast as possible. A CC ability can take them out of the action for a short time, giving you a moment to kill them. Destroyers are somewhat tough if you lack armor-piercing or Anomaly damage. The Beastlords spawn at the very end of the mission and use a wide range of knockback attacks. They're tanky, although they shouldn't be much more challenging than a typical Warlord. Keep the melee enemies at bay, make smart use of your abilities, and always be moving closer to the back of the arena.
Throne Room
|
Section |
Father's Palace |
|
Enemy Level |
+1 |
|
Enemy Faction |
Beasts |
You'll be swarmed by various Beasts throughout this encounter, all of which are enemies present in the vanilla game. Alpha Perforos are in ample supply here, so you'll want a decent crowd control or damage ability at the ready. Tons of Perforos will attempt to swarm you, although they are fairly weak. Beyond that, a few Strix and a Brood Mother are present at the very end of this Skirmish. If you could kill the previous Arbiter boss, this room shouldn't give you many issues.
Hall Of Sculptures
|
Section |
The Passage |
|
Enemy Level |
+2 |
|
Enemy Faction |
Ferals |
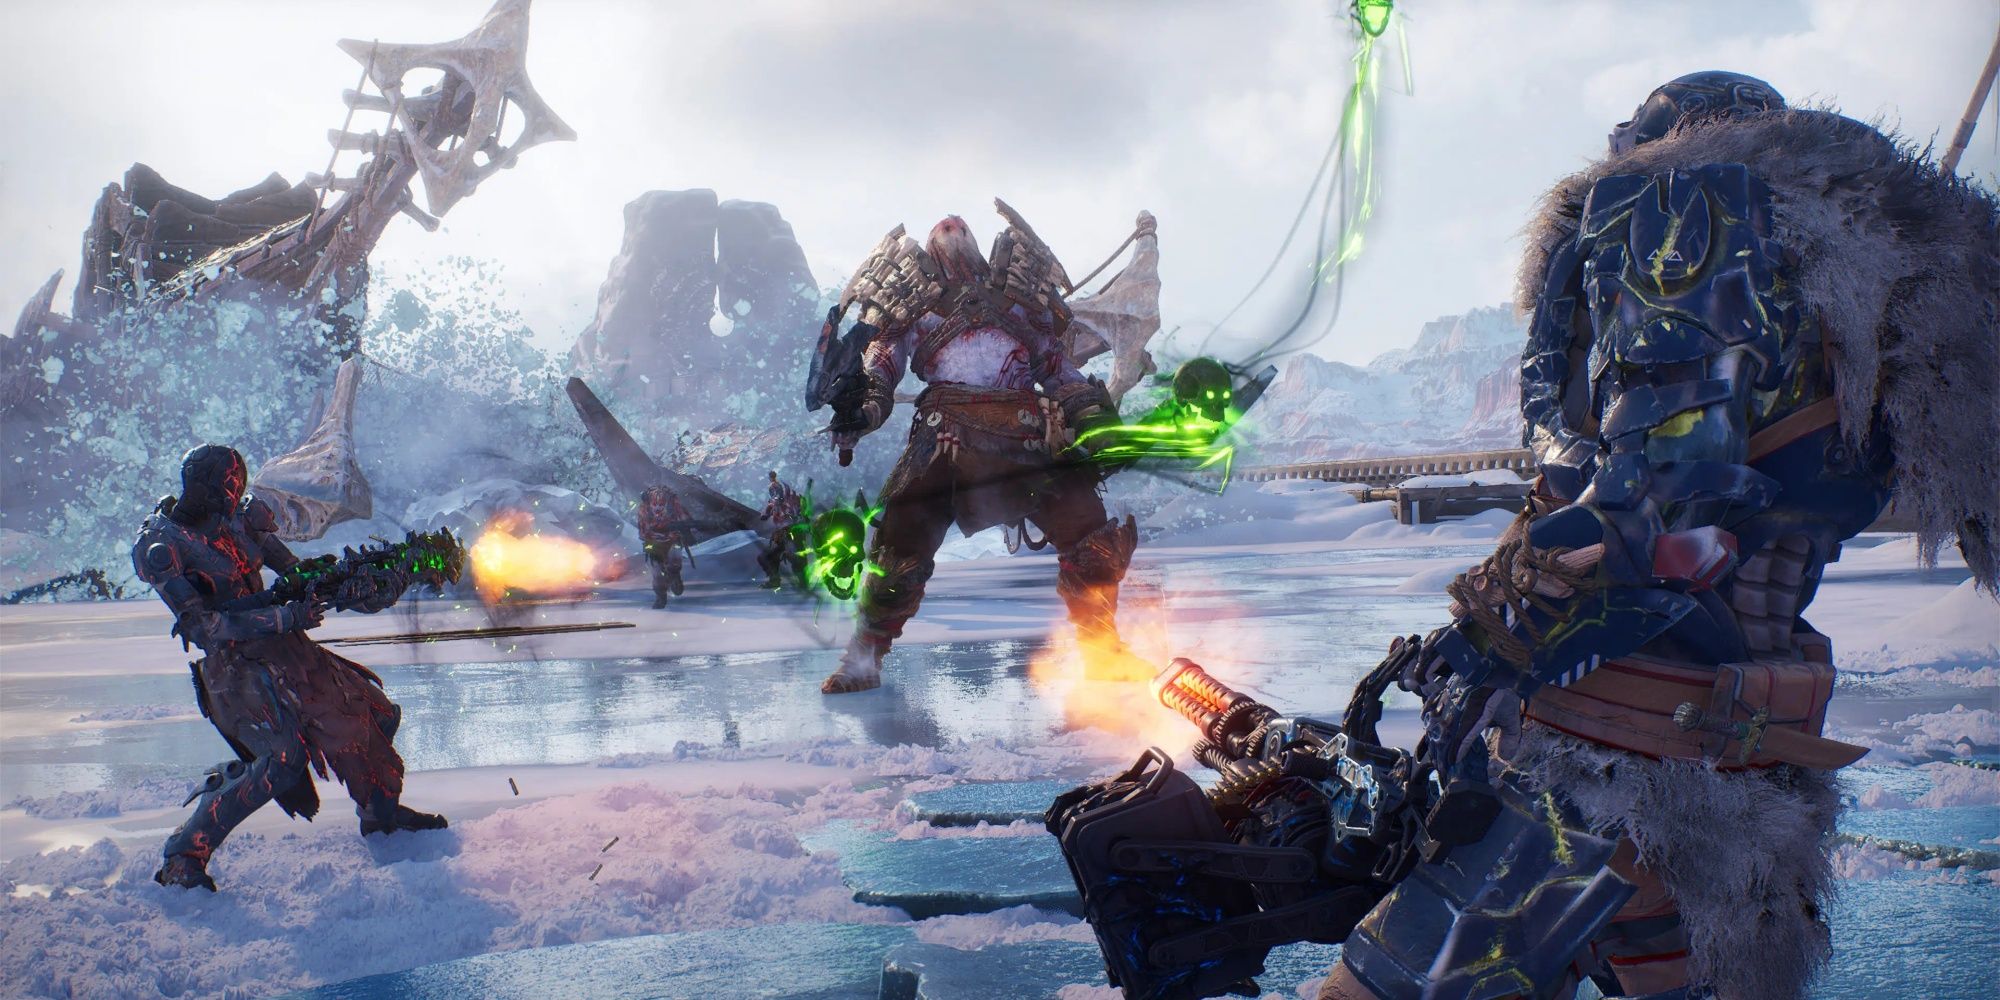
Hall of Sculptures is a DPS and survivability check before you reach the final boss. This zone is jam-packed with enemies that can stunlock you. Most of this arena consists of Feral enemies, although the unique Shadowbeast enemy type is present during the final wave. As for new enemies, you'll be facing Corsairs and Adherents. Corsairs are massive brutes that wield high-damage melee weapons. They are incredibly durable and have surprisingly good agility. Adherents cast various AoE attacks and act as artillery units. Try to close the gap and kill them after you've dealt with any Warlords or other Elites.
During the final wave, you'll face off against multiple Shadowbeasts and a Beastlord miniboss, an enemy that tends to teleport. Stunning this enemy is highly recommended, but beware of its AoE attacks; if you get hit by one of them, you'll take some severe damage and be temporarily stunned. Paired with the Shadowbeast's suppression mechanic, this group is more than capable of killing experienced players. Kill the Shadowbeasts the second they spawn, then work on the Beastlord. At the very least, be sure the Shadowbeasts are under some crowd control effect.
Trove Guides
There are six Troves in Tarya Gratar, one of which doesn't unlock until you've slain the final boss on a previous run. Excluding the hidden Catacombs Trove, all Troves will force certain armor pieces to drop at the end of the encounter.
Proving Grounds
|
Section |
Ward of Rites |
|
Enemy Level |
+0 |
|
Enemy Faction |
Ferals |
|
Gear Focus |
Boots |
Proving Grounds consists of three waves. Each wave will spawn several Ferals on the edges of the circular arena, all of which will converge on your position. You can either reposition to get closer to their spawn points or stay near the center.
The first wave consists of mostly fodder enemies and the occasional Elite-tier sniper enemy. The second wave is slightly tougher, featuring Destroyers and more Elite foes. The third and final wave has dozens of enemies and various Warlords that can freeze you. Focus on killing the Elites whenever they spawn, and use any CC effects to keep the melee units at bay. You can also kite the enemies around each spawn point if you get overwhelmed.
The Catacombs
|
Section |
Ward of Rites |
|
Enemy Level |
+2 |
|
Enemy Faction |
Beasts |
|
Boss |
Arbiter of the Dusk |
You must complete a Tarya Gratar run and defeat the final boss to unlock this region. Failing a run will prevent access to this room.
Despite its classification as a Trove, this area is much closer to a hidden Trial. Upon beating the final Arbiter in your previous run, The Catacombs will become an optional zone you can visit at the very beginning. The enemies here are primarily Beasts, containing the likes of Crawlers and Shadowbeasts. More importantly, the end of this zone includes an Arbiter boss you must defeat to progress. You only get one shot of clearing this zone. Failure locks the Catacombs off for the rest of your run.
For the first part, you'll need to carve a path through multiple waves of Beasts. Shadowbeasts serve as the high-priority targets here. Take them down whenever possible. Beyond that, be wary of the occasional Crawler and Alpha Perforo that can stagger you.
The second half of The Catacombs is a recycled Arbiter boss fight, utilizing the same mechanics as the mainline Arbiter fights. Check our Trial Guides section for more information on how the Arbiter functions. Defeating this boss will grant a shower of loot comparable to slaying the first Arbiter. You do not get to choose a Legendary drop upon defeating the boss; all drops are random.
The Arboretum
|
Section |
Ward of Rites |
|
Enemy Level |
+0 |
|
Enemy Faction |
Beasts |
|
Gear Focus |
Gloves |
This arena is similar to The Mausoleum, featuring quite a few Beast enemies in an open area. You'll need to make your way to the other side of the complex, fending off waves of Beasts in the process. Alpha Perforos, Crawlers, and Screechers are all present. Screechers will give you the most trouble, bombarding you with Anomaly Blades and other annoying AoE attacks. Be ready to dodge at a moment's notice. The final boss is a variant of the Screecher called a Gorefeather. It's effectively a Screecher with a much larger health pool. Kill the flying enemies first, then work on the Crawlers and Alphas.
Daughter's Sanctuary
|
Section |
Father's Palace |
|
Enemy Level |
+1 |
|
Enemy Faction |
Beasts |
|
Gear Focus |
Pants |
Unlike previous Troves, Daughter's Sanctuary is a defense section. You must defend a pylon against waves of Beast enemies. No new Beast enemies are present here, although an abundance of Crawlers and Maulers can get annoying if you lack any CC effects. Keep the enemies away from the pylon whenever possible.
Capturing the point will spawn a boss named Wavecleaver Urka, a spear-wielding version of Urgak. This boss has a similar moveset to the first version of Urgak you fight in the campaign, utilizing tons of leaps and sweeping attacks. It will use the occasional tidal wave attack to throw you off-balance, so be ready to dodge. Urka must be dealt with through raw aggression. Regardless of your movement, this enemy will get a hit on you, so you might as well focus on dealing damage. If you're struggling to stay alive, use the Self-Medication T3 mod to fully heal yourself upon using a skill.
The Docks
|
Section |
Father's Palace |
|
Enemy Level |
+1 |
|
Enemy Faction |
Ferals |
|
Gear Focus |
Helmets |
The Docks is the easiest optional Trove in Tarya Gratar. You'll be fending off various Warlords and Corsairs during the first part. The Warlords are far more dangerous due to their reliance on CC skills. Corsairs are fairly easy to keep at bay with CC skills of your own.
Clearing the dock will bring you to the frozen lake below, accompanied by a few Screechers and a Snow Behemoth miniboss. This enemy is effectively a reskinned Behemoth with a much larger health pool. Stay away from its face, keep your distance, and try to kill the Screechers as soon as possible.
Cliffside Path
|
Section |
The Passage |
|
Enemy Level |
+2 |
|
Enemy Faction |
Beasts |
|
Gear Focus |
Body Armor |
This Trove is incredibly dangerous. Only attempt this zone if you have a good build.
Just about every enemy in this Trove is a Skinwalker, a humanoid enemy that can glide towards you. They act as tougher versions of Perforos, capable of downing you in just a few hits. These enemies are accompanied by Alphas, Crawlers, and even Ravenous Skinwalkers during the second half.
For the first half, you'll want to take the high ground. Fend off any Skinwalkers that spawn near you, utilizing CC abilities to keep them locked in place. When you've defeated enough of them, you can proceed to the second part. In this section, you'll want to stick to the lower level and fend off any Crawlers and Ravenous Skinwalkers that spawn. If the Ravenous Skinwalkers get a chance to hit you, it's over. Once again, CC abilities work great here. Stay on the move, and start rolling if a melee unit attempts to hit you. Once again, consider using mods that grant armor or heal you to make this part a little easier.
Trial Guides
Three Trials are present, all of which are mandatory for a full clear. Two of the three bosses share the same moveset.
Plaza Of The Worthy
|
Section |
Ward of Rites |
|
Enemy Level |
+0 |
|
Boss |
Arbiter of the Worthy |
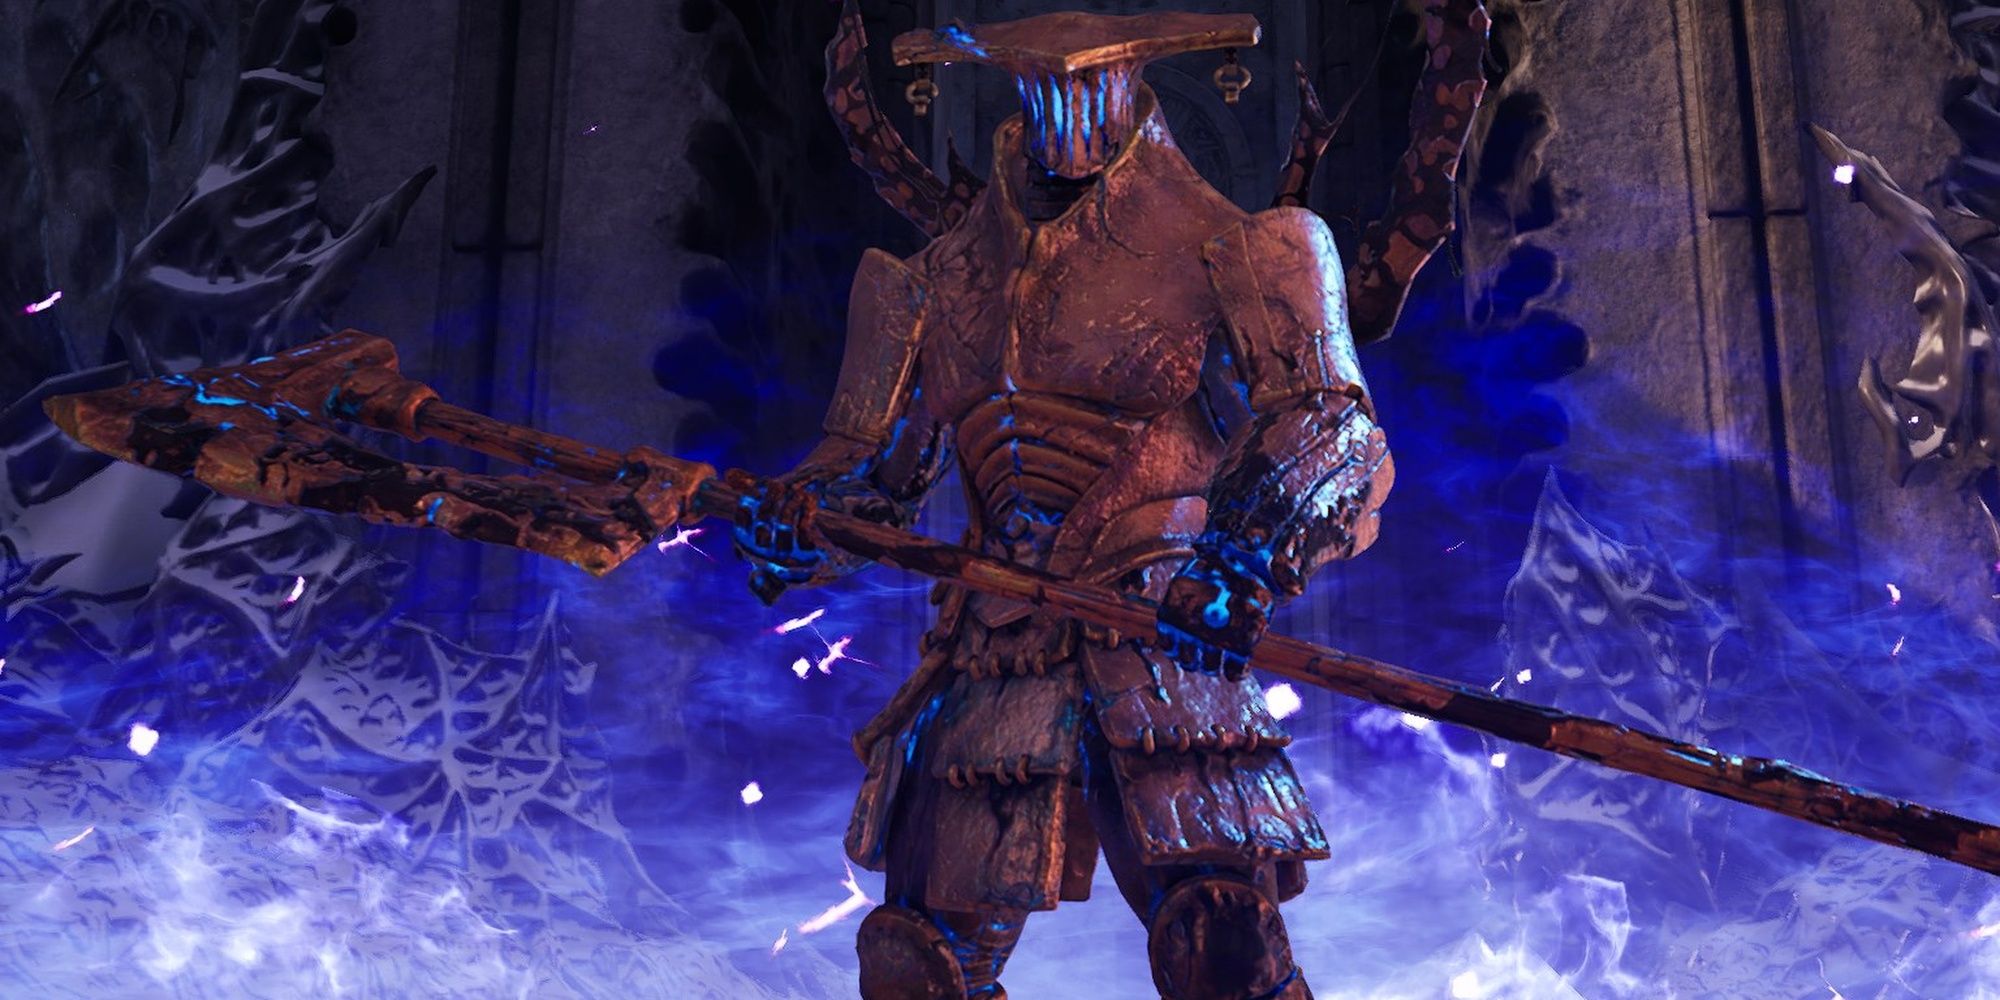
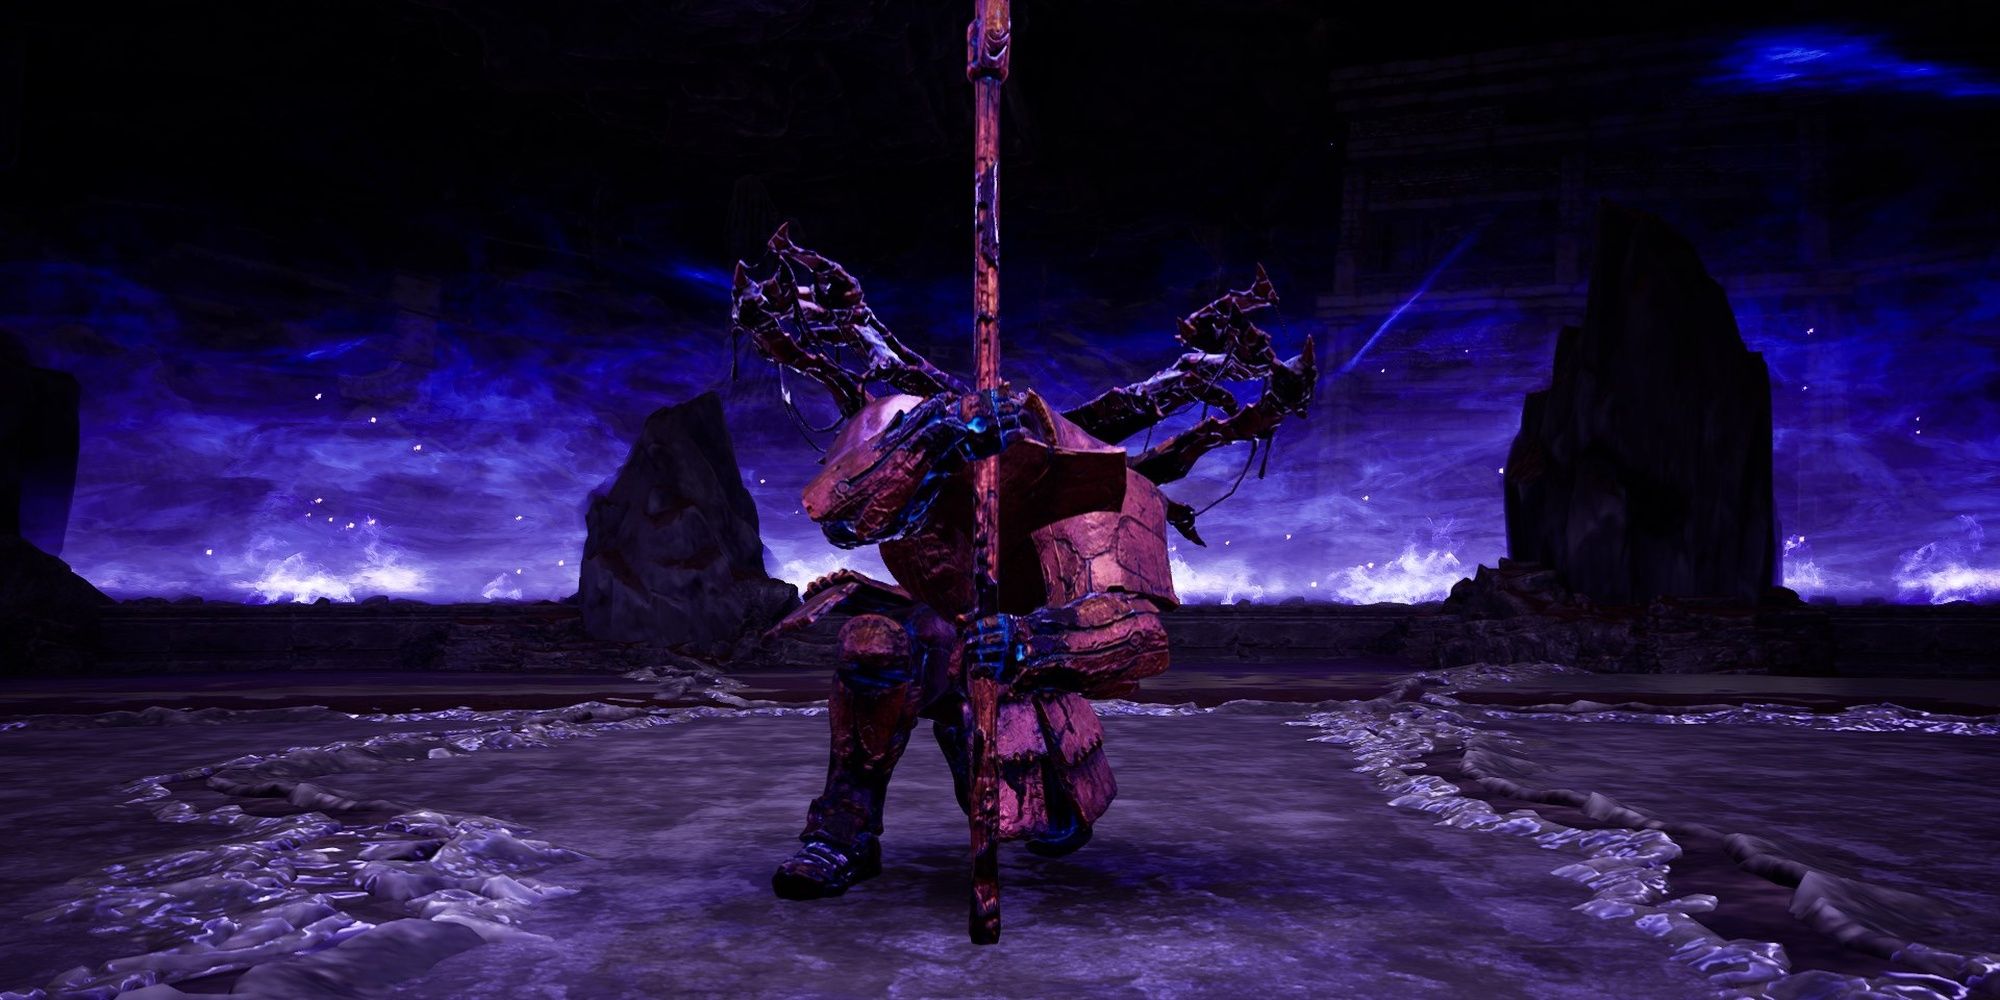
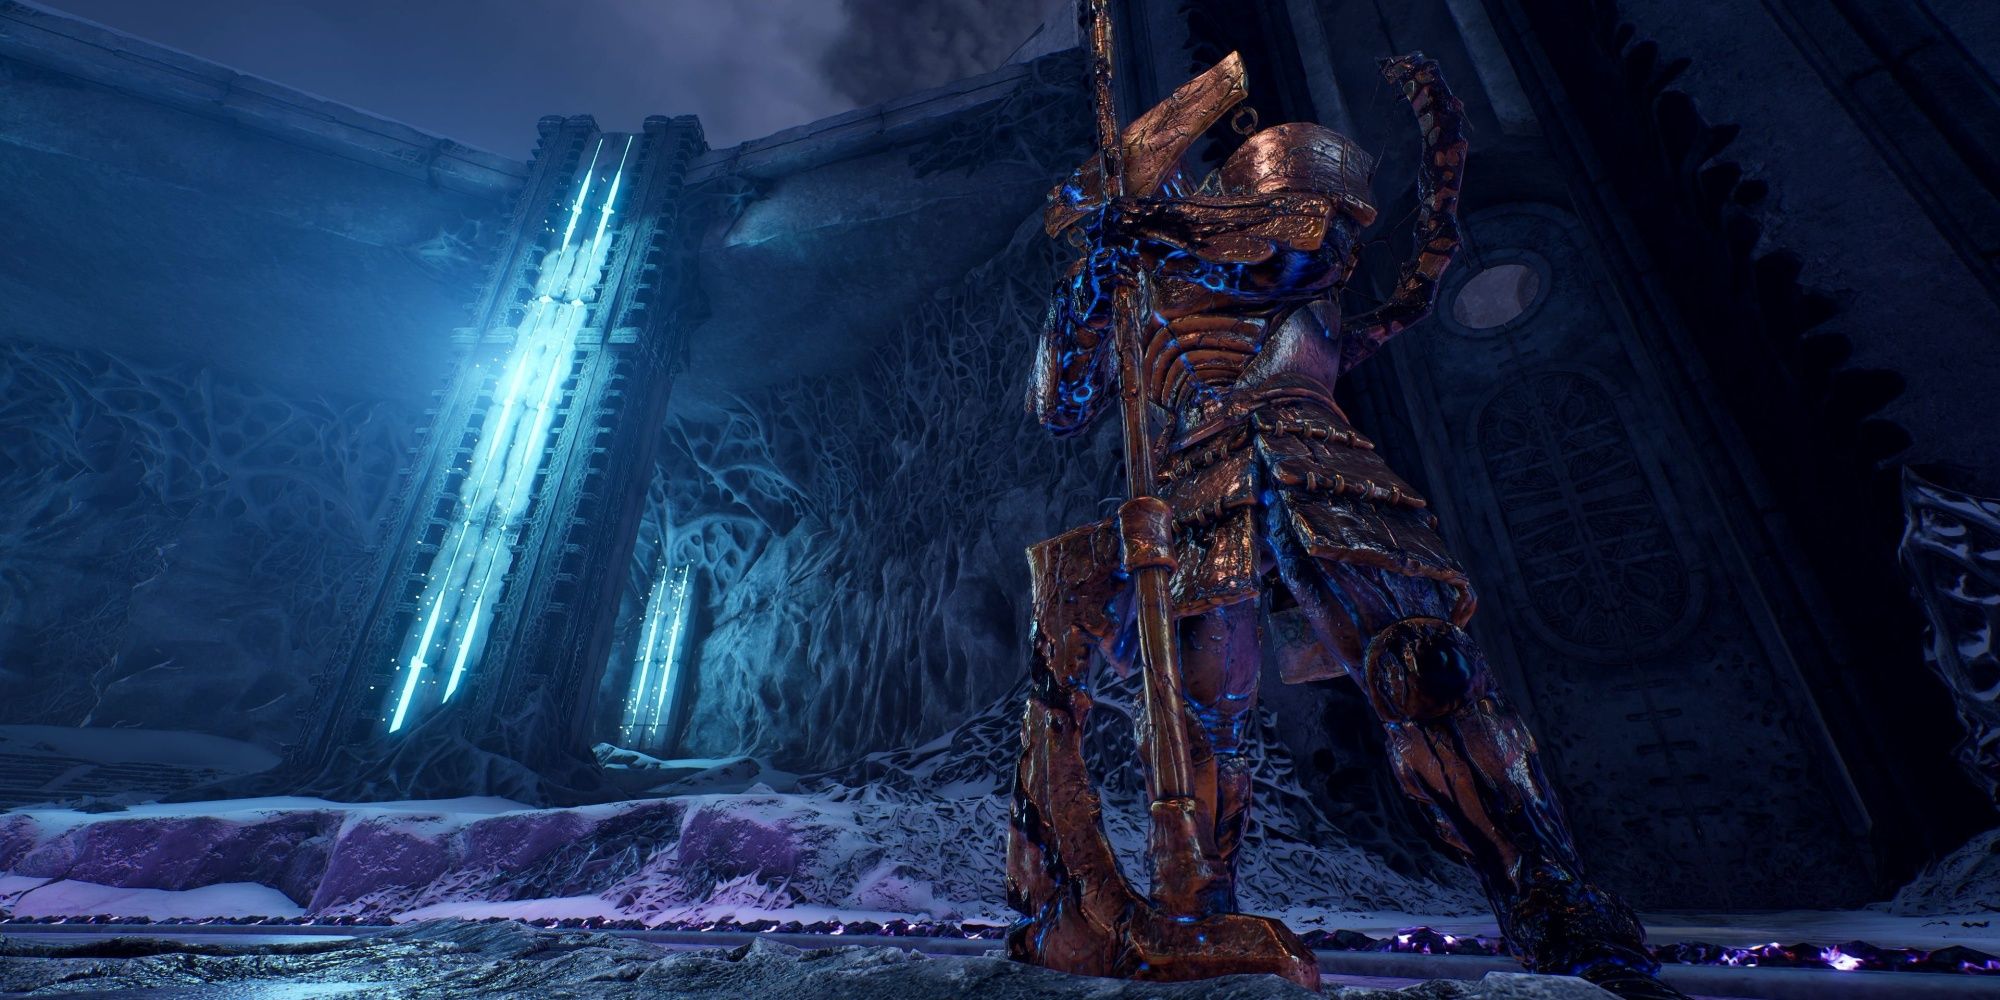
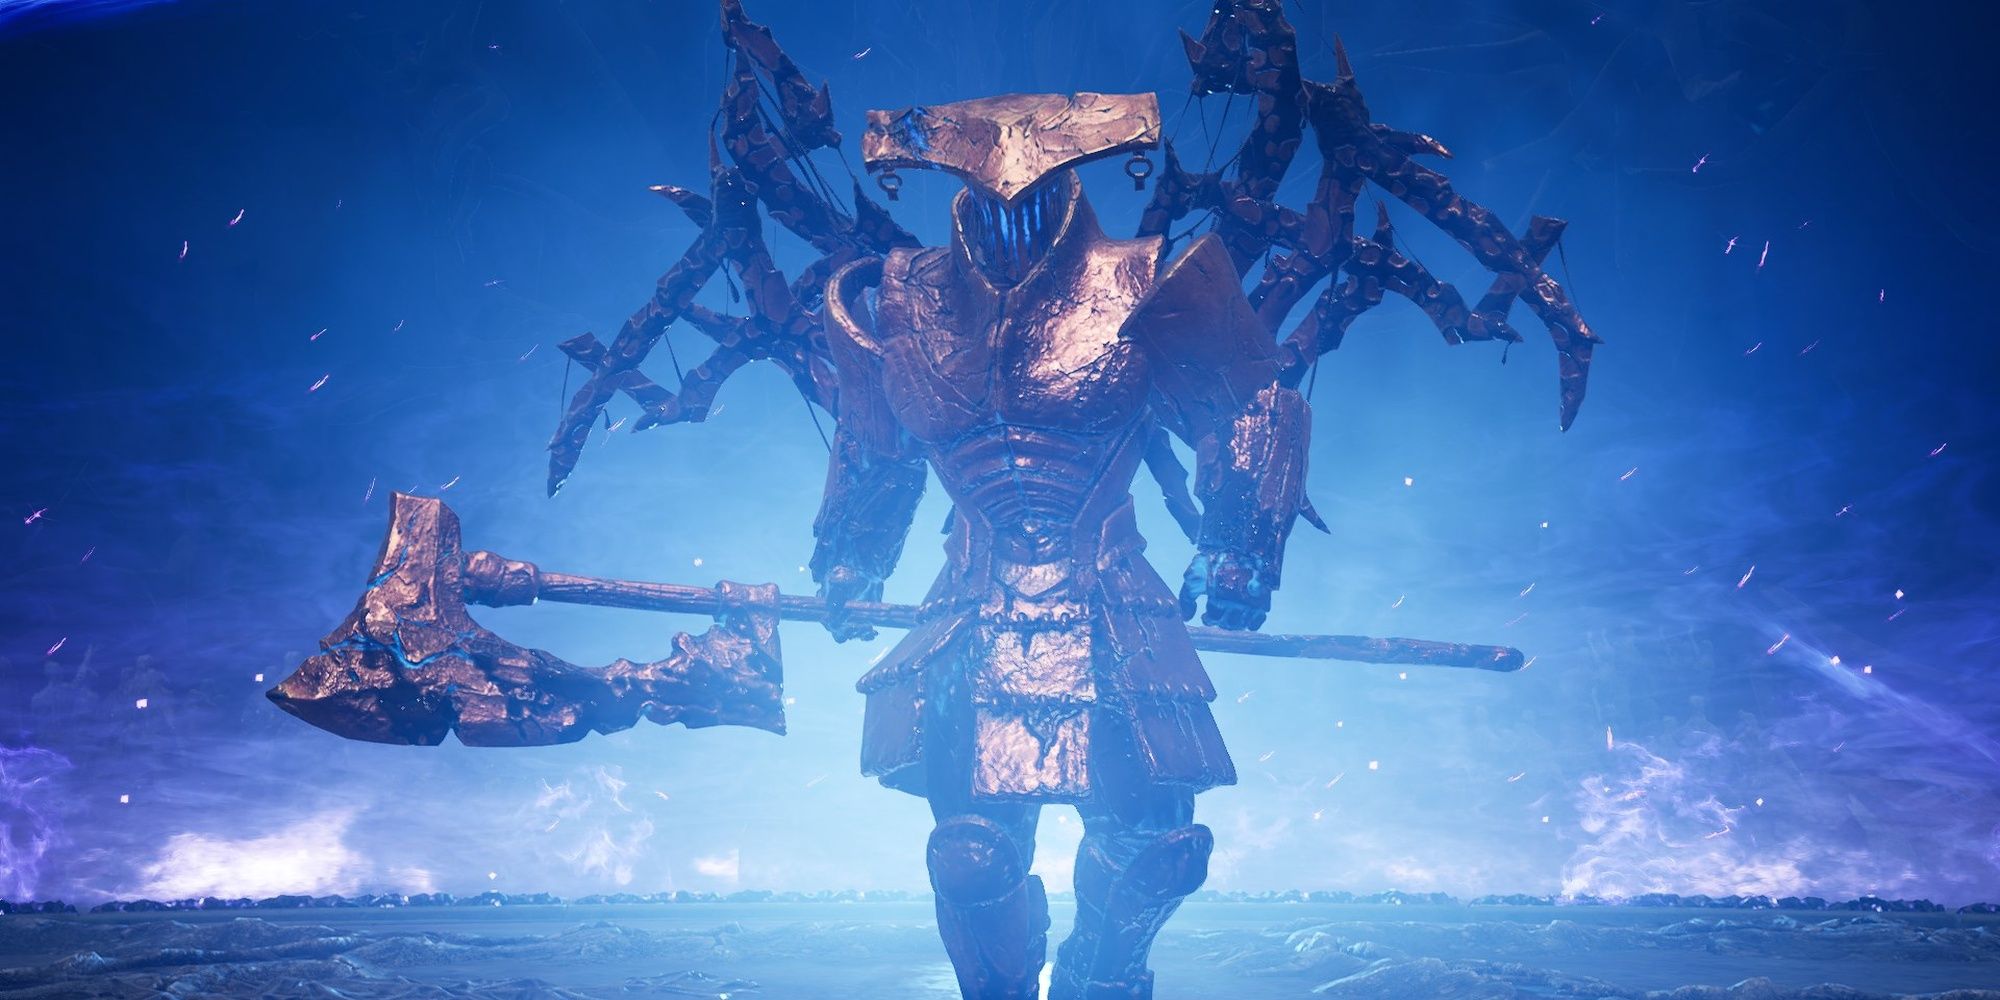
The first boss you'll face in Tarya Gratar is the Arbiter of the Worthy. This enemy is a massive humanoid featuring bronze armor and a two-handed axe. You'll want to keep your distance for most of the fight, staying at arms-length from the Arbiter's melee weapon. Should the boss hit you, you'll be temporarily staggered.
As for mechanics, this boss has three notable attacks you can interrupt by dealing enough damage or using an Interrupt skill. Those attacks are the following:
- Judgment – The boss will get on one knee and begin charging his body. If successful, the Arbiter will suppress your character and pull you.
- Deal a high amount of burst DPS to stop this attack.
- Living Miasma – A quick slam attack will spawn a shadow clone of the Arbiter, mimicking its axe attacks. You cannot destroy this shadow, and it'll despawn after a few seconds.
- Interrupt the boss right as it begins to slam the ground to counter this ability.
- Dark Armaments – When the Arbiter reaches around 50% HP, it will lift its weapon and begin channeling dark energy. Dozens of ground AoE effects will appear on your screen, dealing a large amount of damage each second.
- Dodge the attacks or interrupt the boss to counter this ability.
Overall, this boss is a survivability and DPS check. If your character can't deal enough damage to interrupt some of the Arbiter's attacks, you'll have to deal with the incredibly lethal Dark Armaments attack at some point during the fight. We recommend going all-in on damage to bypass most of the mechanics in this fight, utilizing as many multiplicative damage sources as possible via mods and PAX nodes. While you can interrupt each of this boss' abilities, you can only do so a limited number of times.
If you're attempting to kill this boss for the first time, here are some suggestions:
- Use Self-Medication: This T3 mod fully heals you whenever you use an ability. It's possible to survive the Dark Armaments attack by using your abilities whenever your HP is low.
- Don't use debuffs: Debuff effects expire on the Arbiter much faster than most Elites. Focus on scaling your damage stat (Firepower or Anomaly Power) and adding damage multipliers via mods.
- Use Weapon Leech: This weapon stat lets you recover a percentage of weapon damage dealt as HP. Since it's much easier to shoot than use your abilities while moving, Weapon Leech is a valuable stat if you're struggling to survive.
- Lower your Apocalypse Tier: If you're just fighting this boss to unlock your last Pax point, drop your Apocalypse Tier down to T1 or whatever you're comfortable with. Higher Apocalypse Tiers make this fight much harder.
Altar Of Okriel
|
Section |
Father's Palace |
|
Enemy Level |
+1 |
|
Boss |
Okriel, the Traitor |
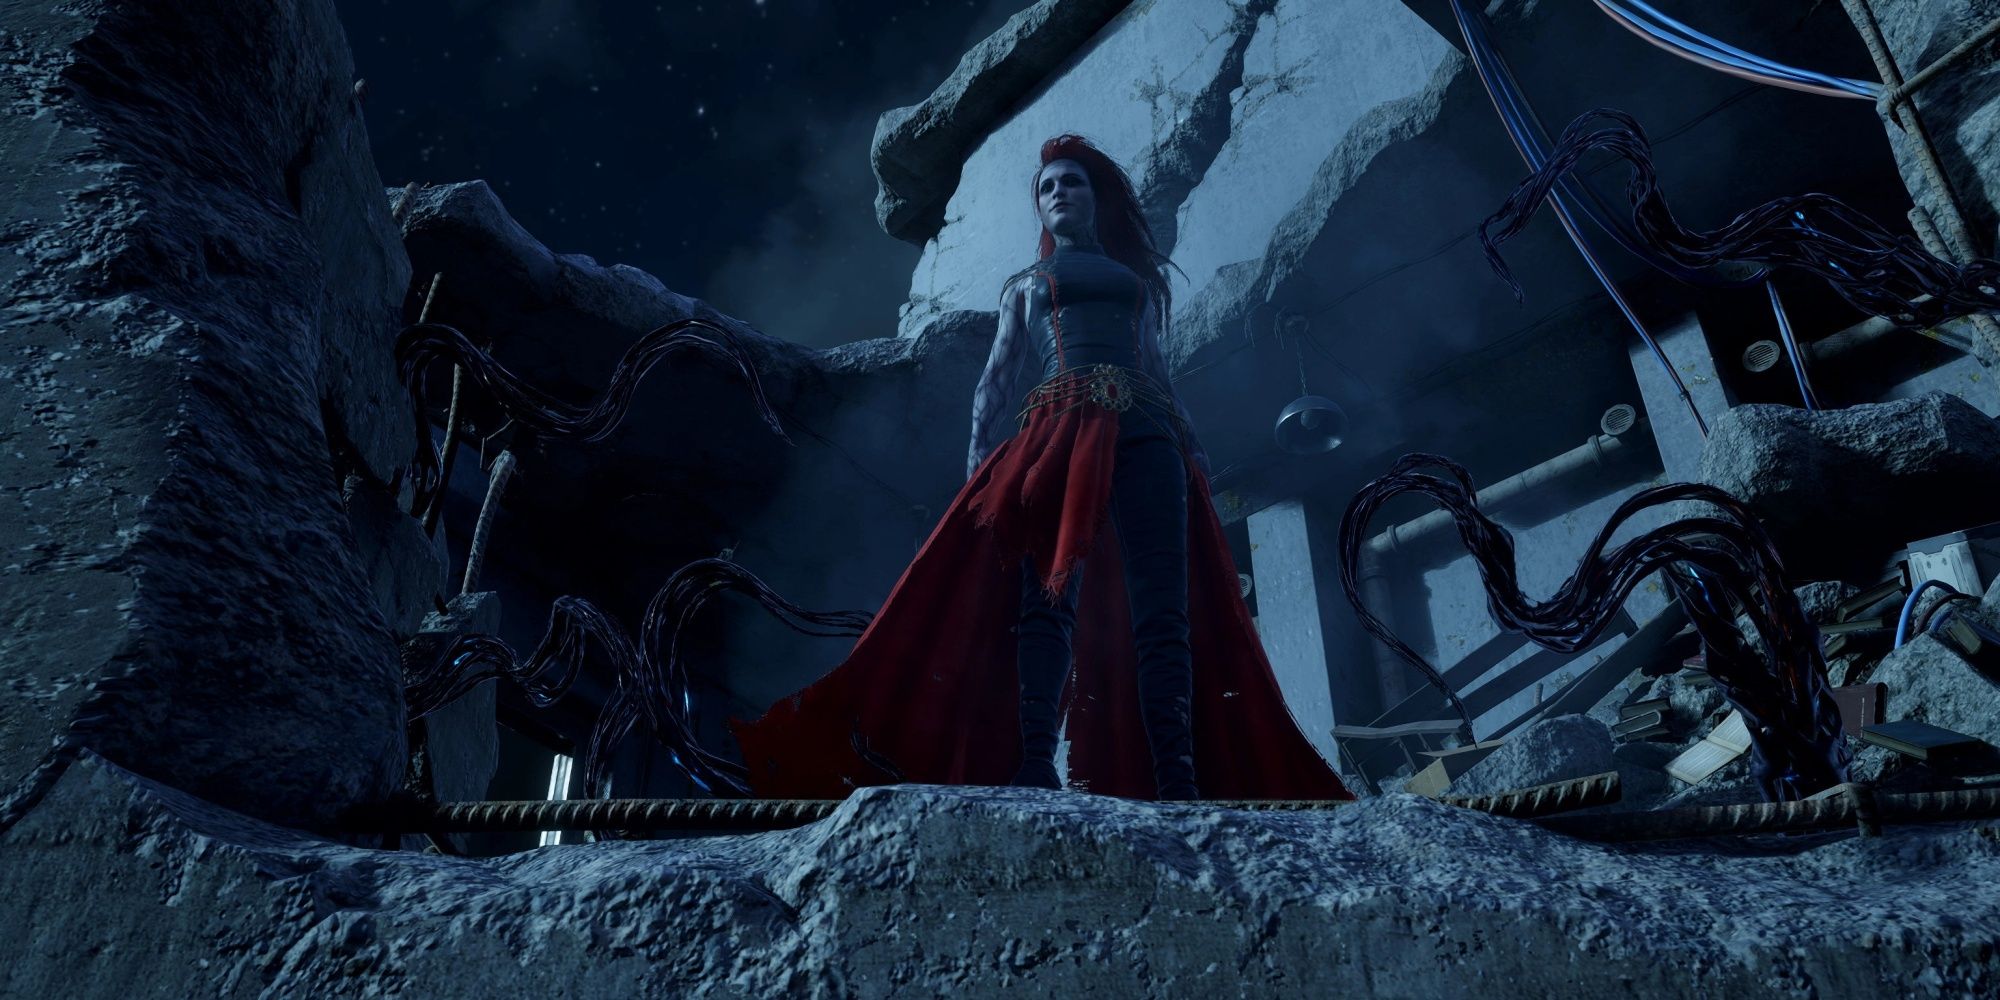
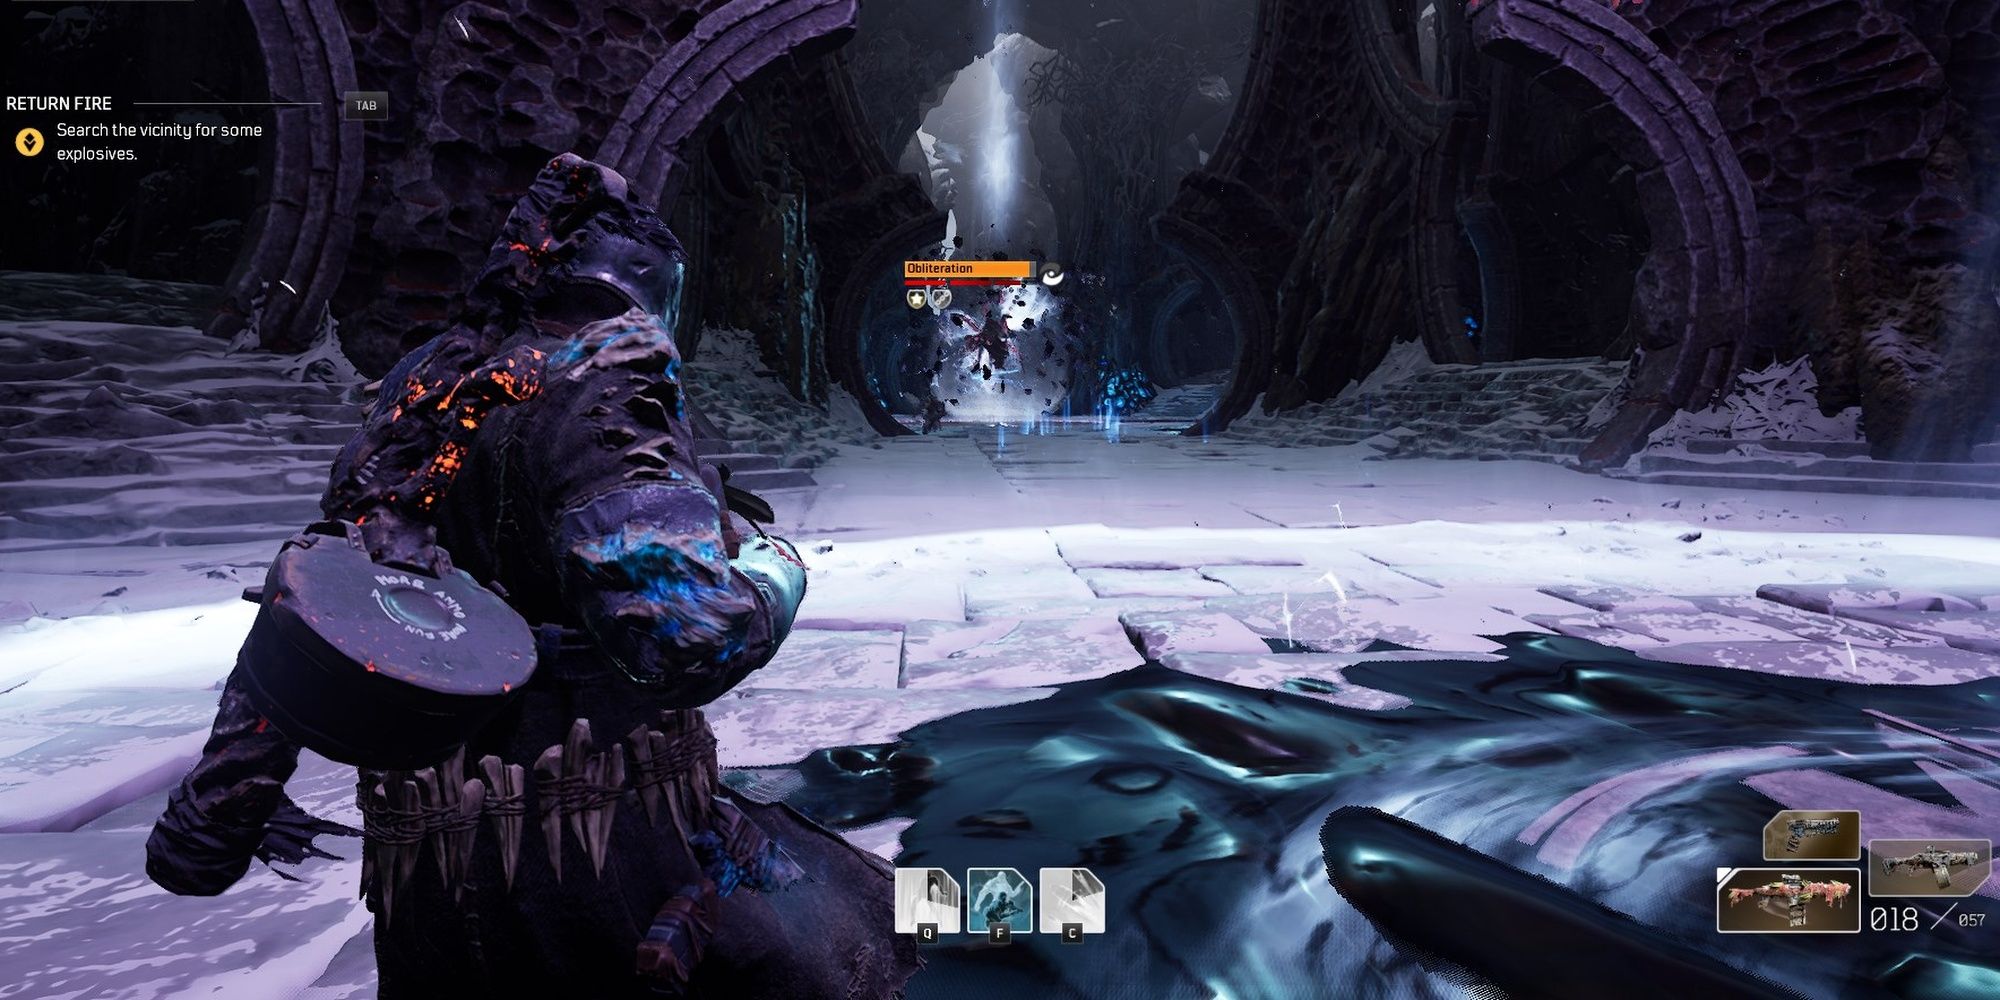
Okriel, the Traitor is the second boss you'll face. Unlike the Arbiter, Okriel is a far more passive enemy that acts more as a prop than a true foe. When you start the encounter, you'll need to damage the boss until it deploys a shield. Once this happens, one pylon in the arena will begin to glow and become marked on your minimap. You must capture pylons around the boss to remove its shield, allowing you to damage it. Enemies will spawn during this part, interrupting the pylon's capture if they get near it.
During the entire fight, Okriel will begin charging Obliteration, an ability that will instantly fail the encounter when charged. To prevent this wipe mechanic, you must kill the boss before it fully charges. Get near all active pylons, let them sink into the ground, then damage the boss. More pylons become active every time you complete a DPS phase, so you'll want to either split up your team or act quickly as a solo player. If you aren't capturing a pylon, the Obliteration mechanic will charge faster. The boss will also throw projectiles your way shortly after you finish a DPS phase. Run away from the boss immediately to prevent getting hit.
The fight itself is mostly a DPS check that also challenges your multitasking skills. Solo players will have no time to waste here. Damage the boss, immediately rush to a pylon to secure it, and repeat until you can kill the boss. CC abilities are great here for preventing enemies from delaying your pylon captures, and movement skills can come in handy for solo play. Be sure you have enough damage to kill the boss, but equip an ability or a few mods that can keep enemies in place.
Father's Sanctuary
|
Section |
The Passage |
|
Enemy Level |
+2 |
|
Boss |
Arbiter of Descent |
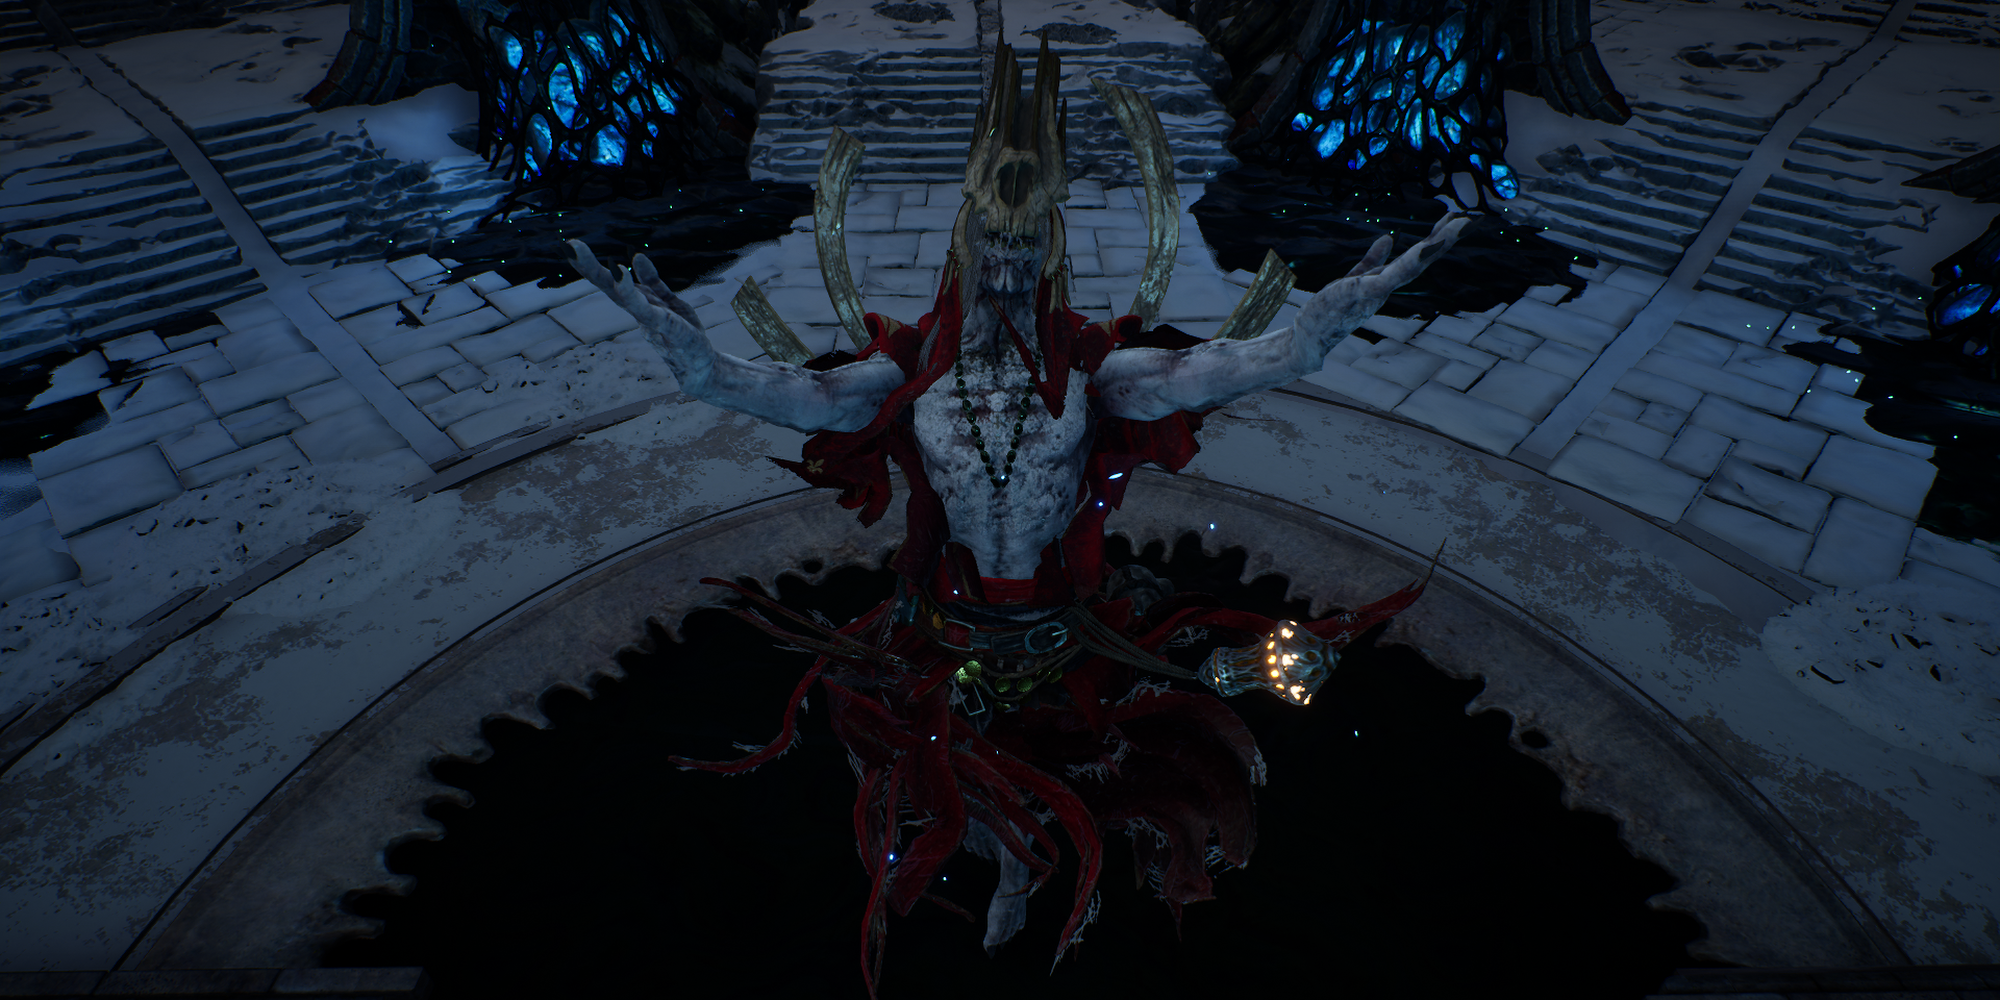
Upon defeating this boss, you'll be able to choose from one of three Legendary items with Apocalypse mods. It's possible to farm this boss multiple times per run (see "Tarya Gratar Tips" for more info).
Arbiter of Descent has no new mechanics or attacks. It's the same fight from earlier, although this Arbiter has drastically more HP, deals more damage, and can summon multiple clones at once. The same tips from before apply here. Use healing mods and effects to stay alive during Dark Armaments, and try to create a DPS opening by interrupting the Arbiter's Judgment skill. Mid-range builds are preferred here.
Tarya Gratar Tips
- You can farm the final boss multiple times each run. After you kill the final Arbiter, collect your loot and select the "return to lobby" button. Do not abandon the activity. You'll be sent back to the start of the final boss arena with your gear intact.
- You can repeat this until you run out of attempts, up to four boss kills per run.
- Bring at least one source of crowd control. Enemies spawn in droves in Tarya Gratar, so battlefield control is more important than ever.
- At higher Apocalypse Tiers, replacing your gear is better than upgrading pre-existing items. Lower your Apocalypse Tiers or farm Expeditions if you hit a gear wall.
- A crafting station is present before you face Okriel. Consider swapping your mods before fighting the second boss.

