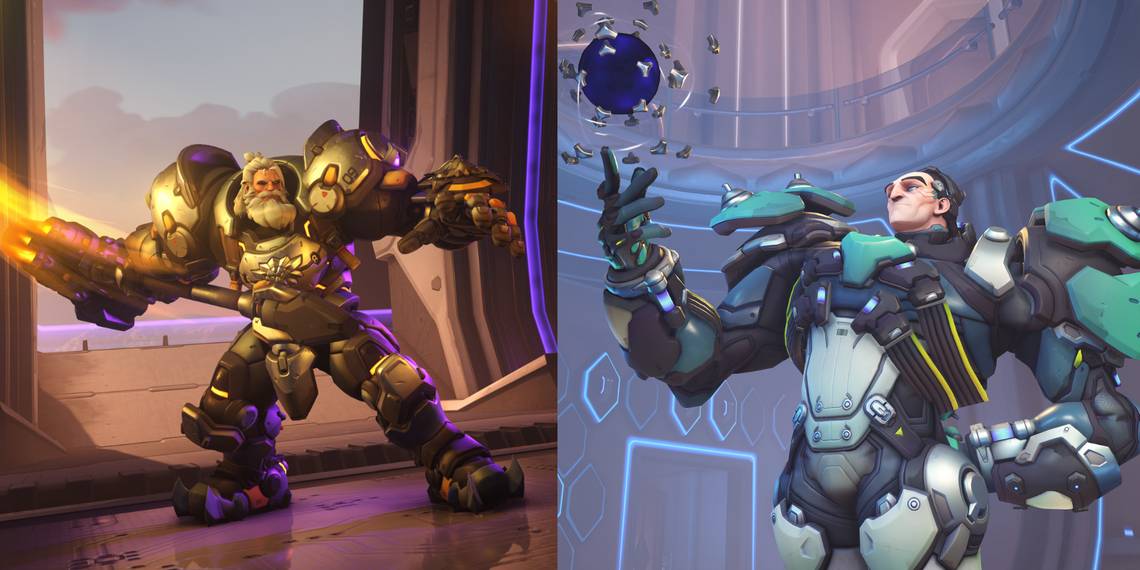
The change to 5v5 matches in Overwatch 2 places more of an emphasis on tanks than ever before. It's now essential that you pick the right tank for the right circumstances and maps. Tanks have the potential to turn the tide of a match and provide essential protection to the rest of the team.
It can be hard to pick the right tank for the right maps, but as long as you think about the pros and cons of their individual toolkit, you can adapt to all maps. It's recommended that you learn more than one tank so you can switch where appropriate. Make sure you're also adapting to the enemy team's composition and communicating with your team for synergy.
Push Maps

Push maps involve a robot that either team can escort and move closer to the enemy team's base. The robot won't move if the area is contested.
Colosseo
Winston is the best tank to use on Colosseo since he can easily get into the enemies' backlines to eliminate support heroes there. This is especially useful in Colosseo's first phase, which is a straight narrow road. Winston's bubble barrier is a useful tool for breaking enemy line-of-sight while creating protection for a diving tank.
Esperança
Esperança is another push map with curving roads, but there's more wide open space and room for flanking here compared to other push maps. Wrecking Ball works well here thanks to the map's high buildings giving him plenty of opportunity to grapple. His AOE Ultimate can also negate a lot of space to create areas enemies can't flank through.
New Queen Street
New Queen Street has one long road that curves several times, meaning you'll be engaged in close-quarters combat a few times during the course of a match. This means that Zarya and Reinhardt both operate well on New Queen Street because of their close-range attacks and area-of-effect Ultimates that can leave entire enemy teams vulnerable to damage.
Control Maps

Control maps contain three objectives that either team can capture. After a team captures one objective, the map will progress to a different location.
Busan
D.Va is a good choice for some of Busan's objectives as her self-destruct has the potential for multi-kills in the map's wide open spaces. Otherwise, Wrecking Ball's toolkit allows him to be a solid alternative on most control maps, thanks to his AOE Ultimate and high mobility.
Ilios
Roadhog is arguably the best tank on Ilios since there are plenty of opportunities for environmental kills. Use Roadhog's hook ability to drop enemies into positions where they can fall to their deaths. His ability to one-hit kill is also useful when it comes to team skirmishes. Winston is another good pick since his Ultimate Ability has a knockback effect, allowing him to push enemies into pits and off the map.
Lijiang Tower
Lijang Tower is a solid map for Winston as his crowd control capabilities are great, he can knock enemies into the map's fall zones, and his barrier can create layers of defence while trying to capture an objective. His multi-target weapon is useful for the tight spaces that Lijang Tower contains.
Nepal
Roadhog's hook and Ultimate are useful tools inside Nepal's temple, since he has the potential for lots of environmental kills. Apart from that, you'll be engaged in lots of tight skirmishes, making Zarya a compelling pick.
Oasis
Oasis is another great map for Wrecking Ball as he can flank from multiple angles on this map, and his Ultimate Ability is especially powerful on control maps.
Escort Maps
.jpg?q=50&fit=crop&w=740&dpr=1.5)
Escort maps contain one payload that an attacking team needs to escort through the map. The payload can't move if it's contested.
Circuit Royal
On Attack, the long roads on Circuit Royal mean you'll need to defend your team for long stretches of time. Sigma's deployable barrier and long-range capabilities are useful here.
On Defence, Zarya can be deadly as she's likely to consume a lot of incoming damage and can quickly dispose of enemy supports who are likely to stay close to their team on the payload.
Dorado
On Attack, Reinhardt is a solid pick thanks to his ability to shield the payload and push through the multiple tight chokepoints on the map.
On Defence, Zarya is great to deal with the close and medium-range encounters that will occur throughout the match. Winston can be a good alternative on either side.
Junkertown
On Attack, the enemy team will likely be scattered at first since there's no obvious vantage point where they'll congregate. D.Va and Winston are decent choices thanks to their high mobility and ability to corner individual targets.
Later on in the map, there'll likely be enemies hiding at vantage points, so these two tanks can easily deal with stray targets.
On Defence, the open areas make Roadhog a viable choice, thanks to his hook ability. You'll want to counter the enemy team, though, so make sure you're reacting to the enemies' team composition.
Route 66
Route 66 encourages long-distance combat, so Orisa can be a great pick on Attack or Defence. Her Ultimate can easily deal with enemies around the payload. Sigma is a good alternative, thanks to his barrier and projectiles.
Watchpoint: Gibraltar
Gibraltar is a map that can reward attacking from afar, so Reinhardt and Zarya are out of the question. Sigma and Winston are especially useful here since they can either attack faraway enemies or close the distance well. Multiple enemy vantage points make Winston's leap attractive.
Hybrid Maps
.jpg?q=50&fit=crop&w=740&dpr=1.5)
Hybrid maps contain one initial objective that the enemy team needs to capture. After that, they'll need to escort a payload that can only move when it's uncontested.
Blizzard World
On Defence, Orisa is a good pick thanks to her long-range capabilities since Blizzard World has many long stretches of road. Sigma could be an alternative if you need a barrier to protect your DPS allies camping on higher ground.
On Attack, Winston can be used to dive onto the objective and disrupt the enemies defences. Wrecking Ball can also be deadly, thanks to this map's high walls and twisting roads.
Eichenwalde
Zarya and Reinhardt are useful tanks on Attack, since they can push through the initial chokepoints with their barriers. Reinhardt's barrier can be used to defend the payload since there's tons of open space after the first objective.
On Defence, Reinhardt or Sigma are similarly useful as they can plug up chokepoints with their barriers, allowing the DPS to push back enemies.
Hollywood
On Attack, you'll want a tank that can push through the initial chokepoint as fast as possible. D.Va is a useful hero in this regard, as she can boost onto the higher platform that most enemy DPS will be camping on.
The rest of Hollywood is quite vertical, with plenty of spots for snipers so D.Va will be handy throughout.
On Defence, Roadhog can be used to hook enemies trying to bypass any chokepoints. There are quite a few narrow corridors in Hollywood, So Roadhog's short-range shotgun can be lethal.
King's Row
For Defence, tanks with barriers are most useful here since there are multiple chokepoints throughout the map. The first objective requires close combat, so Reinhardt would be a good pick here.
King's Row can be a very tricky map to push through, especially on the first objective.
Orisa is a good choice on Attack, since she's very hard to kill and can stun the enemy tank for a few seconds.
Midtown
If you're playing Attack, Zarya and D.Va are great picks in Midtown. Both of their toolkits will be useful when trying to push through the train on higher ground.
The narrow space will make Zarya's barrier hard to avoid. Meanwhile, D.Va's booster ability can get her onto the objective as quickly as possible.
On Defence, Sigma can be a useful pick as his barrier can plug up chokepoints while he's still able to deal long-range damage from a vantage point - of which there are many in Midtown - with the rest of the team.
Numbani
Numbani can be a difficult map to attack, thanks to a tight chokepoint on the first building. Zarya can work well here since she benefits from absorbing a lot of damage and can use this to power through enemy teams.
Winston's toolkit can also allow him to disrupt a tightly knit enemy defence.
On Defence, a barrier tank is ideal for creating a tight defence at the first checkpoint. If you fail to defend the first objective, Orisa's long-range weapon can be useful on this map's long pathways.
Paraîso
For teams of Defence, a barrier tank is most useful since the enemy team will need to push through a tight chokepoint. Both Reinhardt and Sigma are good choices on Paraîso.
When on Attack, you'll want to pick a tank with high durability and the potential for high damage output.
Roadhog is a viable option thanks to his self-healing and ability to one-hit kill a target, which can turn the tide of a team skirmish. Zarya also fits the bill.