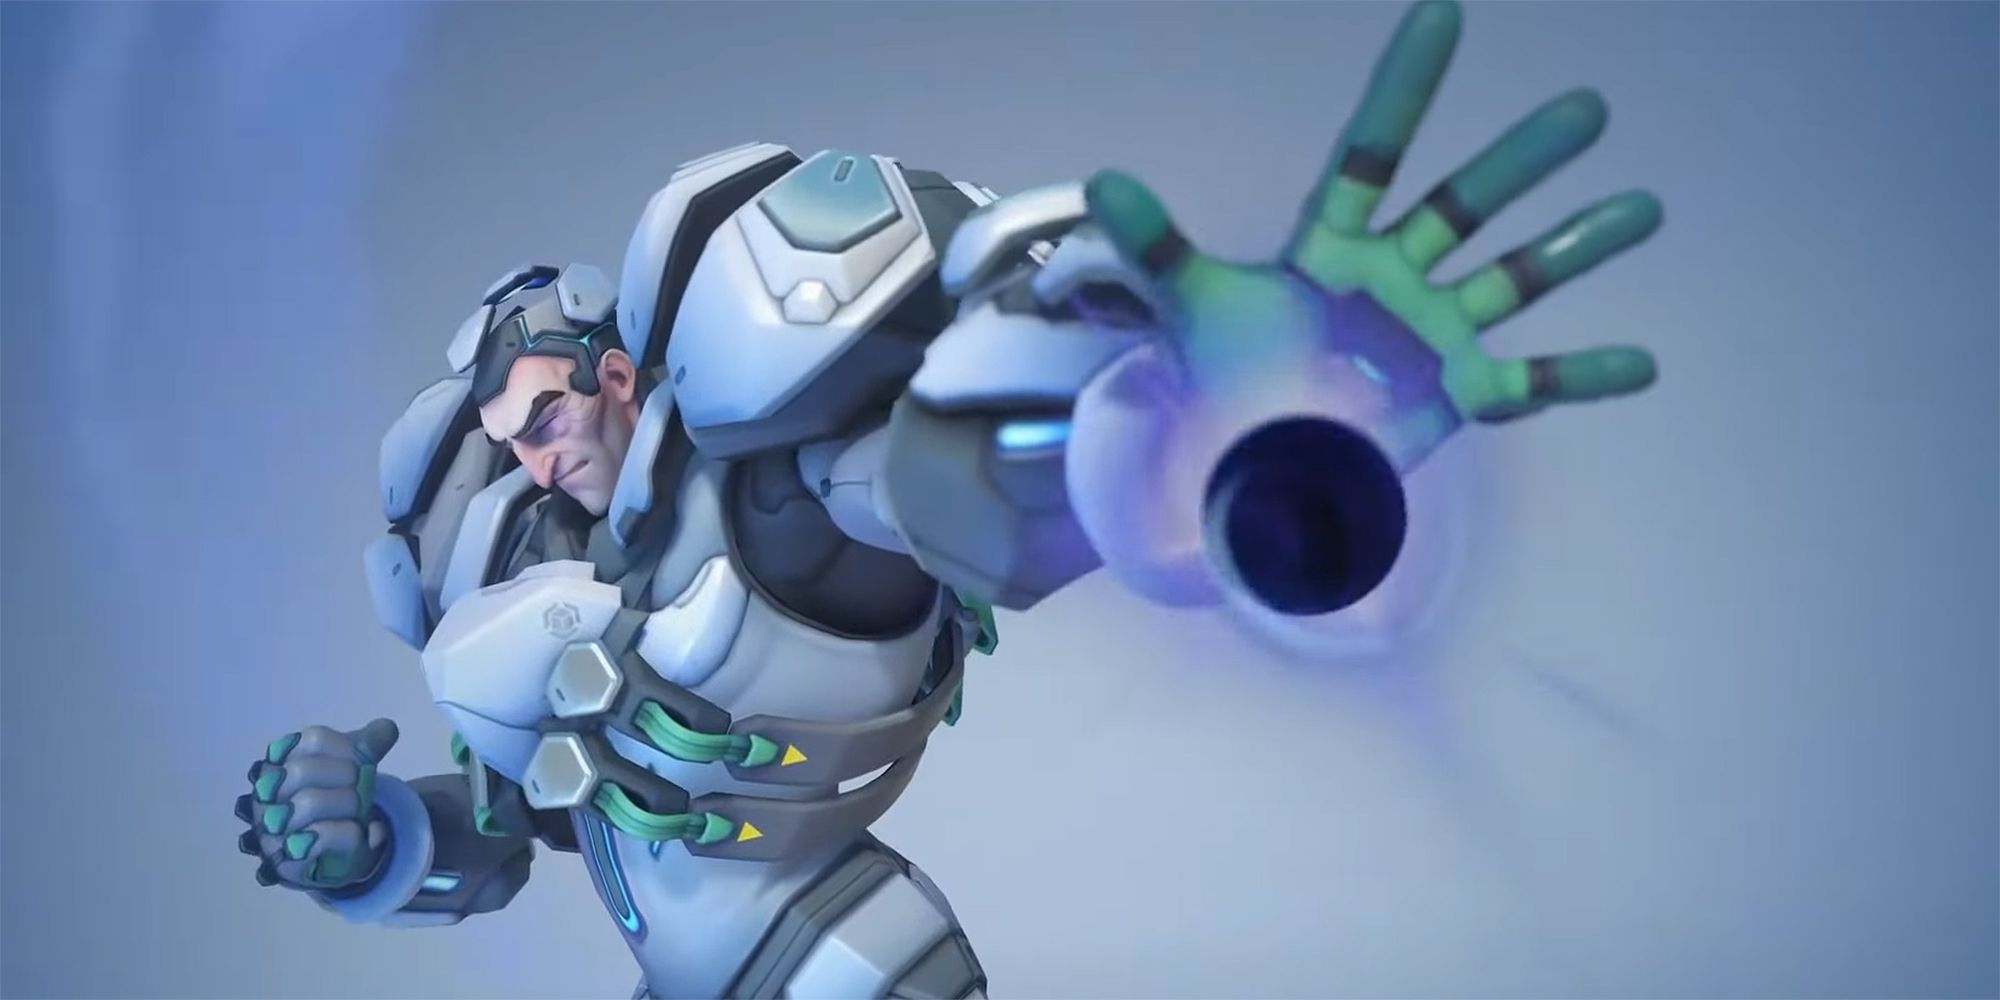
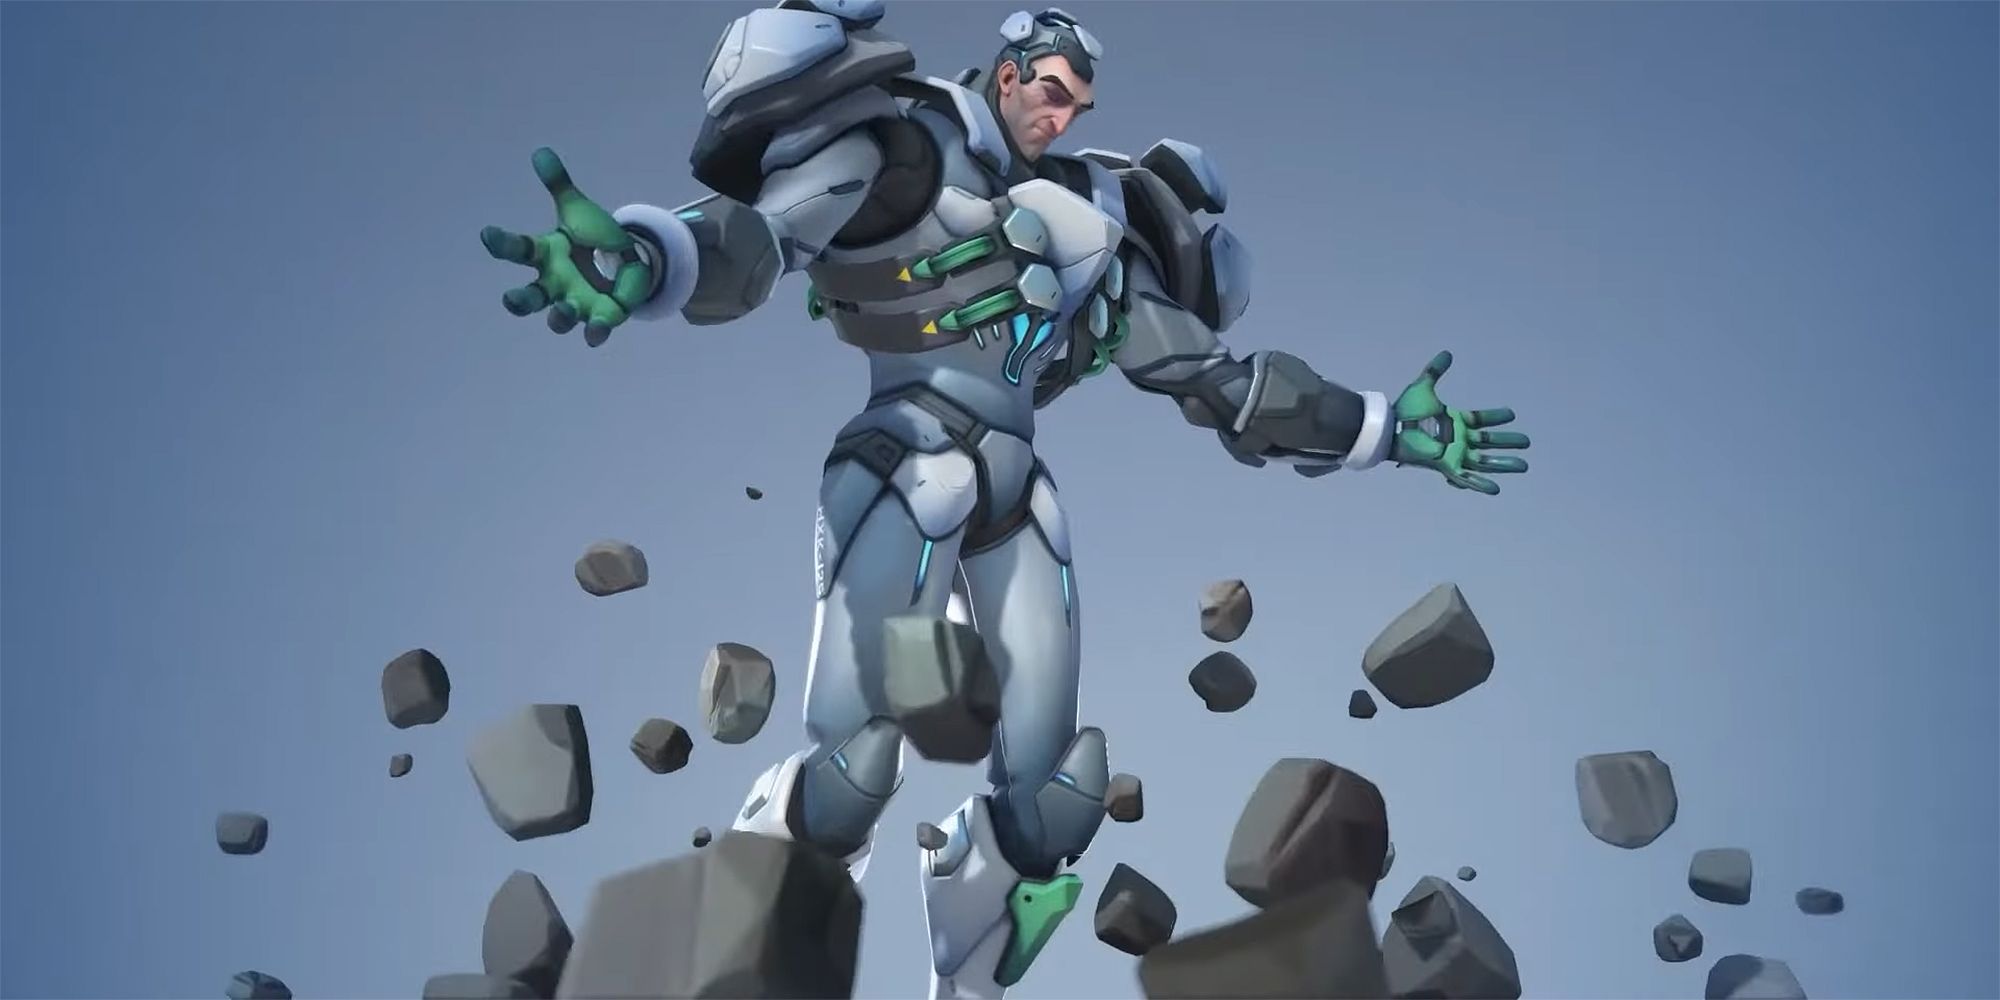
Sigma is a Tank Hero in Overwatch 2. By harnessing the power of gravity, Sigma uses a variety of abilities to protect his team and attack his enemies. Sigma is a powerful Tank that may seem simple at first, but has a wealth of tools for most situations the enemy can throw at him.
Sigma can be a difficult Hero to get the hang of, due to his long cooldowns and unique basic attack. Let's take a look at each of Sigma's abilities, and some tips and tricks for using them.
Sigma Ability Overview
|
Ability |
Description |
|---|---|
|
Basic Attack - Hyperspheres |
|
|
|
|
First Ability - Experimental Barrier |
|
|
|
|
Second Ability - Kinetic Grasp |
|
|
|
|
Third Ability - Accretion |
|
|
|
|
Ultimate - Gravitic Flux |
|
|
Sigma has 550 base health, divided into 350 health and 200 shields. As a Tank Hero, Sigma is more resistant to knockbacks, and damaging or healing him provides less Ultimate charge.
Tips And Tricks For Playing Sigma
Learning to use Sigma's kit can be difficult, due to its variety of uses and long cooldowns. Here are some tips and tricks for using each of Sigma's abilities.
Hyperspheres Angler
Sigma's basic attack, Hyperspheres, throws two orbs that can bounce off walls. These projectiles have a small gravity effect, and will slightly pull enemies toward the area they explode. While they can bounce off walls, they will not gain any distance by doing so, and will explode once they've traveled their maximum distance, or when directly hitting an enemy.
Using the wall-bouncing mechanic, you can aim Hyperspheres around corners, letting you hit out-of-reach enemies. Because of the long cooldowns on Sigma's abilities, your playstyle mostly involves picking at enemies with Hyperspheres while protecting your team with your Experimental Barrier.
Experimental Barrier Control
Sigma's Experimental Barrier is a versatile tool that can protect your team in a variety of situations. By holding the secondary fire button, you can move the Barrier forward, allowing you to set up a barrier much farther away from your team. Additionally, by pressing the secondary fire button again, you can manually recall the barrier.
Using this, you can recall out-of-place barriers, or barriers that are close to being destroyed, saving them from being put on a longer cooldown, and allowing them to start regenerating more quickly. Keep a constant eye on your barrier meter, and be ready to recall them as soon as they are not useful anymore.
Kinetic Grasp Projectiles
Sigma's second defensive ability is Kinetic Grasp, which allows him to absorb projectiles in a large area to his front. After the ability ends, any damage absorbed is converted into shields for Sigma, adding to his maximum health. The amount of shields gained is proportionate to the damage of the absorbed projectiles.
Kinetic Grasp is great for protecting your team from a few projectiles, but its long cooldown and short duration make it difficult to use consistently. Instead, use Kinetic Grasp when pushing forward, as the enemies firing on you will inadvertently grant you more health, making you a bit Tankier for a few seconds.
Accretion Knockbacks
Accretion deals high damage and knocks down its target on a direct hit, making it a great tool for finishing off low-health enemies or stunning a flanking Tracer or Genji for a moment, allowing your team to capitalize. If Accretion does not directly strike an enemy, it will still deal damage in the area where it lands, and has a slight knockback effect, which can be used to push enemies off ledges or into voids on certain maps, like Nepal or Ilios.
Gravitic Flux Combo
Sigma's Ultimate, Gravitic Flux, can be used in a variety of useful ways. Primarily, it can be used to eliminate targets below 50 percent health, as it will always hit for the other 50 percent health when the enemy is slammed back down.
Enemies trapped in the Gravitic Flux are greatly raised off the ground, which can be used to move enemies off the objective during overtime.
While trapped in Gravitic Flux, enemies will still be able to use their abilities, as applicable, but your team will be able to shoot them, too. In this way, Gravitic Flux can be combined with other teammates' abilities, trapping them in place for a few seconds while they eliminate them.
This is especially useful when using Gravitic Flux on enemies in enclosed spaces, as they won't be lifted far off the ground, and Ultimates like Reaper's Death Blossom or Junkrat's Riptire can still hurt the lifted enemies.


