Quick Links
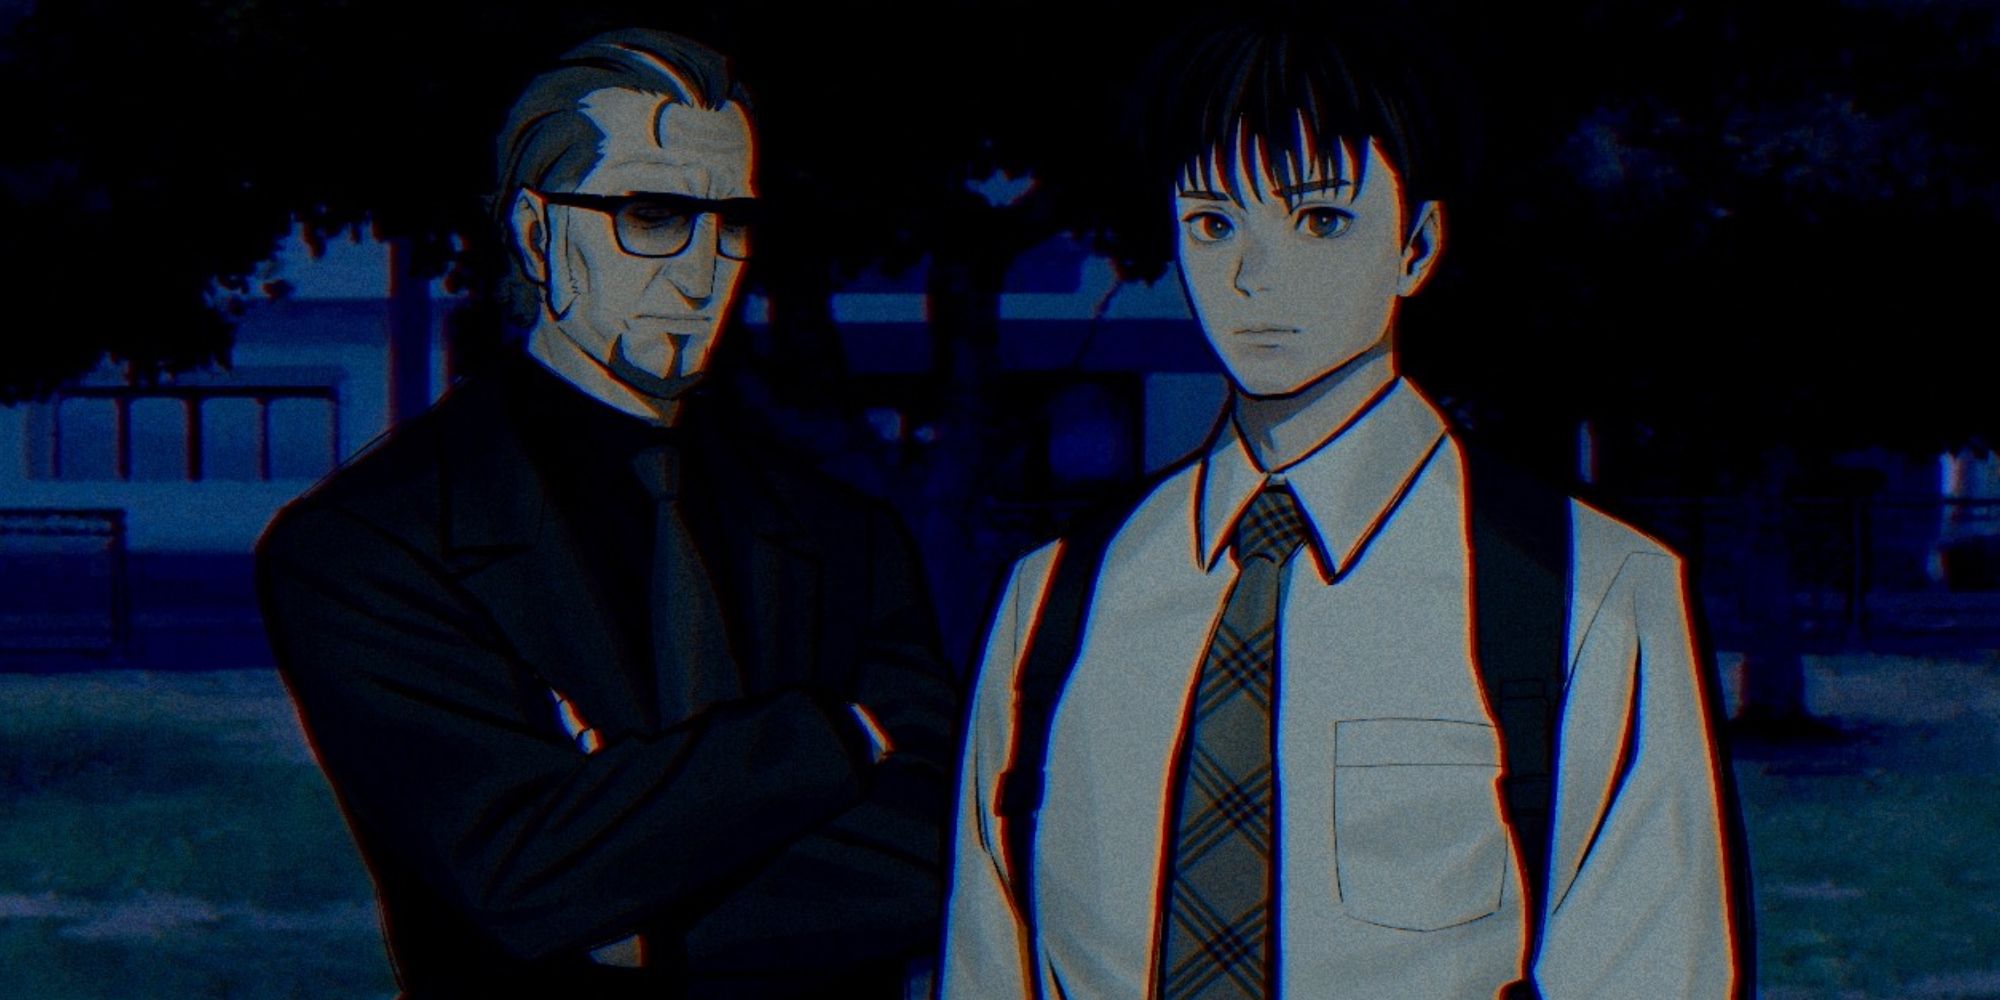
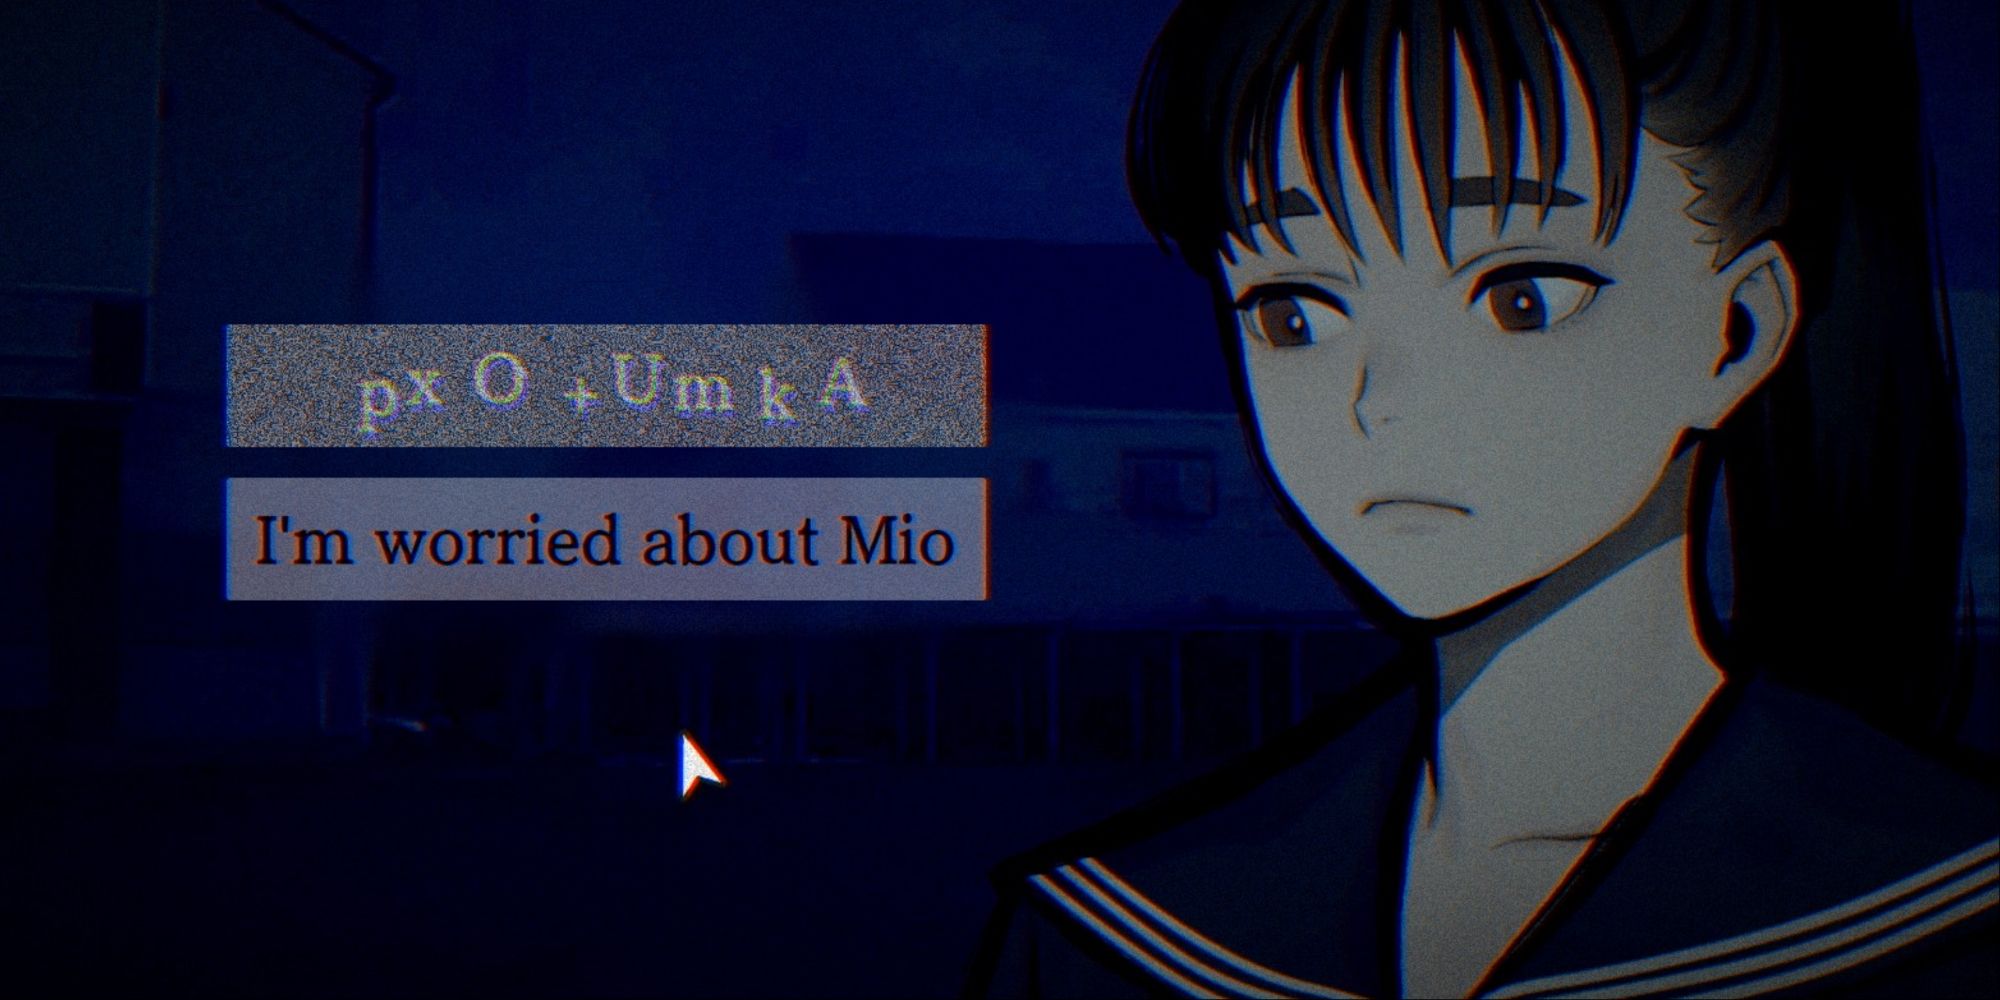
Paranormasight: The Seven Mysteries of Honjo is a visual novel and puzzle game developed by Square Enix, and it's a terribly spooky one. Following a number of protagonists as they navigate tempting curses at their disposal and pursue the Rite of Resurrection, a legendary power thought to bring the dead back to life, the game is about as non-linear as a visual novel can get.
Paranormasight: The Seven Mysteries Of Honjo - How To Unlock All 6 Endings
Here's how to unlock every ending in Paranormasight, including that hard to find true ending.The guide below will help you progress through the individual chapters of the game, including how to get through them safely - stray from the instructions below, and you might find your protagonists suffering brutal and fatal fates.
Updated October 5, 2023: We've given this walkthrough a lick of paint and made sure that all the information contained within is clear and accurate. Happy investigating!
General Tips
As Paranormasight is a visual novel, many of the chapters detailed below simply involve reading dialogues between the main characters and examining everything that there is to examine in the immediate vicinity - only a few chapters have any puzzles or specific interactions to take.
Some chapters only involve dialogue and exploration - to progress in these chapters, you simply need to talk to characters and examine parts of the environment until a checkmark appears next to their label. Sometimes, you'll need to examine certain things or finish other dialogue options before you can get a checkmark with every option available to you.
Paranormasight is divided into a few separate chapters. At certain points in the game, you will have to pursue and complete other characters' routes before you can progress the entire story. You know that this is the case when the next chapter's icon in a character's route is obscured by television static.
Shogo Okiie's Route
At the start of the game, Shogo is the only protagonist you can play as, and you don't have access to the time-bending Story Chart mechanic. This part of the game is incredibly linear, and the cutoffs between chapters are not as obvious.
You'll begin the game in Kinshibori Park. To progress after the introductory sequences, talk to Yoko. When you can, use the Think and Recall options to get hints about what you need to do next. After the flashback, you must examine everything in the park and then examine Yoko to progress.
Talk to Yoko and exhaust her dialogue options. When something happens, and the screen flashes for a moment, pan the screen down back to Yoko and try to talk to her. Then, turn around and look to the sky. You'll get a prompt; click it. Now, turn to look at Yoko again.
Examine Yoko and then the telephone booth to call an ambulance. After this, examine the object on the ground next to Yoko.
Examine your surroundings until you spy a shadowy figure. Call out to him and then exhaust his dialogue options. After this, turn around to face Yoko again.
This will be your first death in the game, but you get to try again, thanks to the Storyteller.
This time around, keep talking to the mysterious man and exhaust his dialogue options. After this, click the Recall button. Talk to the man, and then click the Think button. Convince him to leave by telling him about the ambulance. When he's walking away, you will get a chance to trigger the curse yourself, but if you do not, Shogo will do it for you.
After the scenes, you'll get access to the Move button. First, go to the Shumoku Bridge Area. You'll get the 100-Yen Lighter. Now move to South Warigesui Street and examine the surroundings, and then the mysterious shifting object in the distance.
When prompted, pick the Get Closer option. In the darkness, open your Item menu and select the 100-Yen Lighter.
If you do not use the 100-Yen Lighter in time, you'll be treated to another death scene.
Move to Ho'onji Bridge and talk to the man there by calling his attention. Exhaust his dialogue, and then select the Move option again to unlock more places to go.
Go to Midoricho Park and observe the two men talking together for a while. When one of them mentions a noise behind them, pan the screen until the tree covers both the men up. After this, keep listening to their conversation until they look back again - this time, get caught. Exhaust their dialogue. When they ask you which mystery is associated with Midoricho Park, the correct answer is the Taiko of Tsugaru.
When finished with the police officers, move to Komagata High School. Examine the School Gates to meet a High School Girl. Talk to her.
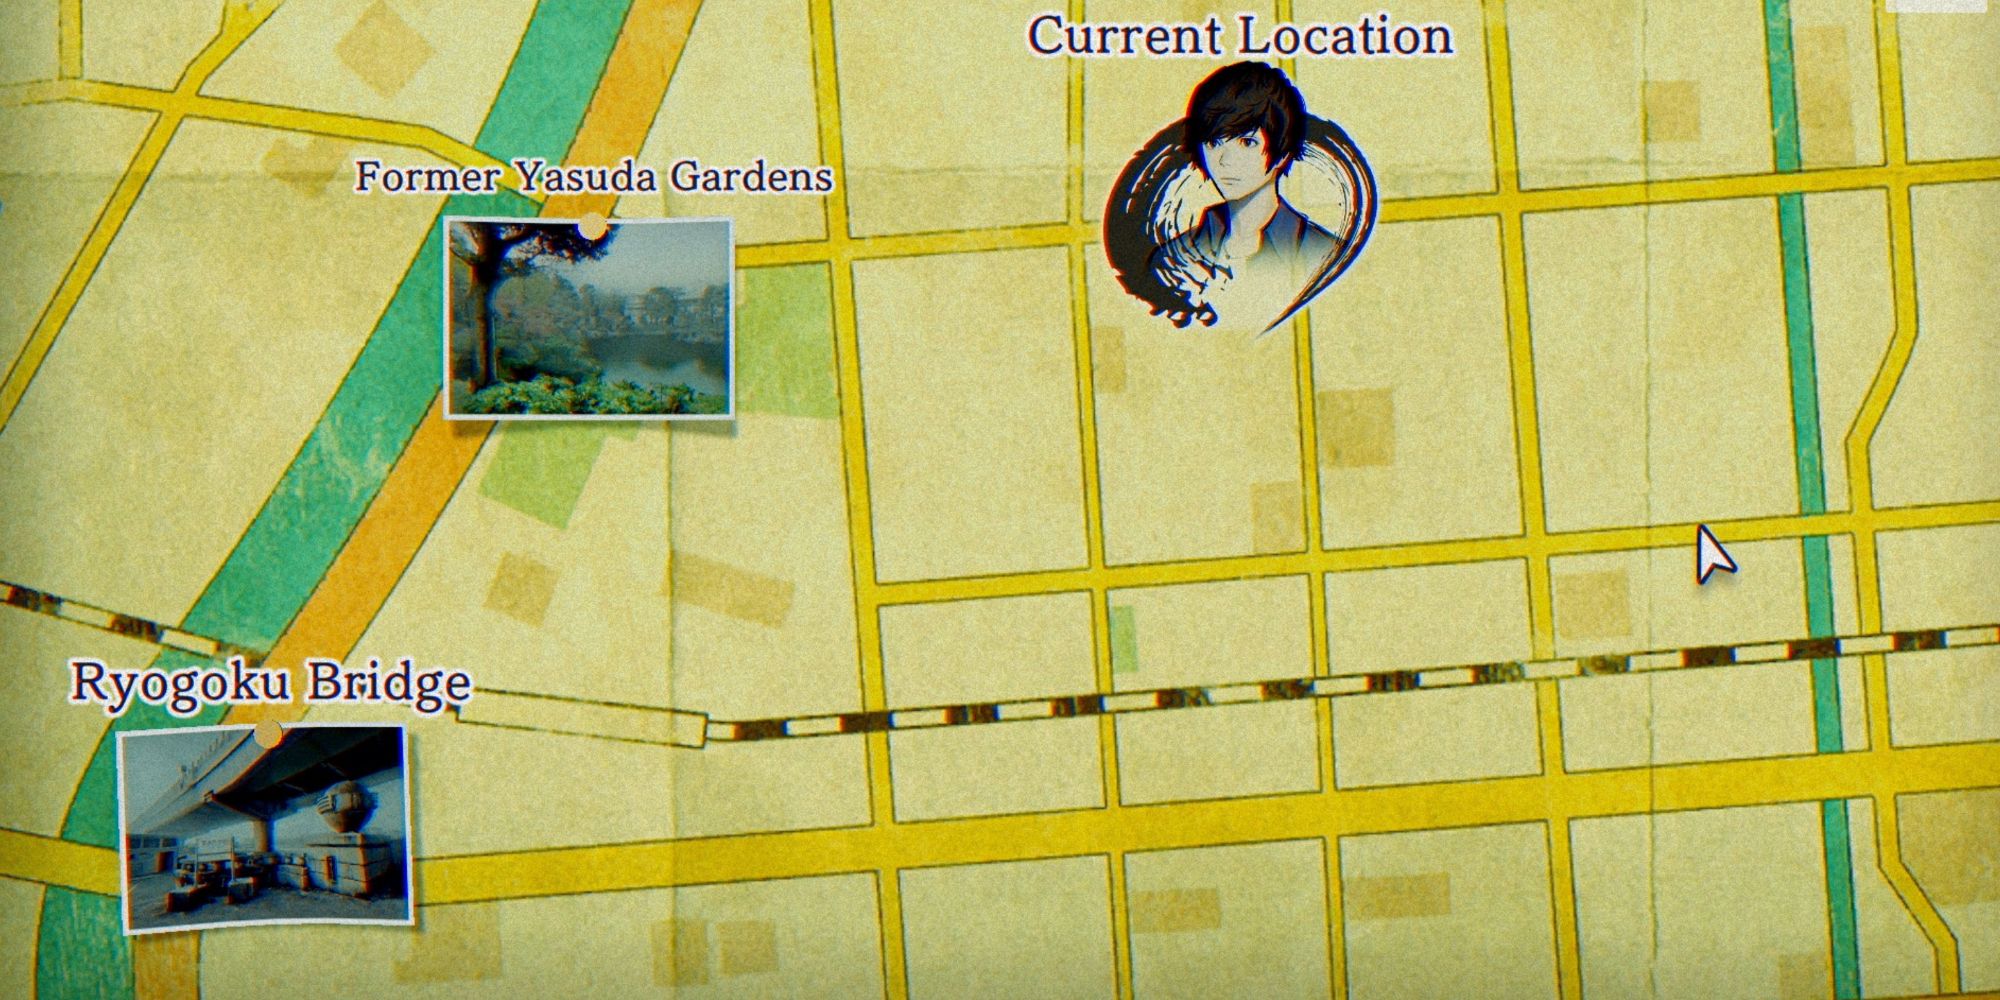
With that done, there are two final locations to explore. Pick the Former Yasuda Gardens first. Pan the screen around until you meet a woman. She will give you a limited amount of attempts at convincing her not to kill you, but they will all be in vain - eventually, time will run out, and the woman will kill Shogo but also hint at her activation condition.
When you try again, open your Items menu before panning around to see the woman and select the 100-Yen Lighter. Choose to throw it away.
Once that's done, move to Ryogoku Bridge. Before talking to the man you meet here, go into the Options menu, click the Audio tab, and slide the Voice Volume slider all the way down to zero. The game has no voice acting anyway. With that done, exhaust the man's dialogue. The following scenes will conclude the first playthrough of Shogo's story and unlock the Story Chart.
With access to the Story Chart, go back to Kinshibori Park (Part 2) and resume from the 'Something's happening to Yoko' point. This time, don't turn around; just keep trying to talk with Yoko until you get the option to yell her name.
The next two chapters will play out automatically. With this done, you will unlock three more characters to play as.
Rather than exhaustively detail the rest of the chapters in the game, the sections below will list the individual chapters in each route and the actions that must be taken within them to complete the game.
Harue Shigima's Route
|
Chapter |
Walkthrough |
|---|---|
|
Not Dreams |
|
|
A Nice Thought |
|
|
No More Curses |
|
|
Life Can Be Tough |
|
|
Dead or Alive |
|
|
Too Much to Handle |
|
|
Last Resort |
|
Tetsuo Tsutsumi's Route
|
Chapter |
Walkthrough |
|---|---|
|
Crime Scene Investigation |
|
|
The Hunt for the Curse Bearers - Part 1 |
|
|
The Hunt for the Curse Bearers - Part 2 |
|
|
A Threatening Phone Call |
|
|
Sorting Things Out |
|
|
Fancy Sushi |
|
|
Standing By |
|
|
Manhunt |
|
|
Conclusion |
|
Yakko Sakazaki's Route
|
Chapter |
Walkthrough |
|---|---|
|
Spirit Board |
|
|
Two Things to Remember |
|
|
Escape from Komagata High |
|
|
A Successful Getaway |
|
|
Hitomi's Help |
|
|
Seiman |
|
|
I'll See You Again |
|
|
Let's Do This |
|
|
Preparing for Battle |
|
The Fifth Character's Route
This chapter is a bit different to the rest, as it involves a lot of chapter switching using the Story Chart.
When the chapter begins, examine the floating words to make them disappear and then select 'Get up.' Click Recall when prompted and type the name 'Hajime' in.
Once you are standing and able to look around the room, do the following:
- Examine the mirror.
- Examine the container on the steel shelves and take it.
- Examine the mirror again.
- Examine the lockers and open the left locker.
- Examine the mirror one last time.
- Hit the Recall button and type in the name 'Mayu' when prompted.
Now that you have remembered who you are, it's time to find a way to contact the outside world and get rescued.
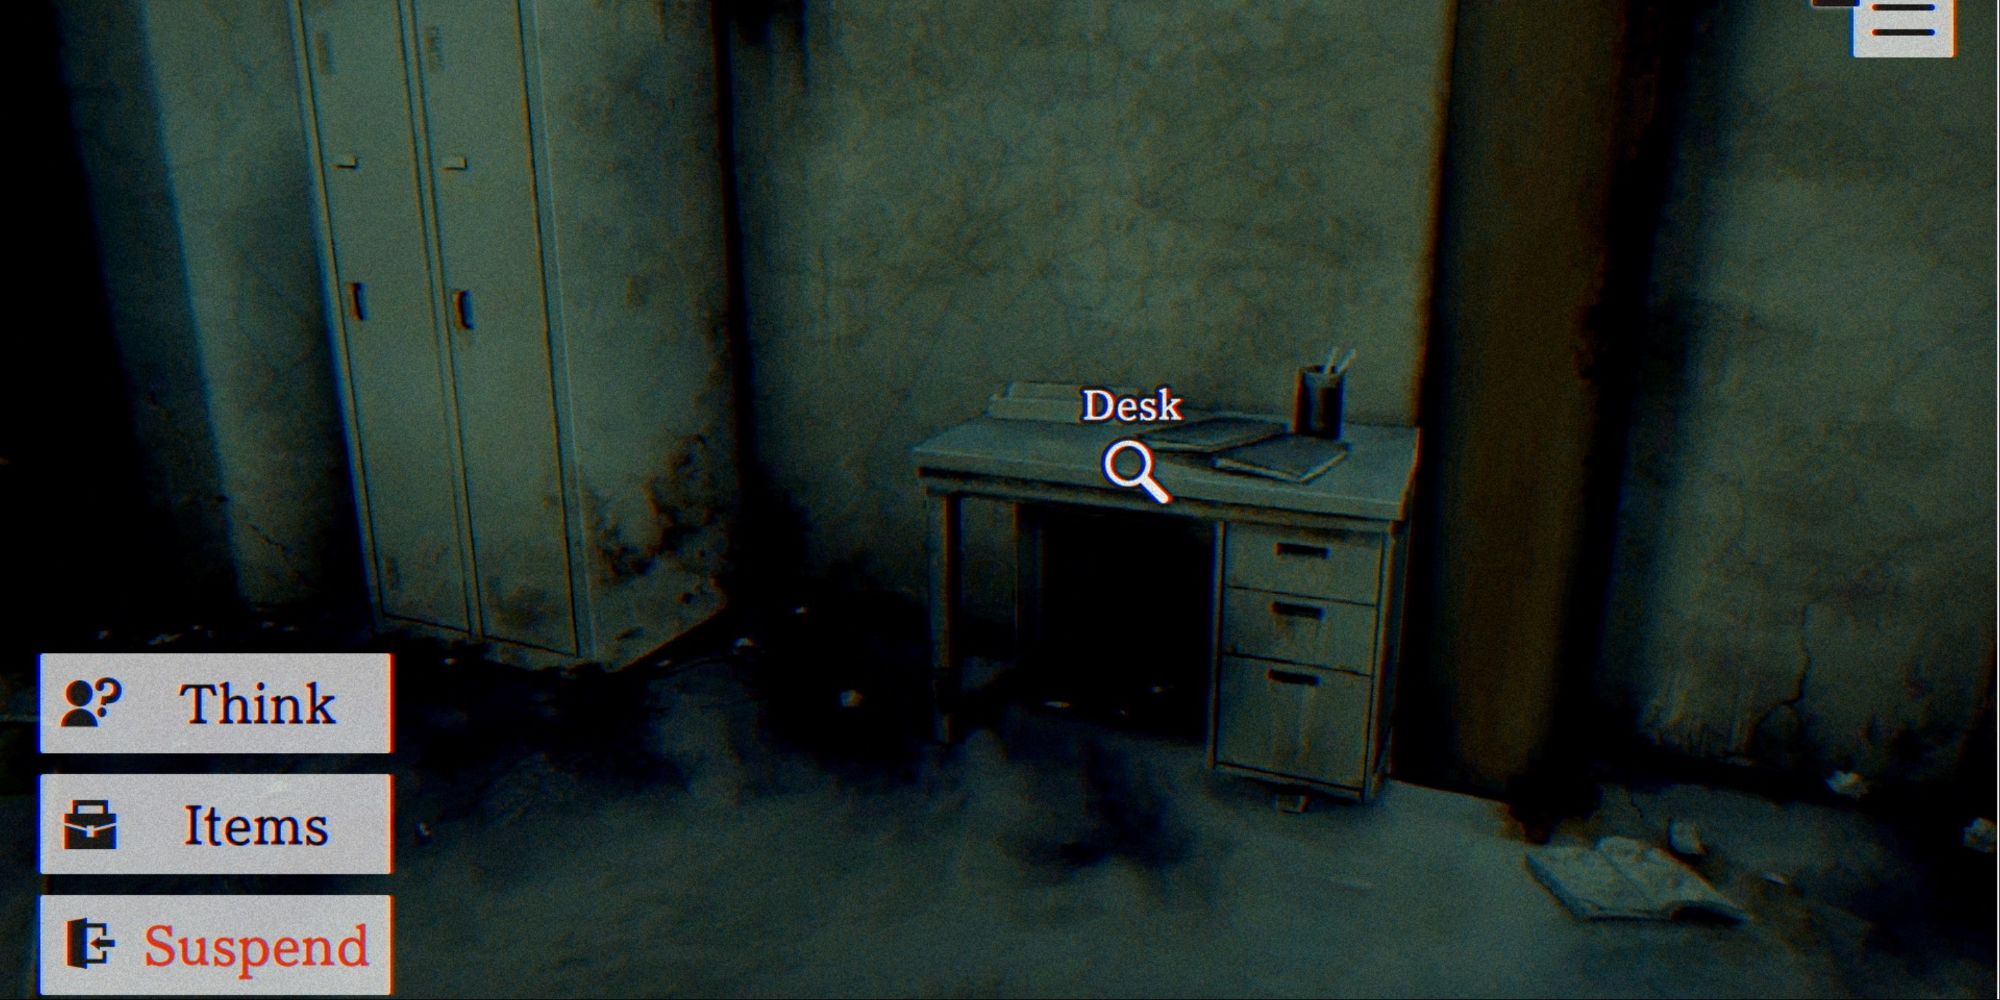
Firstly, pan the screen upwards to the ceiling and examine the lights to clean them. Now, you can examine more things in the room. Examine the curse stone on the ground.
You'll get Mayu's curse stone and then get to play through a flashback. After the first few lines, pan the screen to the left to find Takumi. In the next scene, pan the screen up to Takumi's head to listen to his conversation. Whenever Mayu's gaze drops back down, shake her head left and right by panning the screen to keep her awake before panning back up to Takumi's head.
After the flashback, examine the cabinets on the ground until you look closely at the lock. You learned in the flashback that the code is the date of Hihaku Soaps's foundation. Examine the lock and choose to enter a number. The code is 1946. You'll find a fax machine inside - now all you need are a phone number and a pen.
- To get the pen, examine the desk.
- Examine the pen from your Items menu to find that it's totally dried up.
-
Select the 'Can be fixed with nail polish remover' option.
- If you don't have this option, you'll need to Suspend this chapter and go to Tetsuo's Standing By chapter and talk to Erio until he mentions nail polish remover.
- Examine the cardboard boxes in the corner to get nail polish remover.
- Use the nail polish remover from your Item menu to fix the pen.
Now all you have to do is find a phone number to use.
- Suspend the chapter and resume Harue's Too Much To Handle chapter by resuming from location selection.
- Move to the Shigima Residence.
- Examine the fax machine to learn Harue's phone number.
- Select Finish Investigation and return to the Darkness chapter.
- Examine the fax machine.
- Select Ho'onji Bridge.
- Suspend the chapter and head back to Harue's Too Much To Handle chapter.
- Move to the Shigima Residence to receive the fax.
- Move to Ho'onji Bridge and examine the Factory.
With that done, there are only a few more things left to do back in the Darkness chapter. Before the chapter ends, you must witness all the scenes available to Mayu through the Think action and by examining the sticker found in the bottom drawer of the desk.
Once you've completed those actions, examine the door to end the chapter.

