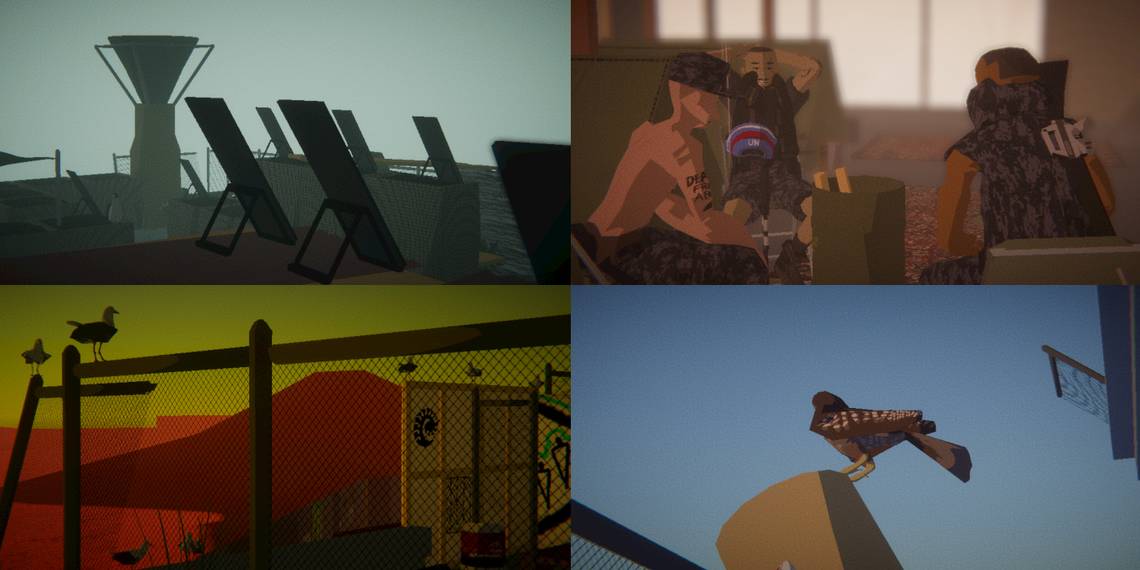
Whether you are a professional photographer in real life, need a relaxing game, or fancy some creativity, Umurangi Generation is for you. This is a game with low yet aesthetically pleasing graphics set in the far and bleak future. As a hired photographer you're sent to locations to make them look, well, less bleak.
Umurangi Generation is a game where you can either look at it from a challenging aspect and strive to complete everything perfectly while trying to manage time, or you can ignore all of that and wander around for hours, taking photos of whatever you like. All photos you take in-game with the camera are automatically saved to your computer in your C: drive by then going to Appdata, LocalLow, and Origame Digital.
Bounties

The bounties are the quests in this game. You can't progress into the next chapters without completing them. They can be seen by hitting ESC while in-game. The main things to note when working to complete these are the icons in front of the bounty and the fact that the world is your oyster. You can take a picture of whatever and whichever item you want. There are no specific rules. For example, there can be 10 markers scattered around the map but you only need a picture of two. As long as two markers are in frame, the rest is up to you. The icons in front of each bounty will let you know what type of camera lens you need to use or how you need to take the photo.
Using The Camera

To take a photo you just have to press right-click. From here you can zoom in and out with the mouse scroll wheel and adjust the focus by doing the same while holding down the Shift button. You can also lean side to side with Q and E. If a photo is entirely out of focus you will still get the completion for the bounty because it's still technically a photo of the item or persons.
As you progress through levels and gain money, you will acquire new camera lenses to use. They are automatically at hand in the next level once you earn them, you just have to switch between them and equipped it by scrolling your mouse wheel without aiming with the camera.
Bonus Bounties

There are side quests in this game that you can find beneath your bounty orders when you hit ESC on the keyboard. They stay relatively the same. Things like collecting all the film canisters, recreating the postcard photo for the place you're at, and photographing your friends. These side or bonus bounties usually require you to go on a hunt to find everything listed. Your friends will always be scattered around randomly and film canisters will be hidden in random corners of the map. The bonus bounties are part of what makes completing a delivery on time challenging since you have to find all these things before the time runs out, after having already found and completed the main bounties.
Blue Bottles

If you clicked on the tutorial at the beginning of the game then you will know not to take photos of blue bottles. Doing so will take money away from what you've already earned or lost thus far, on the spot. Blue bottles don't look like blue bottles at all, but rather strange looking dead aliens on the ground. There's no reason to take photos of them, but you may find them in the way of objects you do need photos of. The reason why they are bad is because it's the worlds litter and you're a payed photographer who's meant to make the place you're at seem tourist-y and pretty. If you showcase the litter, people won't want to visit.
Angles

Angles are entirely up to you. Just remember to attempt to do what others may not. Push the limits of your creative mind and parkour. Sometimes you can find secrets by parkouring and jumping around the map or sometimes it's the only thing you can do to get the shot you need.
If you're going to be jumping around, just be careful not to fall. Movement may feel stiff and slow so you'll have to time your crouching and jumping perfectly. If you've played a lot of Minecraft, though, this should be a breeze.
Money and Equipment

Every photo you take of a correct bounty, you will get money. Every photo you take that is not a bounty, you will lose money. You don't just get experience and points for every photo you take. You actually have to watch what you take a photo of and conserve your time and camera film so that you get the most amount of money you can. At the end of each level will be a screen like a receipt showing you the money you've spent and earned during your stay. After this, you will unlock new equipment that is automatically added to your inventory.
Your HUD

It's important to pay attention to your HUD. At the top left of your screen, you will see a timer start. If you don't finish all your official bounties within 10 minutes, you won't get a bonus. It's not too serious unless you want to complete each level with a perfect score and not miss a single thing. Though timers induce anxiety, you're allowed to go far beyond it's limits and move at your own pace. It's just for an extra bonus.
On the bottom left of your screen will show you four more pieces of information. The big icon lets you know what type of camera lens you have equipped, this is important because some people forget to switch their lens for the correct photo. Below the icon, what looks like a mini garbage can is actually the film canisters hidden throughout the map. Collecting all 6 goes towards a bonus bounty and here is where you can keep track of how many you found. Next is the amount of money you've earned so far. Above the pricing is how many shots with the camera you have left. After 24 shots you can no longer take any more.
Completing Levels And More

Once you've completed all bounties a delivery square will spawn on the map. You can wait and try to complete bonus bounties and explore or you can decide to finish up and leave. This will look like a pulsating red square like in the photo above. From the beginning of the level to the end there will be a similar object on the map, but this time it will be a green circle. This is your hint for capturing and recreating the postcard photo for one of the bonus bounties. Standing directly on the green circle will put you in the correct angle and position to recreate it. Sometimes this circle will be hidden around the map, though.