Frontier's zoo management simulator, Planet Zoo, enables players to take on the challenge of running their very own zoo. There are places to rebuild, renovate, and run as well as opportunities to build from the ground up. Each zoo you make will be home to animals that need to be kept in good conditions. The latest DLC, Planet Zoo: Aquatic Pack has added some new challenges to this process.
Building habitats that allow your animals to maintain a high welfare rating is essential to success, keeping both animals, staff, and visitors happy. With each new animal comes a new set of conditions to build to. Finding the right terrain, plants, shelter, and enrichment items is key and these things will vary between species. With the Aquatic Pack a new complication has been added, the need for deep water.
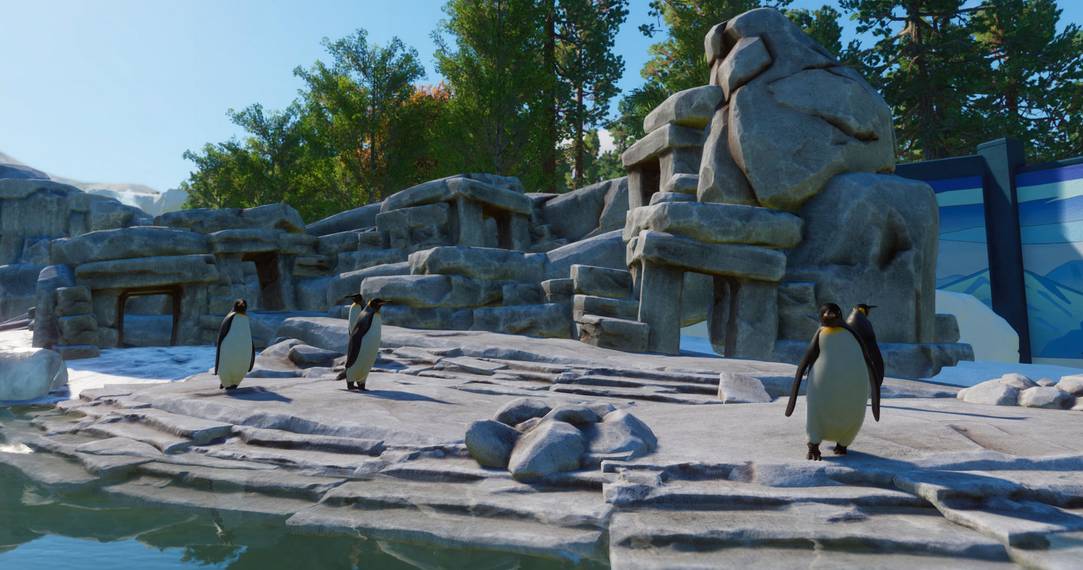
We take a look at the literal king of the pack, the King Penguin, and show you how to navigate building a suitable terrain for animals that live above and below the waterline.
Building The Basics
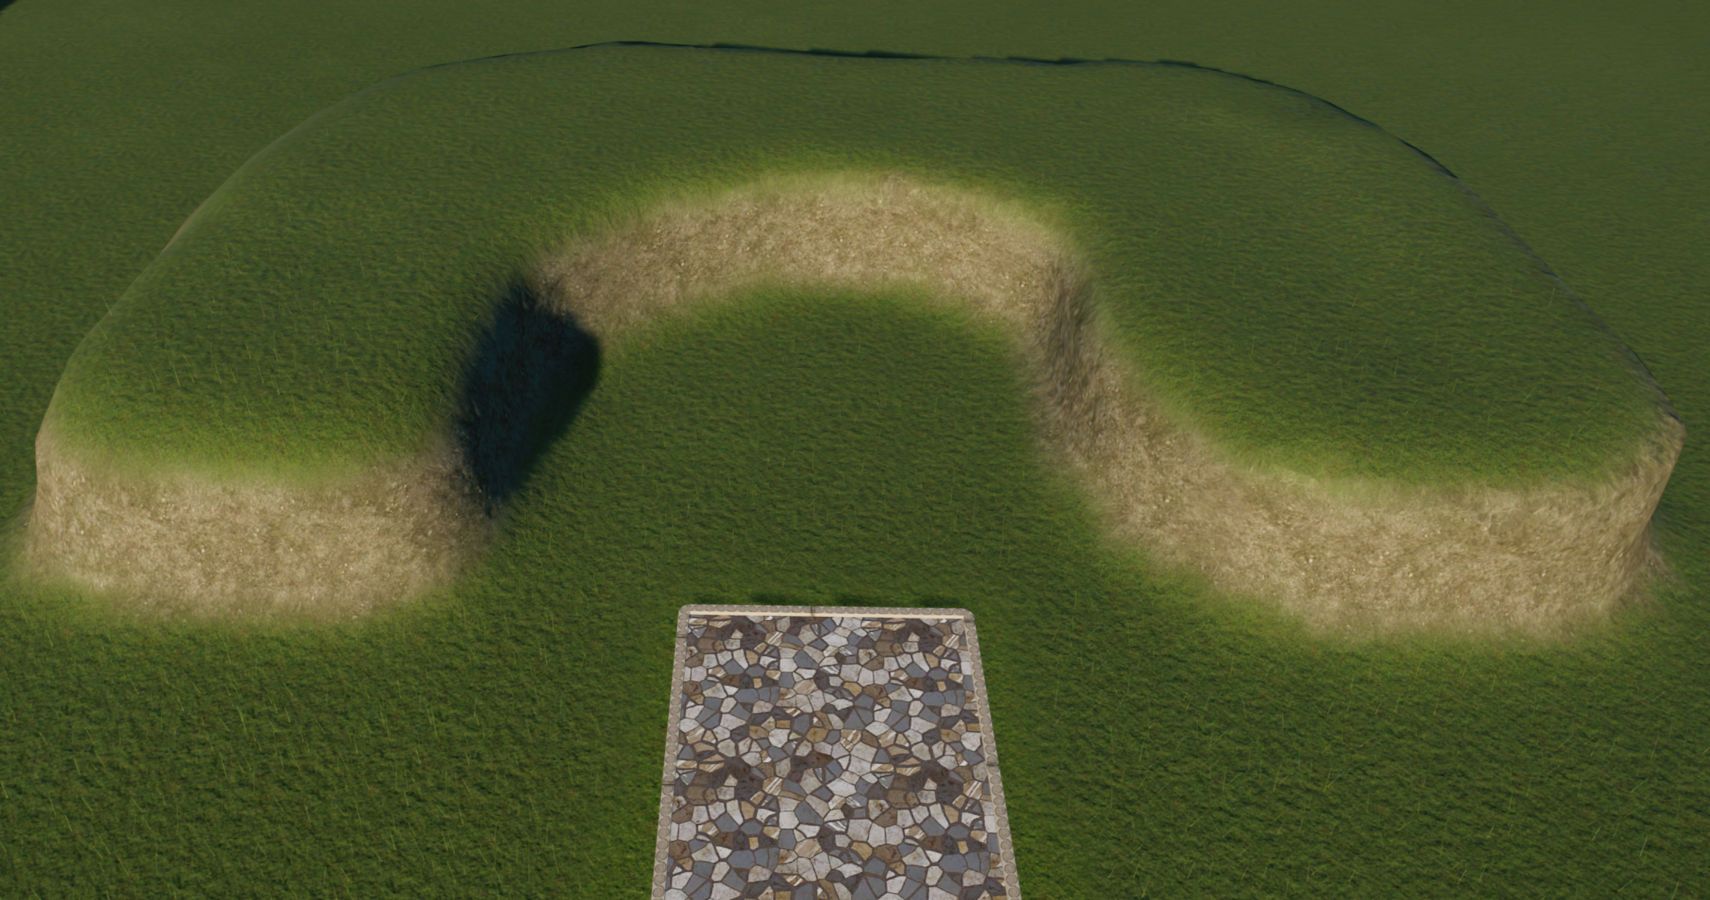
The first step in building a penguin enclosure is making space for the water. While you can do this by lowering the terrain I found it easier to raise it and have the underwater viewing area come in at ground level.
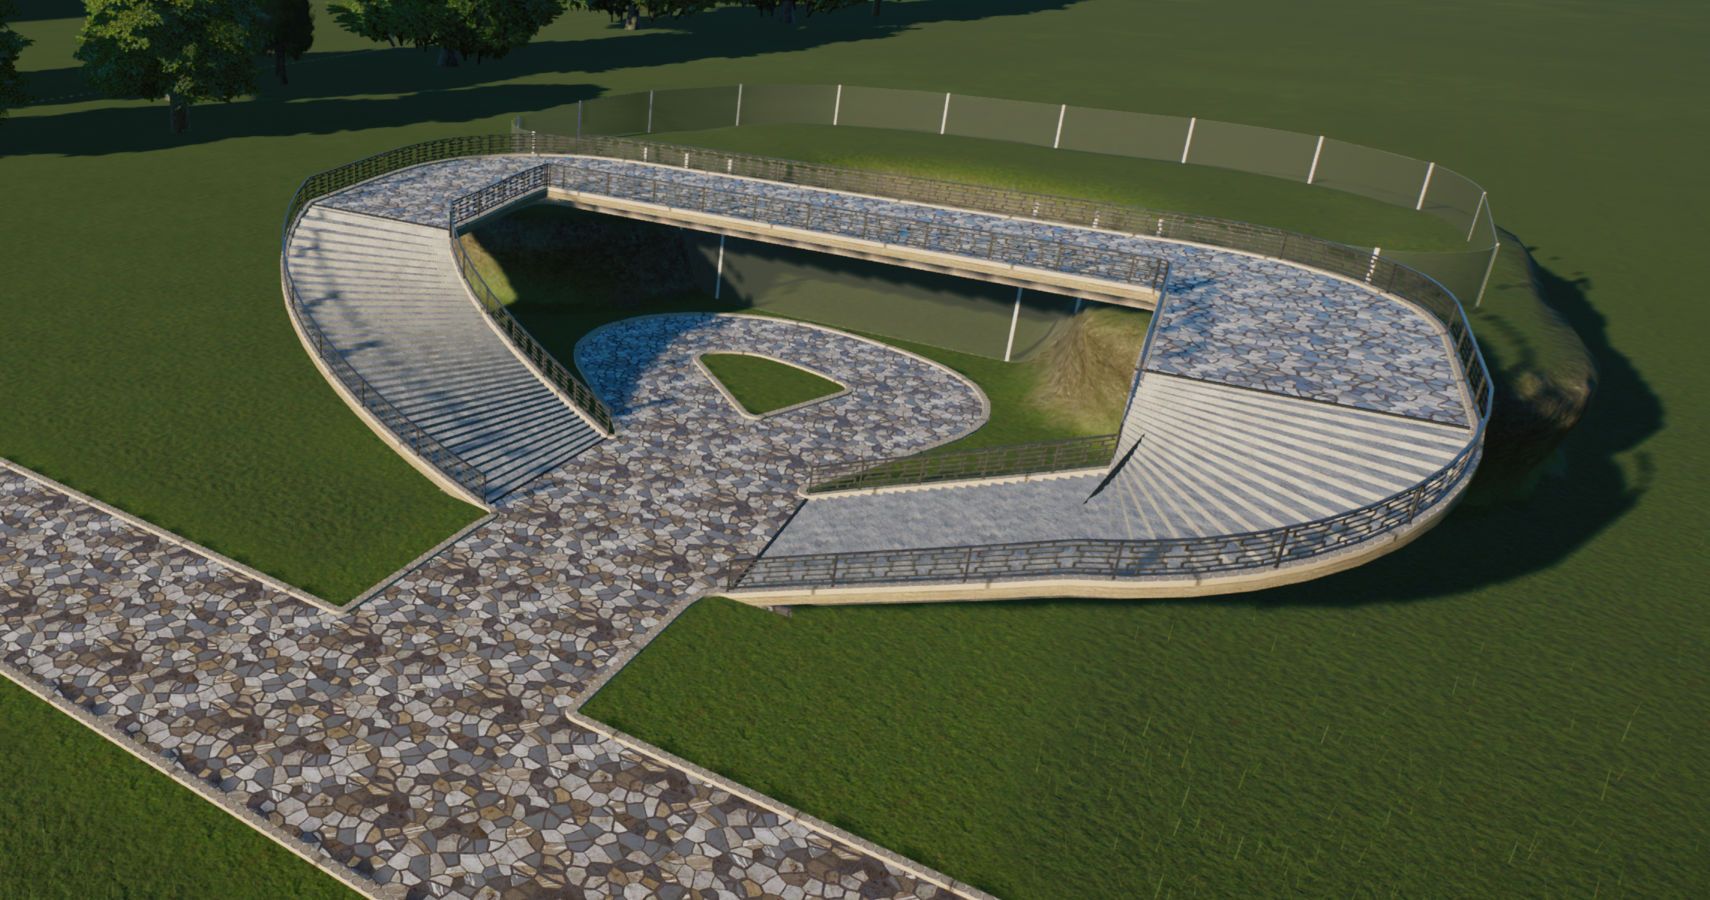
Penguins need a clear four-meter depth of water so it's a good idea to ensure your terrain is raised by more than this, otherwise, you'll need to dig down in the middle later on. The easiest way to ensure a good body of water visitors can see into is by creating a horseshoe shape in the terrain as shown above.
The next step is to add the barrier that will enclose your exhibit.
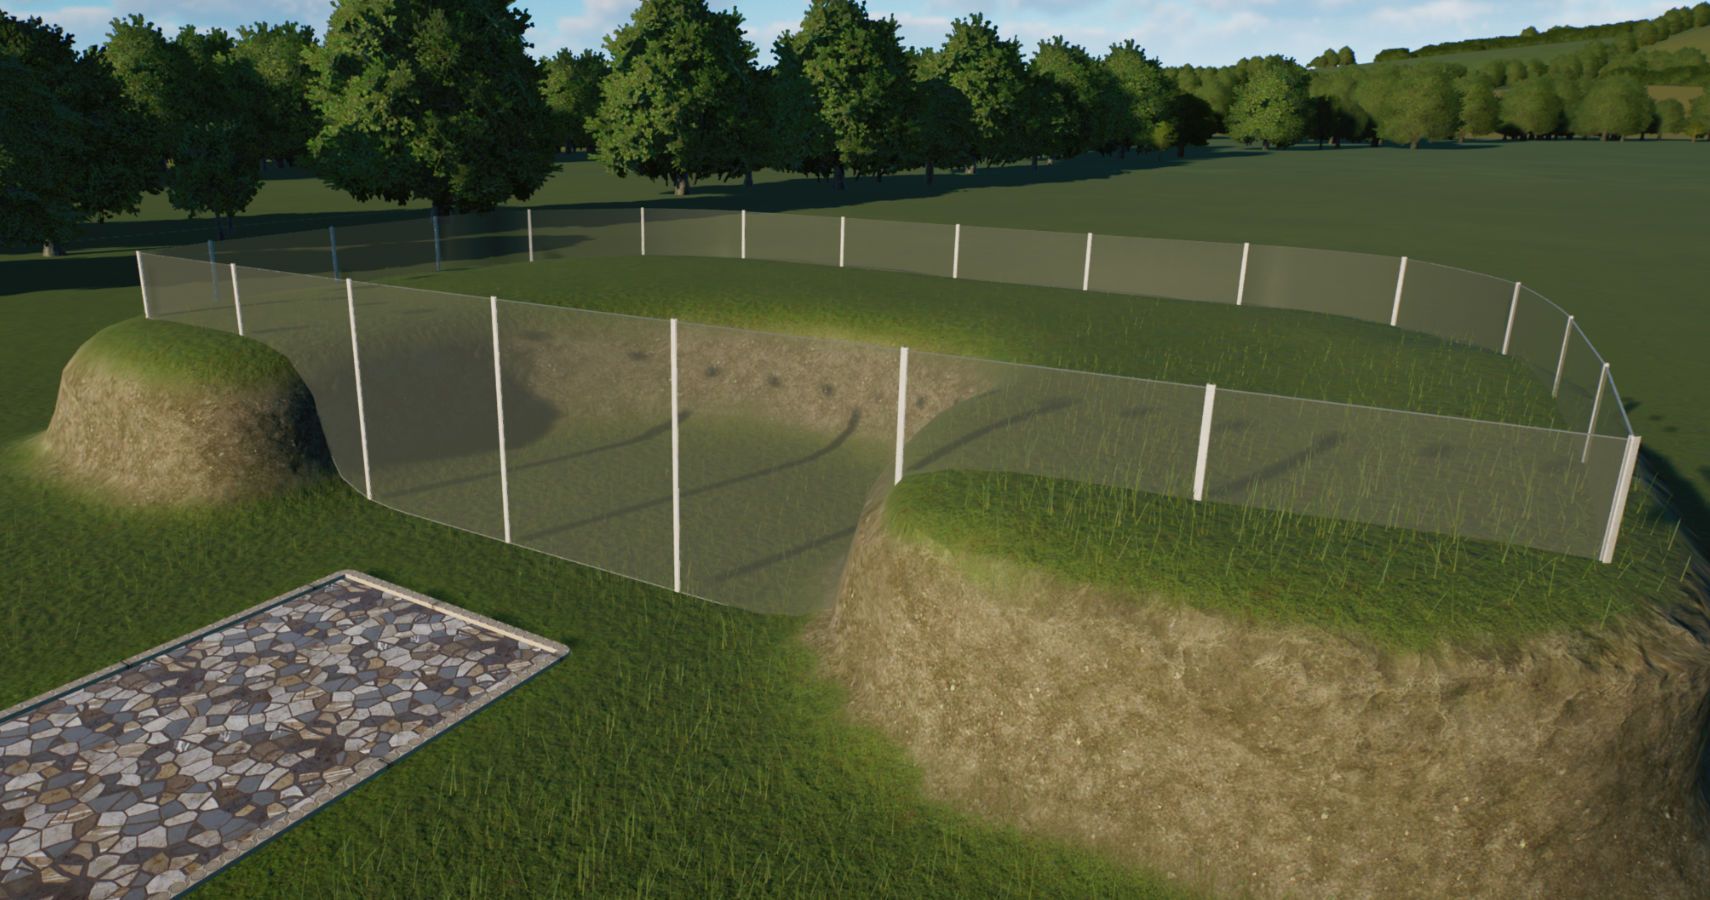
There are a couple of things to note here in order to get the barrier to place properly. The main one is that you must start building the barrier from the highest point on the terrain. This means it will properly extend down to the ground where the gaps are.
You also need to make sure you've selected a waterproof fence and we recommend the setting that keeps the top of the barrier at the same height but allows the bottom to be edited. This is because if you adjust any terrain inside the exhibit to smooth it out of similar you may need to adjust the barrier to prevent issues with the water.
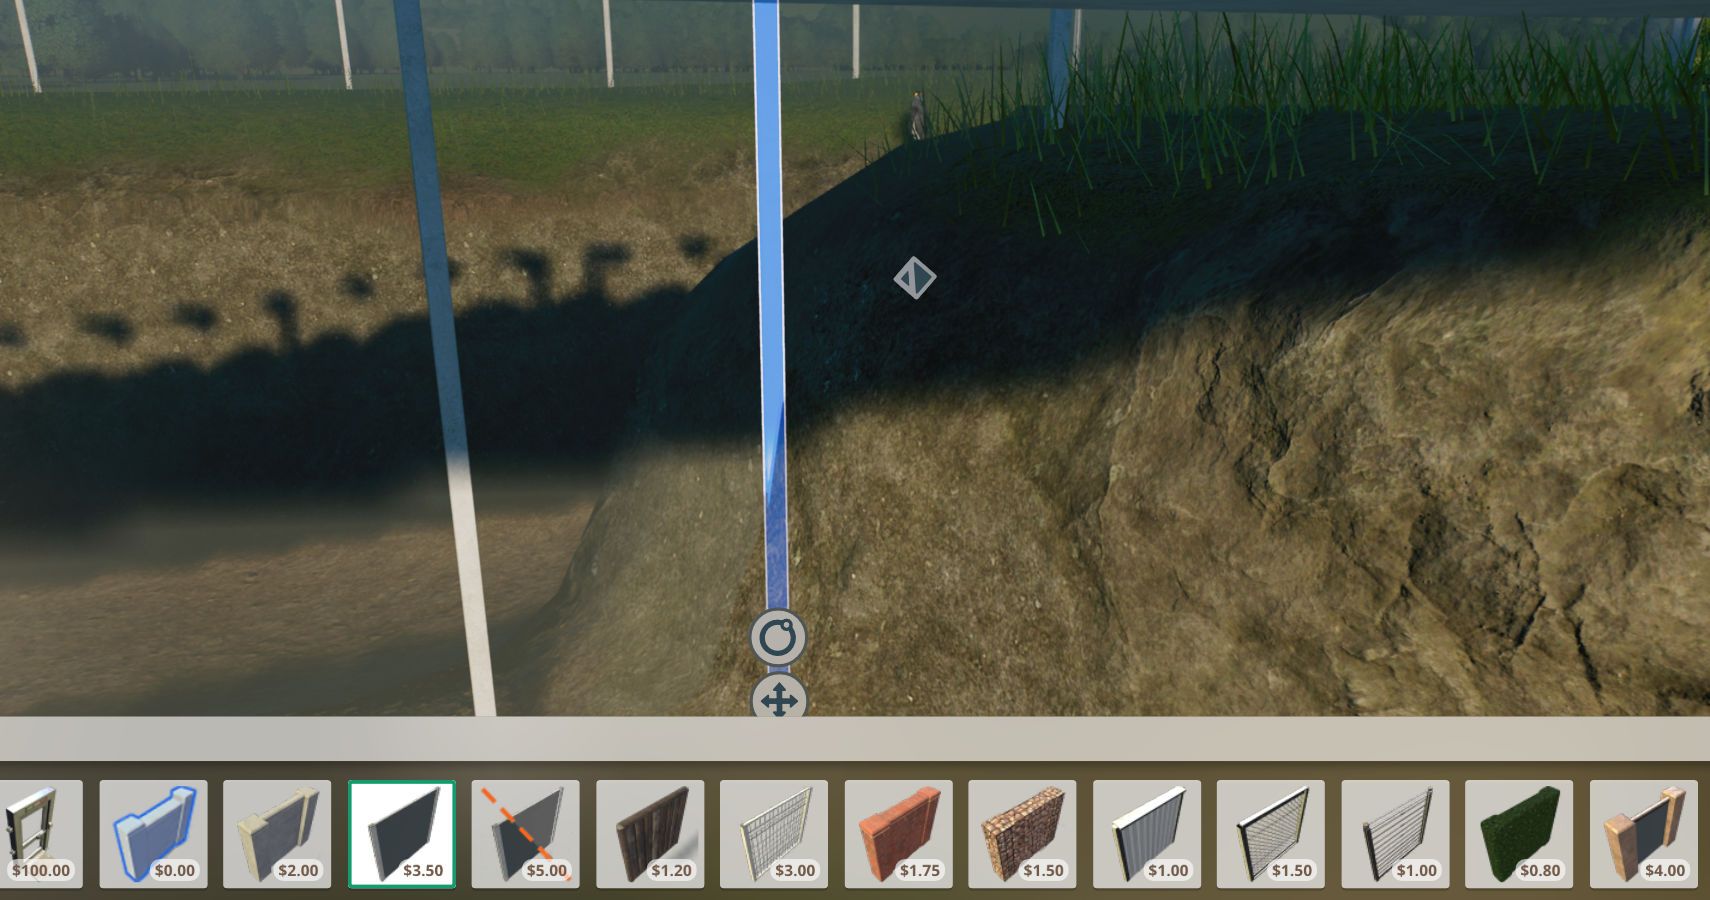
If the fence appears to have come away from the terrain, simply click on the fence post and use the arrow keys to pull it down and close the gap. This will ensure that the water will still place properly in the exhibit.
Once the barrier is set up it's time to make sure the guests and keepers have access to the area.
Add The Access
This path gives visitors a place to see the animals both above and below the water. It can be fiddly to set up, since the paths on the ground and those that are raised up like to try and link together by default.
I found the easiest way was to create the path across the top of the two sides of the horseshoe by the barrier first. This will then connect itself down to the main length of the path on the ground. Then you can delete the high-level straight path to prevent it from trying to connect as stairs to the bottom. The bottom path is a circle (ish, I'm sure more patience would produce a better job) and once this is complete you can simply add the top path back in. You can also turn off the align to placement setting but this can make the staircases harder to place.
If you're struggling a little with the mouse controls the keyboard shortcuts can be helpful. These are the most useful:
- Raise or Lower Path (without placing) - U and J
- Adjust Vertical Height - Shift and Arrows/Mouse
- Adjust Path Length - = and -
- Adjust Path Width - [ and ]
- Path T Junction - X
- Create Y Junction - Hold Z while making a junction
- Toggle Curved Slopes On/Off - V
- Toggle Align To Placement Suggestions On/Off - B
Once your paths are in place make sure you add the keeper door and access paths in the same way.
Making The Habitat Suitable

The easiest way to ensure the habitat is suitable is to add the animal, click them to bring up their information tab then pause the game. You can navigate the tabs along the top of the info panel to find the correct terrain, plant, and space requirements.
The sliders for both plants and terrain will change while the game is paused, although it needs to be in live mode to assess the water, space, and climbable space requirements.

For the King Penguin, you need to change the terrain in two steps to ensure it's all correct. You can see above that the first step was adding the water into the space we created earlier. Since it is more than four-meters deep you can see that the navigable space, swimmable space, and deep water requirements are all met.
The main requirement for the King Penguin that's not as immediately obvious is the cold temperature requirement. You can find the temperature information in the Zoopedia entry for each animal.

You'll need to place some coolers and set them to around -18, which is in the middle of the preferred temperature range you can see in the image above.
In terms of terrain, the penguin requires mostly sand, soil, and short grass. You can use any combination you like since the specific percentages of each are far more flexible than most animals.
Once these are in place and the coolers are set, add snow to the exhibit for a more authentic feel and to keep those penguins happy.
Finishing Touches

King Penguins don't actually want or need plants and trees but they will tolerate a couple so it's worth adding them to enhance the look of the exhibit. You'll also need to make sure you add the essentials for food and water.
King Penguins don't need an extra water source but there is an underwater feeder that provides feeding enrichment. You'll notice that there's also a small feeding tray on the ground in the image above. This was added in case zookeepers have issues routing to the underwater feeder on occasion.
Penguins also love other enrichment items including the new floating platform and rubber duck you can see above. You can also add bubble machines or sprinklers.

Once these are in place you just need to make sure your guests are happy as well. You can add education boards and speakers to the paths to enhance education and happiness and you can even use the new animal talks feature.
Benches and bins are always good to have and don't forget the all-important donation buckets!
With all this in place, your penguins can now live happily in the zoo. Just make sure you have a keeper assigned to the habitat and ideally at least two males and two females in the exhibit since they love to live in groups.
If you want more help with your zoo planning make sure to check out our other Planet Zoo articles.